Doc Savage
Basic User
- City
- Greenville
- State
- TX
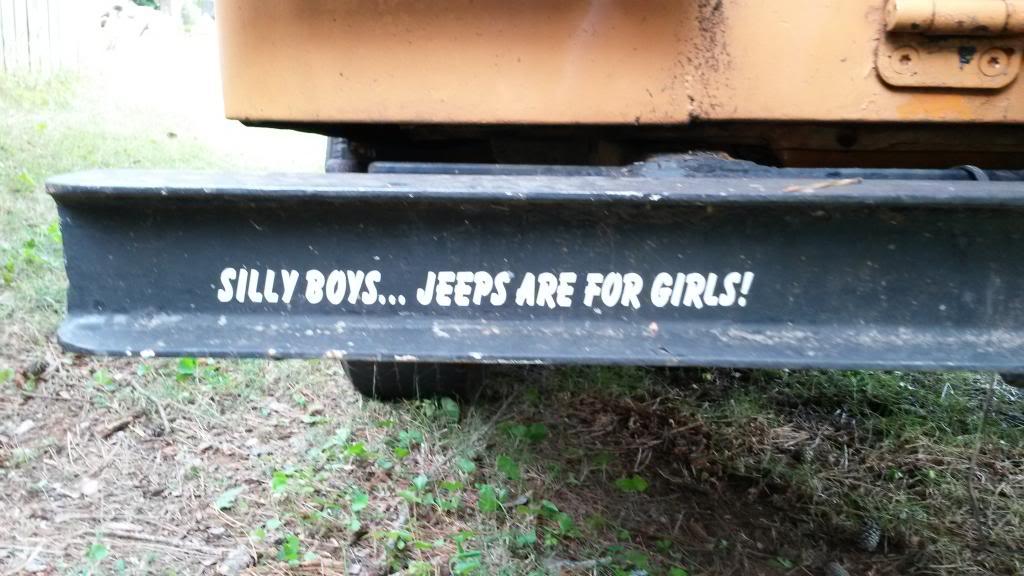
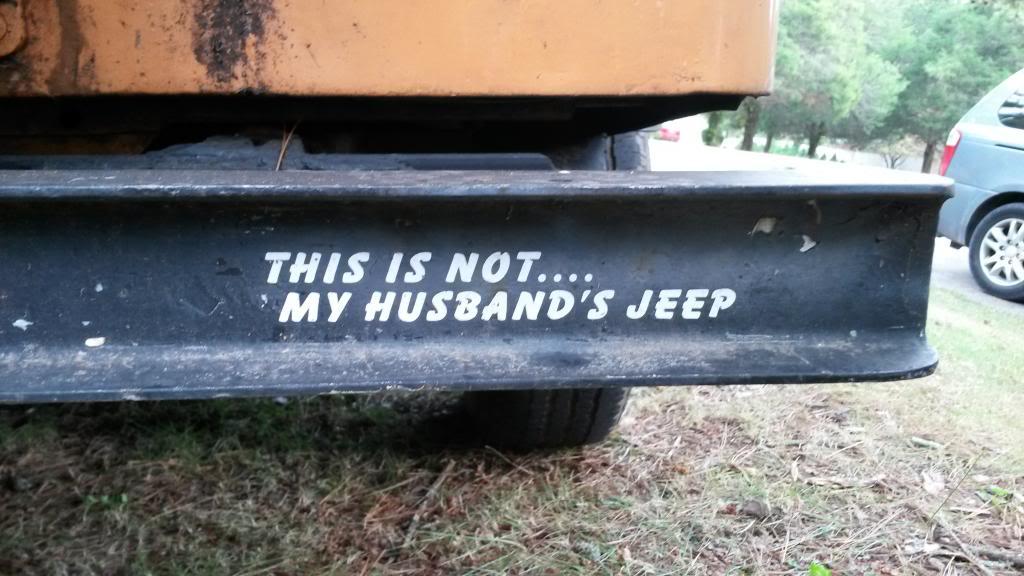
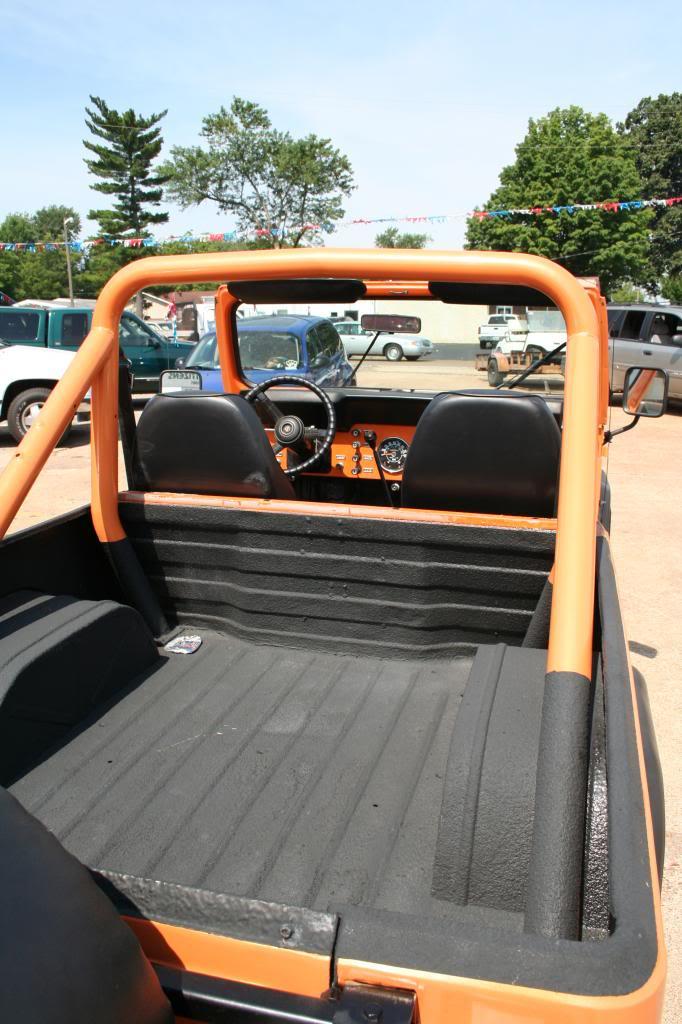
Picked up an 83 Scrambler for the wife in 2005. Here's what it looked like then:

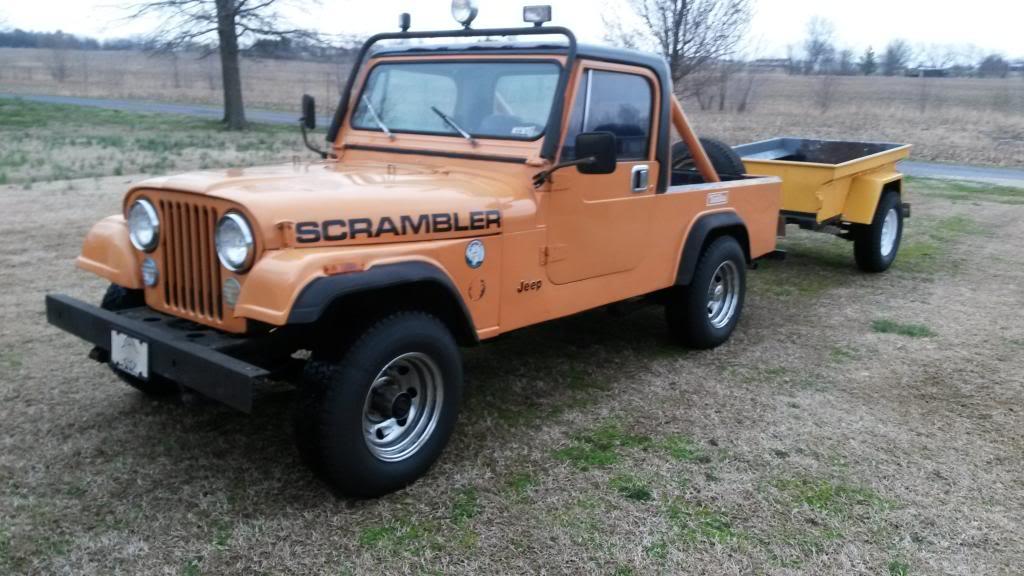
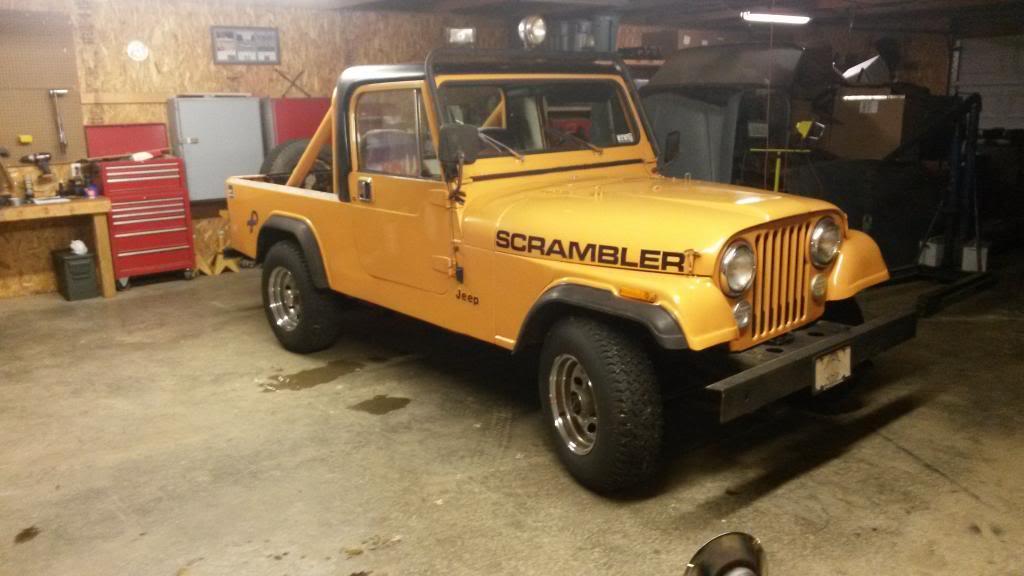
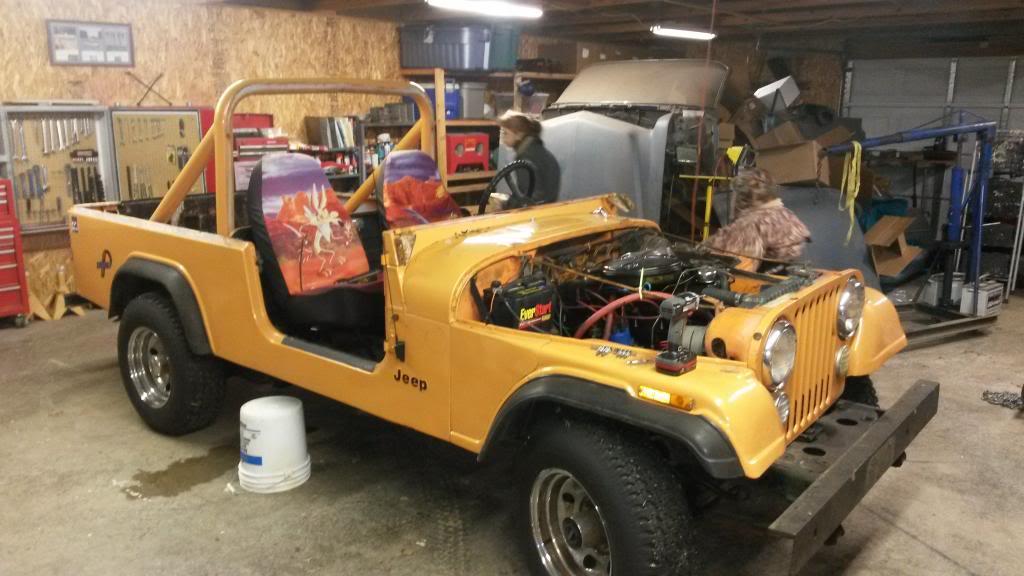
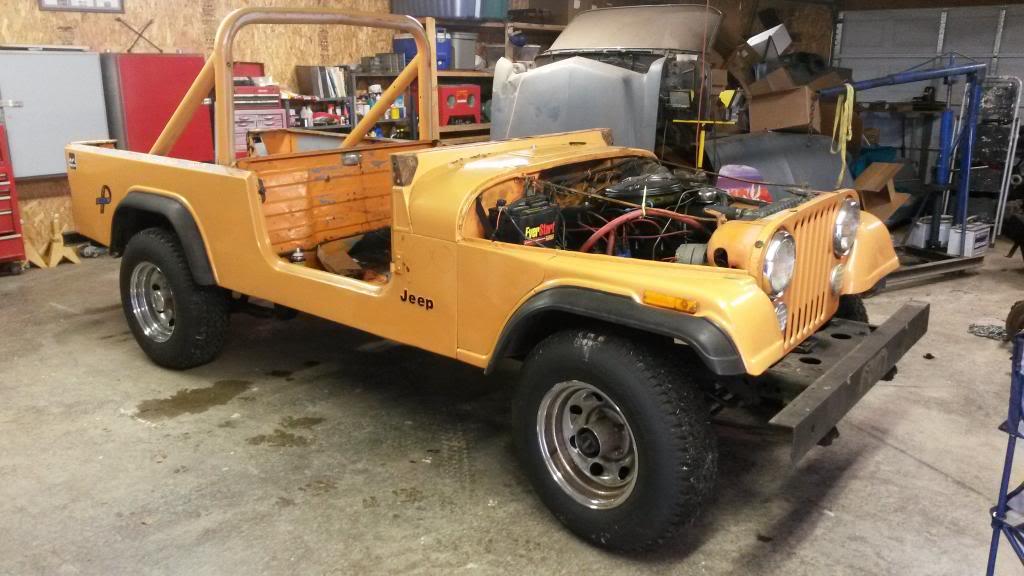
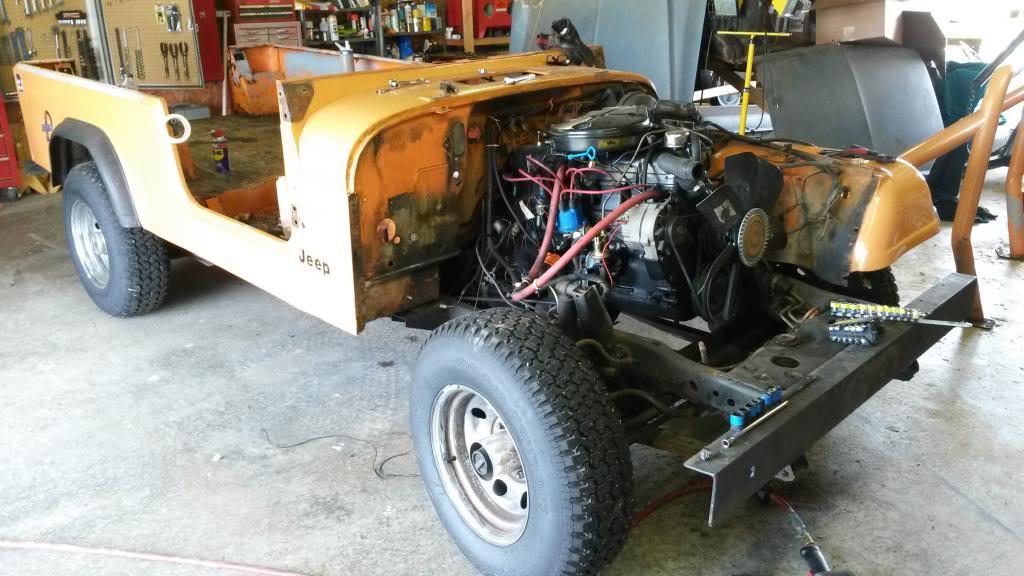
We never really did much work on it. Did swap to smaller tires as it didn't seem to have power and fixed the exhaust. We pretty much just drive it. Mainly around town and working in the yard. Fast forward and this is what it looks like now.
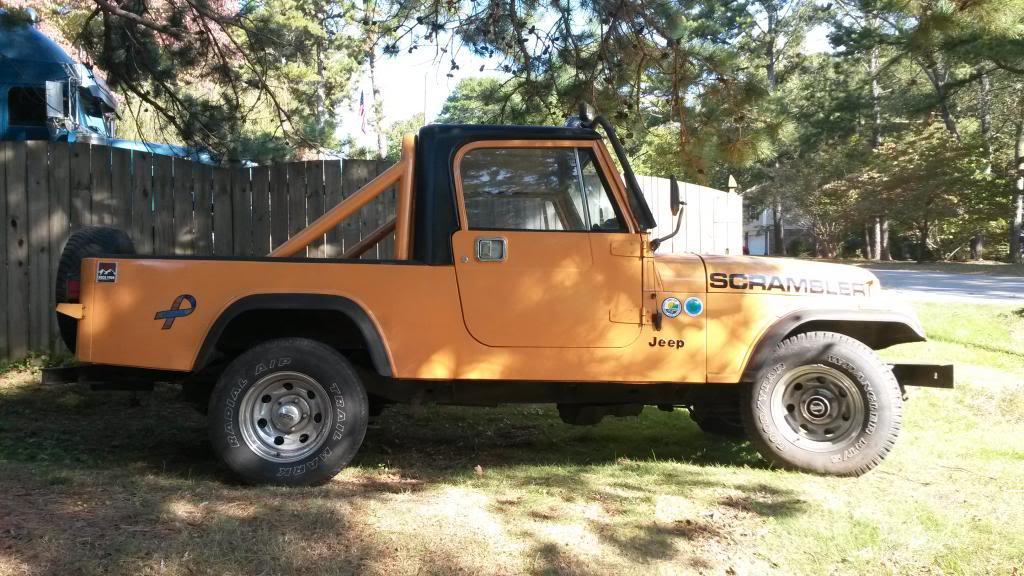
Paint is faded and the Master Cylinder seems to be leaking out the lid. Was needing new tires too.
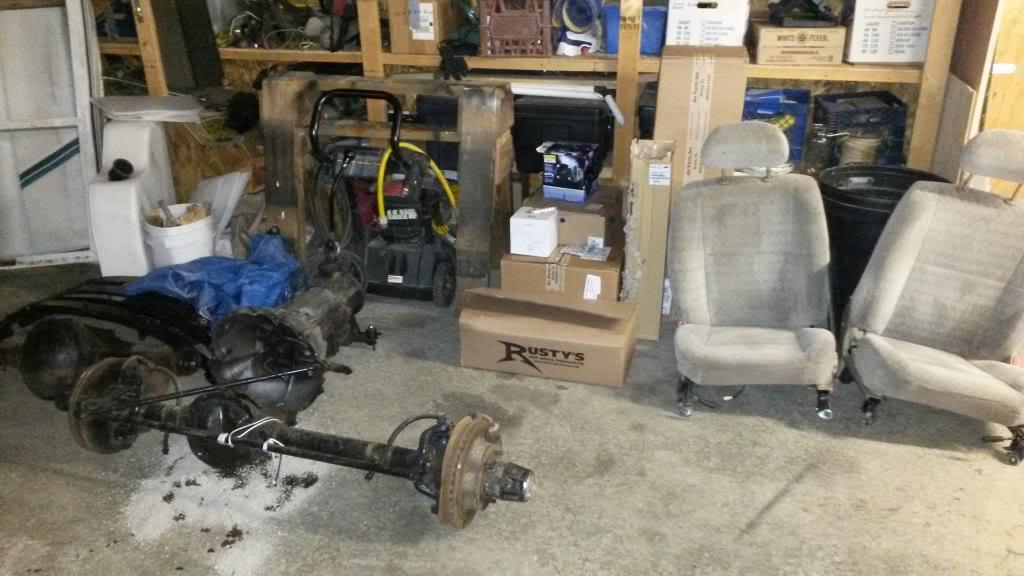
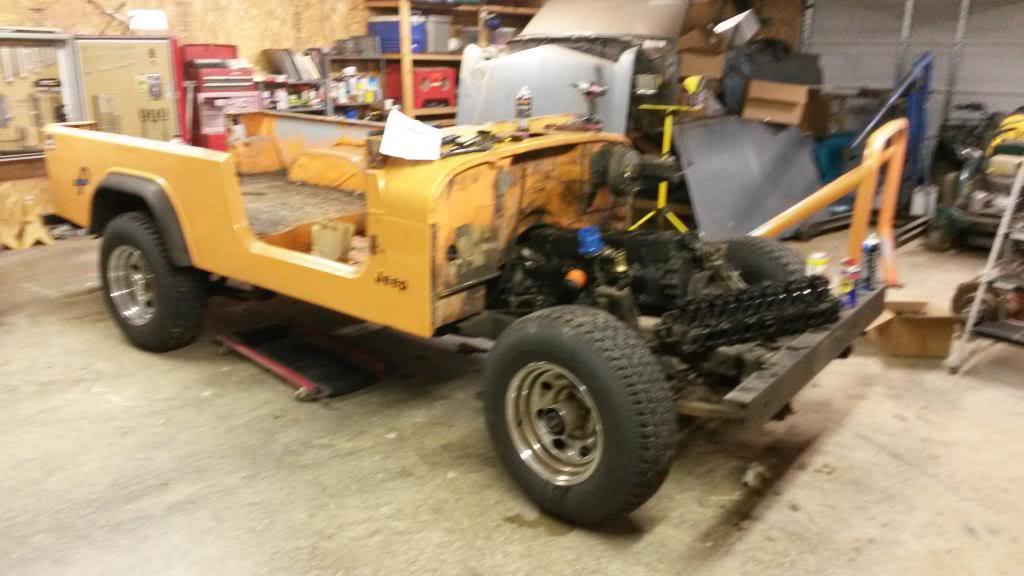
Well this is my year to get a new vehicle and after issues with my LJ and NOT liking the JKs I decided to make a CJ my daily driver (I'll still have my 98 TJ SE setup as a trail rig for fun). I looked around and after talking with the wife she offered up the Scrambler (well I did suggest the possibility). So we set a price for the work and I set about deciding what needed to be done. Key thoughts are that I want to keep this fairly stock, but this will not be a factory restoration, it will be a very used jeep. I will occasionally take it offroad, but nothing hard core. I need to be able to take it on the highway and even an occasional long road trip. I will also be towing a M416 trailer with it on occasion. Some of my current plans are:
Regear (picked up NT axles with 3.54 gears to swap in)
Swap in T5 (currently have T176 4 speed, yea I know most like the strength of the T176, but I feel the need for overdrive)
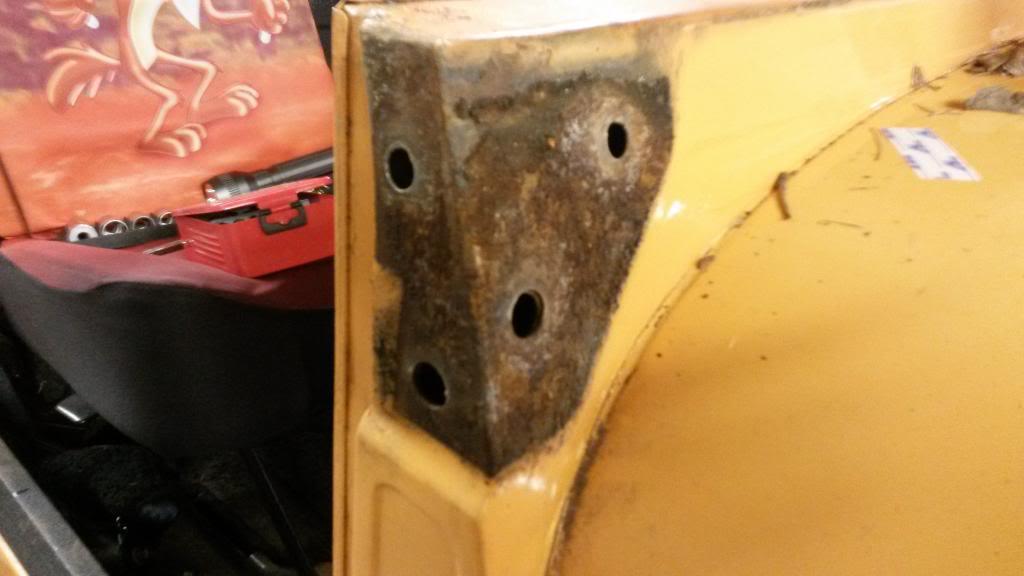
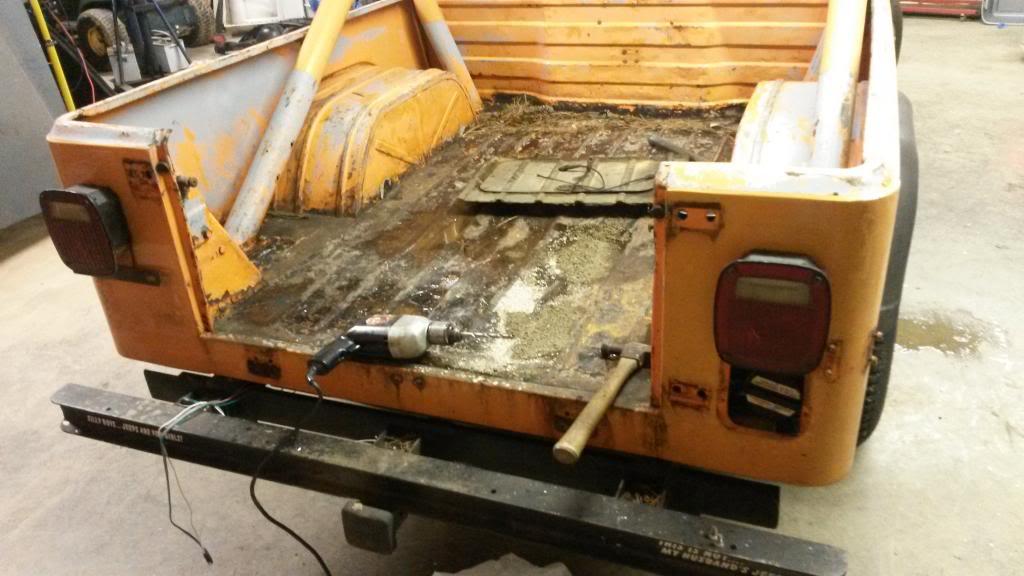
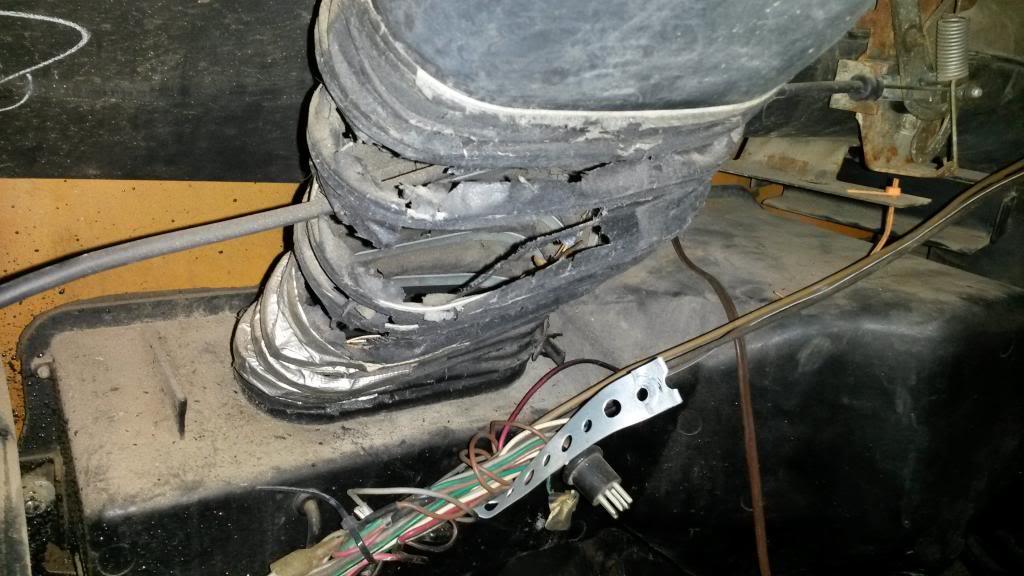
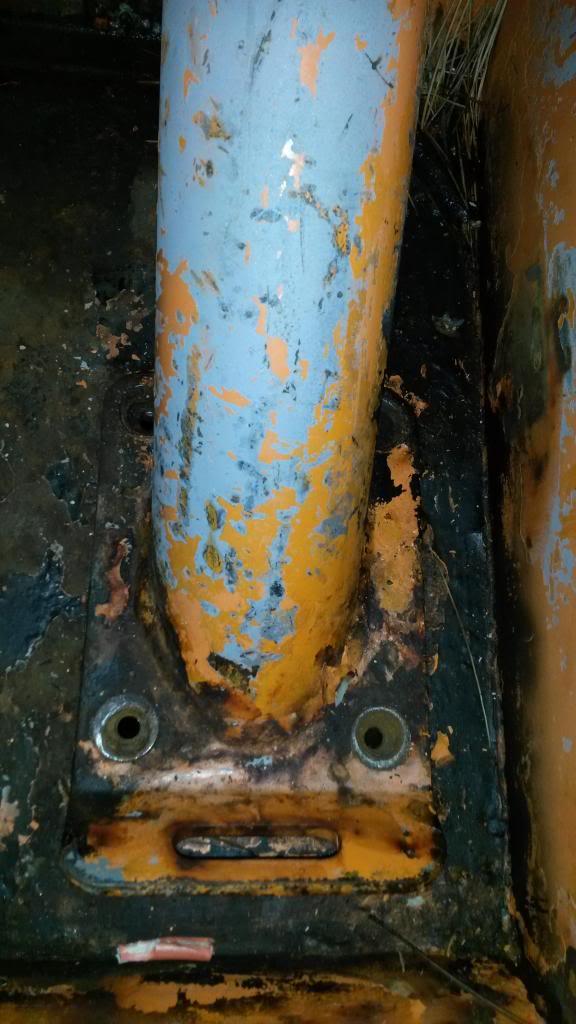
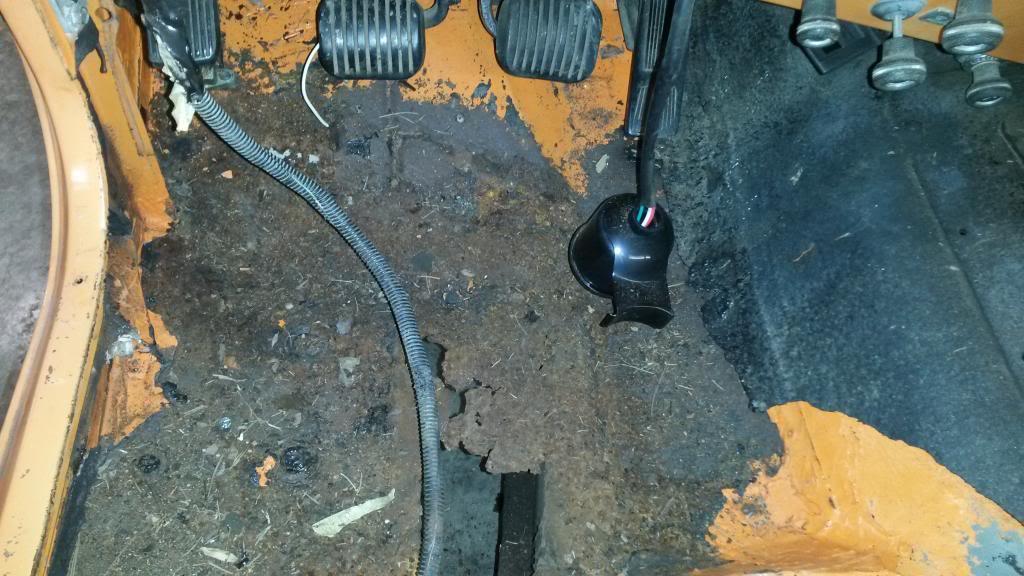
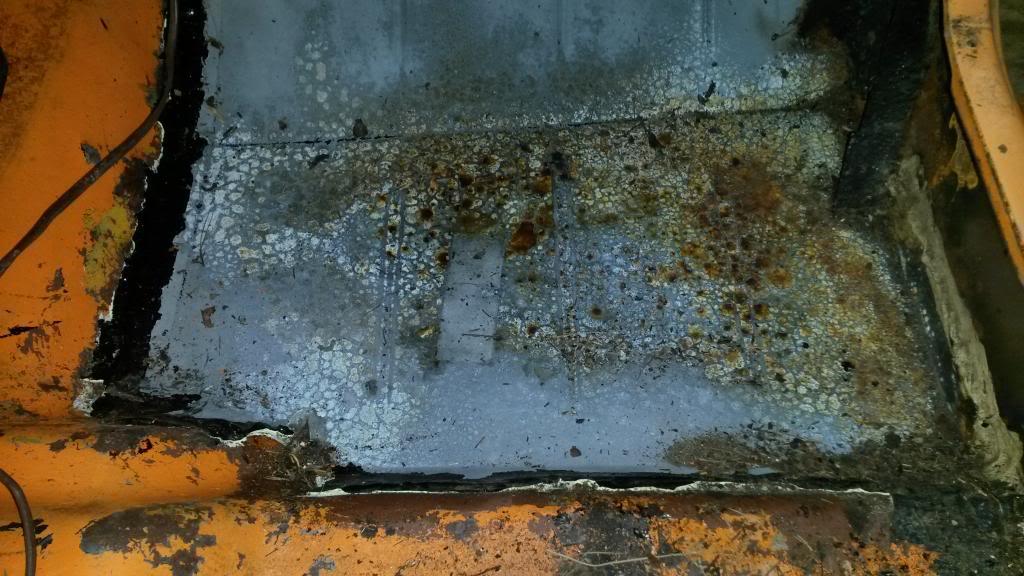
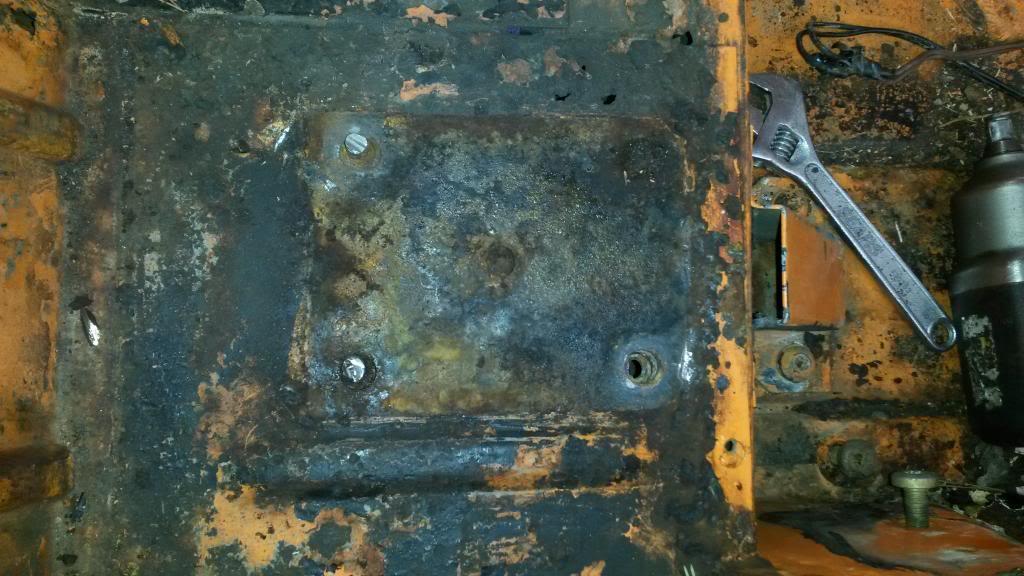
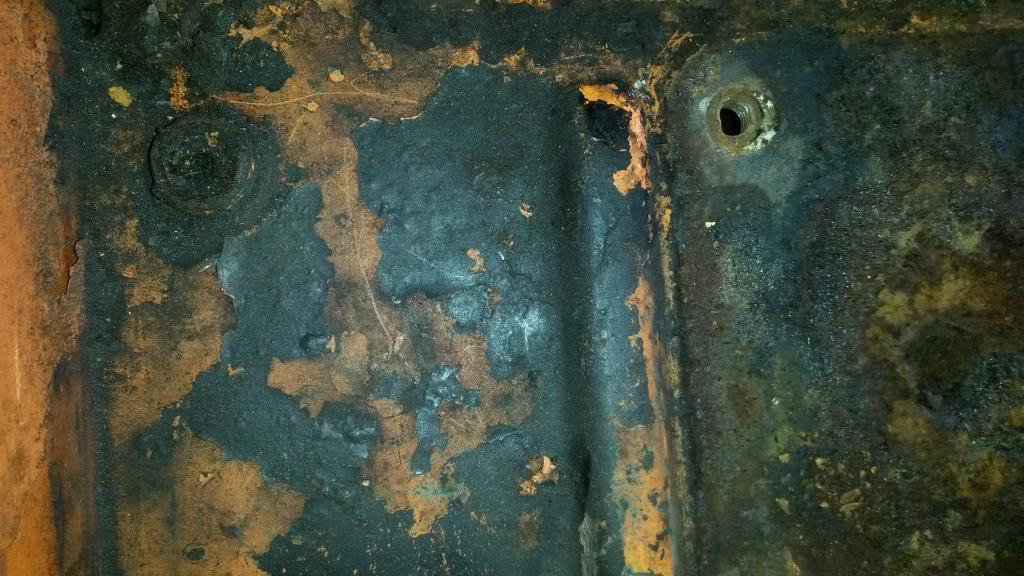
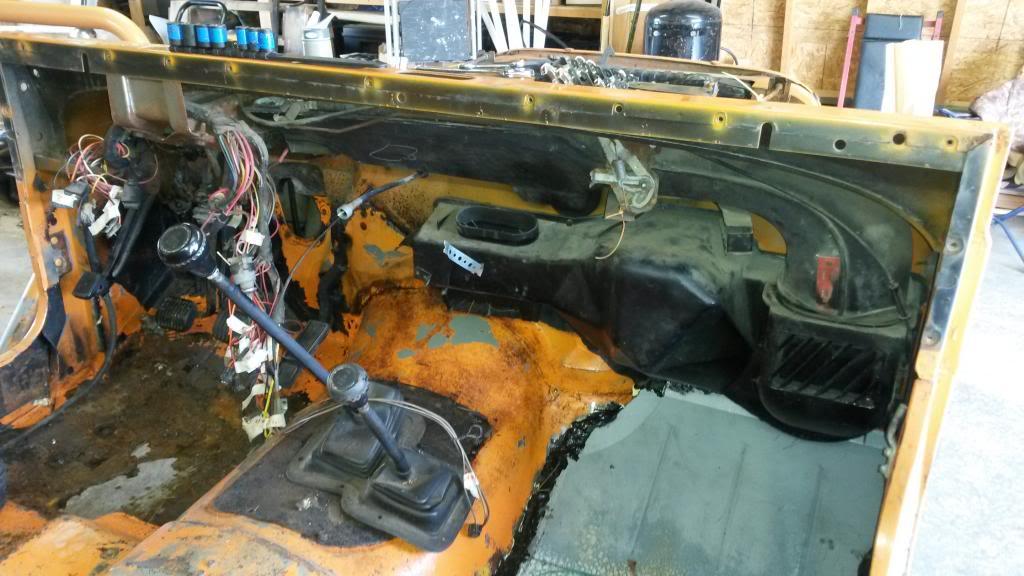
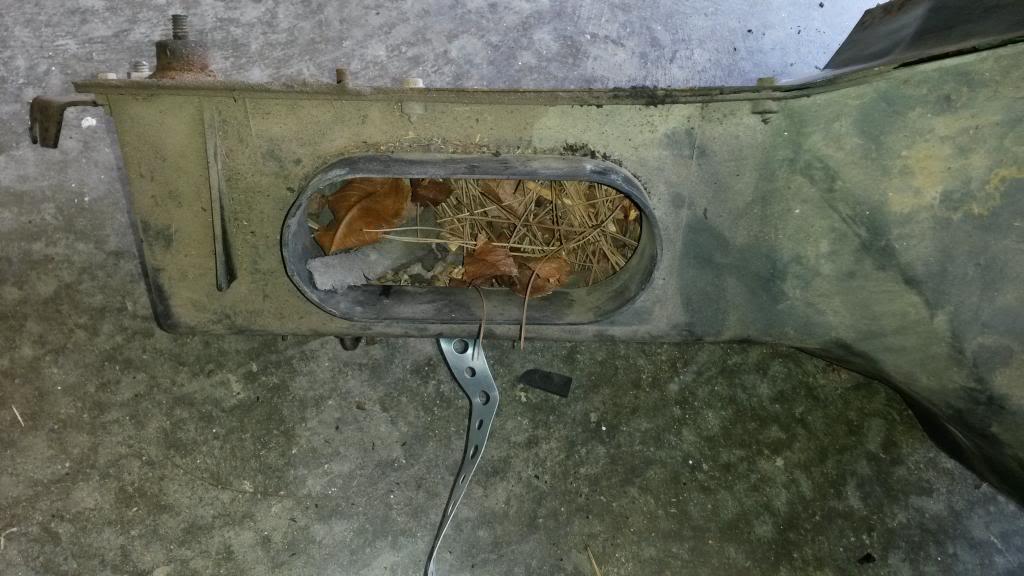
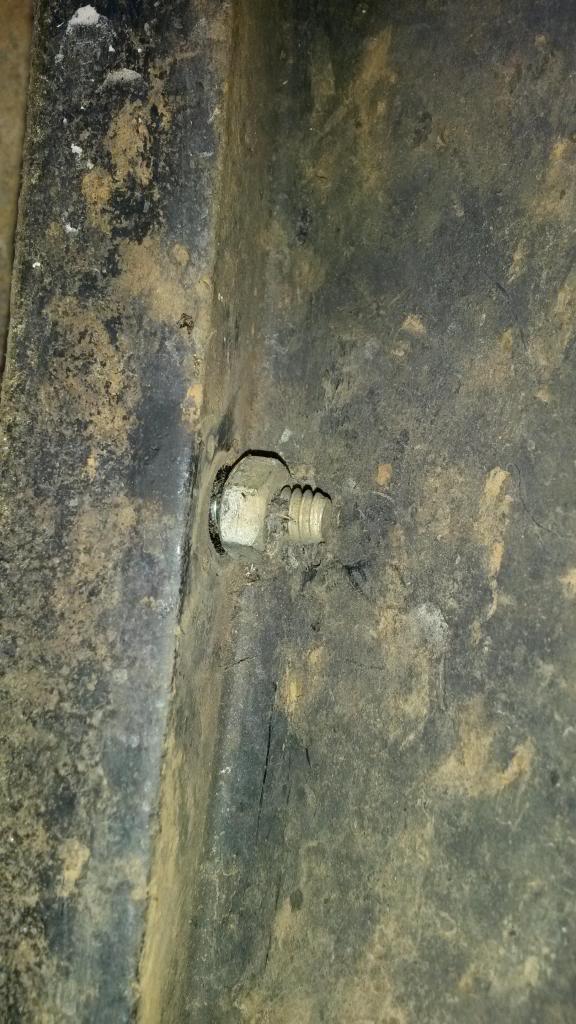
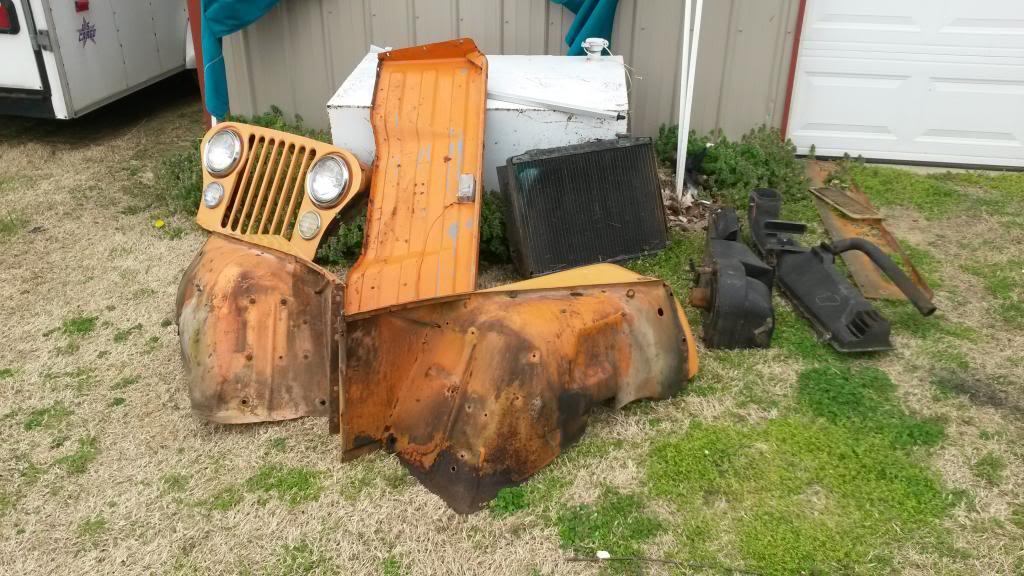
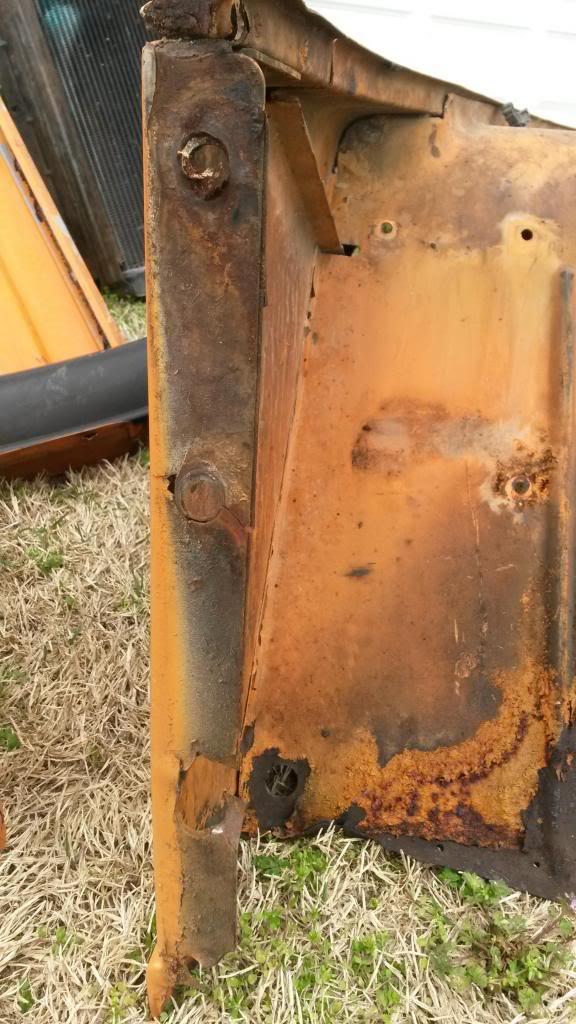
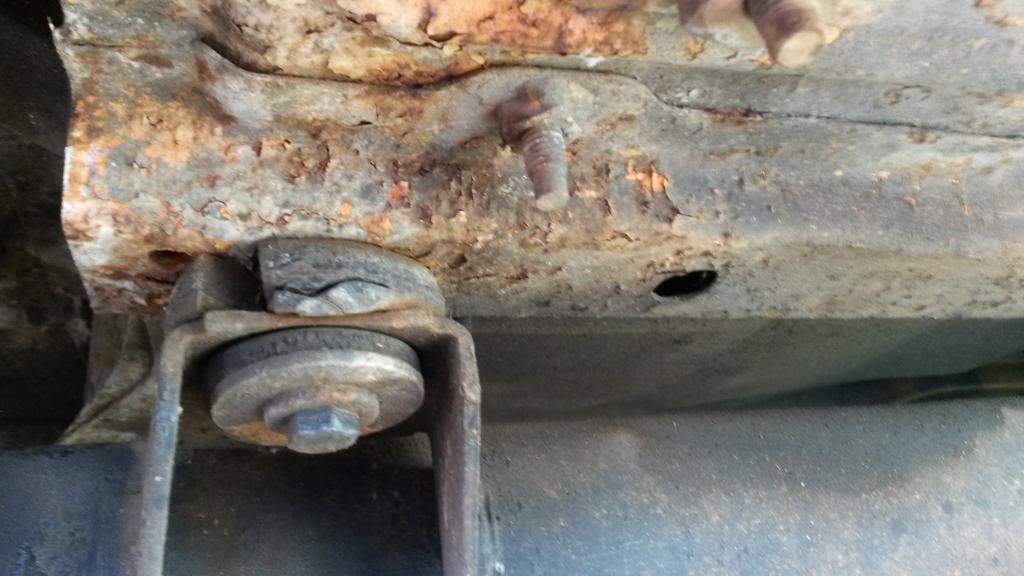
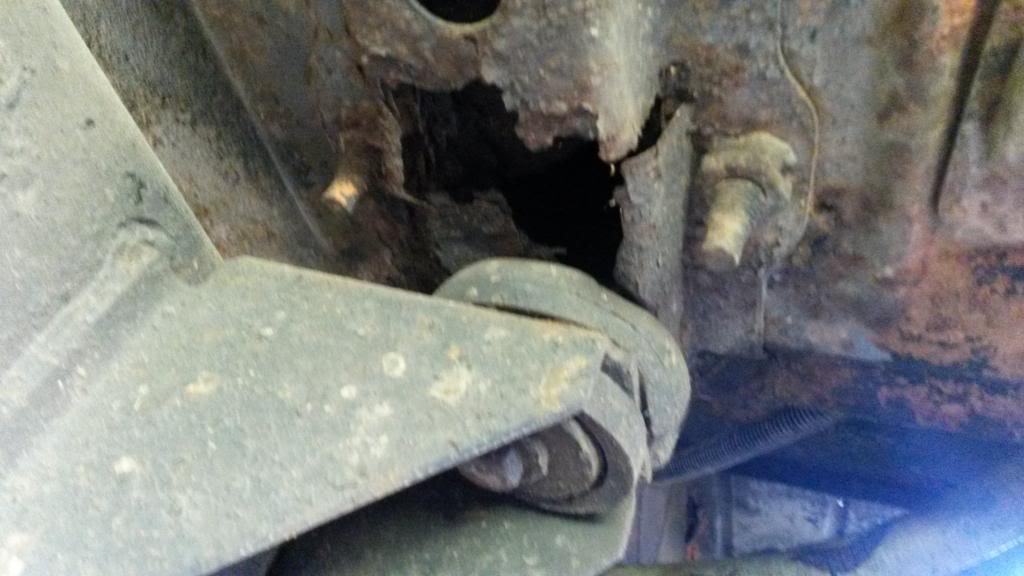
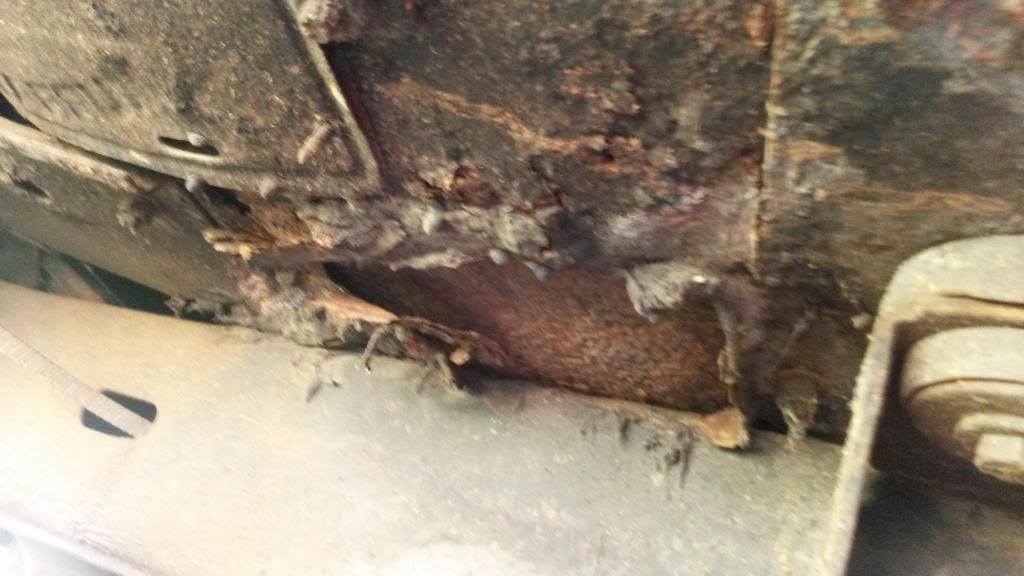
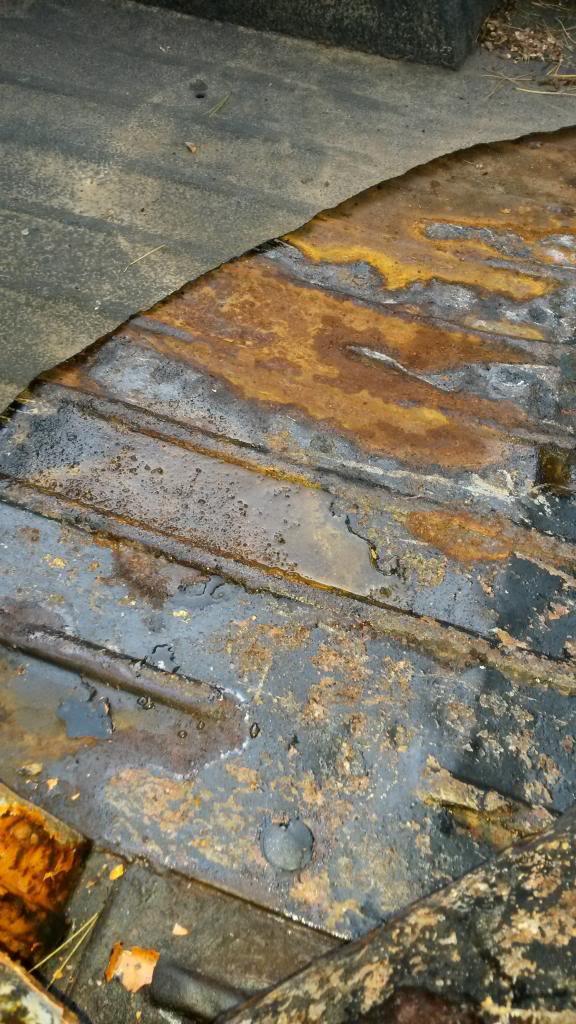
Patch Rust spots (not too bad, see next post)
Paint
New Tires
Add Air Conditioning
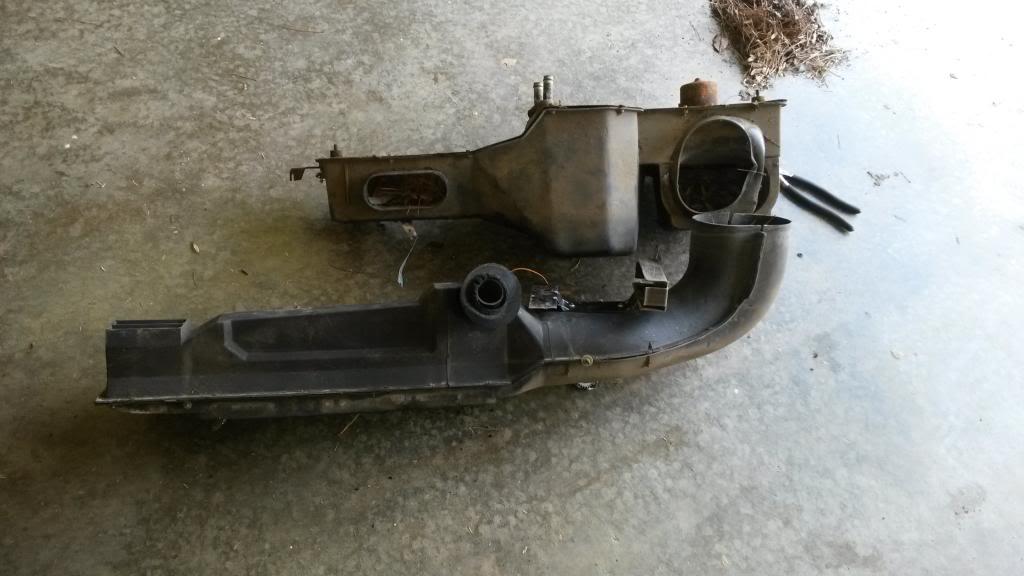
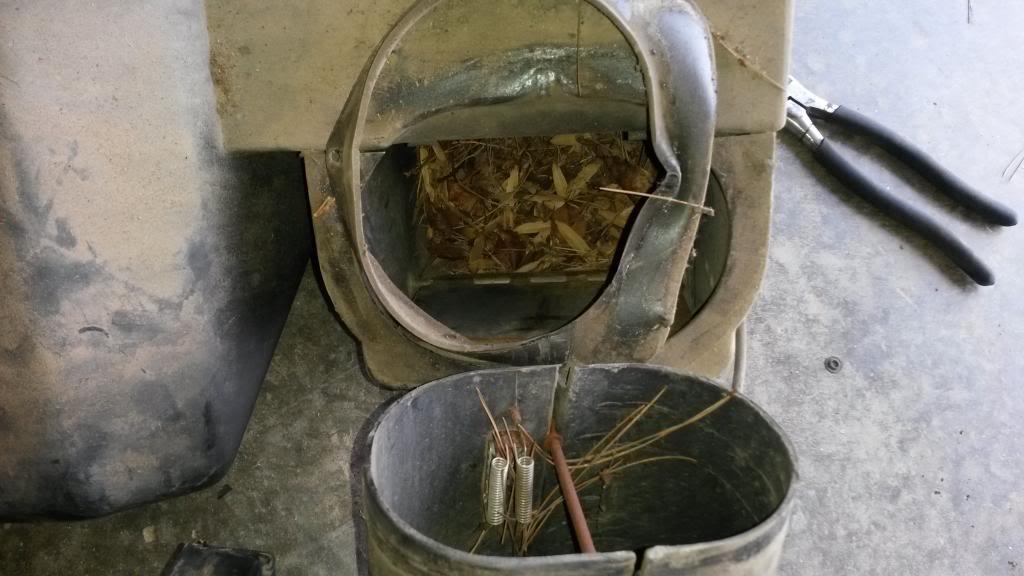
Replace heater core/fan upgrade
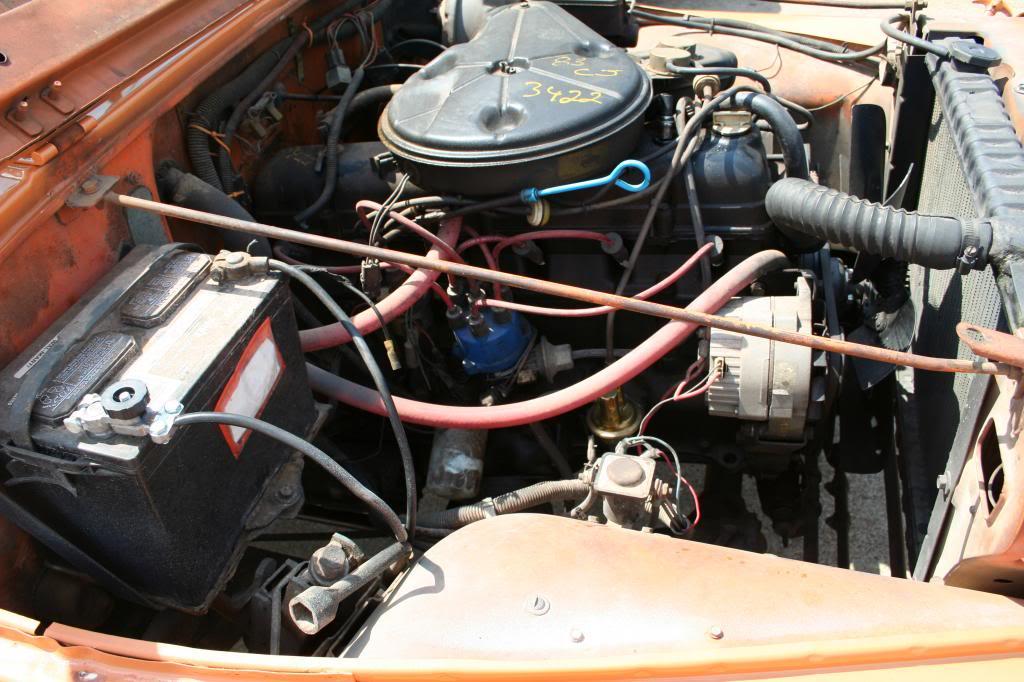
Rebuild motor
Replace Master cylinder
Upgrade interior
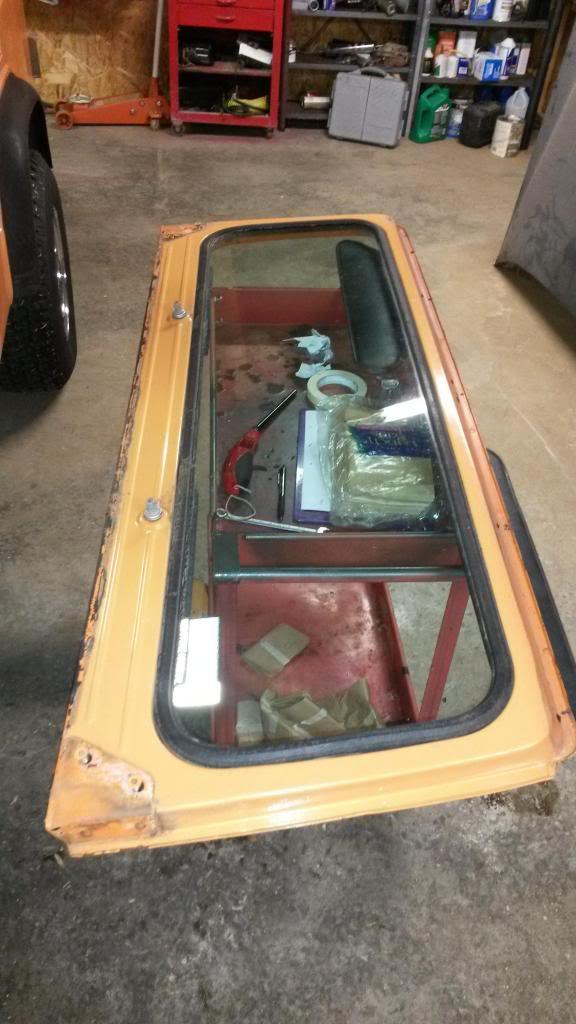
Add Softtop
We never really did much work on it. Did swap to smaller tires as it didn't seem to have power and fixed the exhaust. We pretty much just drive it. Mainly around town and working in the yard. Fast forward and this is what it looks like now.
Paint is faded and the Master Cylinder seems to be leaking out the lid. Was needing new tires too.
Well this is my year to get a new vehicle and after issues with my LJ and NOT liking the JKs I decided to make a CJ my daily driver (I'll still have my 98 TJ SE setup as a trail rig for fun). I looked around and after talking with the wife she offered up the Scrambler (well I did suggest the possibility). So we set a price for the work and I set about deciding what needed to be done. Key thoughts are that I want to keep this fairly stock, but this will not be a factory restoration, it will be a very used jeep. I will occasionally take it offroad, but nothing hard core. I need to be able to take it on the highway and even an occasional long road trip. I will also be towing a M416 trailer with it on occasion. Some of my current plans are:
Regear (picked up NT axles with 3.54 gears to swap in)
Swap in T5 (currently have T176 4 speed, yea I know most like the strength of the T176, but I feel the need for overdrive)
Patch Rust spots (not too bad, see next post)
Paint
New Tires
Add Air Conditioning
Replace heater core/fan upgrade
Rebuild motor
Replace Master cylinder
Upgrade interior
Add Softtop
")