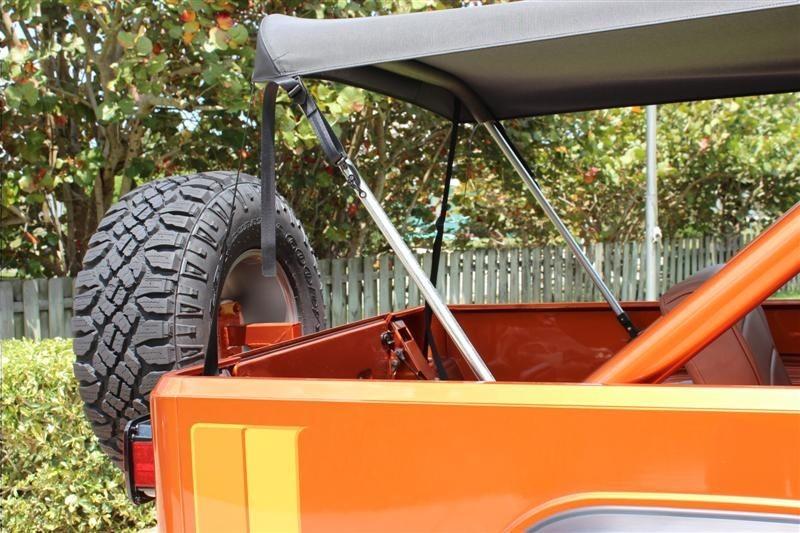
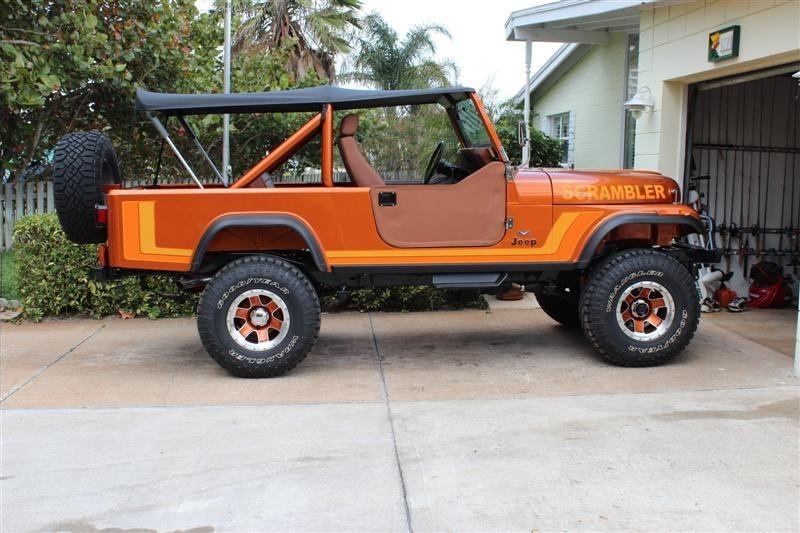
That looks pretty dang good. Details on the bow support? Driven it around at various speeds yet?
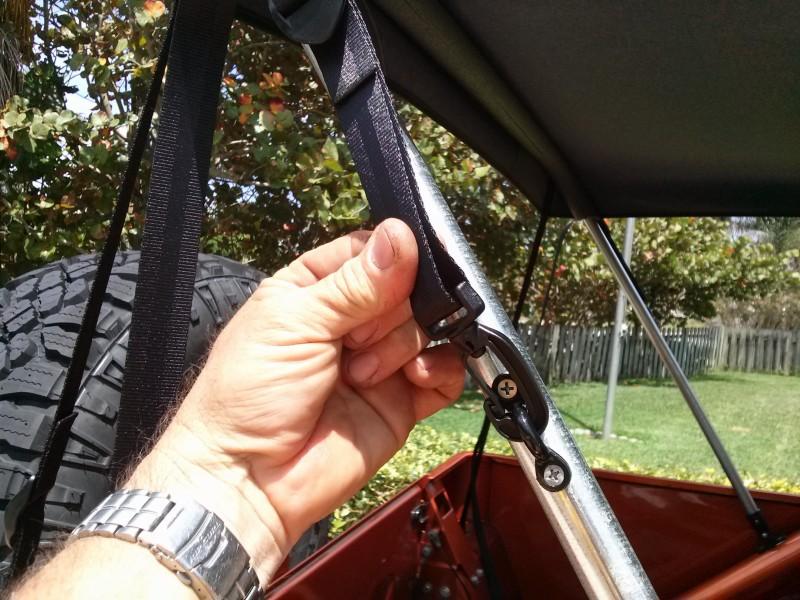
I haven't driven it yet. Getting tags on Monday and it will get the ops check. The material is a much heavier gauge than Best top stuff. The straps Jon uses are better than any high end marine grade stuff I've seen. You can see attention to detail everywhere you look.
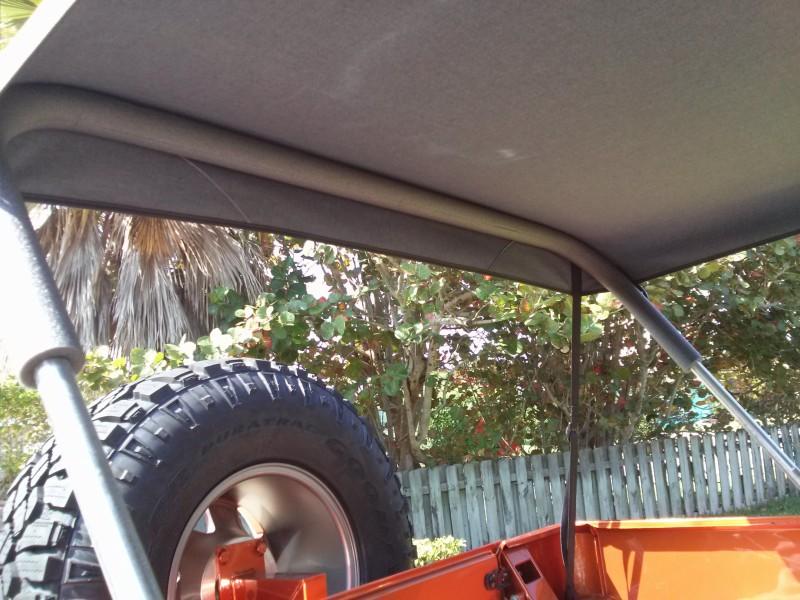
I don't anticipate much flapping or other issues. As it sits now you can bounce quarters off it. I'm sure once I get it out in the sun and wind there'll be some tightening adjustments the same as any new top as it settles in.
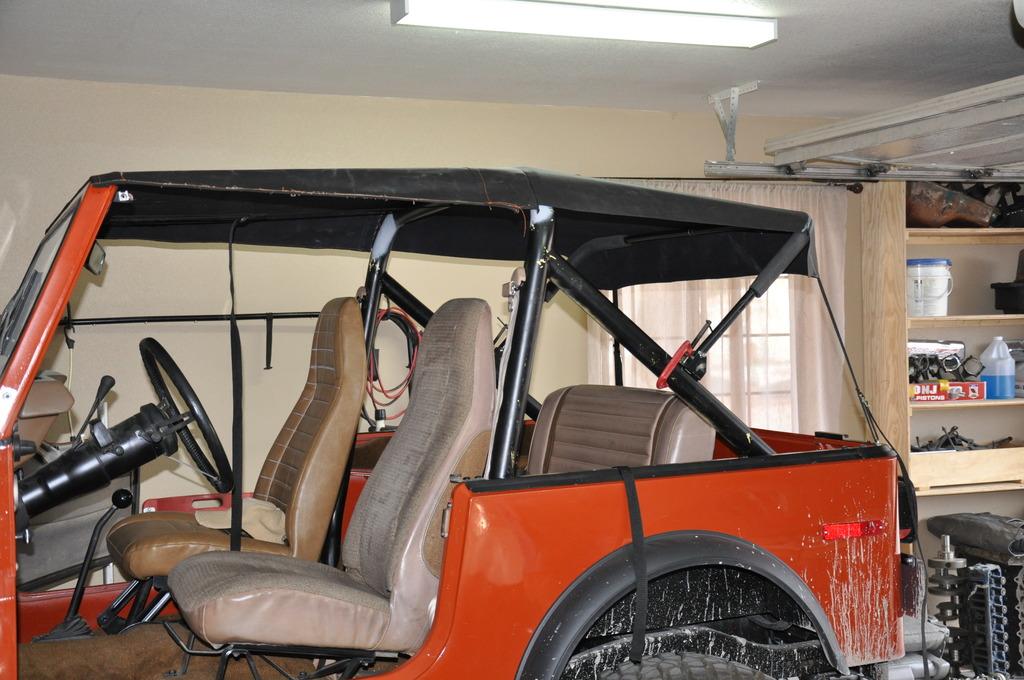
Initially I planned on using all marine grade stainless. After looking at the stainless and considering I planned on painting the bow anyway it would have been a waste of money. Almost everything is available at a hardware supply.
Boat bimini top pipe comes in 1/2 and 7/8. Aluminum pipe is $1.75/ft, SS is $3.75/ft. You'll need about 10' for the rear bow. Electrical conduit comes in 3/4" and is $4 for a 10 ft stick so you can see the benefit of electrical conduit. Also the conduit is galvanized so no rust!
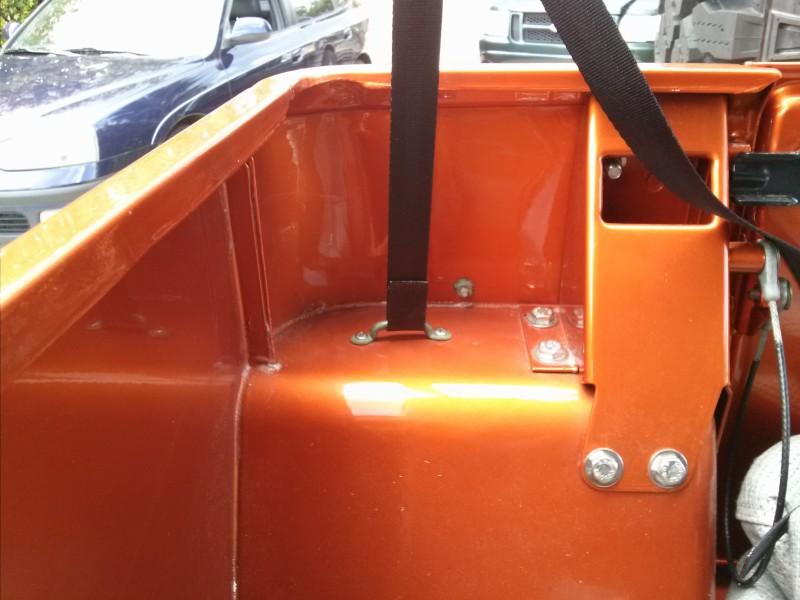
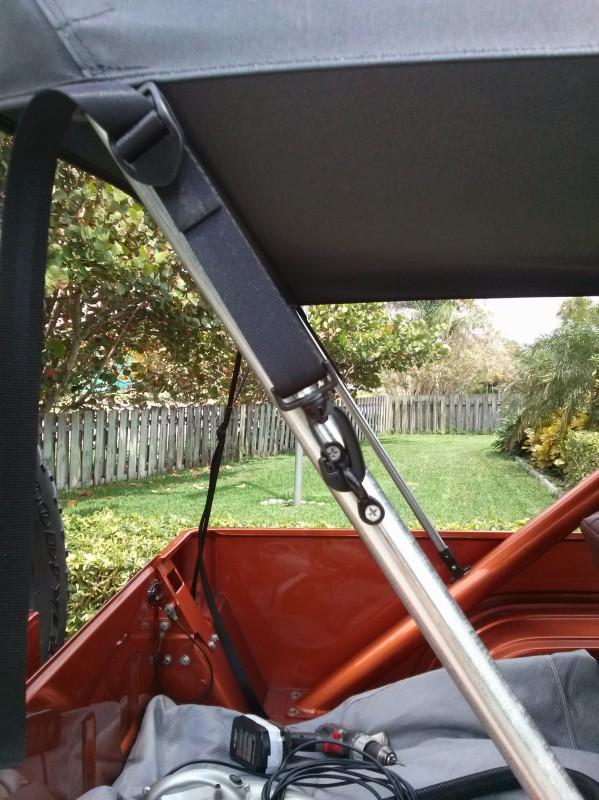
The deck mount and pipe end came in packs of 2 each and were about $8 total. I also picked up a set of 3/4" rubber feet that would go on the end of a cane or walker. I used them on the ends of the conduit to prevent scratches and they allowed me to position the pipe while trial fitting the rear bow placement. I had the screws in my SS fastener pile. I had the tap and die set. I borrowed the pipe bender which is a 3/4" EMT pipe bender. I spent about $25 for everything. The foam is pipe insulation that you should find somewhere near the conduit. Don't use the soft black stuff. Get the denser grey foam which is similar to the stuff swimming pool noodles are made of.
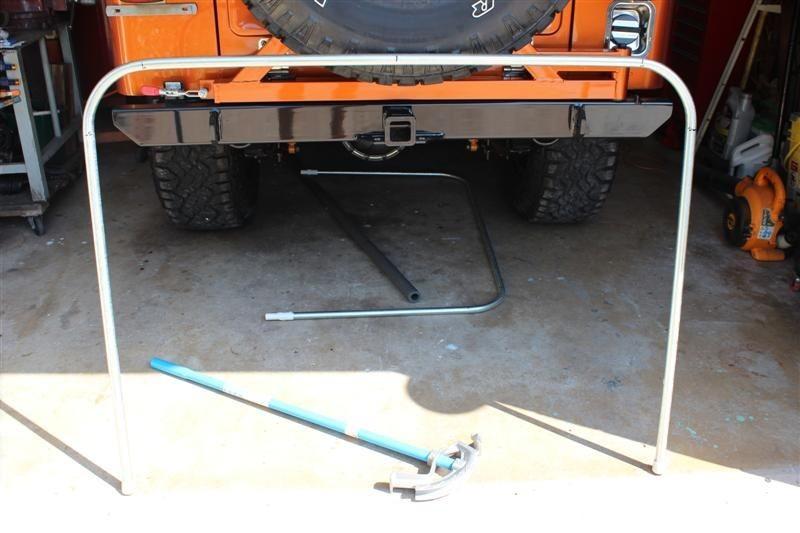
I measured the top and the curve points so don't reinvent the wheel. Here are the measurements and techniques.
TIP: Go to Home Depot or Lowes with a tape measure and a sharpie. Grab 2 sticks of 10' electrical conduit and a 3/4" bender. Lay the pipes on the floor. Measure the 10' pipes and mark the mid point 5'. from that point measure 20" to either side and make a mark. That equals 40" total. From those marks measure 8" farther out and make another mark. There should be 5 marks total, center, 20" inners, 28" outers. The 20" and 28" marks are the inner and outer points of the bends. With the pipe on the floor you will hook the bender with the arrow on the bender pointing at the outer most marks. Put your foot on the bender and make the bend to 90 degrees. Repeat on the other side. You can eyeball the 90 degree bend or slide the pipe up to a vertical surface and adjust the bend. The bend should start at the inner mark and end at the outer mark. All that takes no more than 10 minutes. Put the pipe bender away and go pay for the pipes.
While you're there buy the rubber feet for the pipe and your choice of screws. I used SS 10-32 x 3/4" countersunk screws to mount the vinyl deck mounts to the rollbar. You'll need to drill and tap the holes. You may have to visit an ACE or similar hardware store, or you may get lucky while at Home Depot or Lowes and find someone that knows what a drill bit and tap are. Then you'll need a #10 x 32 tap and the recommended drill bit. Look at the drill and tap specs on the package. Only buy the tap, you don't need the handle. Shouldn't cost more than $5.
Once you've located the position on the rollbar for the deck mount mark the holes with a sharpie, center punch them, drill them, insert the tap in your drill and run it thru the hole at slow speed, reverse it out, and you're set.

") I'll give it some thought - I was hoping he might also take a stab at making tonneaus, but haven't managed to find time to give him some measurements.
I'll give it some thought - I was hoping he might also take a stab at making tonneaus, but haven't managed to find time to give him some measurements.