You are using an out of date browser. It may not display this or other websites correctly.
You should upgrade or use an alternative browser.
You should upgrade or use an alternative browser.
Frame up restoration of my 1981 CJ8
- Thread starter ManyFacesofSchwinn
- Start date
- City
- Rathdrum
- State
- ID
- City
- River Ridge
- State
- La
They call it pay to play. It use to be like a tank of gas a year. Now with the price of gas going up it is more like a 1/2 a tank. Well worth the price !How come I can only post one picture at a time and I can't like/love someones comment?

- City
- Rathdrum
- State
- ID
- City
- Rathdrum
- State
- ID
I just paid to play. BarryThey call it pay to play. It use to be like a tank of gas a year. Now with the price of gas going up it is more like a 1/2 a tank. Well worth the price !
- City
- Rathdrum
- State
- ID
- City
- Rathdrum
- State
- ID
- City
- Rathdrum
- State
- ID
I can't wait to get to work on the rear end tomorrow.
- City
- Rathdrum
- State
- ID
Hello,
I spent another day trying to find parts for the frame/chassis. I pretty much found everything except the drive line. It's a mystery where it is.
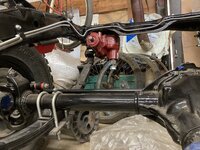
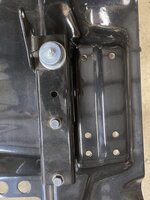
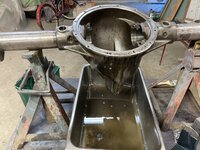
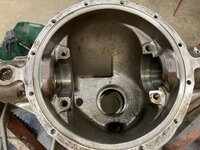
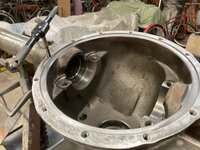
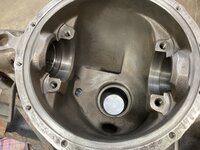
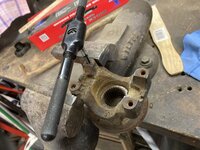
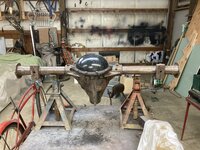
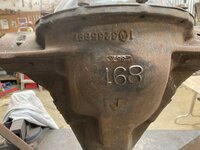
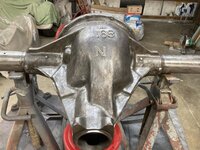
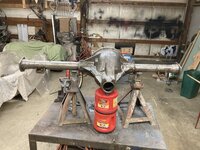
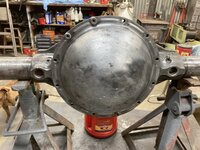
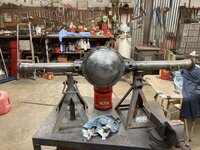
After that I finally started working on the rear-end. It was rusty from sitting around for seven years. I sanded it down to bare metal and then had my surgery on my neck. I spent the afternoon cleaning it back up. It turned out pretty good. Next I'm going to paint it with Rust Encapsulator. After I'm done rebuilding it I'll paint it with epoxy primer and Chassis Black.
Before and after photos


- City
- Rathdrum
- State
- ID
- City
- Rathdrum
- State
- ID
- City
- Rathdrum
- State
- ID
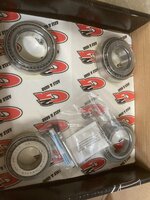
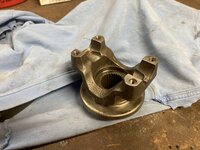
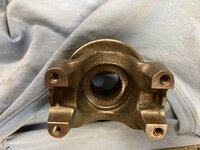
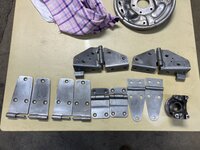
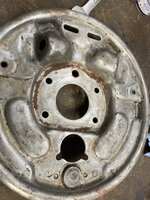
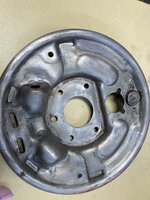
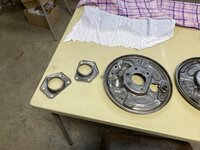
I worked on the rear end again today. I tore it the rest of the way apart after going and buying a bearing separator. After I got the bearing off I found a set of bearing separators I forgot I had. Oh well, this one was bigger that the other two I had. I cleaned the parts and put the gears back together. Now I can put the new bearings on and start adjusting the end play etc.. I also cleaned a bunch of parts and got them ready to paint with rust encapsulator at the same time I paint the rear end. I figured since I had to mix paint I might as well paint a bunch of stuff.
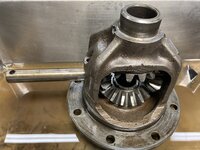
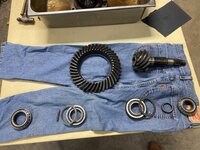
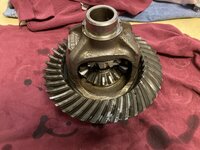


mhinchliffe
CJ-8 Member
- City
- W-S
- State
- NC
Looks like an operating room as clean and organized as it is. Thanks for sharing and keep us up to date on your build!
- City
- Albuquerque
- State
- NM
This project is coming along nicely - Good work!
I'm loving the bicycles too!
- City
- Rathdrum
- State
- ID
Thank you guys. I'm finally ready to start painting some parts tomorrow.
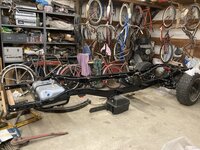
I found the drive lines and dash pad today. I had bought a new dash pad before I tore the Jeep apart ten years ago and thought I was going to have to buy another one. Another thing that had me stumped was where the drive lines were. I've been looking for the for the last week. I was standing in my shop today and thought to myself, where would you put them where they'd be out of the way? Then I looked down and thought, under the bench. Bingo, that's where they were! Now I've found all the parts.
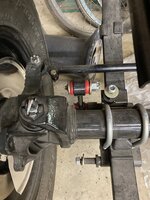
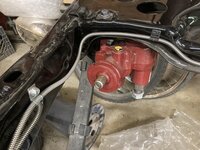
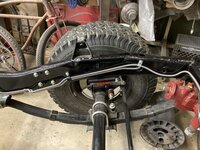
Once I get the parts painted I'll let them set for a while. Then I can do some assembly work on the frame. I need to put on the sway bar, the Pitman arm and the tie rod that goes from the steering box to the steering knuckle, the front axles, the calipers, the the brake hoses that go to the calipers, and then work on the shims for adjusting the end play for the front yoke.
I ordered fuel lines and a steering stabilizer shock that should be here in a couple days. Then I can put them on.
I need an original chrome front bumper. Any help with that would be greatly appreciated. Barry
- City
- Rathdrum
- State
- ID
Thank you. I hated to do it but I've been selling bicycles and parts to pay for the parts for the Scrambler.This project is coming along nicely - Good work!
I'm loving the bicycles too!
- City
- Albuquerque
- State
- NM
How did you get your hinges cleaned up so nicely?
Also, how to to plan to paint and install them?
(On mine, I'm worried I'll crack the fresh paint when I bolt them down....)
- City
- Albuquerque
- State
- NM
Thank you. I hated to do it but I've been selling bicycles and parts to pay for the parts for the Scrambler.
Ouch, that rough - they are so cool.
I've been selling bicycles (not nearly as cool as yours) so that I have room to work on the Jeep. I'm down to two bicycles in shop: a mountain bike and a cheap Huffy cruiser that I want to make a backwards bike out of. The rest I've either sold, moved up to the garage where I built a rack to store 6 of them, or keep in the house on my trainer for indoor workouts.
- City
- Rathdrum
- State
- ID
I bead blasted them years ago and then recently used a wire wheel in a die grinder to take off the surface rust. As far as keeping the paint from cracking, I'm also worried about that. For now all I'm ding is putting a coat of Rust Encapsulator on them to keep them from rusting again.How did you get your hinges cleaned up so nicely?
Also, how to to plan to paint and install them?
(On mine, I'm worried I'll crack the fresh paint when I bolt them down....)


