- City
- Dexter
- State
- MI
(6/13/19 - Updated the thread to clean it up and add larger pictures. Sorry for the pic quality, these were from 2003 and downsized for the web, I appear to have lost the originals, they still sucked)
I had this on my website from long ago but lost the space it was housed on. Been needing to put it up here for a long time. This is removal because that's what I photographed, installation is just the reverse, I'm sure you smart folks can figure it out with little trouble. Obviously this is my Postal, so it has the headliner over the front seats only, no rear headliner like in the Overlanders.
Headliner removal
Remove all screws holding on the rear headliner bracket above the rollbar.

Remove the two screws holding the dome light on. Do not try to pull it out.

Push up on the sides of the headliner above the doors on both sides. The headliner should move up enough for you to pull the flaps out from behind the black side headliner brackets. (From here on out, I show just one side of the top, all these steps have to be done on each side)

Pull the headliner down in the back enough to be able to reach in to the dome light connectors to remove the light. Now you can remove the headliner carefully.

Doorframe upper trim
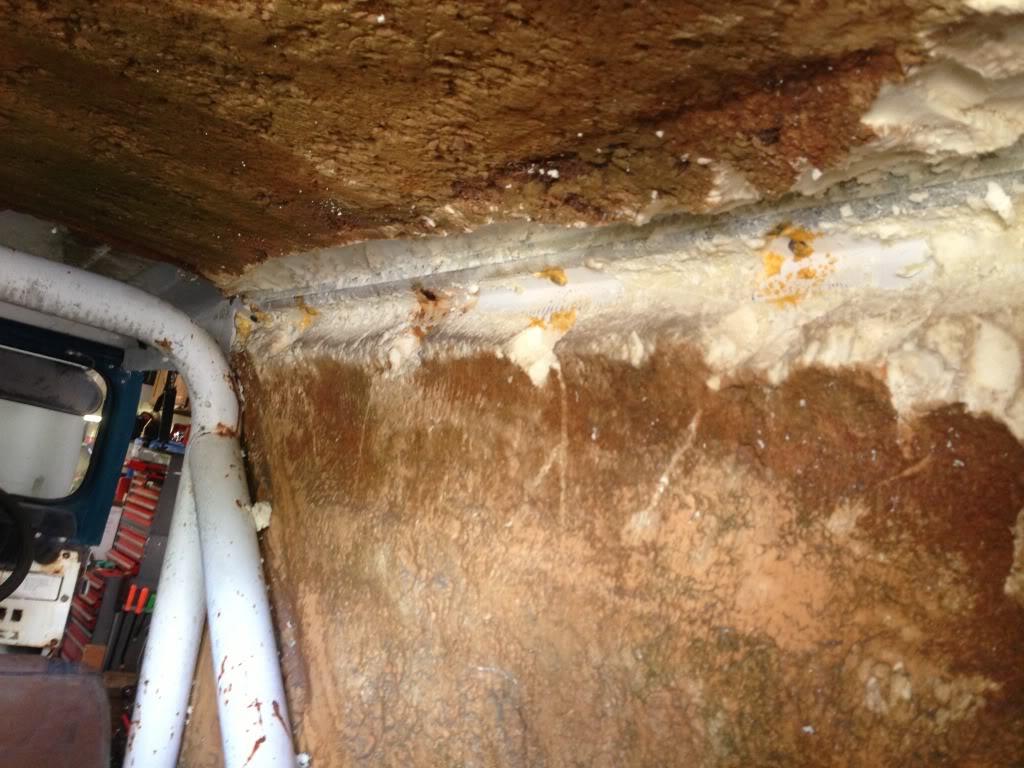
The next three pictures are of the screws that hold the piece that forms the top of the doorframe. These are the silver screws in the pictures. The smaller black head screws hold the side headliner brackets, they're the pieces covered in black vinyl.


(In this photo you can see the wiring for the dome lights that comes out of the side panel behind the headliner. It's threaded through the side panel coming out here and going in at the bottom. I cut the wires at the tub/top junction and added spade connectors because I didn't want to remove the wires from the tub (there's no connectors at the tub from the factory and I just wanted to be able to plug-n-play the wires when reinstalling the top)

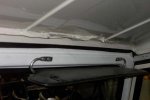
Here's a complete shot of the left side headliner bracket and door frame upper trim. Remove all three of the silver screws and remove this piece on both sides. IIRC I didn't actually need to remove the front two screws for the side headliner brackets to remove the doorframe upper but the rear one ended up being screwed into the top and had to be removed.

Windshield frame attachment
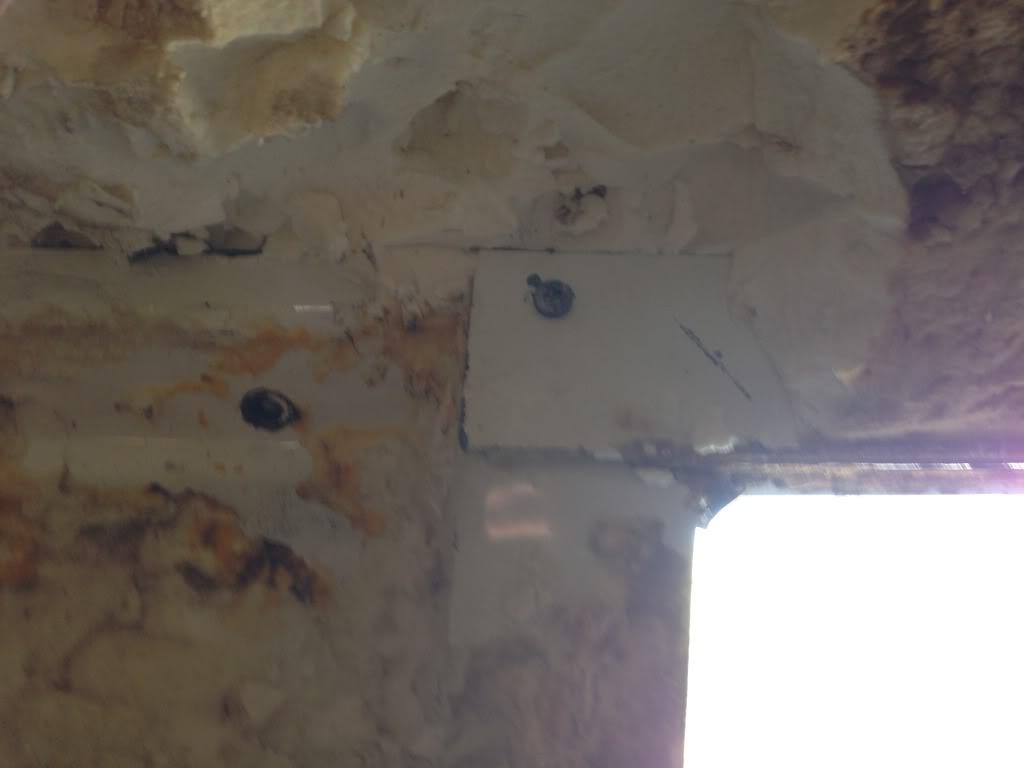
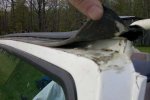
The upper doorframe hides one the screw in the upper corner of the windshield frame that secures the outer corner of the top and must be removed. (You can see in this photo that there's a mounting "plate" for the side door upper trim panel that I left attached to the bottom side of the roof. The screw at the top of the photo is for that channel. The outside edge of the upper door trim slides into the channel you can see to the left edge of the mounting plate, to the left of the screw in the windshield frame. I've added an end-on photo of the two connected later in the thread.)

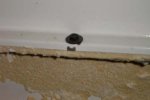
This is the center of the three larger Torx screws that go up through the bottom side of the top edge of the windshield frame (I'm laying down in the front seat taking the picture pointing straight up). There are through-holes in the bottom edge of the frame here to allow these screws to get up into the frame and then they go through smaller holes into the top itself to cinch it down. These were VERY tough to get out the first time. DO NOT STRIP THEM!!! They will be VERY hard to remove. I used the proper Torx bit, extension and a 3/8" ratchet and was very gentle in removing these. There are three in total, one on each side and this one in the middle. (This is a replacement windshield frame I had to install, hence the square hole I had to make.)

I had this on my website from long ago but lost the space it was housed on. Been needing to put it up here for a long time. This is removal because that's what I photographed, installation is just the reverse, I'm sure you smart folks can figure it out with little trouble. Obviously this is my Postal, so it has the headliner over the front seats only, no rear headliner like in the Overlanders.
Headliner removal
Remove all screws holding on the rear headliner bracket above the rollbar.
Remove the two screws holding the dome light on. Do not try to pull it out.
Push up on the sides of the headliner above the doors on both sides. The headliner should move up enough for you to pull the flaps out from behind the black side headliner brackets. (From here on out, I show just one side of the top, all these steps have to be done on each side)
Pull the headliner down in the back enough to be able to reach in to the dome light connectors to remove the light. Now you can remove the headliner carefully.
Doorframe upper trim
The next three pictures are of the screws that hold the piece that forms the top of the doorframe. These are the silver screws in the pictures. The smaller black head screws hold the side headliner brackets, they're the pieces covered in black vinyl.
(In this photo you can see the wiring for the dome lights that comes out of the side panel behind the headliner. It's threaded through the side panel coming out here and going in at the bottom. I cut the wires at the tub/top junction and added spade connectors because I didn't want to remove the wires from the tub (there's no connectors at the tub from the factory and I just wanted to be able to plug-n-play the wires when reinstalling the top)
Here's a complete shot of the left side headliner bracket and door frame upper trim. Remove all three of the silver screws and remove this piece on both sides. IIRC I didn't actually need to remove the front two screws for the side headliner brackets to remove the doorframe upper but the rear one ended up being screwed into the top and had to be removed.
Windshield frame attachment
The upper doorframe hides one the screw in the upper corner of the windshield frame that secures the outer corner of the top and must be removed. (You can see in this photo that there's a mounting "plate" for the side door upper trim panel that I left attached to the bottom side of the roof. The screw at the top of the photo is for that channel. The outside edge of the upper door trim slides into the channel you can see to the left edge of the mounting plate, to the left of the screw in the windshield frame. I've added an end-on photo of the two connected later in the thread.)
This is the center of the three larger Torx screws that go up through the bottom side of the top edge of the windshield frame (I'm laying down in the front seat taking the picture pointing straight up). There are through-holes in the bottom edge of the frame here to allow these screws to get up into the frame and then they go through smaller holes into the top itself to cinch it down. These were VERY tough to get out the first time. DO NOT STRIP THEM!!! They will be VERY hard to remove. I used the proper Torx bit, extension and a 3/8" ratchet and was very gentle in removing these. There are three in total, one on each side and this one in the middle. (This is a replacement windshield frame I had to install, hence the square hole I had to make.)
Attachments
Last edited:

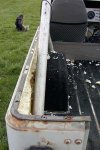
 but I put it here when I posted this and I'll leave it for the amusement factor.) They use rectangular nuts that get caught nicely in the underside of the lip of the tub to secure them, except for the first and last on either side, which used captured nuts inside the tub. (2019 update - all of the captured nuts have come out of mine at this point and I added hole near the front of each side of the tub to use another normal bolt/T-nut)