- City
- Gordonsville
- State
- VA
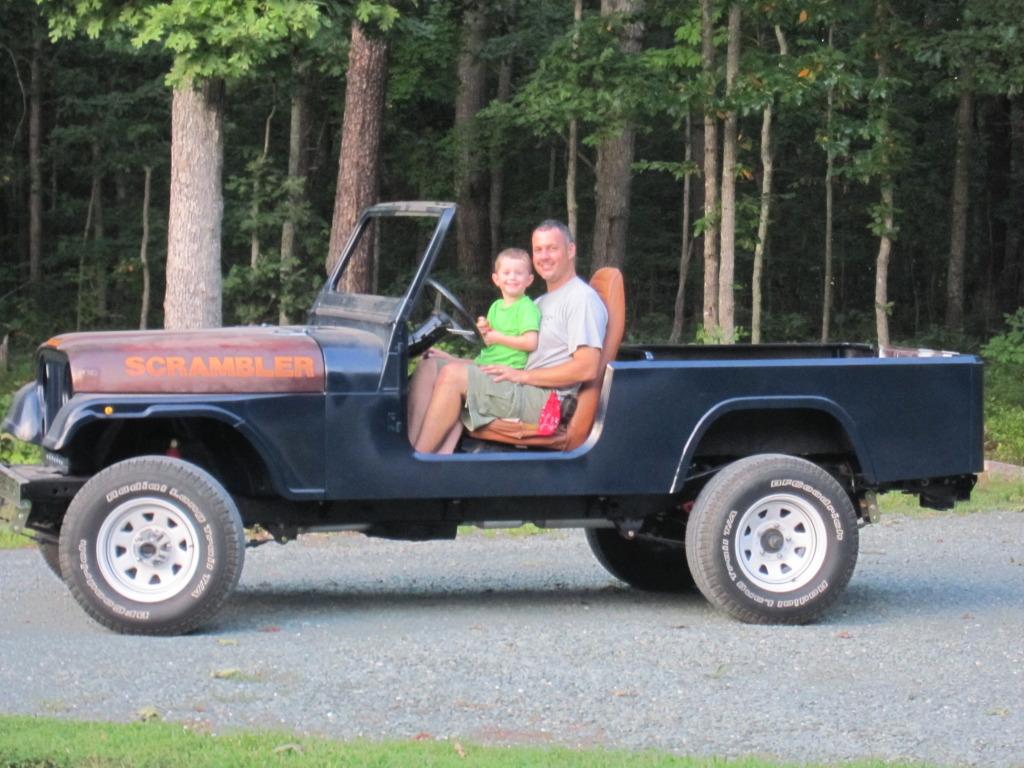
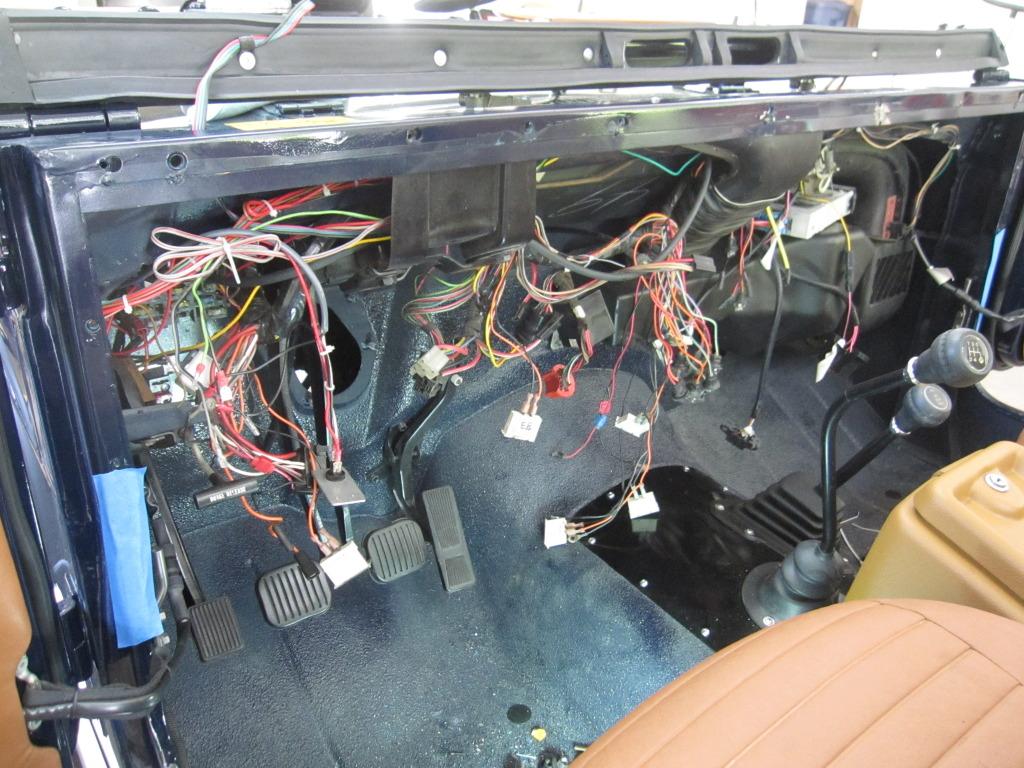
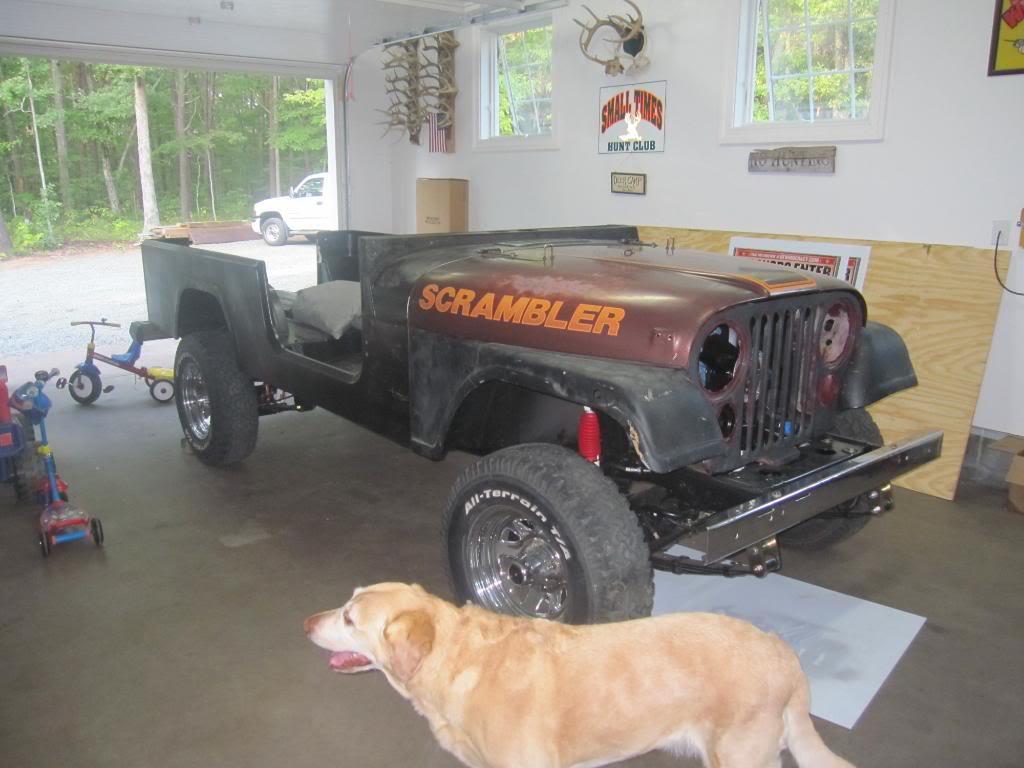
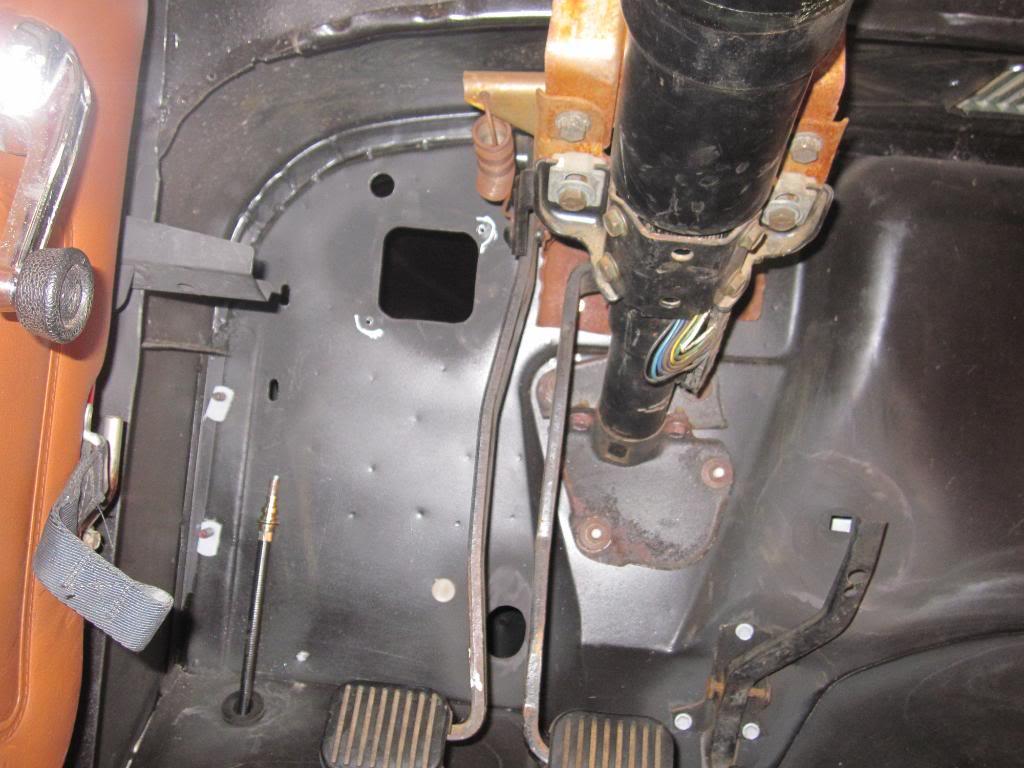
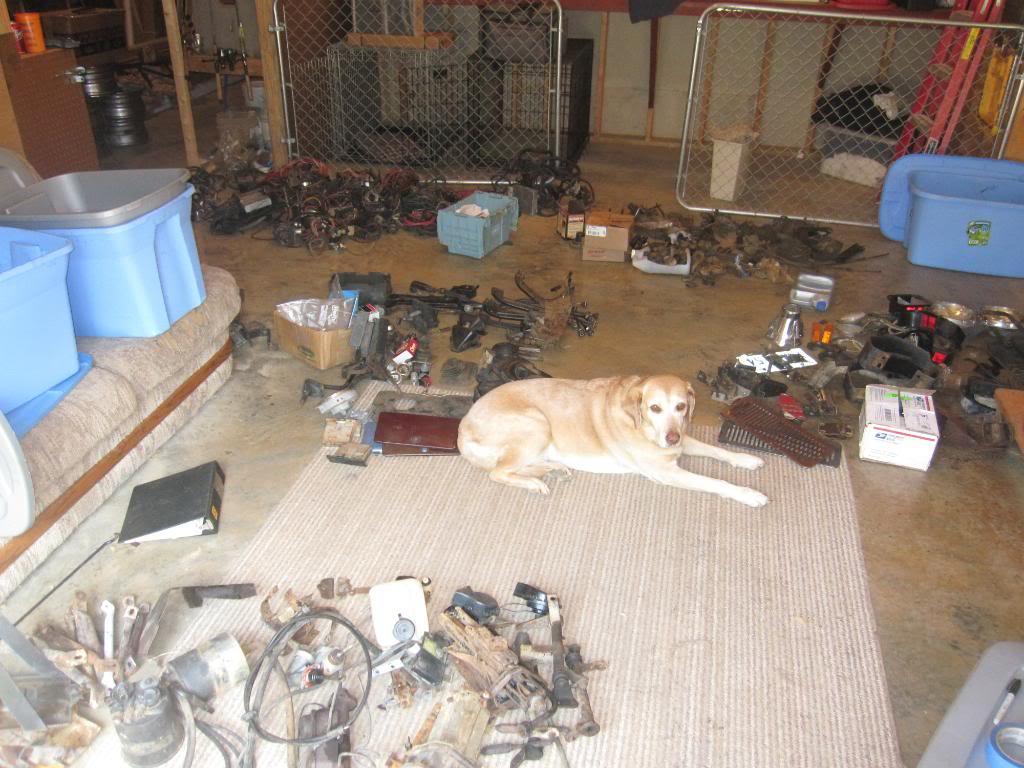
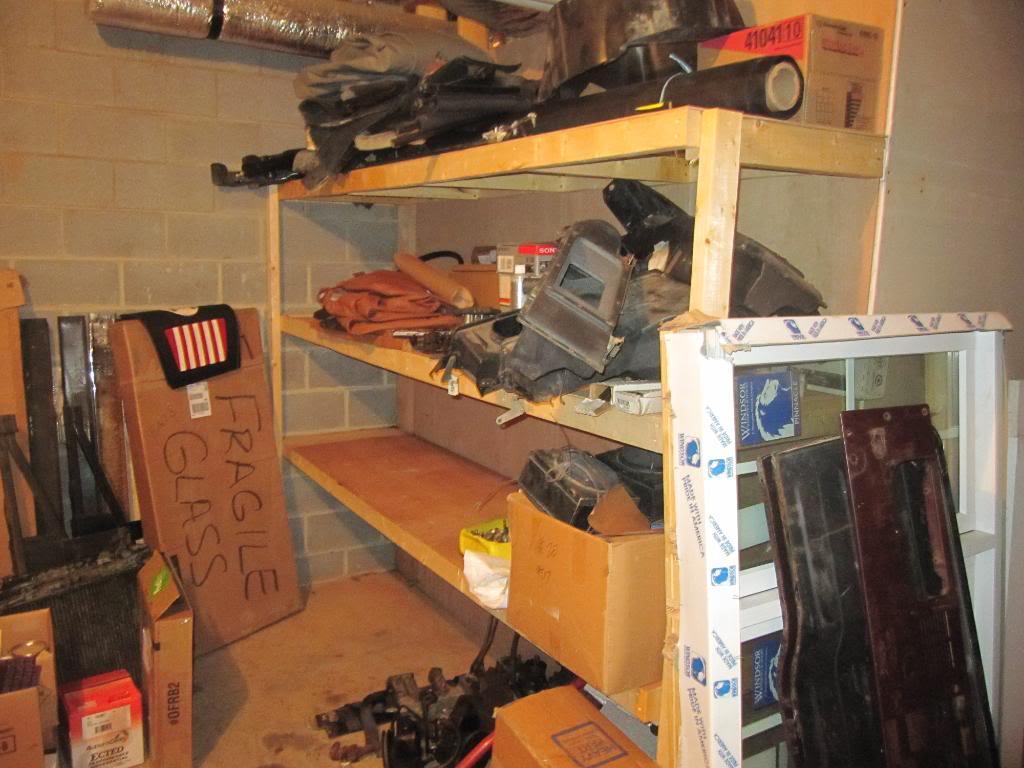
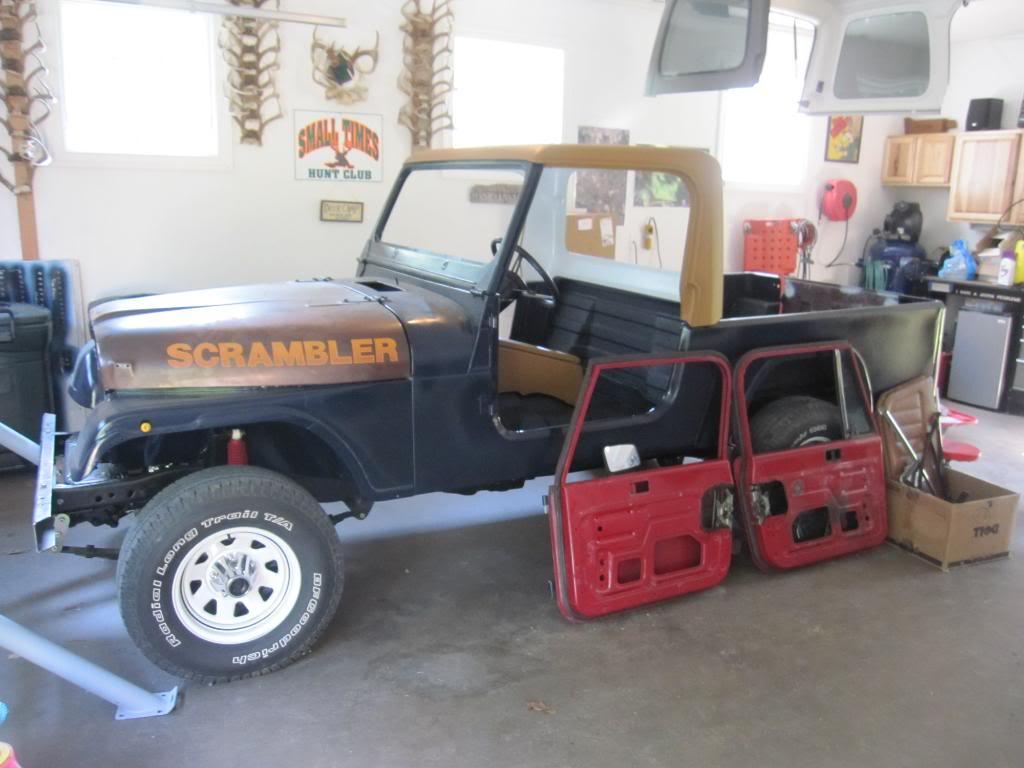
After owning a couple scramblers at different times and then having to sell them I decided to build one the way I wanted it. I started collecting parts in May 2009 and by June 2010 I had enough parts to start putting it together. Everything has been rebuild or replaced with new. Last week I finished it and started driving it on the road. I say "finished" but we all know how that goes.
I'd like to say thank you to eveyone one this site for their inspiration and thank you to my wife for putting up with me and supporting me on this adventure.
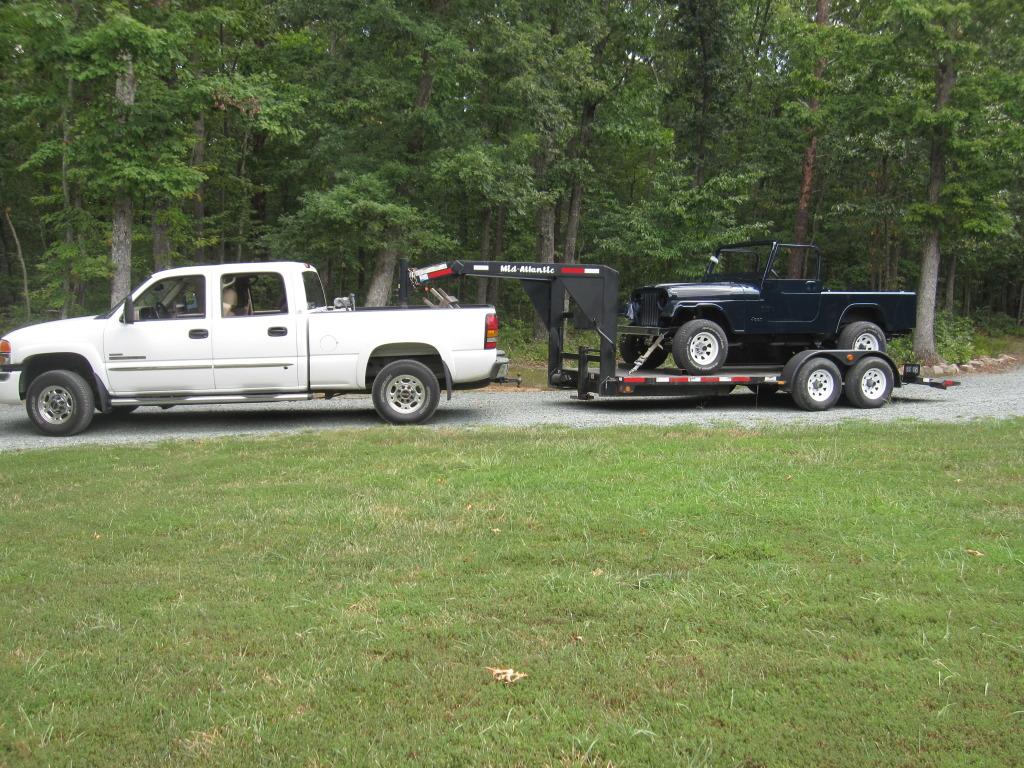
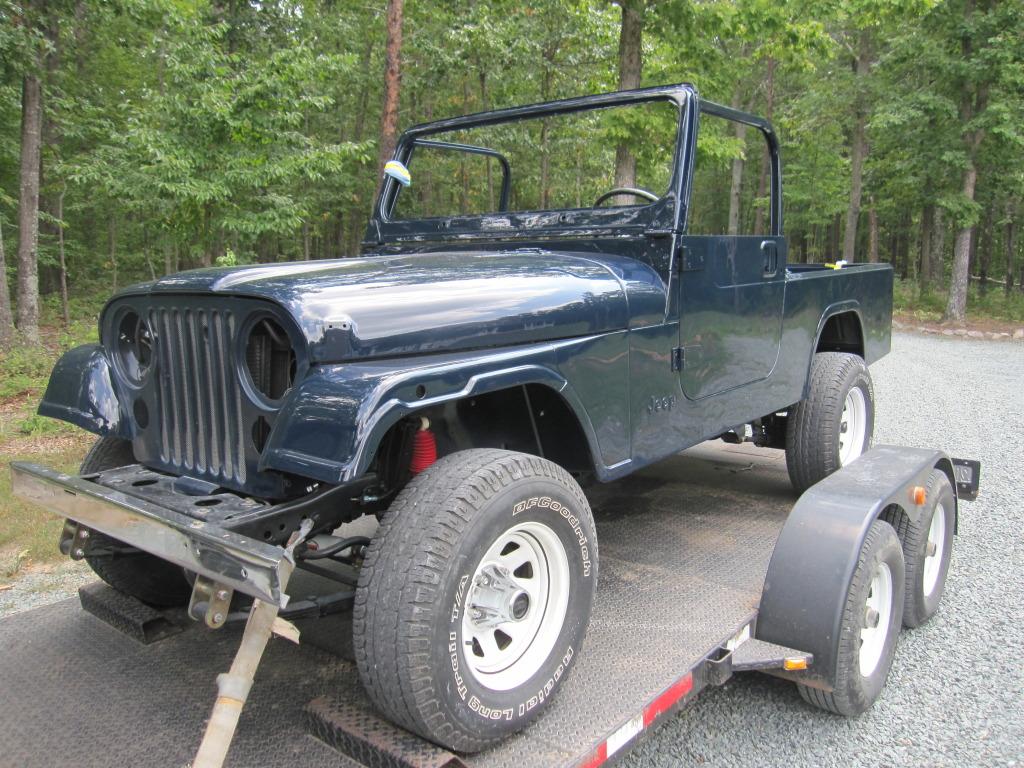
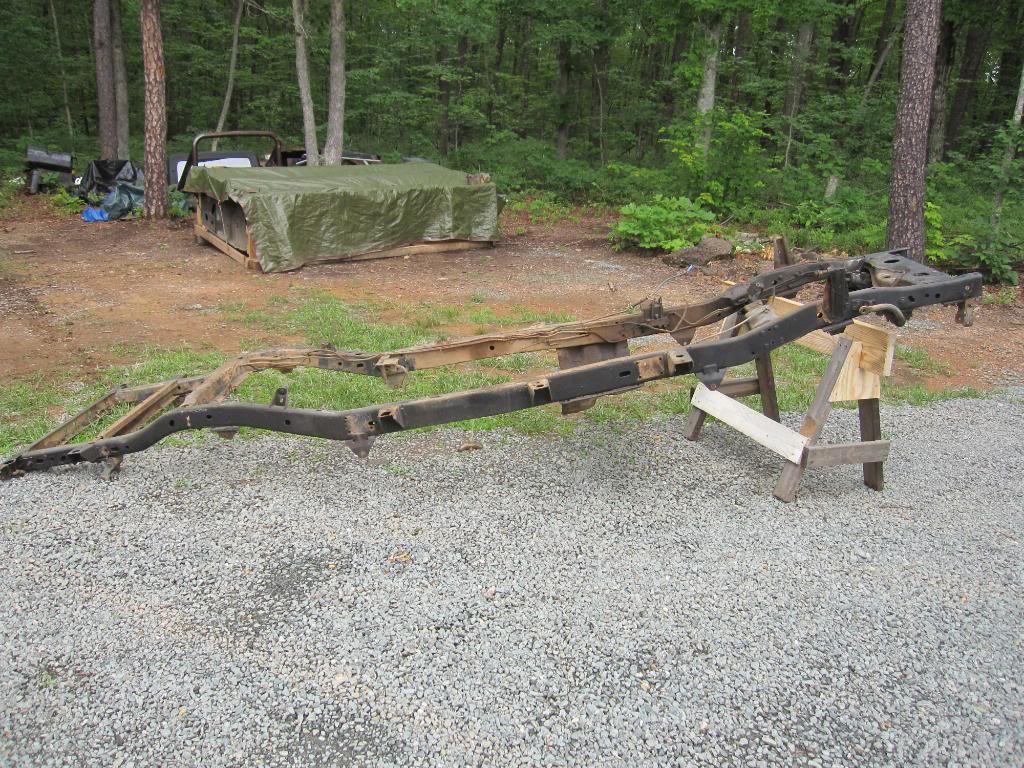
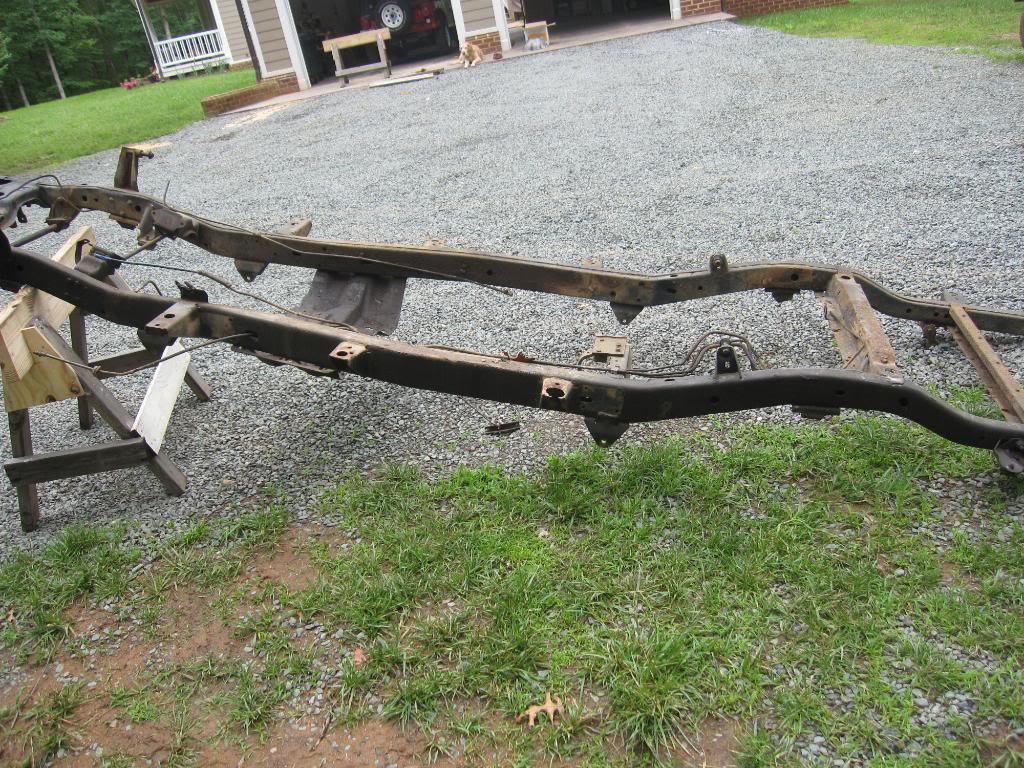
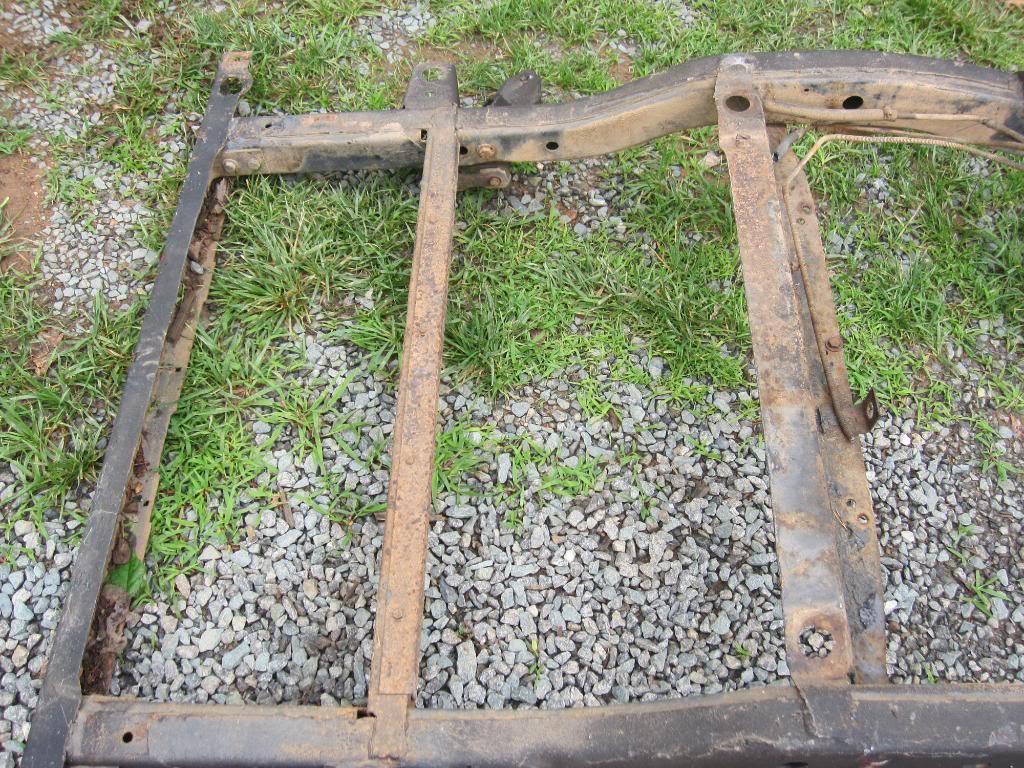
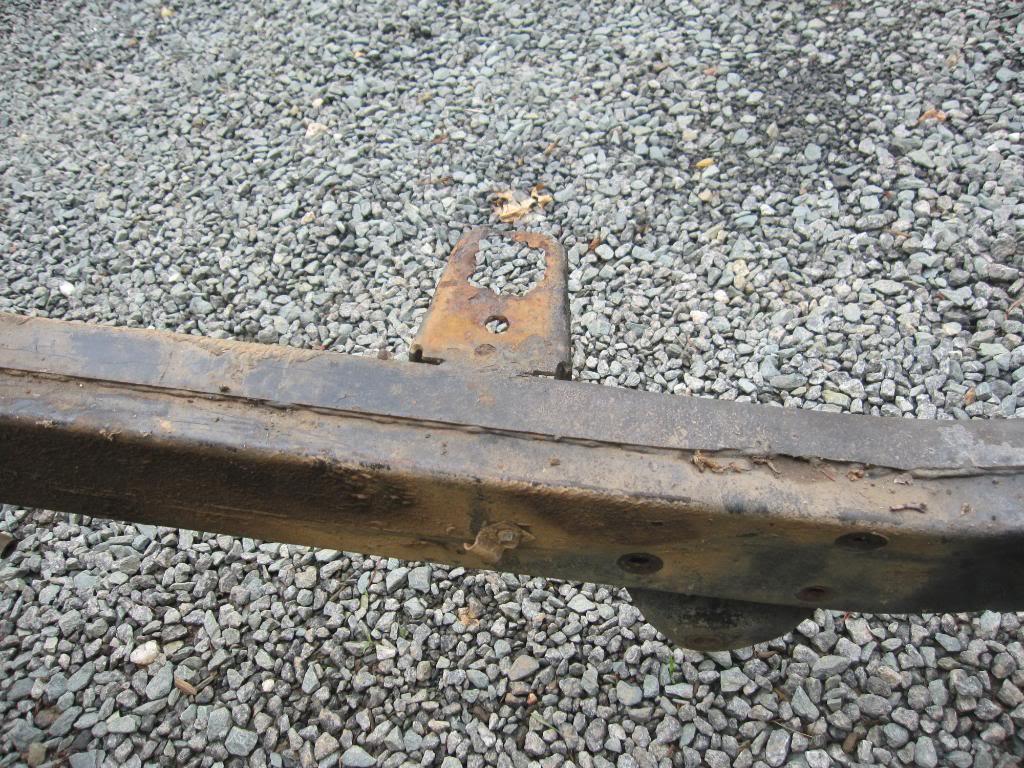
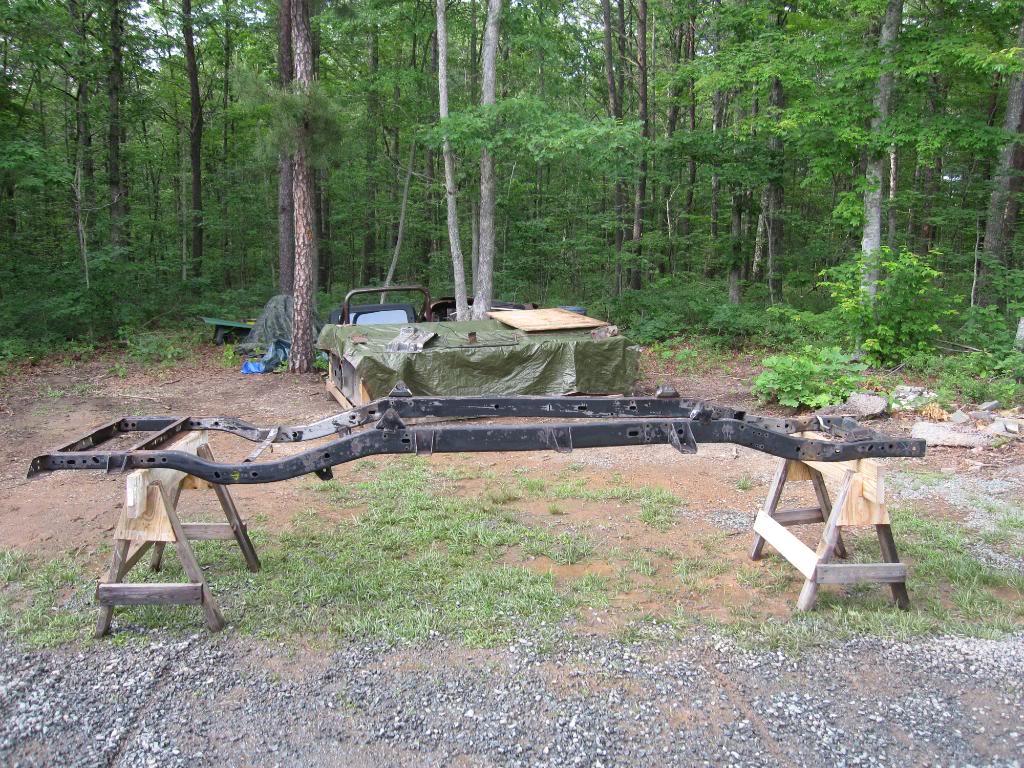
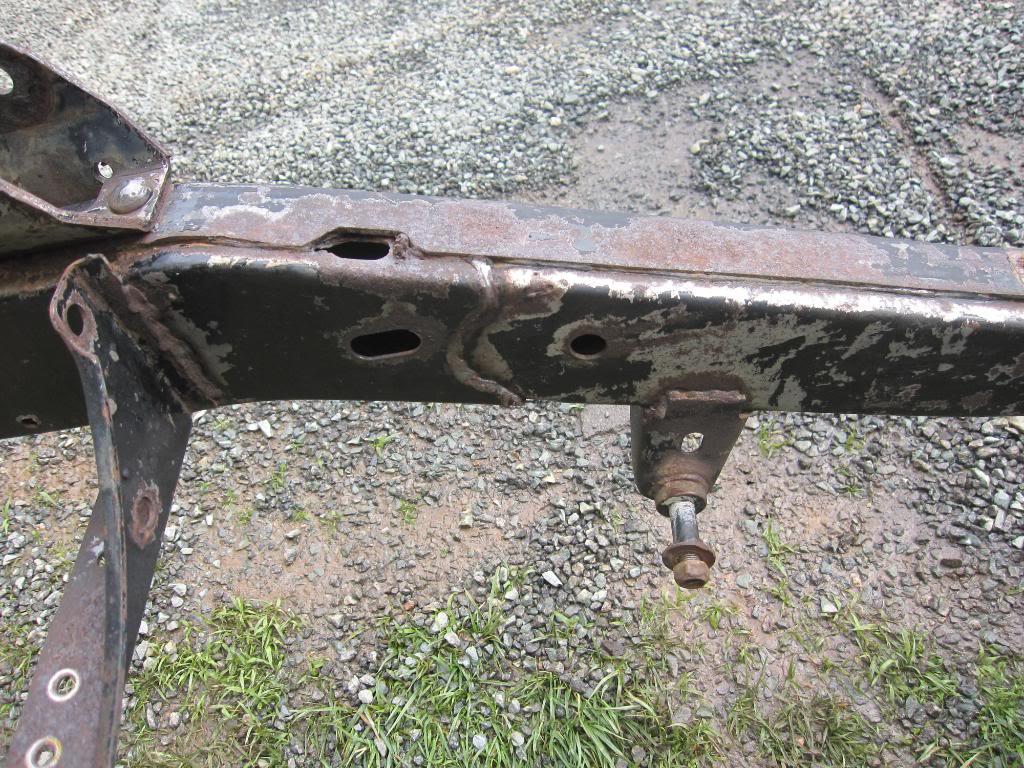
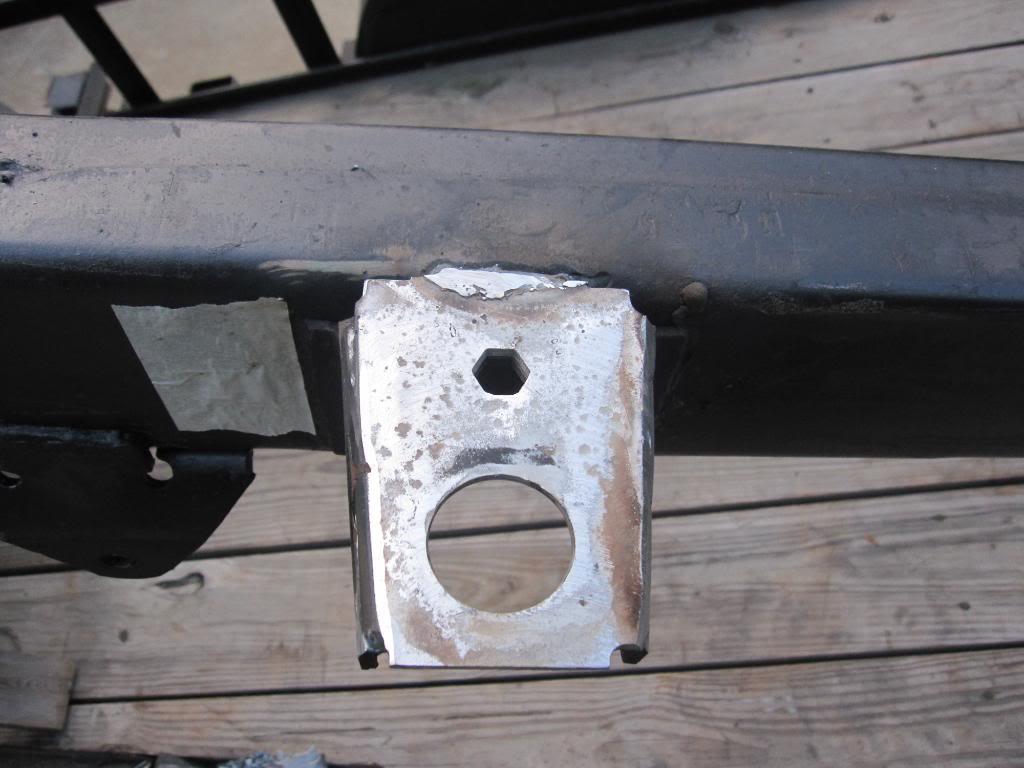
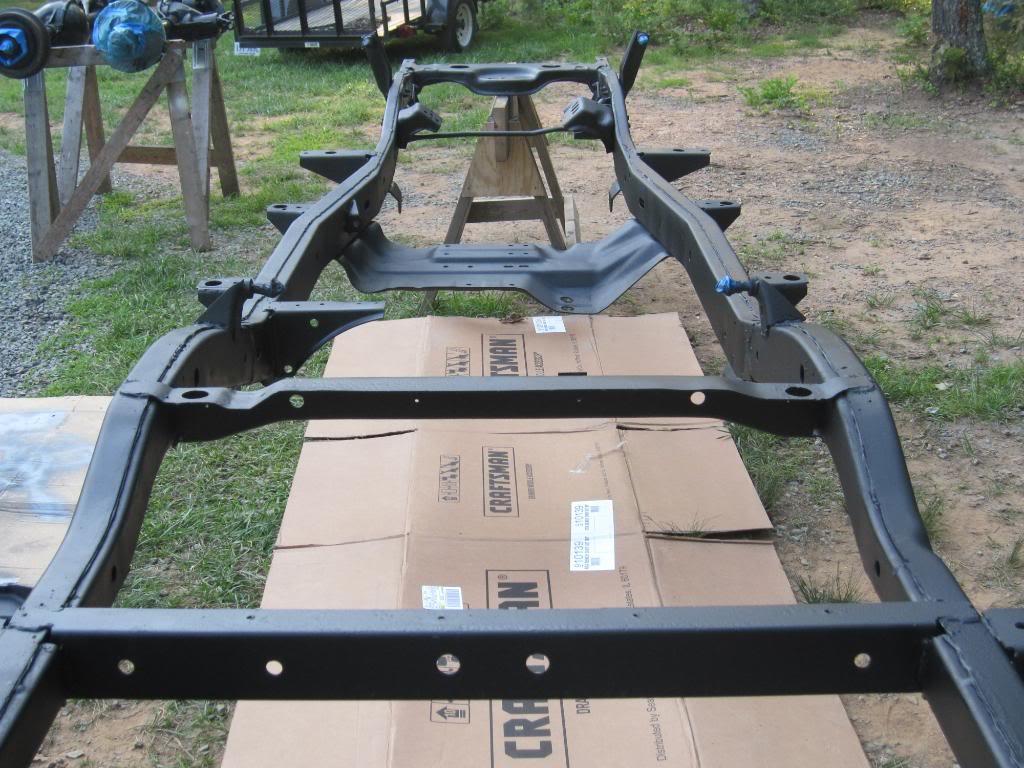
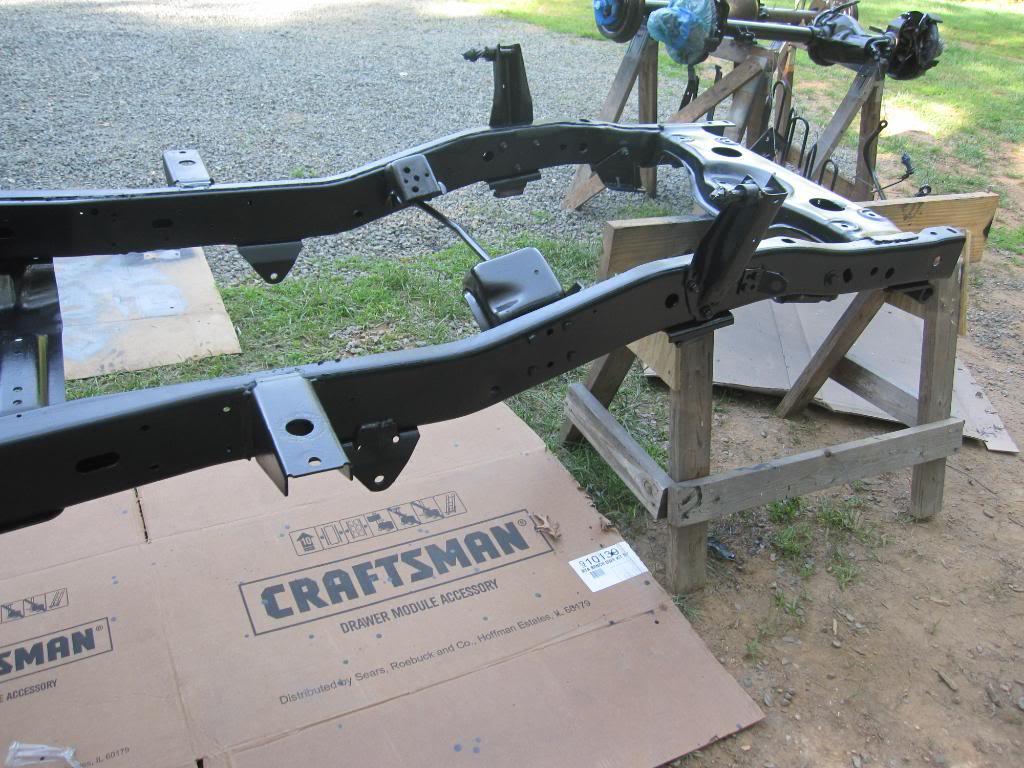
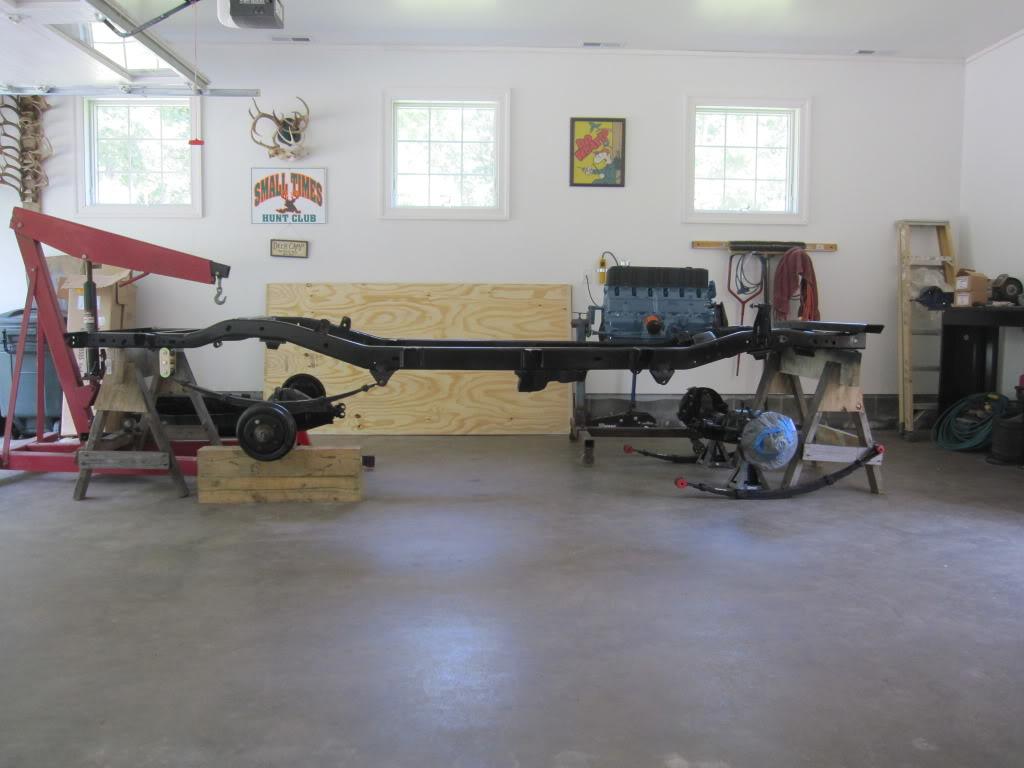
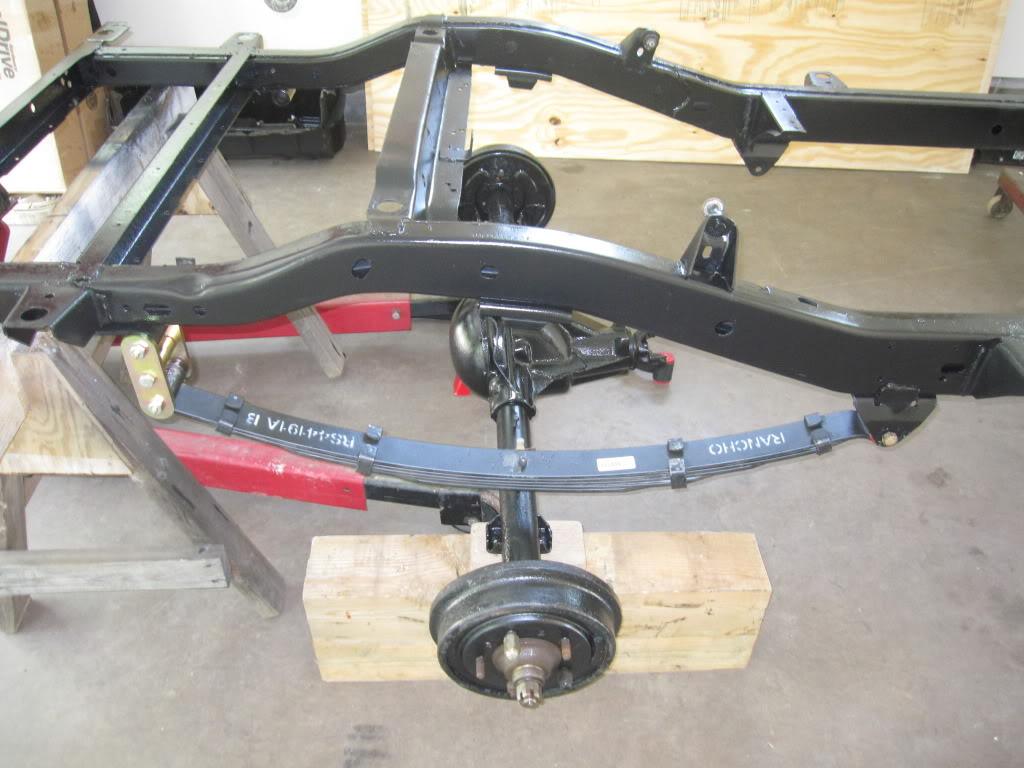
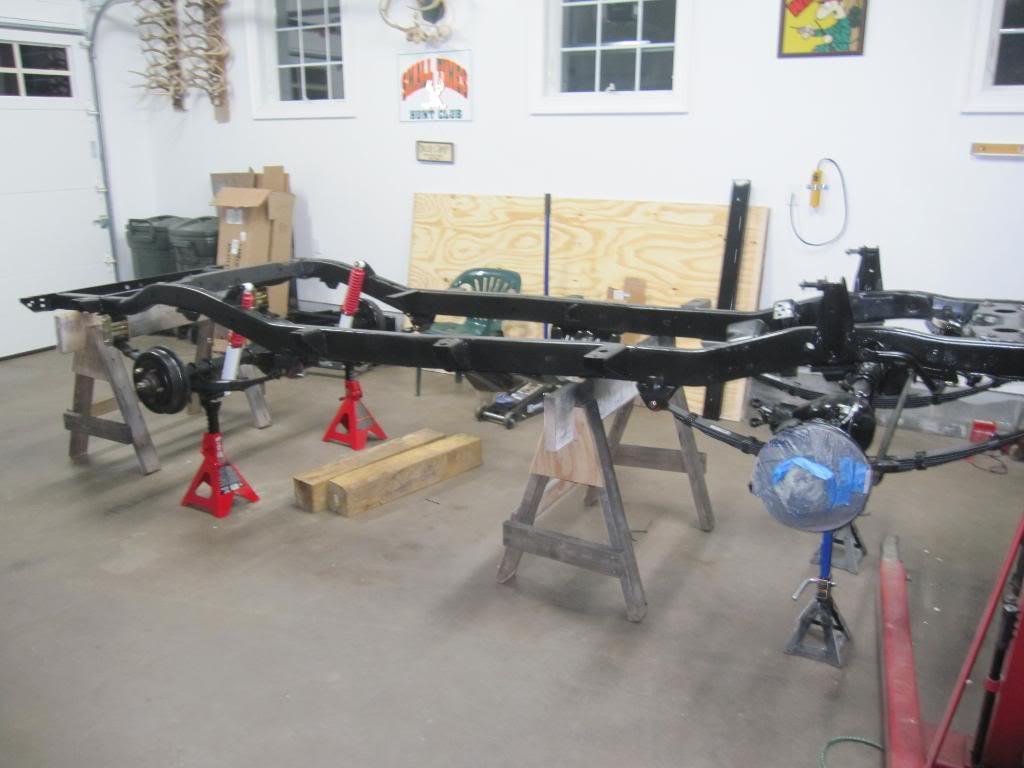
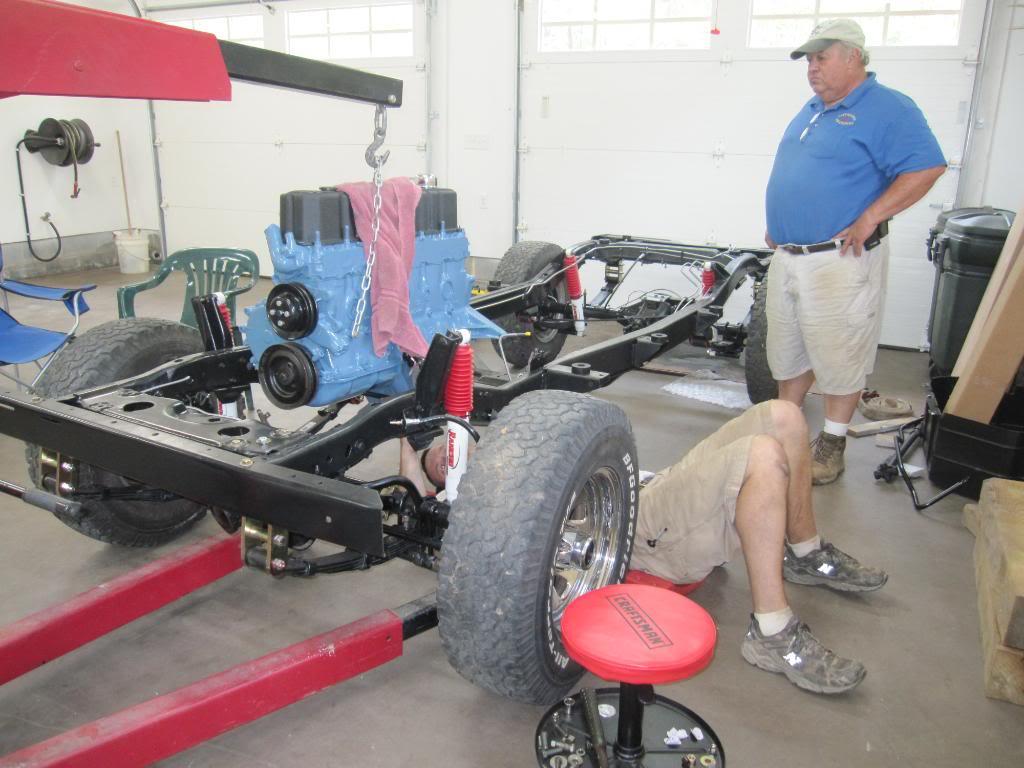
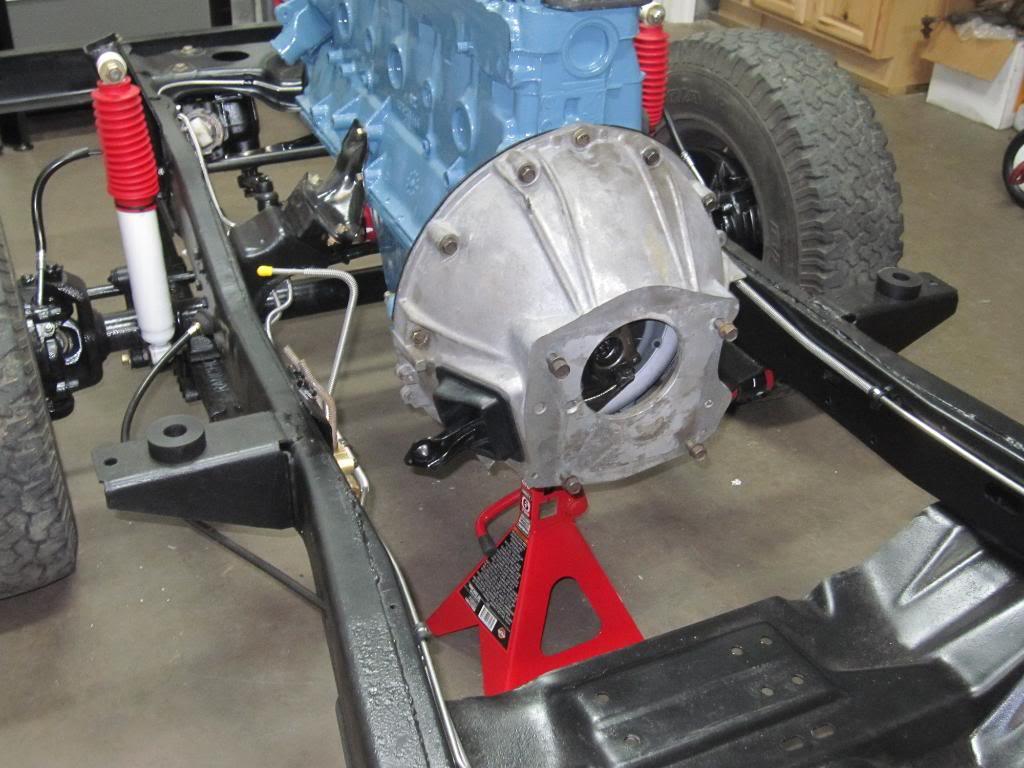
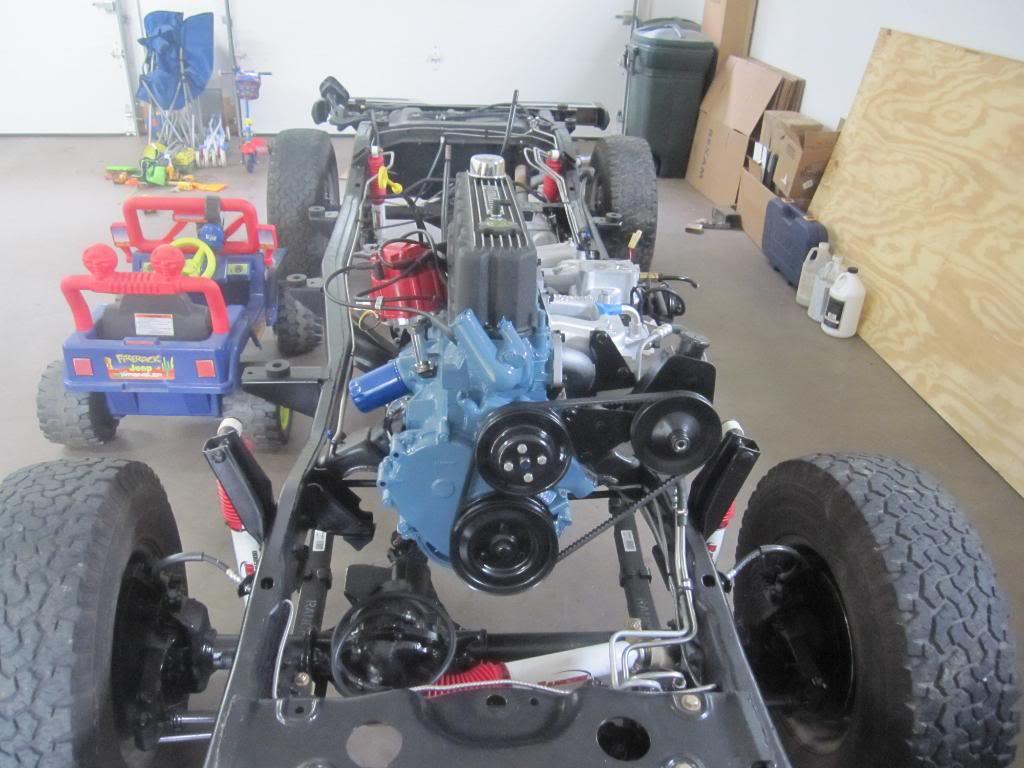
So to start I'll post a picture of what I started with, an 83 frame.
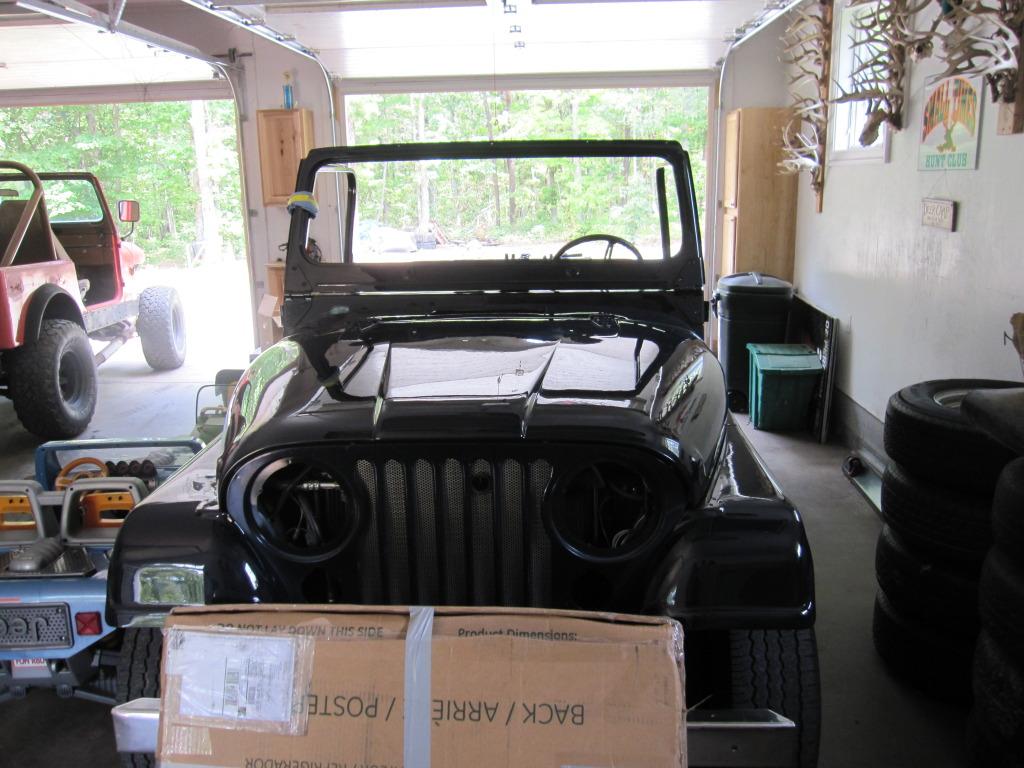
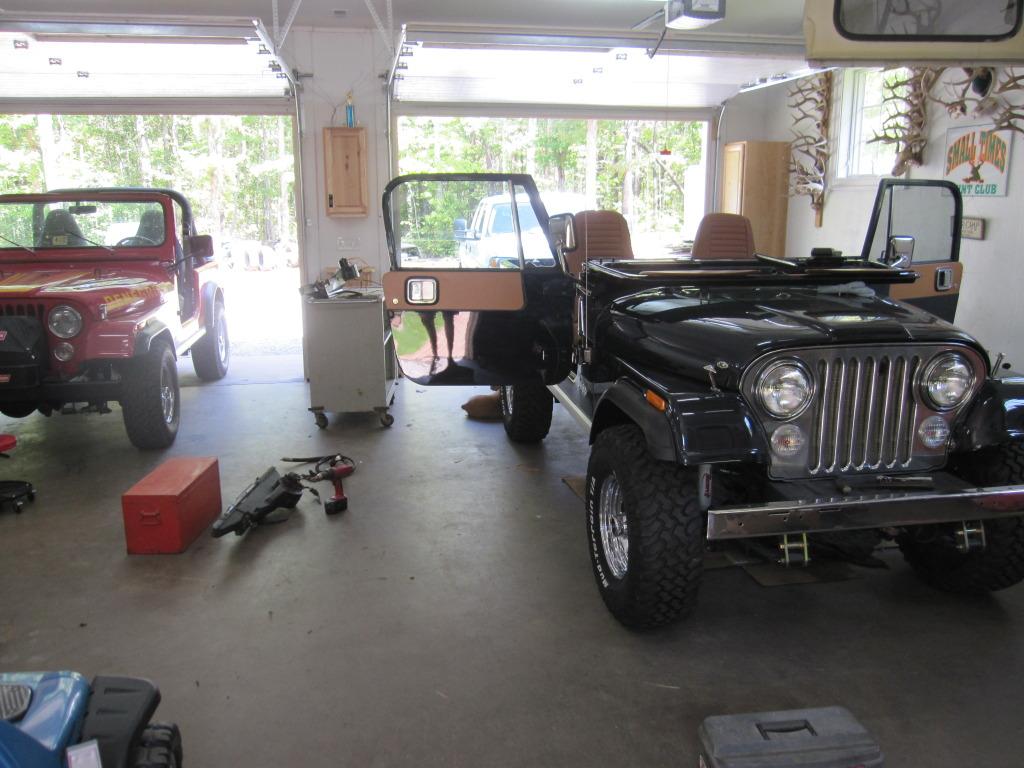
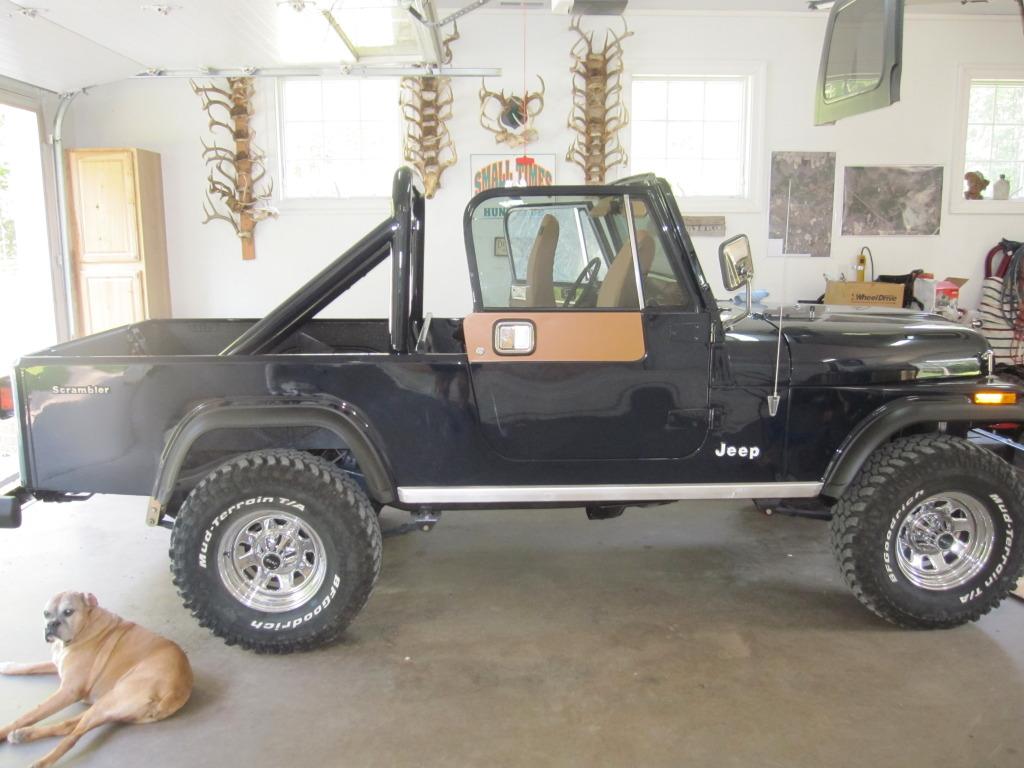
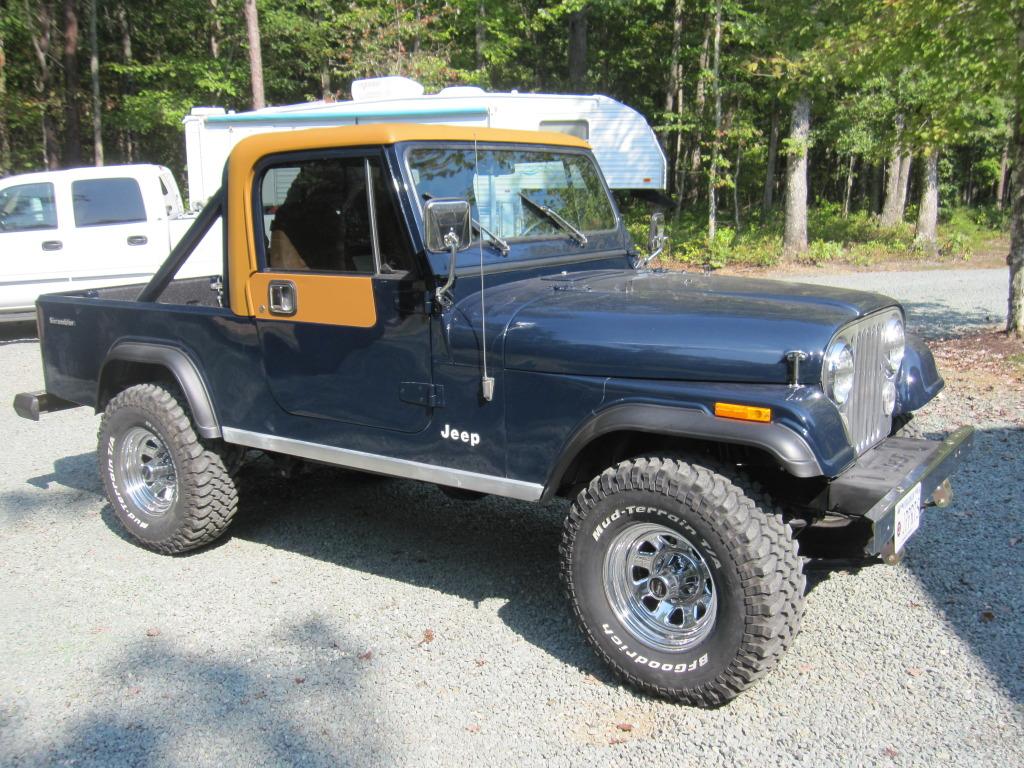
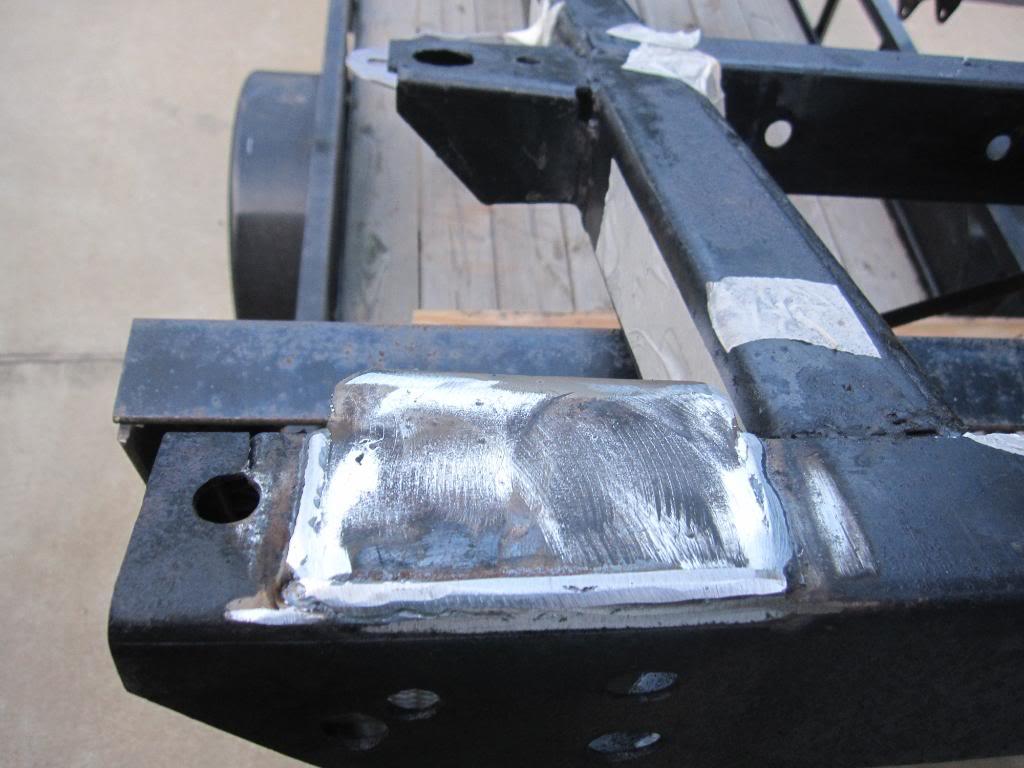
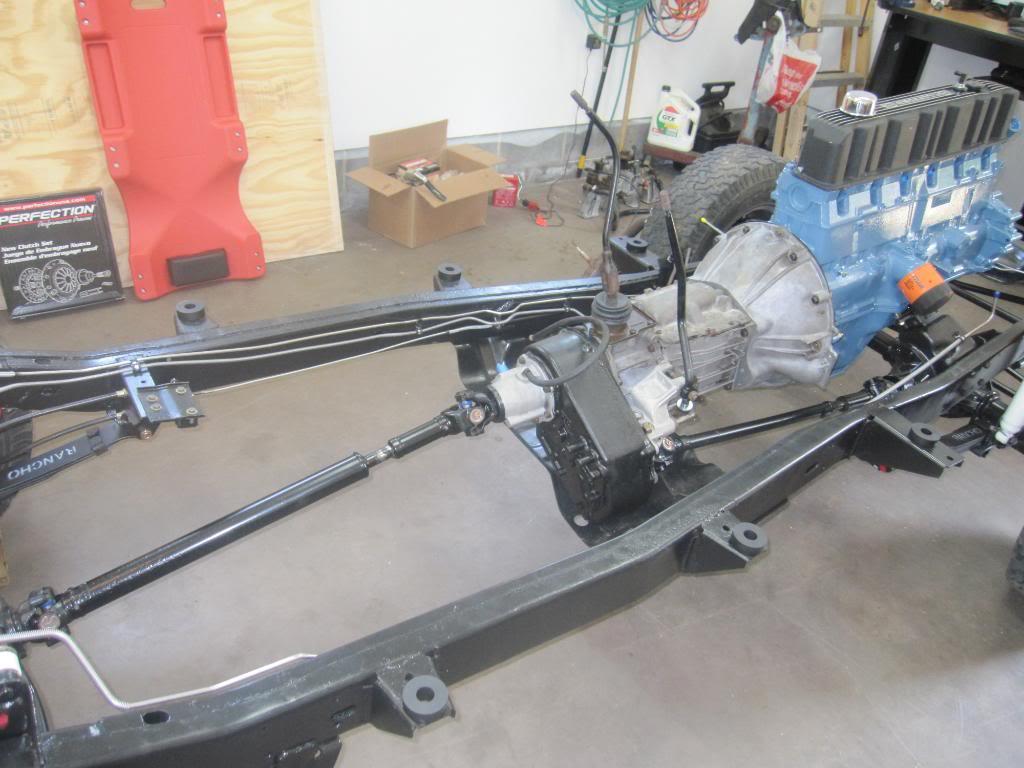
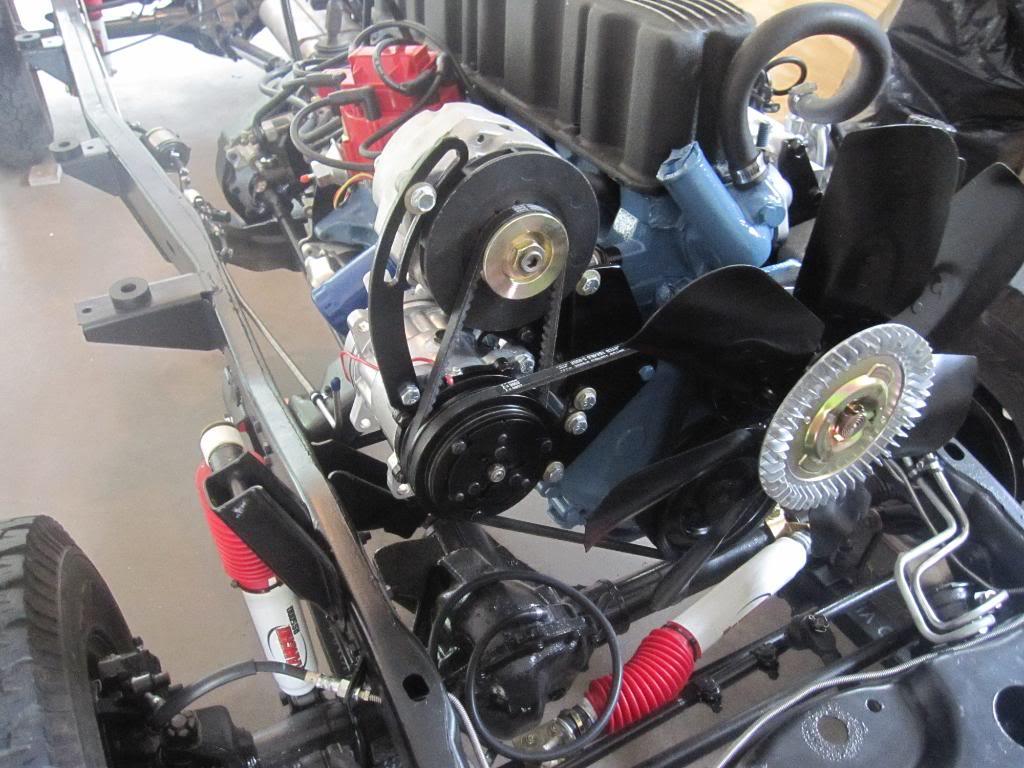
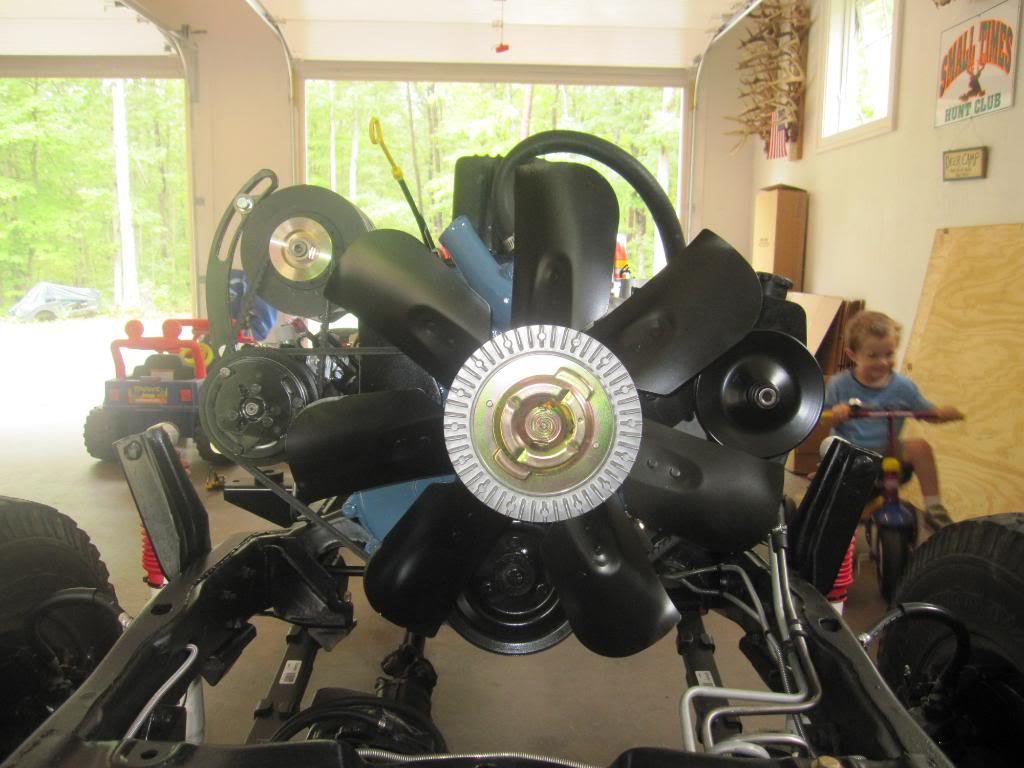
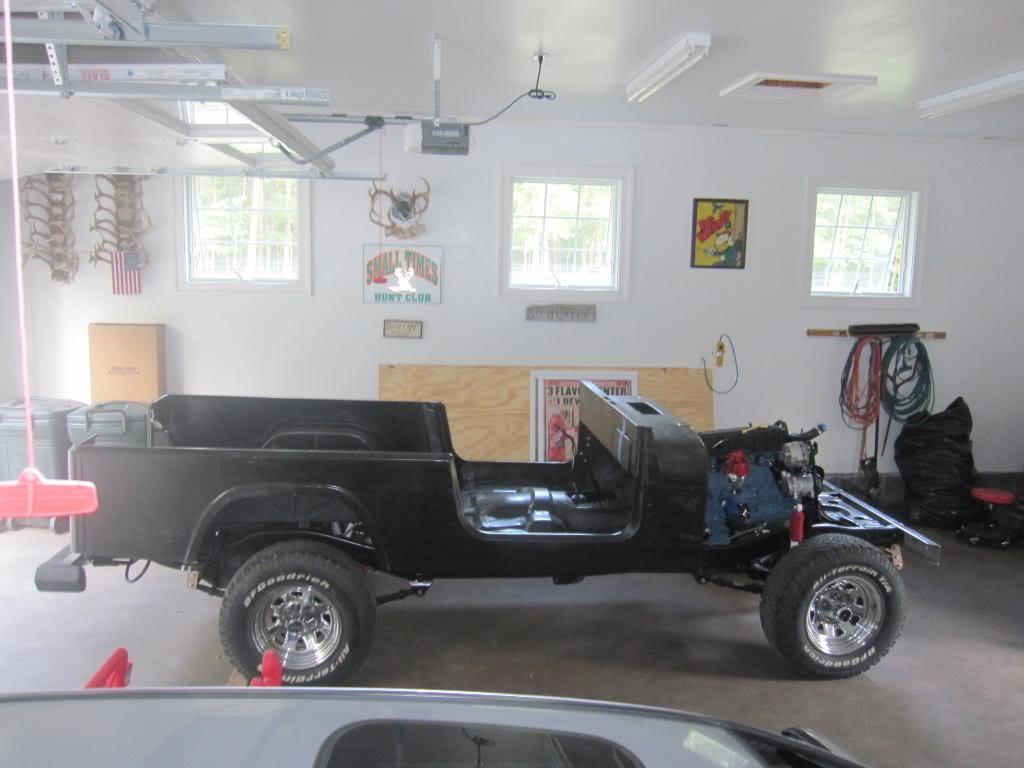
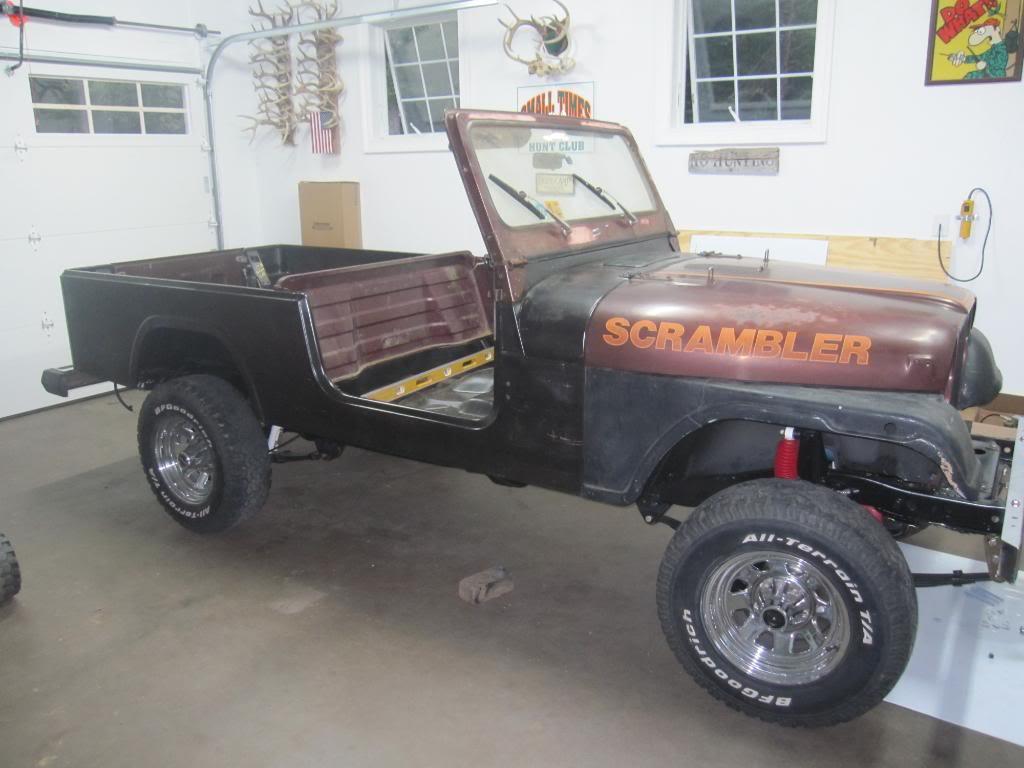
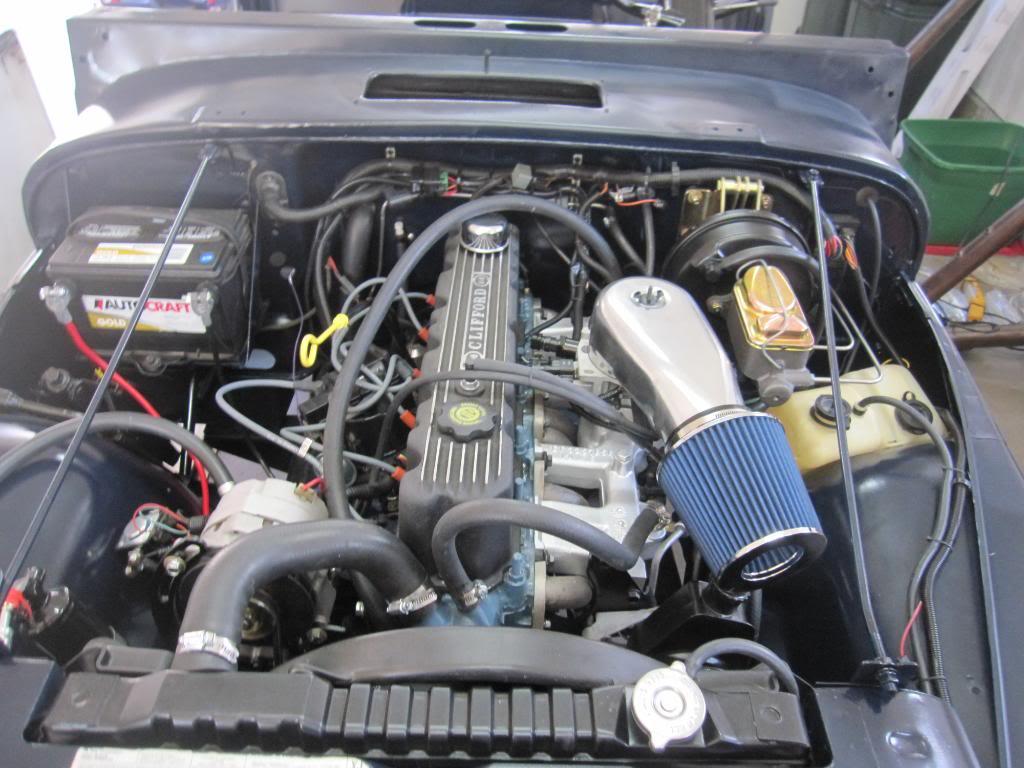
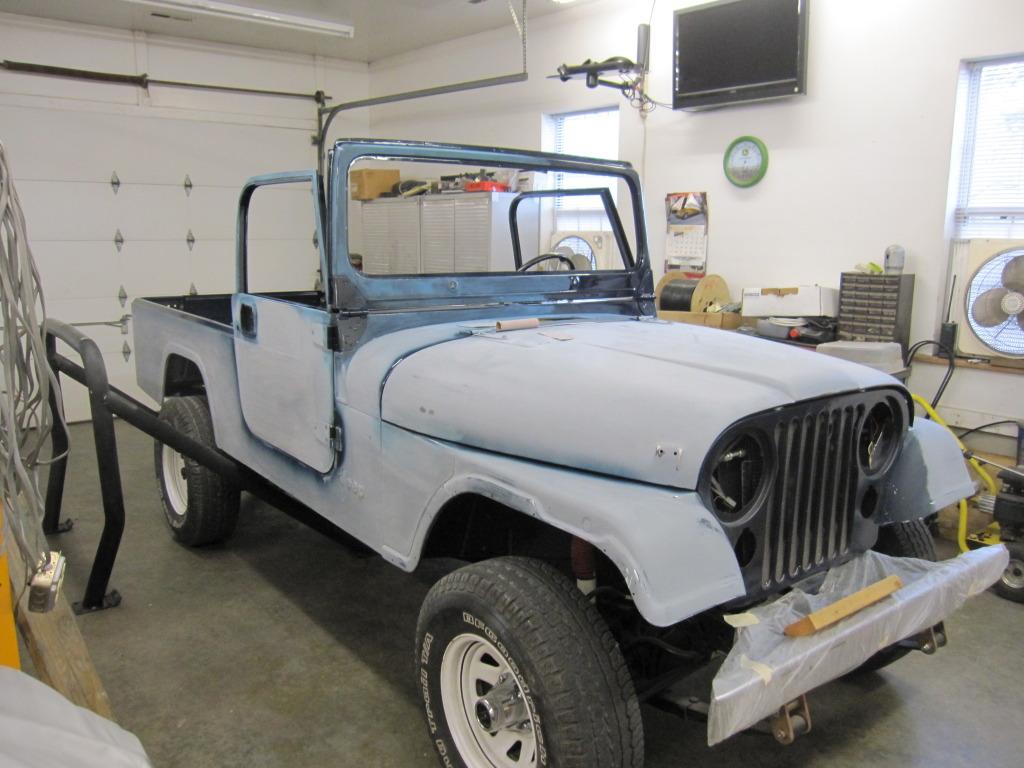
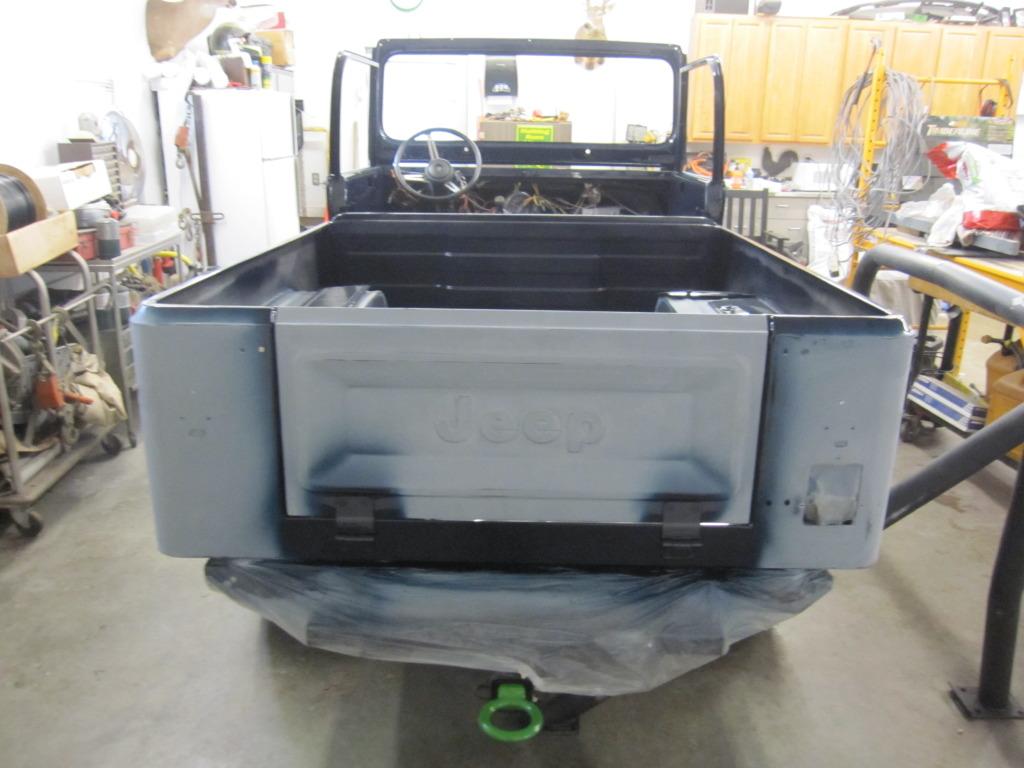
And this is what I built
Year: 83
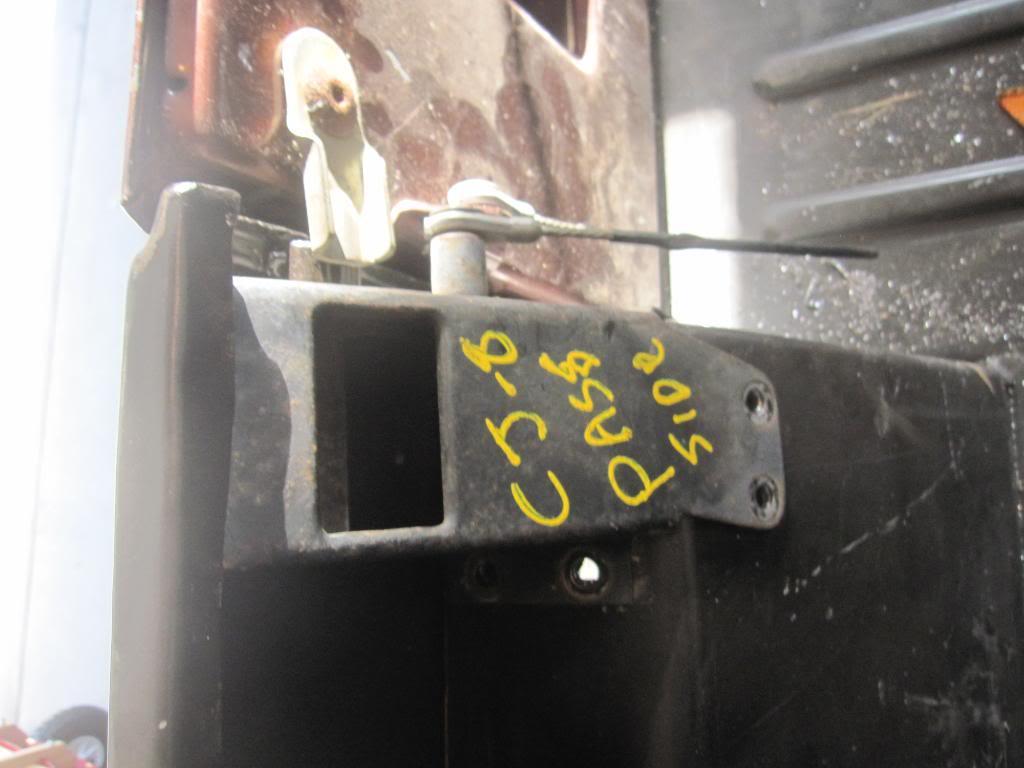
Model: cj-8
Final/current tire size: 32"
Build details:
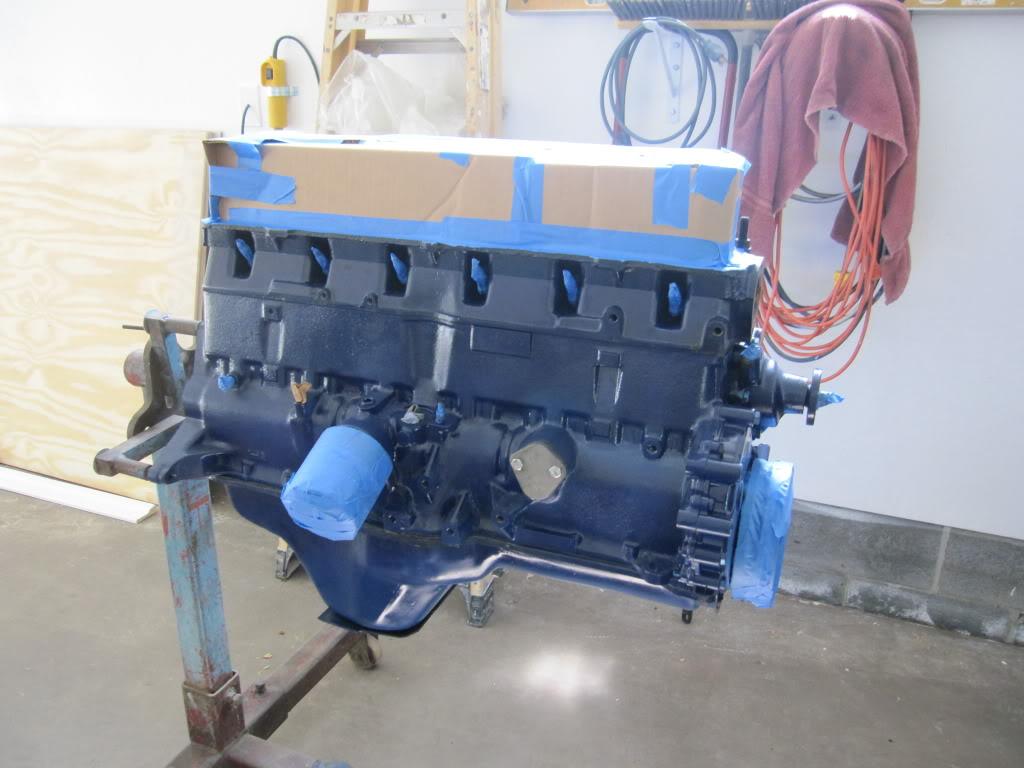
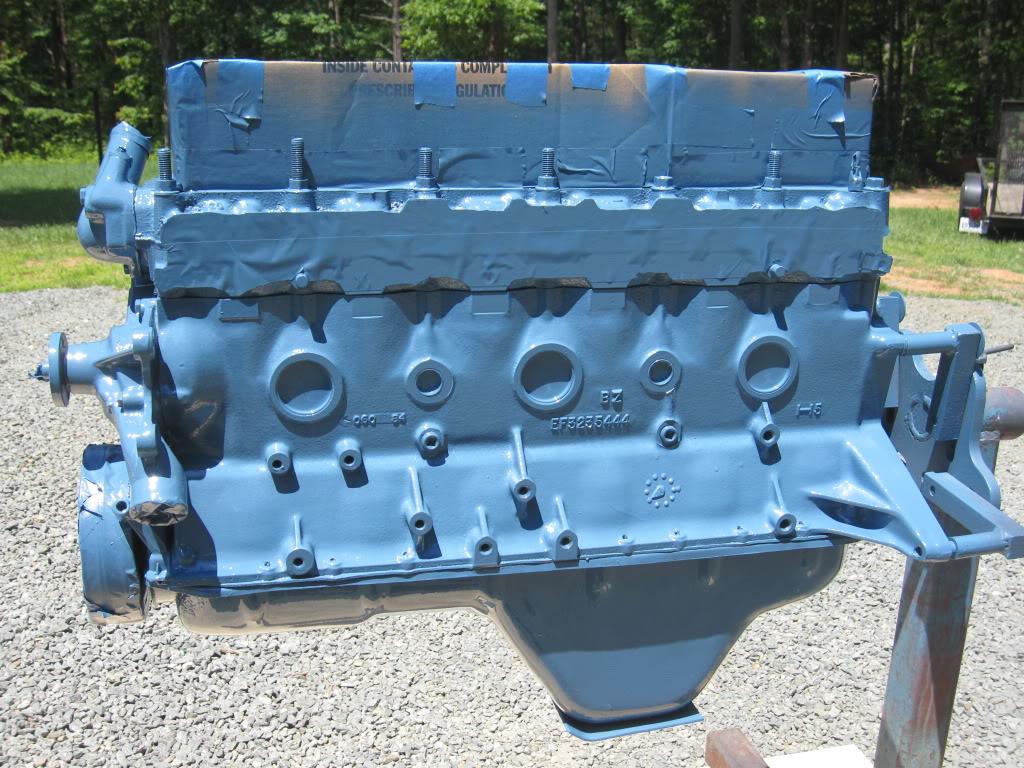
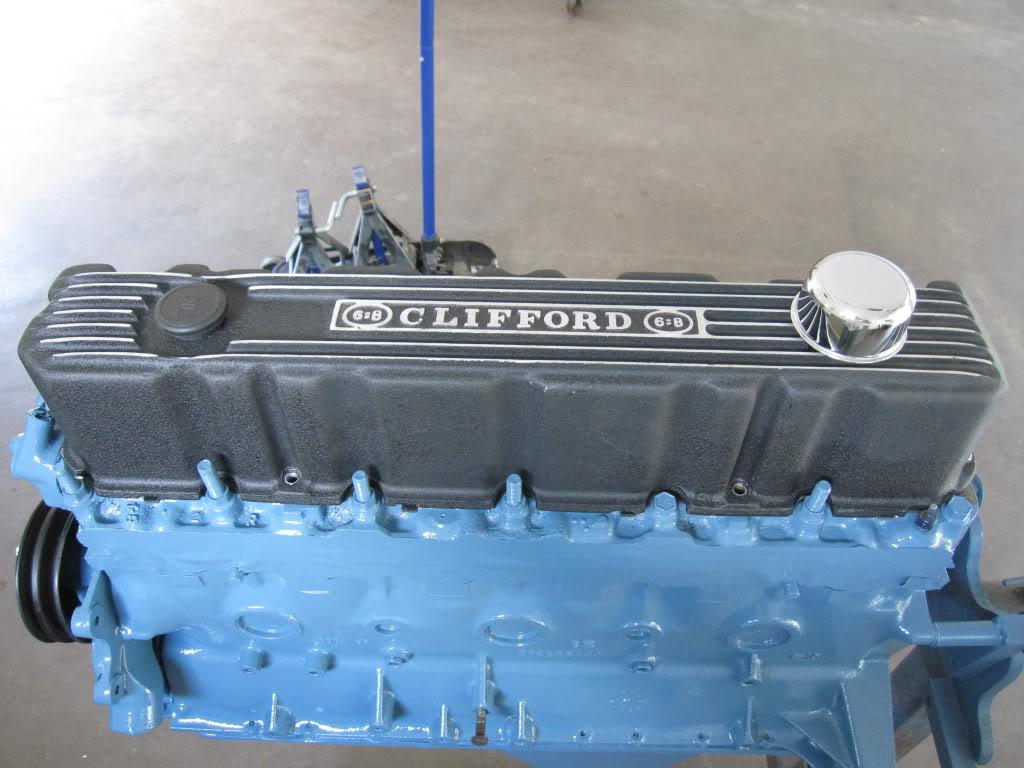
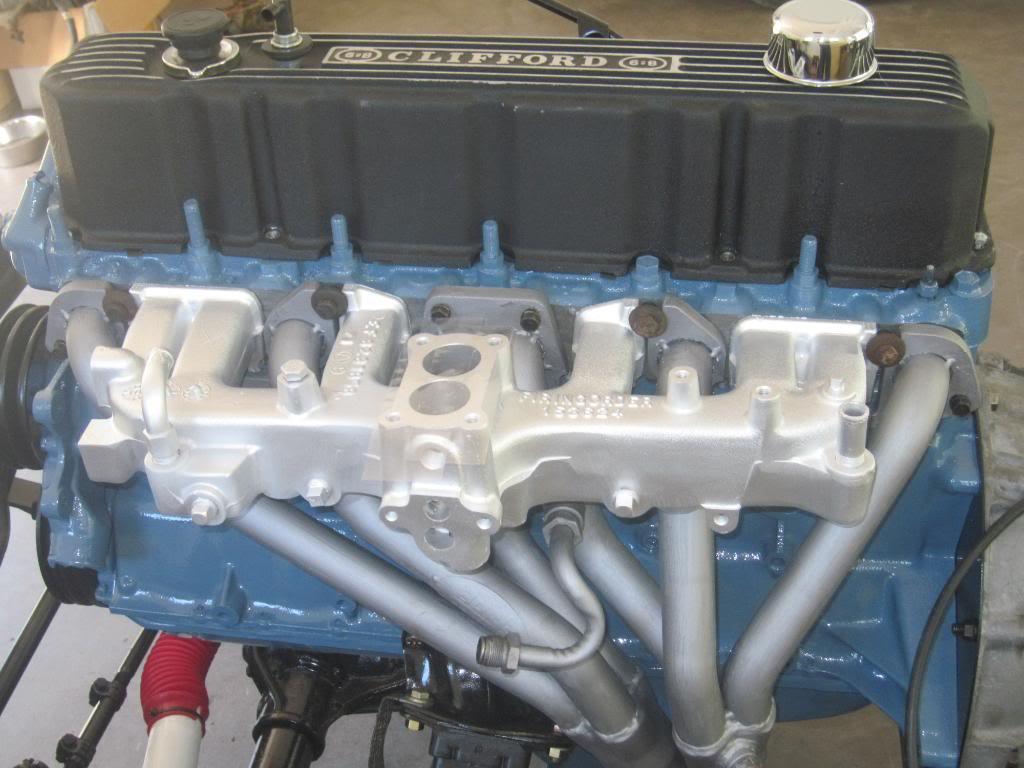
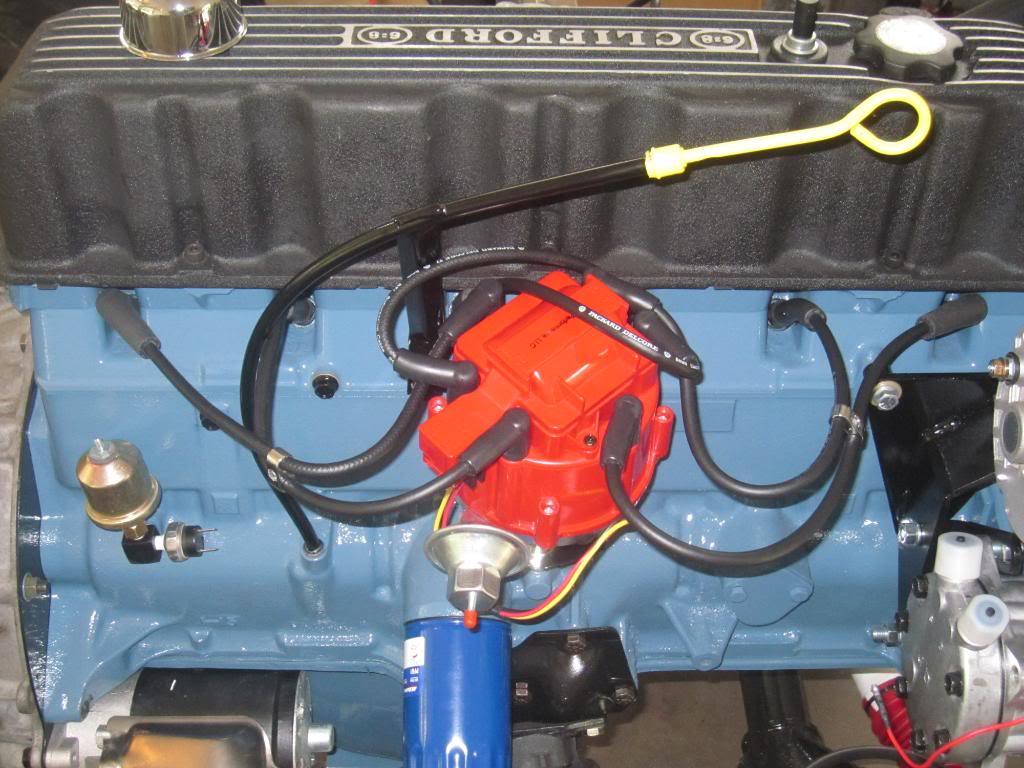
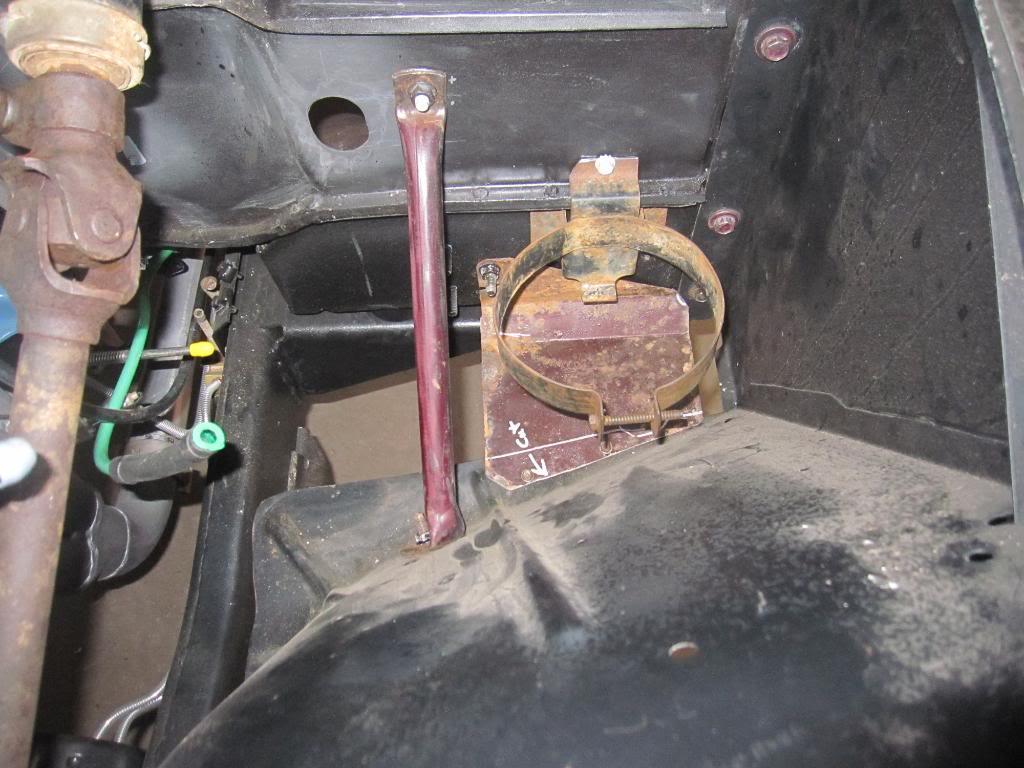
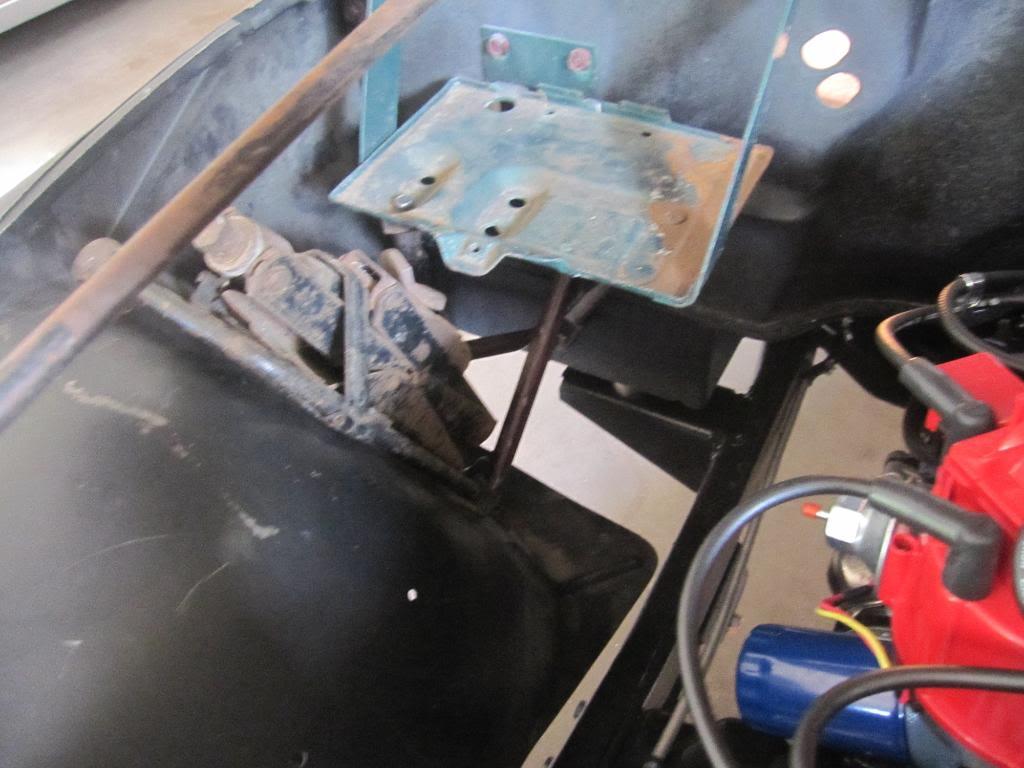
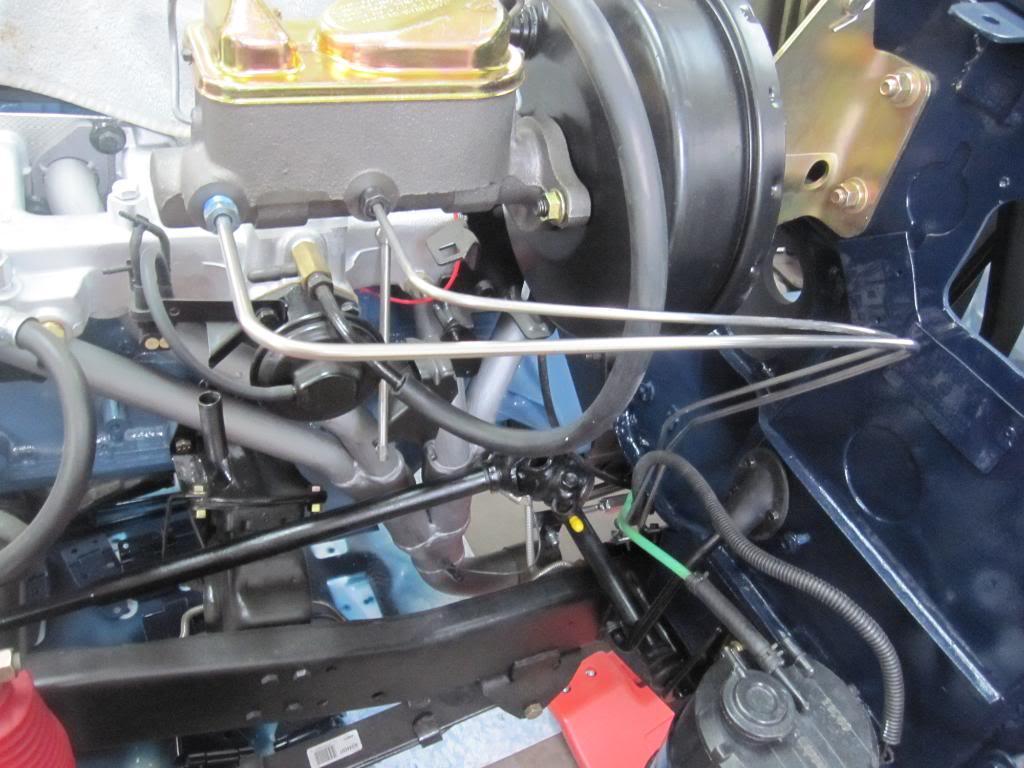
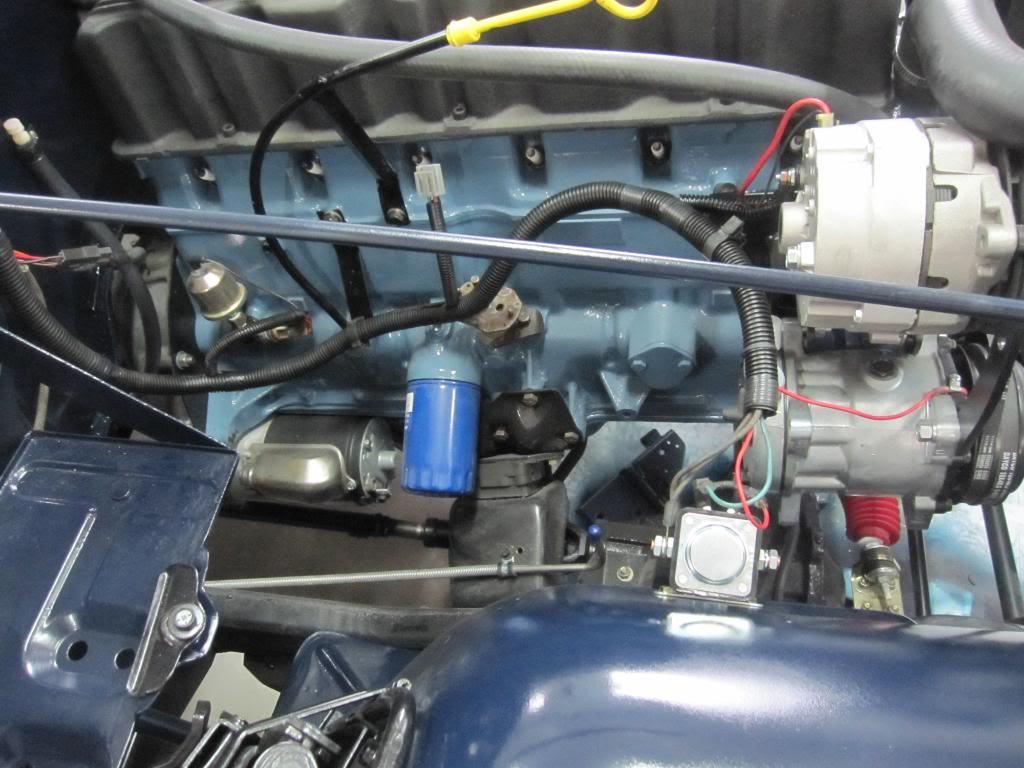
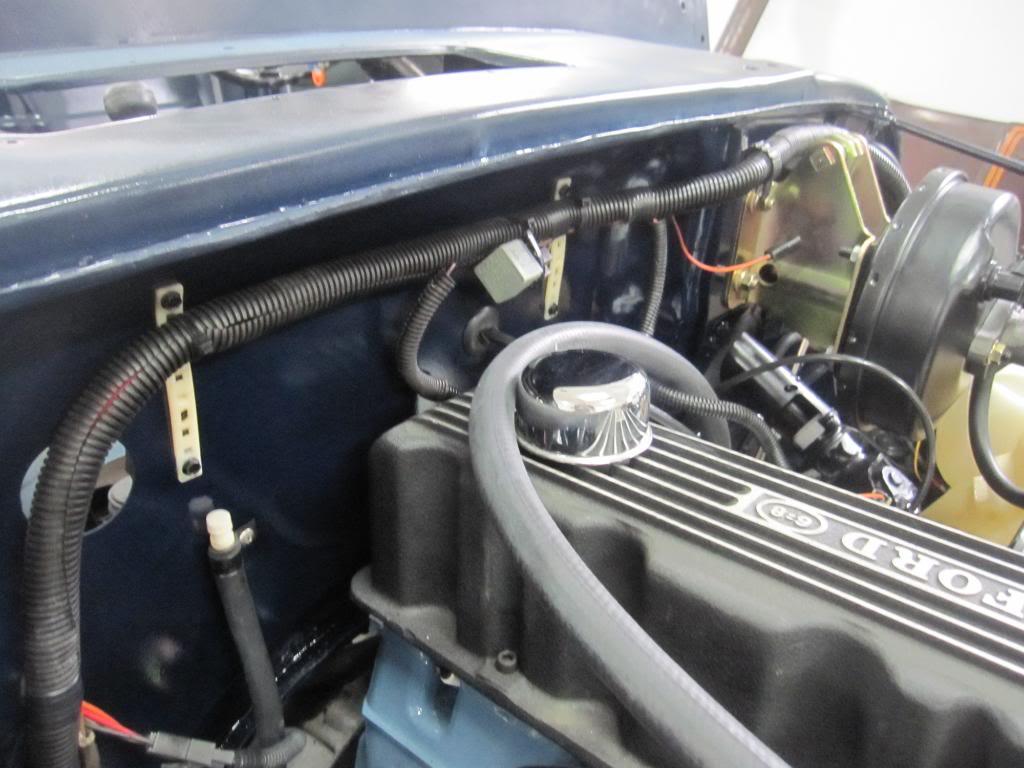
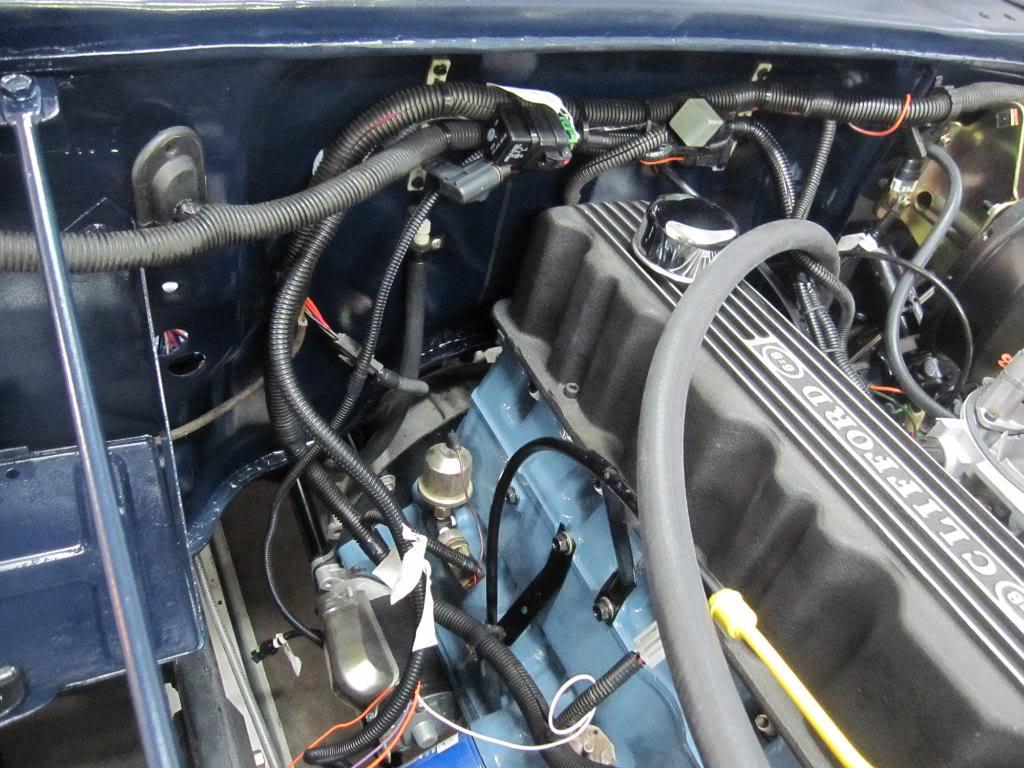
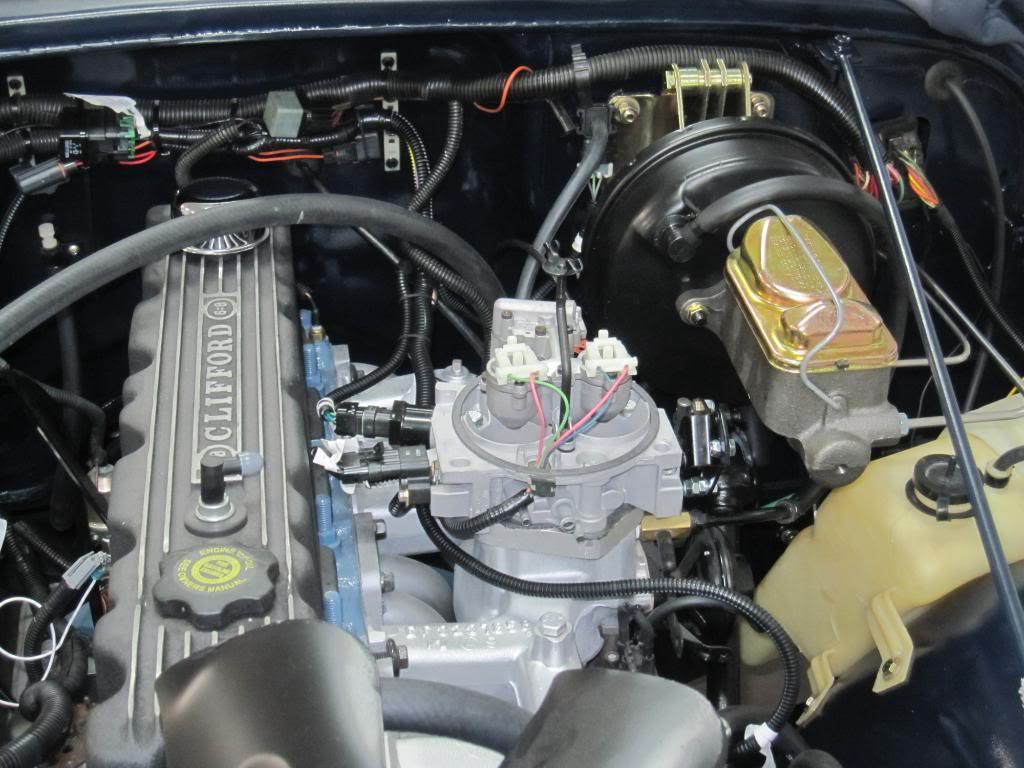
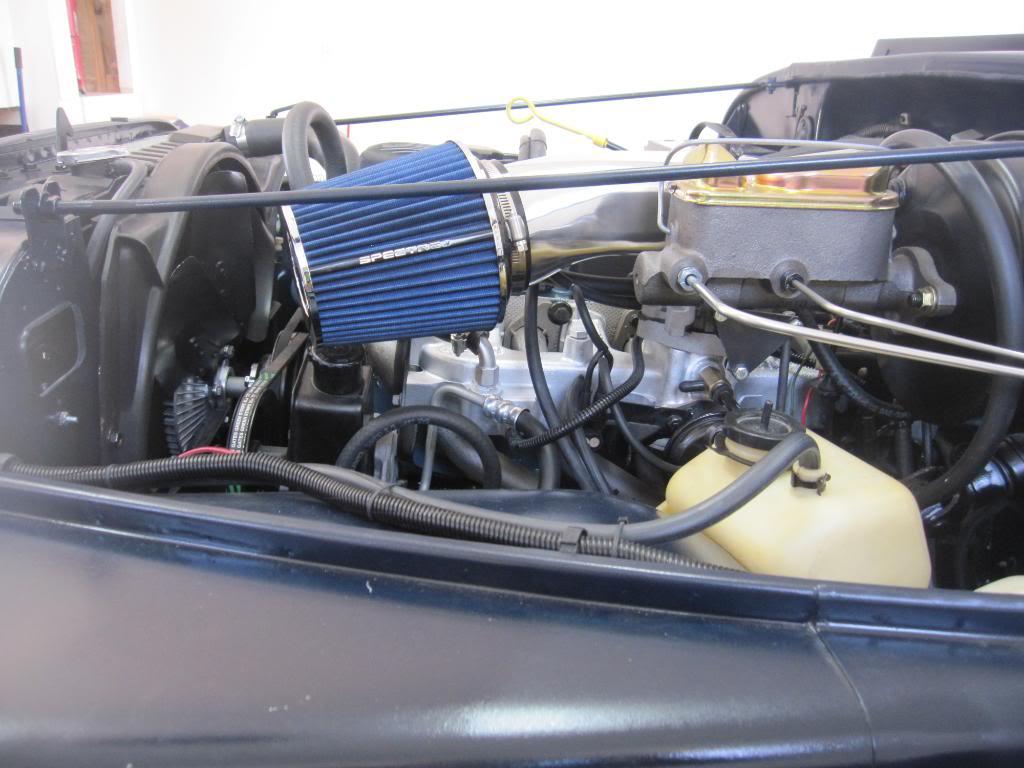
- 258 bored 30 over, comp cam, borla header, GM HEI, Howell fuel injection
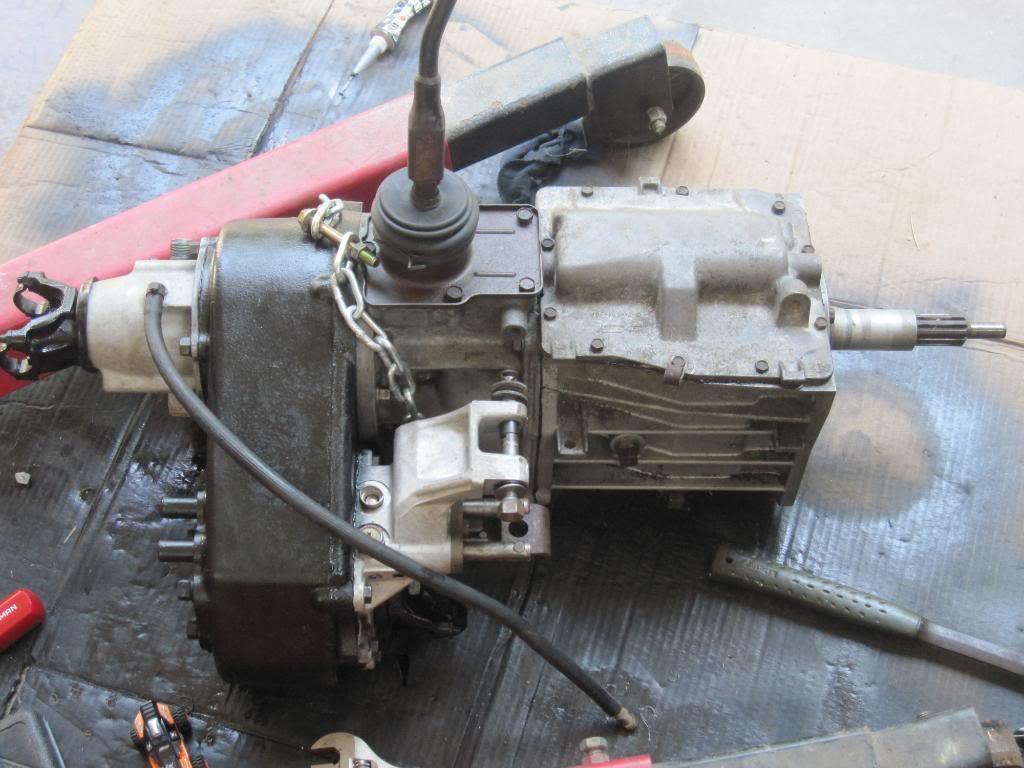
- T5 transmission rebuilt
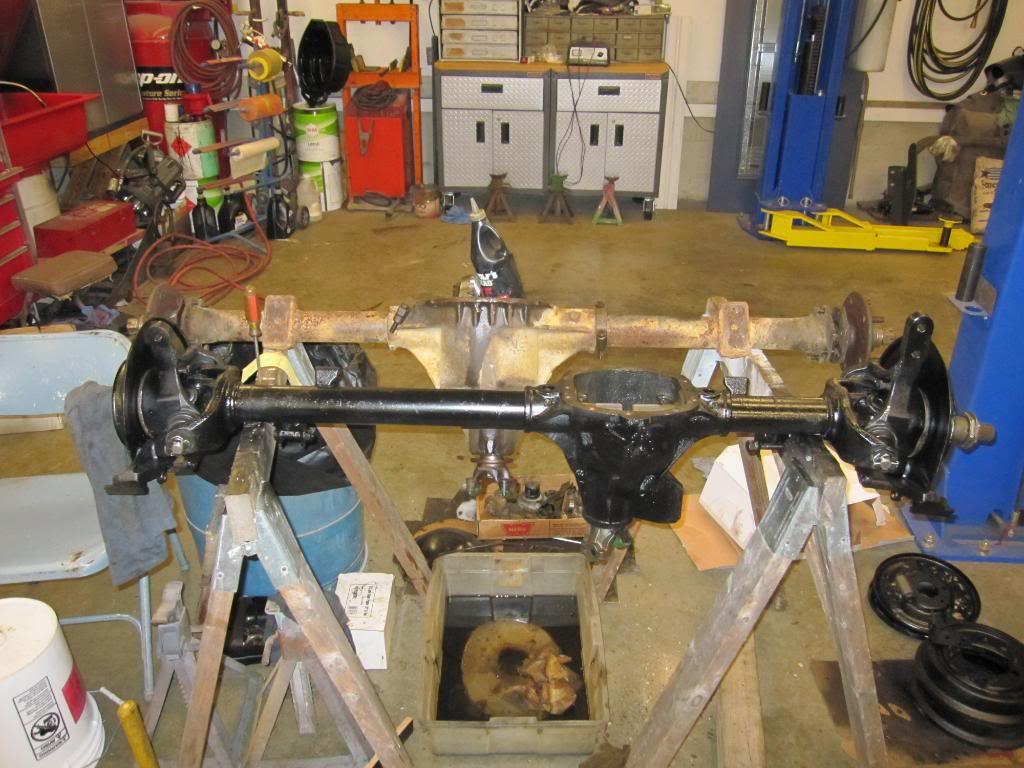
- Dana 300 transfer case rebuilt
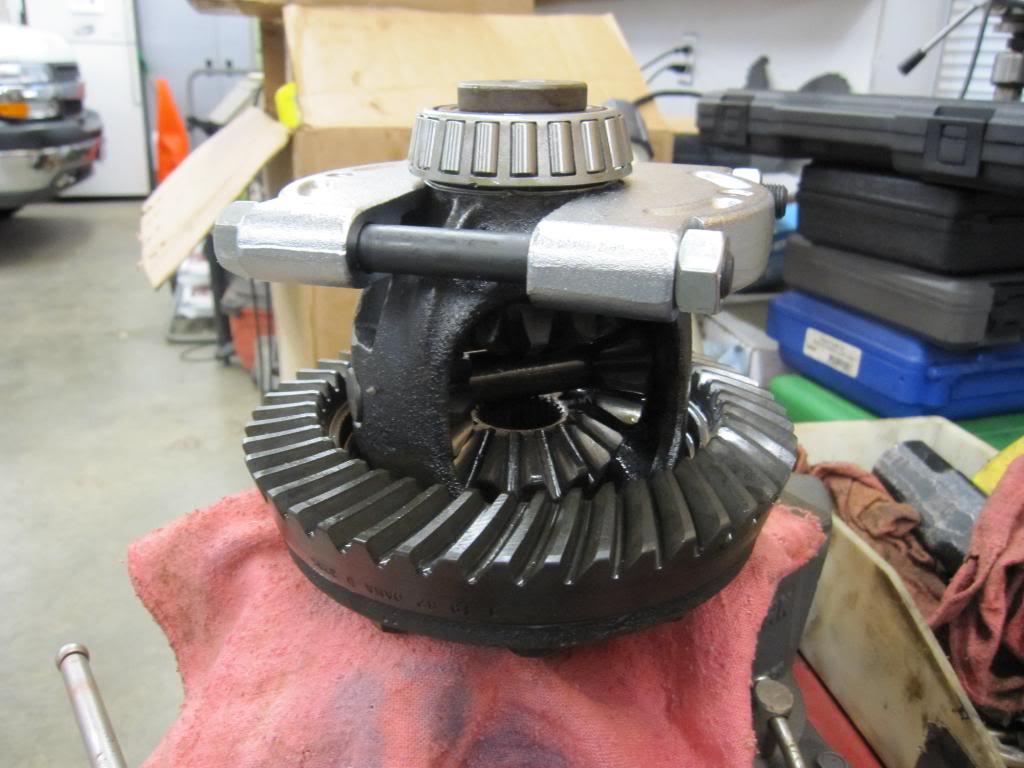
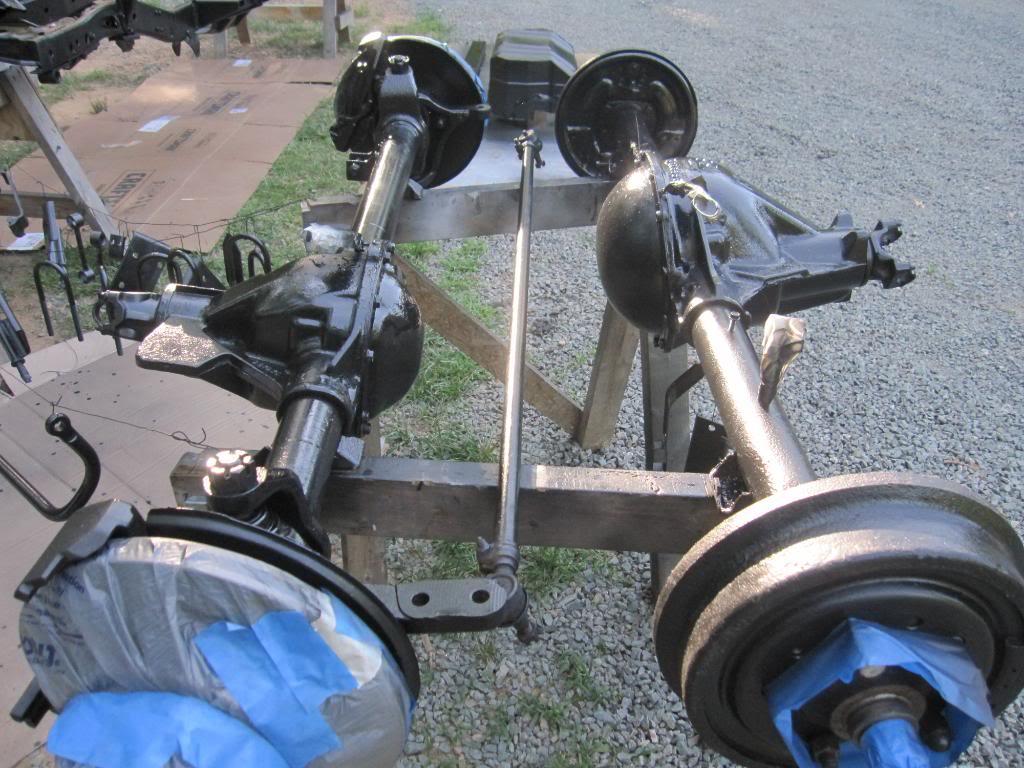
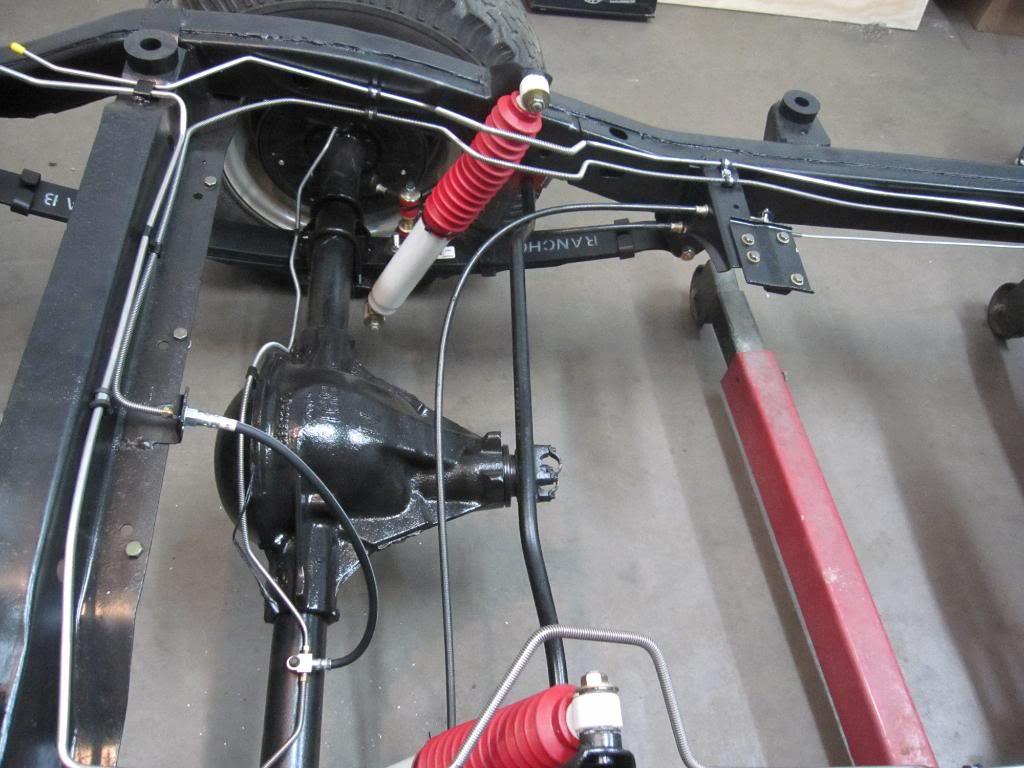
- AMC 20 rear rebuilt with ected selectable locker in the rear
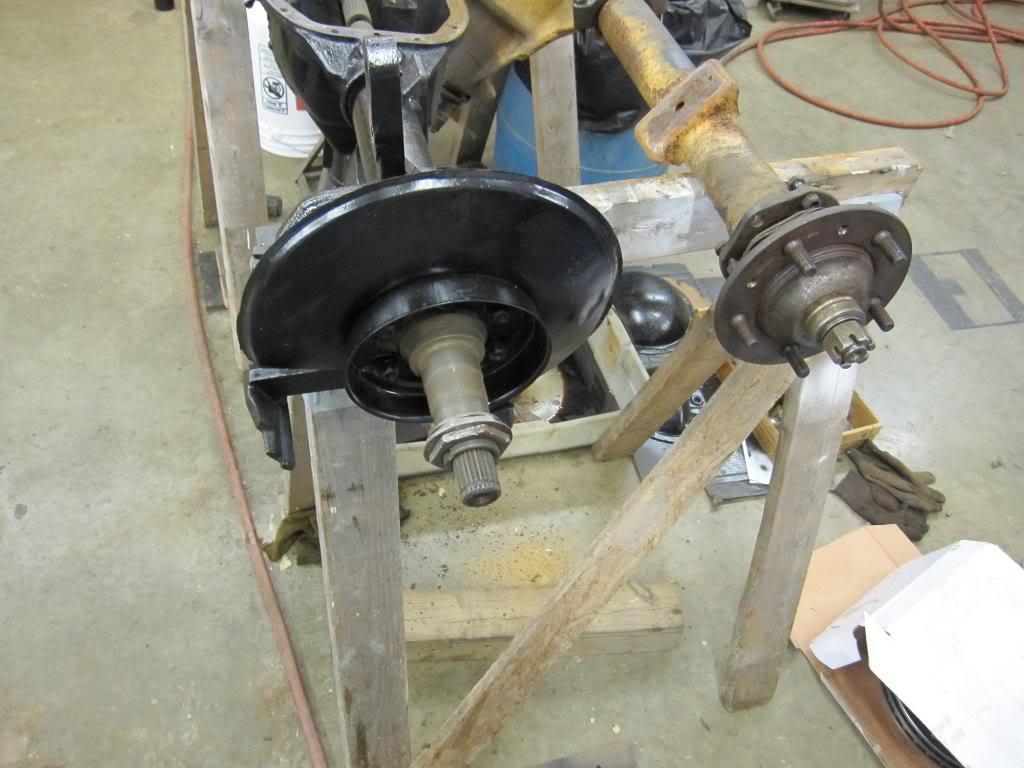
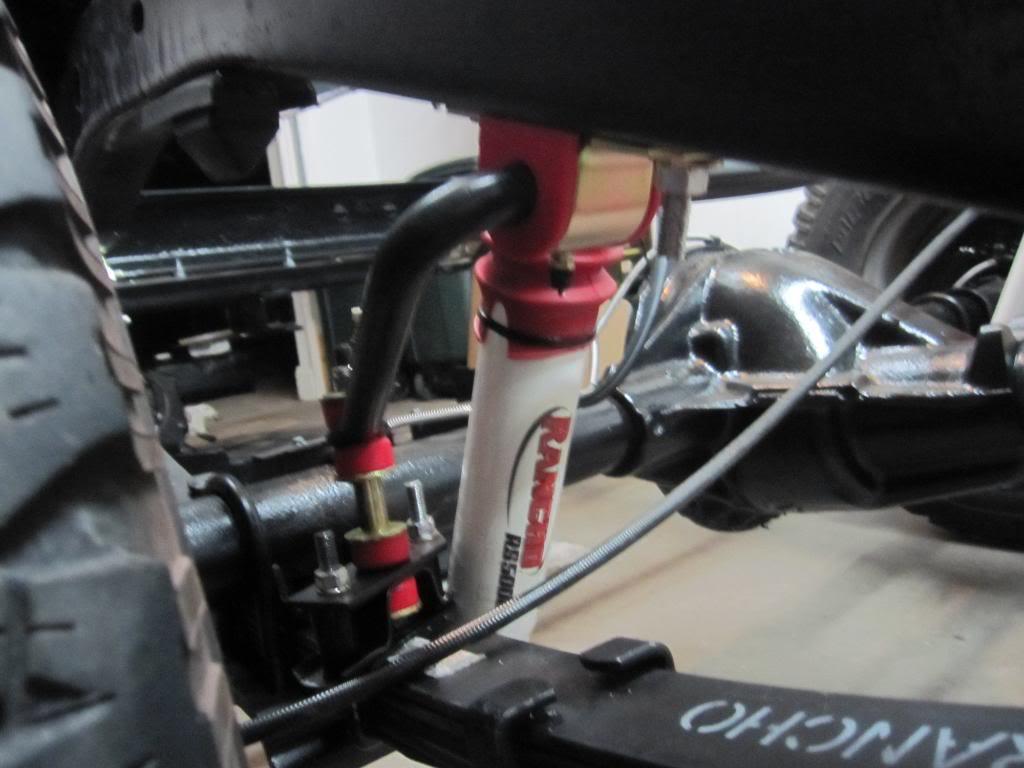
- Dana 30 up front rebuilt
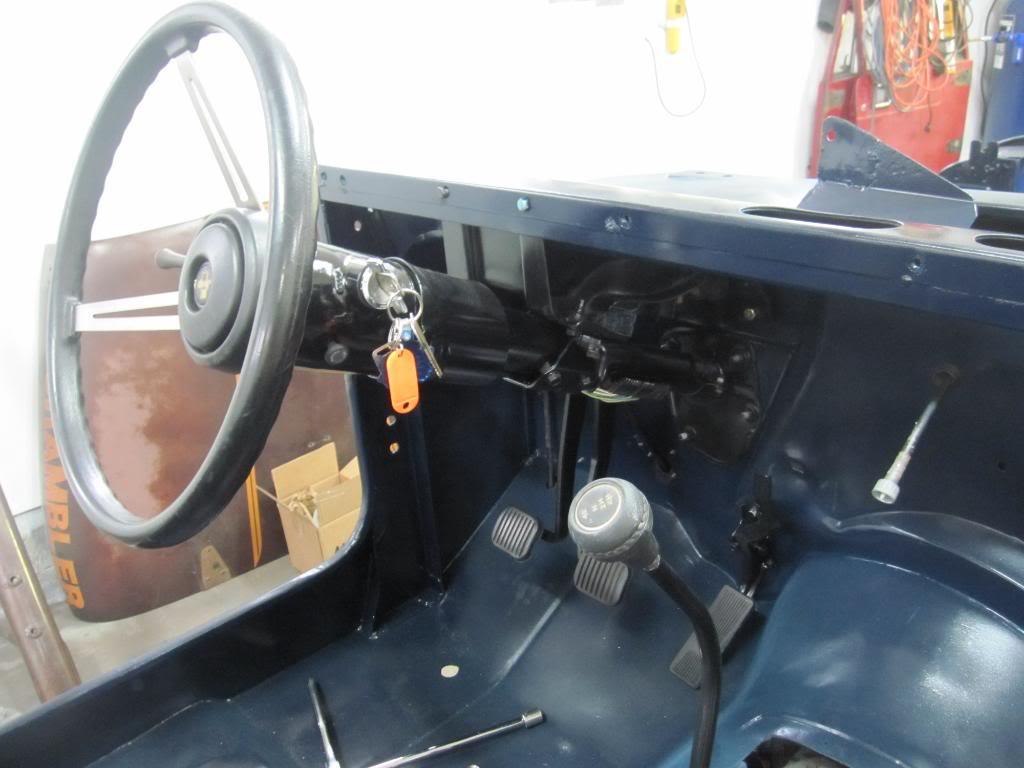
- Power brakes, Power steering
- A/C
- Power windows (AWESOME!)
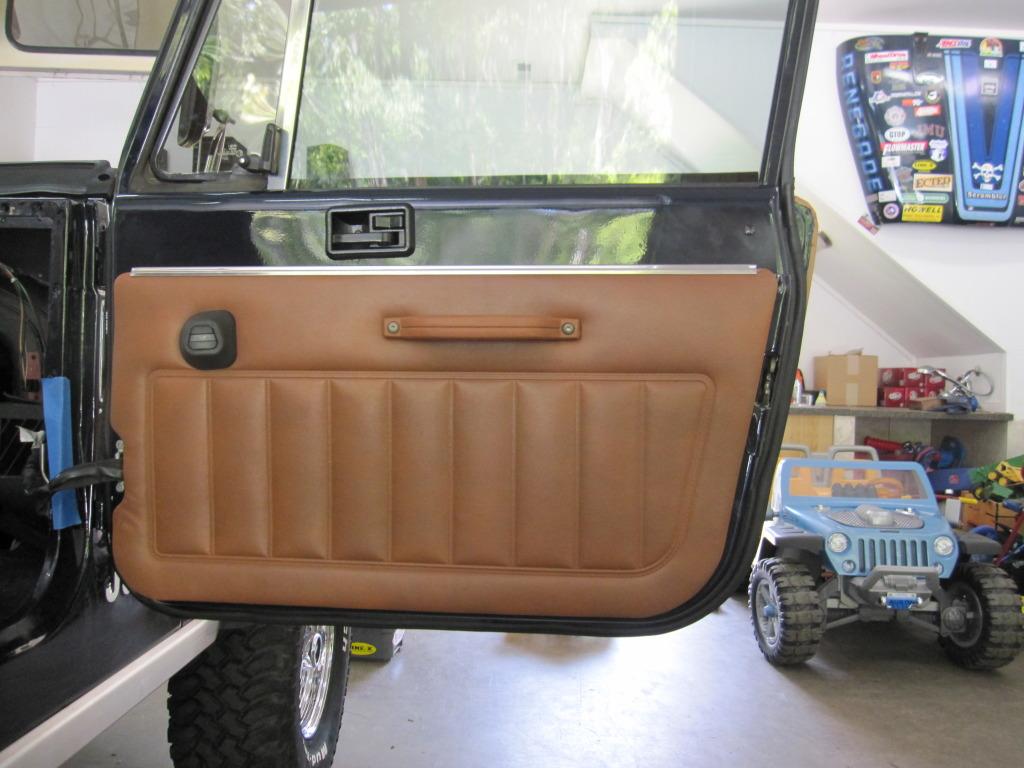
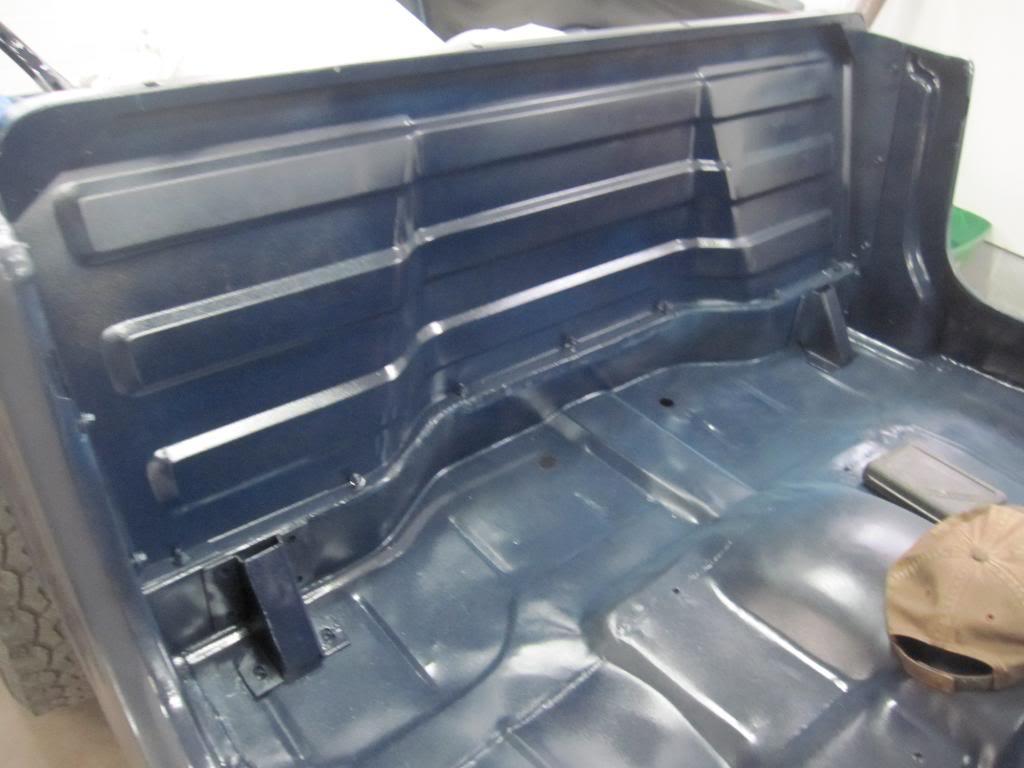
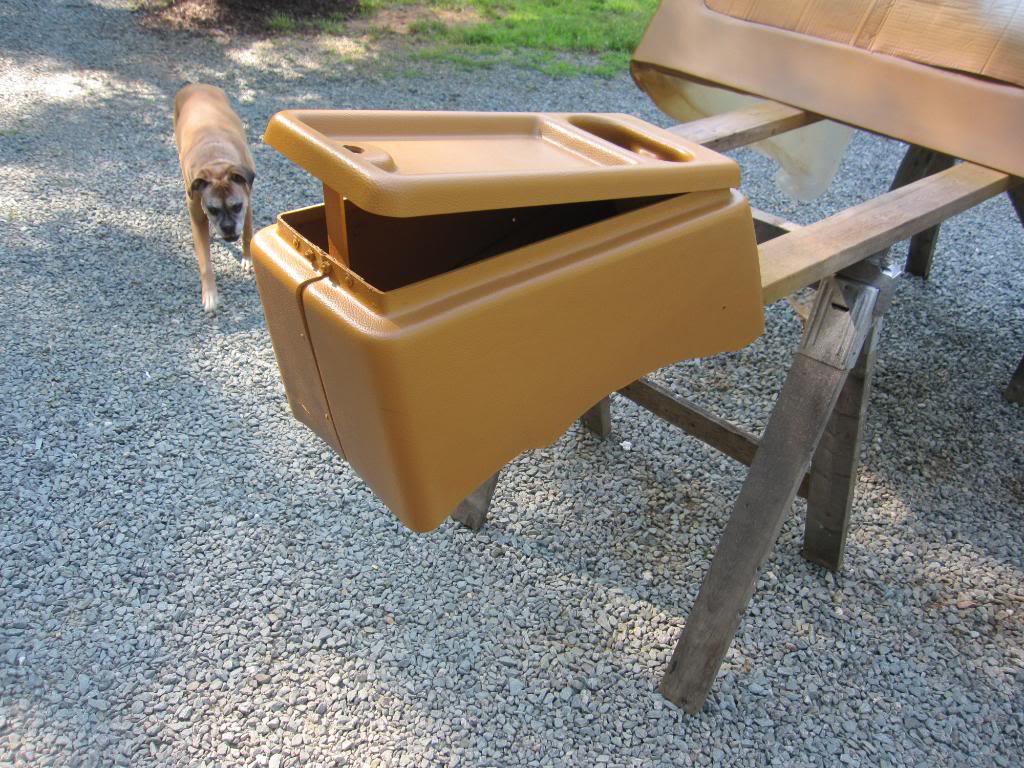
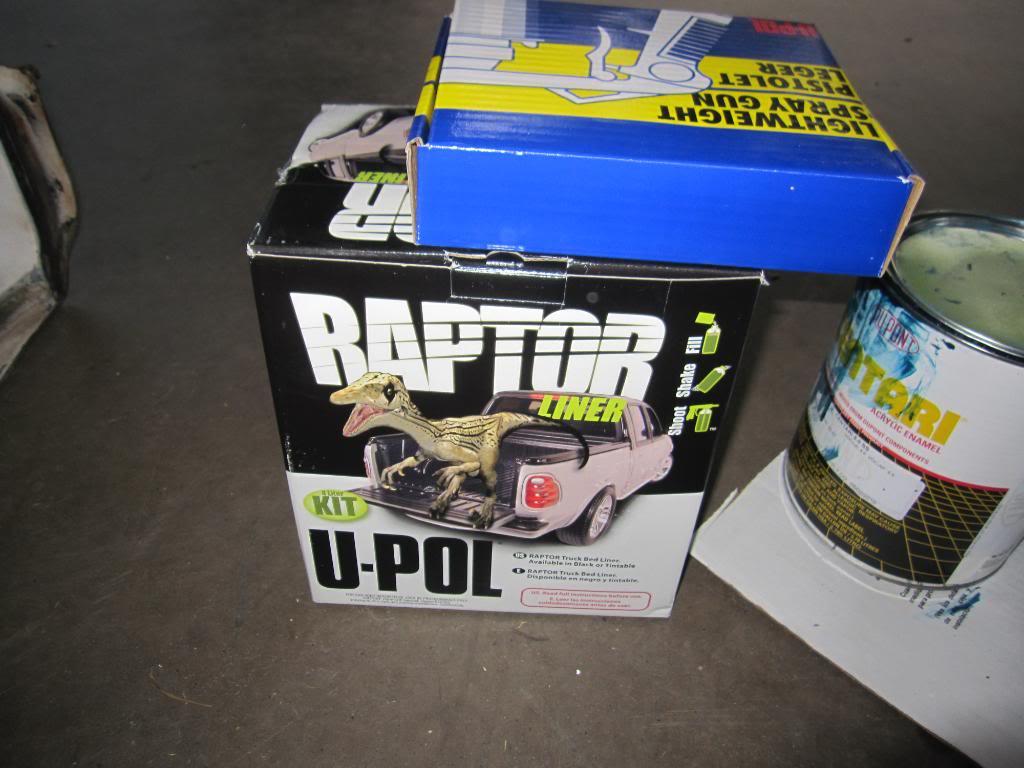
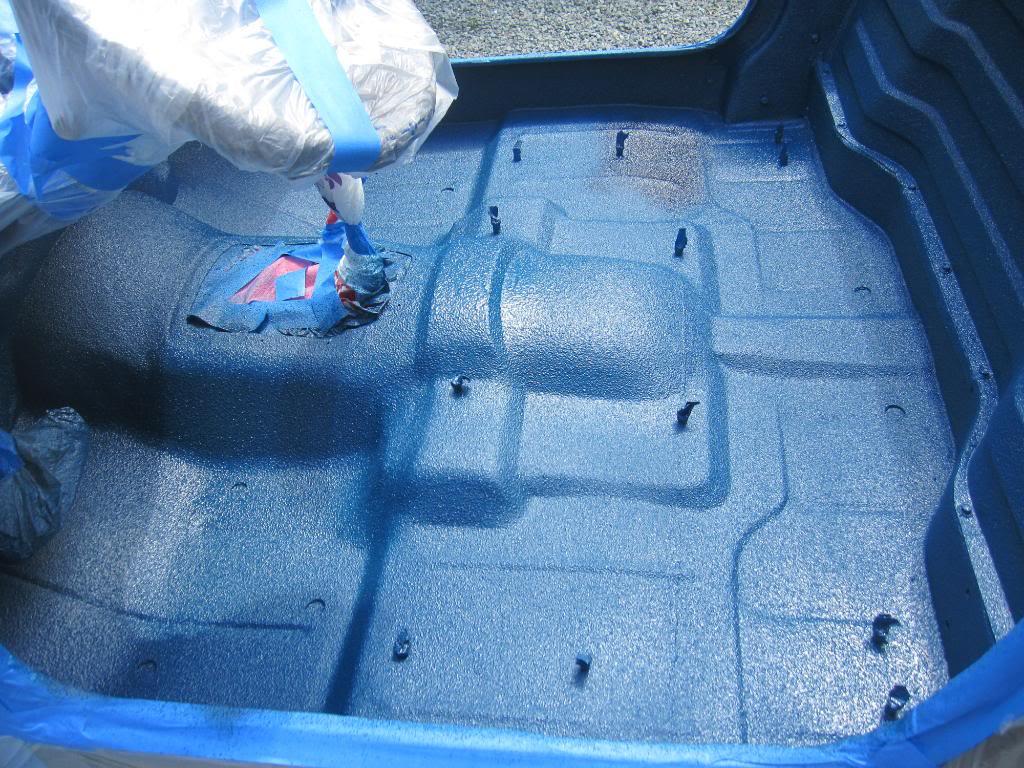
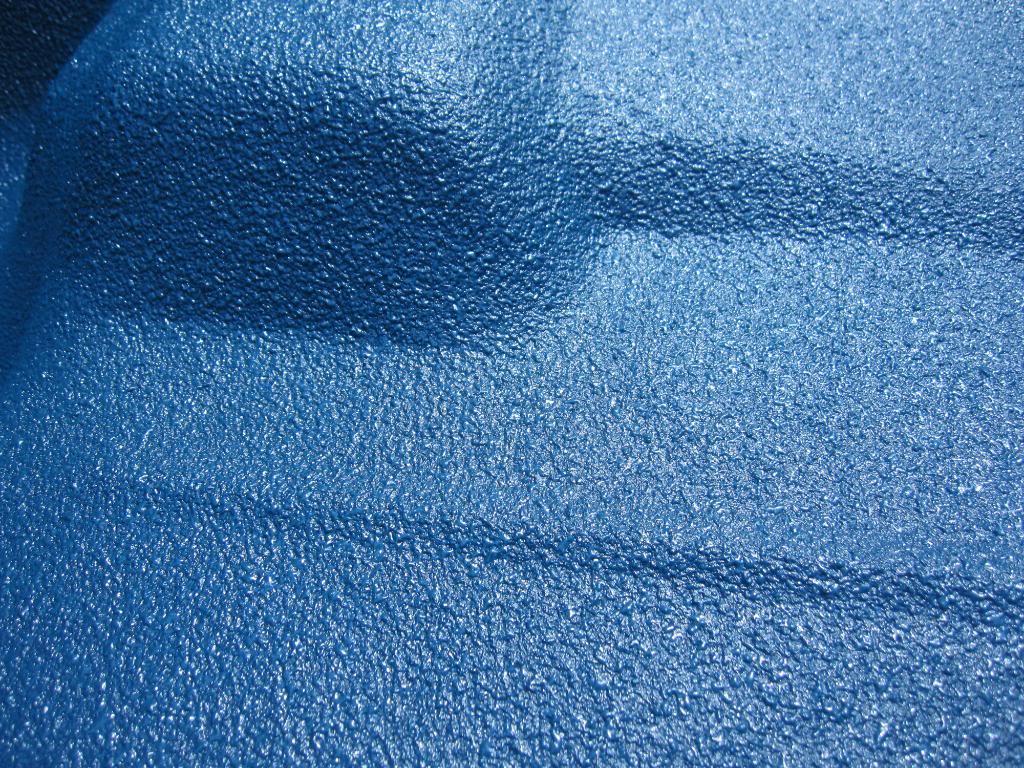
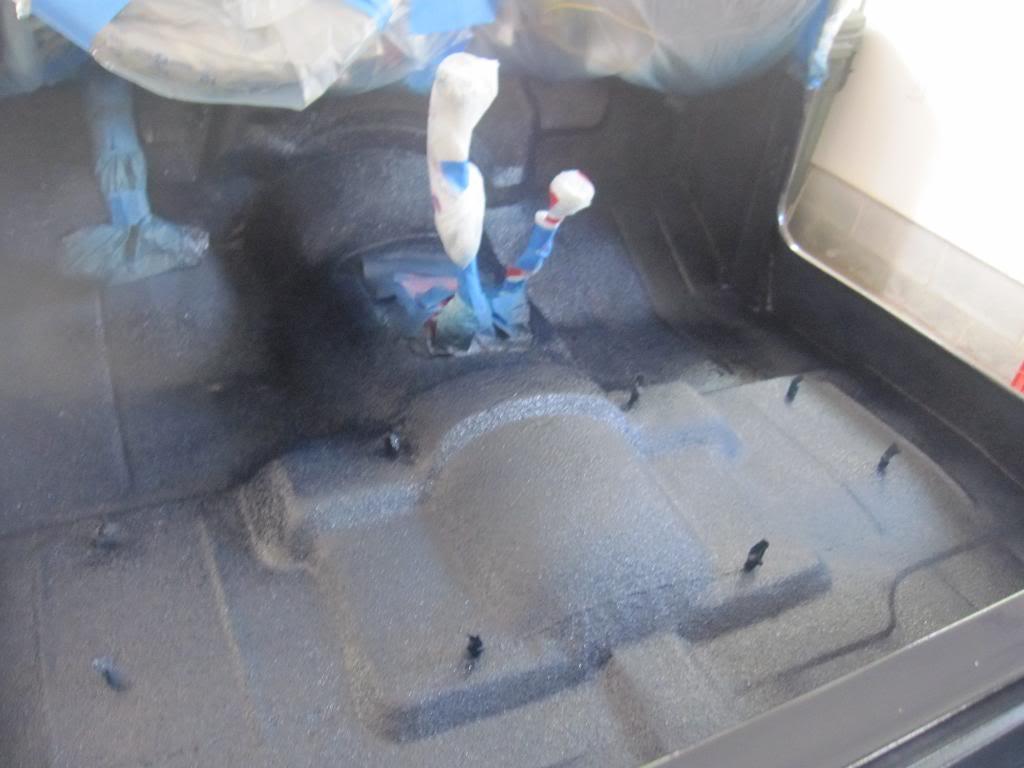
- Raptor liner interior
- Line-X in the bed
- Factory rear chrome bumper
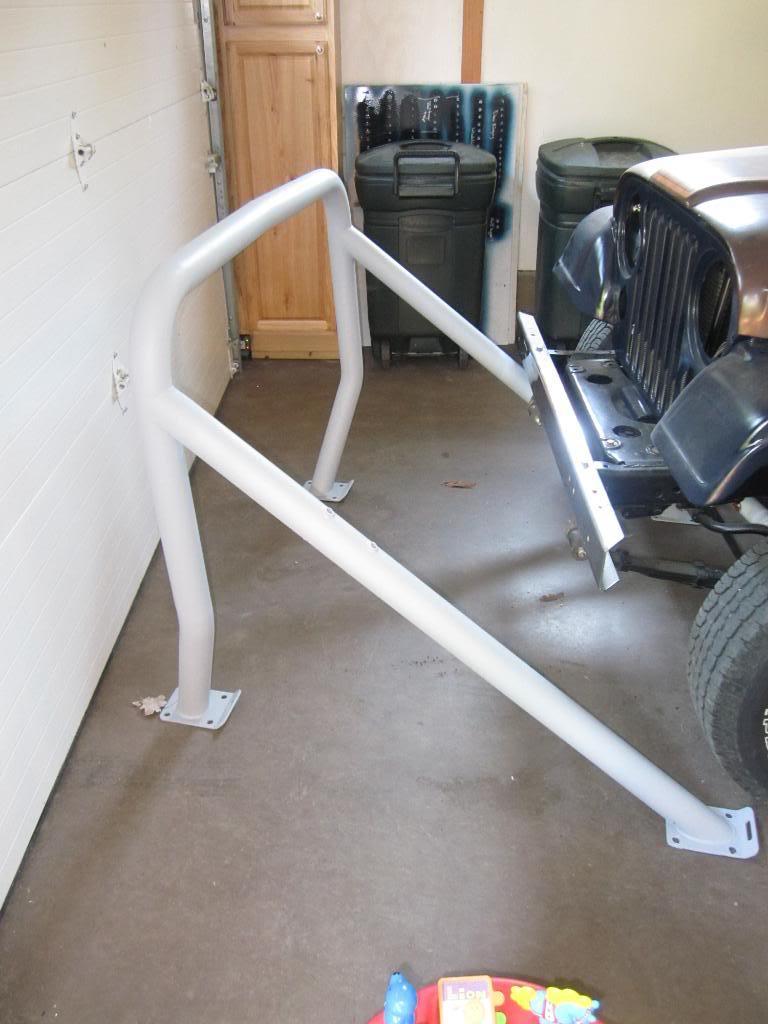
- Custom oversized rollbar spare tire mount.
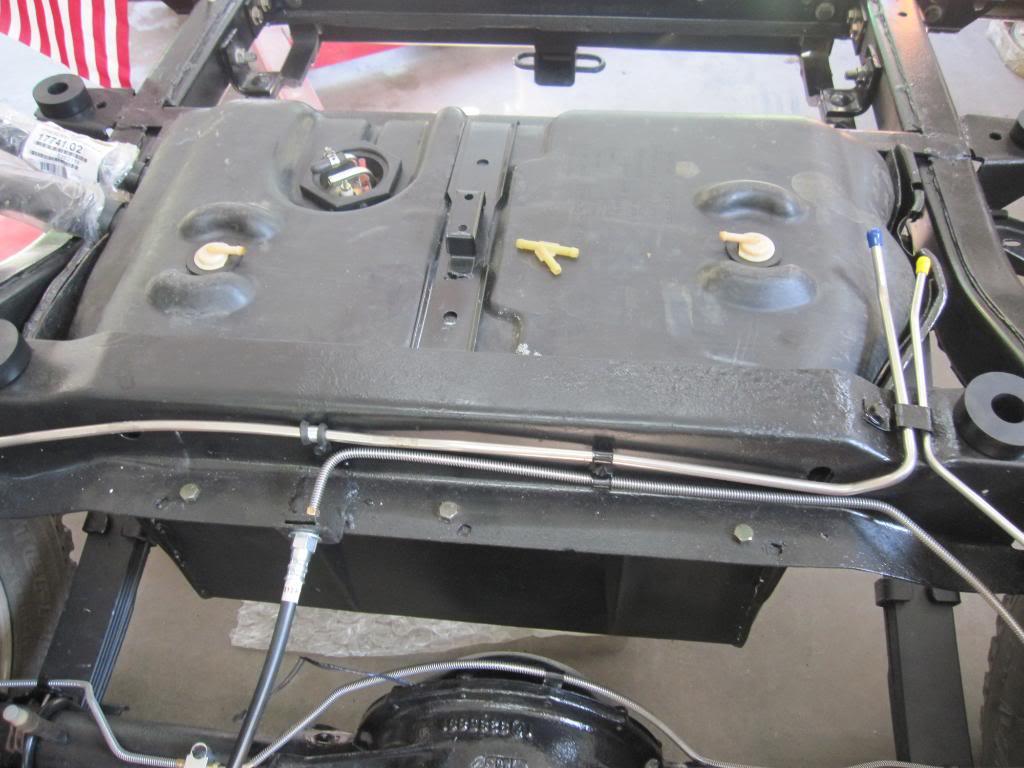
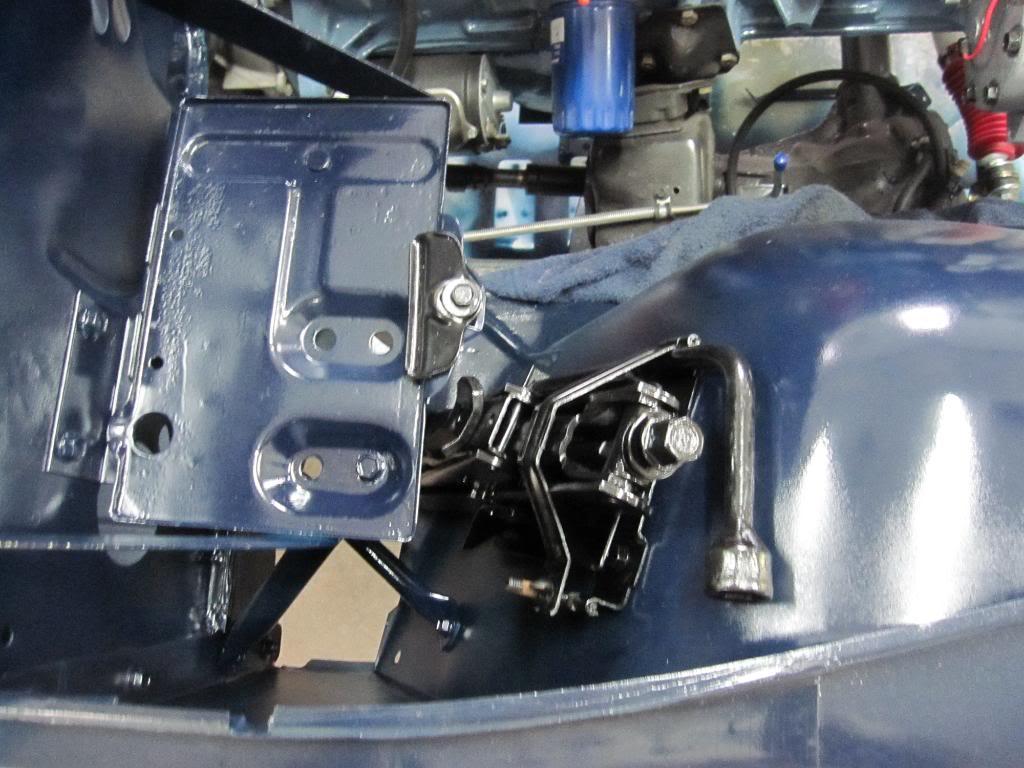
- Factory 20 gallon gas tank
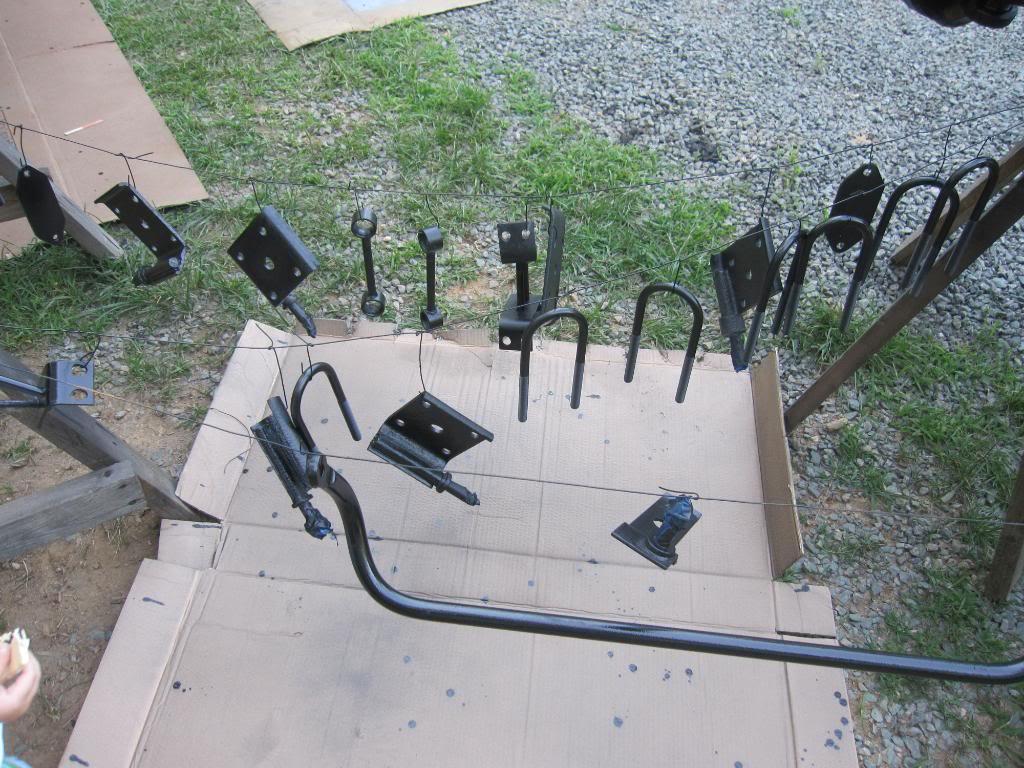
- Addco rear anti-sway bar
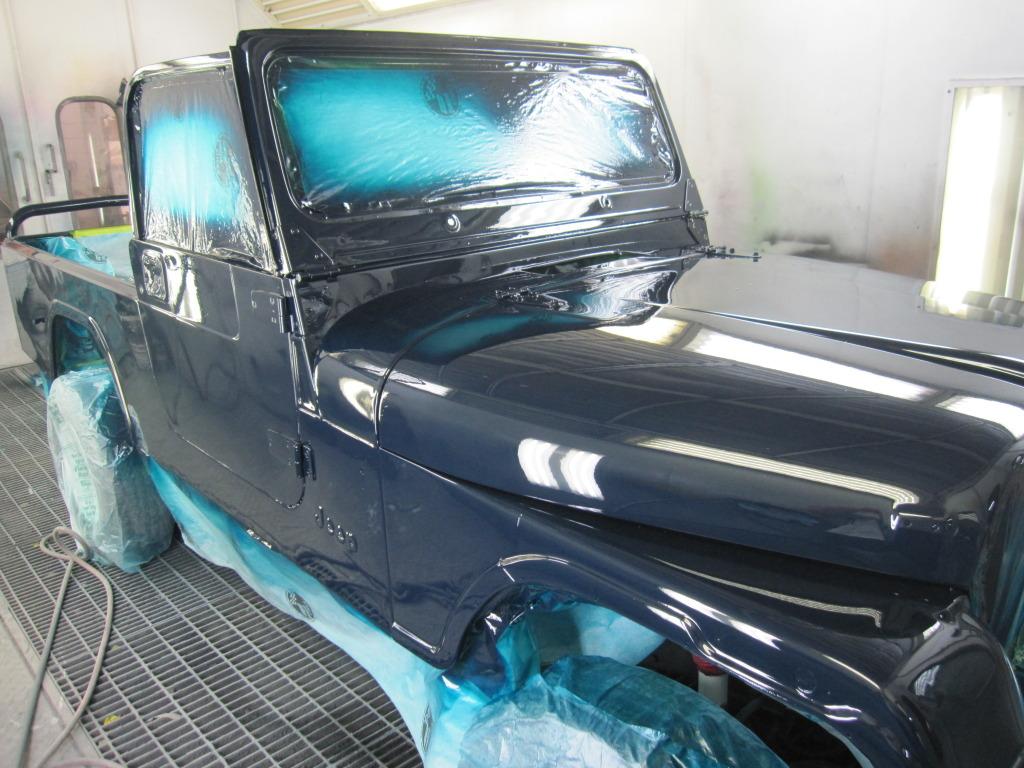
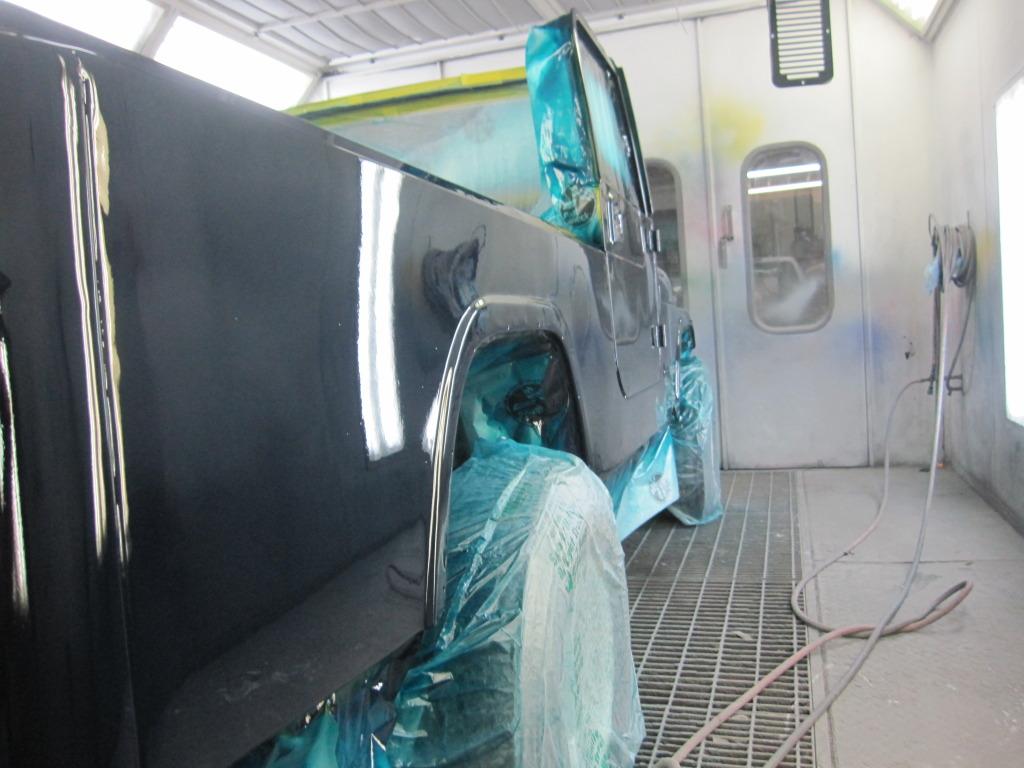
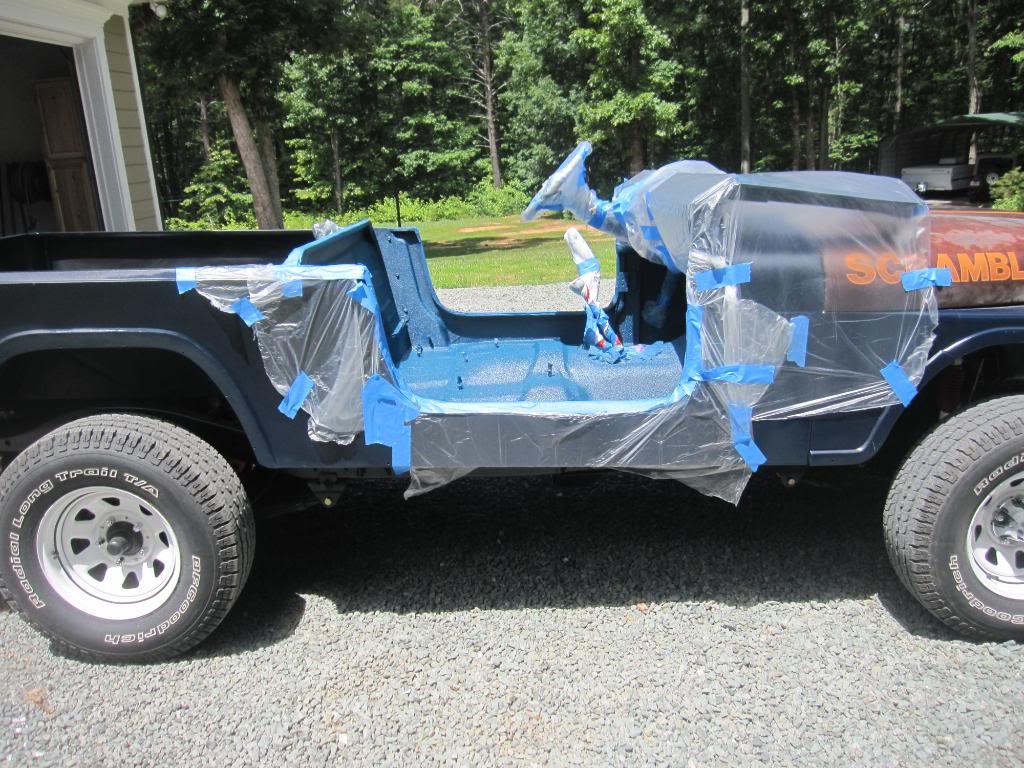
- Deep midnight blue paint.
I'd like to say thank you to eveyone one this site for their inspiration and thank you to my wife for putting up with me and supporting me on this adventure.
So to start I'll post a picture of what I started with, an 83 frame.
And this is what I built
Year: 83
Model: cj-8
Final/current tire size: 32"
Build details:
- 258 bored 30 over, comp cam, borla header, GM HEI, Howell fuel injection
- T5 transmission rebuilt
- Dana 300 transfer case rebuilt
- AMC 20 rear rebuilt with ected selectable locker in the rear
- Dana 30 up front rebuilt
- Power brakes, Power steering
- A/C
- Power windows (AWESOME!)
- Raptor liner interior
- Line-X in the bed
- Factory rear chrome bumper
- Custom oversized rollbar spare tire mount.
- Factory 20 gallon gas tank
- Addco rear anti-sway bar
- Deep midnight blue paint.
Last edited:

")


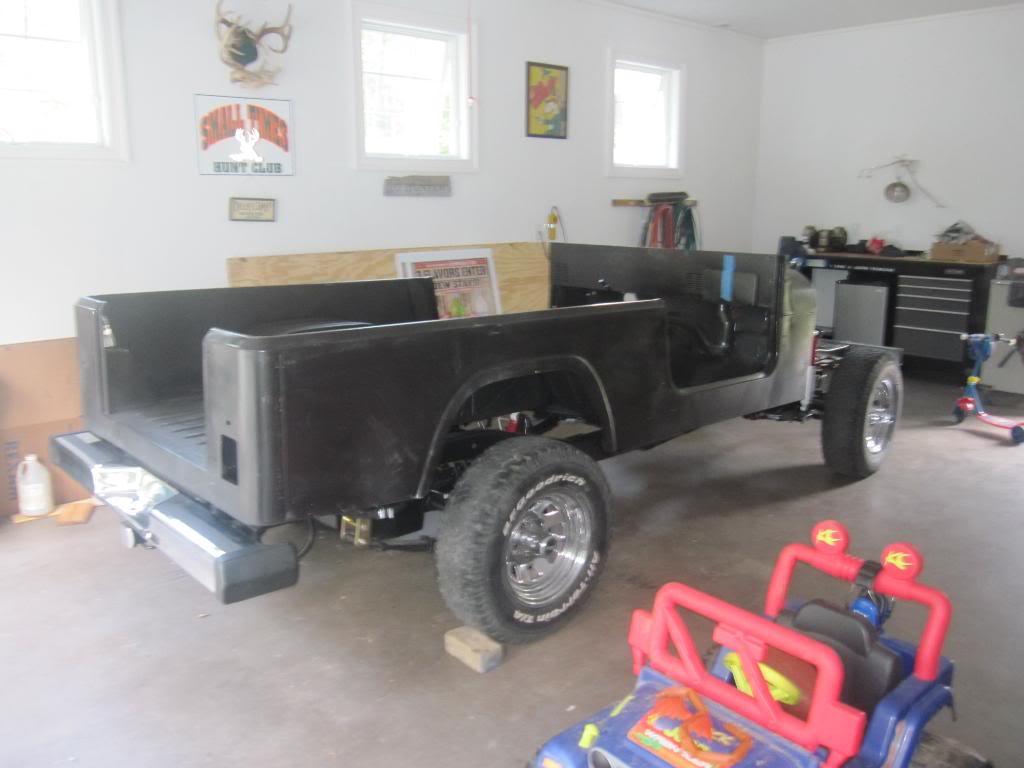
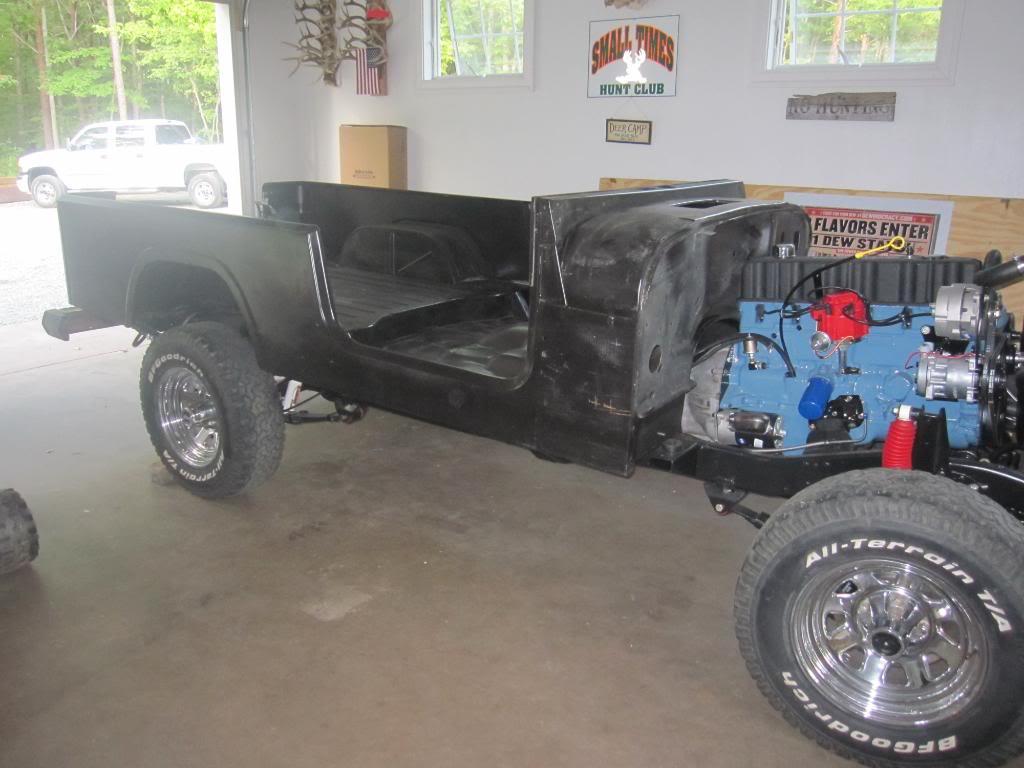

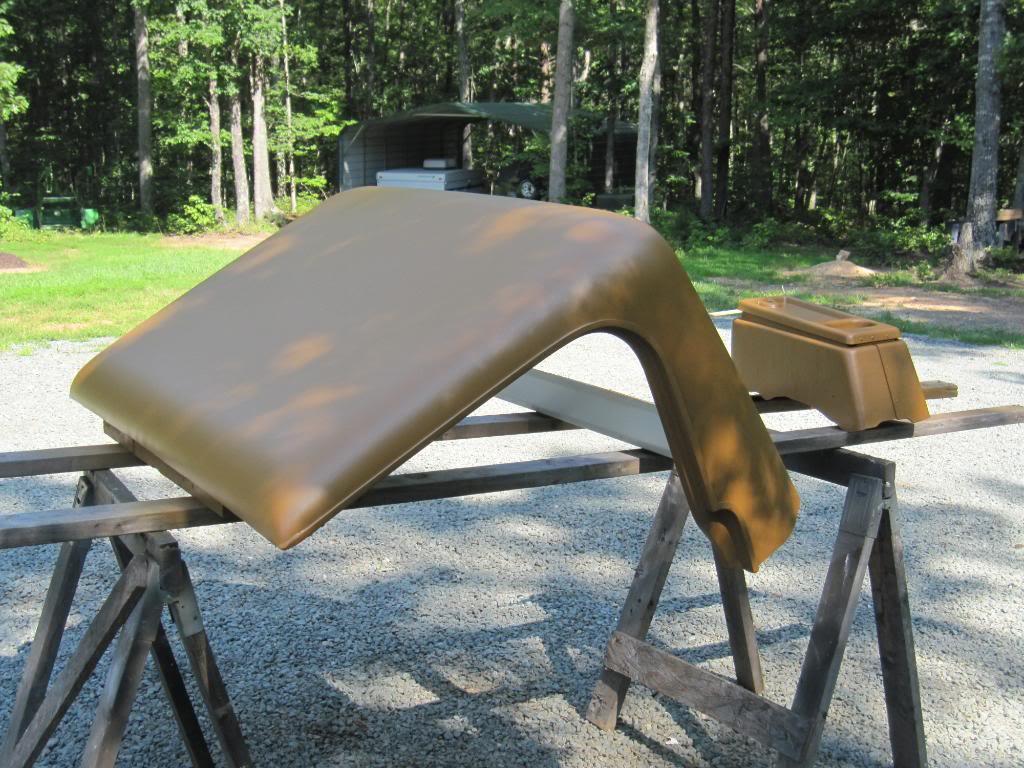
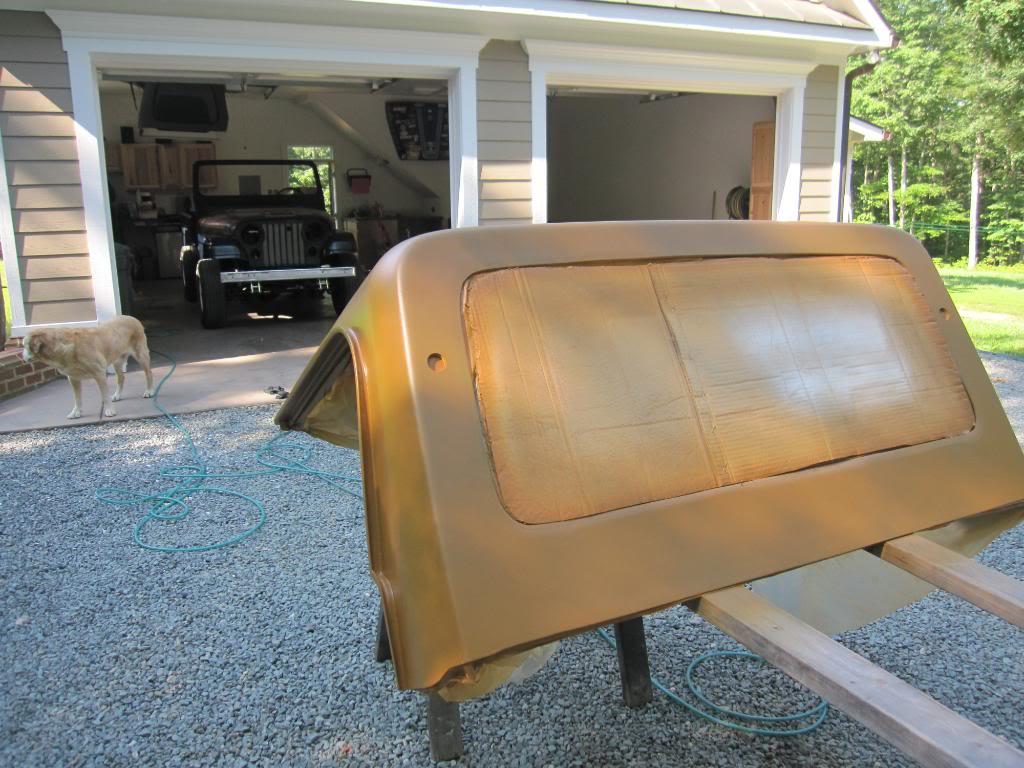
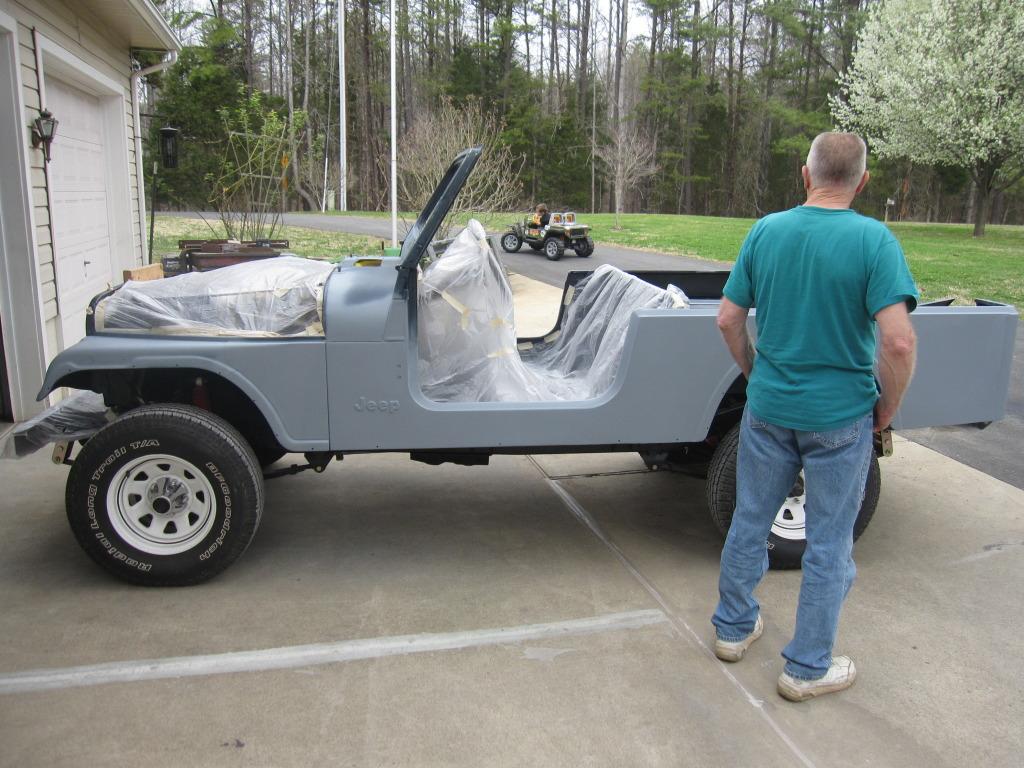
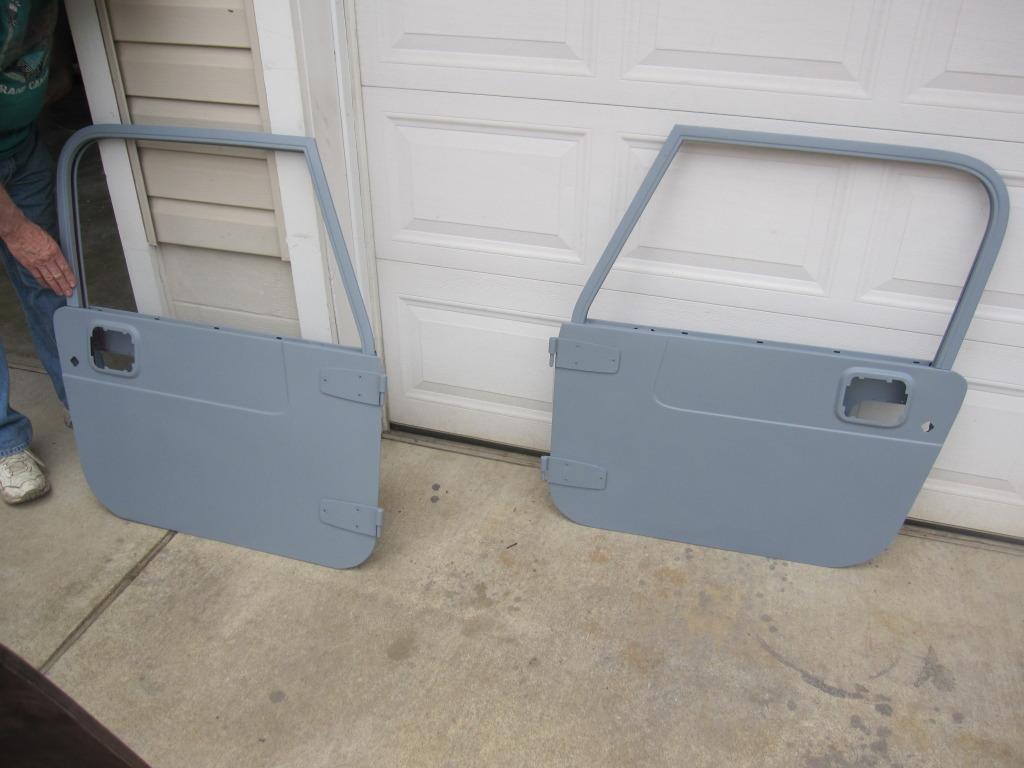
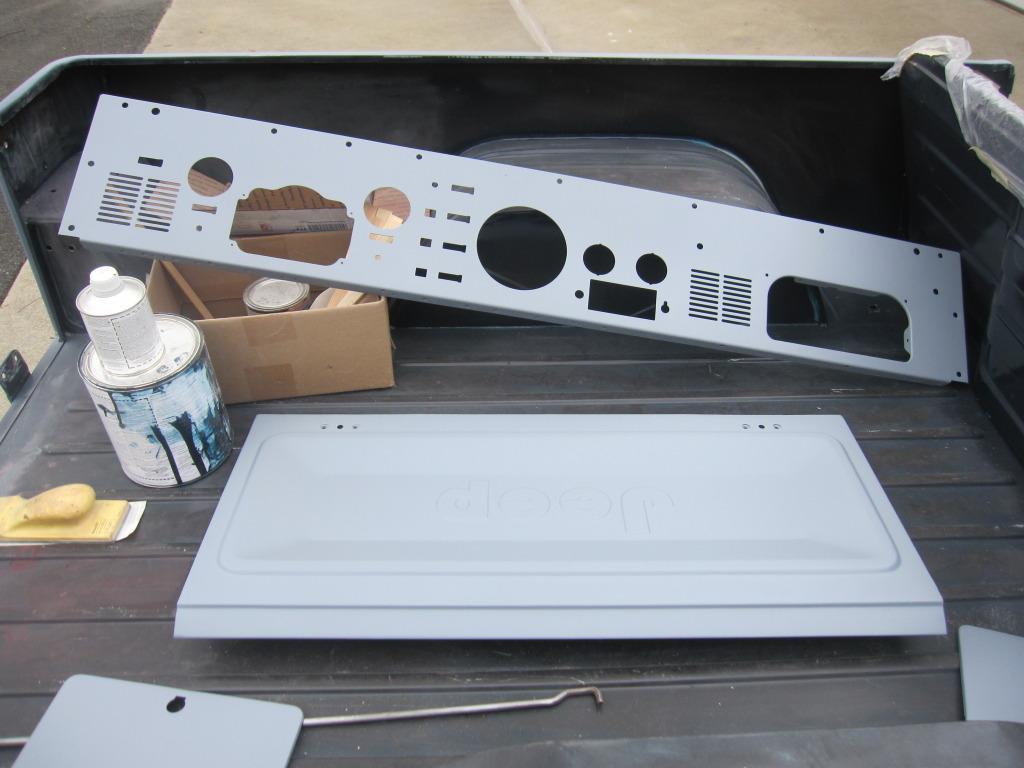
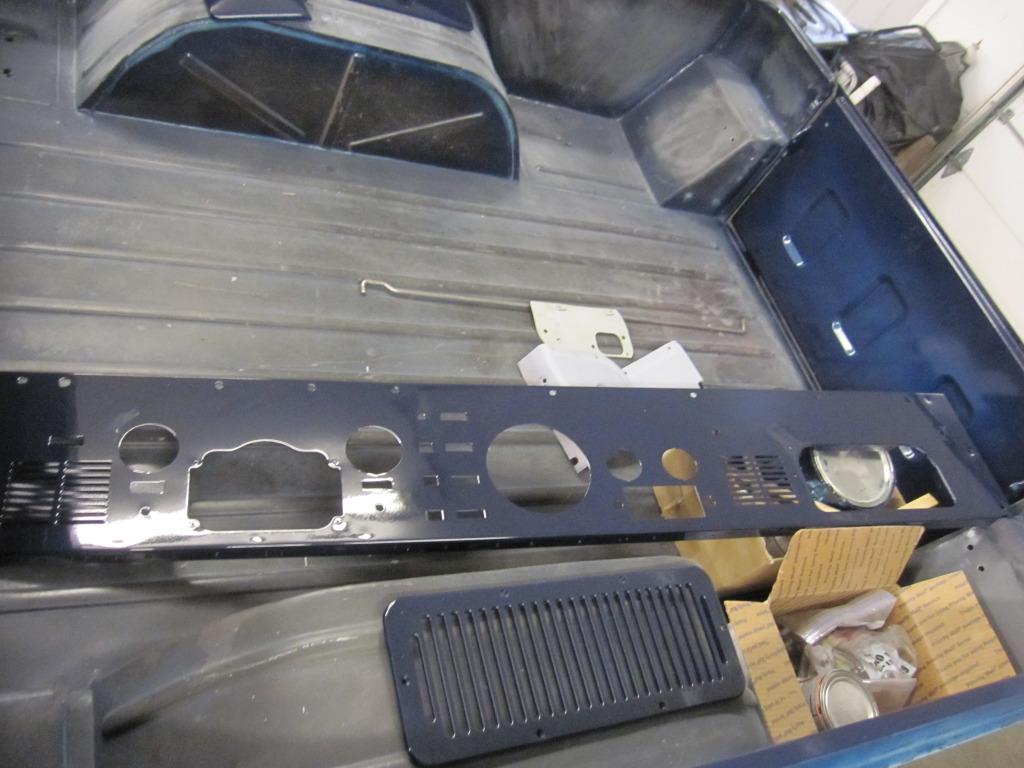
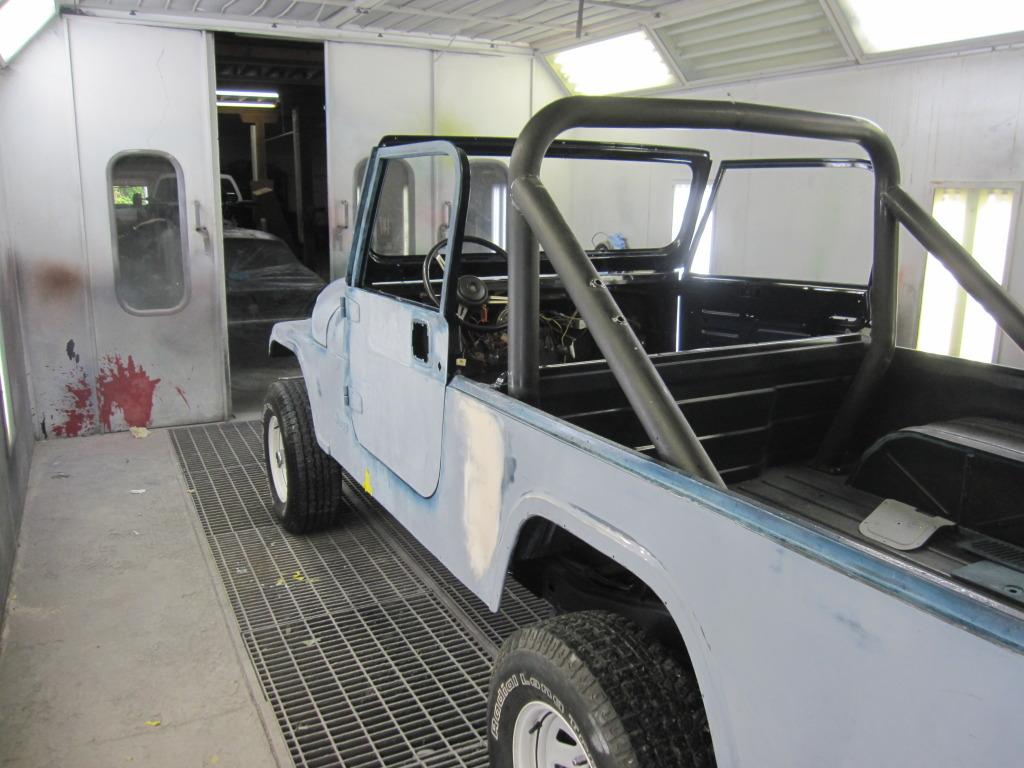
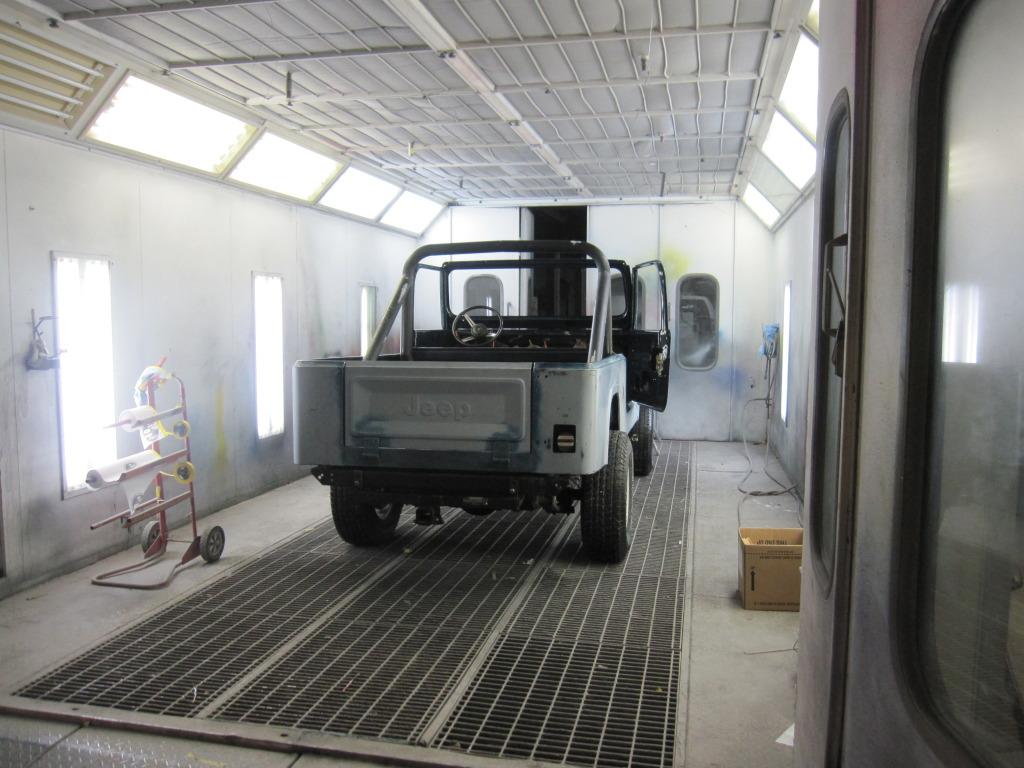
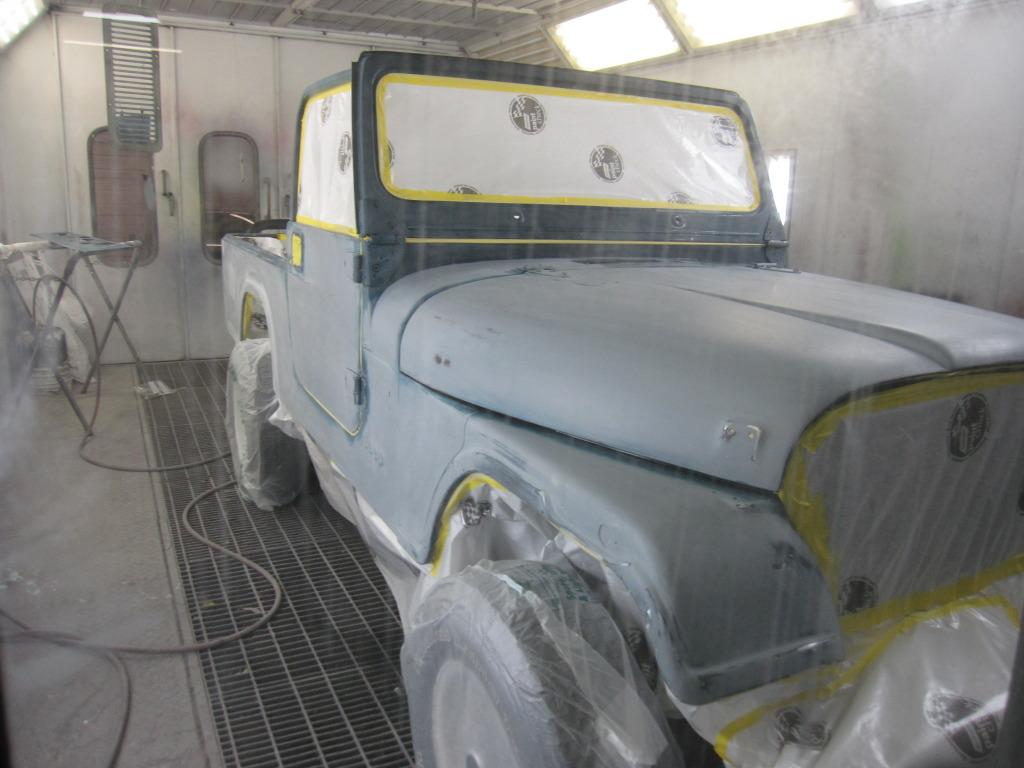
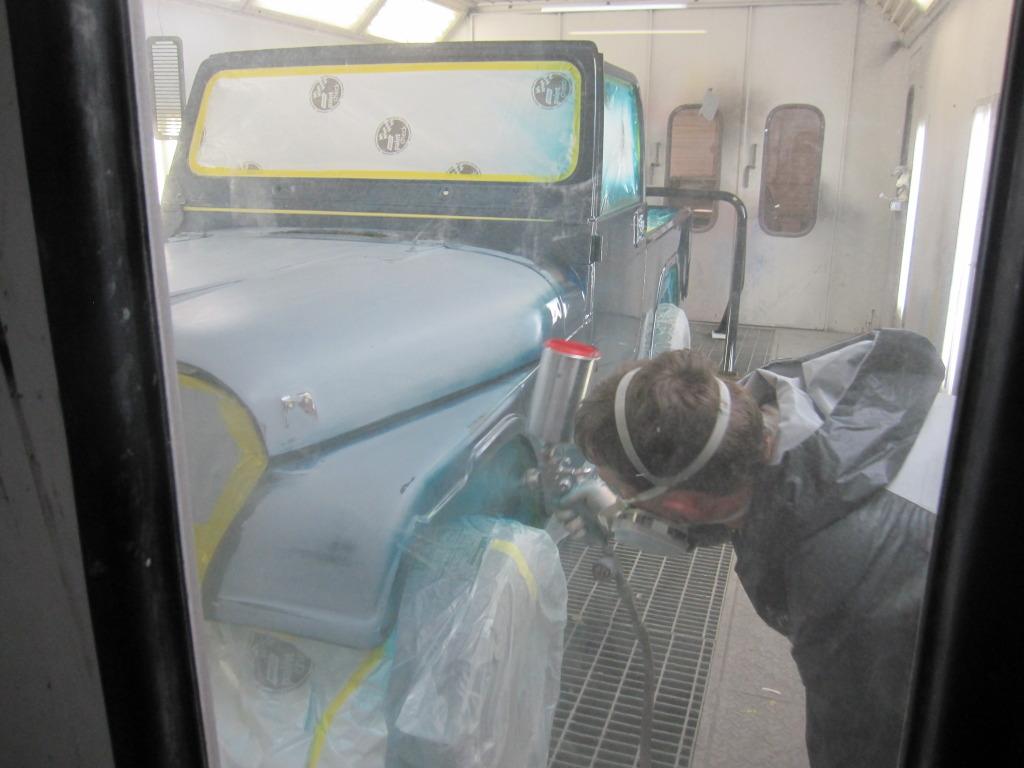
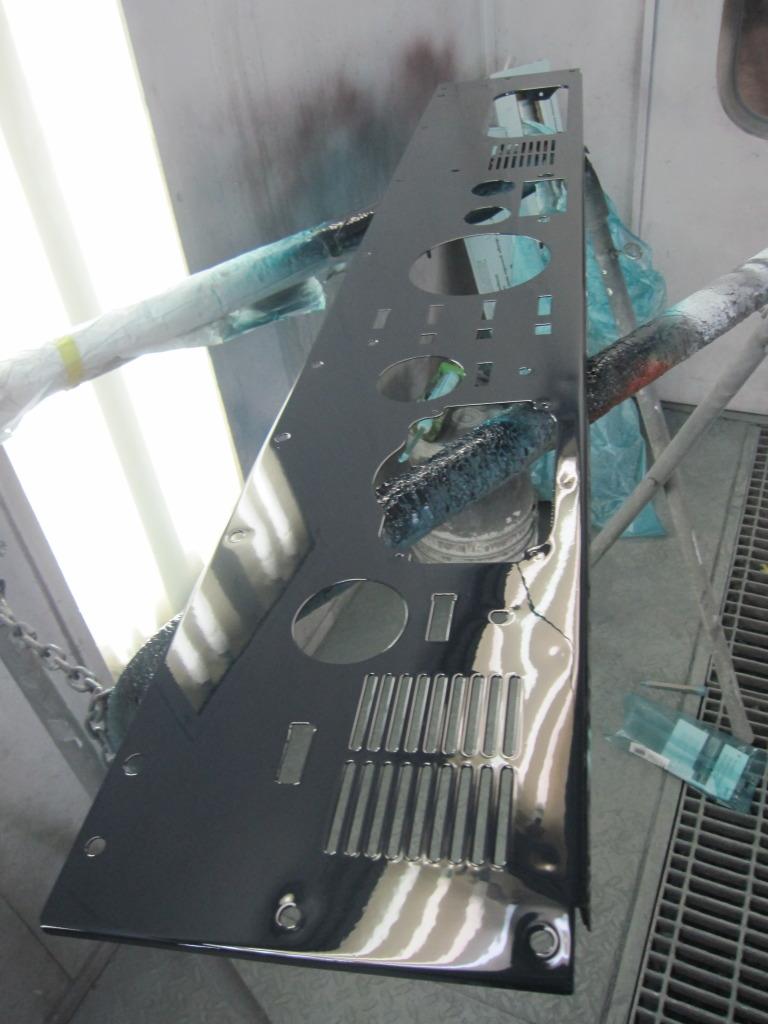
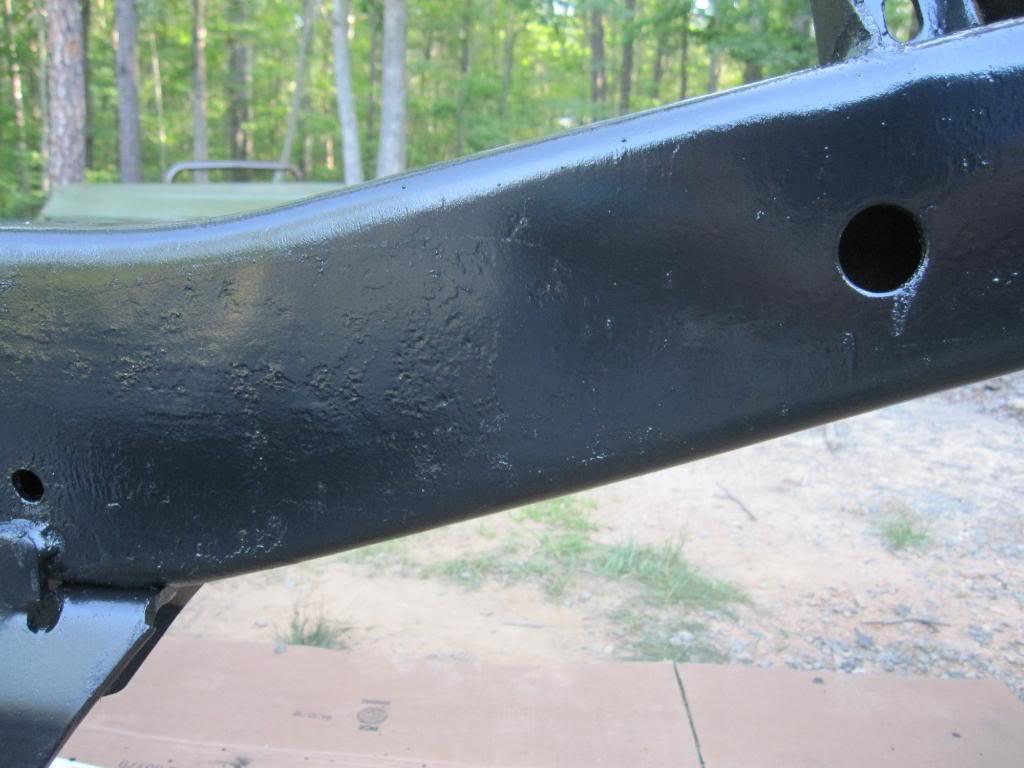
 I felt like I sanded on this thing forever just to get to this point.