• Notice for iPhone users: DO NOT use the image size reduction option when uploading photos to the forum. This causes portrait images to post as landscape. We have added a warning to the image insert pop-up as well.

Retitled: 83 Scrambler resto-mod finally gaining momentum

and then started my 15$ solution:
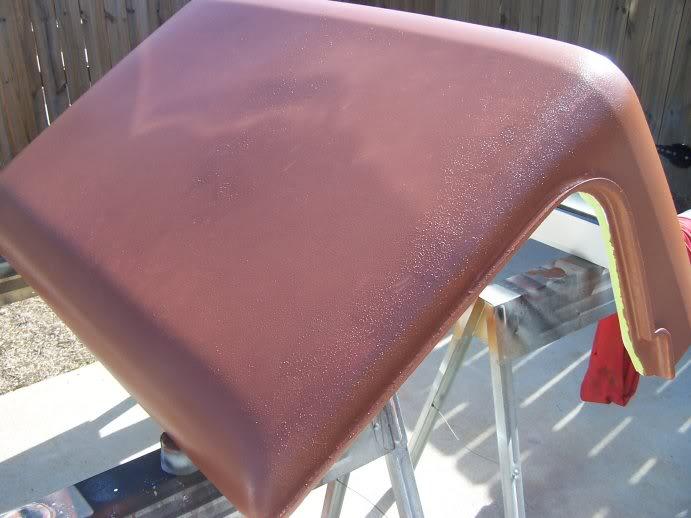
this is one coat (will probably do three total) of a Valspar (yes, that's exterior home paint from Lowes) product called "Duramax", which is latex, but reportedly their toughtest finish in a color called "Cowboy Suede".. sounds ghey, but the color was about DEAD ON for the factory tan top.. I used a 2 inch nap roller for the main body and a 1 inch foam brush to cut in the edges..
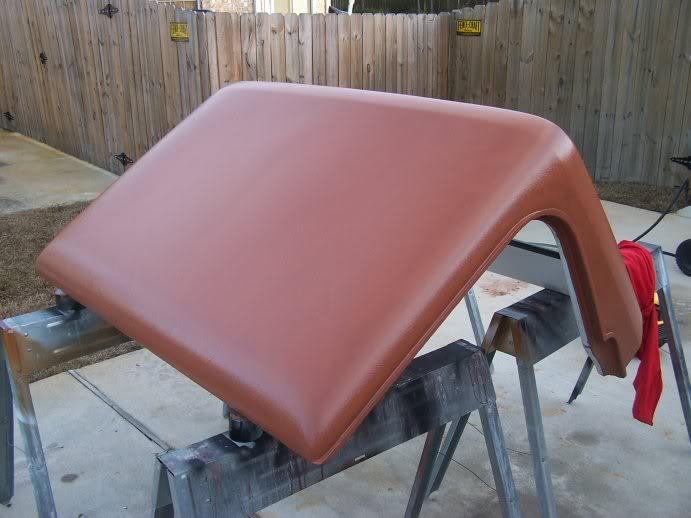
100_3348-1.jpg

UPDATE: well, this may not work out.. we had rain last night, or at least some very heavy condensation as is the norm here in the Florida winter following very warm days, and most of my paint had literally "washed" off in the night and directly onto my driveway, with brown puddles on the ground under my sawhorses. The result's a weird look, like about 50% of it had cured and the rest simply rinsed off. The paint is suppossed to dry in one hour and cure in four hours for top-coating, but it appears it might never have cured.. :banghead:

So... I'm a bit stuck with whether to try it again (bring it inside the garage and see if I can get it right in a controlled envrionment), or just sand it down again and use a rattle can lacquer..

The long term concern I have is with the paint or dye washing off/streaking down onto the Jeep after I mount the top, obviously not good with white paint!
 
I was a little concerned that something like that might happen. I'm not sure if the latex will bond with the fiberglass well enough to hold up over time. I think your best bet is to sand it down again and go with a spray can of the closest color you can find. I know O'Riley's Auto can mix paint and put in a spray can if you have the color code you are looking for. Good luck with whichever route you choose, I like the way your Jeep is coming along!
 
I went out this morning and checked it again (have done nothing to the top in the meantime), and for the parts of the top that DID bond, the paint still looks good, doesn't rub off, is scratch resistant, etc... which makes me wonder if it could still be the right solution with some better preparation.

I probably should have read articles on this before I tried it but, a quick search revealed a lot of articles about painting fiberglass doors... and latex is an appropriate paint, but you have to use a bonding primer first. For our tops, other than sanding/roughing up the texture, I'm unsure if the bonding primer is the difference maker... ?
 
That's good info, I've done no research on it myself. I've always been told to use a self-etching primer when painting metal so I'm sure you need something similar for fiberglass.
 
I bet the factory paint is oil based. Latex can not go over oil based paints. Oil can go over either, latex can only go over latex.
 
done a fair bit of "odds and ends" lately but nothing to show big picture details of..

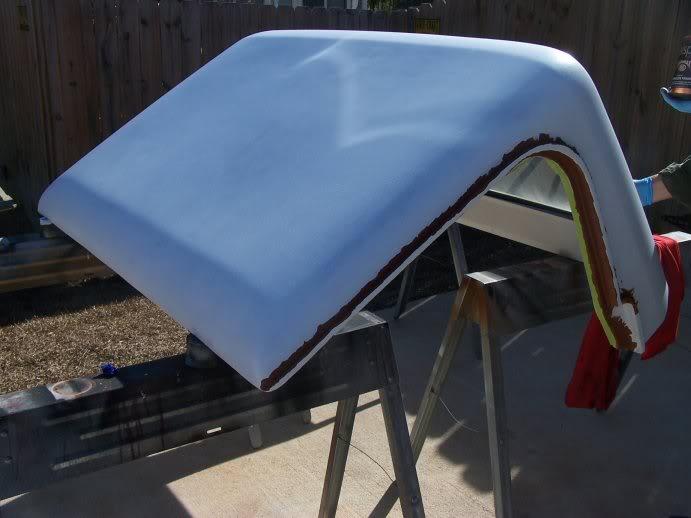
after the last top painting fiasco, I went with the web research and bought a quart of heavy duty primer (made by a company called Zinser) at Lowes.. basically it's suppossed to stick to anything, including old paint and PVC so, I figured it was okay.. again, this is not a full resto of the top, but an attempt to make it look a bit better than it was..

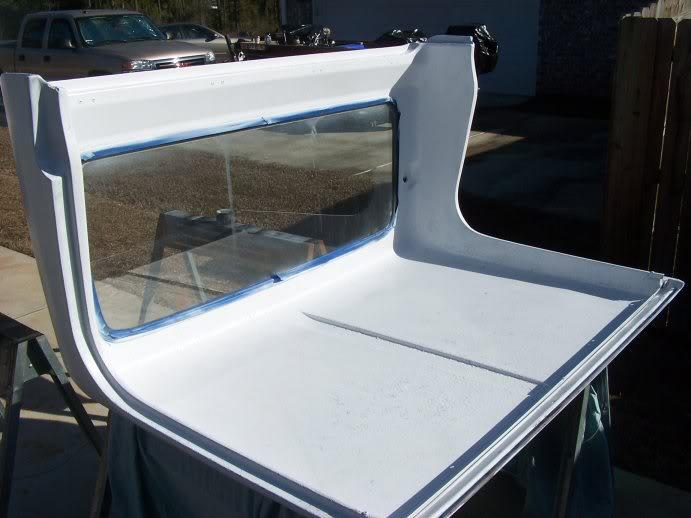
flipped the top back over and did another 2 coats of rattle can white to clean up the inside.. in the Army we call this "OD paint"... as in "over dirt" painting.. also had to buy a rivet gun to re-fasten the metal windsheild strip back to the fiberglas.. my first time using a rivet gun... pretty simple and found some good "how to" vids on Youtube to get me started..
100_3353-1.jpg


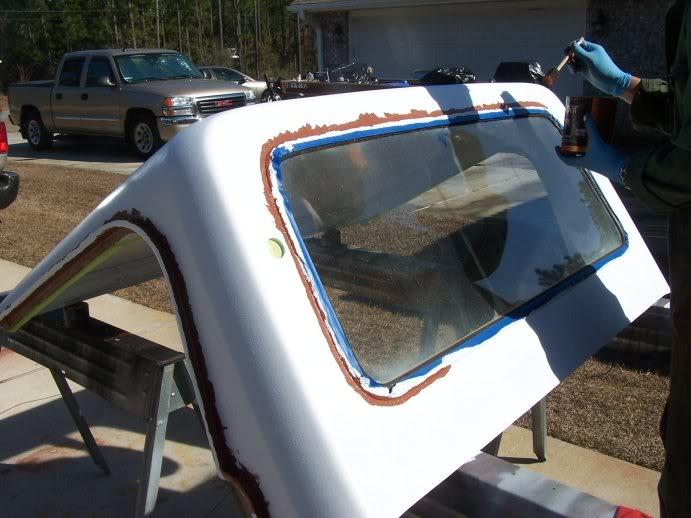
couple of pics of "cutting in" the brown paint again over the new primer.. once I saw the hard top in white I half considered keeping it white to match the truck ;)
100_3354-1.jpg

100_3357-1.jpg

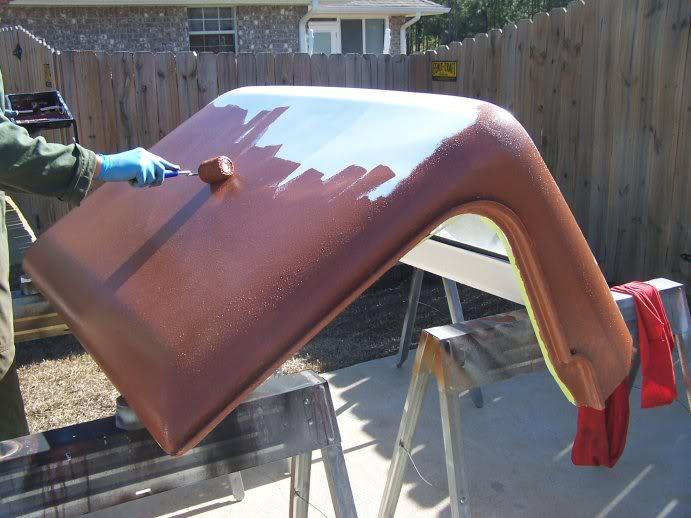
first coat of brown going on:
100_3359-1.jpg

100_3361-1.jpg

the discoloration you see here is actually light reflected off the rear hatch of my Landcruiser... weather has been BEAUTIFUL here in Florida this winter ;)

that was yesterday... today I painted a second coat and the first/second coats appear to be bonding just fine and giving me a good hard finish (couldn't scratch it with a fingernail).. I'll continue to report on progress/durability over time

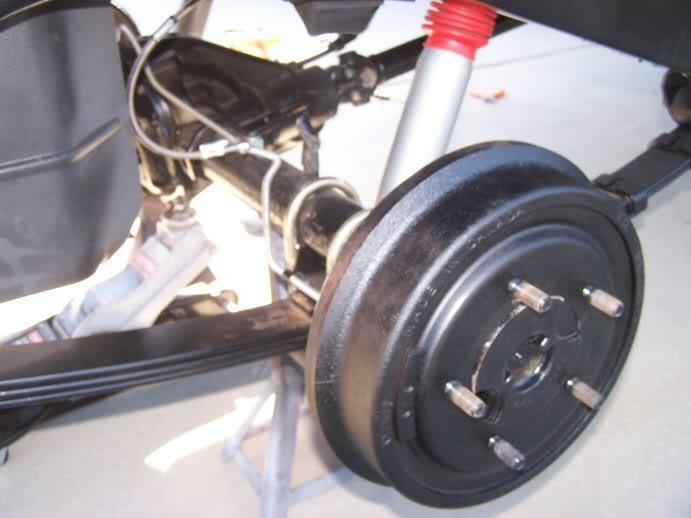
cr-p picture, but I rebuilt the rear brakes today (a job I hate... the first side always takes me three hours re-learning how to get it right, the second side takes twenty minutes).. I also finally ran the e-brake lines (as they have to go through the backing plates before you do the brakes) and got them hooked up to the foot pedal in the cab.. and then I did the stainless lines from the t-fitting on the axle to the brake cylinders.. a little rattle can BBQ paint to clean up the drums
100_3362-1.jpg
 
Last edited:
while I had the truck out of the garage today I test fit the PS door.. and noticed that there's a pretty good dent in the center of the inner door.. and now my window will not roll down.. I'm thinking that dent may be interfering with the window regulator.. in either event, I haven't put a lot of force on it lest I break it.. the resto of these doors (Jeff Scherb style) is a project that must wait 'til I finish the move to Colorado..
I"m just annoyed that I can't get the glass down because I can't put the replacement door felts in to keep the windows from rattling around, and I'm afraid they may break while the truck is in transit (on a trailer).. need to figure out a way to secure them

100_3363-1.jpg
 
Glad to see the pint holding up so far! Can you suff some old towels or foam down in the door to help support the windows and keep them from rattling?
 
have done more work than this, but this is the only stuff that I took pictures of:

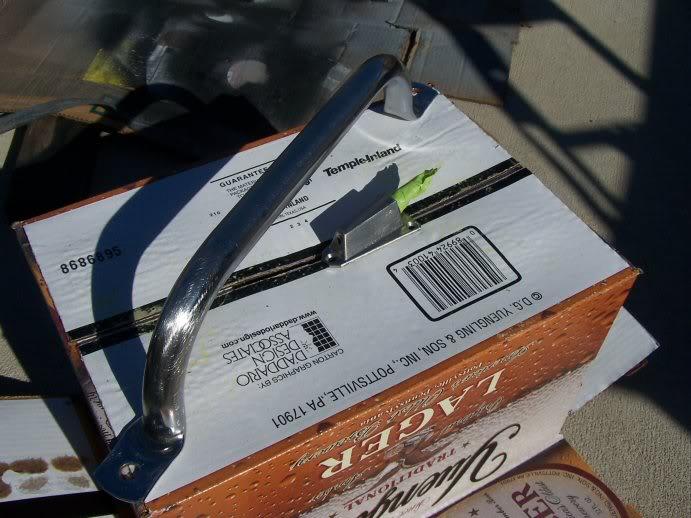
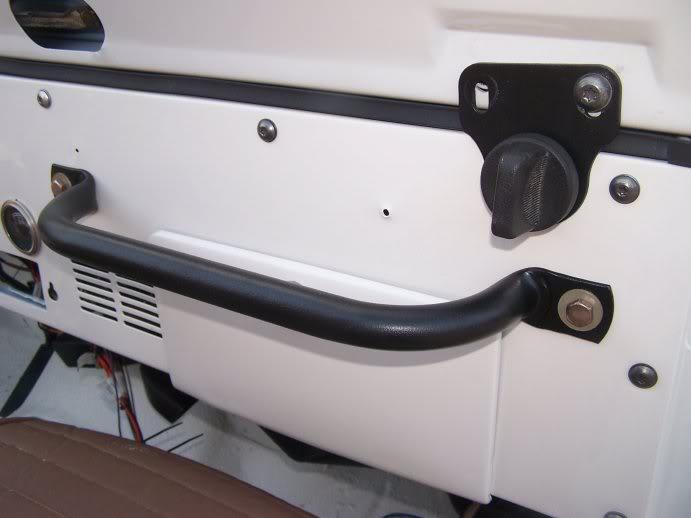
I had an old chrome grab bar that had some surface rust on it so... I used my bench grinder to get all the rust off (wire wheel), and then some 80 grit paper to scuff up the surface:
100_3368-1.jpg

and painted it with the bedliner to match my other trim pieces.. pretty happy (again) with the texture and ease of use...
100_3374-1.jpg


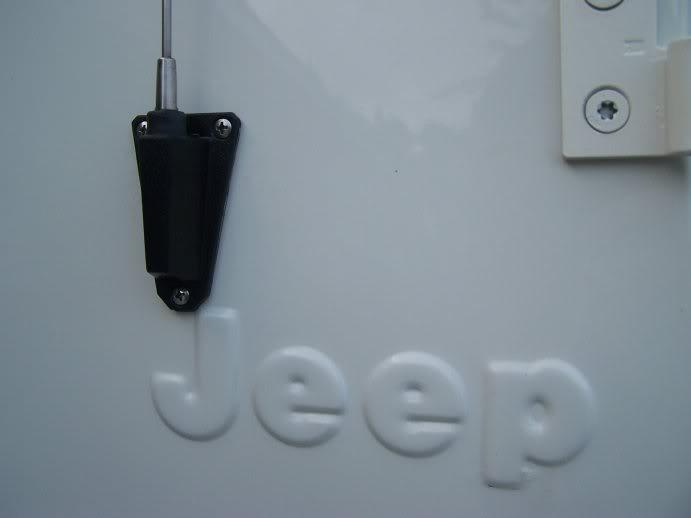
same treatment for the base of the antenna mount:
100_3373-1.jpg


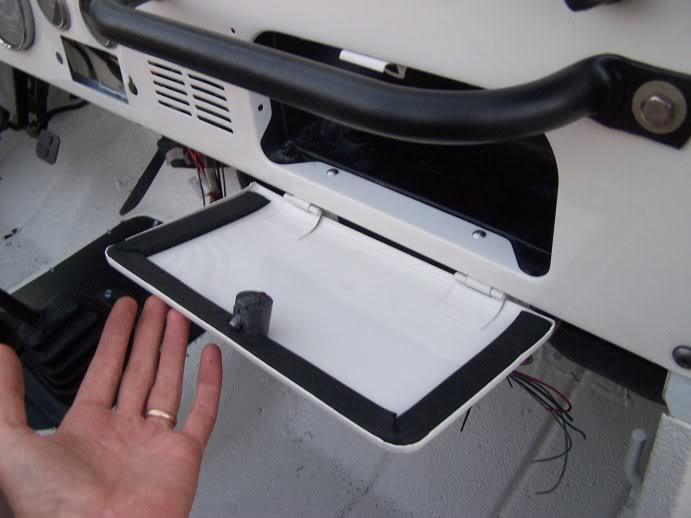
also cleaned up the latch/lock mechanism and mounted the glove box door.. it's a bit loose, so I tried using some weatherstipping (left over from the bulkhead install) to seal it a bit better and reduce noise
100_3370-1.jpg
 
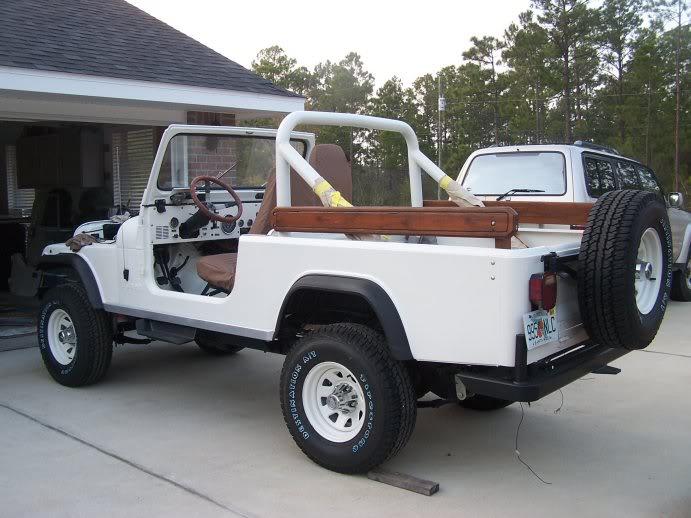
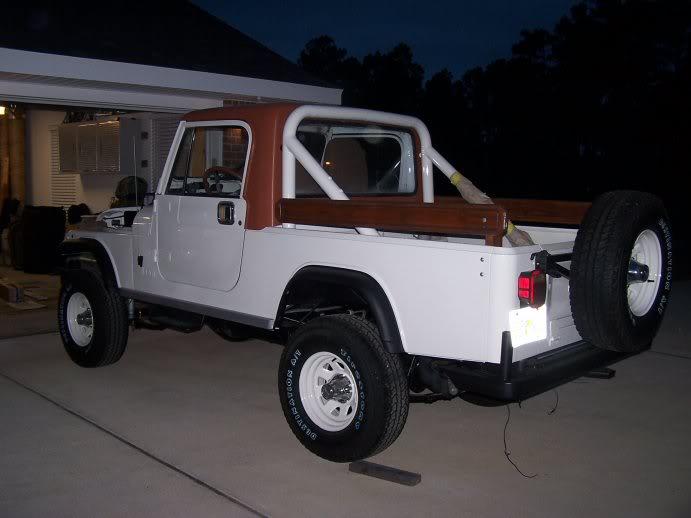
got my (non factory, I assume) wood rails mounted:
100_3371-1.jpg


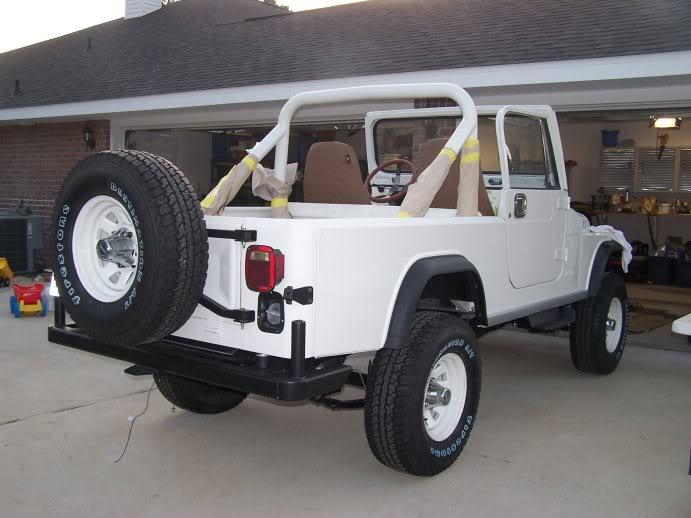
and my newly painted hard top on:
100_3385-1.jpg


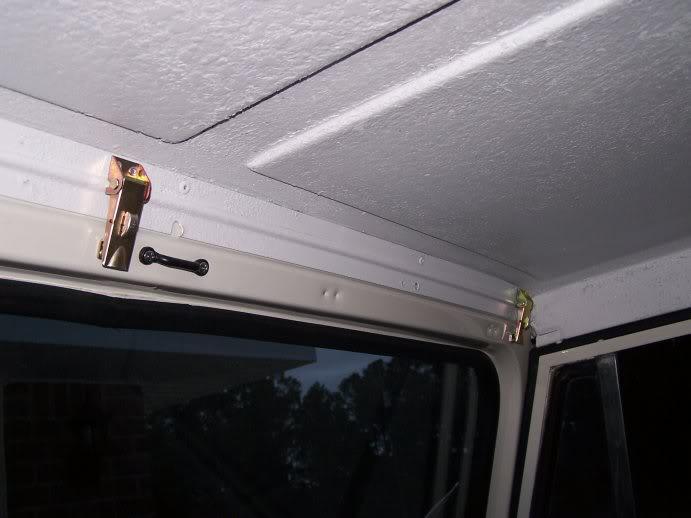
based on some discussions on this forum, mostly a hat-tip to Jeff Scherb's outstanding thread, I ordered three (should have bought four) of these tie-down latches and installed them to hold the front of the hard top on:
100_3384-1.jpg


eventually I'll order a fourth one and bracket the other side of the windshield tie-down point, just to make it look even
 
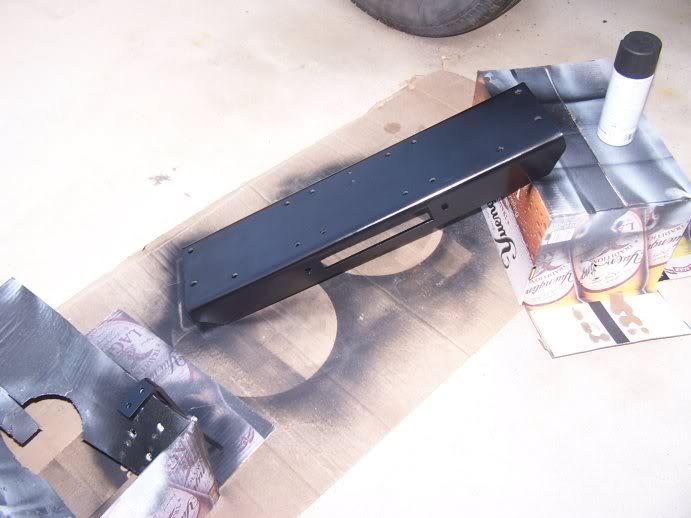
repainted my winch mount plate:
100_3375-1.jpg

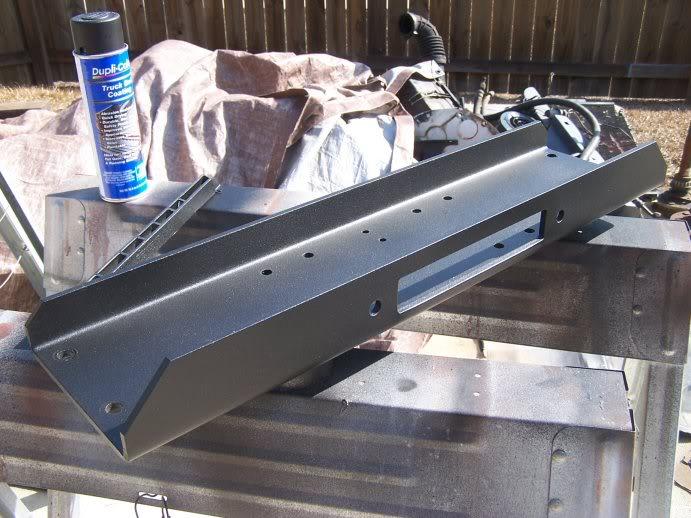
and the scuffed it and bed-lined it, again to match the common exterior/interior trim pieces:
100_3382-1.jpg


I've found the key to the Duplicolor bedliner rattle can is light coats, sprayed from a good distance, and more coats (better results than heavier/closer spray).. the stuff cures pretty quickly, so it doesn't take forever to re-coat (five minutes or more between coats)

as you can see I also tested it on one of the windsheild vents, and I was happy with how that came out as well..
 
idea for dash bolts

I did this on my CJ7 and just transferring the idea to my CJ8...

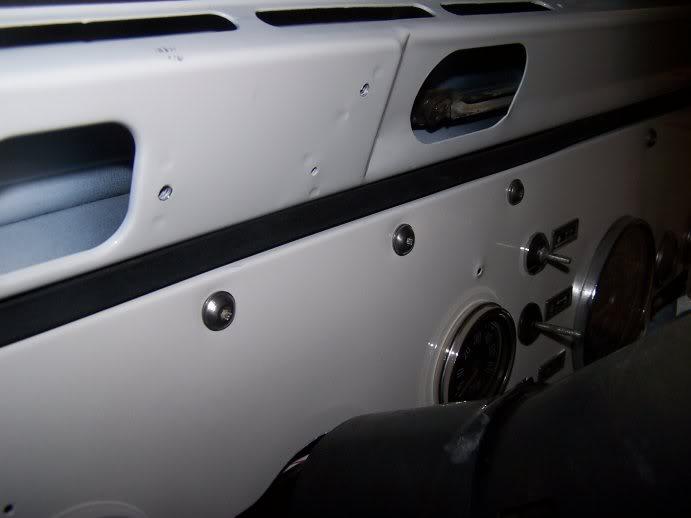
the exposed button head dash bolts don't look bad, but for some "effect", I wanted to cover them up:
100_3364-1.jpg


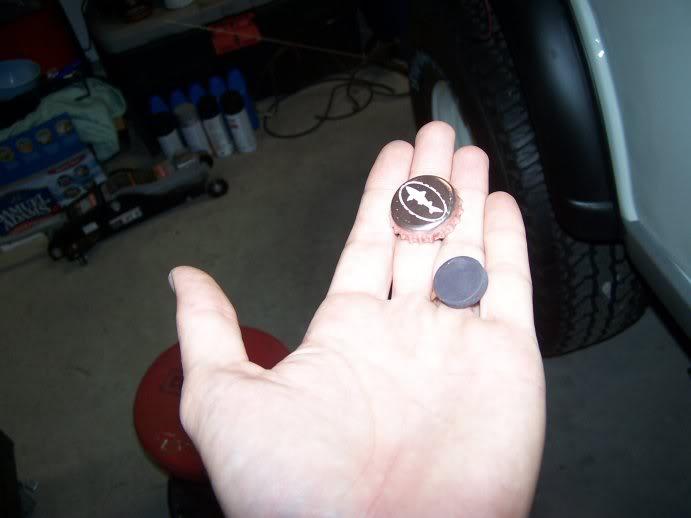
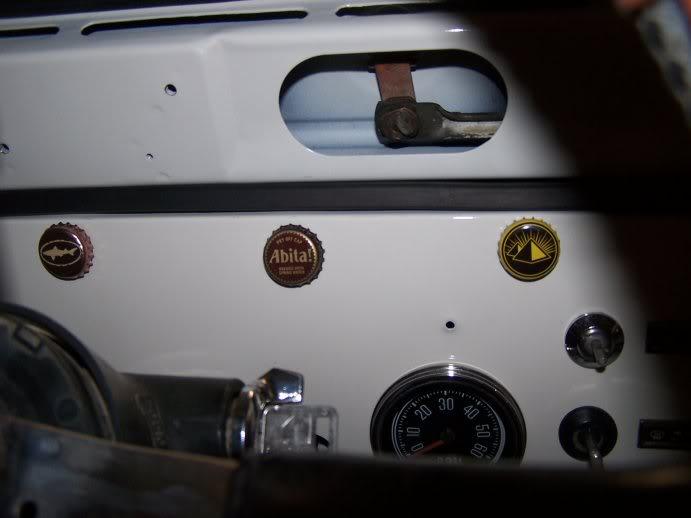
I used craft magnets from Walmart with beer bottle caps (no glue required)
100_3365-1.jpg


easily installed (or uninstalled if you get pulled over :evil: ):
100_3367-1.jpg
 
thank you Jeff Scherb

as I indicated in one of my earlier posts, I test-fitted the doors only to discover that BOTH doors had bad handle/paddle mechanisms, and neither window would roll down... this meant that I couldn't even close the doors to test fit them, as there'd be no way to open them... :banghead:

I was pretty intimidated by the prospect of cracking them open and rebuilding them, but Jeff Scherb's Guacho build thread, page 66-67, was all I needed.. I didn't take any pictures of the process, as Jeff has already well documented this but, in about three hours I totally rebuilt both doors... turns out that the body shop had put them back together "backwards"... the door paddles were on the wrong doors, therefore the links/latches were thrown off, which put link pressure on the door glass, not allowing them to move..

bottom line: this was actually one of the more enjoyable little "projects" I've done on this whole rebuild, and it was really satisfying to get it right.. both doors are now installed correctly, with working door paddles.. they'll still require a rebuild since one has a broken lock, and both internal door latches are terrible looking/partly broken.. this will be a project for me sometime this year in Denver, I just need to get it trailer-worthy for towing it there...

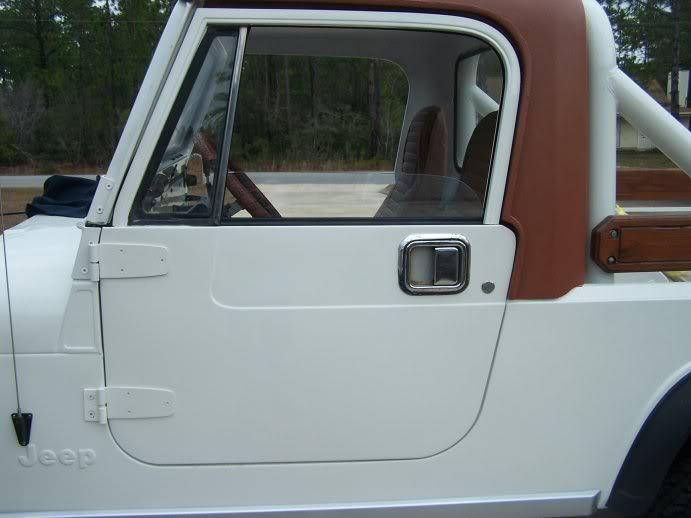
here's the door mounted/closed and (mostly) aligned properly (this pic is before I tighted down the front of the hard top to the windsheild, so the top is sitting a little high):
100_3381-1.jpg


final note: I bought the door gaskets, felts, and seals all of RockAuto for a good price, and they all fit perfectly..
 
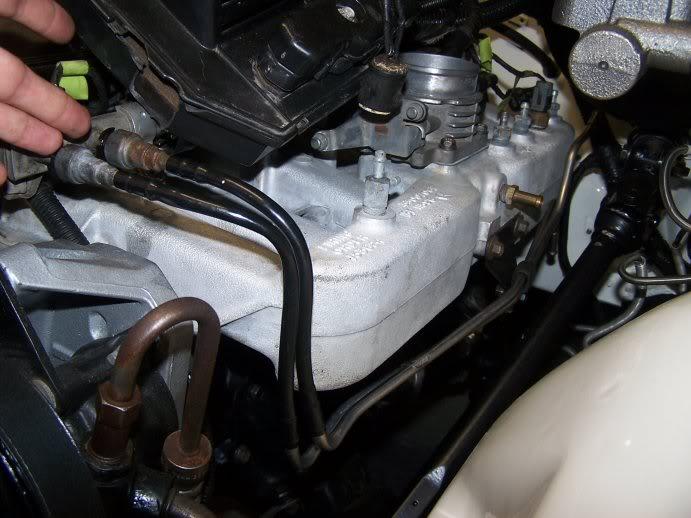
also bent up and re-mounted the YJ fuel lines in anticipation of running the EFI hosing to them (one of the last big plumbing jobs I have to finish). If you look toward the firewall/brake booster, you can see one of the lines is now bent "up" to receive EFI hosing that will come across the firewall from the original CJ supply line (same concept as aclaugh used in his 4.0 conversion).
100_3380-1.jpg


I also mounted the winch (no pics) but it looks good with the re-freshed winch mount..

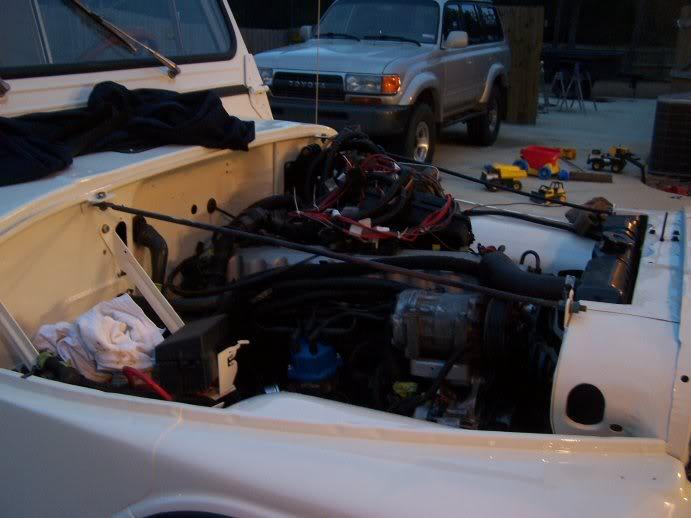
The only big "part" I have yet to install is the hood, which is currently in my garden shed. The last major "project" I have is my nemesis: the wiring!
100_3388-1.jpg
 
Last edited:
and that's going to be it for awhile...

I'm writing this update from a layover in Dallas. I'm enroute to Colorado as part of my move.. I spent the last three days at home spending time with the family, cleaning up all the garage, storing my remaining parts, tools, and accessories in anticipation of the big move. I thought about taking a pic of the jeep pulled into the (now tidy) garage showing it in the "ready to move" configuration.

I'll actually do a bit more work on it when I return to FLA to help with the move (if I can get the requisite time off), but I'm anticipating having to push it on/off the u-Haul trailer. This will be the THIRD cross country move that this jeep makes without being under it's own power.

I'll be on the forum contributing where I can and watching the rest of your threads, but I'm now officially in a "hold" period on mine (and I'm SOOOOOO close to getting it done.. bleed brakes, run fuel lines, mount PS resevoir, and finish the wiring).

12 hour drive tomorrow :wave:
 
can the prodigal son return....?

Any progress or updates:popcorn:

Ugh... no progress, other than I successfully towed it from FL to CO (with TWO roadside assistance calls to Budget Truck.. 3 out of 4 tires on the trailer were bad, had two flats/blowouts along the way)... the truck sat in outside storage for two months while we house-hunted, and then moved into the garage the day after we closed on our new place, and has sat, surrounded but the variety of crap, er, trappings of home ownership waiting to be organized so I can make space (and time) to get back to it.

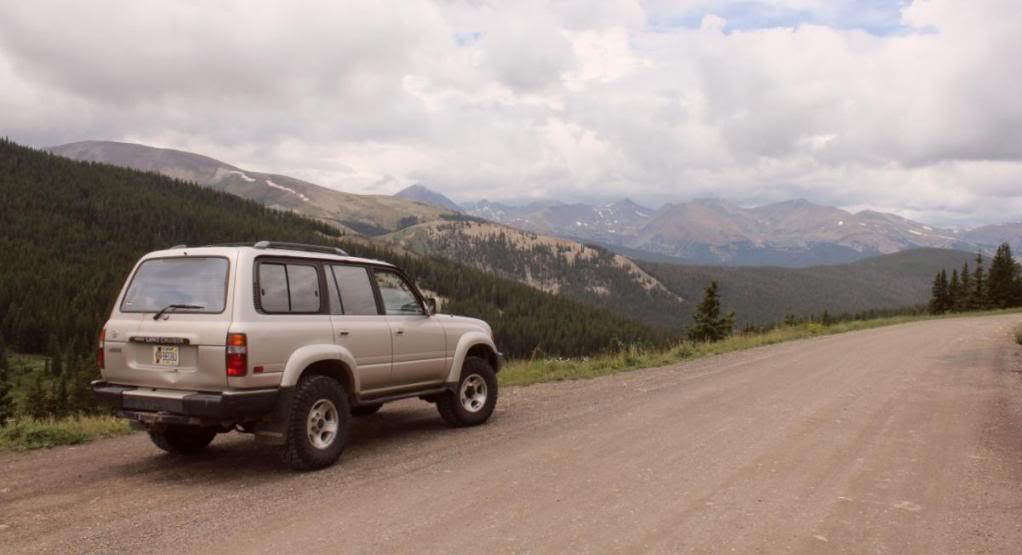
In fairness, I've had some time, but my focus this summer was on catching up on some preventative maintenance on my FZJ80 and getting out on the weekends (last time I lived in CO I missed all kinds of opportunities to really enjoy the state, primarily due to work)

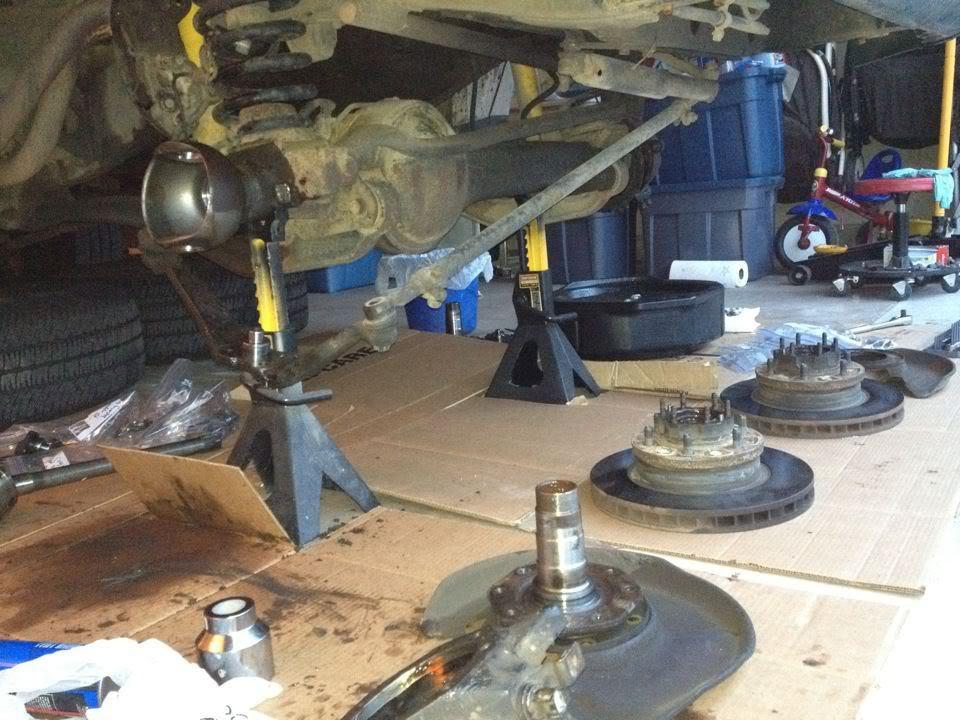
lcbirfservice2-1.jpg

LC axle service not as simple as a CJ ;)
Boreas2-1.jpg


the sad thing is that all I really have left to do (that I know of) is: plumb fuel lines in the engine compartment, mount the PS external resevoir, do the wiring (no small task).. and then shake it down to see what I forgot ;)
 
Back
Top