• Notice for iPhone users: DO NOT use the image size reduction option when uploading photos to the forum. This causes portrait images to post as landscape. We have added a warning to the image insert pop-up as well.

Mission Creep

a36b8474ba6e9c25aa6eb129ca1ba10c-1.jpg

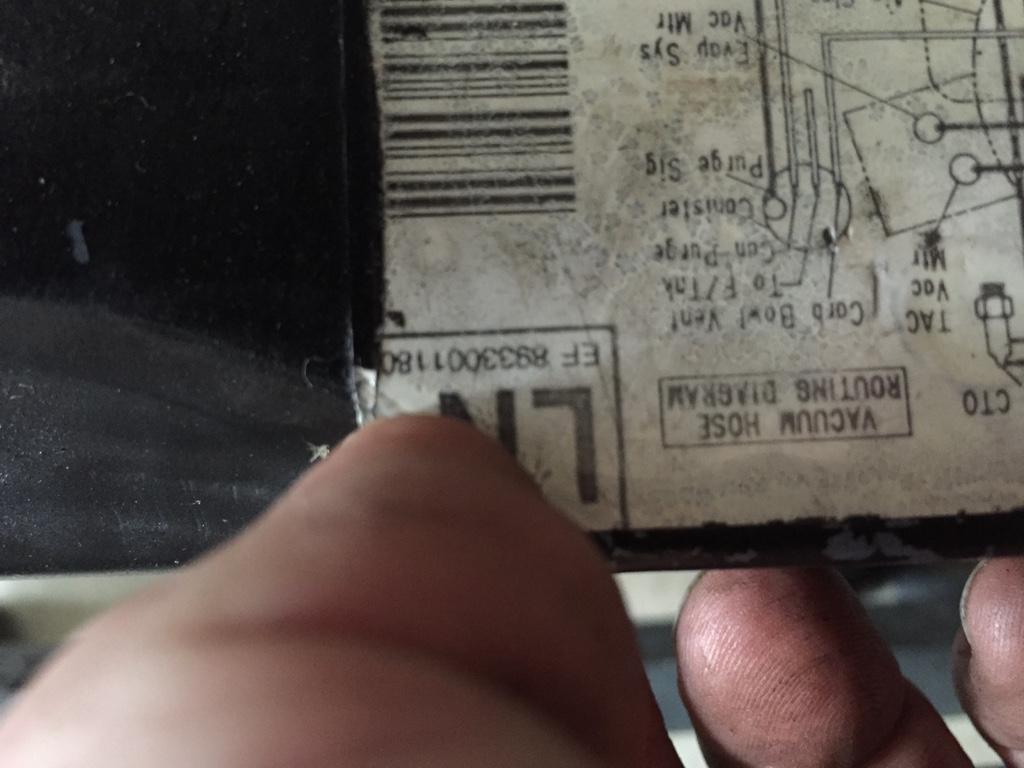
Anyone know where I can get a new emissions label. I want to get the grill blasted an painted. I guess I don't really need it any more but it's kind of cool to have it.


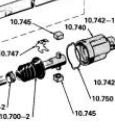
 
Once again I forgot to take pictures so I'm using images from a parts breakdown to illustrate.
Jeep Steering column.JPG
The boot on my lower steering intermediate shaft was torn so I replaced it this weekend. The tricky part was getting the boot over the pin through the end of the shaft that forms the pivot for the univeral. After about 20 minutes of failed attemps and head scratching :angry:, it hit me, turn the boot inside out and pull it over rather than trying to push/shoehorn it over. Now to some of you this would seem obvious, but for a few of us it takes a little longer.:o
Now I have to repair the lower steering shaft bearing. I haven't really looked at it closely yet. I noticed when I pulled it that the lower end of the steering shaft wasn't seated in the shaft housing. However, given the more pressing issues with the body and frame I just set it out of the way. Now as I get closer to the point of puting the body and frame back together it needs to be addressed.
 
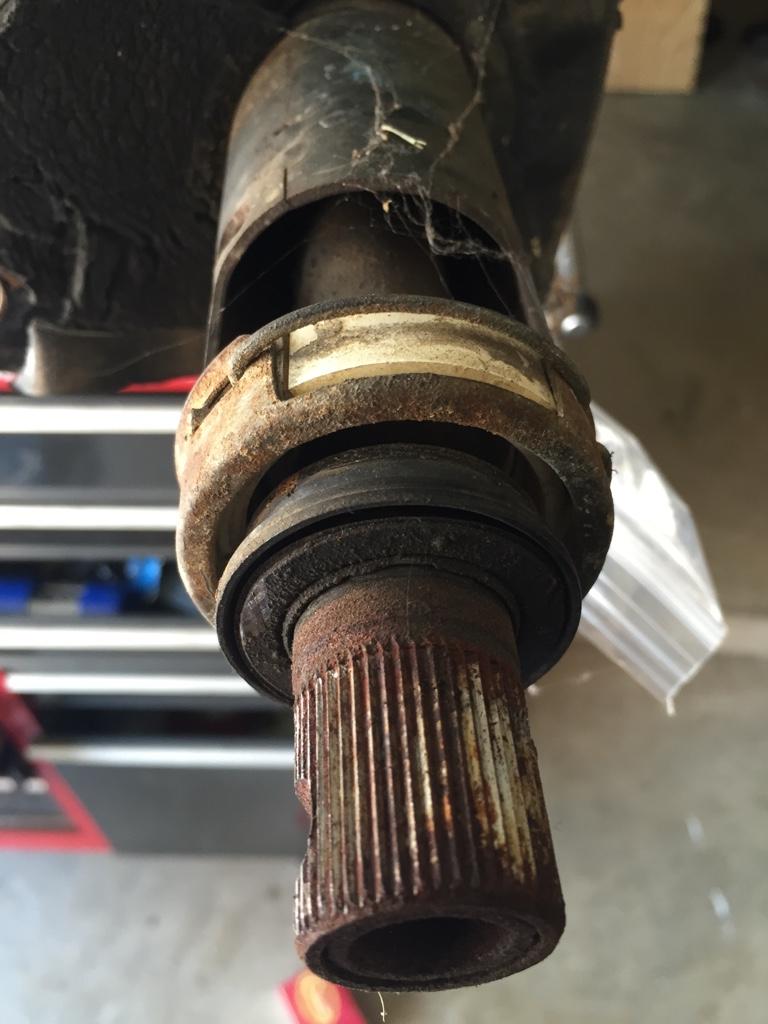
Put the steering column on the work bench to have a look at the lower bearing, and there doesn't seem to be any bearing left.

457e8aa5df4a043fe40a8aa455f32f7f-1.jpg


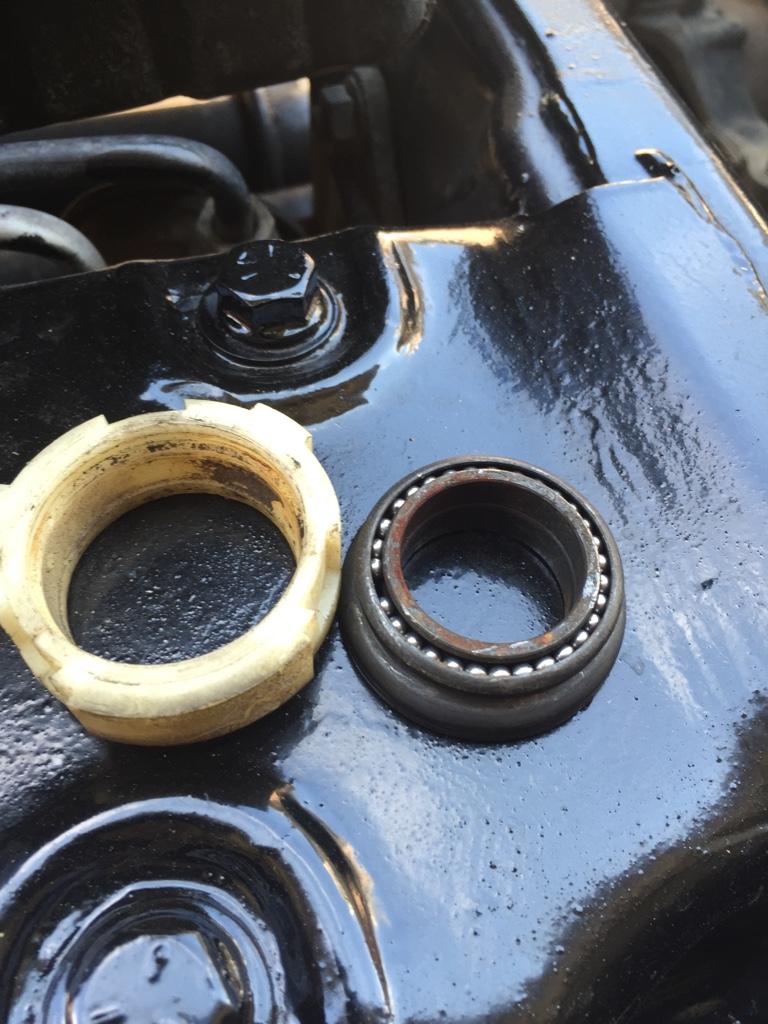
Or maybe it is supposed to look like that. Looking at the out ring for this bearing, at first, it looked like the inner race of a roller bearing but apparently that's just the way it is shaped.

575185d32b33f7d995e2b1fd4bbdecac-1.jpg


Will have to compare when new parts arrive. I'm not sure if the missing ball is by design or failure, but usually it's failure.


Last edited:
Find one yet? If not, I'll do some digging and see if I can find one to throw in with the cross member.
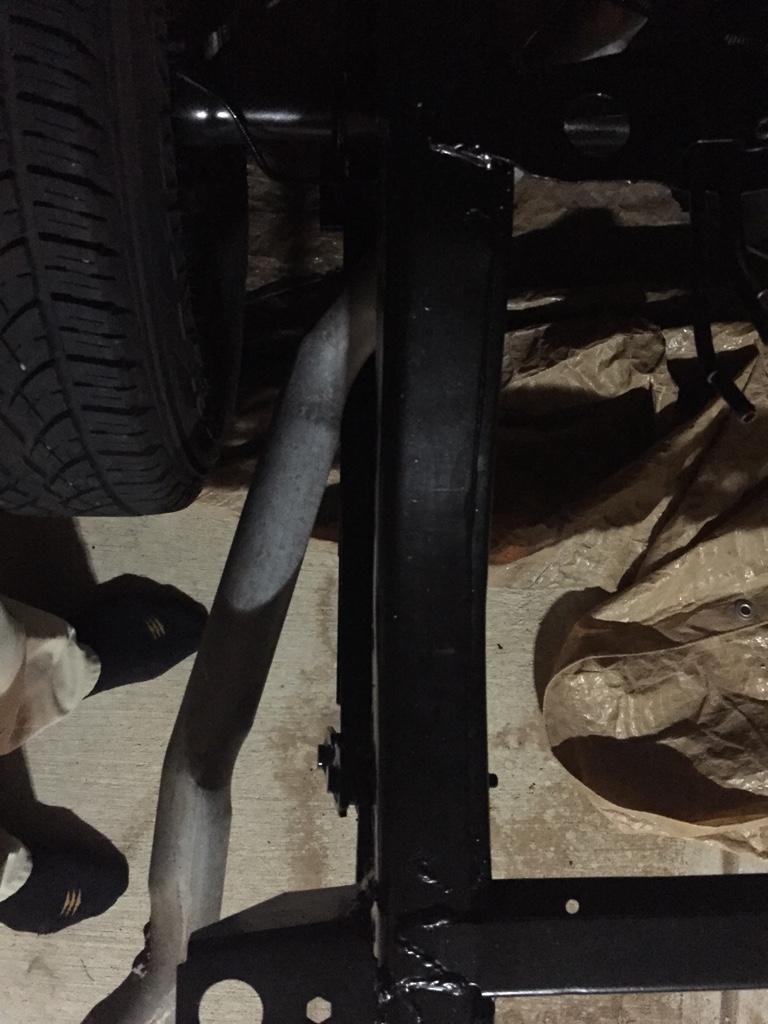
Doesn't look like the pipe runs close enough to the frame.

9e08fd821941cf500bf73ae6336bafe5-1.jpg


I have a mid frame hangar that kicks off the pipe out too far.


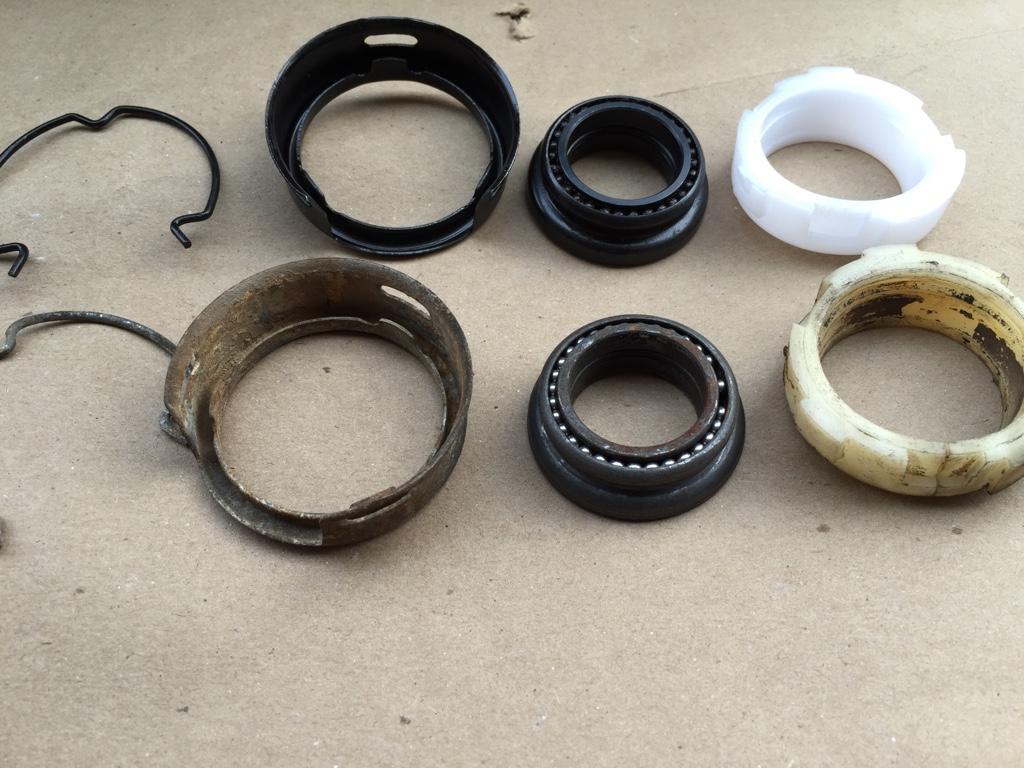
Looks like other than the broken bearing retainer the old parts were okay. The new bearing has ball bearings missing too.

0bf729f344f4dd56c2b5d860cb590968-1.jpg


All installed and ready to go

Lower steering shaft_1.JPG
 
Last edited:
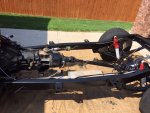
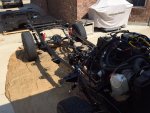
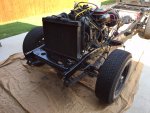
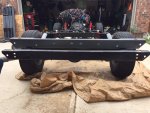
Some pictures of the frame after cleanup and 2 coats of POR 15.

Frame after_1.JPG

Frame after_2.JPG

Frame after_3.JPG

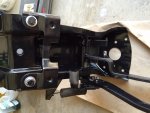
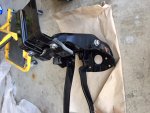
I have also given the local powder coater a good bit of business. This is the pedal module ready to go back in, the brackets were bare metal when I took them out. You can tell the difference in the one small bracket I painted.

Pedal module_1.JPG

Pedal module_2.JPG
 
Last edited:
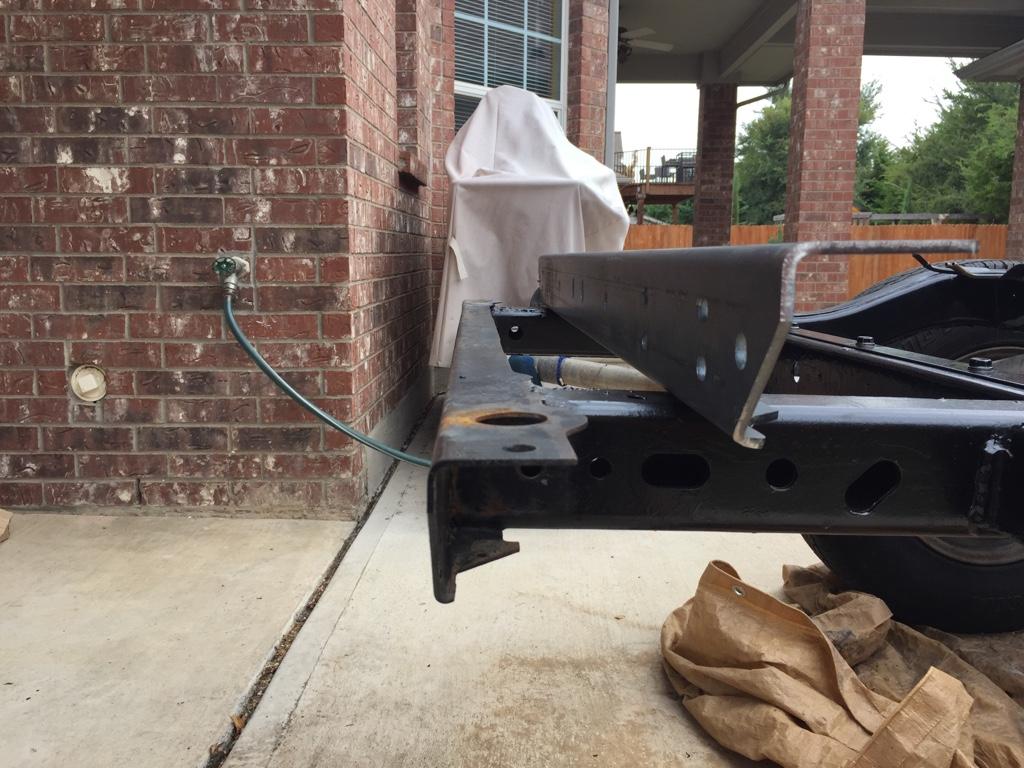
Got the new rear cross member yesterday from Chiefwaho. I initially ordered one from 4x4 parts. Then the Chief suggested I check out the posts about one the he makes and sells.
https://www.cj-8.com/forum/showthread.php?21906-Laser-Cut-3-16%94-Rear-Cross-Members-for-CJ%92s-(Kansas)&highlight=rear%20cross%20member

Crossmember_1.JPG

e26d95f99795cf445cd23d3ded0dd707-1.jpg


After reading that thread I returned the first one to the store and ordered one from Chief. Much heavier metal for a few dollars more. Since this is the attach point for my bumper I thought it it was a good idea.

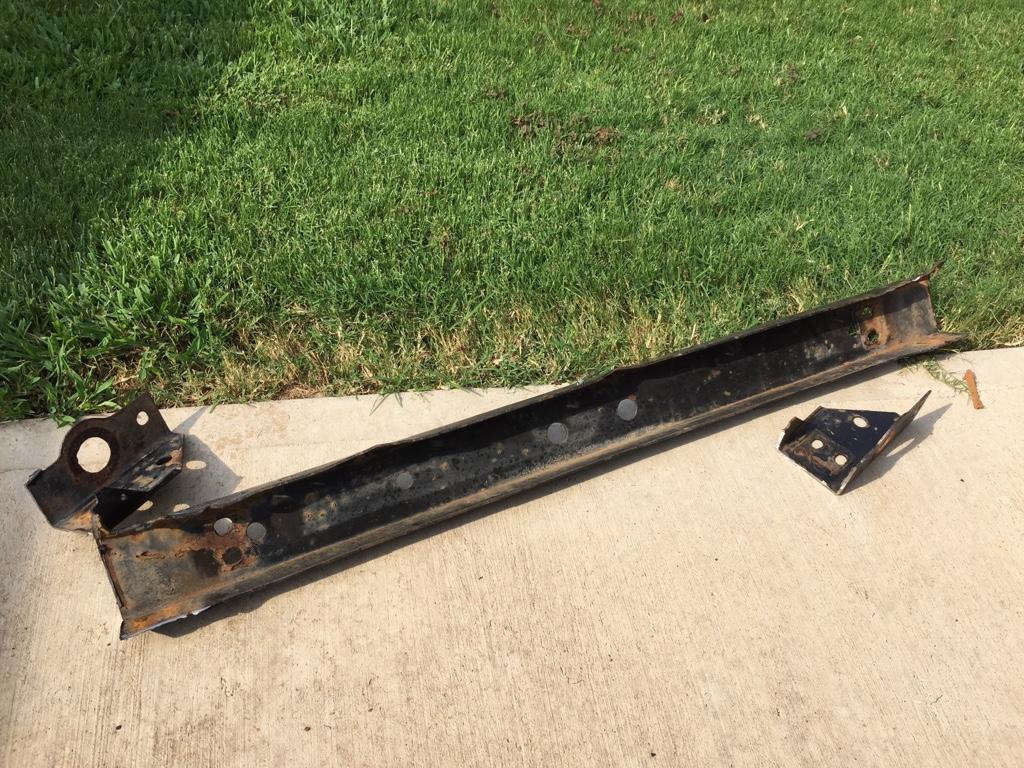
I cut off the old metal yesterday and cleaned up the metal on the end of the frame. Now I have to try out my welding skills.

ae070c3b7aad6ecee9dc1c6810d0d914-1.jpg


Crossmember_4.JPG

 
Last edited:
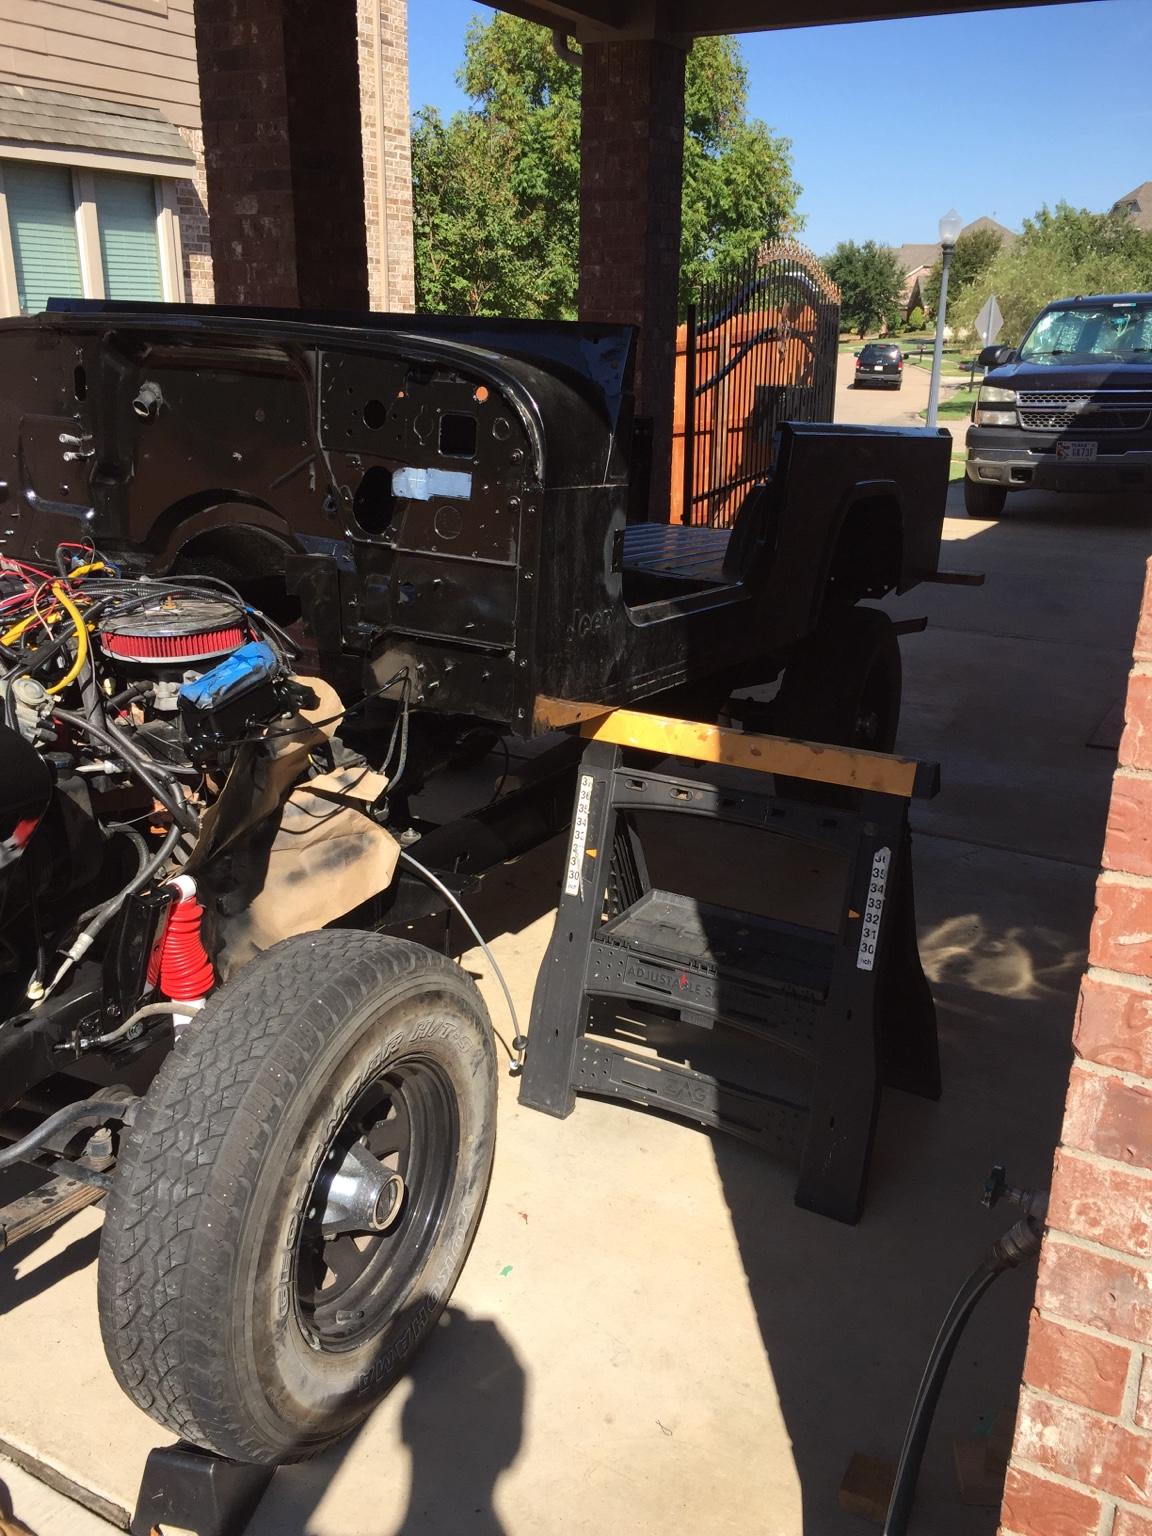
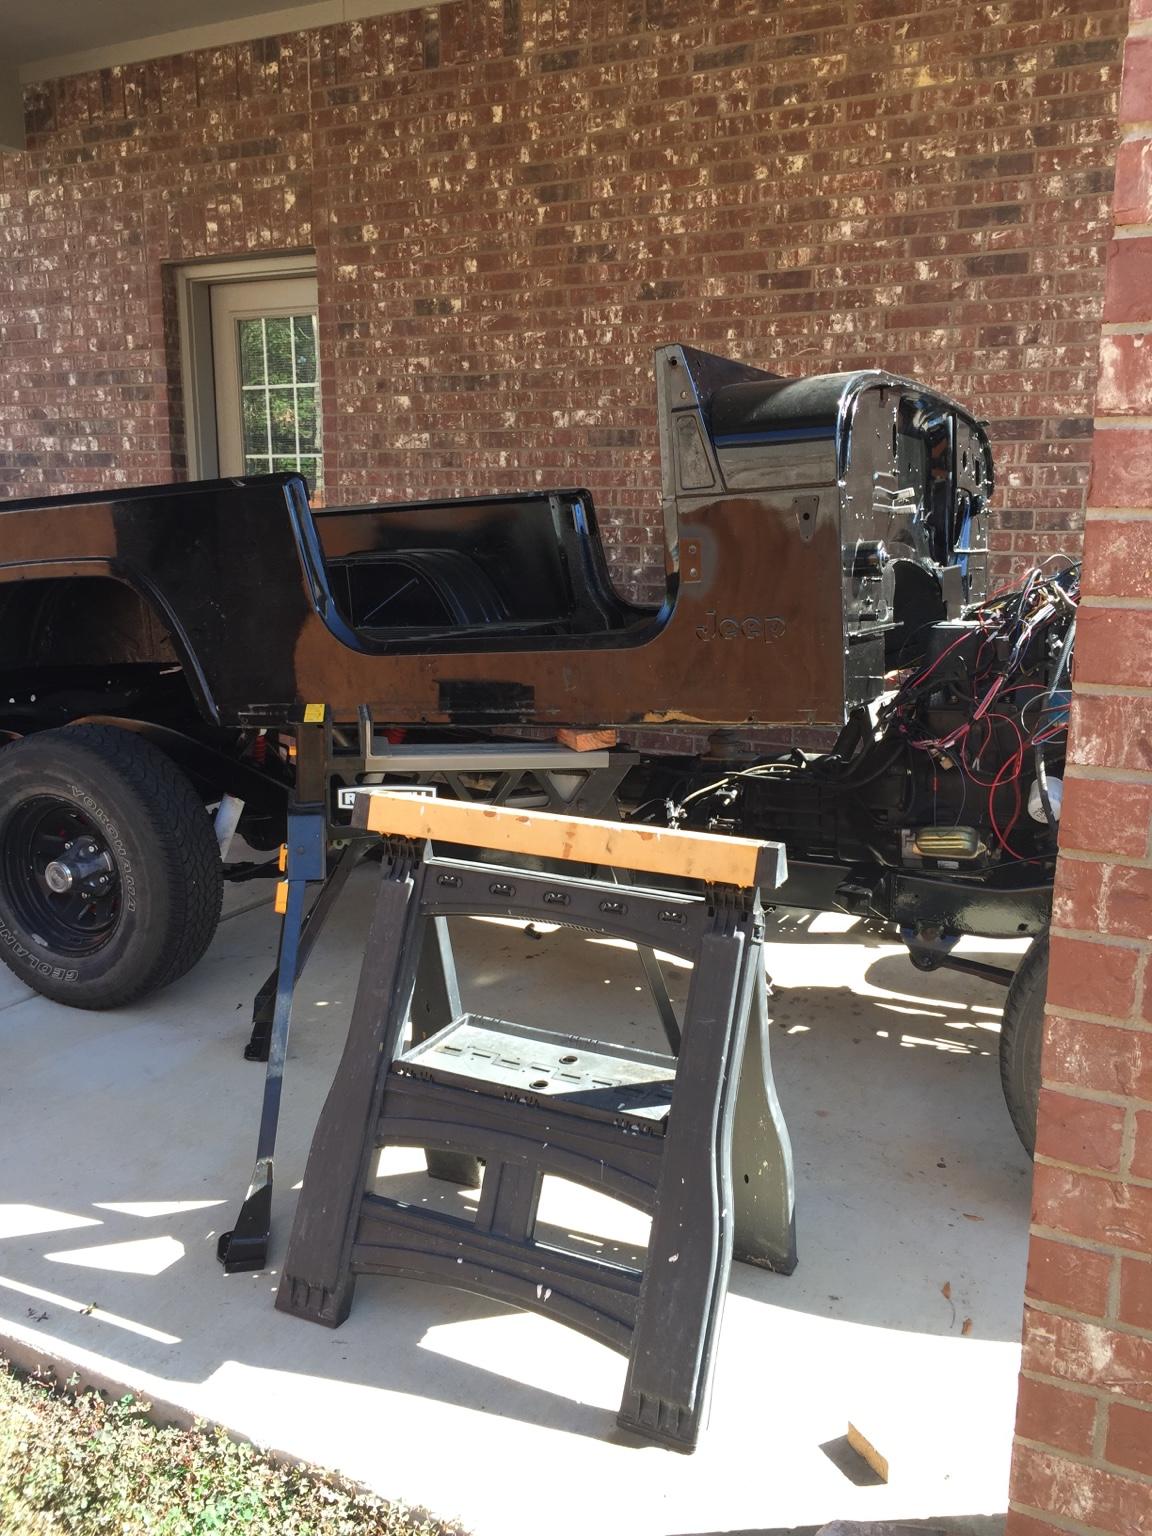
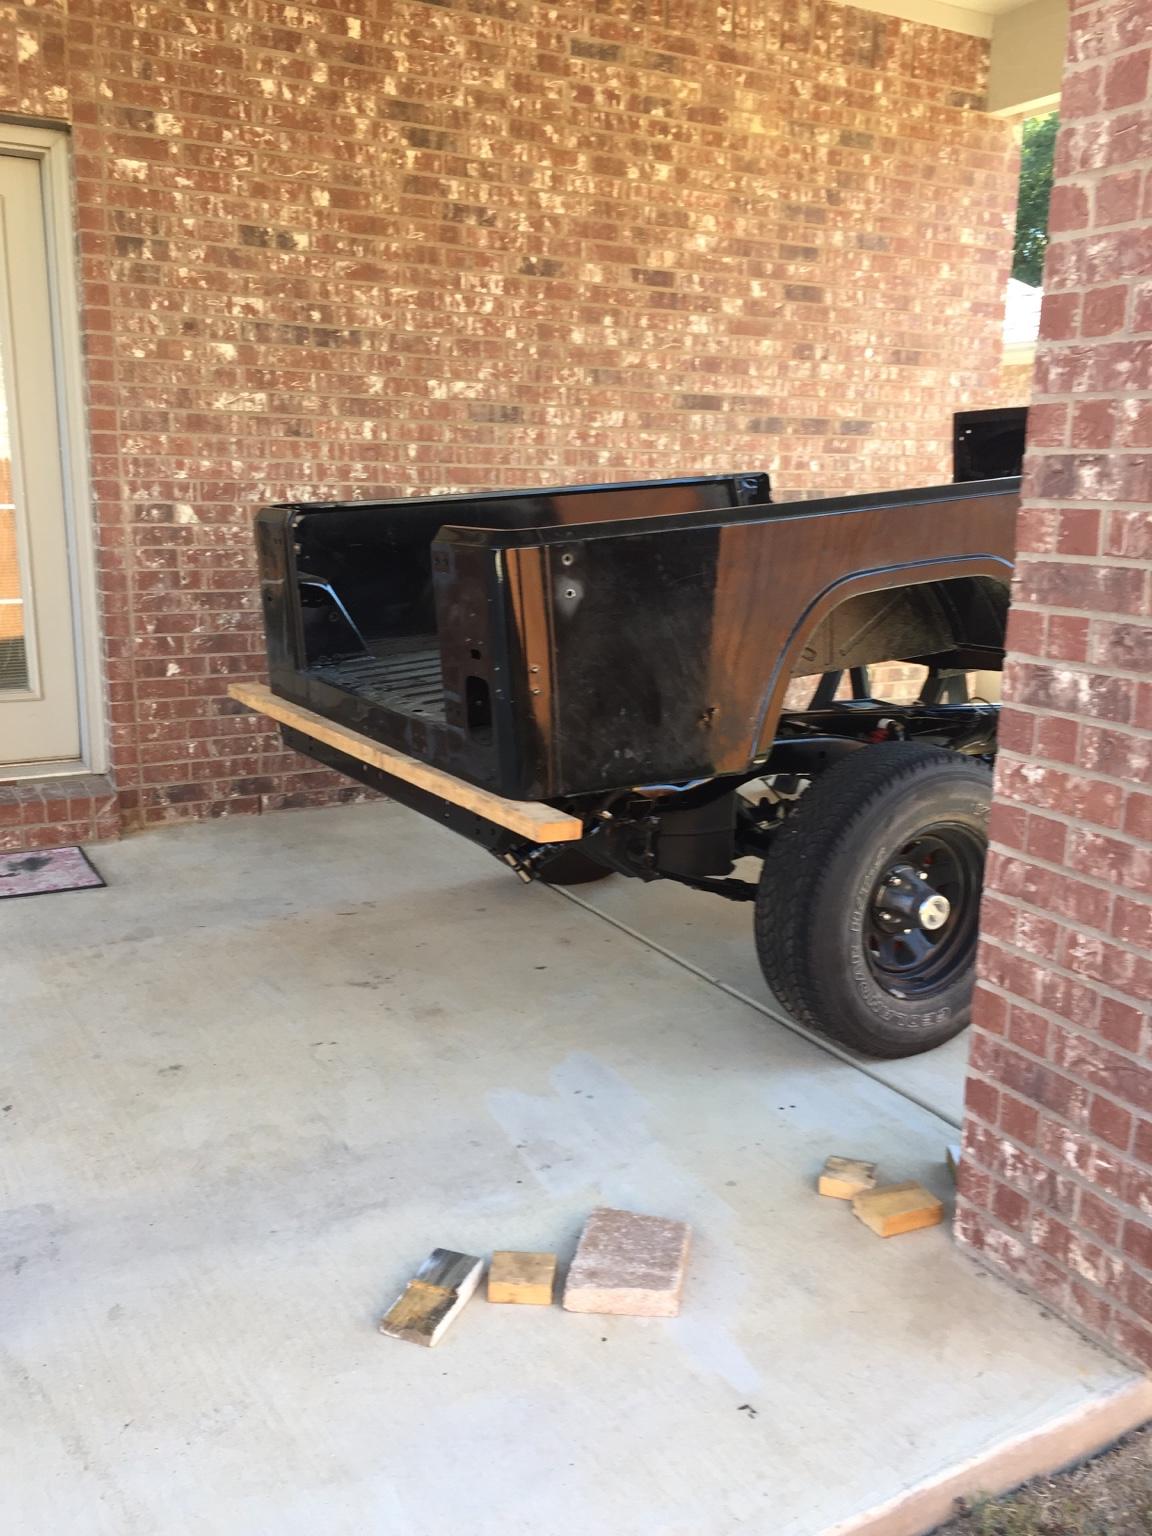
I got the body back on the frame yesterday. It took a bit of doing, but with the wife helping we got it done. No that shade is not from a tree.
7e9c3d077f20fd93fd955a901896078b-1.jpg
1e2d83146bcafa7251727b56d149548c-1.jpg
ab9b8ccb058657bdc8db0b9a9073639c-1.jpg


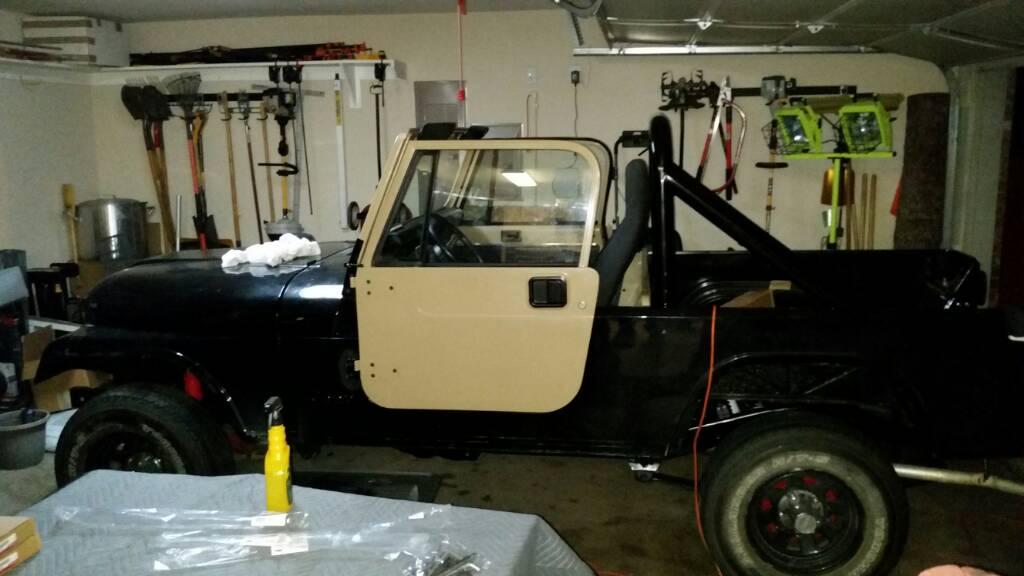
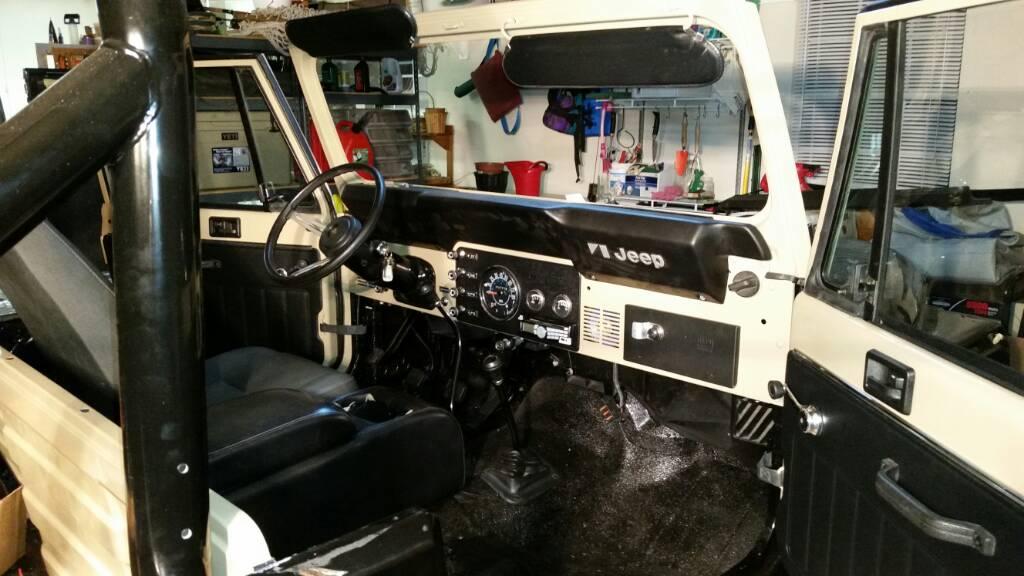
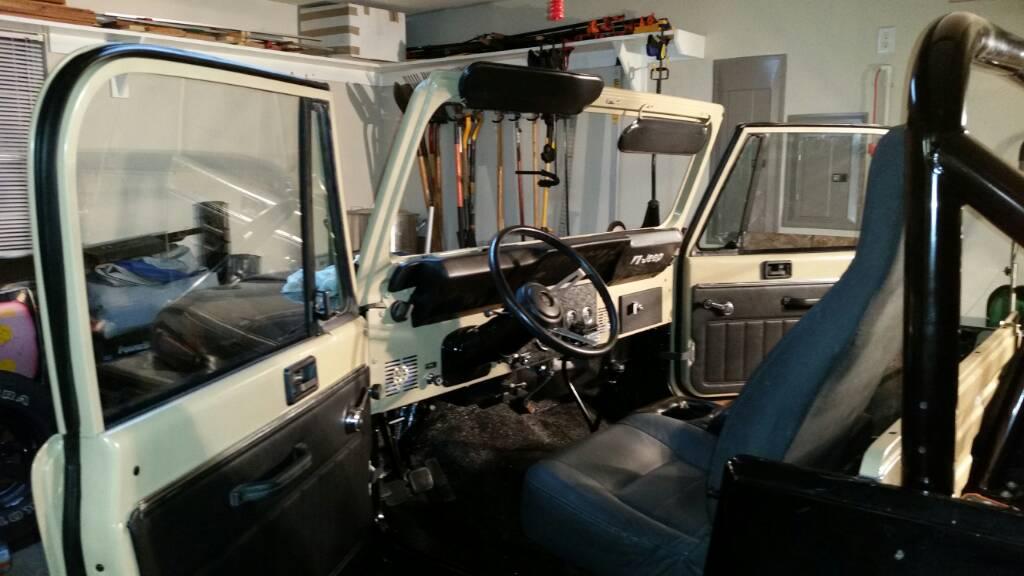
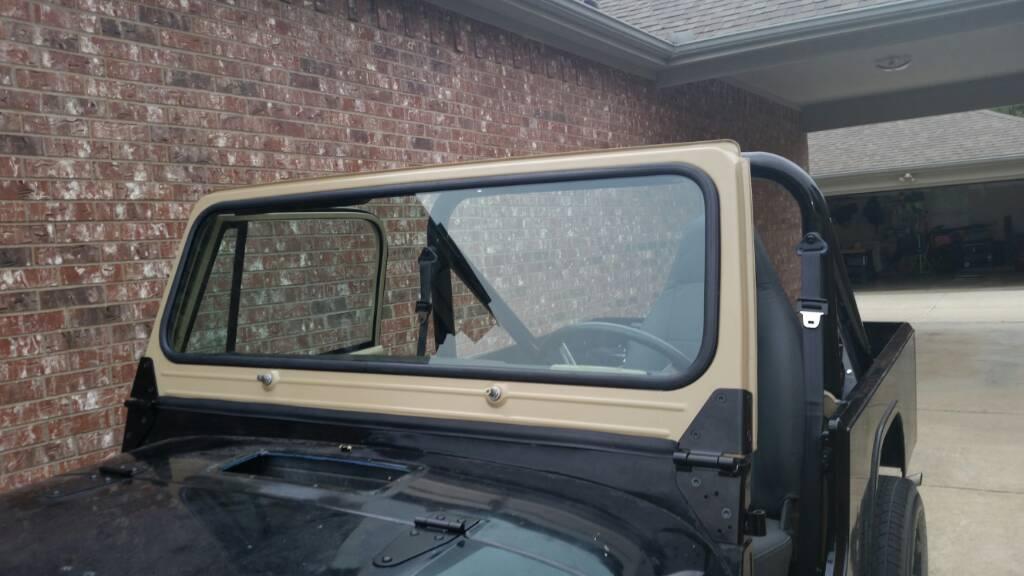
I haven't posted in a while, so to update here are some pics. Eventually the whole body will be beige. I went with this color not just because I like it, but it will cut down the easy bake factor in the Texas summer. The original color was Ice Blue but I just hate that color.
bb3f8f1de83bc3d1ad590d98c3340813-1.jpg
a0dacf5a87a24c3c14b35b15b8d5c92c-1.jpg
caf897f963dda80a1a743be083e0960e-1.jpg

I'm liking the way it looks

Sent from my SAMSUNG-SM-G870A
 
I hit a snag after the left door was installed. There is a hook welded to the rear run channel that holds the slide for the outside door latch release rod. The hook broke off. It was originally welded on. I tried JB Weld but that didn't hold. It doesn't look like there is any good way to fix this. I also have a Crack behind the vent window. I understand this is a chronic problem with CJ doors. Looks like I'm in the market for a LH door. If I correctly understand what I've read in other posts, 83 and up CJs and all YJ doors will fit. Any advice or leads for a door?

Sent from my SAMSUNG-SM-G870A
 
Not able to find a cheep door to replace mine, so a friend suggested I attempt to repair the one I have. He loan me his MIG welder and I'll have a go at it. Has anyone ever removed the rear run channel from the door? I'm thinking I can keep most of the repairs in an area covered by the door pad. The Crack at the beltline just aft of the vent is a different matter. May have someone with more talent than I to do that repair. What have I got to lose? If I totally screw it up, well I was going to have to buy a door anyway.

Sent from my SAMSUNG-SM-G870A
 
Regarding the above , I know exactly what you're talking about with that little hook in there and actually later on they changed that little hook to be more of a bracket that was spotted on but still that bracket can fail.

both can be fixed with a welder it's not a big deal you can get a MIG gun in there and weld it back on. My miller 210 just barely fits back when I only had that I did it but now the miller 135 110v is a better choice.

As far as the upper cracks I have welded those shut as well and added a little reinforcement there under the vent window but lately I just have been using YJ doors the last crack I fixed was probably 6 to 7 years ago.

Jeep is looking great and I am very in agreement with the color change. Keep up the great work :cheers:
 
As far as the upper cracks I have welded those shut as well and added a little reinforcement there under the vent window but lately I just have been using YJ doors the last crack I fixed was probably 6 to 7 years ago. :
Thanks JJ. 2 questions 1) what kind of reinforcement did you us and how did you get the shape to match. 2) Do you have a source for a LH YJ door? I don't see how you got the welder inside the door, but I will certainly give it a go. I tried clamping the hook in place when I tried the JB Weld and I couldn't get a small pair of needle nose vise grips on it, at least not in the original location. Moving it up an inch or so would make that possible, and it looks like wouldn't make any difference in functionality.
 
Thanks JJ. 2 questions 1) what kind of reinforcement did you us and how did you get the shape to match. 2) Do you have a source for a LH YJ door? I don't see how you got the welder inside the door, but I will certainly give it a go. I tried clamping the hook in place when I tried the JB Weld and I couldn't get a small pair of needle nose vise grips on it, at least not in the original location. Moving it up an inch or so would make that possible, and it looks like wouldn't make any difference in functionality.

I reinforced from the inside with a piece of steel but the outside I welded the crack and ground smooth. I have pics of this but they are buried circa 04-06 ish On the door rod I can get the gun in but it's hope and poke for the most part. But once you get it you can see if it is a good weld after. And always remove the glass first !! Or cover the heck out of it.
 
Got through the safety Inspection so I can update the registration. Now to find a paint shop to finish the resto.


Good news, passing inspections and BMV is a real pain in the butt.
 
Back
Top