• Notice for iPhone users: DO NOT use the image size reduction option when uploading photos to the forum. This causes portrait images to post as landscape. We have added a warning to the image insert pop-up as well.

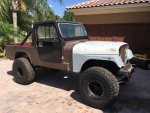
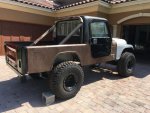
Florida '84 Scrambler

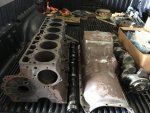
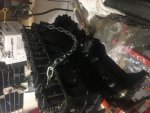
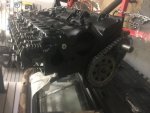
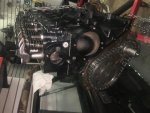
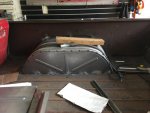
The Scrambler is a 1984. I think I essentially have two of everything. I am getting ready to take the engine to the machine shop, but I'm unsure which engine to send.
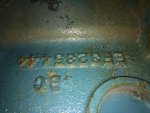
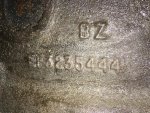
The Engine that is on it, which I think is the original engine is stamped:
BZ
EF3235444 on drivers side,
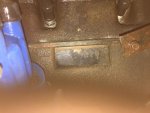
and 309C29 on the passenger side... I think this means it is a 258 manufactured in '83, Sept, on the 29th

the second engine is stamped:
BC
EF3235444 on the drivers side,
and 012C17 on the passenger side....I think this means 258 manufactured in '80, Dec 17th.

Any thoughts on which engine I should use? this will be a daily driver, mostly original, on 32", We are staying 258, Fuel Injected, with an ax15.
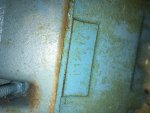
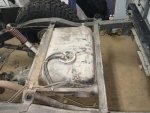
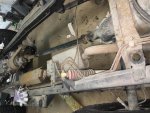
IMG_0190.jpgIMG_0194.jpg

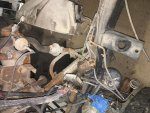
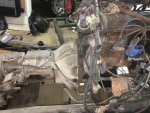
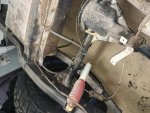
IMG_0191.jpgIMG_0192.jpg
 
Last edited:
If you're not doing a full-on authentic restoration, it probably doesn't matter. Maybe have your machine shop evaluate both blocks?

All else being equal, I'd probably pick the newer engine.
 
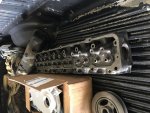
Not sure, but I believe the '80 would have the 12 counterweight crankshaft vs. the 4 cw in the '83.
Also I believe the head bolts on the '80 are the same as the 4.0 if you wanted to do a head swap whereas the '83's aren't. :shrug:
Either one should be easy enough to visually check.

Not sure if any of this matters for you or not.
 
FLC is right on the counterweight count and bolt sizes.

The 83 should also have an aluminum intake whereas the 80 may not, unless it was swapped on by a PO or an original California build.

In addition, the 83 head will have smaller valve guide bosses in the ports and "flow better" than the 80 heads. Though neither is anything to write home about if you want high rpm performance.
 
Congrats on a successful trip to round everything up. It's great to have your kids involved too. Keep the thread alive and going even on the little things.
 
the original 258 off to the machine shop... I opted for Titan engines in Ocala which is about 75 miles away... they gave a 3 yr warranty and the other two shops I went to were .... well not what I expected. The first shop I couldn't get the guy to give me anything other than one word answers like "yep... Nope". I don't need a hug, but it would be nice to have communication. The second shop just didn't feel right as they kept asking information about the parts and didn't seem to know what kind of engine the 258 is.

Titan was responsive, answered the phone, answered my questions in person and said it would be ready in a week.


IMG_0227.jpgIMG_0226.jpgIMG_0227.jpg
 
Last edited:
As promised the work by Titan was done in a week, but it took me a couple of weeks to get there to pick it up. They were very professional, prompt and delivered .30 with an RV cam.

IMG_0334.jpgIMG_0335.jpgIMG_0336.jpg
 
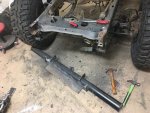
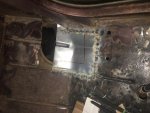
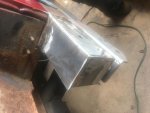
This bumper took about 6 hrs cut out the passenger side half... until I realized the wheel I was using for the 3/16ths bracket was a grinding wheel and a cutting wheel. Getting the right cutting wheel, I was done in about 45 minutes. I also finished cutting out the rear crossmember and test fitting the crossmember from Chief Wahoo... perfect fit! thank you.CW.

IMG_0279.jpg
 
Nice motor. Are you putting the EFI (sniper). You keeping the stock head or going toward the 4.0 head?
 
Looking forward to hearing about the Sniper once you get it running. Been thinking about going down the same path.
 
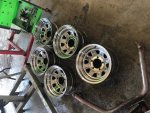
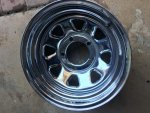
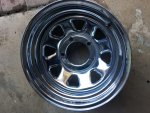
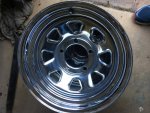
We scored some nice original wheels from Terry, who sold me 5, 8x15 chrome original wheels from his personal jeep that had 30k miles on it. The wheels are an 9.5/10 and exactly what I was looking for.


IMG_0351.JPG

IMG_2429.jpgIMG_3309.jpg
IMG_9948.jpg
 
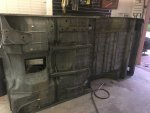
I had the tube media blasted by a business that does it on a mobile truck. I sent the guy pics and he quoted me a price of $500. Everywhere else told me $1000. Of course The guy comes out and then the price changed to $1000. No worries, I figured it would be more than $500, but I do value frankness and honesty.

Of course my neighborhood association had a conniption... I'm not sure why.. it just gives off water vapor and the sound is no greater than a lawn mower.

As soon as he was done blasting each piece I would rinse it off and then sprayed zinc "After Blast" to prevent rust. the After blast prevents even the flash rusting, but I found two issues. First the AB dries off in places as a gooey film, and no matter how much you rinse, there is always more sand. When they dried together it causes a sandy film.

I went through the body and frame with a pressure washer..... I didn't own one but bought this one for $60 bucks from Amazon Sun Joe Electric pressure washer. It did the job and it's still together.

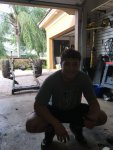
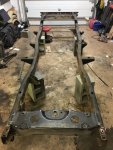
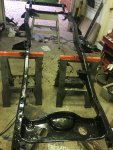
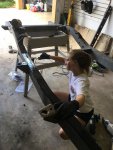
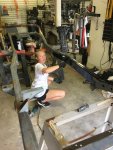
I am working on Father's day, but celebrated yesterday. My son and my daughter came out to the garage and spent the entire afternoon painting the frame
 

Attachments

  • IMG_1048.JPG
    IMG_1048.JPG
    154.4 KB · Views: 40
  • IMG_1052.JPG
    IMG_1052.JPG
    163.7 KB · Views: 40
  • IMG_1079.JPG
    IMG_1079.JPG
    142.3 KB · Views: 42
  • IMG_1081.JPG
    IMG_1081.JPG
    160.5 KB · Views: 41
  • IMG_1083.JPG
    IMG_1083.JPG
    168.3 KB · Views: 43
  • IMG_1084.JPG
    IMG_1084.JPG
    99.5 KB · Views: 40
I had forgotten how hard POR15 is to get off the skin... so my wife is a little upset with me. But the good news is the frame is all painted. Prior to painting I repaired the one frame mount that was rusted.

Of course all four of the sway bar welded nuts broke off inside the frame as well as 3 out of the 4 rear leaf spring holder bolts. I received the Old Man Emu springs and I'm waiting for the front shackle holders as well as the bushing to do a test fitting, but I'm thinking that I will run the bolt from inside the frame outward to hold the shackle mounts as opposed to trying to weld another bolt inside the frame.

I also used two cans of Eastwood internal frame paint with the 360 degree nozzle.

My next step will be to cover the POR15 with Eastwood frame paint to protect from UV.
 
Frame looks great. Should be perfect. Hard work is in the details. Keep at it.
Thanks Jim... unfortunately after blasting it I discovered a couple of other places there the body needs attention, so I may not be ready to paint as quickly as I thought.

In other news I did find a tilt, automatic cj column shift steering column that Eric picked up for me in Jersey. The axels are being worked on by a gear guy that my buddy knows, and the 700r transmission is being rebuilt by another guy I know up in Panama City.

I need to order the AC, the adapters for the Tranny and d300 and the linkage for the column shifter.
 
Back
Top