• Notice for iPhone users: DO NOT use the image size reduction option when uploading photos to the forum. This causes portrait images to post as landscape. We have added a warning to the image insert pop-up as well.

1981 CJ-8 - Some Assembly Required

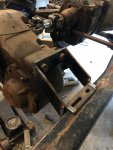
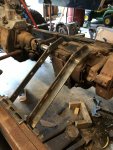
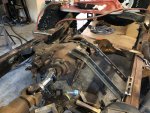
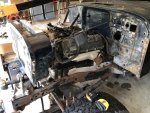
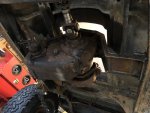
After finishing the front axle, it's time to get in under the jeep. I fabricated some new spring hangers and shackle hangers. After much debate I decided to not do a shackle reversal. While I intend for my Scrambler to be quite capable and it will see offroad action, I also intend to drive it daily and at highway speeds. While shackle reversal has well documented benefits, I've also talked with people and read that it increases nose dive when braking and other negatives to go along with the benefits. Anyways, I didn't do it. Any opinions on the matter? We'll just have to see how she drives.

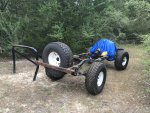
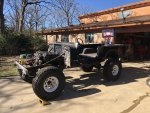
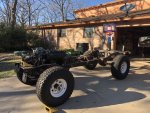
I didn't get any pictures of installing the axle because I was under the gun for moving. We bought a house and I really need the Jeep to be a roller just to get things moved easier. So, I buckled down and stayed up until 4:30 in the morning the night before we moved. I may have been a little grumpy the next day. But here it is the next morning.
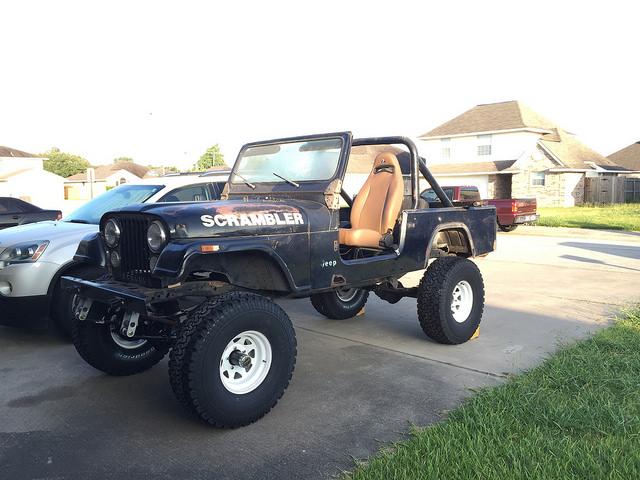
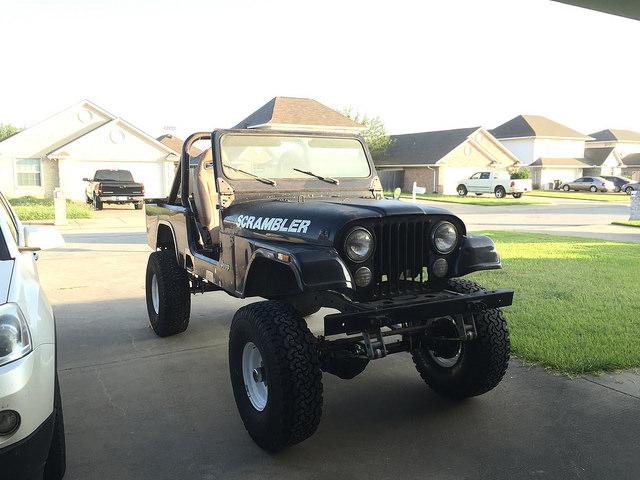
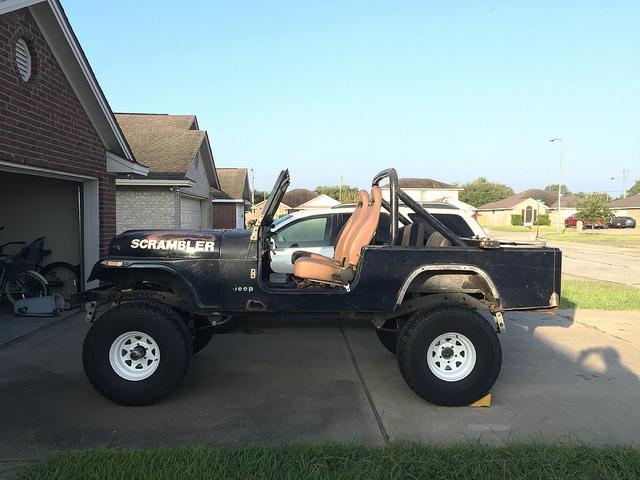


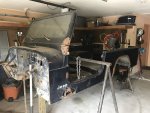
Well, we loaded it up on a trailer and moved across town. The new garage is bigger, so that's good. But, it's got that setup with two single car garage doors with a pillar in the middle. Like I mentioned before, the new house ate up all of my money and most of my time for a while.
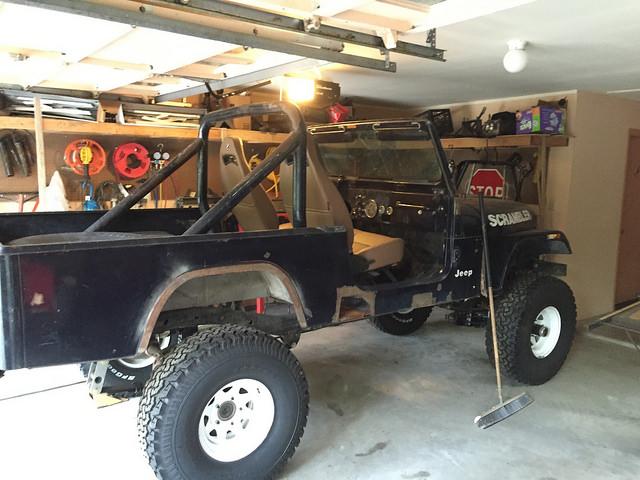
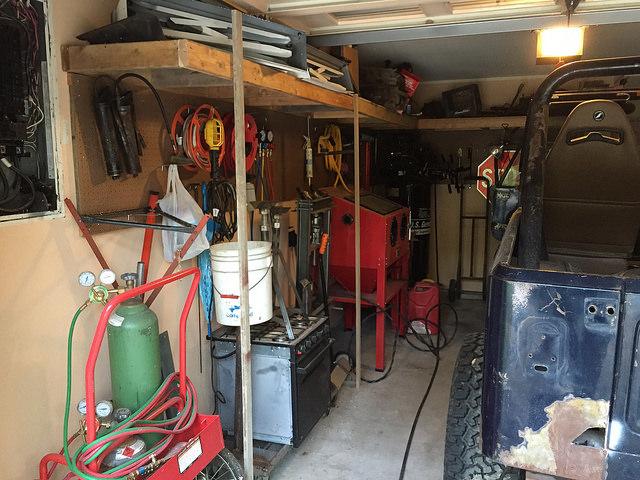
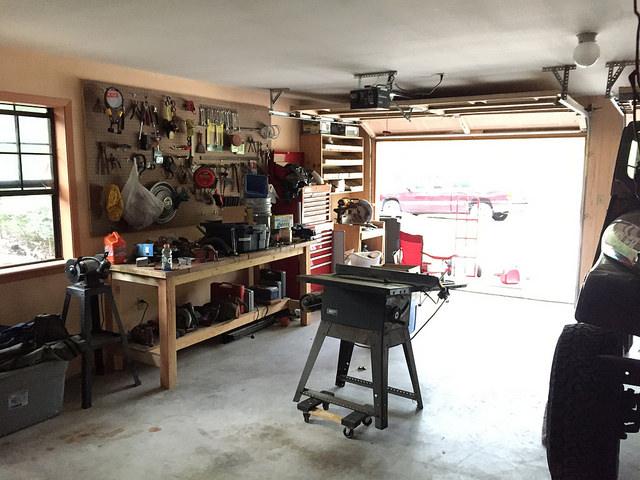
 
Nice work. I think the fun starts when the hemi goes in. That's the part I'm staying up for.
 
Bigger garages are always better. But I will say that I have had to clear both bays and park in the middle to work on my rig. Ok. Maybe I did not have to, but it made it easier to get to both sides.

Looks great!
 
So, not much progress was made between moving at the end of last summer and now. I did piddle a little with some body work. Most notably I hammered out the passenger front fender and rebuilt the bottom section of the passenger door post and the floorpan where it attaches. The fender I got mostly straight. I think I'll be able to use it as it is now. So that's good. The doorpost required replacing a section of floorpan, which I had done back before moving. Also, I fabricated a replacement section at the bottom of the post itself where the seatbelt attaches. I can't find pictures of this right now. I'll try to find them. Then just a flat piece on the side of the tube which still needs to be finished.

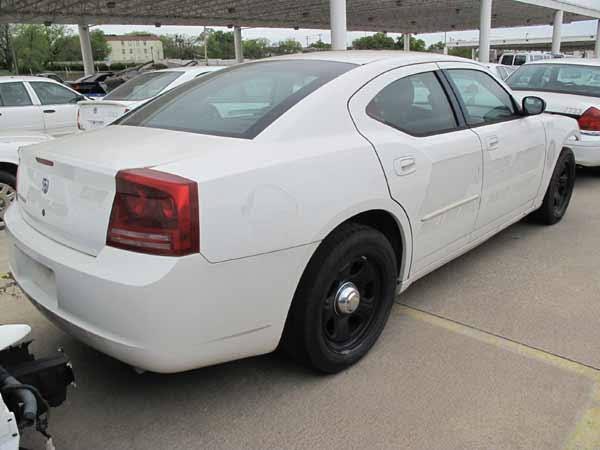
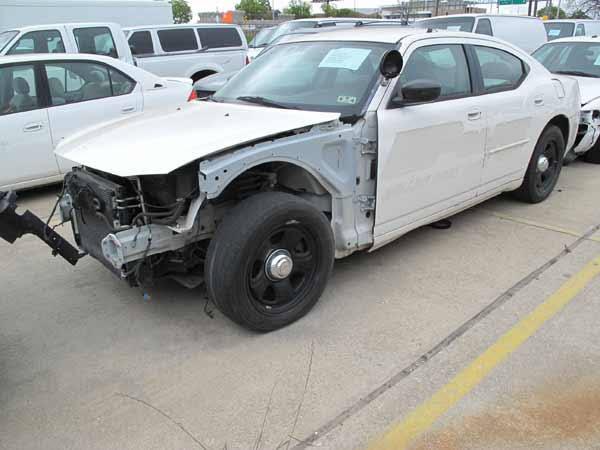
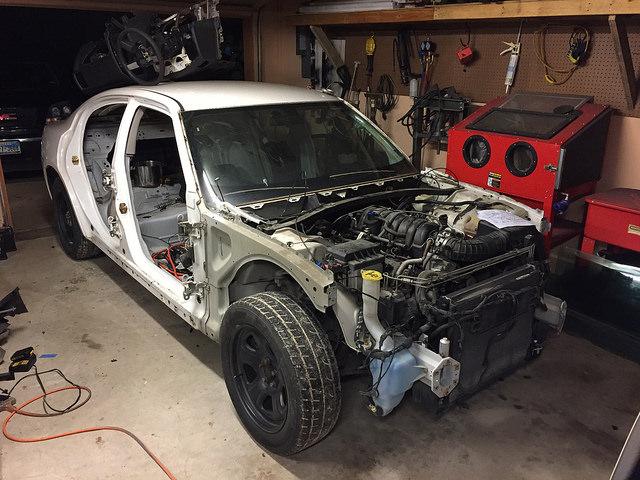
That brings us to the next major development, a motor. Basically I finally just had enough of not making any progress and decided to look for a way for the motor to pay for itself. I started looking for donor vehicles on online auctions. My plan was to keep the motor and sell off the rest in an attempt to break even plus one motor. I was looking primarily at wrecked Chevy trucks and even bid on a few but didn't win anything. Then I came across a bunch of police cars being retired and started really liking the idea. So, I bought the previously mentioned 2006 Charger. Here's what it looked like when I went to pick it up.


It was missing a few components that had been robbed, presumably to fix other police cars. The battery wouldn't take a charge, but after I got a new one it cranked right up. But it ran rough with a loud lifter tick and would die with any throttle. That was a little scary but a quick once over revealed it was missing the PCV valve. After getting a new one for about $10, it cranked and ran like a champ. I may have driven it around the neighborhood and smoked the tires a few times. Then I started taking it apart.
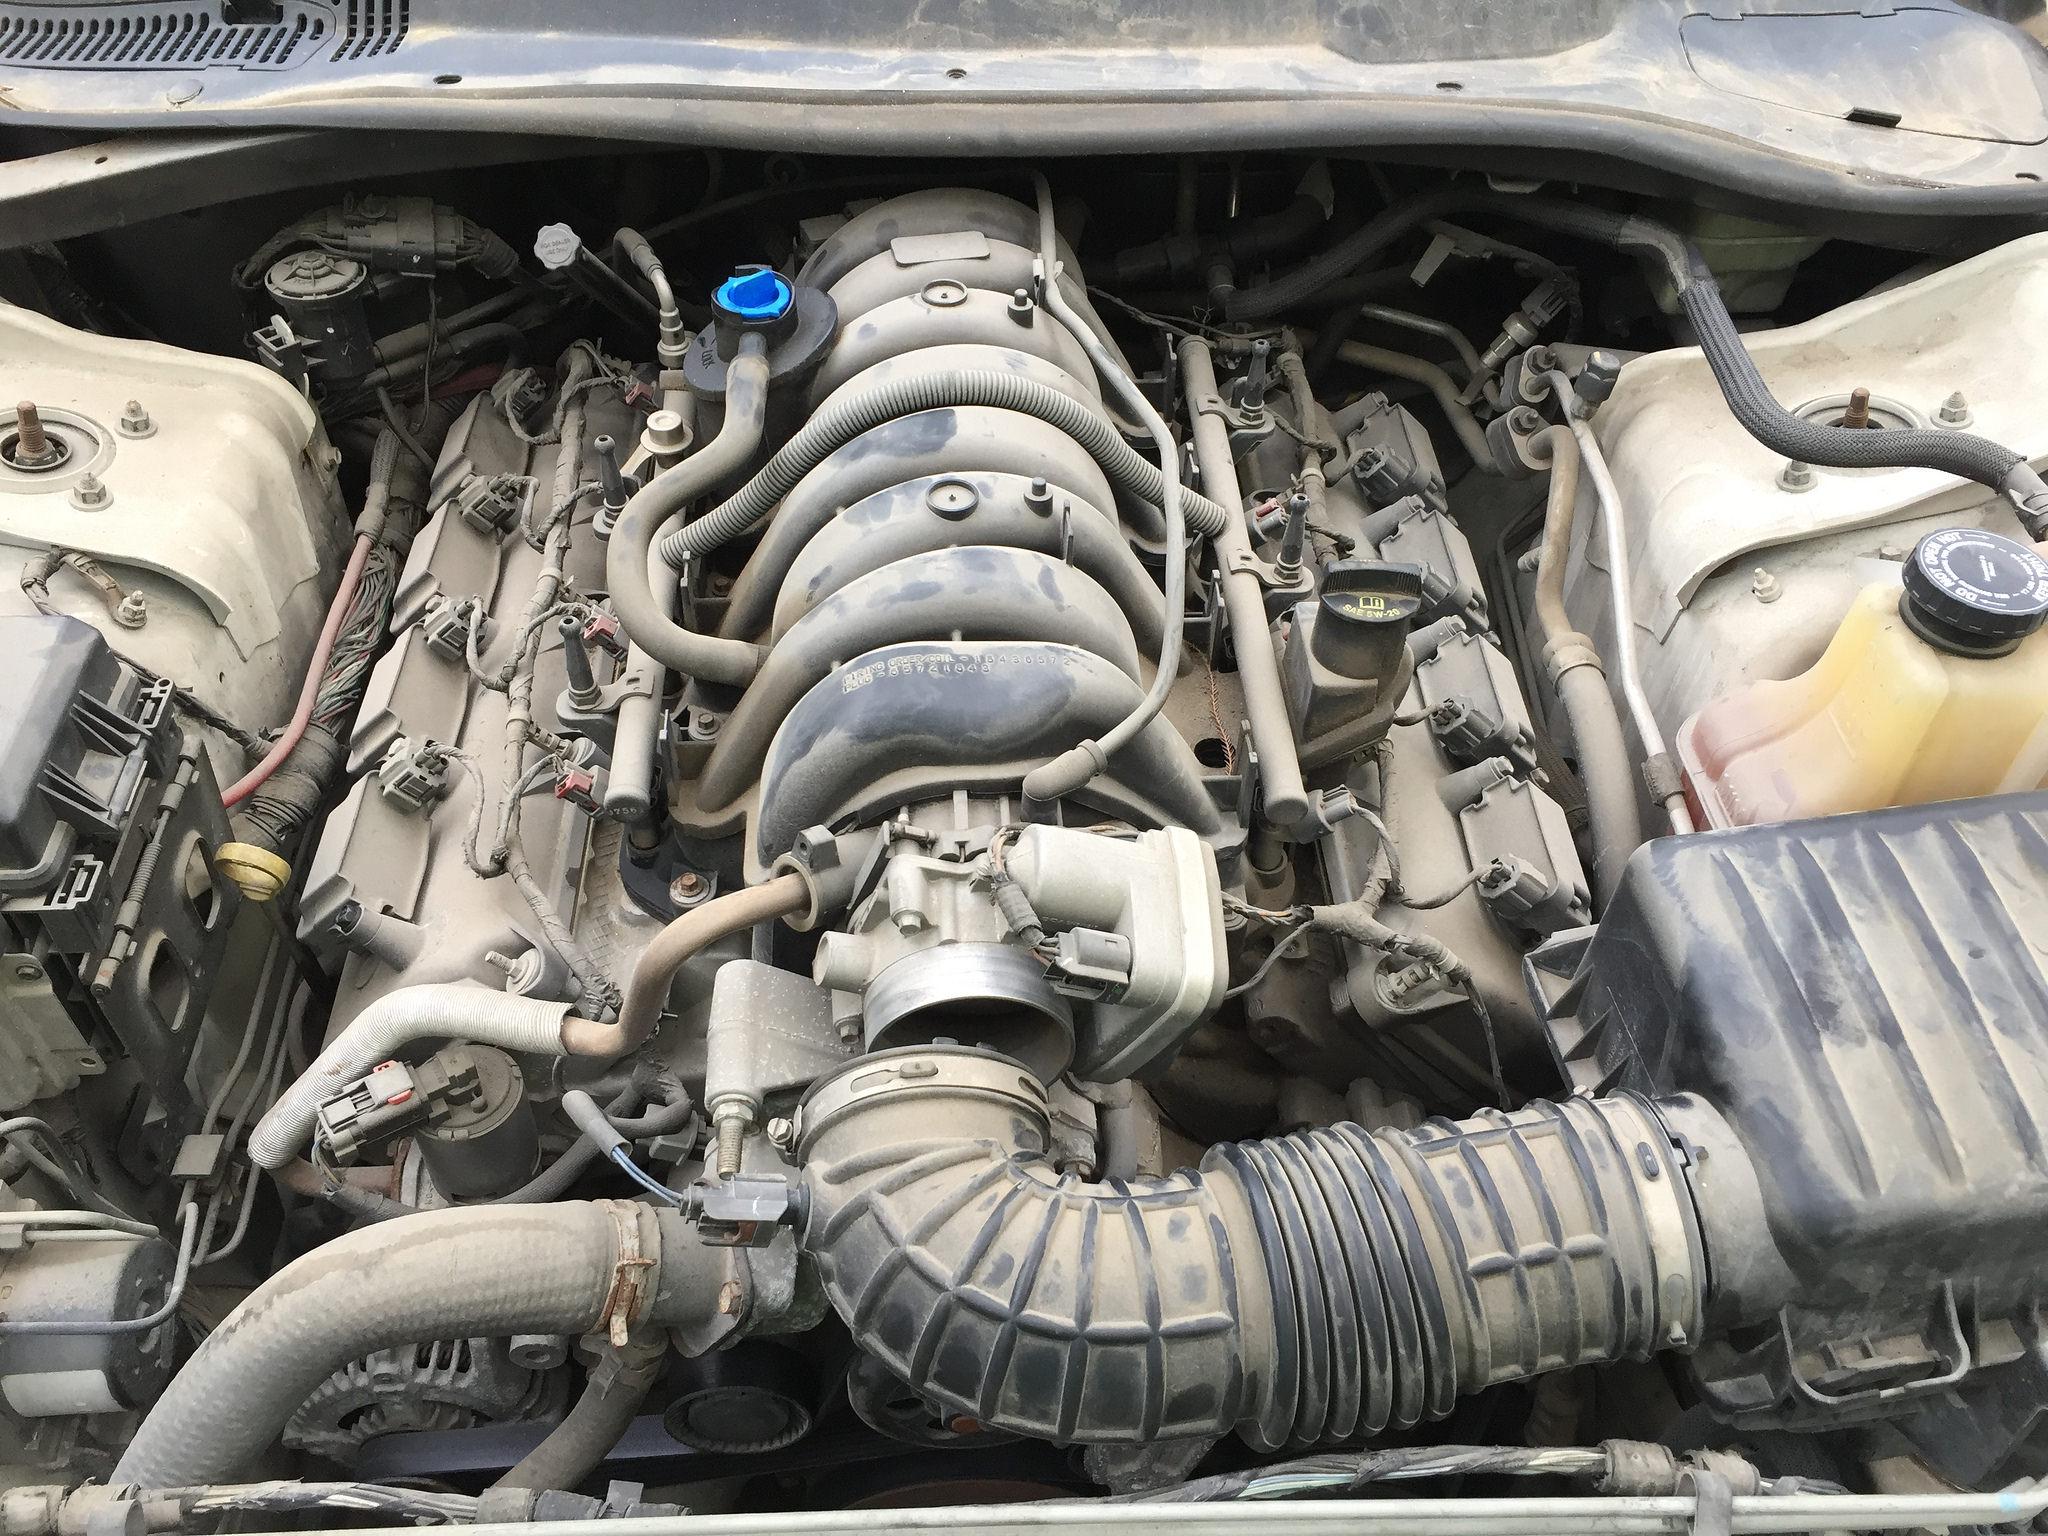
The engine was a little dusty but ran and sounded great.


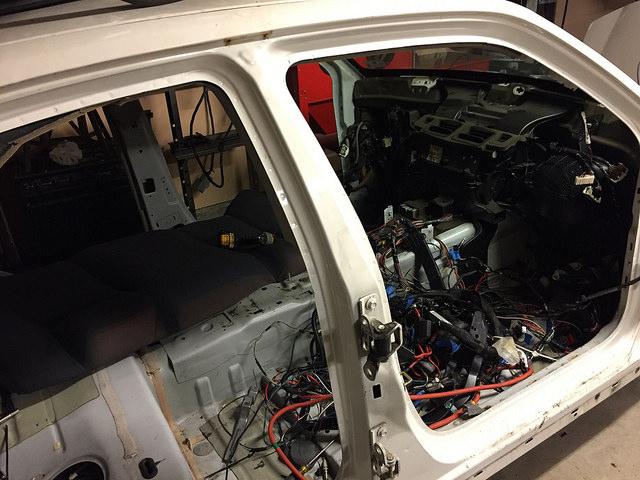
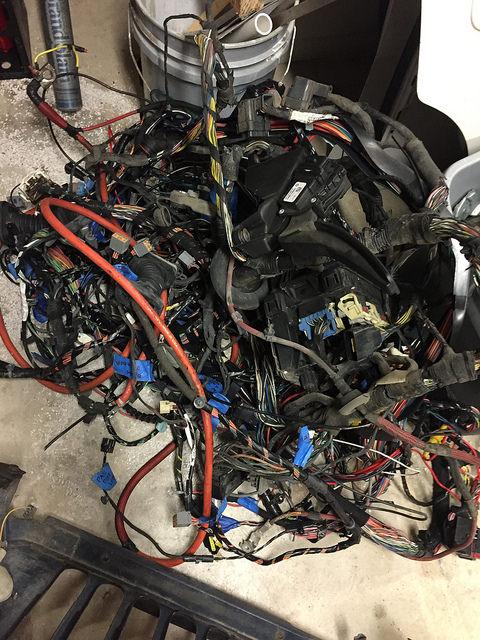
With a goal of pulling the wiring harness I started disassembling. I wanted to pull the entire wiring harness as intact as possible. I hope to sell many of the electronics like switches and various modules. And, I'm not sure exactly which parts of the harness I might want to use, plus it never hurts to have color coded wiring. Anything I don't want I'll sell for scrap.


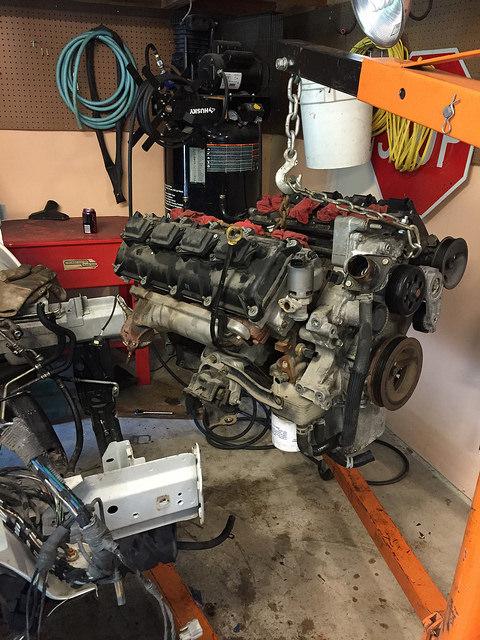
Then I pulled the engine wiring harness and got he motor out.


Now, some work to figure out where exactly to position the motor and get to figuring out this mess! But even moreso, I have to sell some Charger parts.
 
Wow. And what a pile of electronics. Glad to hear that the motor is all good.
 
Don't be afraid to mount the motor low. When I installed my 5.3L vortex I was a little worried about clearance for the front drive shaft but now I wish I would have lowered the engine another 1 1/2 inches.
 
Did ya'll know all this stuff costs money? Yeah, and I'm out of it. So, I've been piddling here and there with what I can do without spending any money. At this point, I just want to use whatever I can to get this thing moving. I'm committed to the Hemi and my axles are like new. In between is to be determined.

"Use what you've got" makes sense. Here's what I've got:

- NAG-1 Auto Transmission - From the Charger. Can't be made to work without spending a lot of money. It's for sale if you're interested.
- NP420 4 Speed - From a '57 Dodge truck. In good shape. Not ideal, but strong. Was mounted to 318 Poly. The bellhousing doesn't match up. I haven't been able to find much on maybe making this work.
- NP202 Transfer Case - This is a divorced unit that came out of the '57 with the NP420 which is the 2WD version. Also in great shape. This is a beast of a transfer case and would allow me to use basically any 2WD transmission.
- Dana 300 - Original to the scrambler.

I still plan to eventually get an NV4500 to pair with the Dana 300. But, if I can figure out something to get rolling for now, I'm open to options. Anybody got any experience with any of these? Any transmission that'll bolt up to an LA engine will mate with the Hemi. This is an open invitation for your 2 cents on my lunacy.
 
1st....Nice work so far

What about using the charger transmission and a divorced t-case?............probably not enough length........:twocents:
 
Can you offer a trade to a local parts yard? Maybe the Charger rear doors for a truck transmission (NV4500 or an AX15)?

I'd rather do the install/fab work once rather than install a "temporary" transmission to be removed later. It's been my experience that you wind up keeping what's in the jeep - temporary or not - as long as its working.
 
So, I looked into using the charger tranny with the NP 202. But, from what I've been able to figure out, to make the charger transmission work without the inputs from the wheel speed sensors and antilock brakes requires a 3rd party control module that would cost as much as buying a transmission I want.

Trading with a local parts yard would be great. There aren't a lot of options close by. One that I have used the old crusty guy there is less than helpful. There's another one that's actually closer that I haven't been to. I'm sure it'd be a good idea to make a friend there. I'll go talk to them.


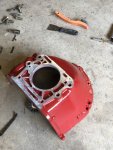
Also, it appears that the NP420 may work with a Dodge NP435 bell housing. Dodge pickups came with NP435s from '64-'93. So there should be plenty around. I need to find one to look at in person to take some measurements and see if it will work.


Well, it’s been like 2.5 years. Might as well update! Progress has been horribly slow. Low on money and busy with other life. So, I’ll pretty much post with the pics I have available.

Ended up getting a NP-435 with a 2WD tail from a 1972 Dodge W-200. That fits with with the NP-202 (from a ‘57 1-ton Dodge) with enough room for a reasonable rear drive shaft.

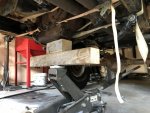
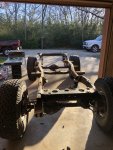
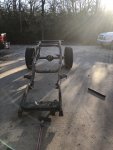
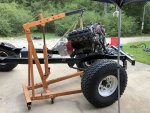
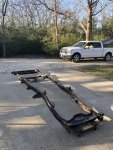
First though, I rigged things up to be able to pull the rolling frame out from under the tub.

FA5065EF-FC41-4EB3-9E05-FC58A00ADDAE.jpeg

0F24A4E9-2D29-4A47-A3AB-5918A260F43D.jpeg
 
With the drive train settled, it was time to figure out where everything would go. Would have to fab new motor mounts, transmission mount/ crossmember and a transfer case mount/cross member.

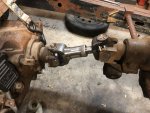
My dad bought me a jack shaft to connect the divorced t-case for my birthday last year.

03ABEB94-872F-433F-BEC6-F7CB07D171F9.jpeg

B57A0CFC-619F-4573-8264-0A42C6DFF952.jpeg

35B62DC4-8997-4402-B5E5-745E31AD865A.jpeg

8715D7B1-6042-4207-8E74-535316DDB869.jpeg

D1FD0835-BDE1-4B10-B75B-A942EA415005.jpeg

This is all just temporary to mock up locations. That t-case is HEAVY.
 
Figured out roughly how things would lay out and then had to put the body back on for fit.

29ADBF3E-1F72-4BA4-82B6-72D9326DE4C4.jpeg

8F936F03-1835-443D-B252-A81C496640E3.jpeg
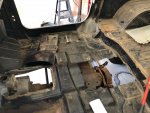
A little chopping of the tub to clear the t-case and transmission. Plan is to make an access panel to get to the top of the transfer.

D6AC4722-A321-4410-9557-E6C96695C47A.jpeg

Figuring out angles. The driveline angels down about 3.5 degrees from front to back. Also ended up clocking the transfer a bit. Which is just a matter of turning it since it’s divorced and I’m fanning the crossmember from scratch.

375E0D10-01EA-4F1B-B471-F519E95B9398.jpeg

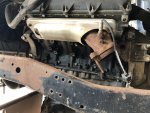
Gonna have to go with headers for the exhaust to clear the frame. As expected.
 
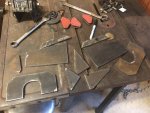
For motor mounts, I’m using the stock charger mounts with brackets made to mount to both the frame and the motor.

66607D8B-76D7-4E9B-BAD2-5E7C24EE648A.jpeg

69012552-A6C9-4251-85EF-1A176F9DE41B.jpeg

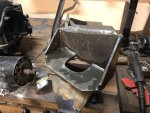
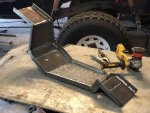
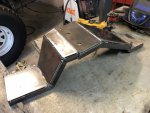
Made a pretty complicated crossmember for the tcase. I wanted it to be low profile to minimize the need to cut the tub. Also, it didn’t cost me anything and I didn’t have money to do anything else.

E42B8ACC-C948-470D-9CF5-E7E66BDBC1E6.jpeg

C7A3C584-716D-4592-A0F5-8289C334956D.jpeg

72BA53F6-A805-4FF3-82BC-68A68131339B.jpeg
C00C65B4-0021-49FA-AE4B-4E97D7E65317.jpeg

This is the clearance. Both the tranny and the tcase hang a little below the frame rails.

4F4A8557-BB5B-41C4-B321-89CA6D151D1A.jpeg

This is the space I have between the end of the tcase and the rear pinion for the rear driveshaft. Not a lot. But should be enough.

All of this is working towards welding out all the brackets and crossmembers and the axles once it’s all fitted up.
 
Next I tried to load down everything to approximate actual eventual spring weight to position the spring hangers for shackle angles.

50BE30A9-09BC-4C59-A002-DB0477AC1BE1.jpeg

372DA6F4-95F5-48A5-97C4-C9716550954A.jpeg

These pics were pre-adjustment.
 
Now everything is fitted up. I’m for disassembly for weld out and prep for blast and paint.

F2DFDE7E-3589-4350-8073-C898C37AF0EA.jpeg

315D3BBE-8309-4F17-B42E-75FEF8EF9C8F.jpeg

D8090B3F-E32D-480B-9C7E-001536B943F5.jpeg

C88F7A44-4AD0-4CD0-BF0B-E45D361AB730.jpeg

BE6C7033-801A-48F3-89C1-BD6B420F4535.jpeg

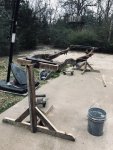
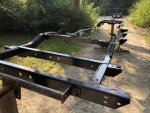
I made some stands for a make shift rotisserie for the frame.

C66D3585-5F90-4AFF-A0C1-ED510C072BF1.jpeg
 
I got zero pictures during weldout and blasting. I have a blasting setup from harbor freight, a water sand blasting setup that uses my little electric pressure washer, a blasting cabinet for small stuff and had access to a larger wet blasting setup that did the heavy lifting. I used all of them, plus some stripping wheels and wire wheels on the grinder. Once it was all blasted and clean, I used ospho on the whole thing and primed and painted.

5505997D-B91F-4485-8148-3B6B4EDCDFA5.jpeg

Then, springs and axles (also stripped blasted and painted). Then crossmembers.

927C910A-66C2-4077-BBAD-2BBD14C89F6B.jpeg

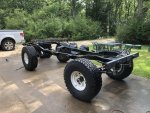
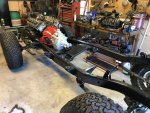
And it rolls again.
 
Next up: drive train. I really needed to get the engine back together and the tranny and tcase out of the way in the garage!

A1B8DD89-7E4A-4648-8B0C-CC3912E6D5E6.jpeg

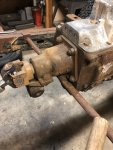
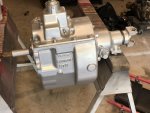
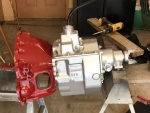
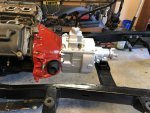
Started by cleaning and painting the tranny. I learned that oven degreaser works great. Also, the dollar store is a great place for degreaser, carb cleaner and brake cleaner!

EC50AD1C-E994-4C71-A89F-D26B382DAF65.jpeg

0E2D756D-EFD9-46AC-BD42-37159B62A24A.jpeg

6C3712D2-8E52-4EC2-B189-F046D8EE04E7.jpeg

00907EEA-E4E6-4B91-8E25-E20D4D113C66.jpeg

00ACD2E5-753D-4FDA-A48A-A858DEBA86FE.jpeg

15B2DDF7-C001-4631-A081-71565A644BAB.jpeg

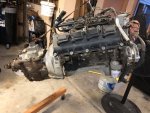
This is almost caught up to real time. Next up is putting the intake and whatnot back on the engine. Then cleaning and painting the tcase. Not going to rebuild the old NP202. Just replacing seals before painting it.
 
Back
Top