• Notice for iPhone users: DO NOT use the image size reduction option when uploading photos to the forum. This causes portrait images to post as landscape. We have added a warning to the image insert pop-up as well.

2tall's Scrambler Ownership Journey

2tall

Active member
Silver Member
City
Pass Christian
State
MS
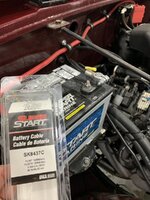
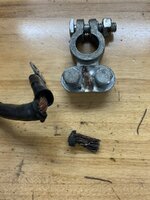
Negative battery cable was definitely on its last leg upon further inspection. Thankfully it lasted long enough to get us back home yesterday.
Stiff and corroded

IMG_5626.jpeg

Fresh replacement from the universal selection at O’Reilly’s. Perfect length to reach the engine block, miss the headers, and not have too much extra.
IMG_5627.jpeg

Went for an afternoon cruise today and enjoyed the early spring weather in south Mississippi today. Noticed I’m about 100 miles away from the 500 mile break-in oil change on the diffs today also.
 

2tall

Active member
Silver Member
City
Pass Christian
State
MS
I decided to dig into the brake system project today. Starting to realize I’m not the greatest at documenting my work as I go. Got everything attached to the firewall pulled out, including the pedal assembly.
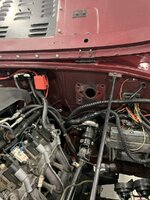
IMG_5633.jpeg

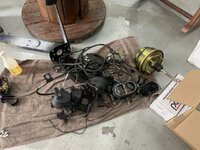
Old stuff wasn’t exactly old but I was never happy with how it worked. It was a cheap power set up from probably eBay or Amazon.
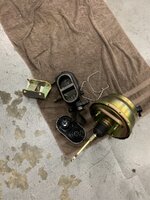
IMG_5634.jpeg

Here’s where I didn’t document the majority of the work. Originally it was a manual pedal assembly with the clutch pedal removed or cutoff. A while back I bought an automatic assembly from Dead Jeeps on eBay. The post for the brake rod on this pedal didn’t work at all for the new set up. Ended up drilling out the post and welding on a larger and longer bolt, making a bushing for the rod, and installed the return spring from the original pedal. Lots of tweaking and fitting for a couple hours, but I have the correct pedal now. That’s a leaf not rust btw.
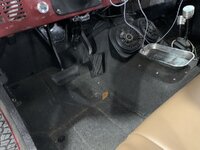
IMG_5635.jpeg

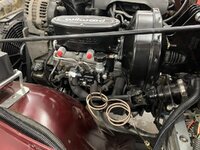
Loosely installed the new bracket/linkage, booster, and Wilwood master. Worked on adjusting all the push rods and linkages to get full travel and good pedal position.
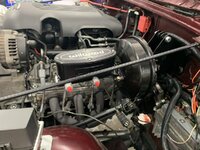
IMG_5636.jpeg

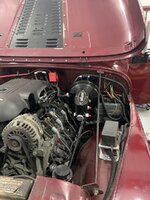
Got everything set up to my liking and secured appropriately. Definitely a more pleasant looking setup, hopefully the performance matches.
IMG_5637.jpeg

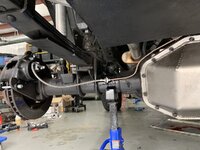
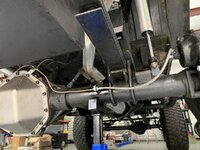
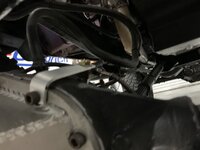
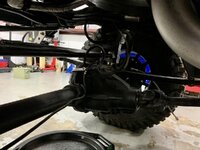
Moved on to the rear brakes. Previous owner did a rear disc swap on the 14 bolt. They worked ok but less than stellar install. Weird soft lines, odd routing, and crap for securing the hose to hard line connections.IMG_5629.jpeg
IMG_5630.jpeg

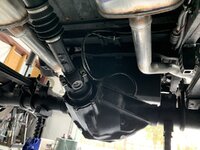
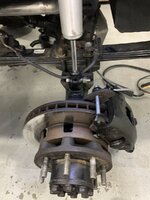
Pulled the calipers and swapped in the new units. Mocked up the braided hoses and welded in the tabs for securing the hoses to the axles. My welding wasn’t pretty but it’s going to hold.
IMG_5632.jpeg
IMG_5631.jpeg

Pulled calipers, hoses and hard lines from the rear axle all the way to braided hose at the diff.
So I should be ready to do new hardliners from the frame/axle hose to the caliper hoses tomorrow.
 
Last edited:

2tall

Active member
Silver Member
City
Pass Christian
State
MS
Finished plumbing up the rear with new copper nickel lines between the braided hoses.IMG_5640.jpeg

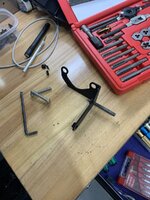
Made a little bracket to bolt the hose to a diff cover bolt.
IMG_5641.jpeg

Installed a tab on the frame to secure that end with the correct style clip and routed the vent hose up.
IMG_5642.jpeg

Cleaned out powder coating of the threads in fhe proportioning valve bracket to get it ready to mount.
IMG_5638.jpeg

Pretty cool bolt together set-up once it’s together. Made up new lines there as well. Not sure why I did the coils but I always see it done that way.
IMG_5643.jpeg

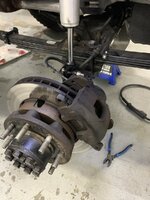
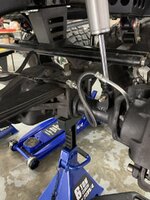
Moved on to the front disassembly. More weird hose selection, routing and securing.
IMG_5644.jpeg

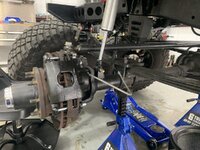
New calipers and braided hoses mounted. Deciding and checking where to weld the securing tab.IMG_5645.jpeg

Pile-O-Junk removed
IMG_5646.jpeg
 

2tall

Active member
Silver Member
City
Pass Christian
State
MS
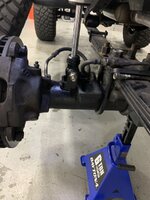
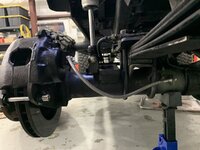
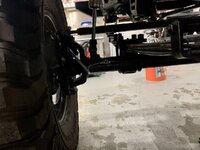
Whipped up another bracket for the front frame to axle hose and got it secured at both ends.
IMG_5647.jpeg

Got hard lines made to connect to the caliper hoses. Re-used some of the coiled protective sleeves on the front lines due to the routing.
IMG_5649.jpeg

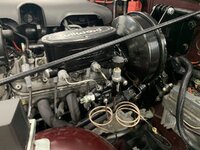
Got the master bleed, mounted and hooked into the proportional valve. IMG_5650.jpeg

Paint had dried on the hose tabs while I messed with the previous step, so I got the hoses connected, clipped in and tightened banjo bolts at the calipers.IMG_5651.jpeg

Hooked the vacuum bleeder up and got good fluid flow. After some initial checks that everything is good, took a short trip down the road. Pedal is much firmer and more responsive. The old set up had lots of pedal travel. Waiting on a helper to give it a final bleed the old fashioned way and hopefully this project is wrapped up.
 
Top