• Notice for iPhone users: DO NOT use the image size reduction option when uploading photos to the forum. This causes portrait images to post as landscape. We have added a warning to the image insert pop-up as well.

81 Anvil Scrambler Build

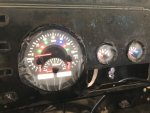
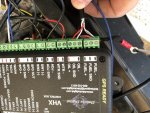
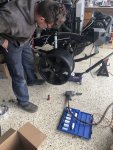
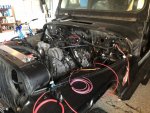
Last big step before paint... wiring. I have a painless kit (their previous version) that needs about 7 wires to connect with the LS engine harness. And then to make it a touch more confusing, I decided to go with Dakota Digital gauges. They look amazing, but combining all three of these systems was like playing a game of pick-up sticks with wet spaghetti noodles. IMG_0852.jpegIMG_1387.jpegIMG_2544.jpeg
 
Last edited:
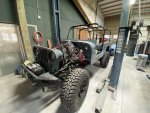
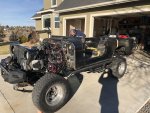
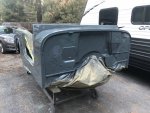
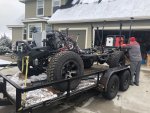
Fast forward 6 months, after we got it running, we ran brakes and then got it moving. Obviously, this is easier said than done. We ran into a bunch of problems getting brakes working, but that's how every step goes. I ran it around the block one time, running out of gas in my own driveway. We got it home and started stripping it down for paint.
Check out the Youtube link here:
It Moves Too!
 
Last edited:
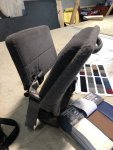
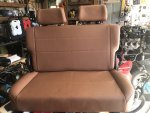
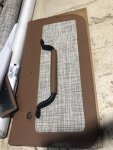
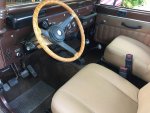
Meanwhile, I decided I didn't want to do a black vinyl interior. I'd like to do something a little more custom. So I decided to recover the seats and door panels in a saddle colored marine vinyl, with some nylon inserts in the door panels, and maybe later in the bed mat, floor mats.

IMG_3253.jpegIMG_3401.jpeg
IMG_4161.jpeg
 
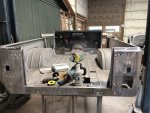
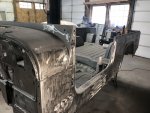
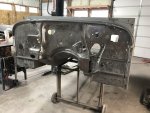
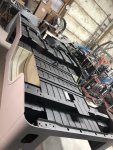
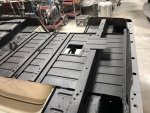
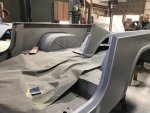
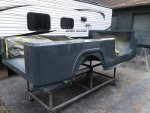
More body work and then finally primer, paint and undercoating. I asked my body and paint guy to add an access panel for the fuel tank and pump. I'm tired of the dropping the tank every time there's a problem. I've never had a working fuel gauge, so that'd be nice after all of this :)IMG_4703.jpegIMG_4704.jpegIMG_5328.jpeg
 
Last edited:
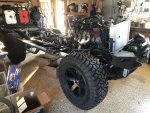
New shoes! It was definitely a series of compromises. But I settled on some General Grabbers, 35's on 18's The wheels are Fuel, and have a slight bronze color to them. This is another case where I wish I could go back in time and redo axles. Oh well, maybe later, like when these break :)
IMG_4809.jpegIMG_4737.jpeg
 
Last edited:
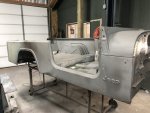
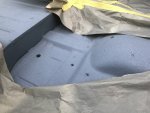
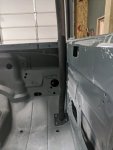
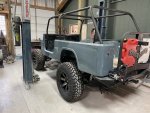
Color! Anvil gray is pretty popular lately. I've considered so many different colors, including the new Jeep "sting gray." But in the end, I love how the anvil looks more blue in the sunlight. I'm really happy with it. We lined everything inside with a color match. I really debated about this too, but in the end it will keep the kids and dog from sliding all around. IMG_4812.jpegIMG_4811.jpeg
IMG_4813.jpeg
 
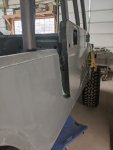
Of course... something doesn't fit. We realized late in the game that I never fit the roll cage with the hard doors on. And the A-pillars of the cage fit too snug against the doors. Crap! We were supposed to have all of that stuff figured out before paint and powder coating. Oh well. We'll figure this out later.123_1.jpeg123_1.jpeg
 
Last edited:
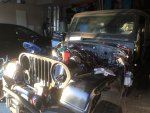
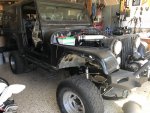
So, real time- here's where I'm at. I should get the Scrambler back any day from paint, and then its my turn again. Plumbing, wiring, running some new electrical for winch, lights, there's no stereo. I've got transmission cooler lines that need to be shortened, and 101 other things left to do. But I'm happy with how she's turning out!IMG_0093.jpegIMG_0091.jpeg
 
Last edited:
Yeah really nice work ! Really like that color. Thanks for all the nice pictures. Those bumpers are pretty serious
 
Nice write up and even better looking 8!! Good way for me to start a Saturday morning.
 
Wow, you've done some really cool stuff there! I especially like the jump seats, and the spare tire carrier.

You might consider dash mounts for the front of your cage, if you haven't solved the hard door problem yet.

Nice work! :cheers:
 
Great write-up that I really enjoyed reading this morning over coffee. We used the same jump seats from my 2000 Ranger as well. It's wonderful seeing another family vehicle created for your adventures together!
 
MikeV, I'd love to see pictures of your jump seats. Here, I thought I was pioneering a new idea :) Did you put them way in the back? Have they worked out ok?
 
Wow, you've done some really cool stuff there! I especially like the jump seats, and the spare tire carrier.

You might consider dash mounts for the front of your cage, if you haven't solved the hard door problem yet.

Nice work! :cheers:
That's a good idea. I should look around for pictures of how other's have done that. I'd welcome any if you see someone who's pulled it of well. Does that typically tie-in with the windshield locking plate?
 
Back
Top