
- City
- Columbia
- State
- MO
Two steps forward, one step back. That seems to be the theme with this build lately. I got another OEM 20 gal gas tank to replace the last one I had that had broken threads. This one still had the old sending unit and roll-over valves in it. Getting the roll-over valves out wasn't any problem, however, getting the old, rusty sending unit out was another story! We tried multiple things but what ended up working was to take my Dremel tool and cut a v-notch in the large plastic nut that holds the sending unit in place. I was then able to use a hammer and a punch to get the nut to turn while also being able to squeeze it and take some of the pressure off the threads. Once it was loose it came out with no problems and most importantly the threads on the tank we ok.

After cleaning the tank inside and out I was able to install the new roll-over valves with no problem. The next issue however, was the new Omix-ada sending unit. The unit would not fit down in the hole without trimming the corners off part of the unit where the fuel and return lines connect. Once I did that it fit down in the hole but would not seat down fully on the o-ring. Turns out the new sock on the end of the pick-up tube was hitting on the bottom of the tank. The new sock is not flexible like the old one and therefore will not allow the unit to sit flat. Now I either have to trim about an inch off the pick-up tube and/or bend the pick-up tube to get the sock up high enough so the unit will fully seat down.
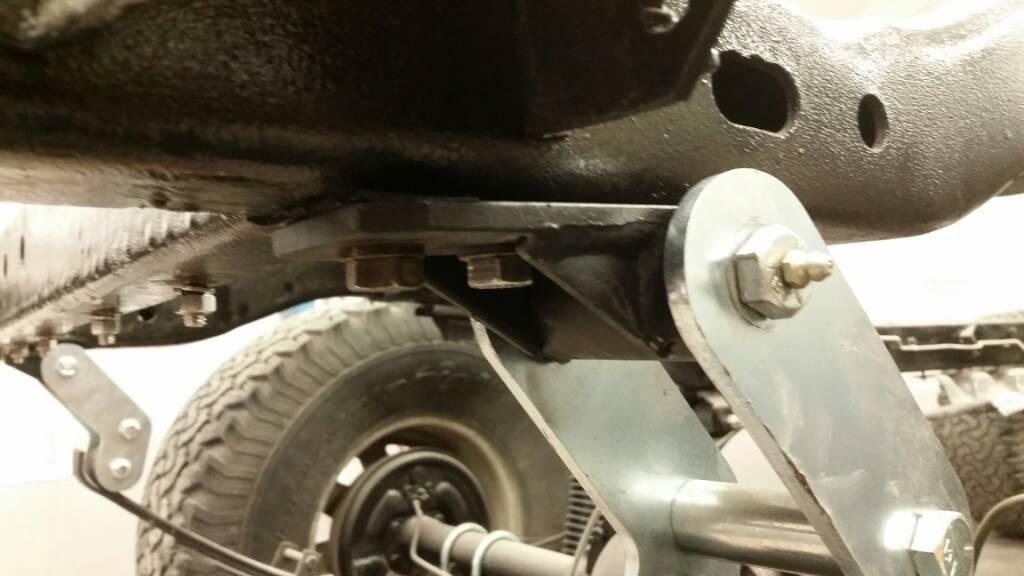
I was also able to notch the mounting holes in the Gen-Right gas tank skid so I can center it between the spring hangers. Now I just need to hit it with some touch-up paint and it will be ready to re-install.
After cleaning the tank inside and out I was able to install the new roll-over valves with no problem. The next issue however, was the new Omix-ada sending unit. The unit would not fit down in the hole without trimming the corners off part of the unit where the fuel and return lines connect. Once I did that it fit down in the hole but would not seat down fully on the o-ring. Turns out the new sock on the end of the pick-up tube was hitting on the bottom of the tank. The new sock is not flexible like the old one and therefore will not allow the unit to sit flat. Now I either have to trim about an inch off the pick-up tube and/or bend the pick-up tube to get the sock up high enough so the unit will fully seat down.
I was also able to notch the mounting holes in the Gen-Right gas tank skid so I can center it between the spring hangers. Now I just need to hit it with some touch-up paint and it will be ready to re-install.
Last edited:


 Please pass that on to him.