• Notice for iPhone users: DO NOT use the image size reduction option when uploading photos to the forum. This causes portrait images to post as landscape. We have added a warning to the image insert pop-up as well.

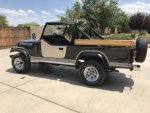
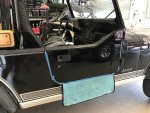
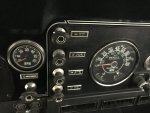
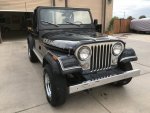
Freshening Up my 1981 Scrambler Laredo

Winning! :charliesheen:

I have used rubber bands and some heat to reset those face plates. I then let them sit with the rubber bands on them for a while, with the plastic past where you want it to set...then it will set around the faceplate and move where it needs to be when you install it.

Nice work!!!! :cheers:
 
Who is George AKA CJLaredo and where can I contact him about those seat covers? They look amazing and I need a set for my scrambler.[emoji3] please, desperate to know?[emoji12]

Here is one of George's eBay posts, with old seat frames included. Just message him and ask about a set of covers... he has them in both black and nutmeg, fronts and rears.

It looks like he is currently away from the computer but send him a text and he will get back to you, he's a good guy.

http://www.ebay.com/itm/351701728194?_trksid=p2055119.m1438.l2649&ssPageName=STRK:MEBIDX:IT

Screen Shot 2016-05-12 at 7.06.00 AM.png
 
So here's the deal, I hate having to open the hood on my Jeep to charge the battery. I don't get to drive them as much as I would like so in lieu of replacing the batteries on a consistent basis I prefer instead to use a CTEK trickle charger to keep the batteries fresh. So here's the purpose of this post, to find a way to simply mount an external comfort plug so I can charge the Jeep without having to open the hood.

Don't know what a comfort plug is, here you go:
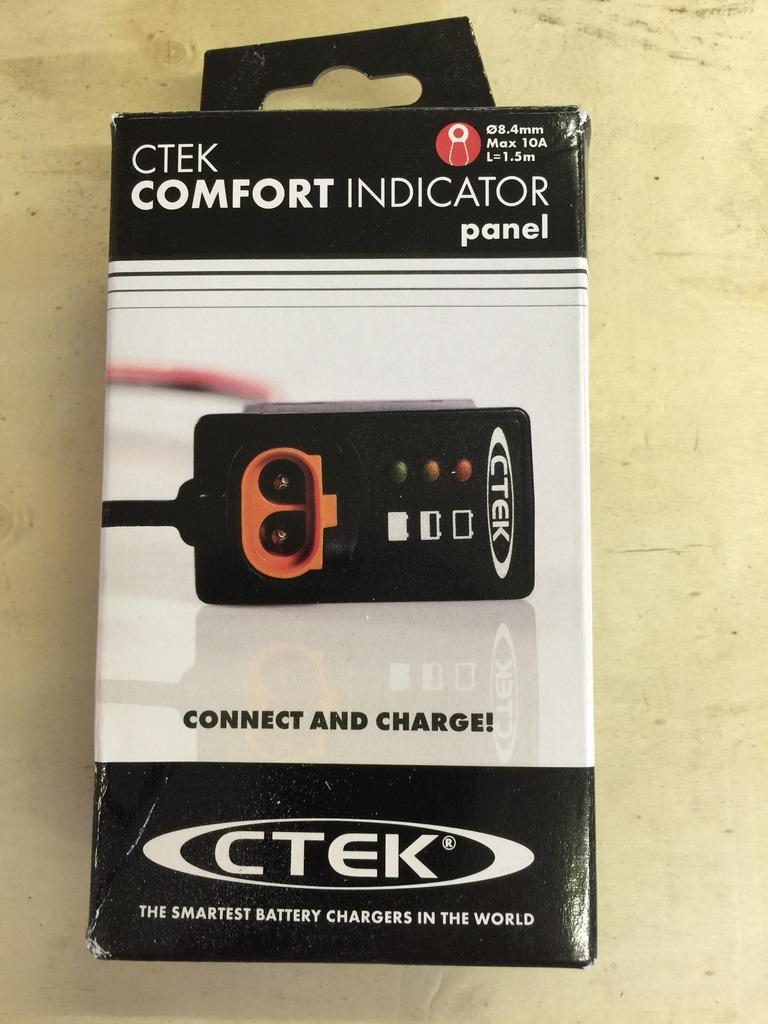


Pretty simple system, just a long cord that attached to a battery with a series of 3 LEDs to show the condition of the battery, Red, Yellow and Green and a receptacle to receive the business end of the charger. Can't get much easier than that.


I went to Ace and bought a piece of metal to use as the mounting plate, I cut the opening for the Carlin type switch with a pair of metal snips/nibblers.
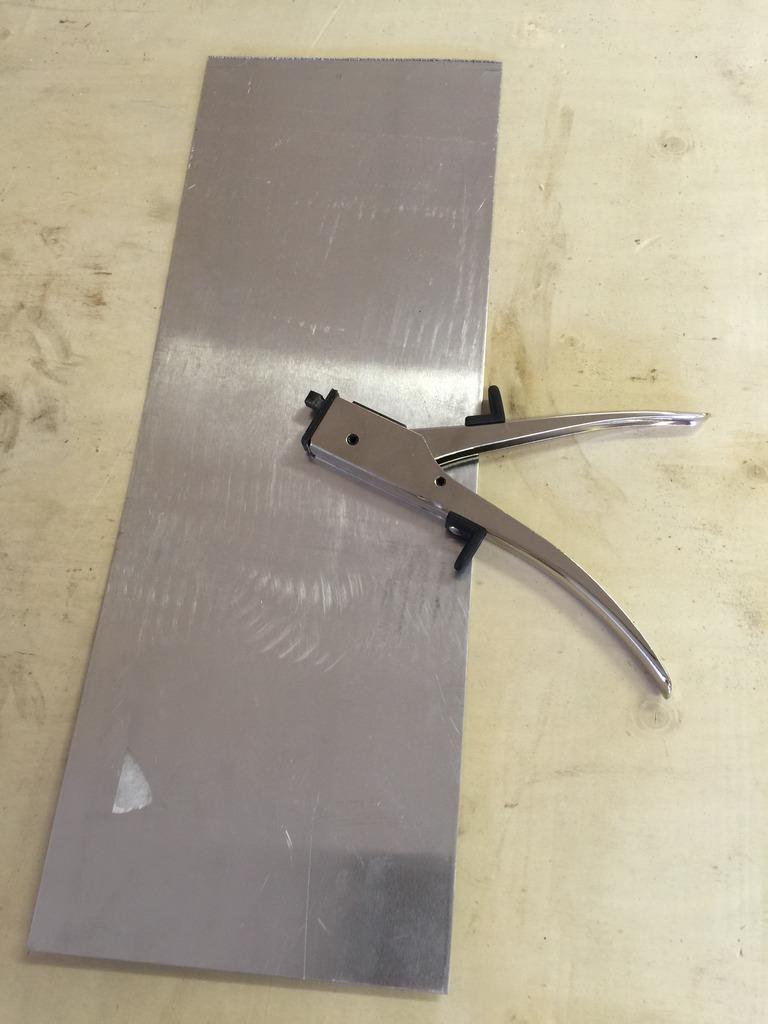


Here it is, cut out and painted black. Again, pretty easy.


Here's the bracket with the switch half way installed.
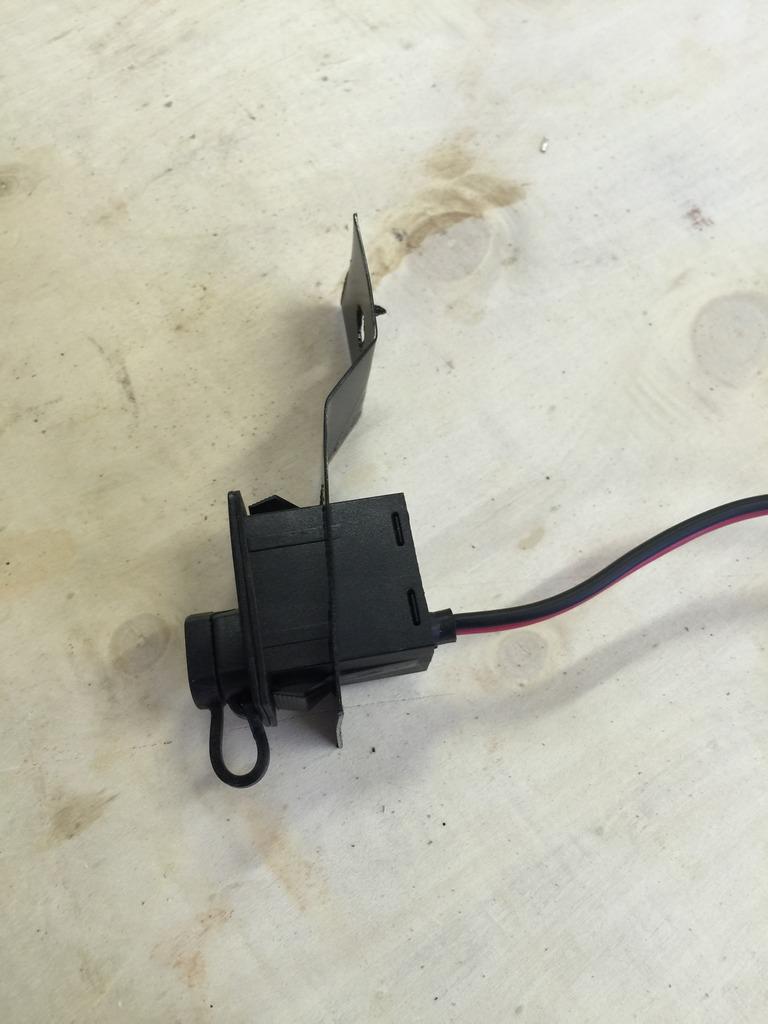


I opted to mount the switch under the passenger front fender using an existing mounting bolt. It's easy enough to see the condition of the battery as well as plug it in.


The plug is in, now all I need to do is route the wires to the battery.
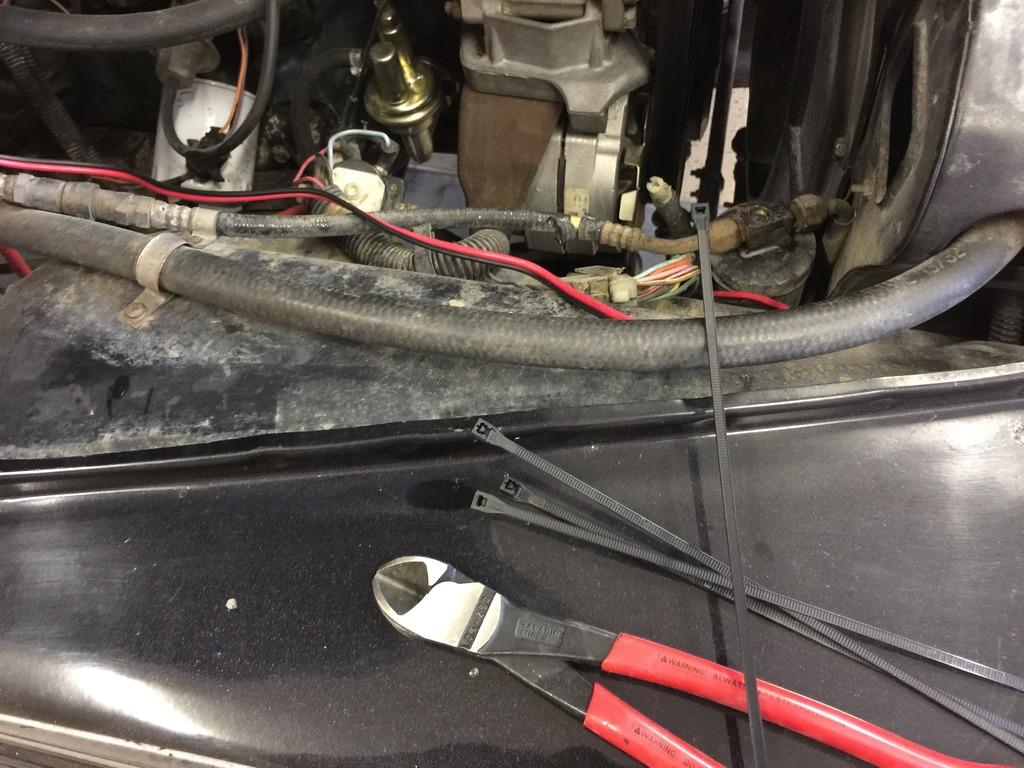


All done, wiring is in place.
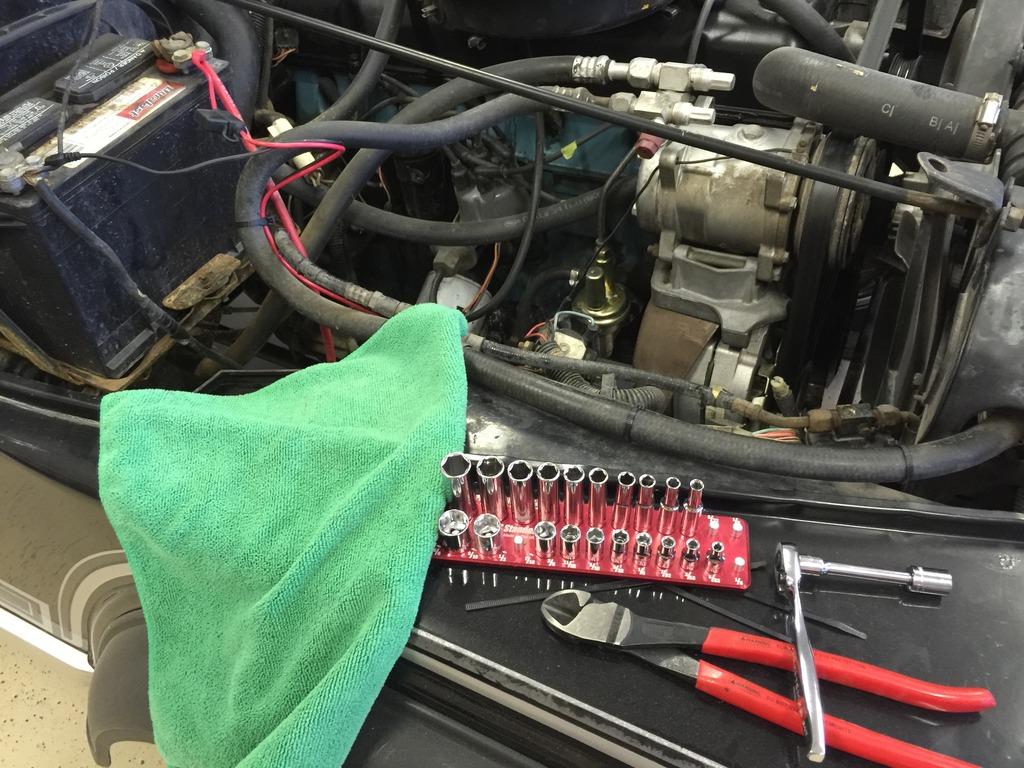


Oops, battery looks a little flat!
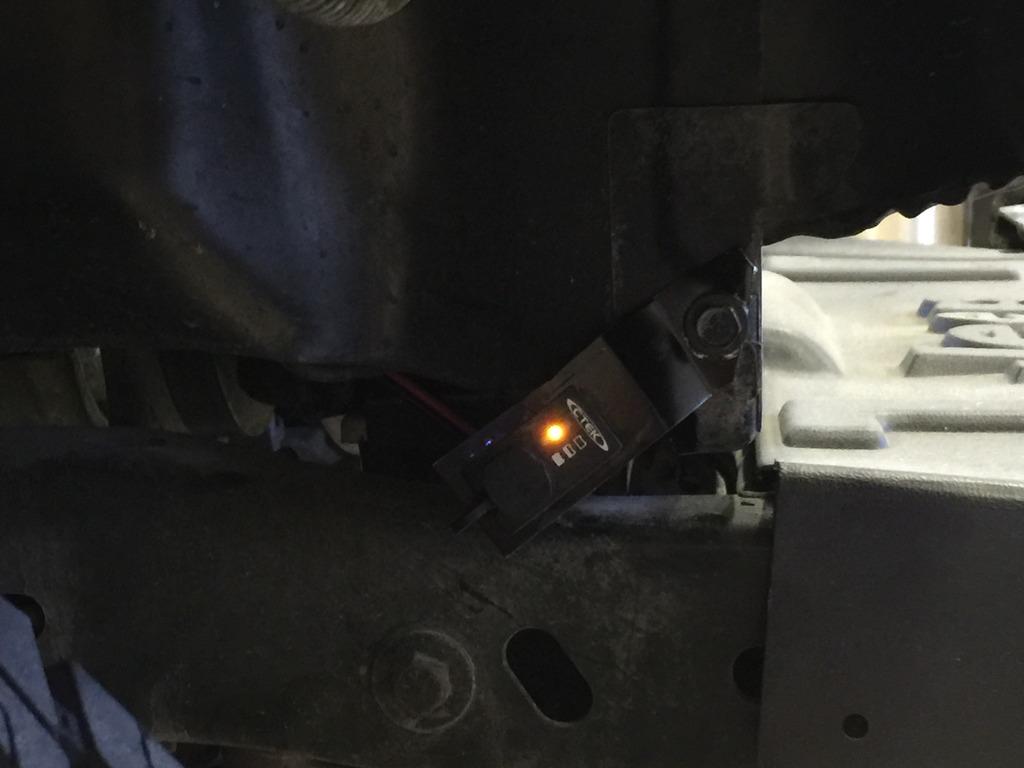


So here's the charger plugged into the comfort panel. I love these CTEK chargers, we have been using them for years on our boat, jet skis and quads and have yet to replace a battery, even with the long winter season!
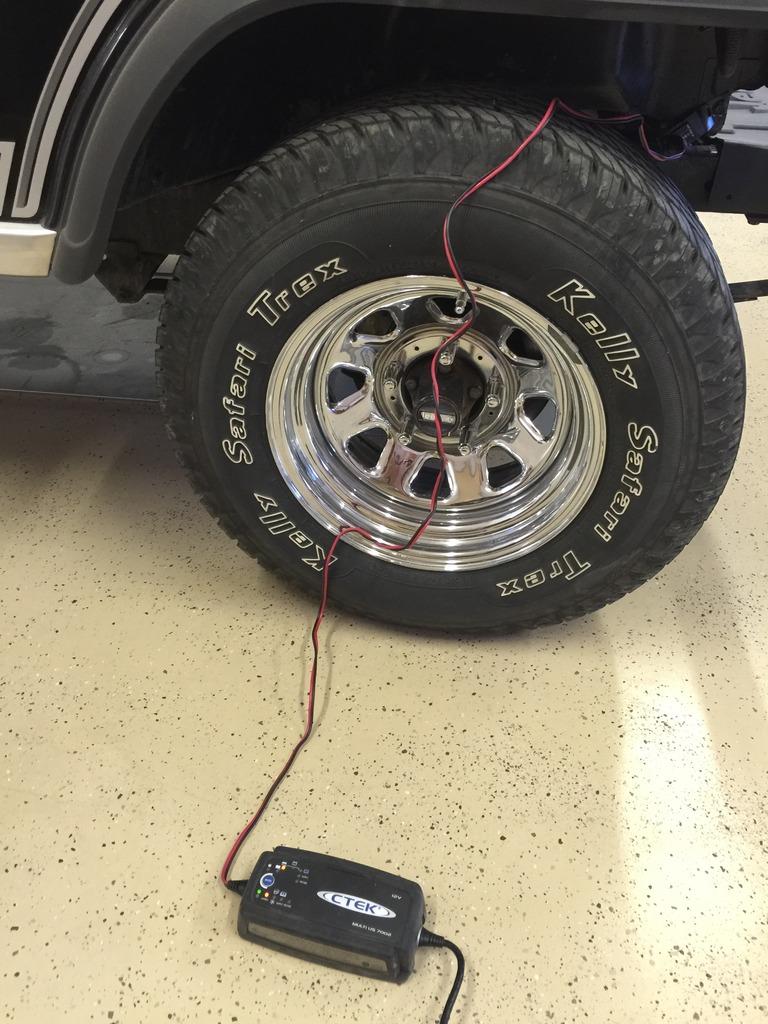

 
Good to see you're protecting that "garage floor" (?) from the "sweated power" of your beautiful CJ. Man you have too much time on your hands. Takes 5 seconds to disconnect the battery with a nice quick release.
 
IMG_1524.JPG
 

Attachments

  • IMG_1544.JPG
    IMG_1544.JPG
    149.3 KB · Views: 23
  • IMG_1546.JPG
    IMG_1546.JPG
    135.8 KB · Views: 23
  • IMG_1636.JPG
    IMG_1636.JPG
    156.9 KB · Views: 22
  • IMG_1644.JPG
    IMG_1644.JPG
    125.4 KB · Views: 22
  • IMG_1647.JPG
    IMG_1647.JPG
    129.1 KB · Views: 22
  • IMG_1668.JPG
    IMG_1668.JPG
    127.5 KB · Views: 22
  • IMG_1679.JPG
    IMG_1679.JPG
    109.5 KB · Views: 22
  • IMG_1682.JPG
    IMG_1682.JPG
    120.2 KB · Views: 23
  • IMG_1685.JPG
    IMG_1685.JPG
    129.1 KB · Views: 23
Back
Top