

You are using an out of date browser. It may not display this or other websites correctly.
You should upgrade or use an alternative browser.
You should upgrade or use an alternative browser.
Jeep cj7 83 right hand drive 4x4 5 sp british export - part II
- Thread starter certifiablejeep
- Start date


- City
- Landing
- State
- NJ
Incredible workmanship and attention to detail !! 
Now if we only had no day jobs, oh the places we could go....
Now if we only had no day jobs, oh the places we could go....

- City
- Bedford
- State
- NH
Thanks guys... we need to get working on that no day job thing post haste!
cb
cb
- City
- Bedford
- State
- NH
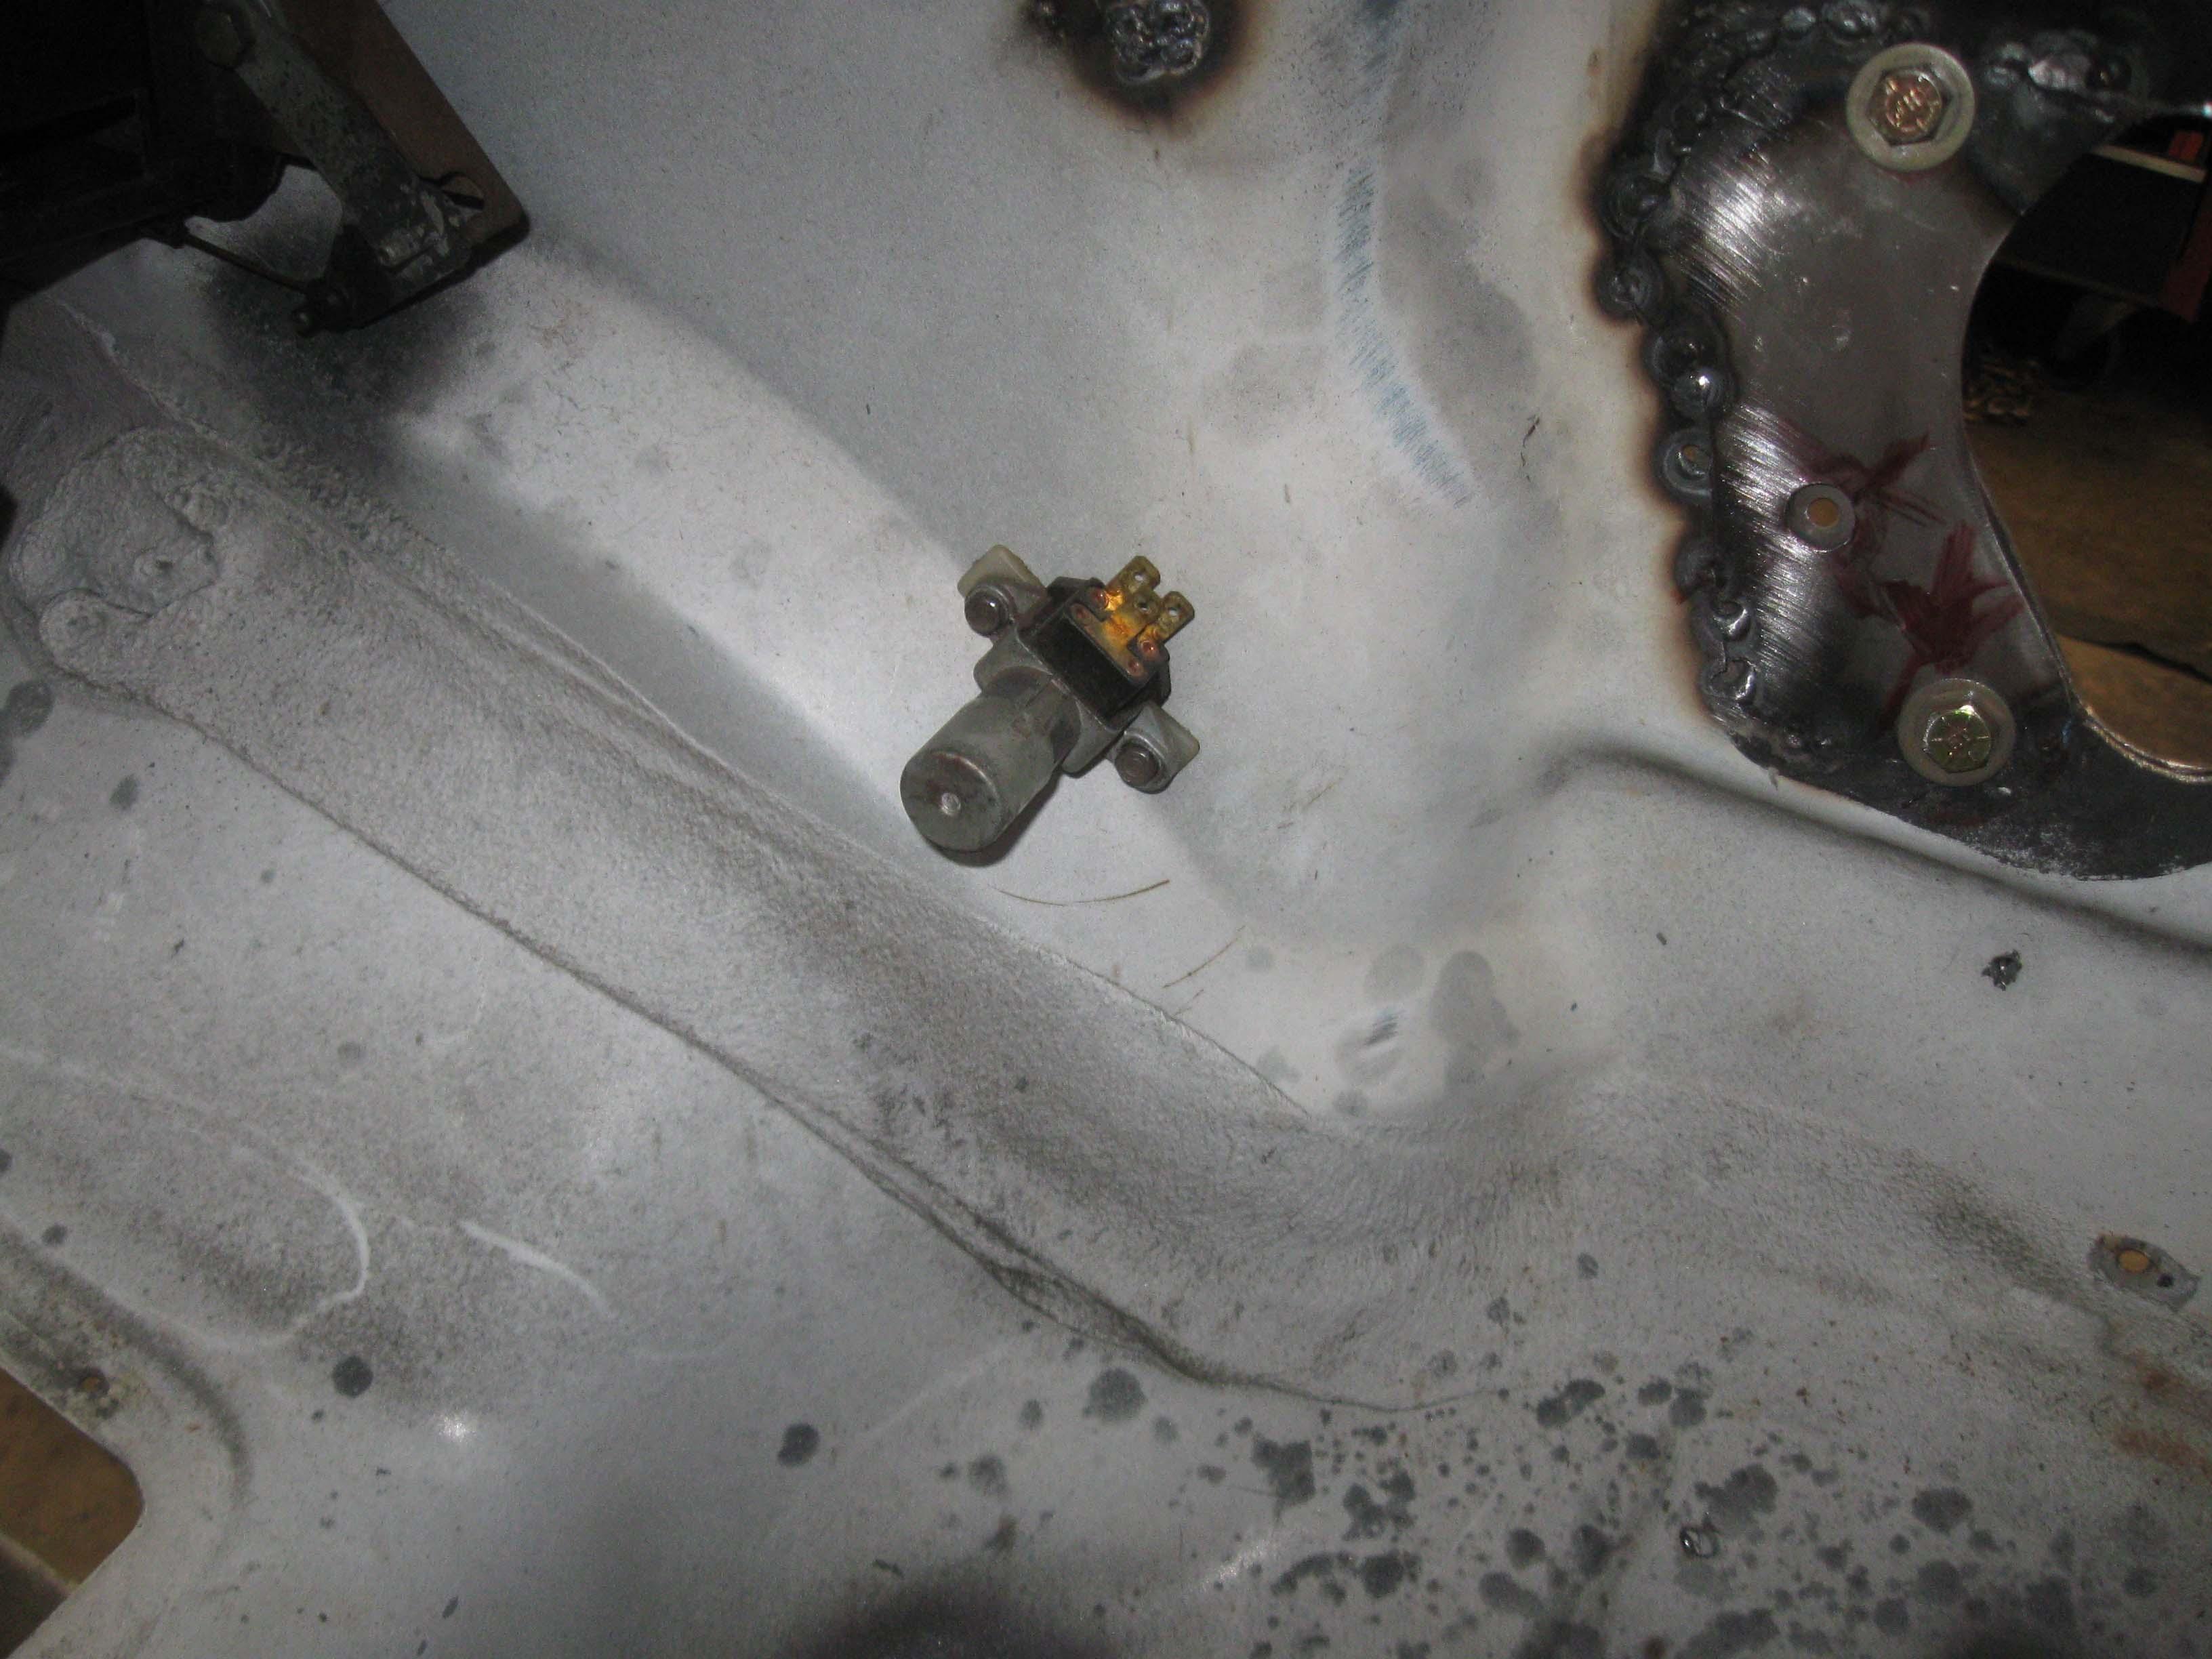
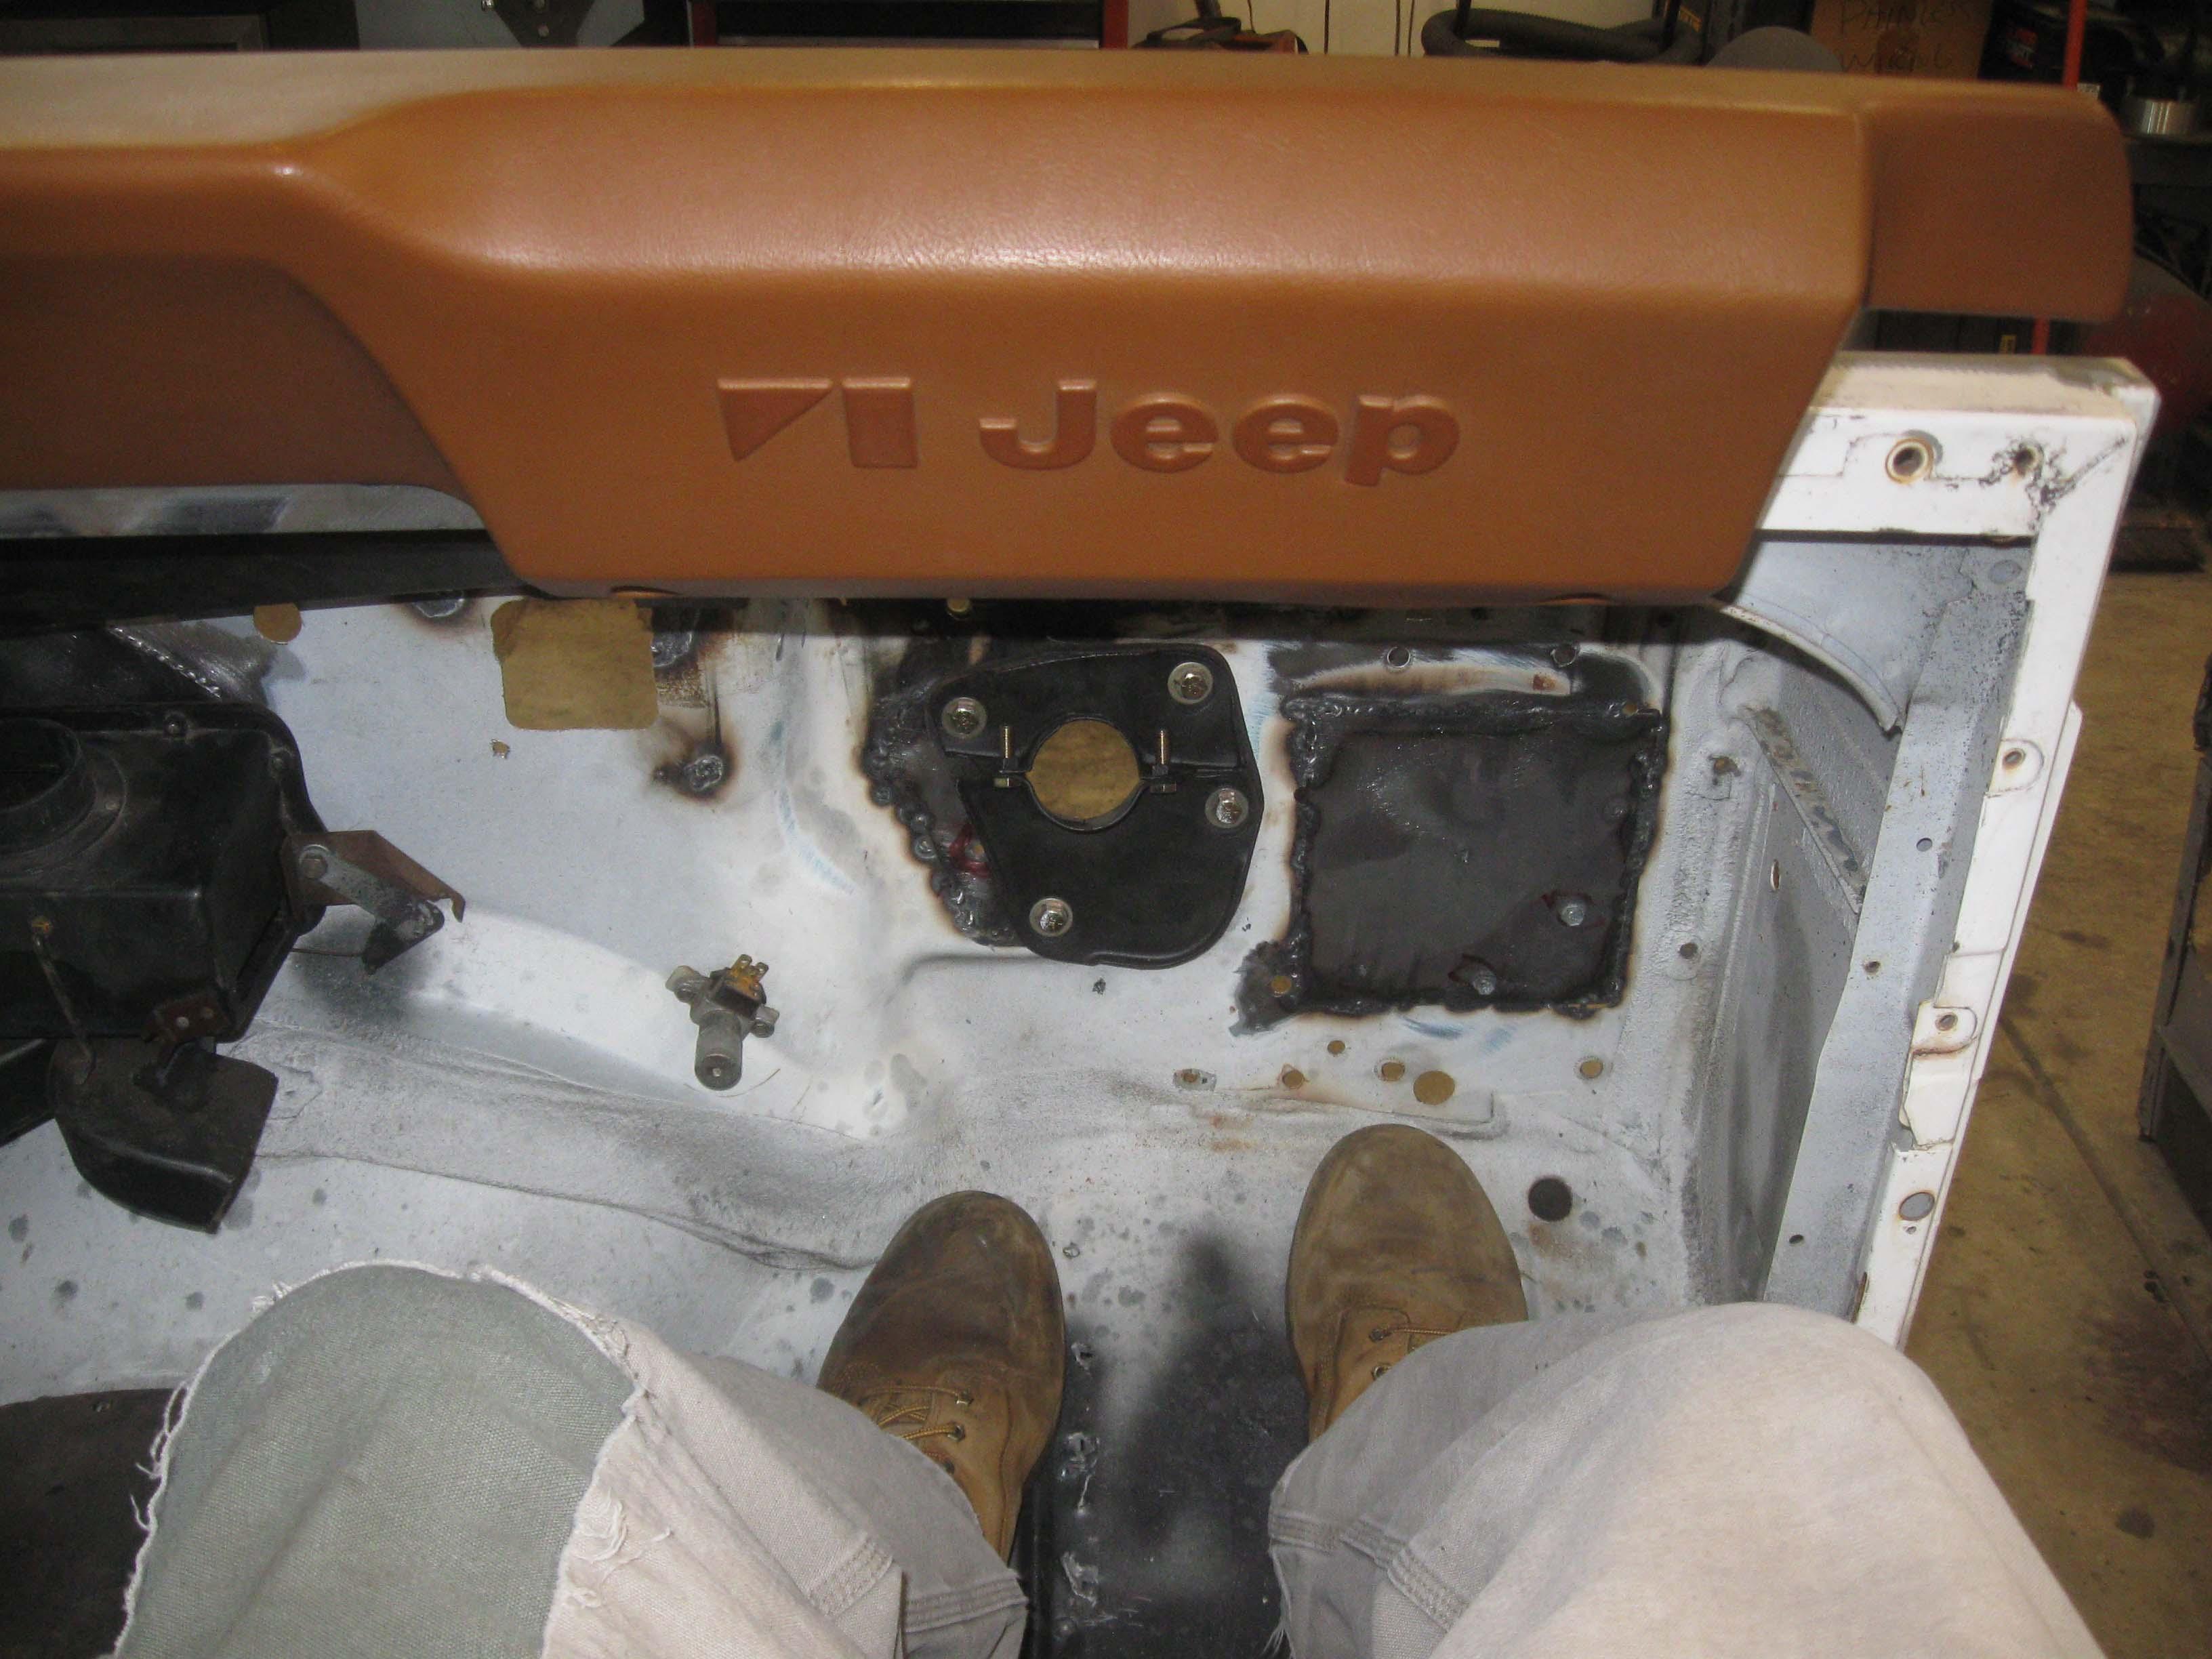
I finally got a bit tired of the firewall and went to work on the roll bar, which I knew wouldn’t be a picnic either. This was after of course the more patching on the firewall, the installation of the hi/low beam switch and the dash pad and seat fitting to make sure everything was OK.
hi beam switch
Dash and seat fitting... with a solid tub, the seat doesn't lean and the dash needed some extra holes on top drilled... a lot better to do when not painted.
More firewall welding and patching... uggh
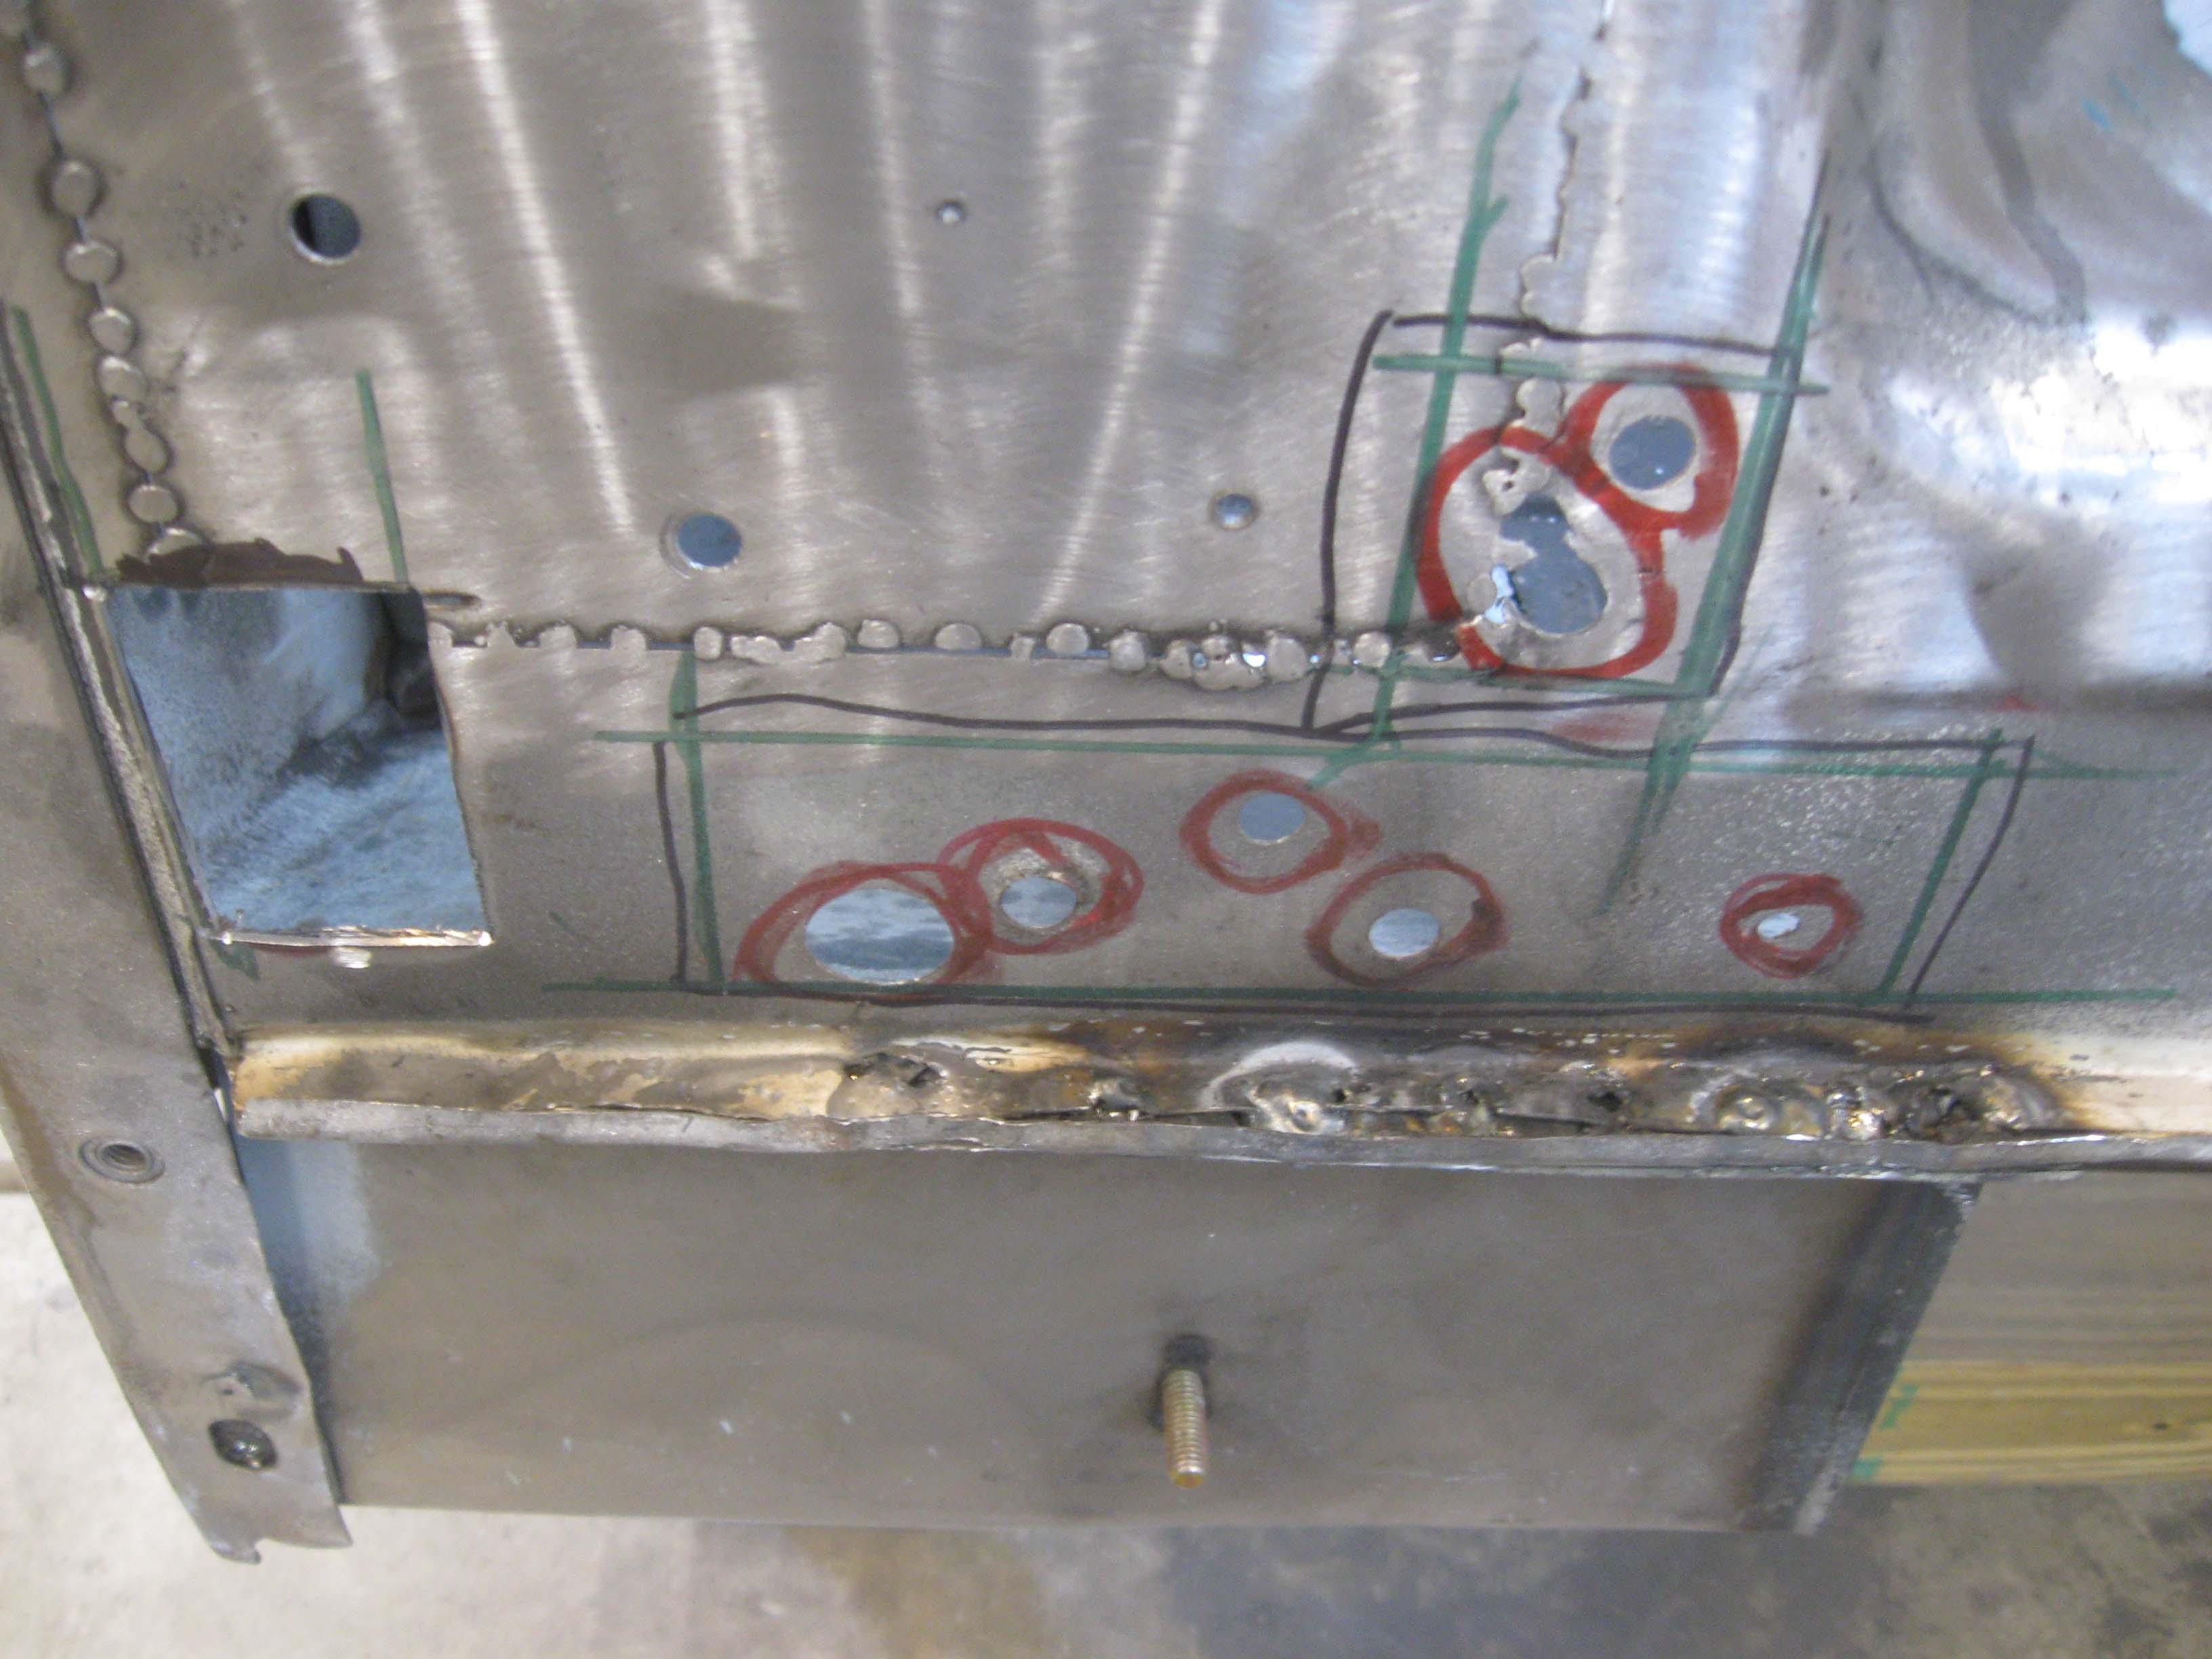
plate is spot welded on.
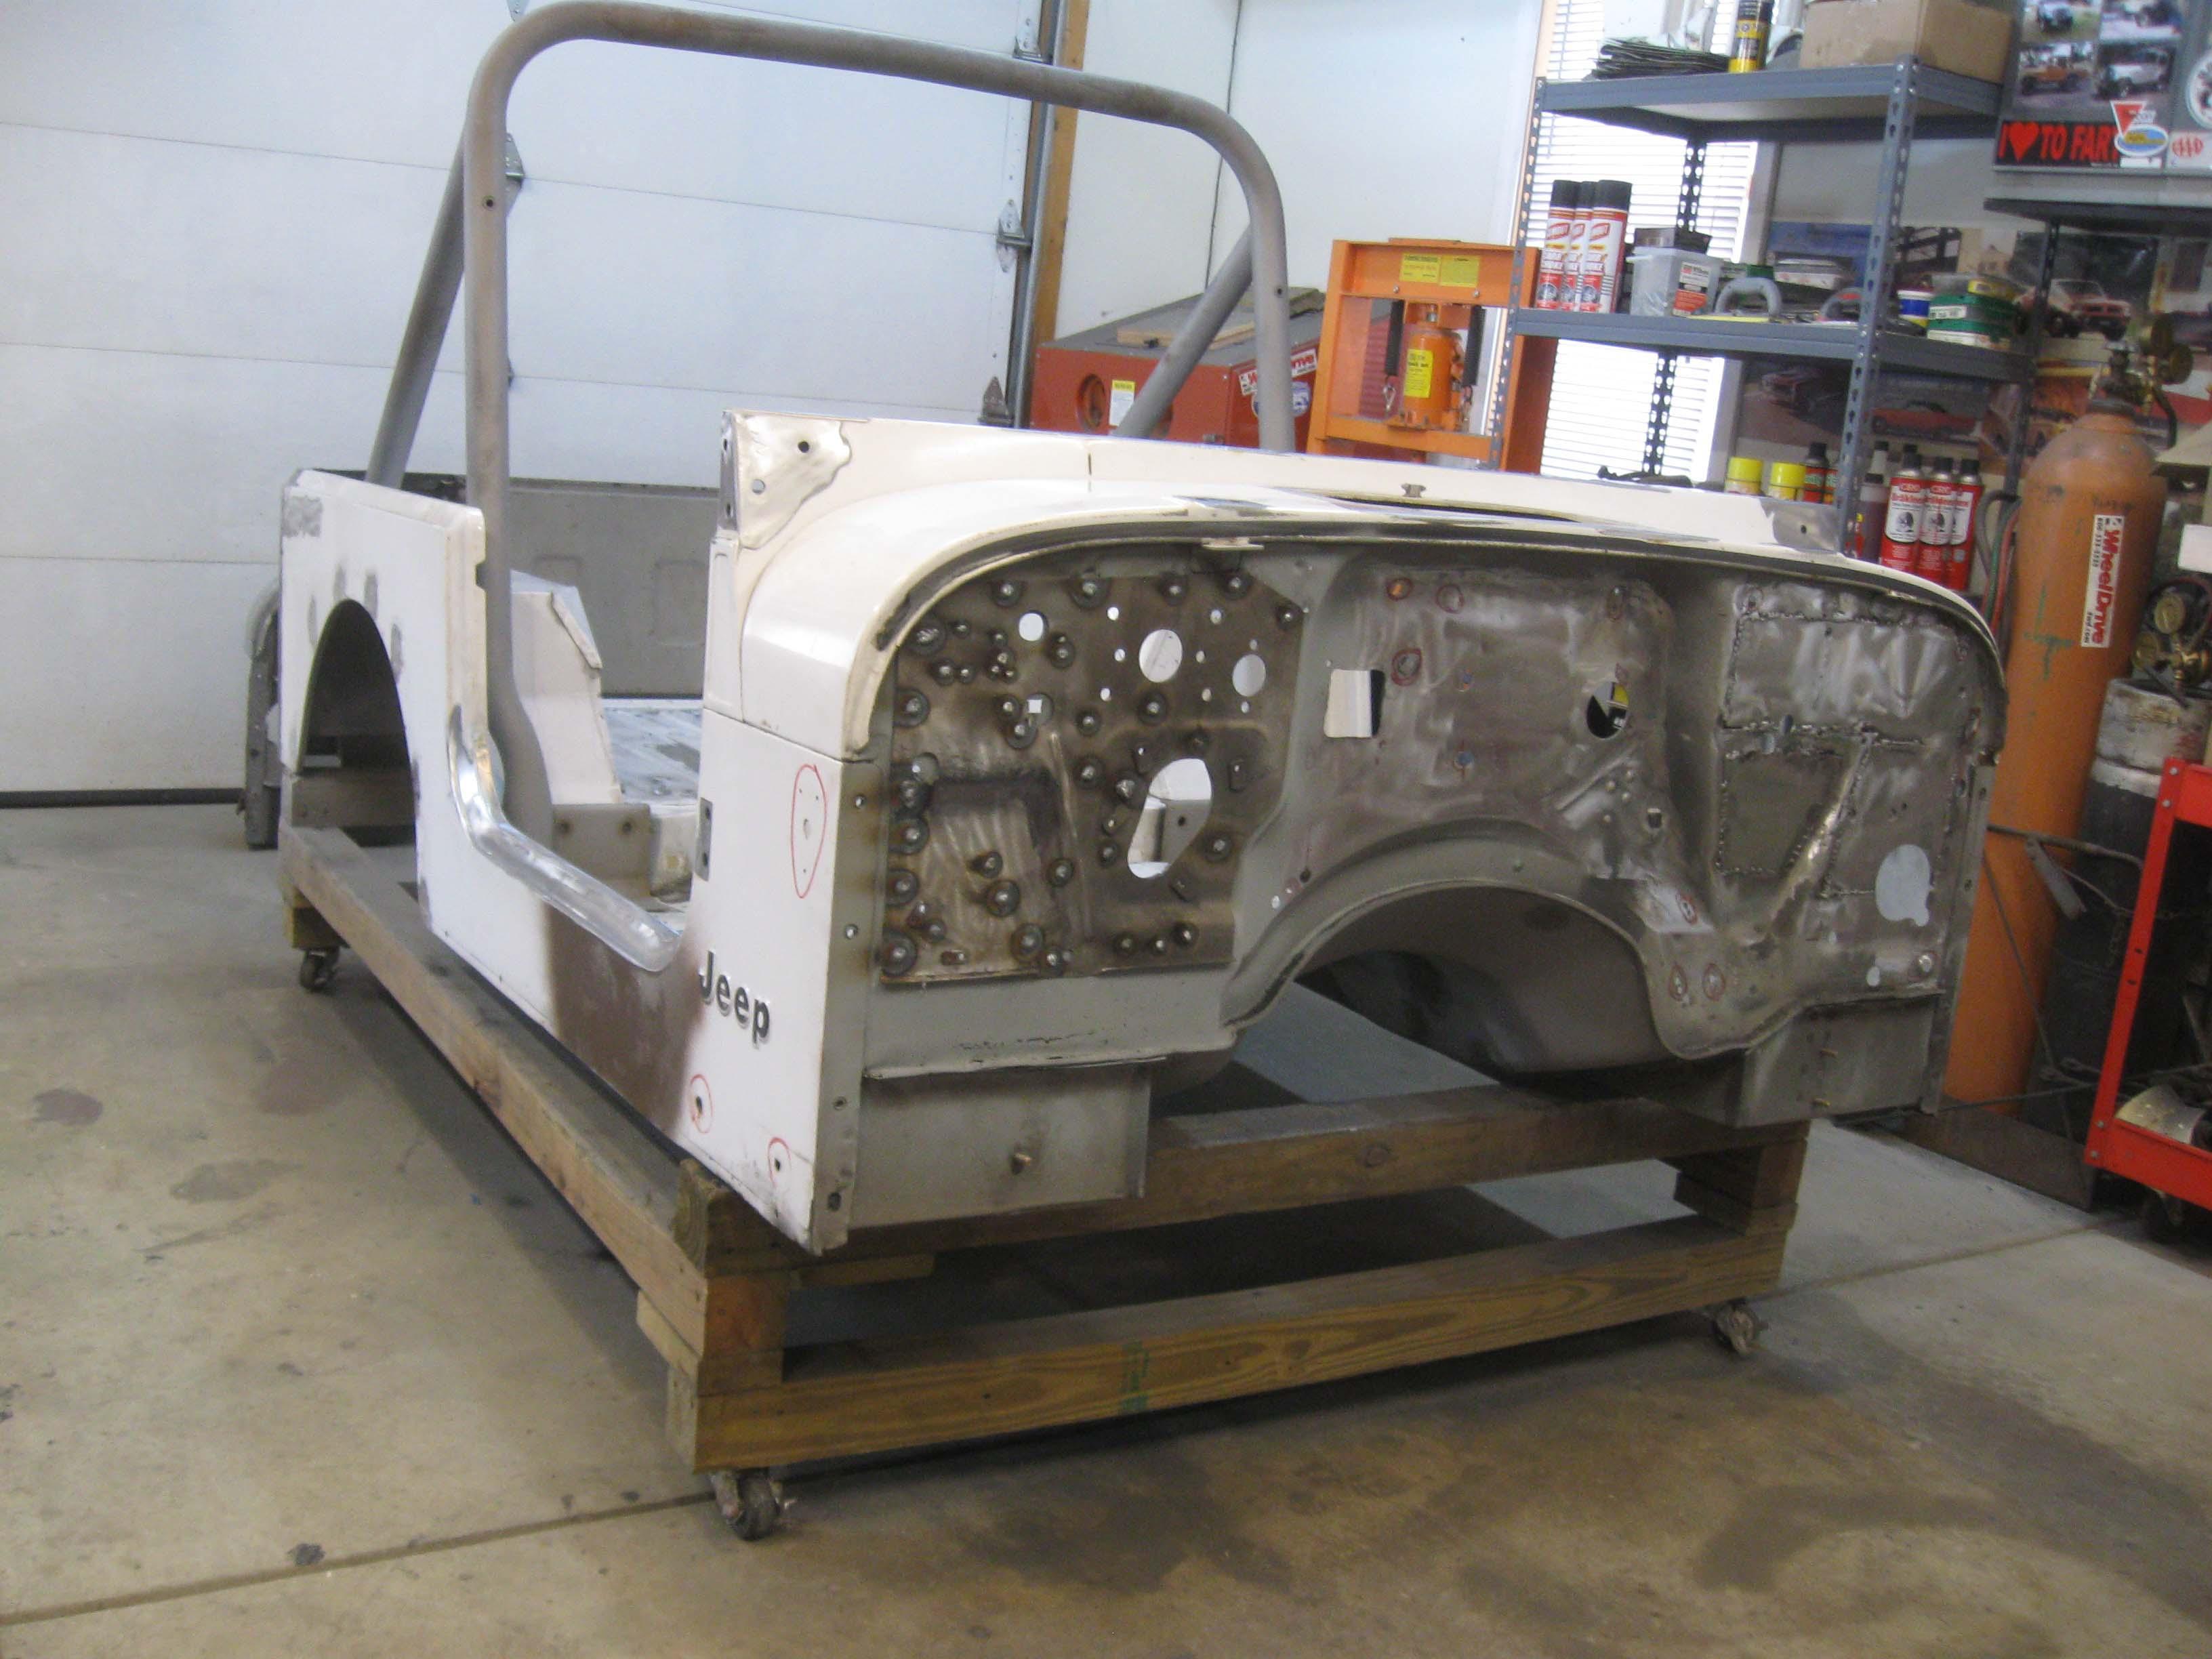
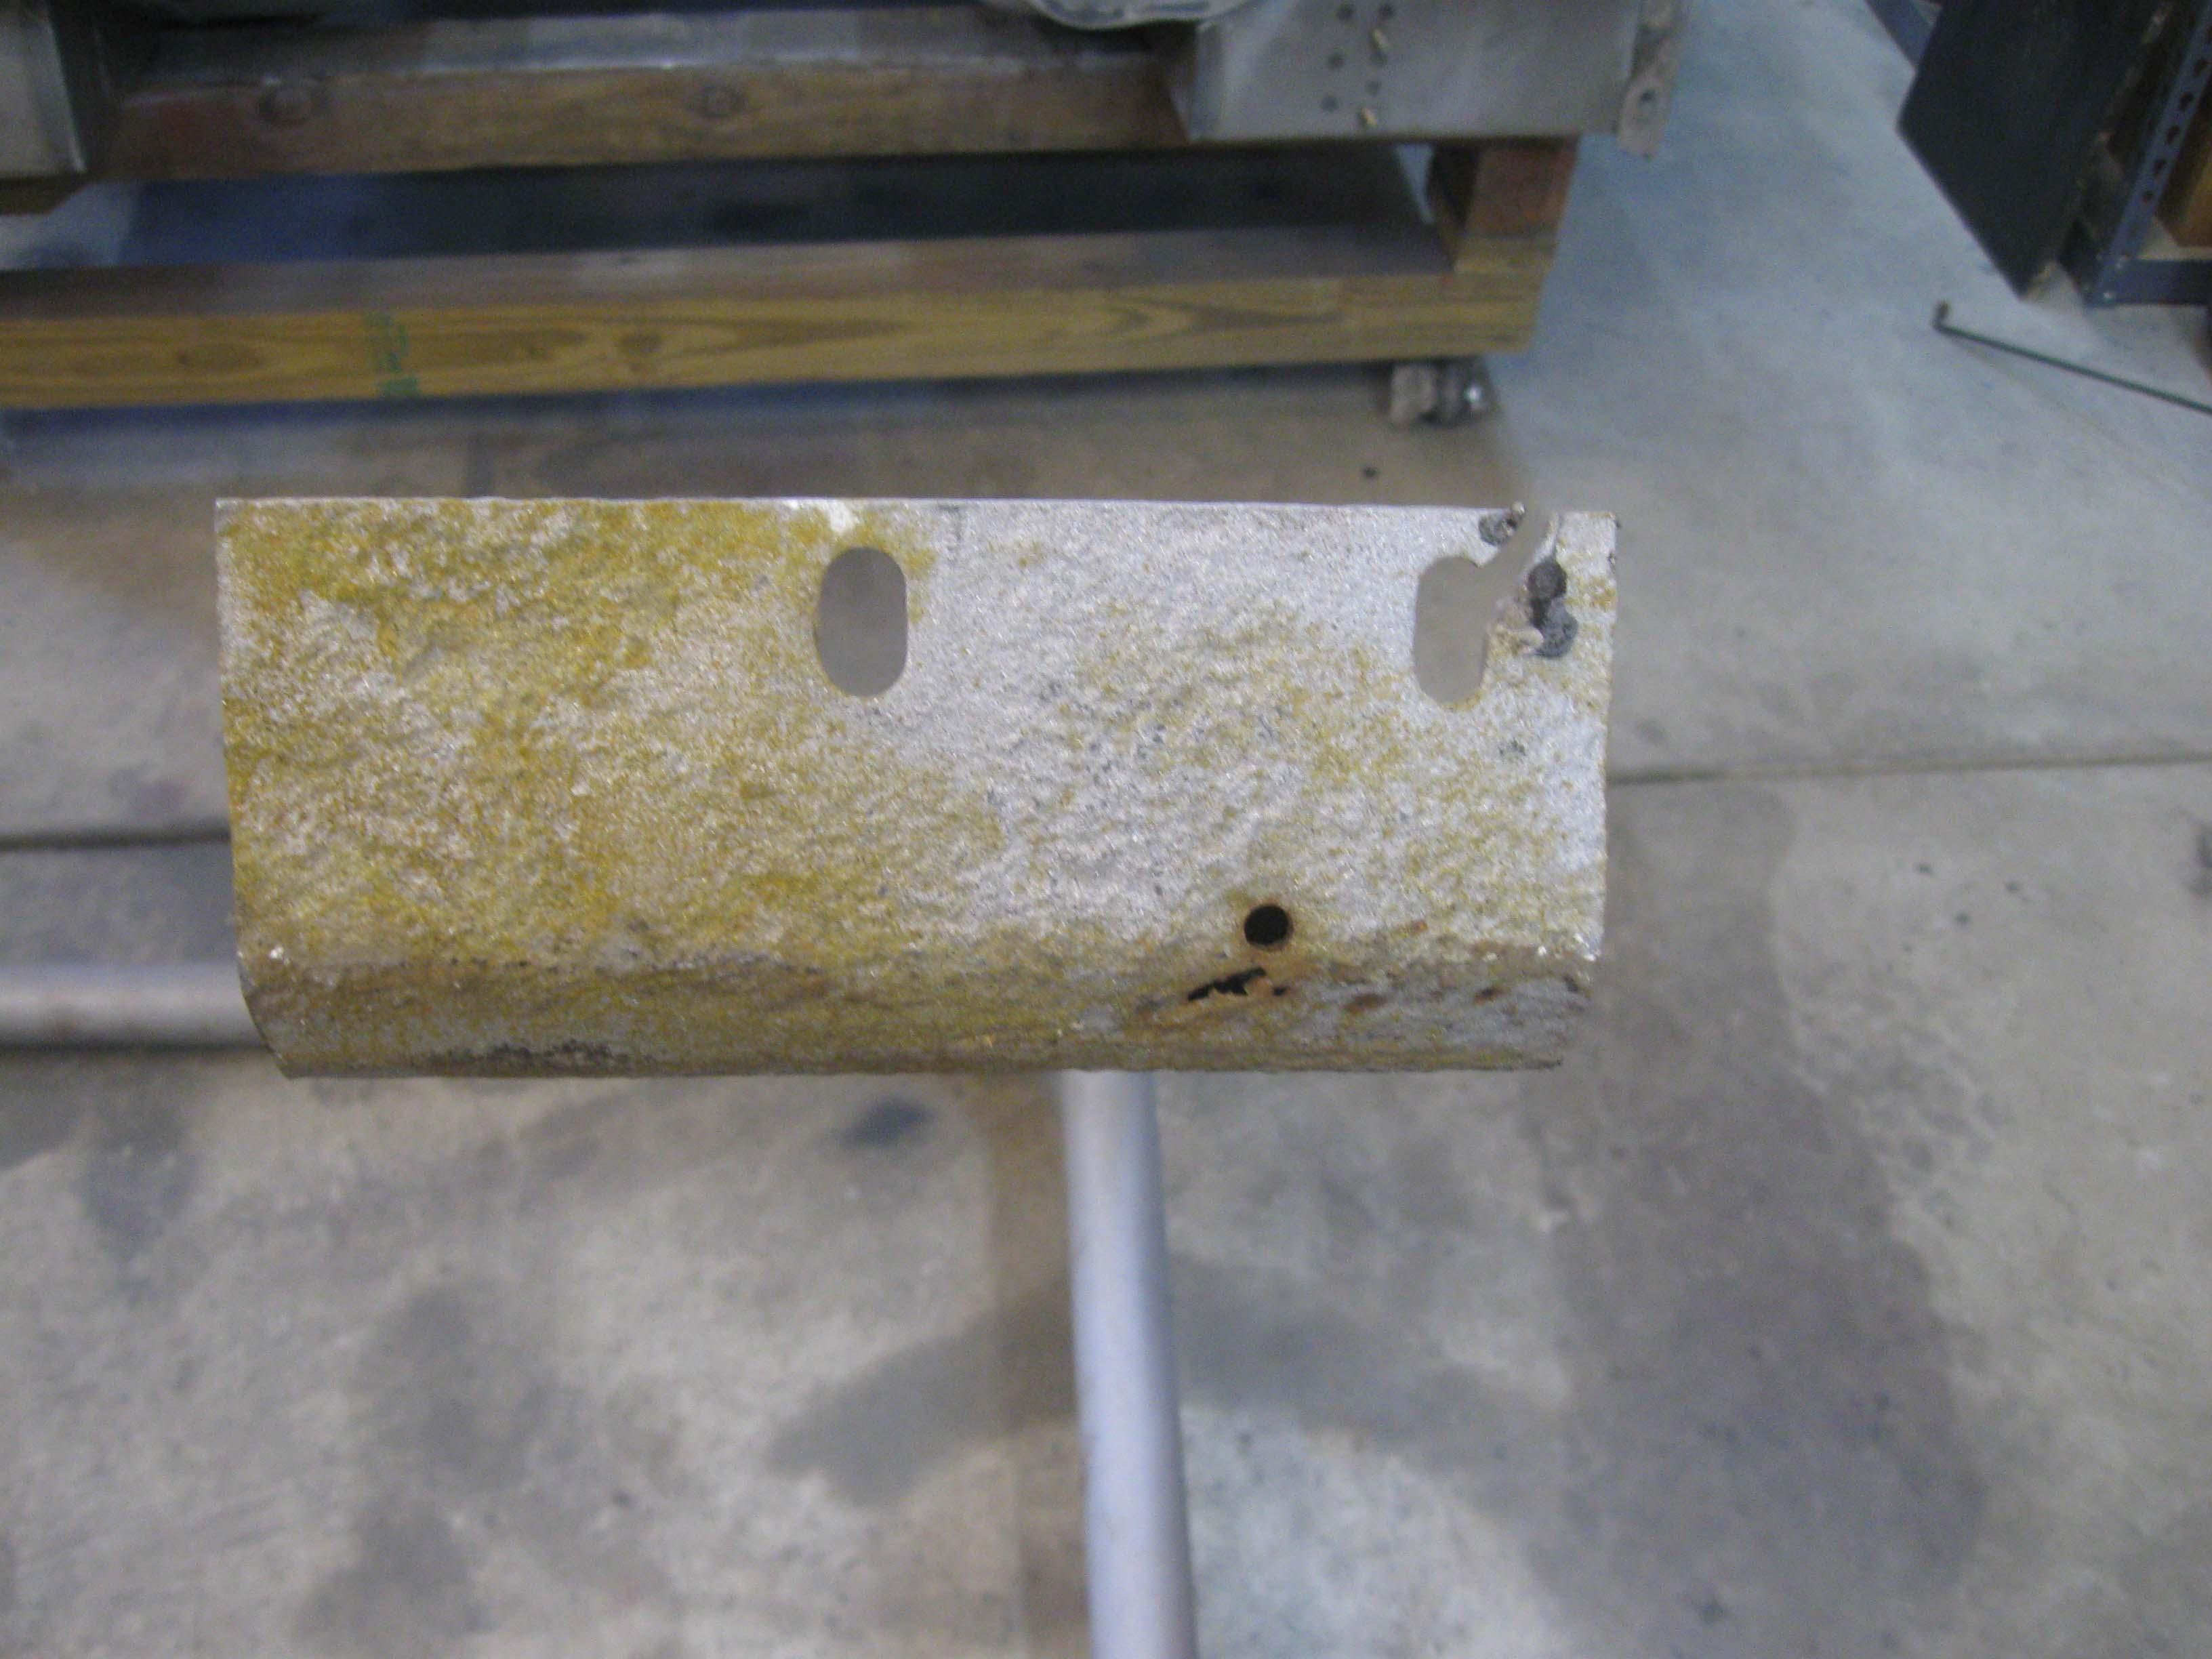
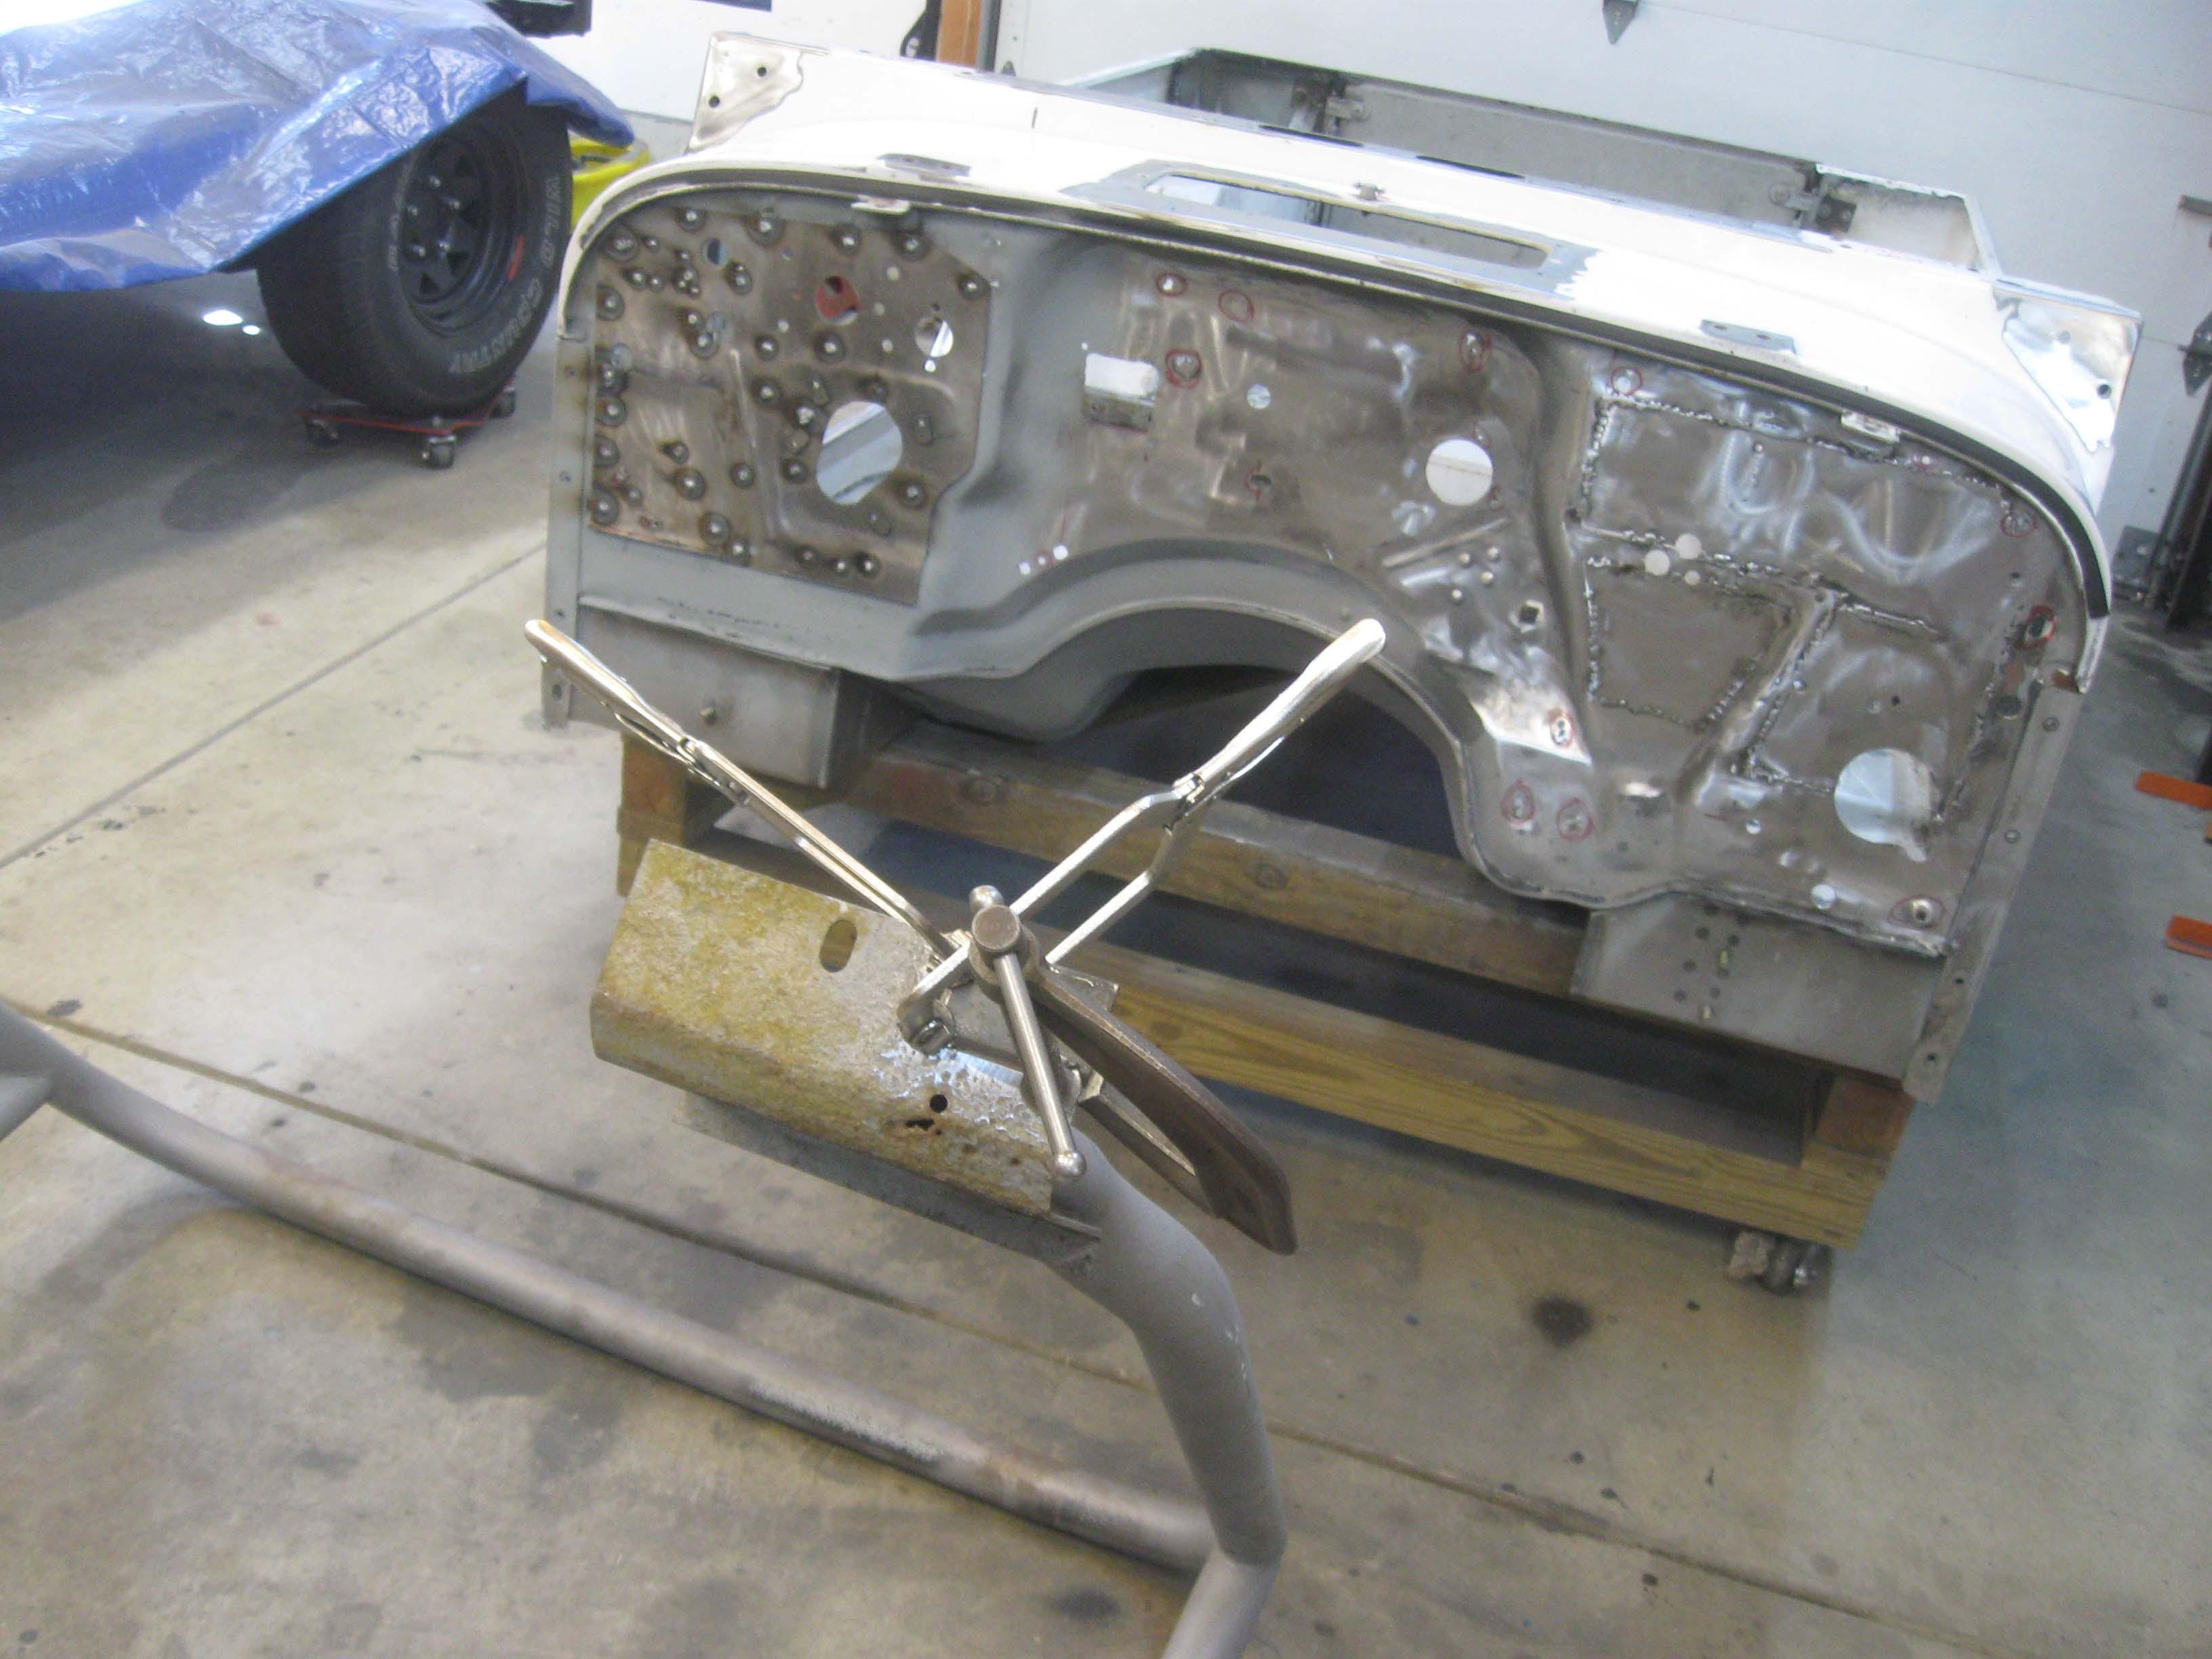
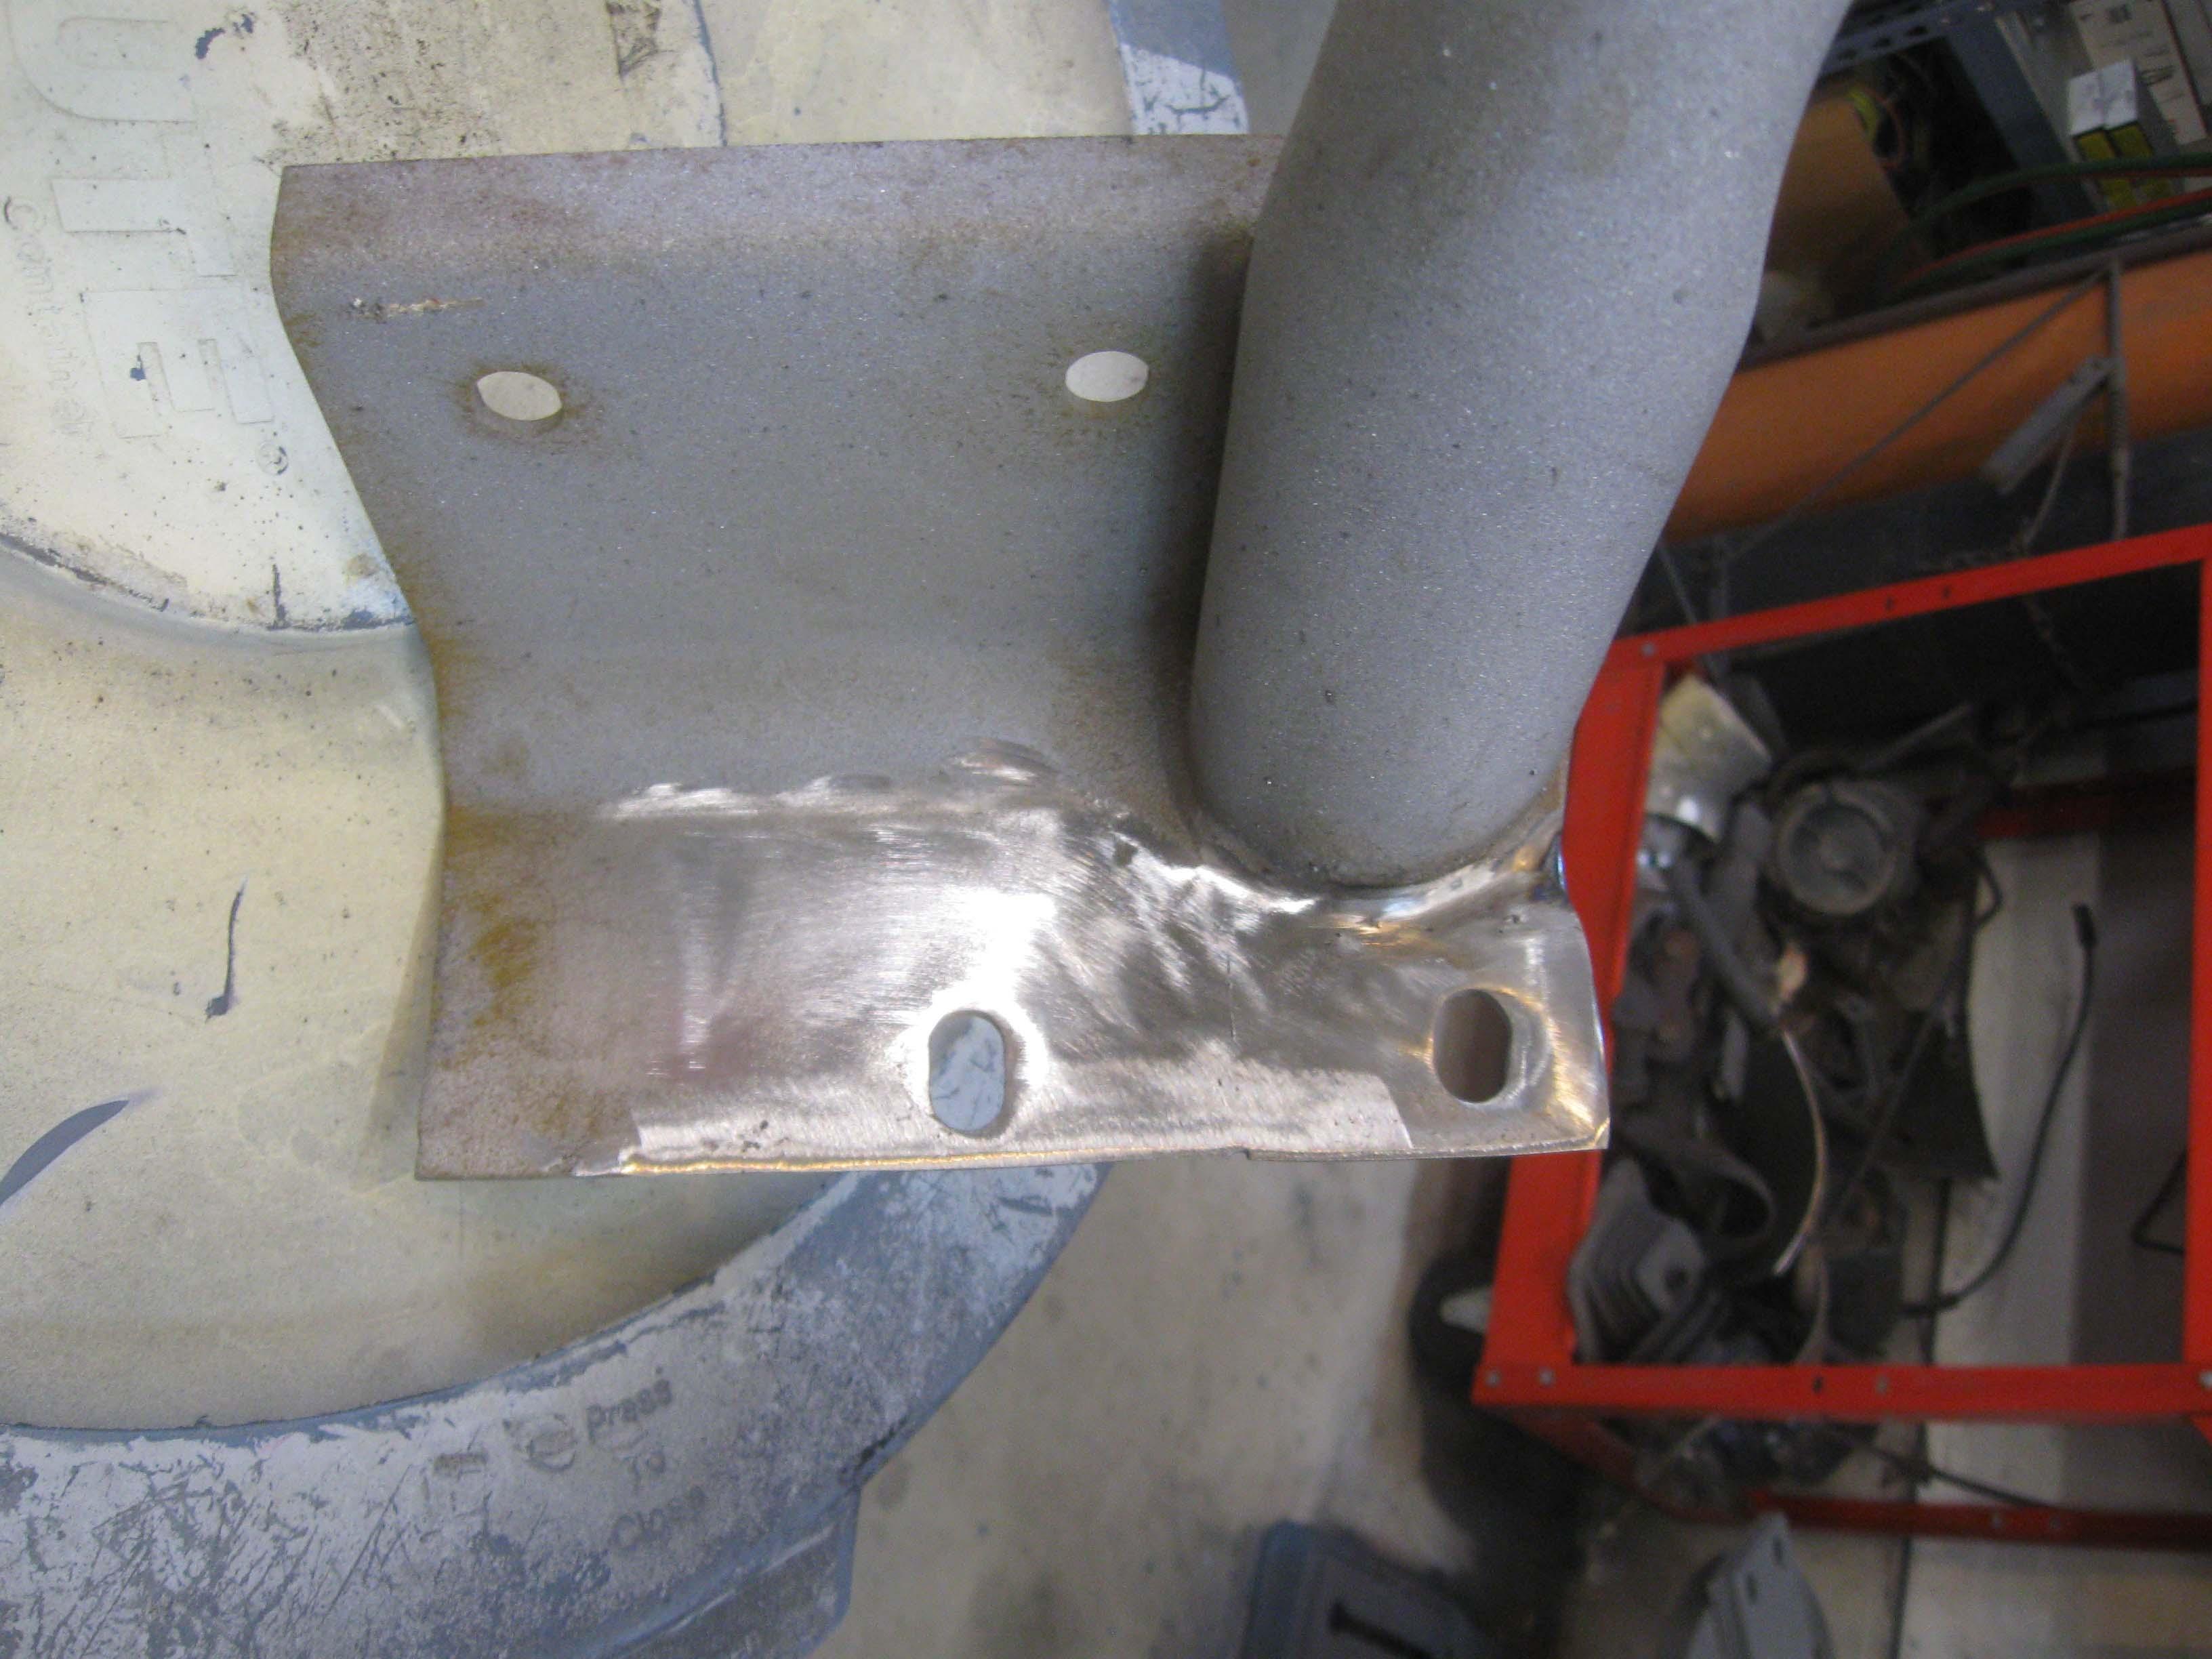
Moving onto the roll bar
more to come!
hi beam switch
Dash and seat fitting... with a solid tub, the seat doesn't lean and the dash needed some extra holes on top drilled... a lot better to do when not painted.
More firewall welding and patching... uggh
plate is spot welded on.
Moving onto the roll bar
more to come!
- City
- Bedford
- State
- NH
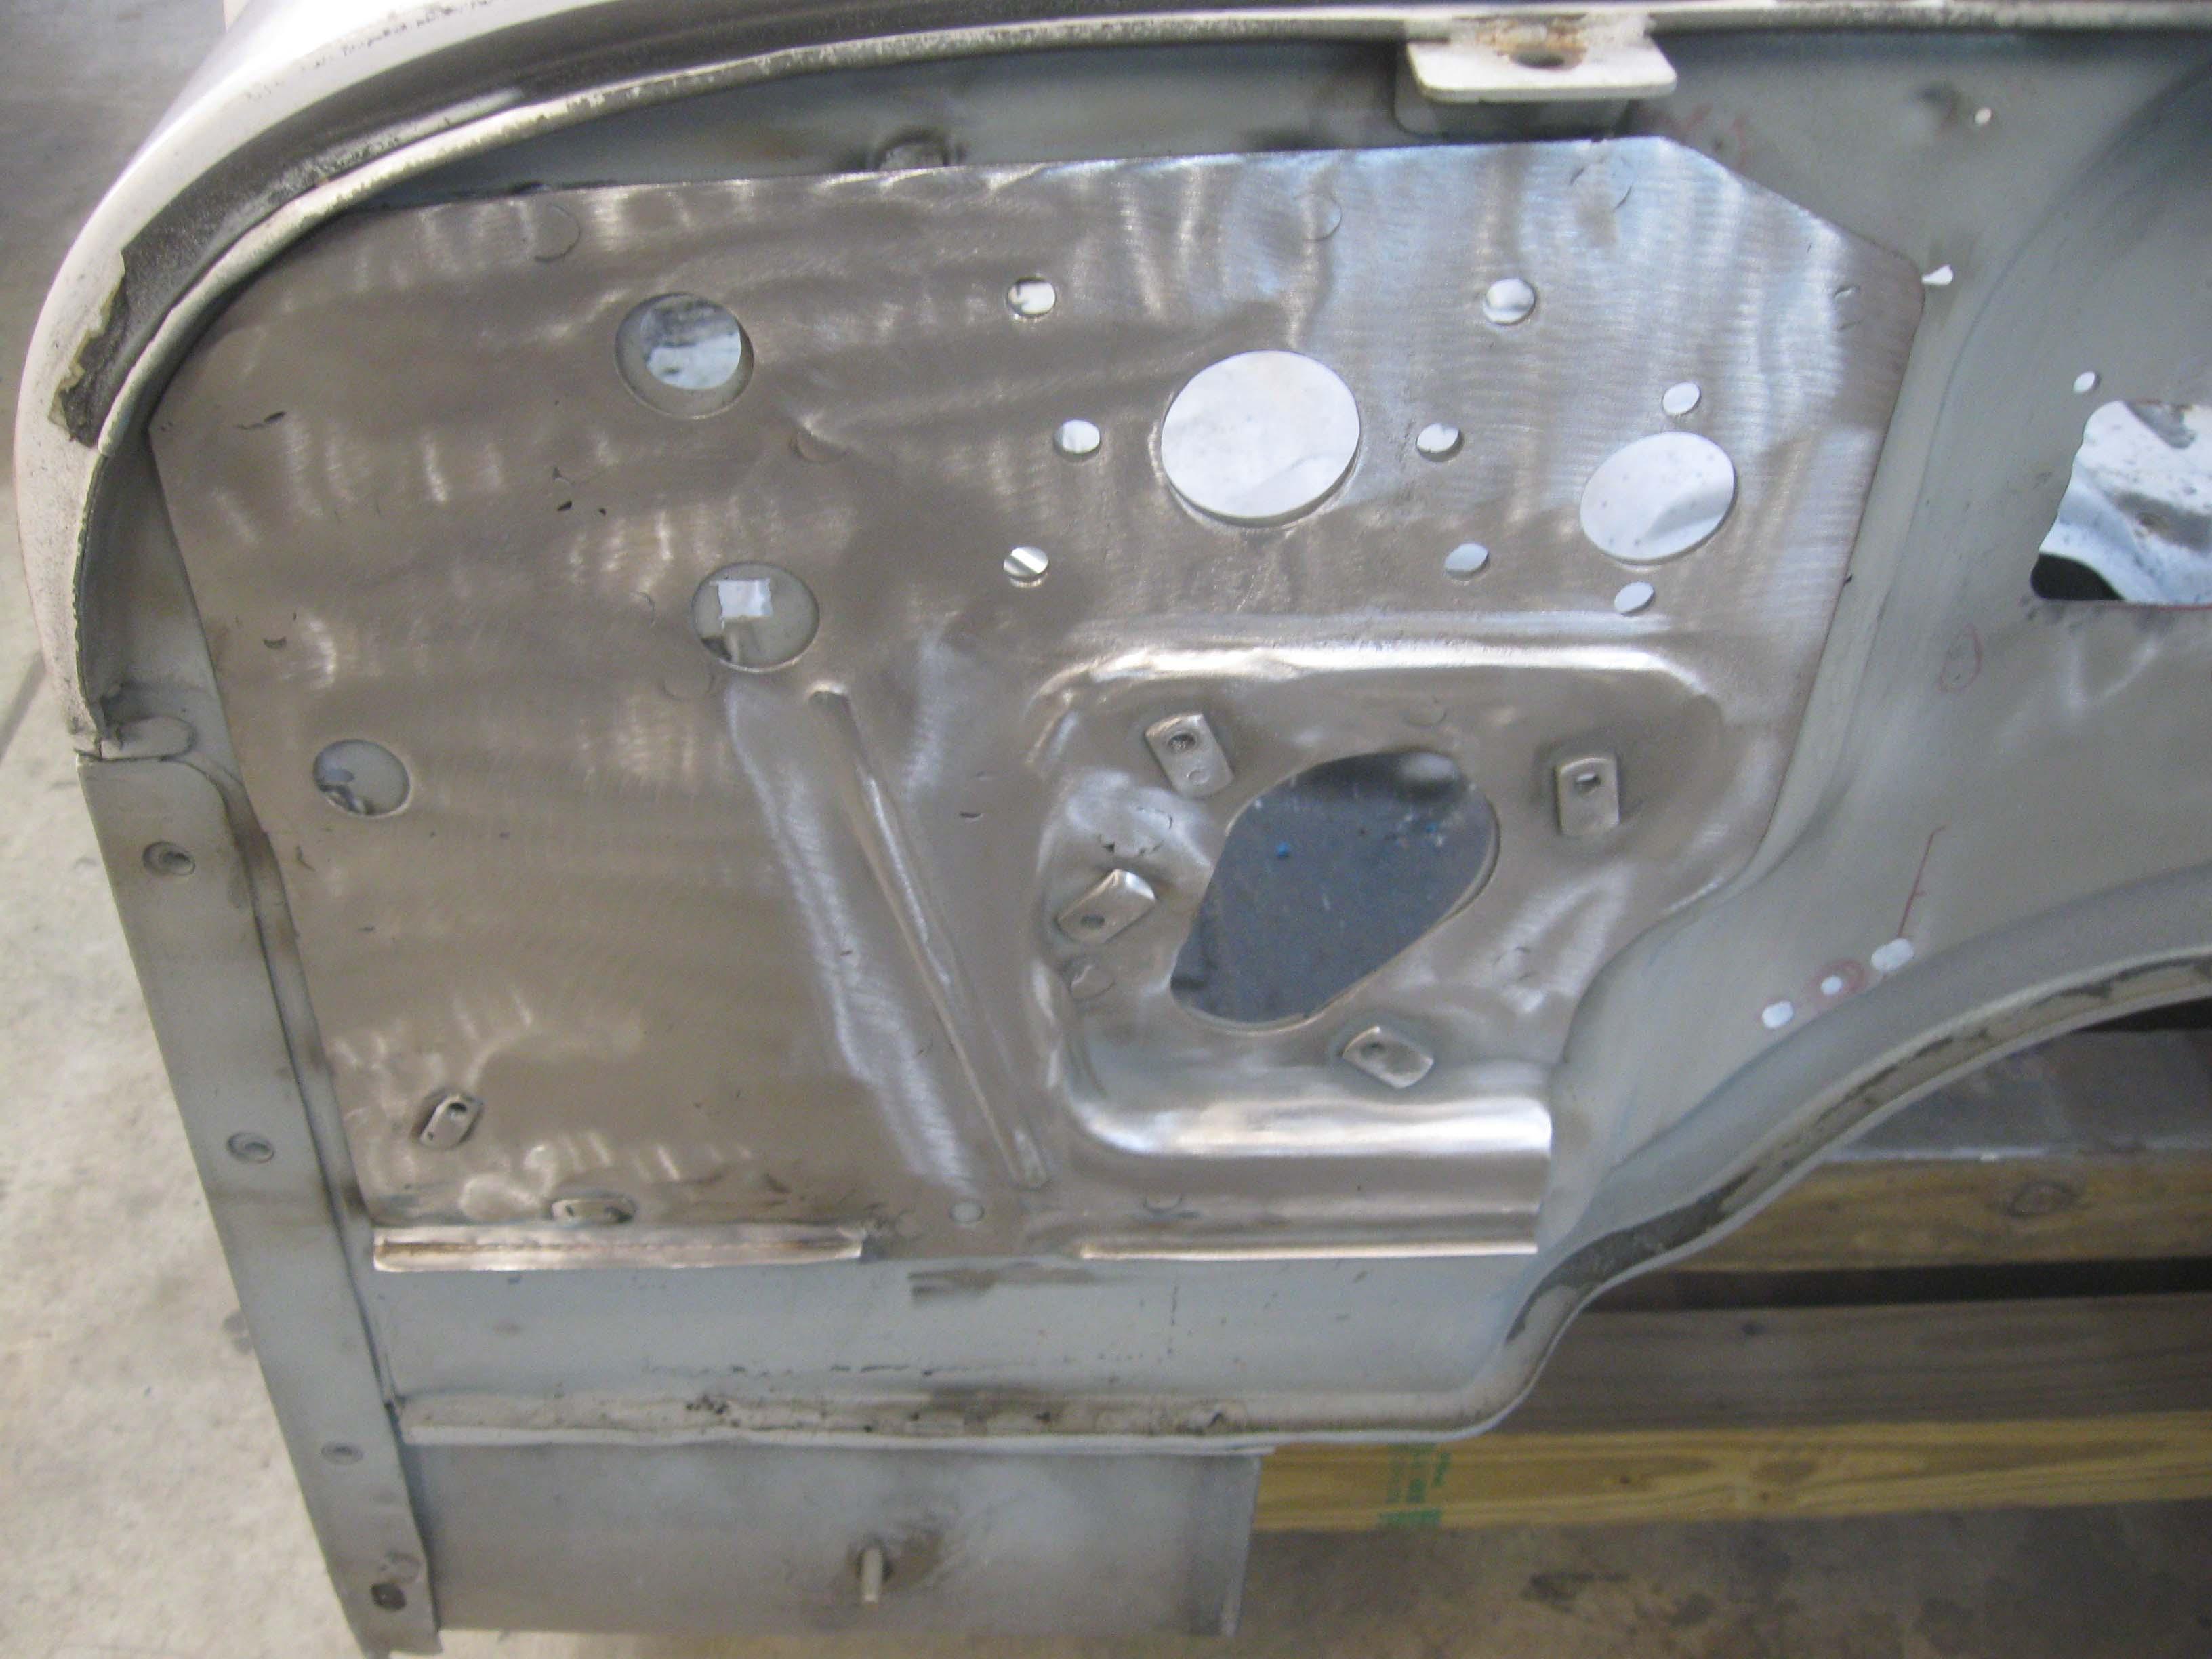
Plate grinding
Primer protection
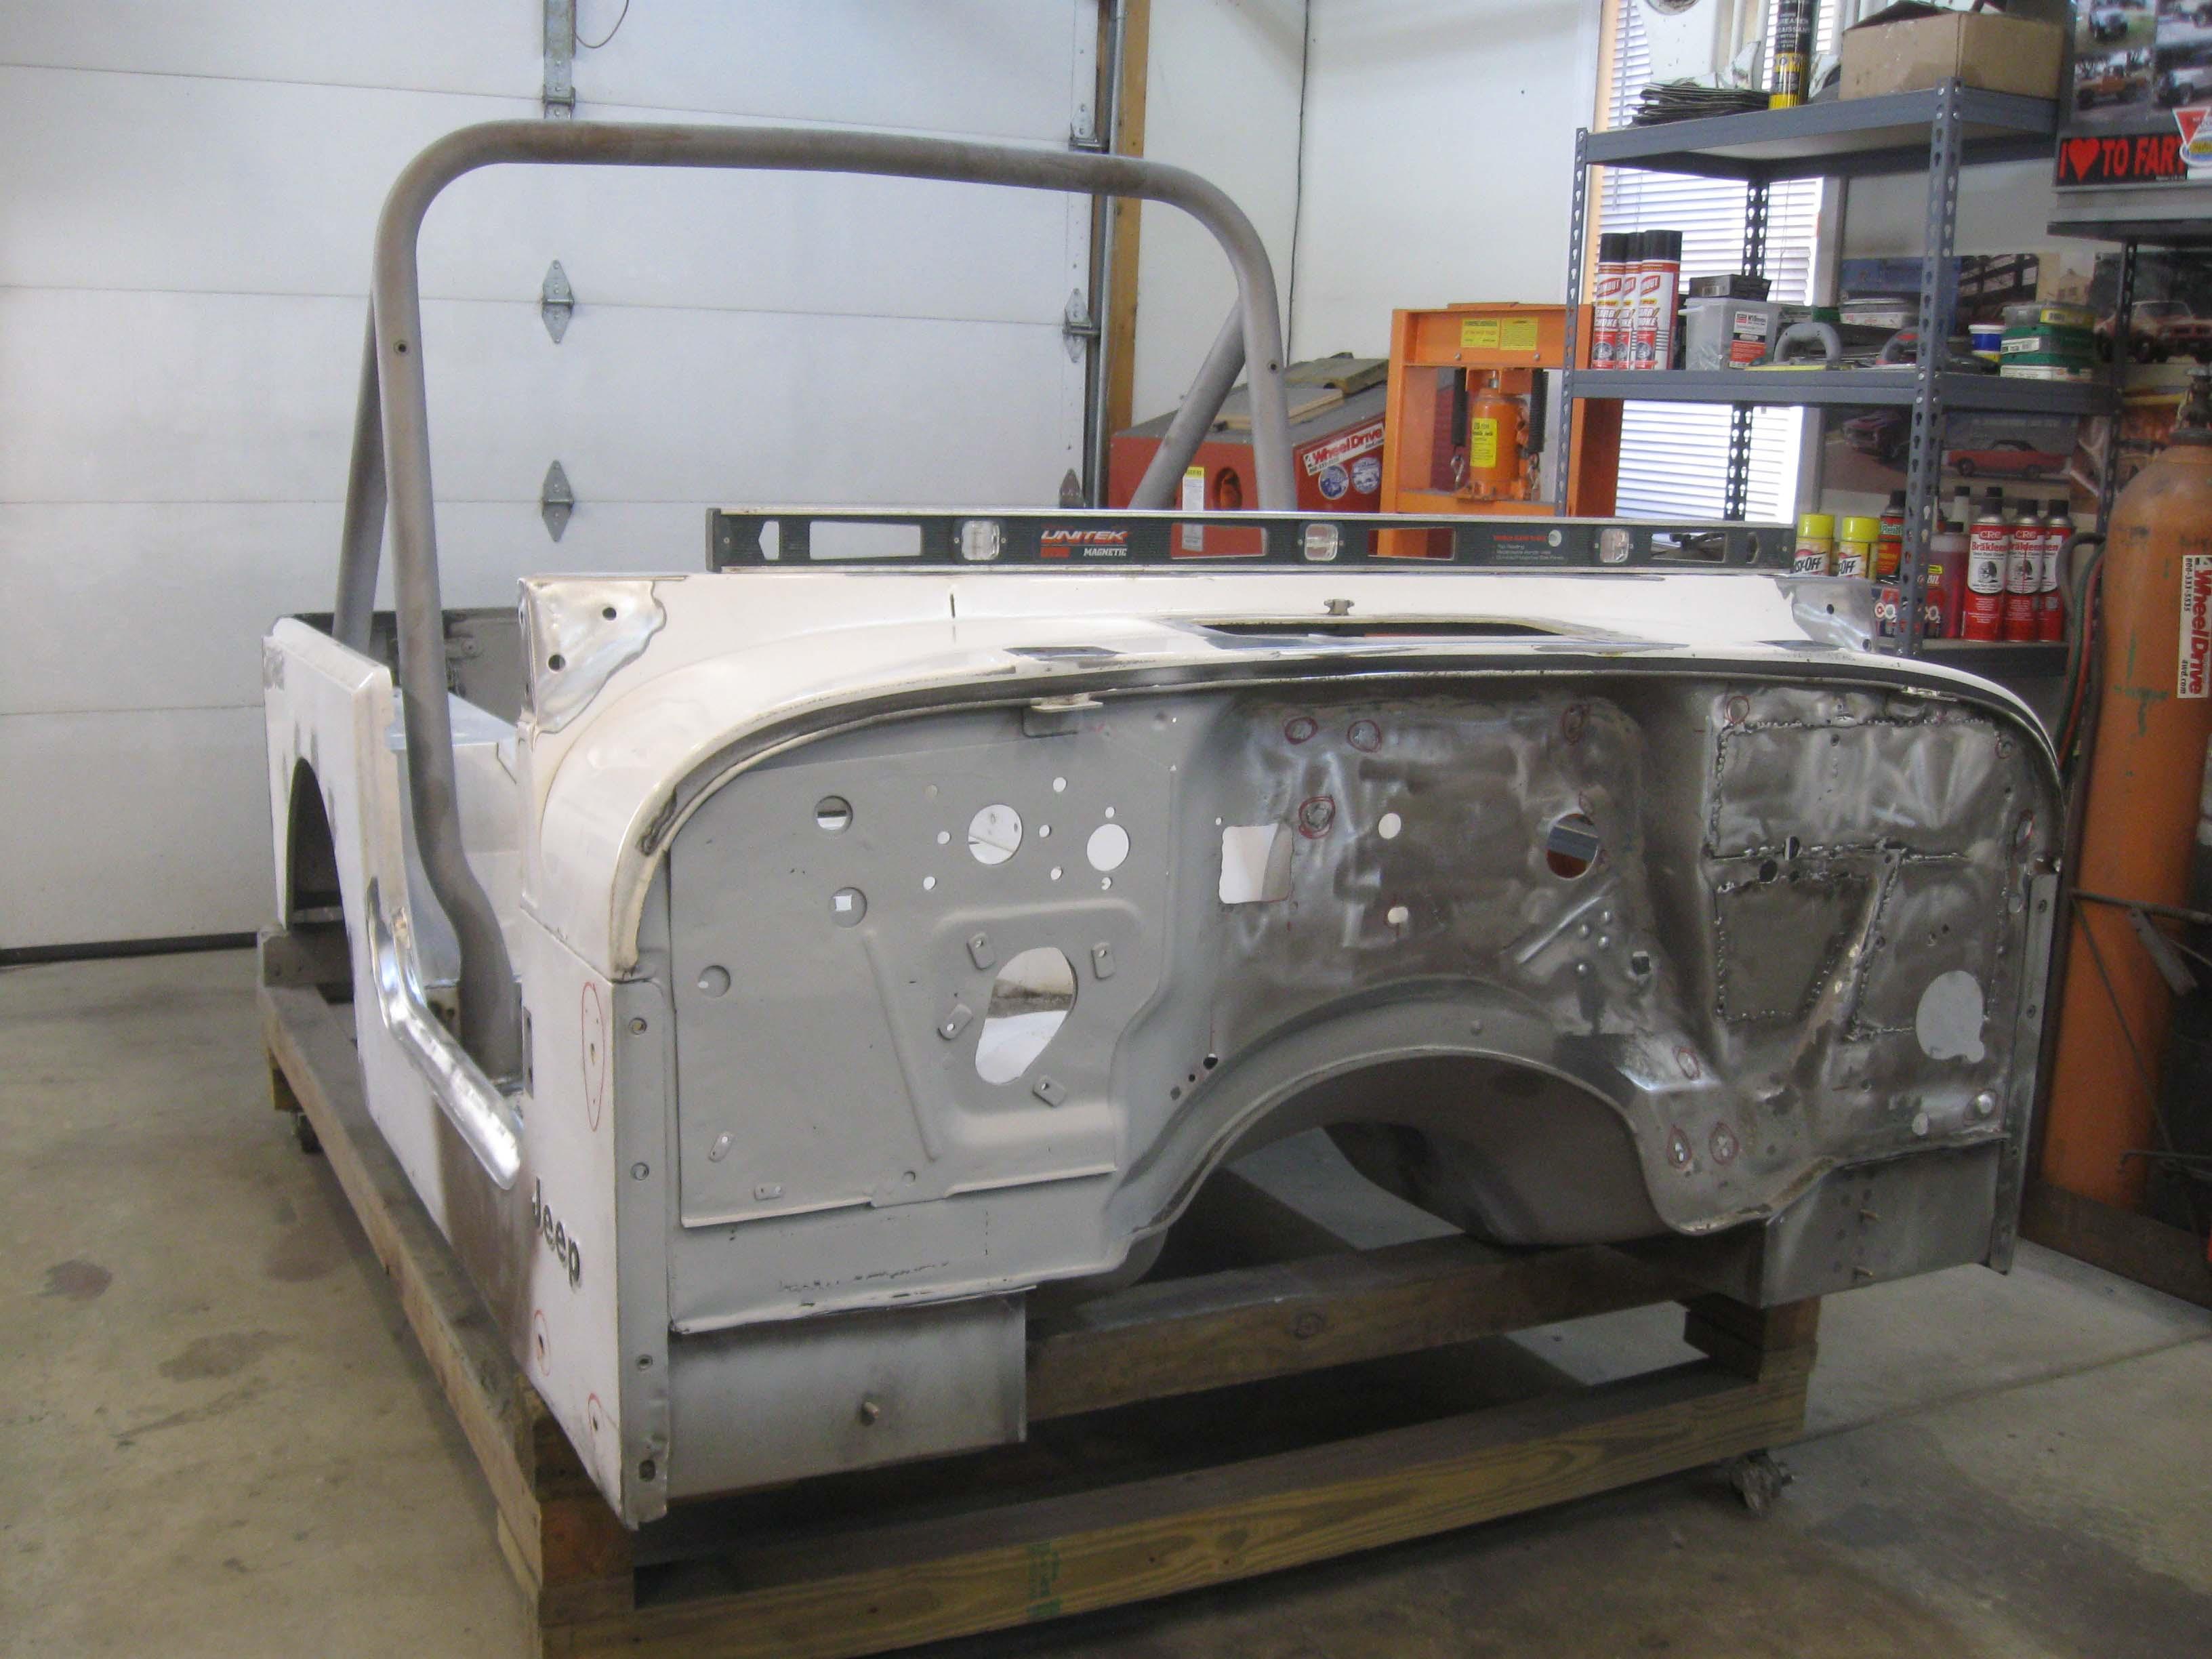
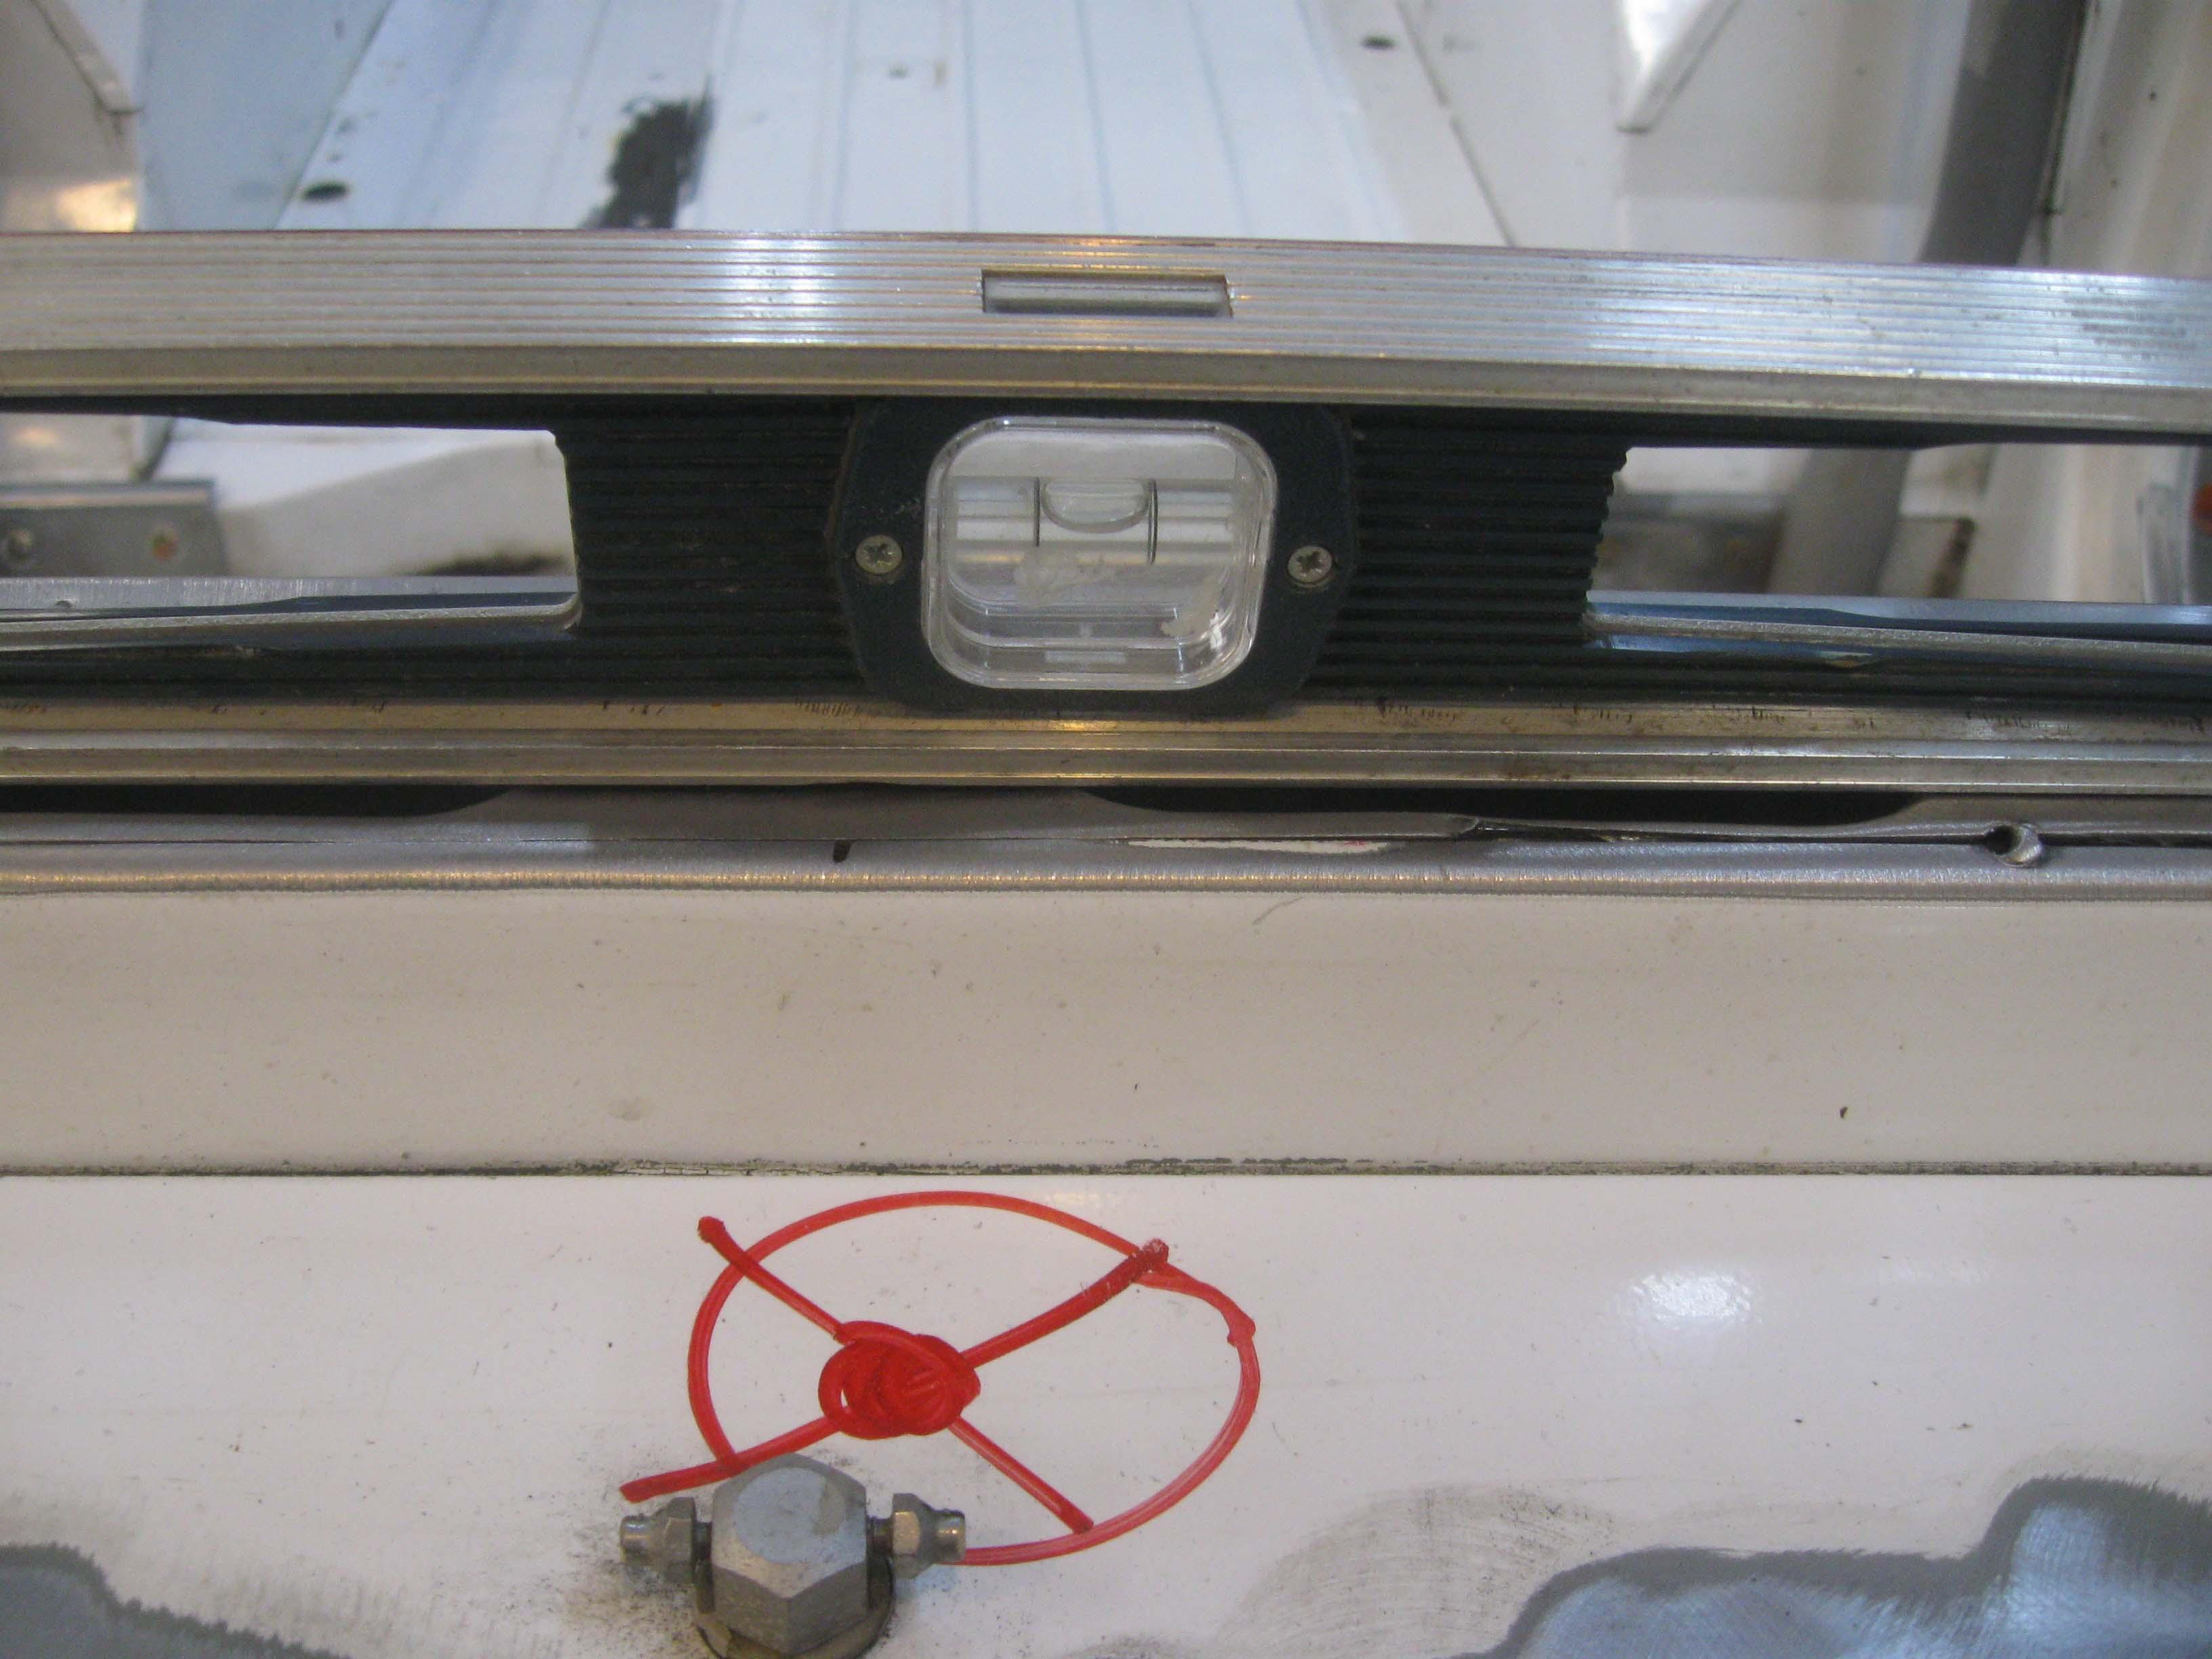
IT IS LEVEL!
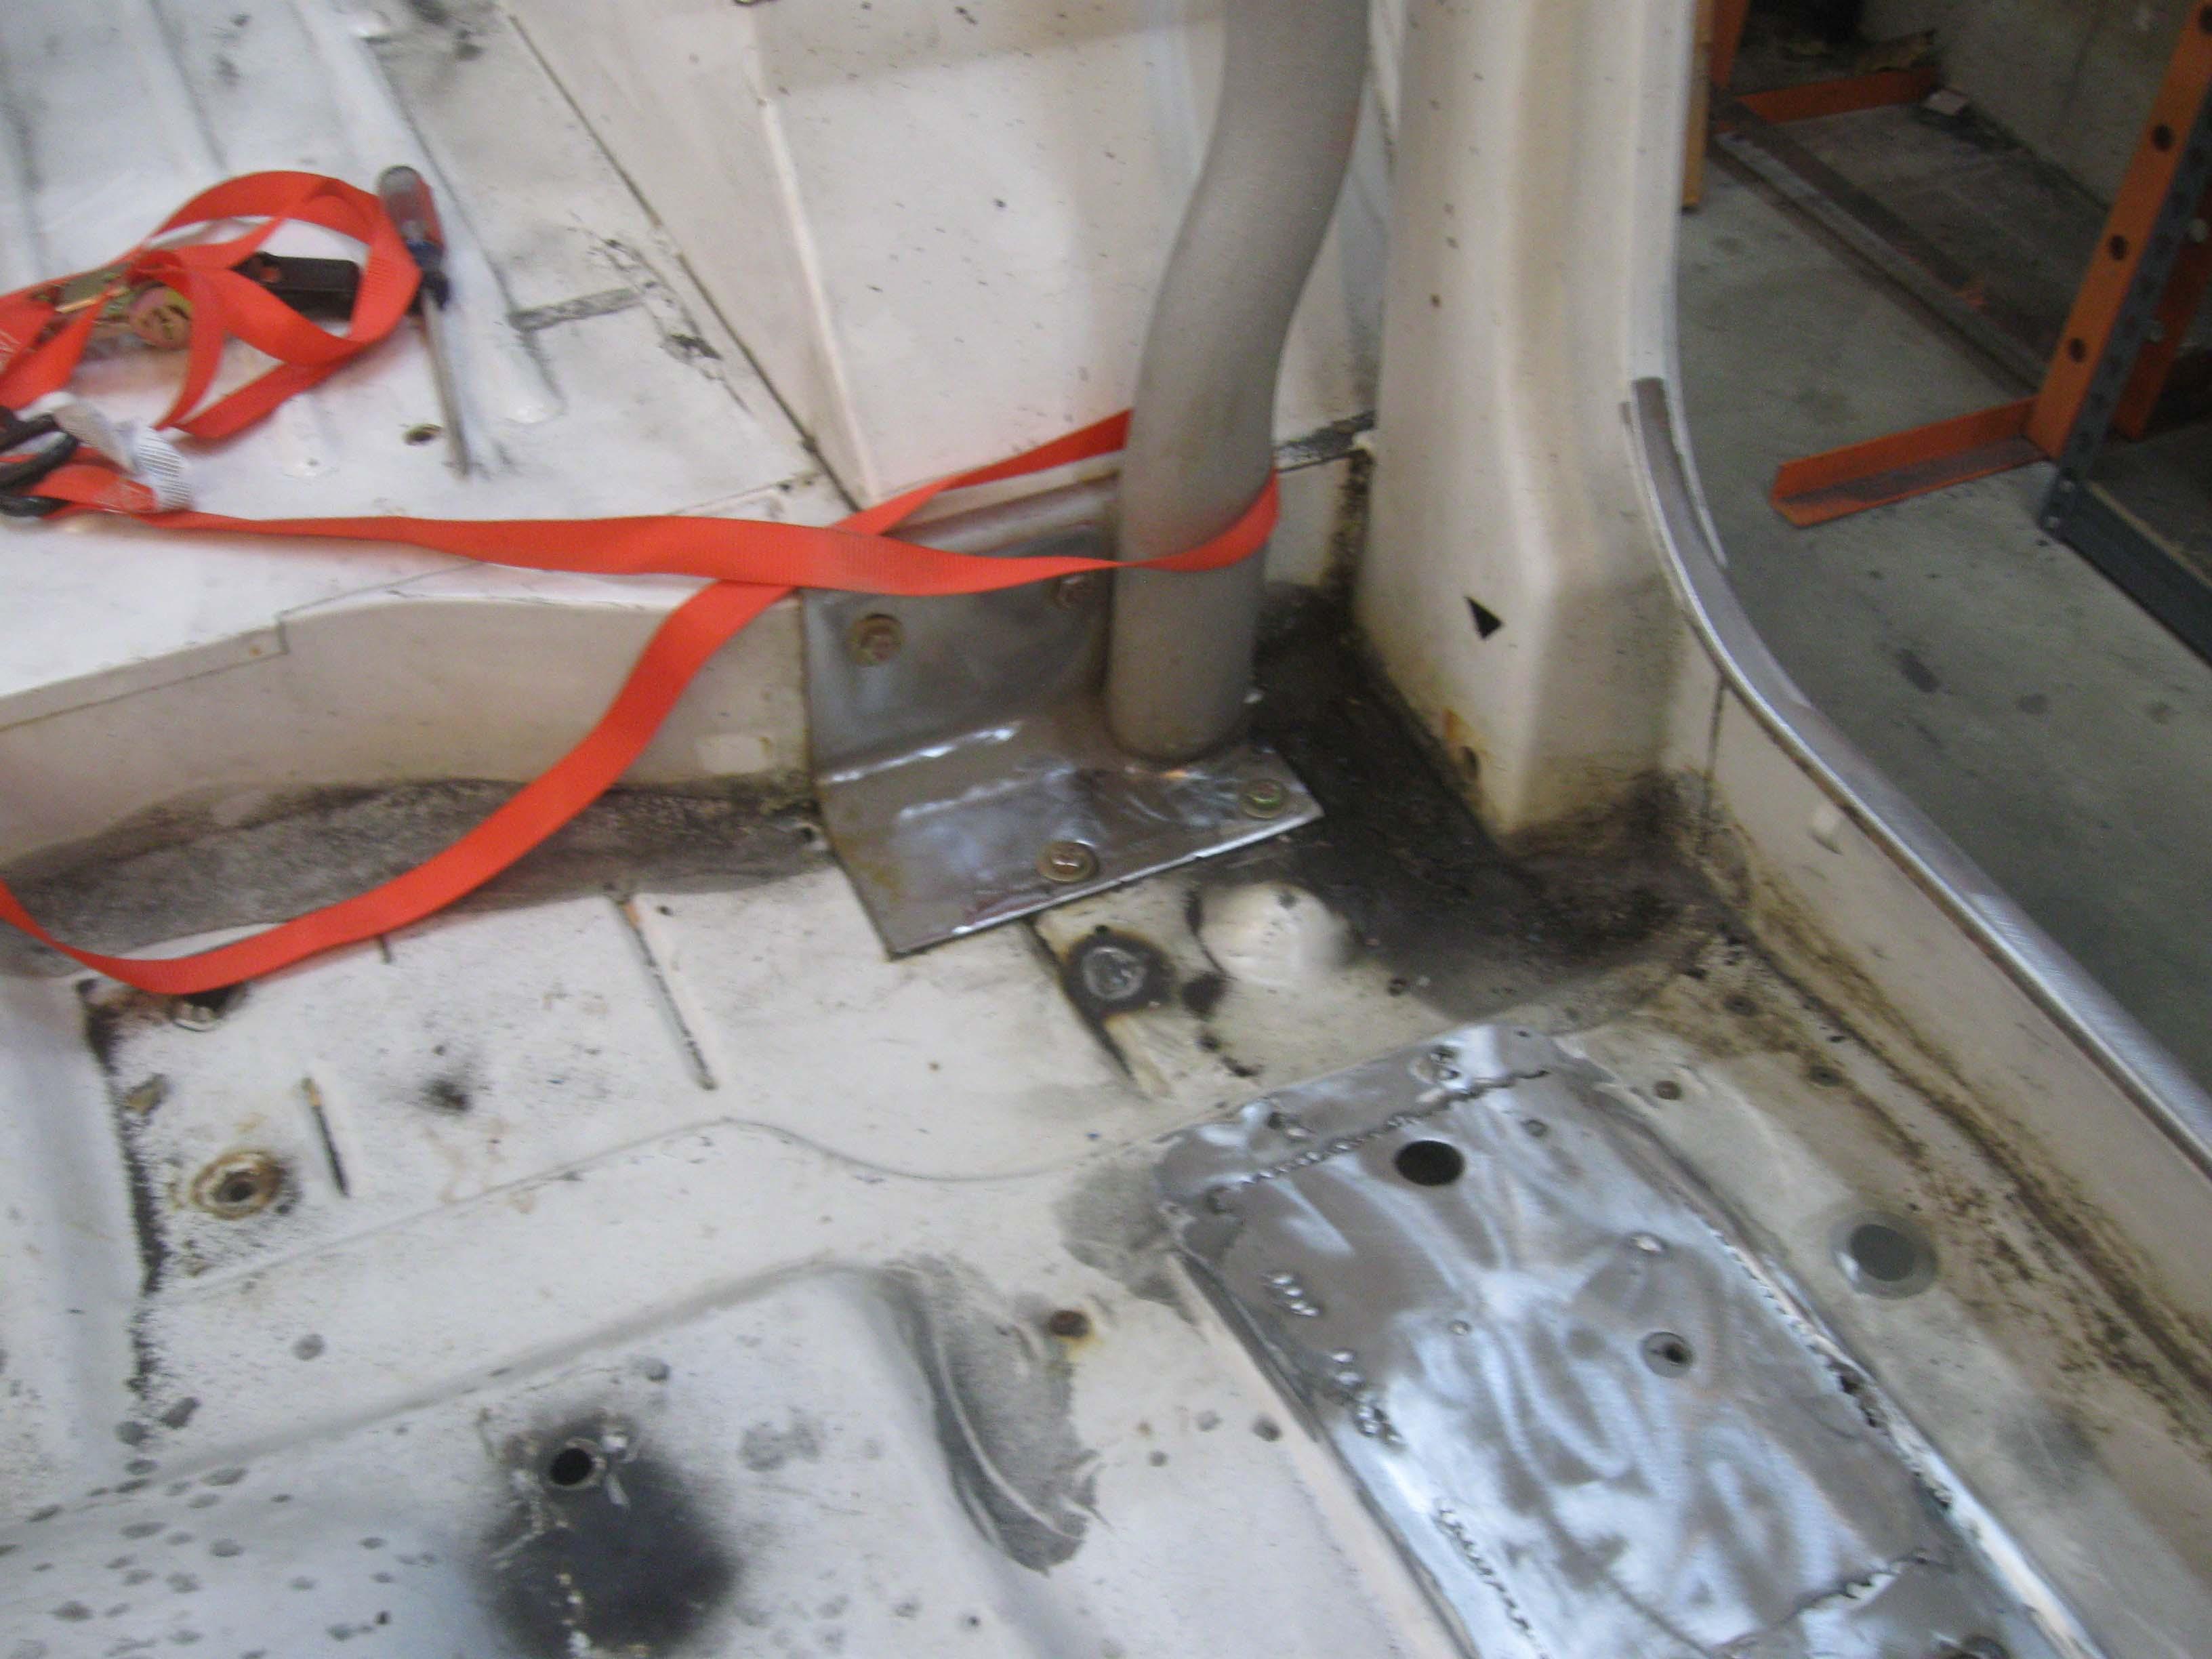
and the rollbar is in place and I cleaned out the tub
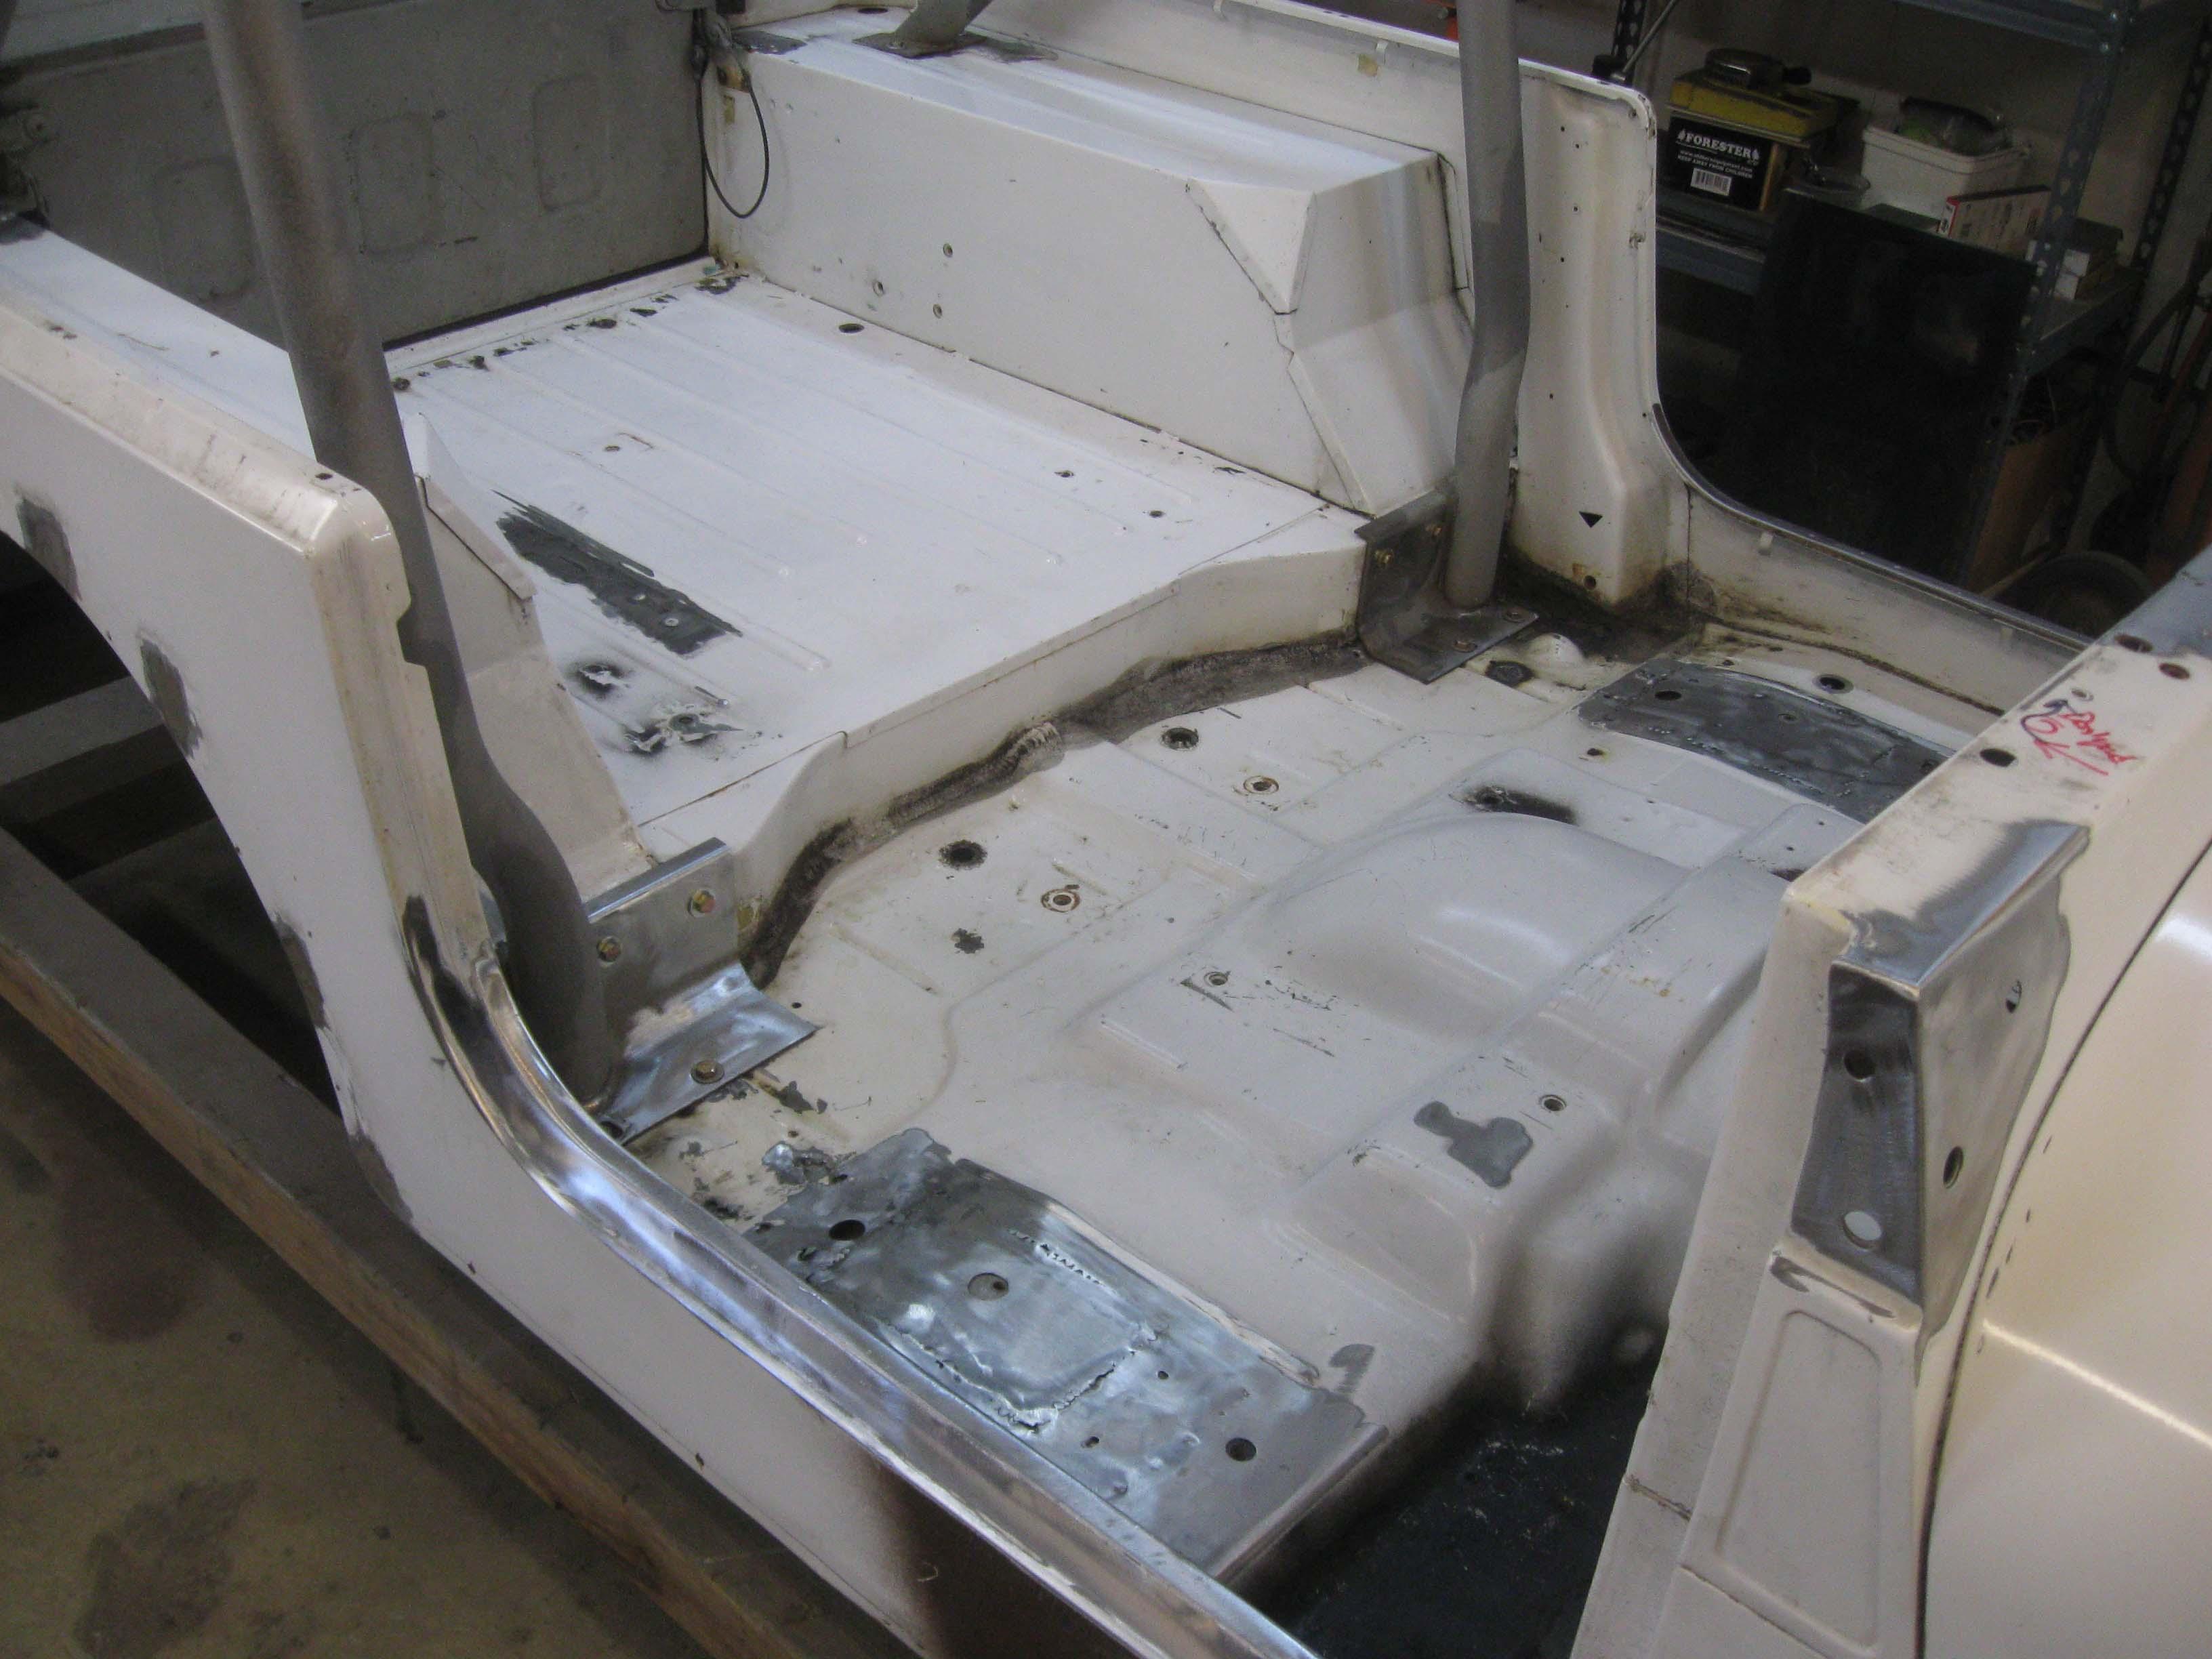
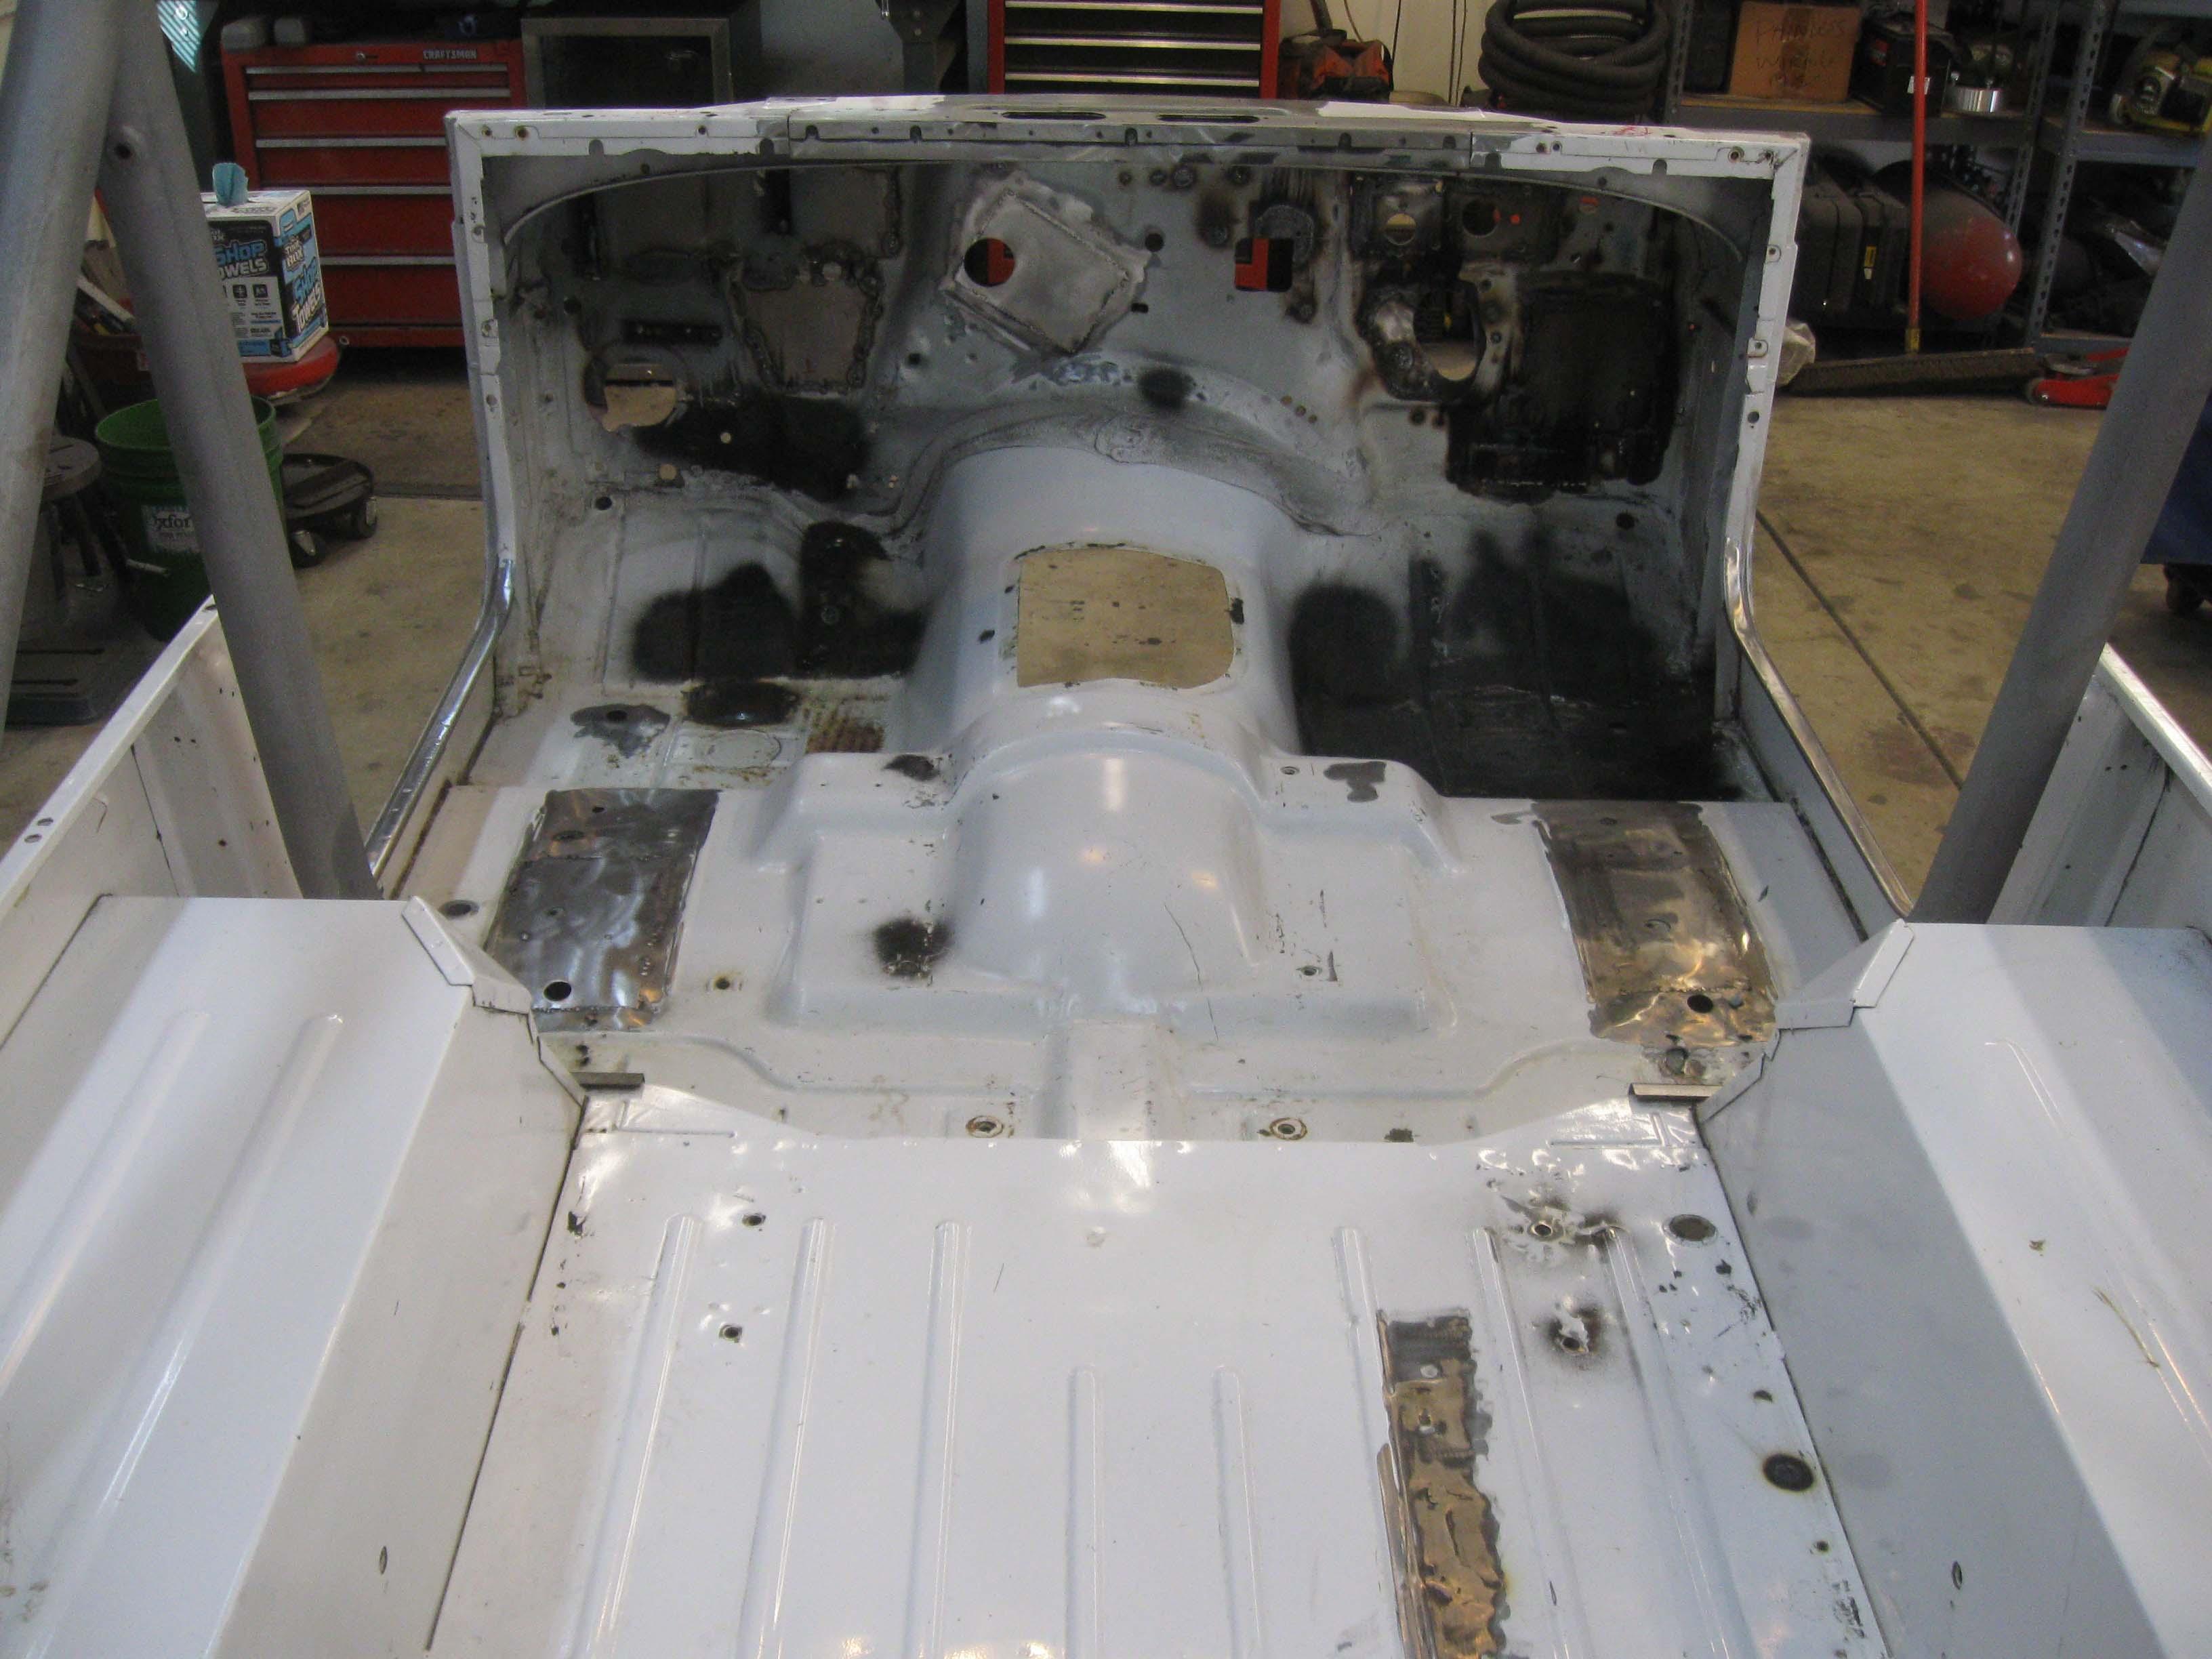
The downside is I am on the other side of the 300 hour barrier... I was hoping to be done by now and I think I easily have another 100 to go.
cb
Primer protection
IT IS LEVEL!
and the rollbar is in place and I cleaned out the tub
The downside is I am on the other side of the 300 hour barrier... I was hoping to be done by now and I think I easily have another 100 to go.
cb
- City
- Bedford
- State
- NH
I have a lot of inner firewall clean up to do and some more finish welding all around.
I still have the floors to do, but I did a lot of straightening out when I fit the seat to make sure it fit.
I had to die/tap a lot of the holes, that was just part of the process.
I want to install the back seat and storage container to make sure I drill it in the right place now that the roll bar is in place and tightened down.
YJ and CJ parts do NOT fit together nicely... a CJ roll bar in YJ tub needs a lot of massaging to fit down on the feet, and when you have to repair the feet... well.
Overall, the firewall where the plate is feel so solid... the old setup was quite mushy and flexy, so I must have done something right
cb
I still have the floors to do, but I did a lot of straightening out when I fit the seat to make sure it fit.
I had to die/tap a lot of the holes, that was just part of the process.
I want to install the back seat and storage container to make sure I drill it in the right place now that the roll bar is in place and tightened down.
YJ and CJ parts do NOT fit together nicely... a CJ roll bar in YJ tub needs a lot of massaging to fit down on the feet, and when you have to repair the feet... well.
Overall, the firewall where the plate is feel so solid... the old setup was quite mushy and flexy, so I must have done something right
cb

- City
- Cave Creek
- State
- AZ
Is that where the hi beam switch would've gone on an RHD? Or was that an improvisation? Just curious 

- City
- Fremantle
- State
- WA
Is that where the hi beam switch would've gone on an RHD? Or was that an improvisation? Just curious
Looks pretty right to me. Aussie Aussie Aussie oi oi oi!
Great work cb. I'm going to check out all my tubs I reckon on some I have a visible plate attached like yours and others I don't.
- City
- Bedford
- State
- NH
This is part of the reason I take so many pictures... so I have plenty of reference when I put it together.
If you see the nylon squares, that is where they were on the old tub... I put them back in the same place.
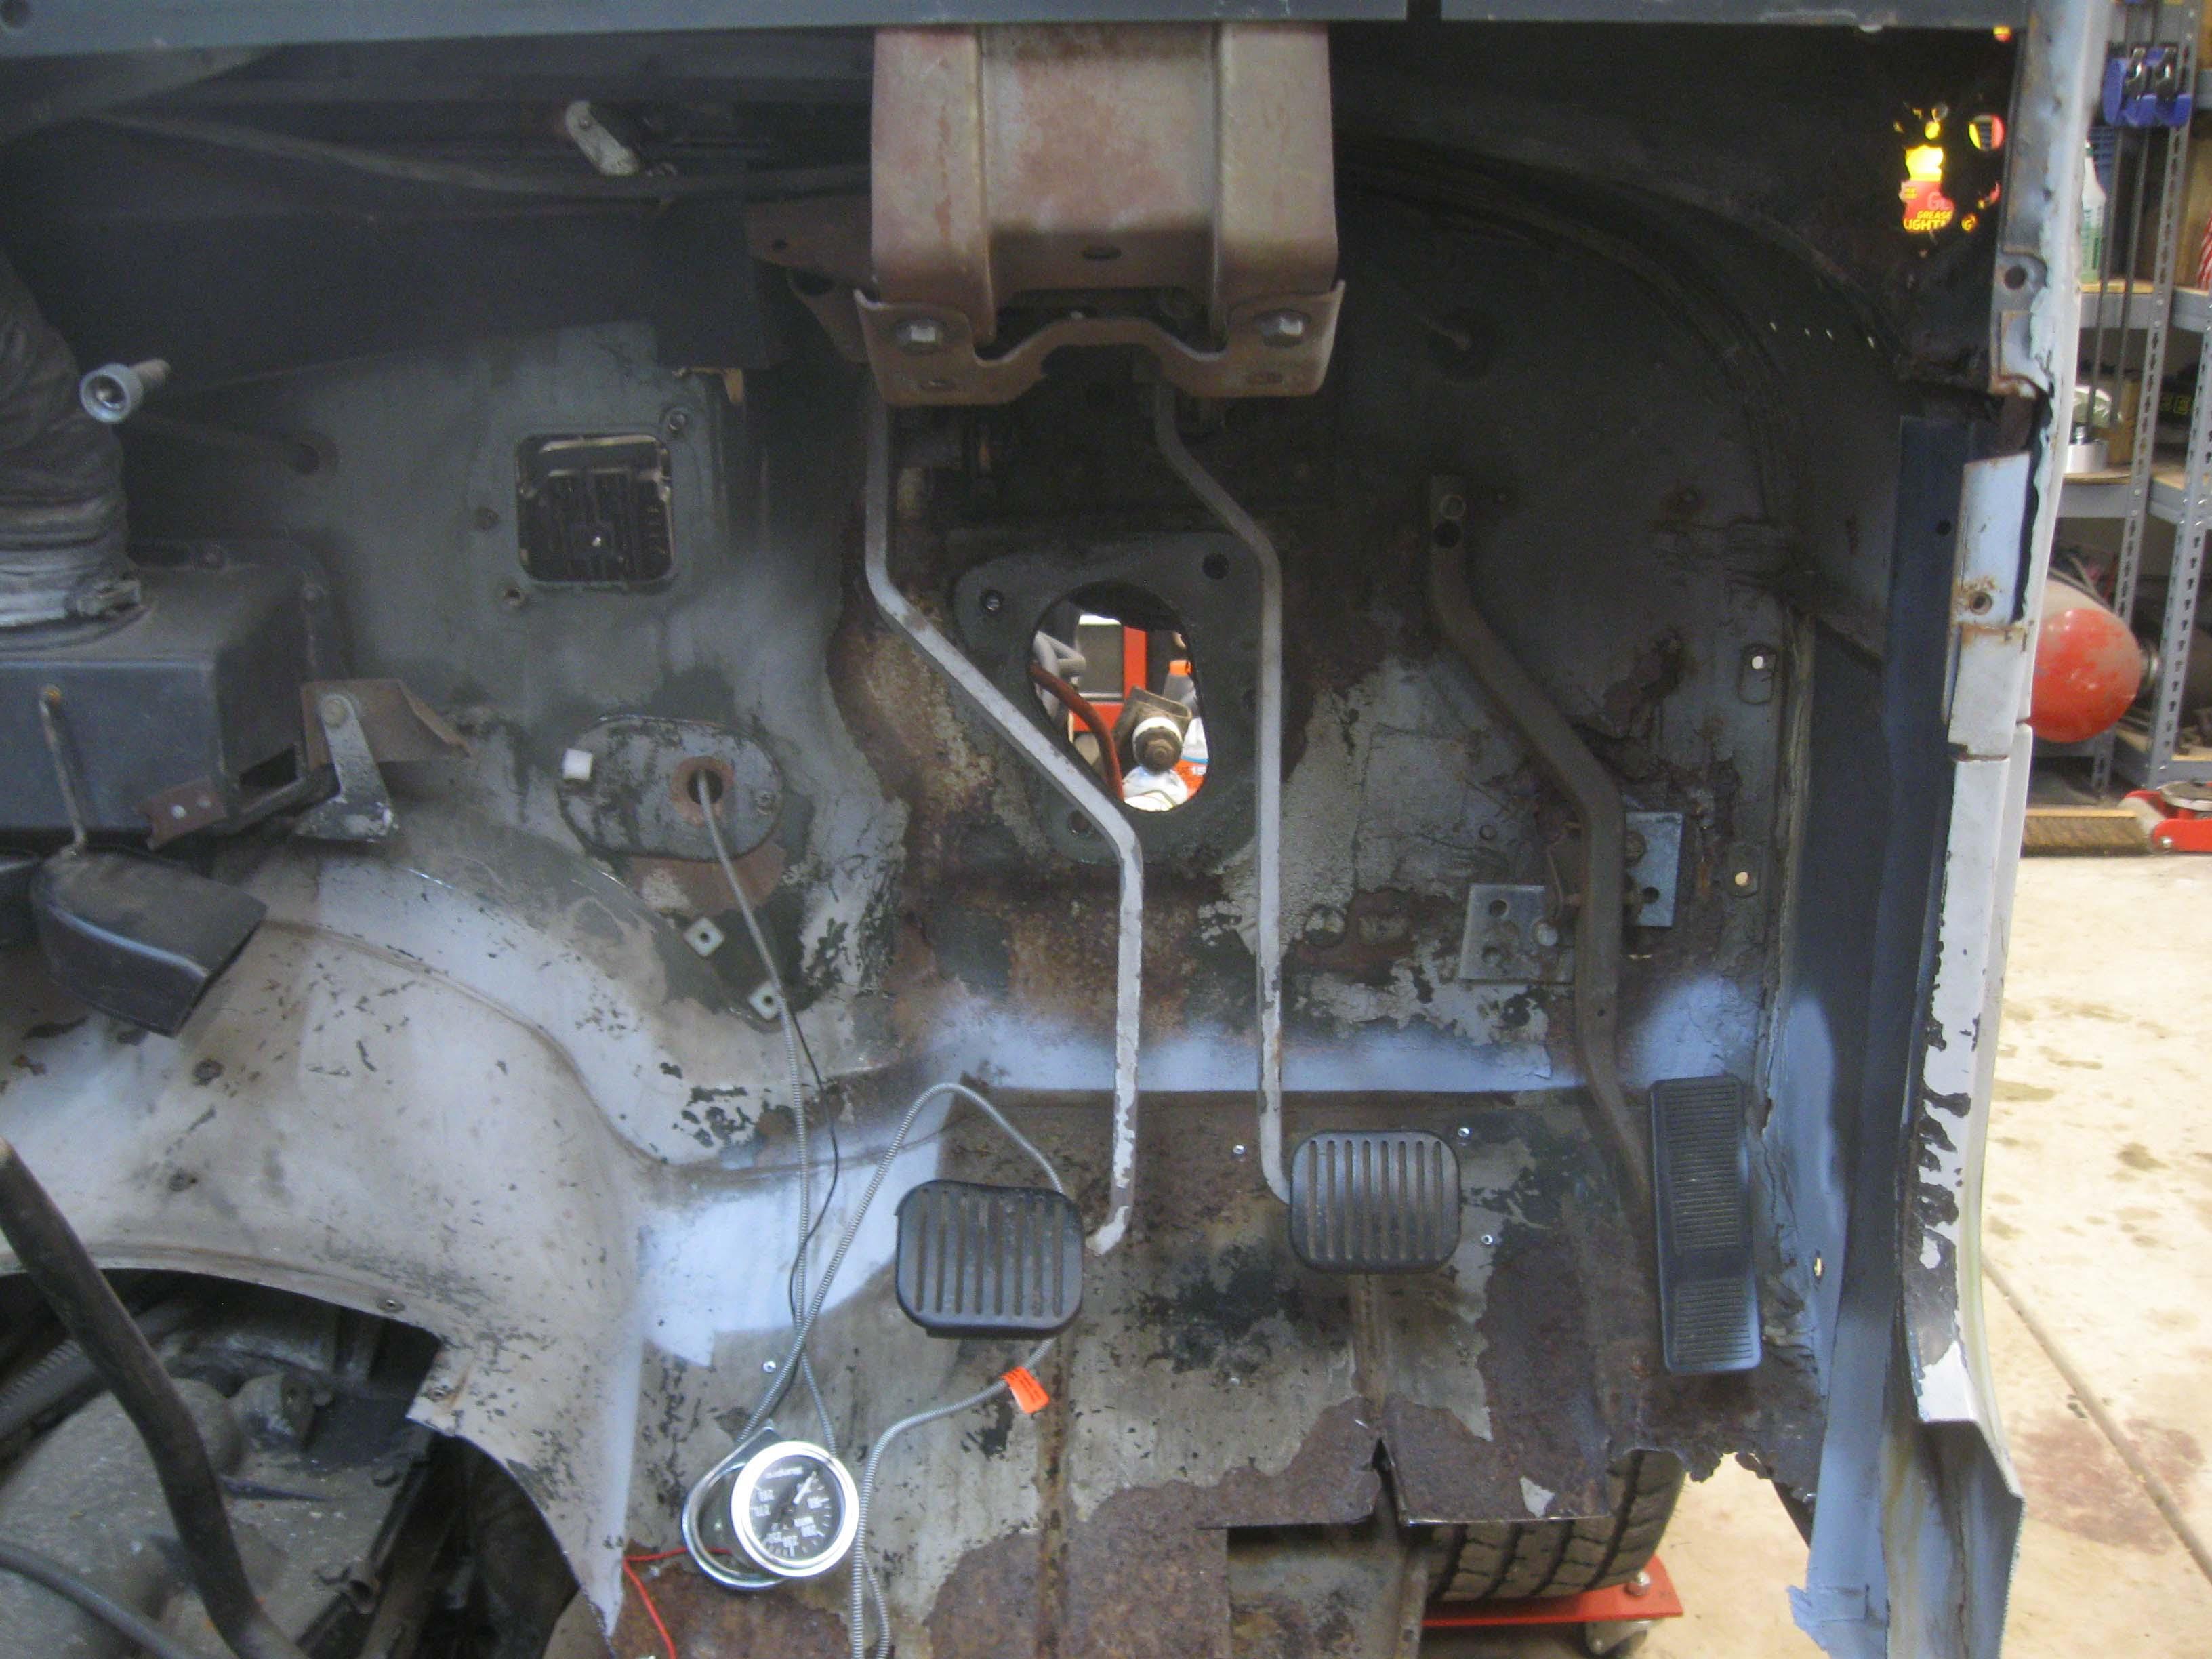
cb
If you see the nylon squares, that is where they were on the old tub... I put them back in the same place.
cb
- City
- Bedford
- State
- NH
Well. last night dilema...
83 CJ back seat, fixed mounts... 95 YJ tub that wants a flip forward fold n' tumble and then trying to put an OEM storage box behind it and it was hitting the roll bar mounts... nothing has yet to "fall in place".
Now I need to find out how people have solved the seat issue without just drilling new holes as well as how to mount an OEM rear storage box correctly...
cb
83 CJ back seat, fixed mounts... 95 YJ tub that wants a flip forward fold n' tumble and then trying to put an OEM storage box behind it and it was hitting the roll bar mounts... nothing has yet to "fall in place".
Now I need to find out how people have solved the seat issue without just drilling new holes as well as how to mount an OEM rear storage box correctly...
cb

- City
- Bedford
- State
- NH
Everything is pretty much in a different place... fuse block, hi/low beam switch, dash if flipped, heater box is different as it is on the other side.
The e-brake will require a hole in the floor near the seat that the YJ tub doesn't have, a little hard to see, but there is a hole for the cable and a small one for the wire to say whether it is on or not.
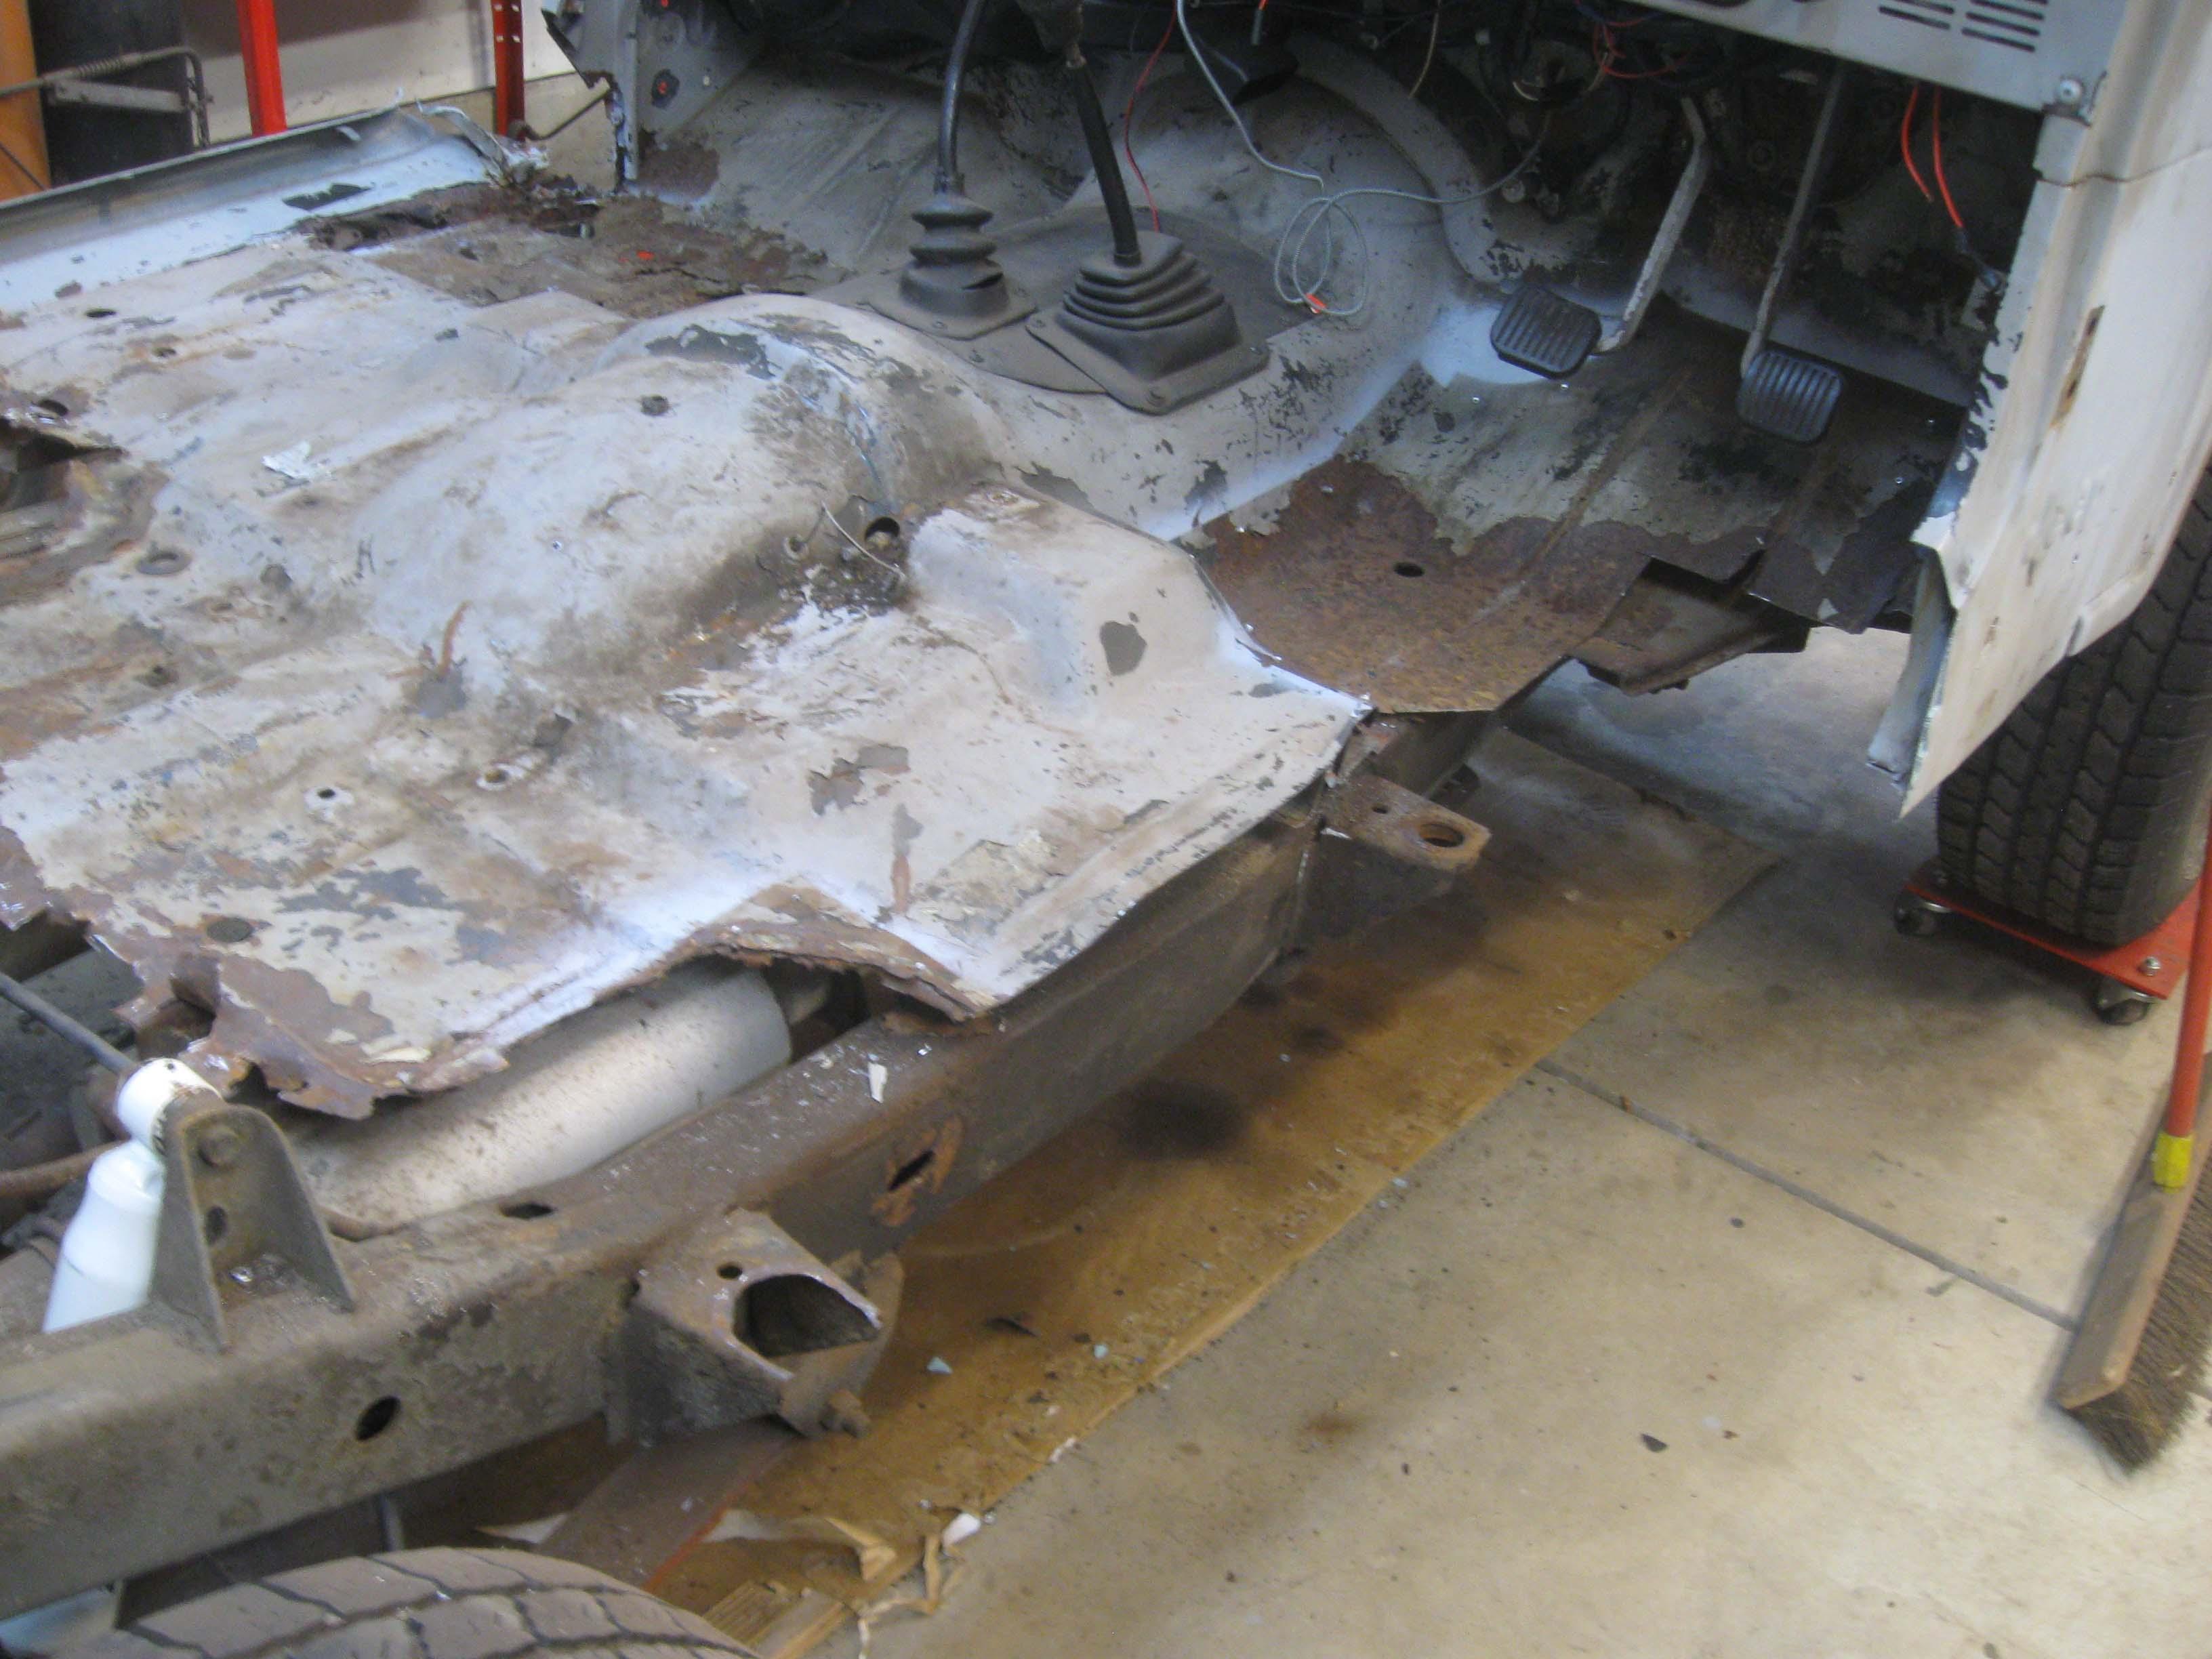
The rest is pretty much the same outside of the steering and all the stuff swapped in the engine bay for the firewall, which is why the battery supports were needed on the other side and all the brake/clutch, etc. is on that other side.
I also have to figure out the wiper bottle, mine didn't have one that I remember, so I need to figure out where that goes.
cb
The e-brake will require a hole in the floor near the seat that the YJ tub doesn't have, a little hard to see, but there is a hole for the cable and a small one for the wire to say whether it is on or not.
The rest is pretty much the same outside of the steering and all the stuff swapped in the engine bay for the firewall, which is why the battery supports were needed on the other side and all the brake/clutch, etc. is on that other side.
I also have to figure out the wiper bottle, mine didn't have one that I remember, so I need to figure out where that goes.
cb

Dave The Sparky
Rebuilding my CJ8 very,very slowly...
- City
- Halifax
- State
- UK
Its here on the ones i have. The hole and hose above the throttle cable belongs to the washer
If they are unavailable in the US then i have one here you can have with the AMC logo on it but it is similar to the one in the picture (has patina )
If they are unavailable in the US then i have one here you can have with the AMC logo on it but it is similar to the one in the picture (has patina
)
- City
- Bedford
- State
- NH
Well it appears I filled in 2 holes I shouldn't have... I was wondering about them, but said, eh, fill em and drill em later if I need em... I need em apparently.
I have to dig thorugh my boxes... I know I had 2 or 3 of these, but I know at least one has a good size crack in it.
cb
I have to dig thorugh my boxes... I know I had 2 or 3 of these, but I know at least one has a good size crack in it.
cb
- City
- Bedford
- State
- NH
Seat time last night.
I didn't have time to get the photos off my camera.
Basically CJ seat, YJ tub, only one hole in the back line up (center one).
I tried a bunch of things, but taking the route of Mr. Scherb, I am going to do a bolt in so it can be removed.
Using the flip forward bracket rough dimensions, I cut 3/16" plate and made it to fit the 2 YJ holes x2
Then I flipped the front bracketry around as I thought it stuck out too far... actually I thought if I flipped them it would drop into one of the holes, but that didn't work either.
I then will bolt it all down, mark it, weld in a stud and then bolt the plate to the bracket and to the tub and I think I have a winner.
The rear 1 hole in the center I will use and then I will have to drill 2 holes on the outside, but from what I remember, the earlier tubs had holes on the outside I thought, but my 2 95's don't.
Either way, those holes will be for extra support and if not used in the future can be plugged with a plastic plug or something if someone wants to go back to the fold n' tumble.
I won't fill the sides where the the tumble brackets go.
cb
I didn't have time to get the photos off my camera.
Basically CJ seat, YJ tub, only one hole in the back line up (center one).
I tried a bunch of things, but taking the route of Mr. Scherb, I am going to do a bolt in so it can be removed.
Using the flip forward bracket rough dimensions, I cut 3/16" plate and made it to fit the 2 YJ holes x2
Then I flipped the front bracketry around as I thought it stuck out too far... actually I thought if I flipped them it would drop into one of the holes, but that didn't work either.
I then will bolt it all down, mark it, weld in a stud and then bolt the plate to the bracket and to the tub and I think I have a winner.
The rear 1 hole in the center I will use and then I will have to drill 2 holes on the outside, but from what I remember, the earlier tubs had holes on the outside I thought, but my 2 95's don't.
Either way, those holes will be for extra support and if not used in the future can be plugged with a plastic plug or something if someone wants to go back to the fold n' tumble.
I won't fill the sides where the the tumble brackets go.
cb
- City
- Bedford
- State
- NH
BTW, it won't let me post pictures... trying again
Some 500 IOEvent error and something about Bubbles?
cb
Some 500 IOEvent error and something about Bubbles?
cb
- City
- Bedford
- State
- NH
cb
- City
- Fremantle
- State
- WA
Wow didn't know they moved the fuse box also.. So the wire harness different to.. Hm
^^^this is why I have a brand spankin new painless harness still in the box. Didn't even think about the fuse box/firewall penetration being in a different place. That was the biggest facepalm I've ever had.
- City
- Bedford
- State
- NH
^^^this is why I have a brand spankin new painless harness still in the box. Didn't even think about the fuse box/firewall penetration being in a different place. That was the biggest facepalm I've ever had.
It isn't all that bad, there was a painless one in there when I got this.
They reversed a few things and extended others... mainly the rear wiring was too short to get to the tail lights.
It can be used, you just have to make it work.
cb
- City
- Bedford
- State
- NH
Not too much to report, but wanted to show better pictures of the bolt in bracket-ry for the rear seat.
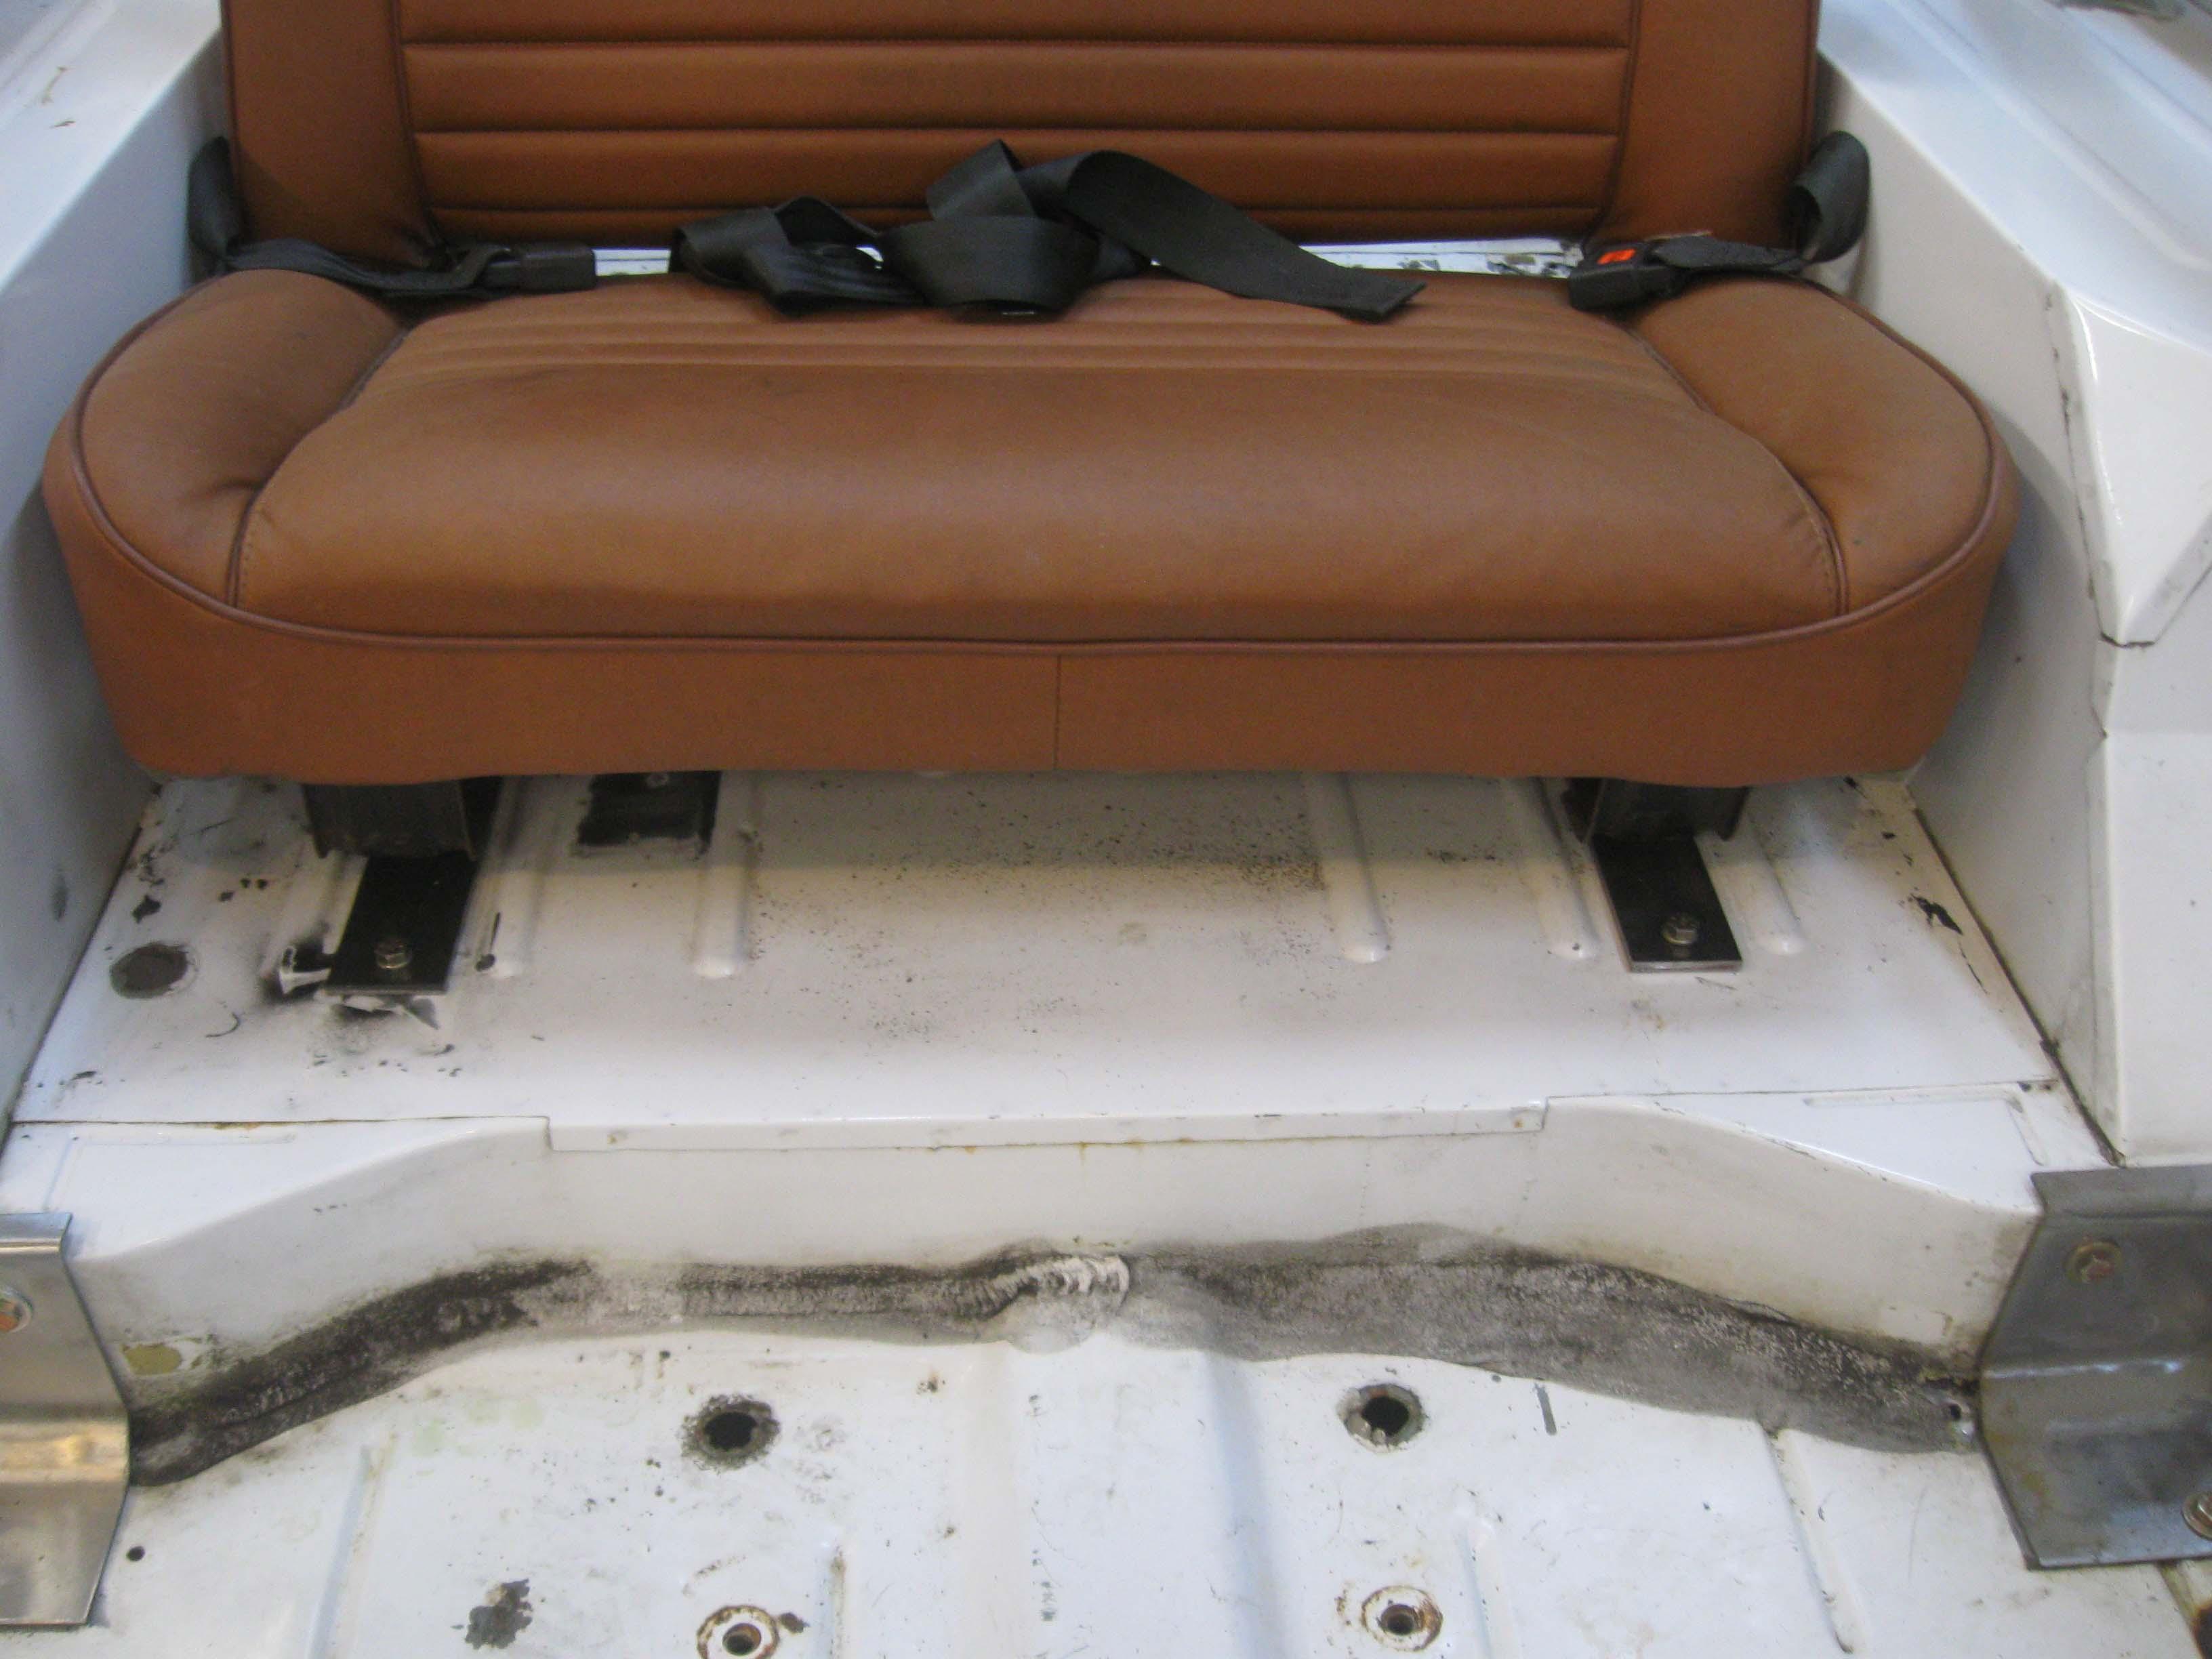
Fixed CJ Seat in YJ Tub that wants a fold n' tumble
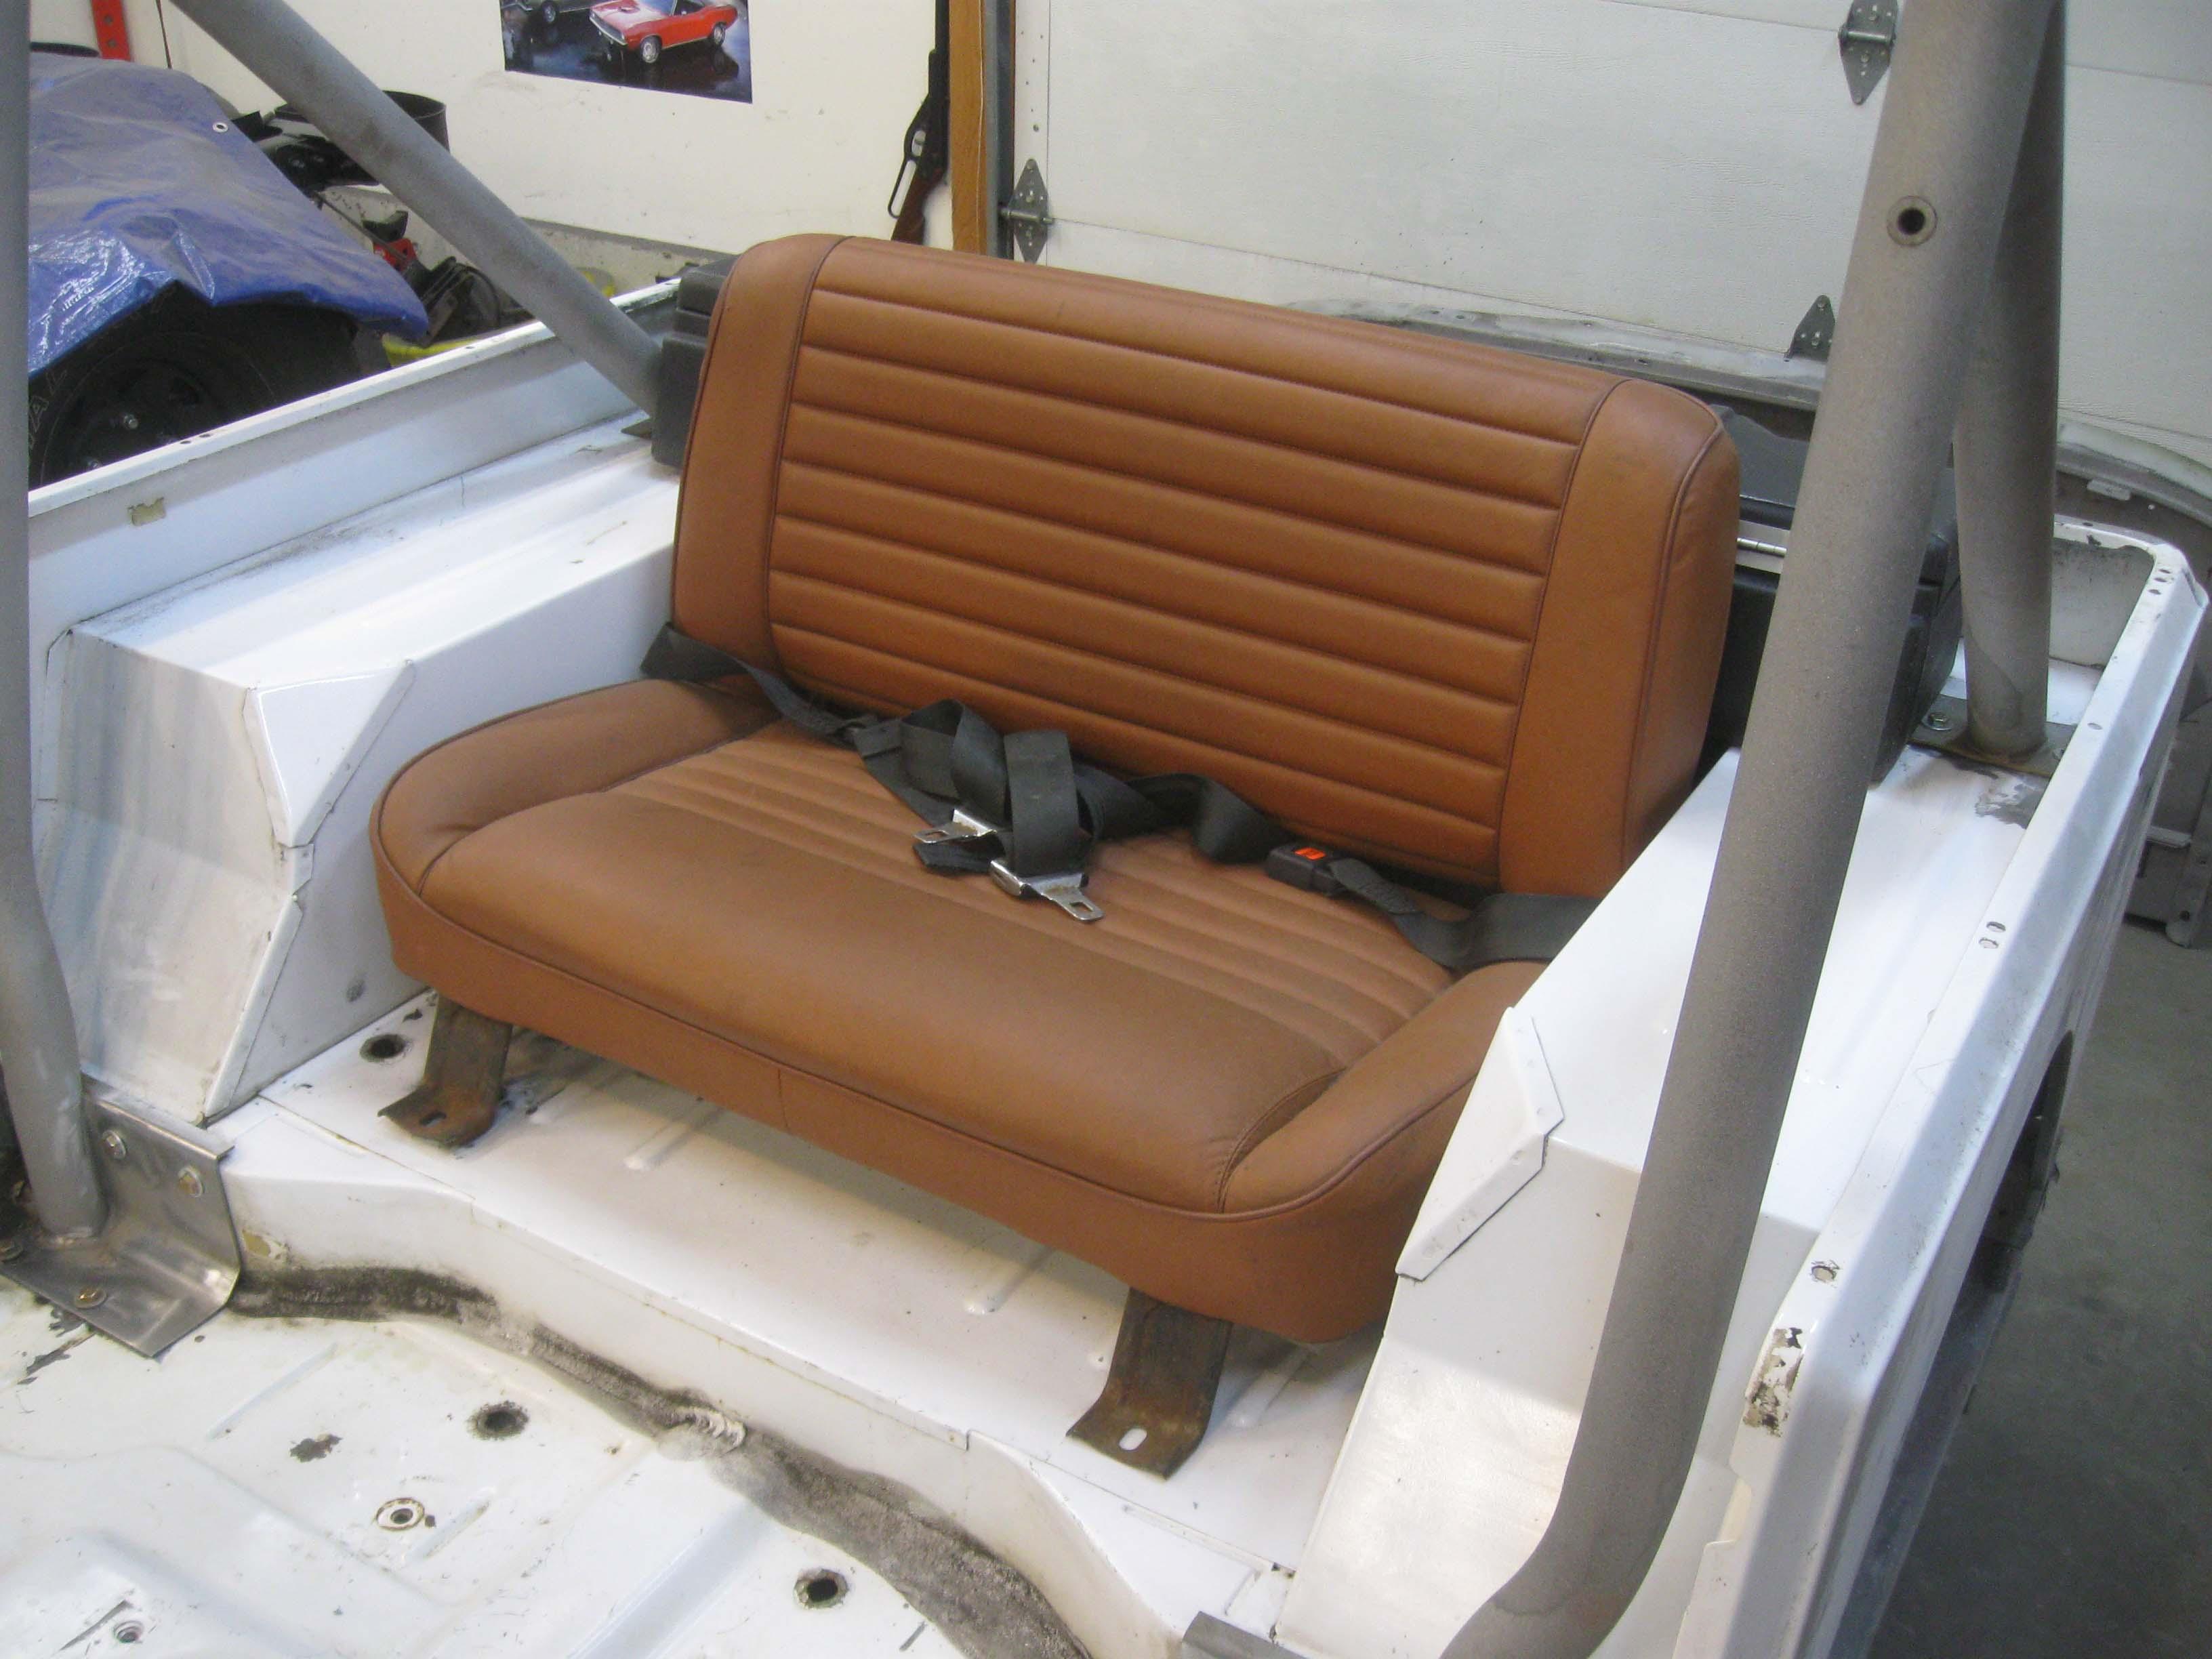
Holes are way off
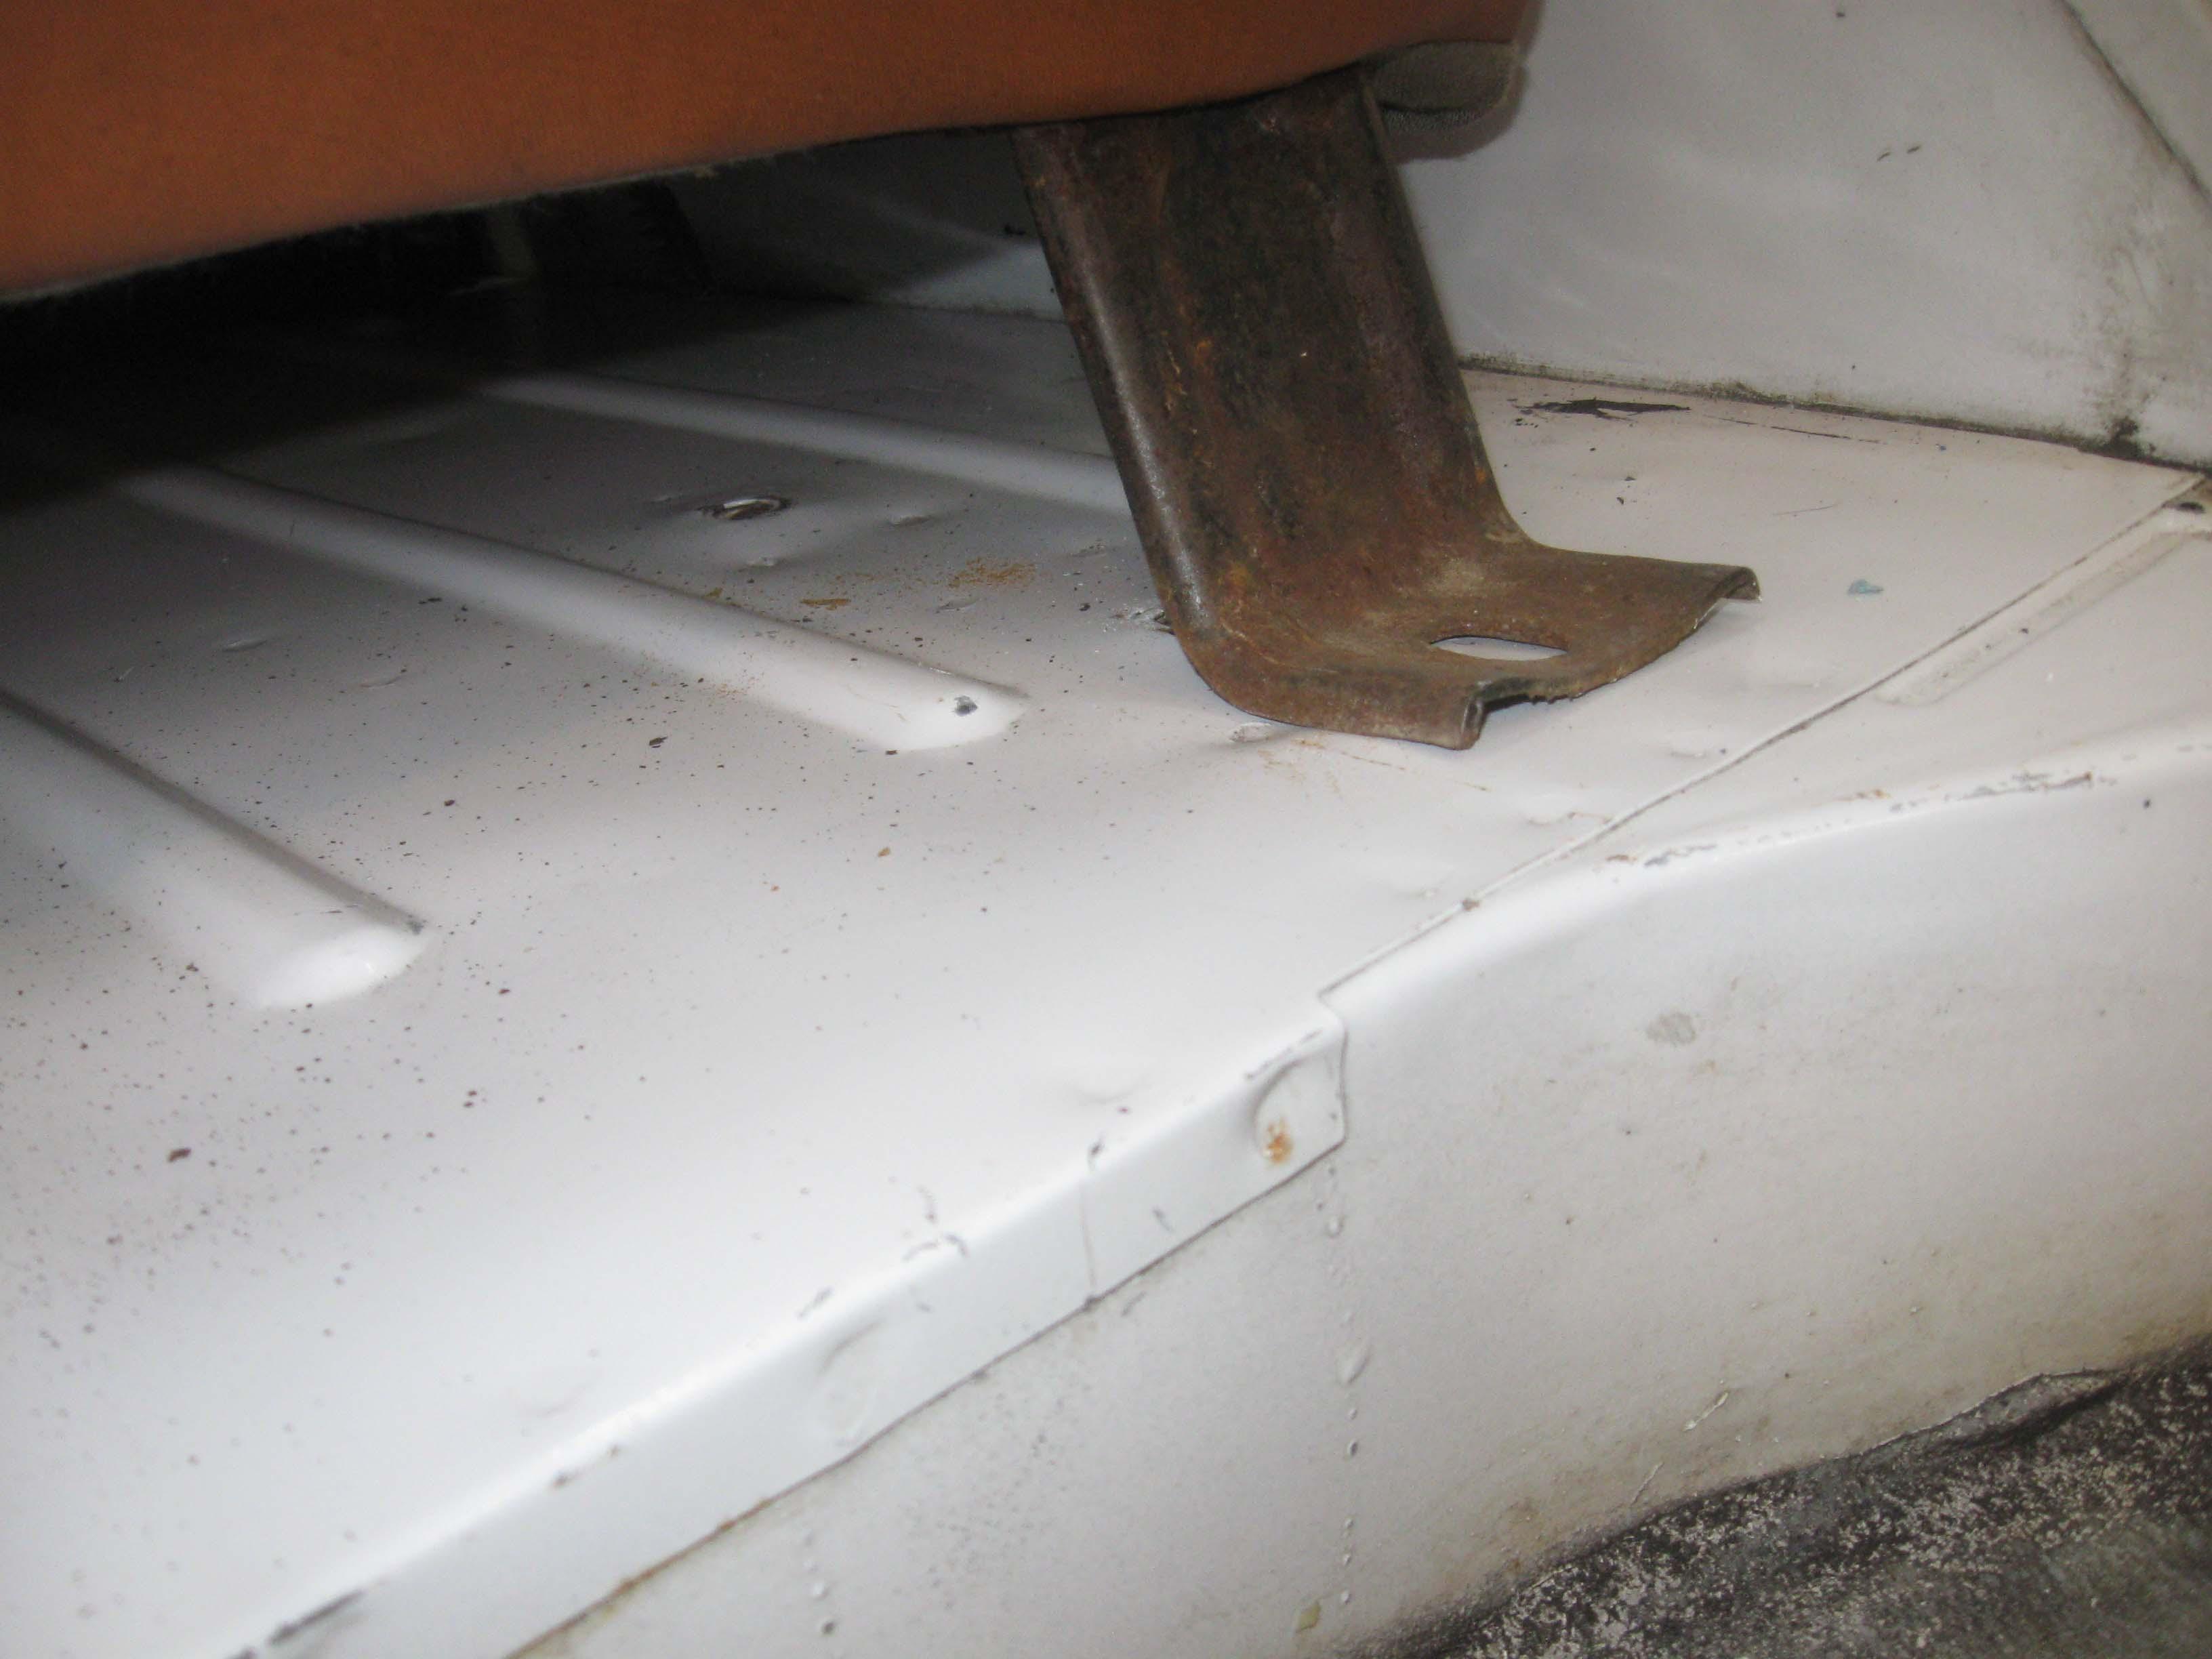
Thought I might turn the feet around and match up... nope
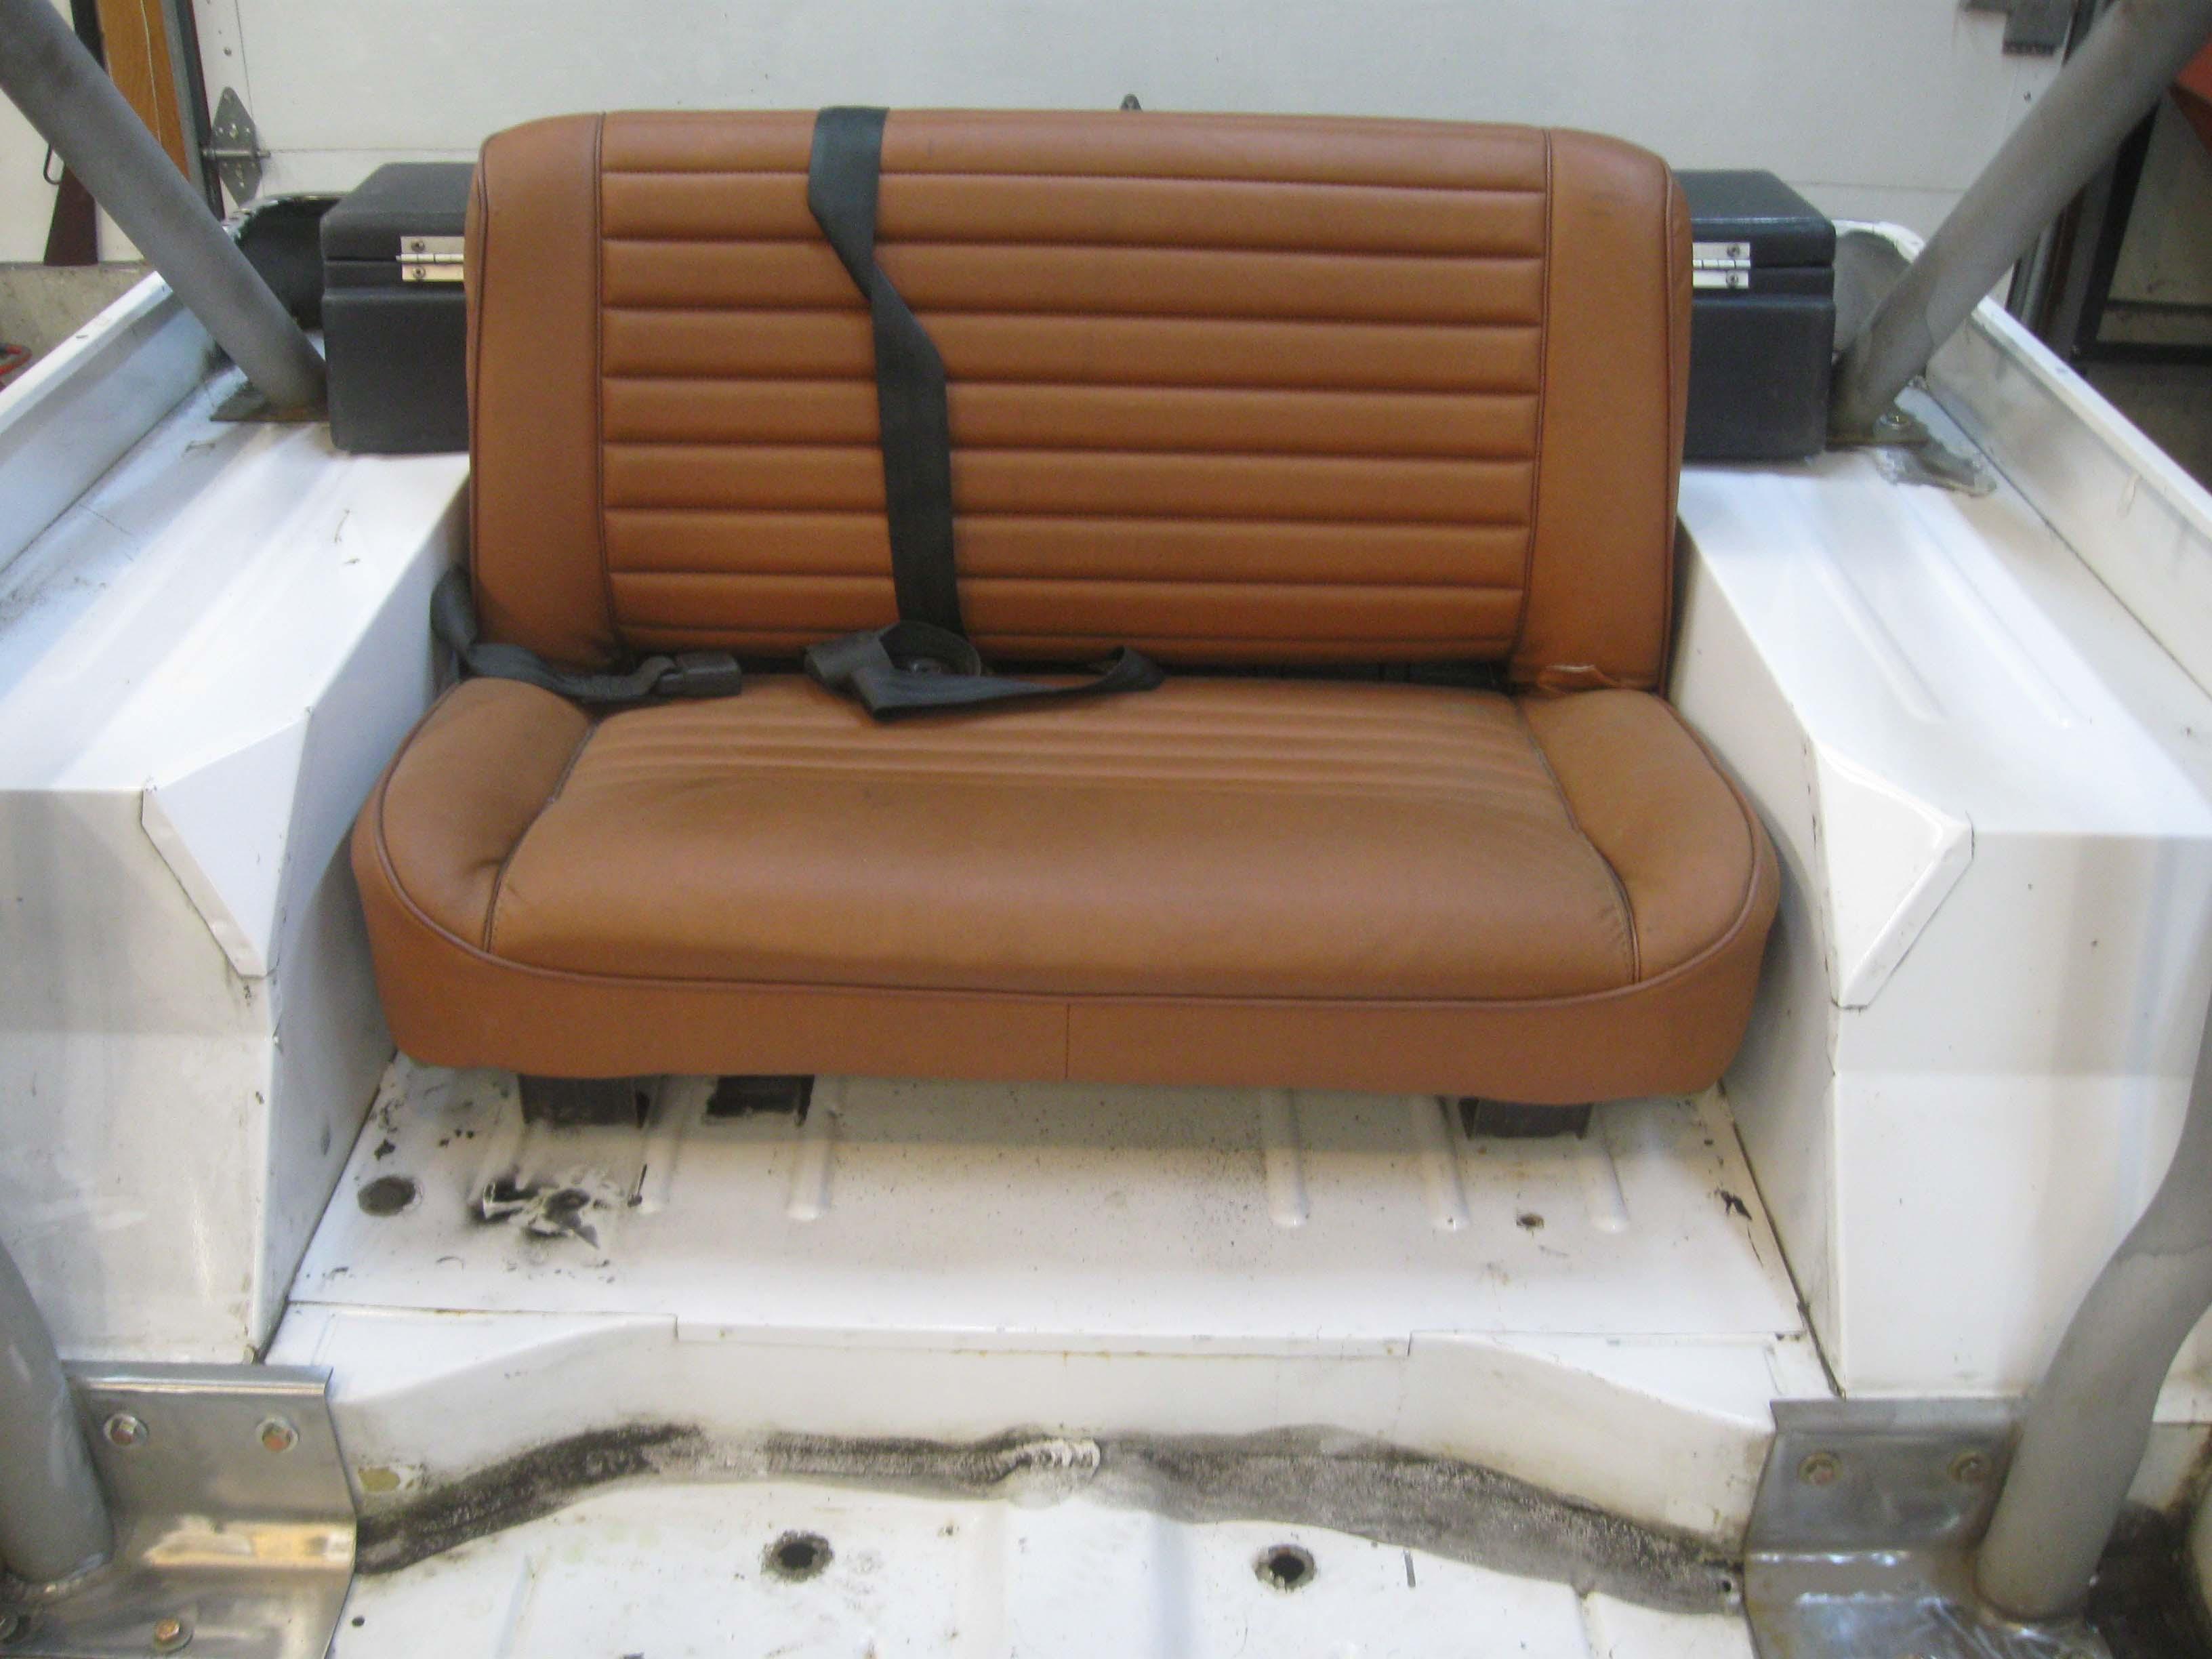
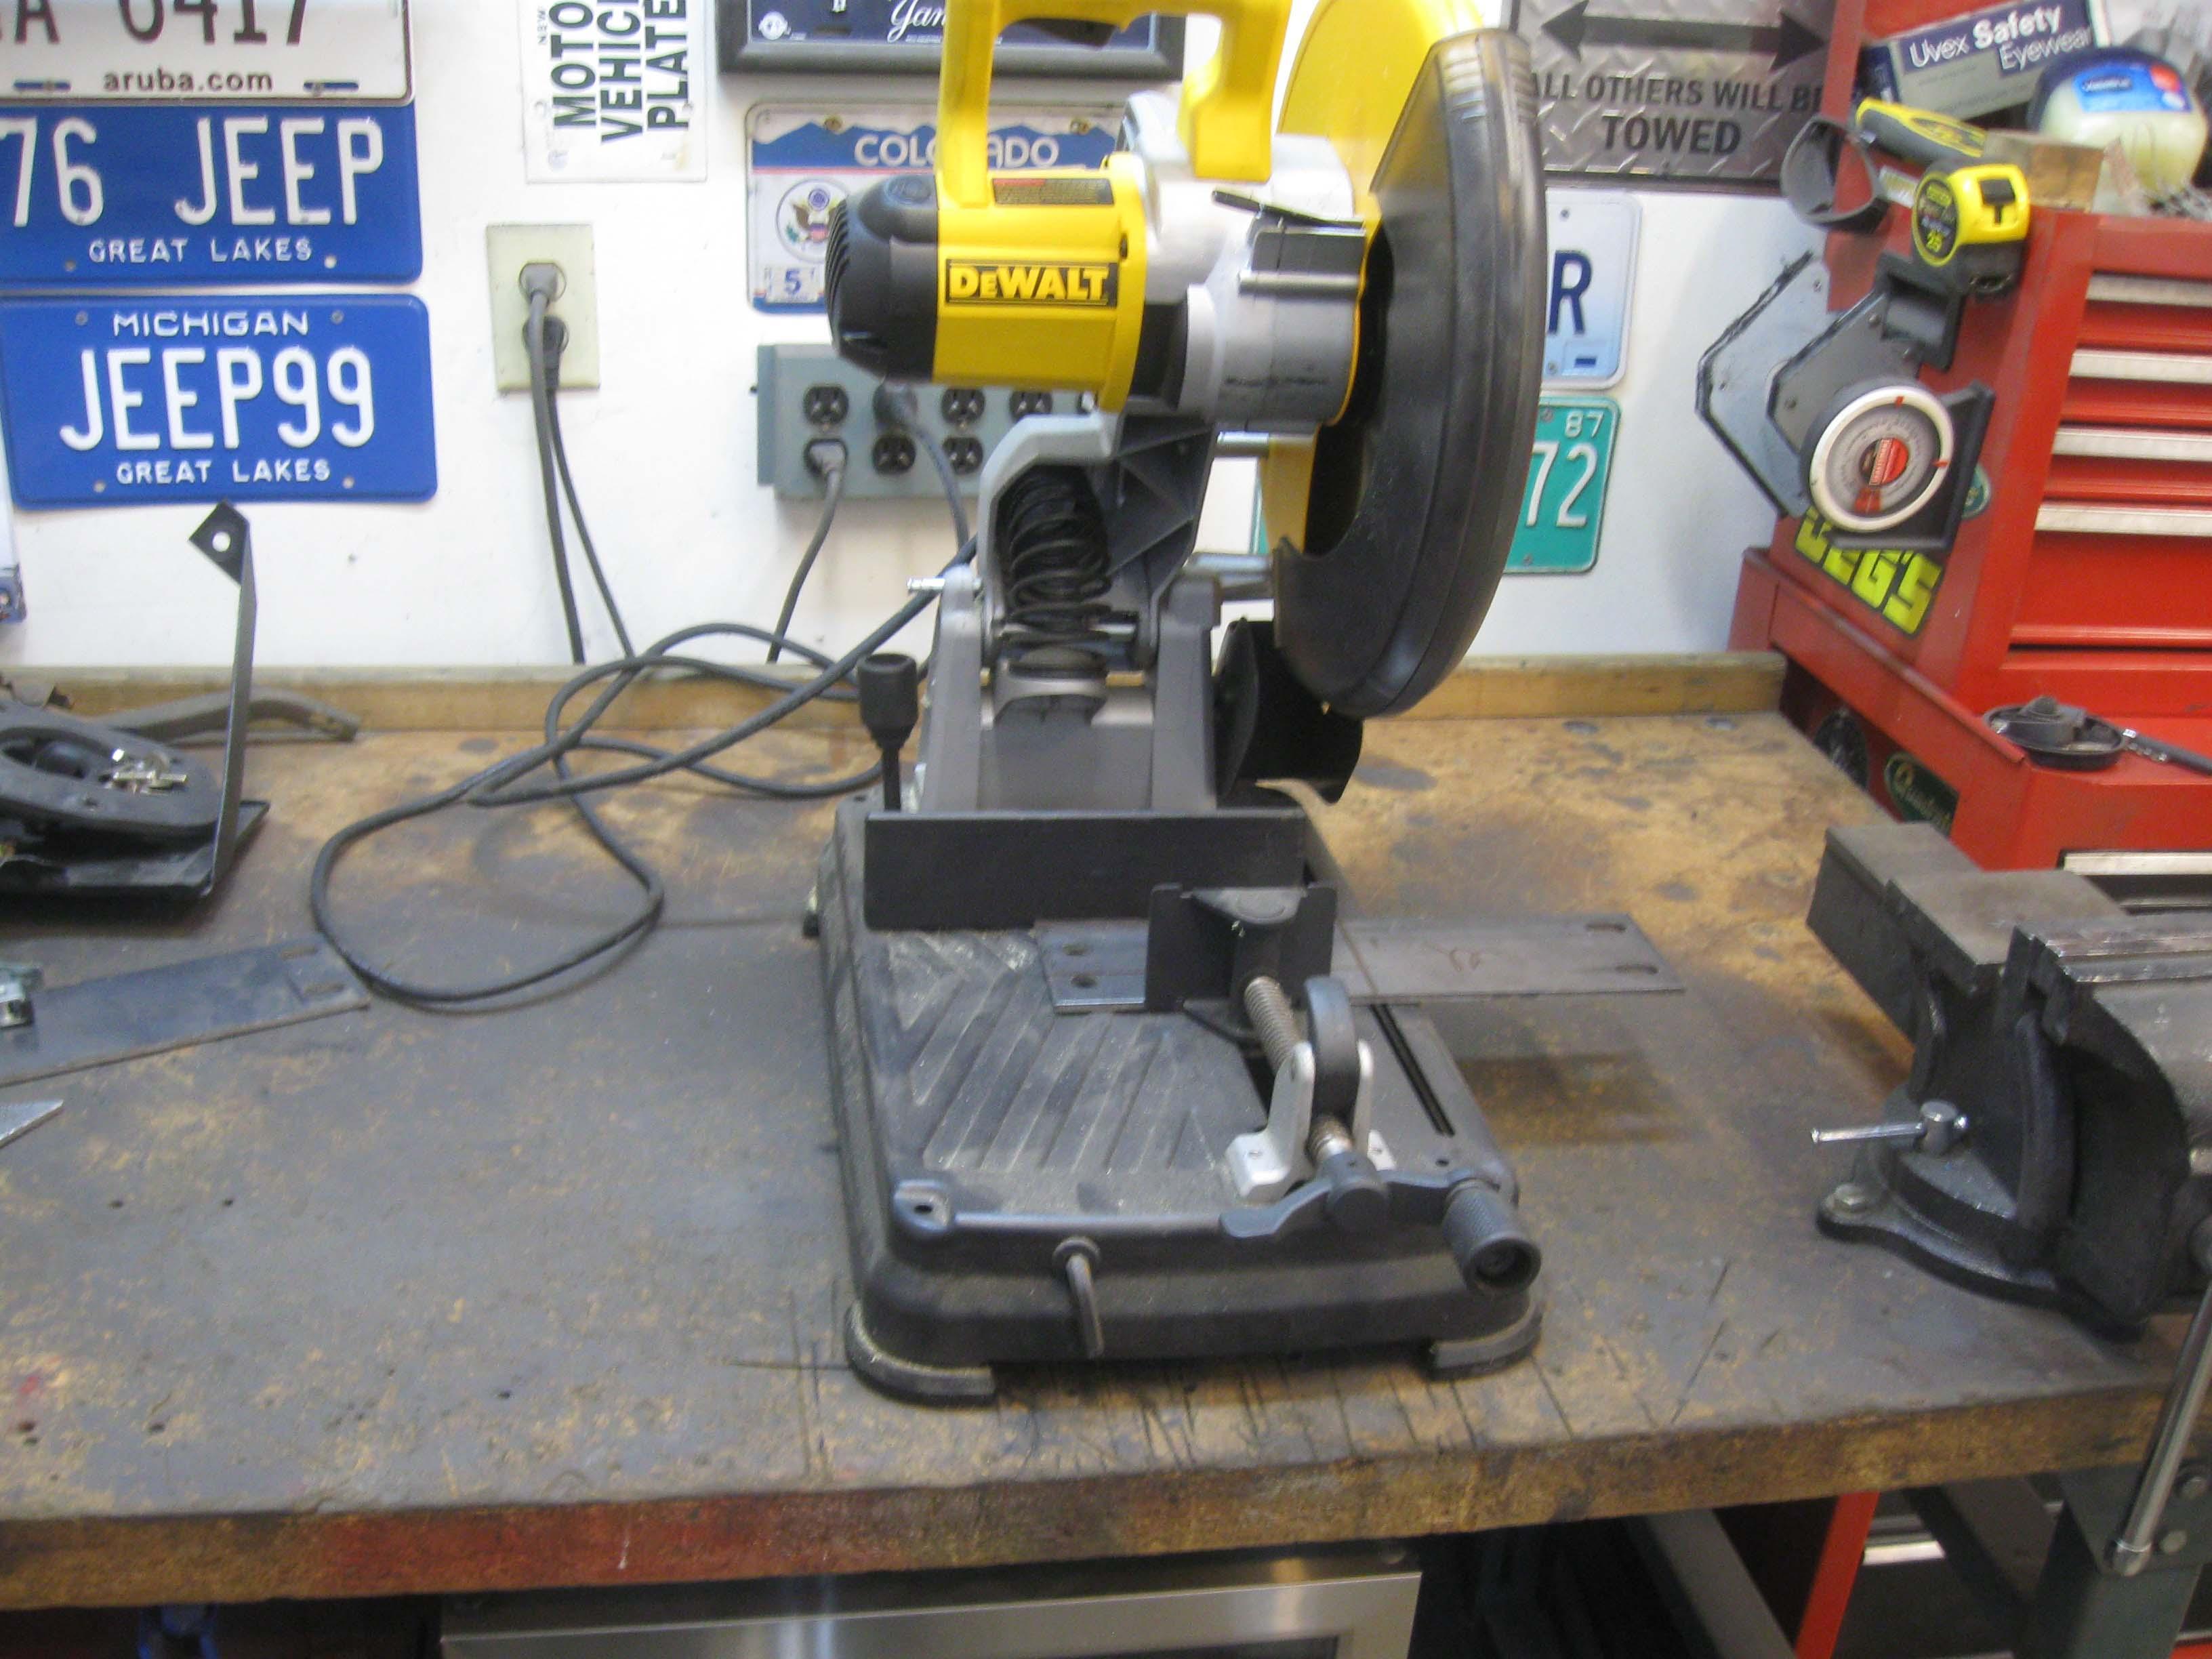
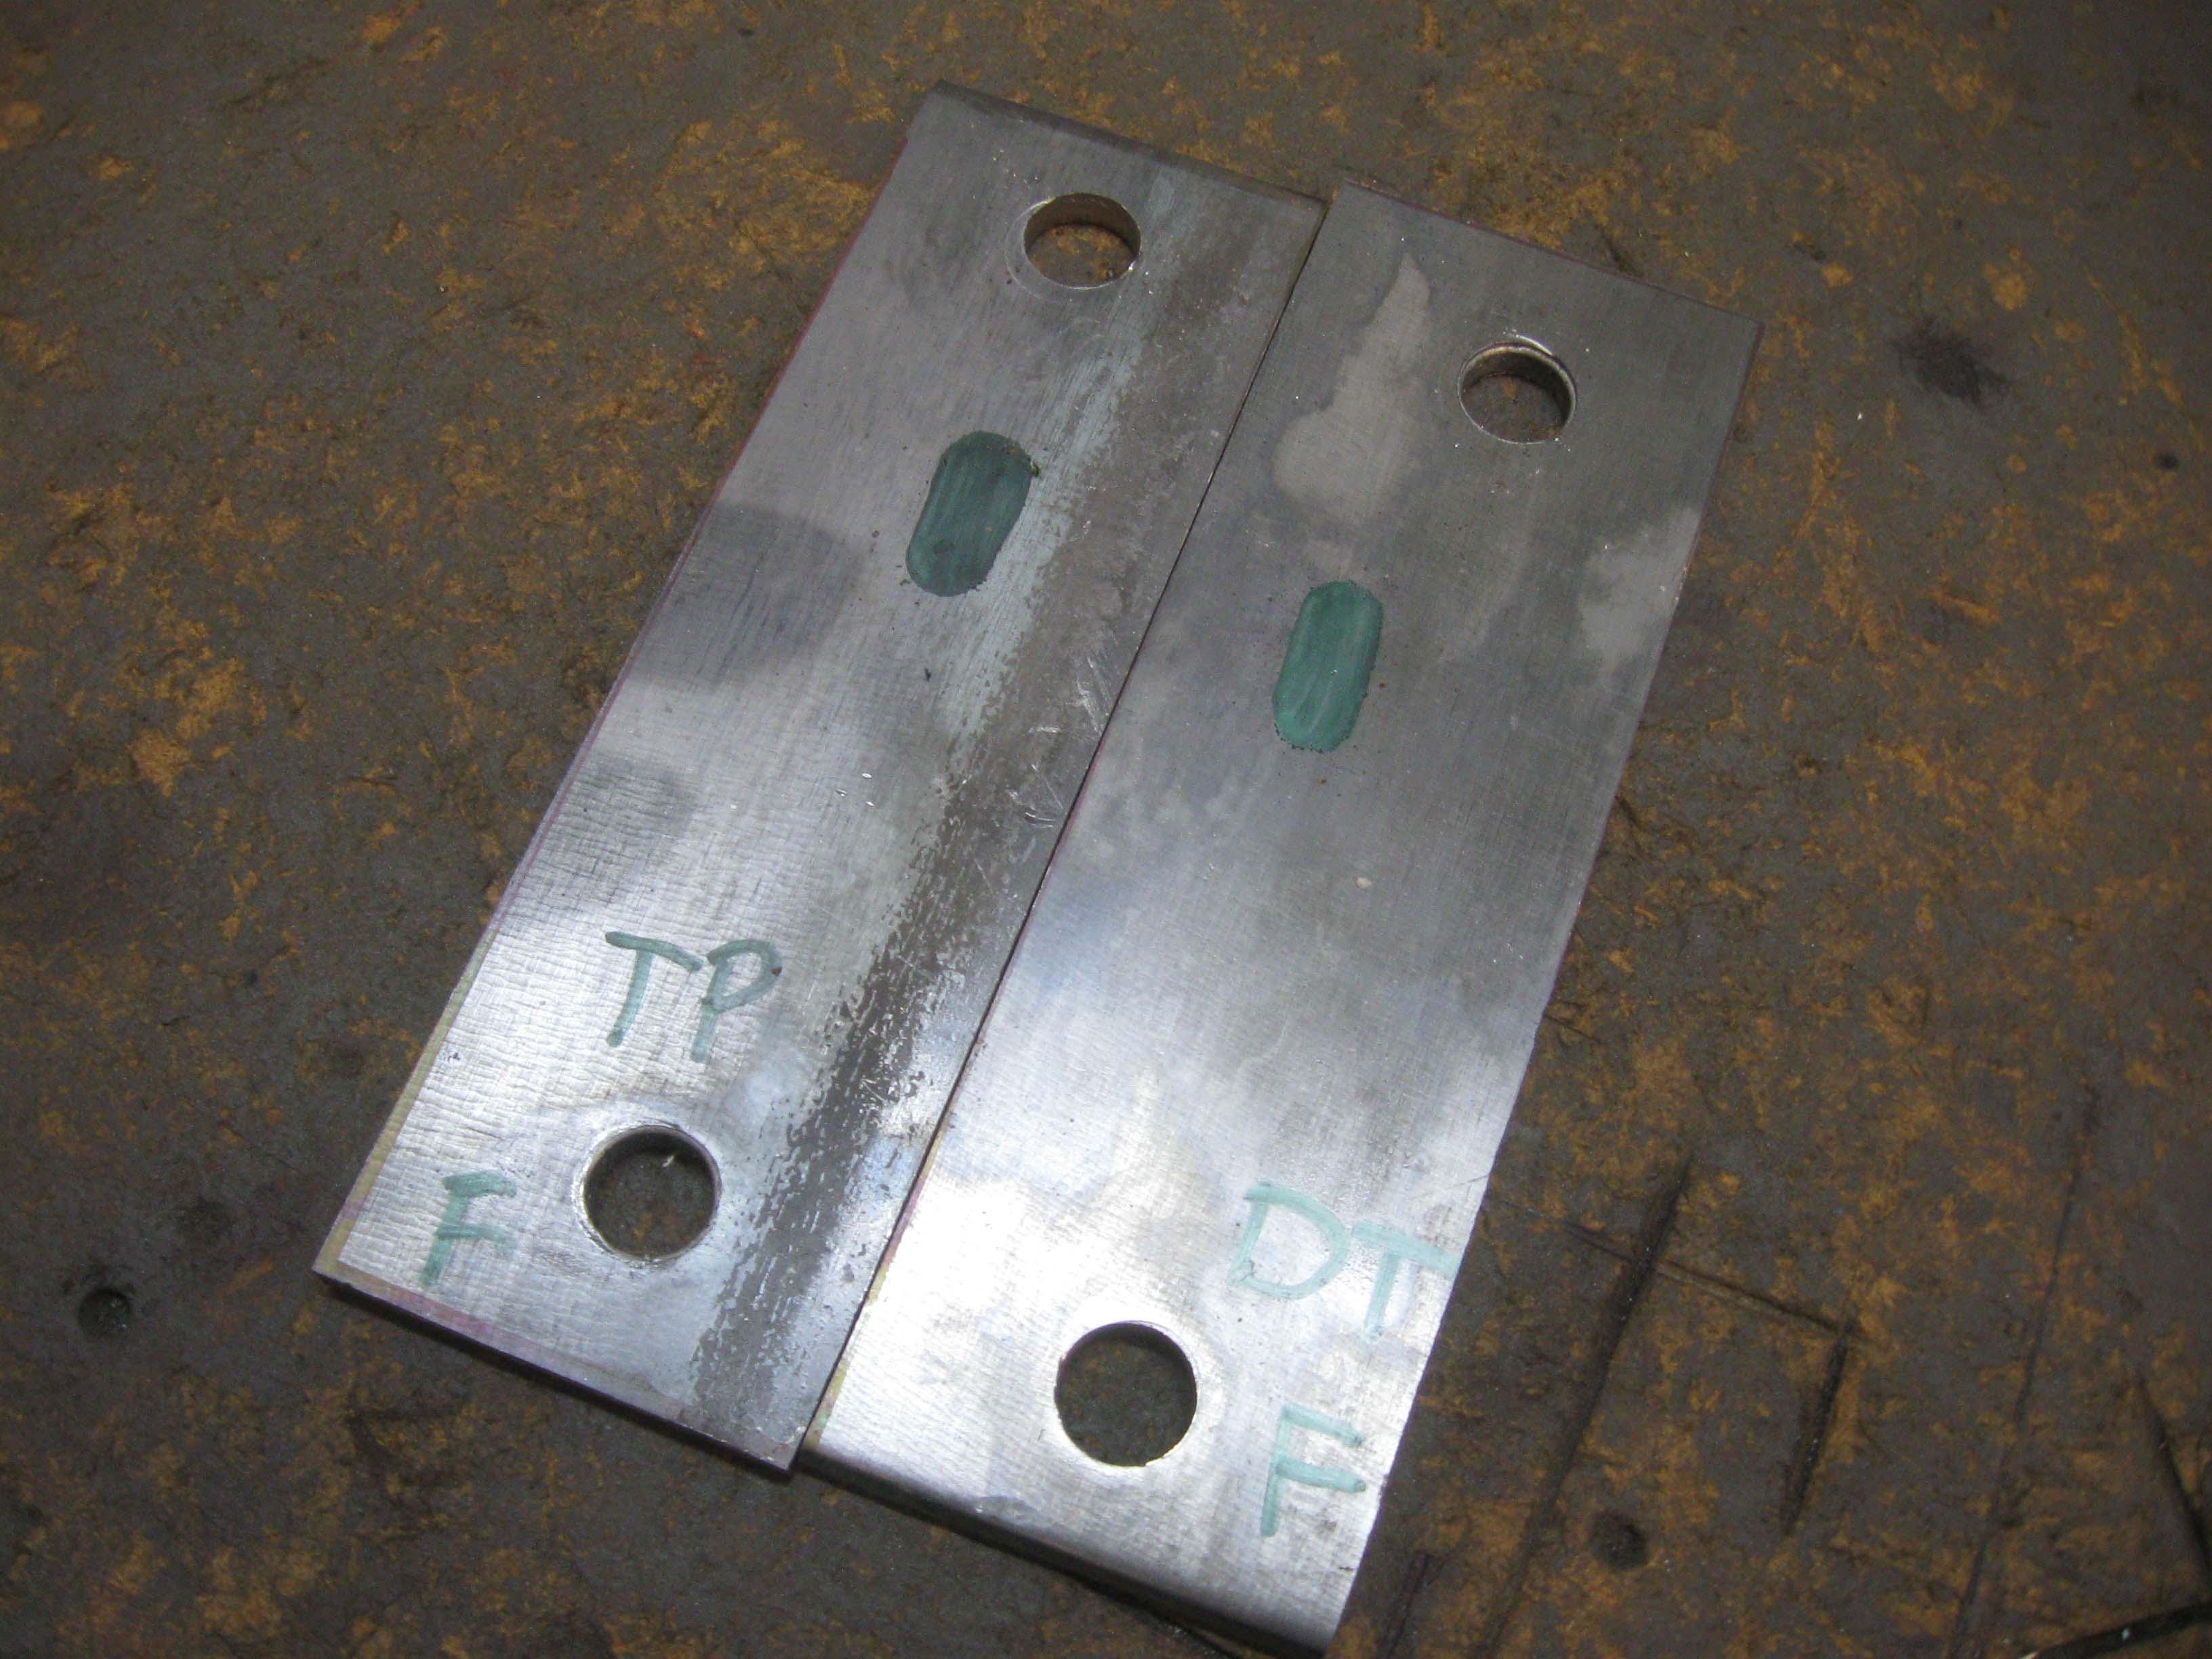
Cut some plates, tapped the threads and see how it all looks
Mark and drill a hole to make a bolt in bracket
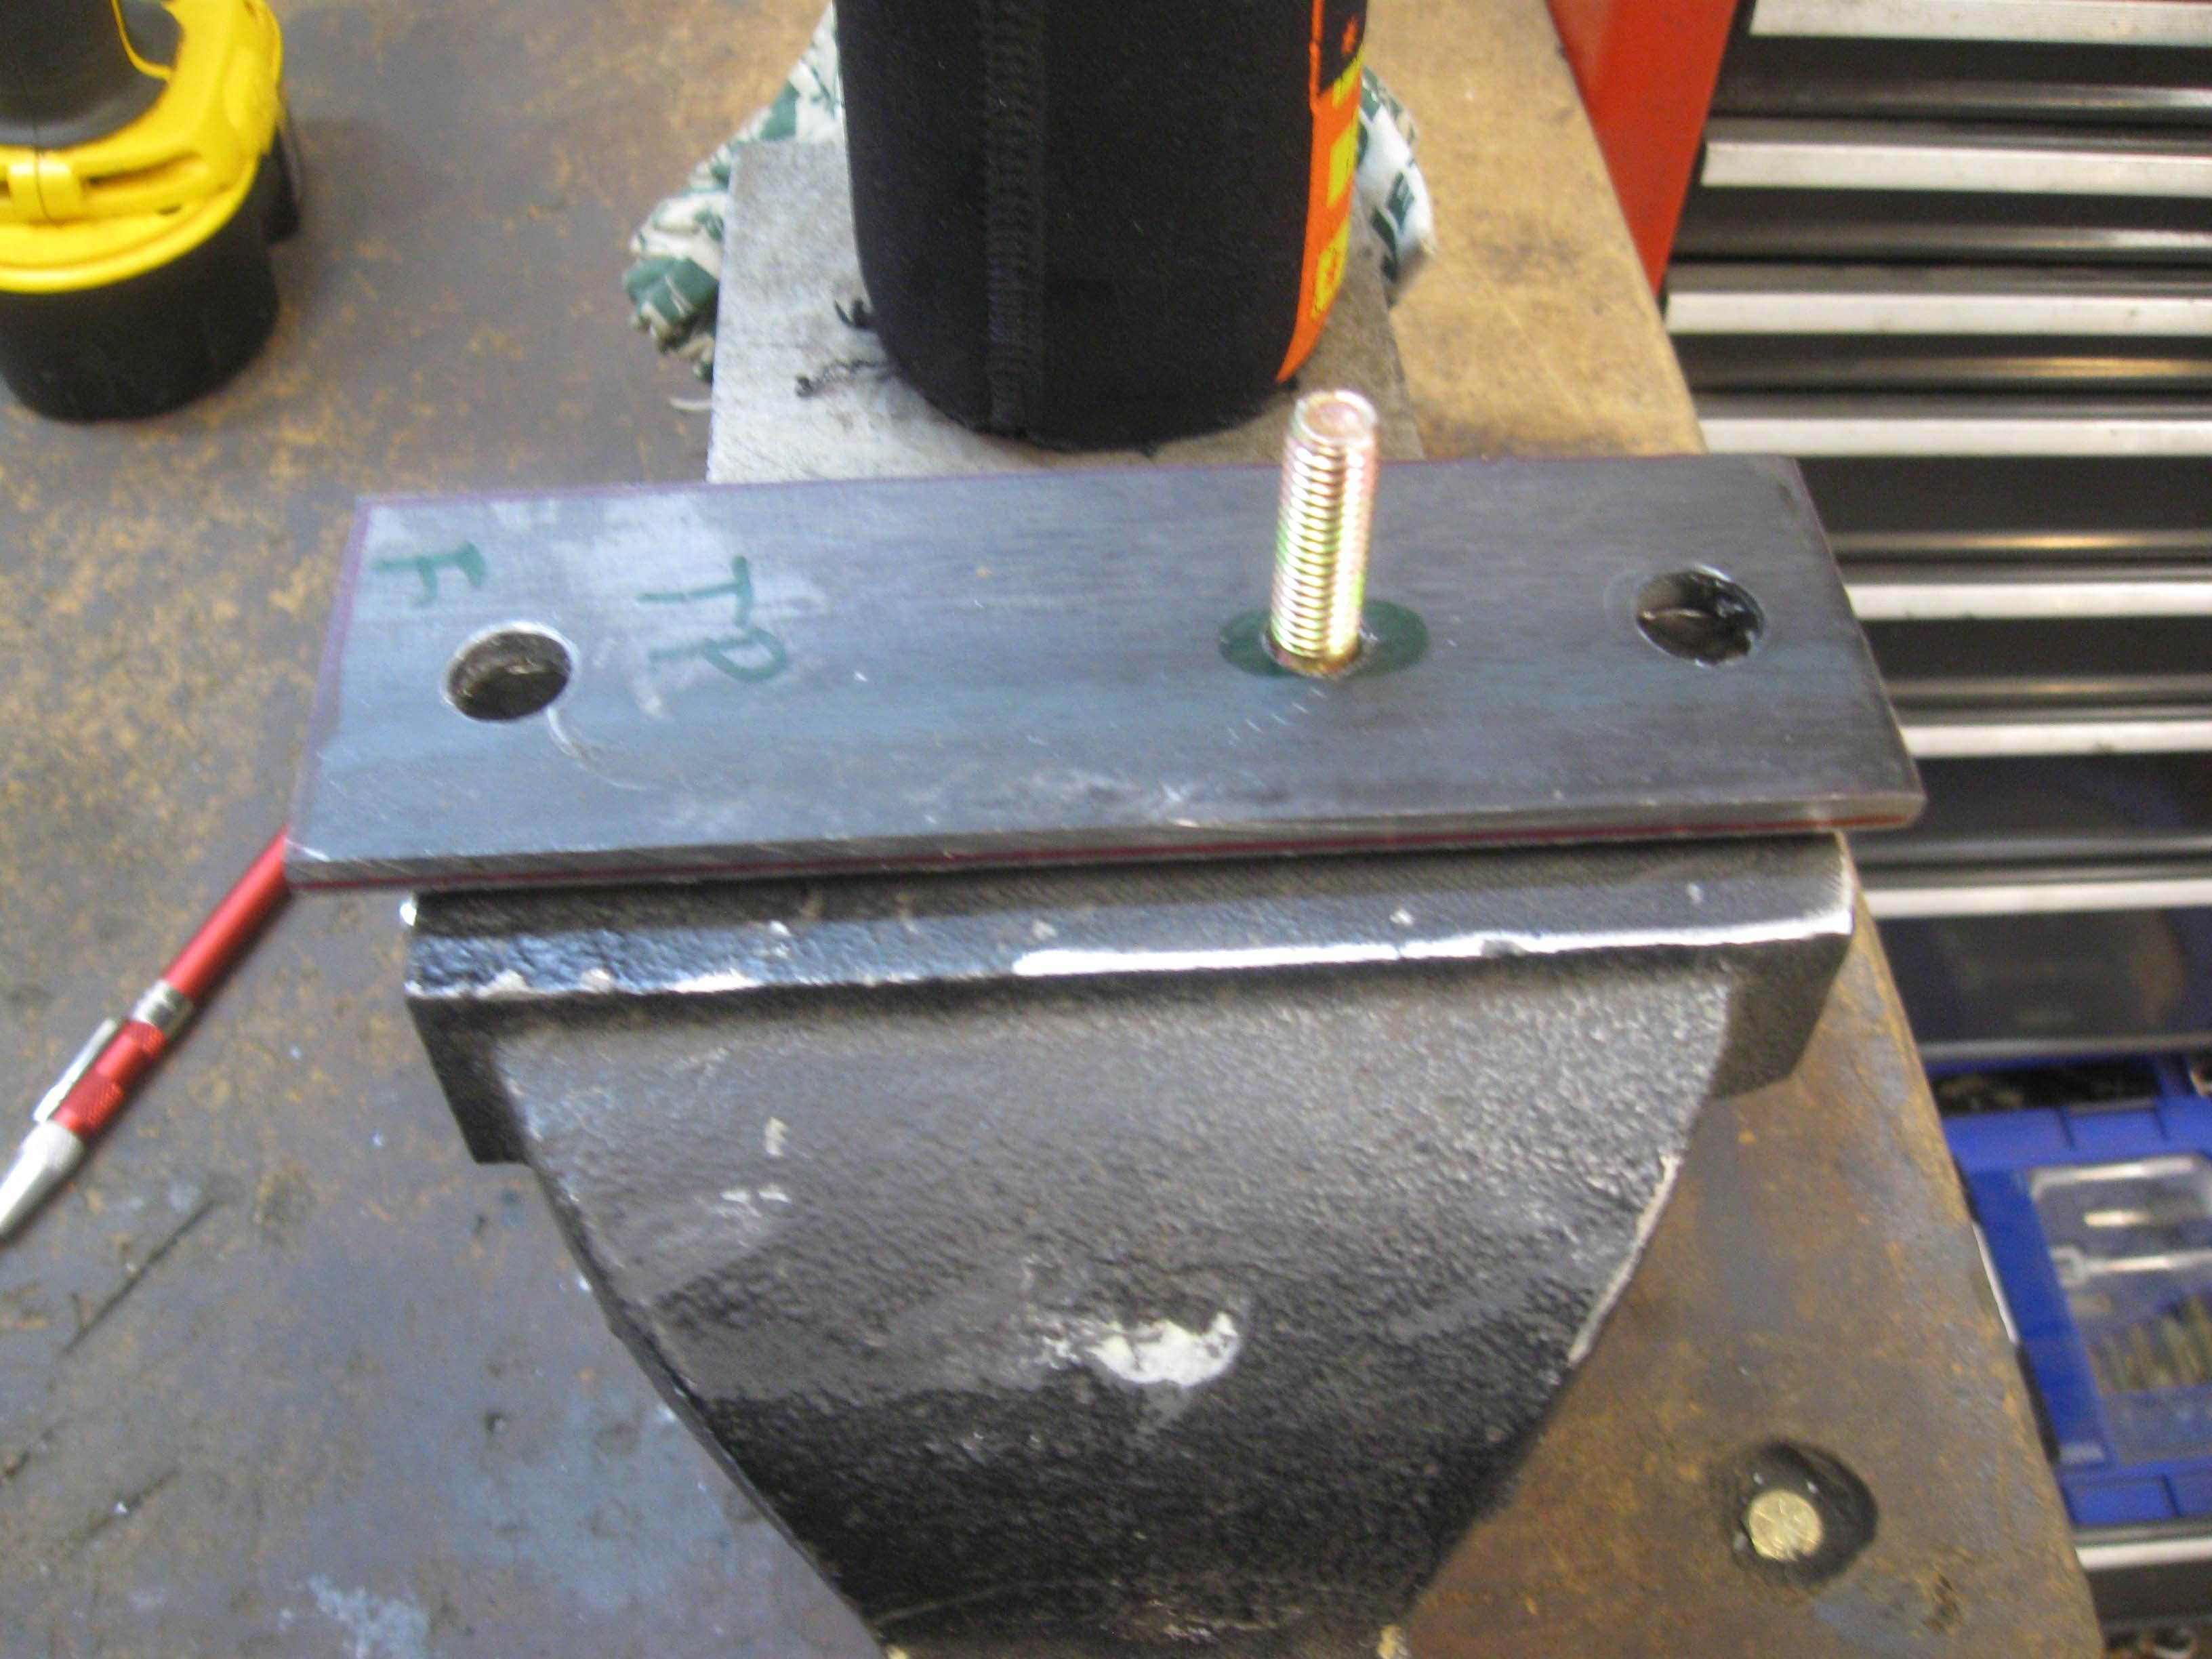
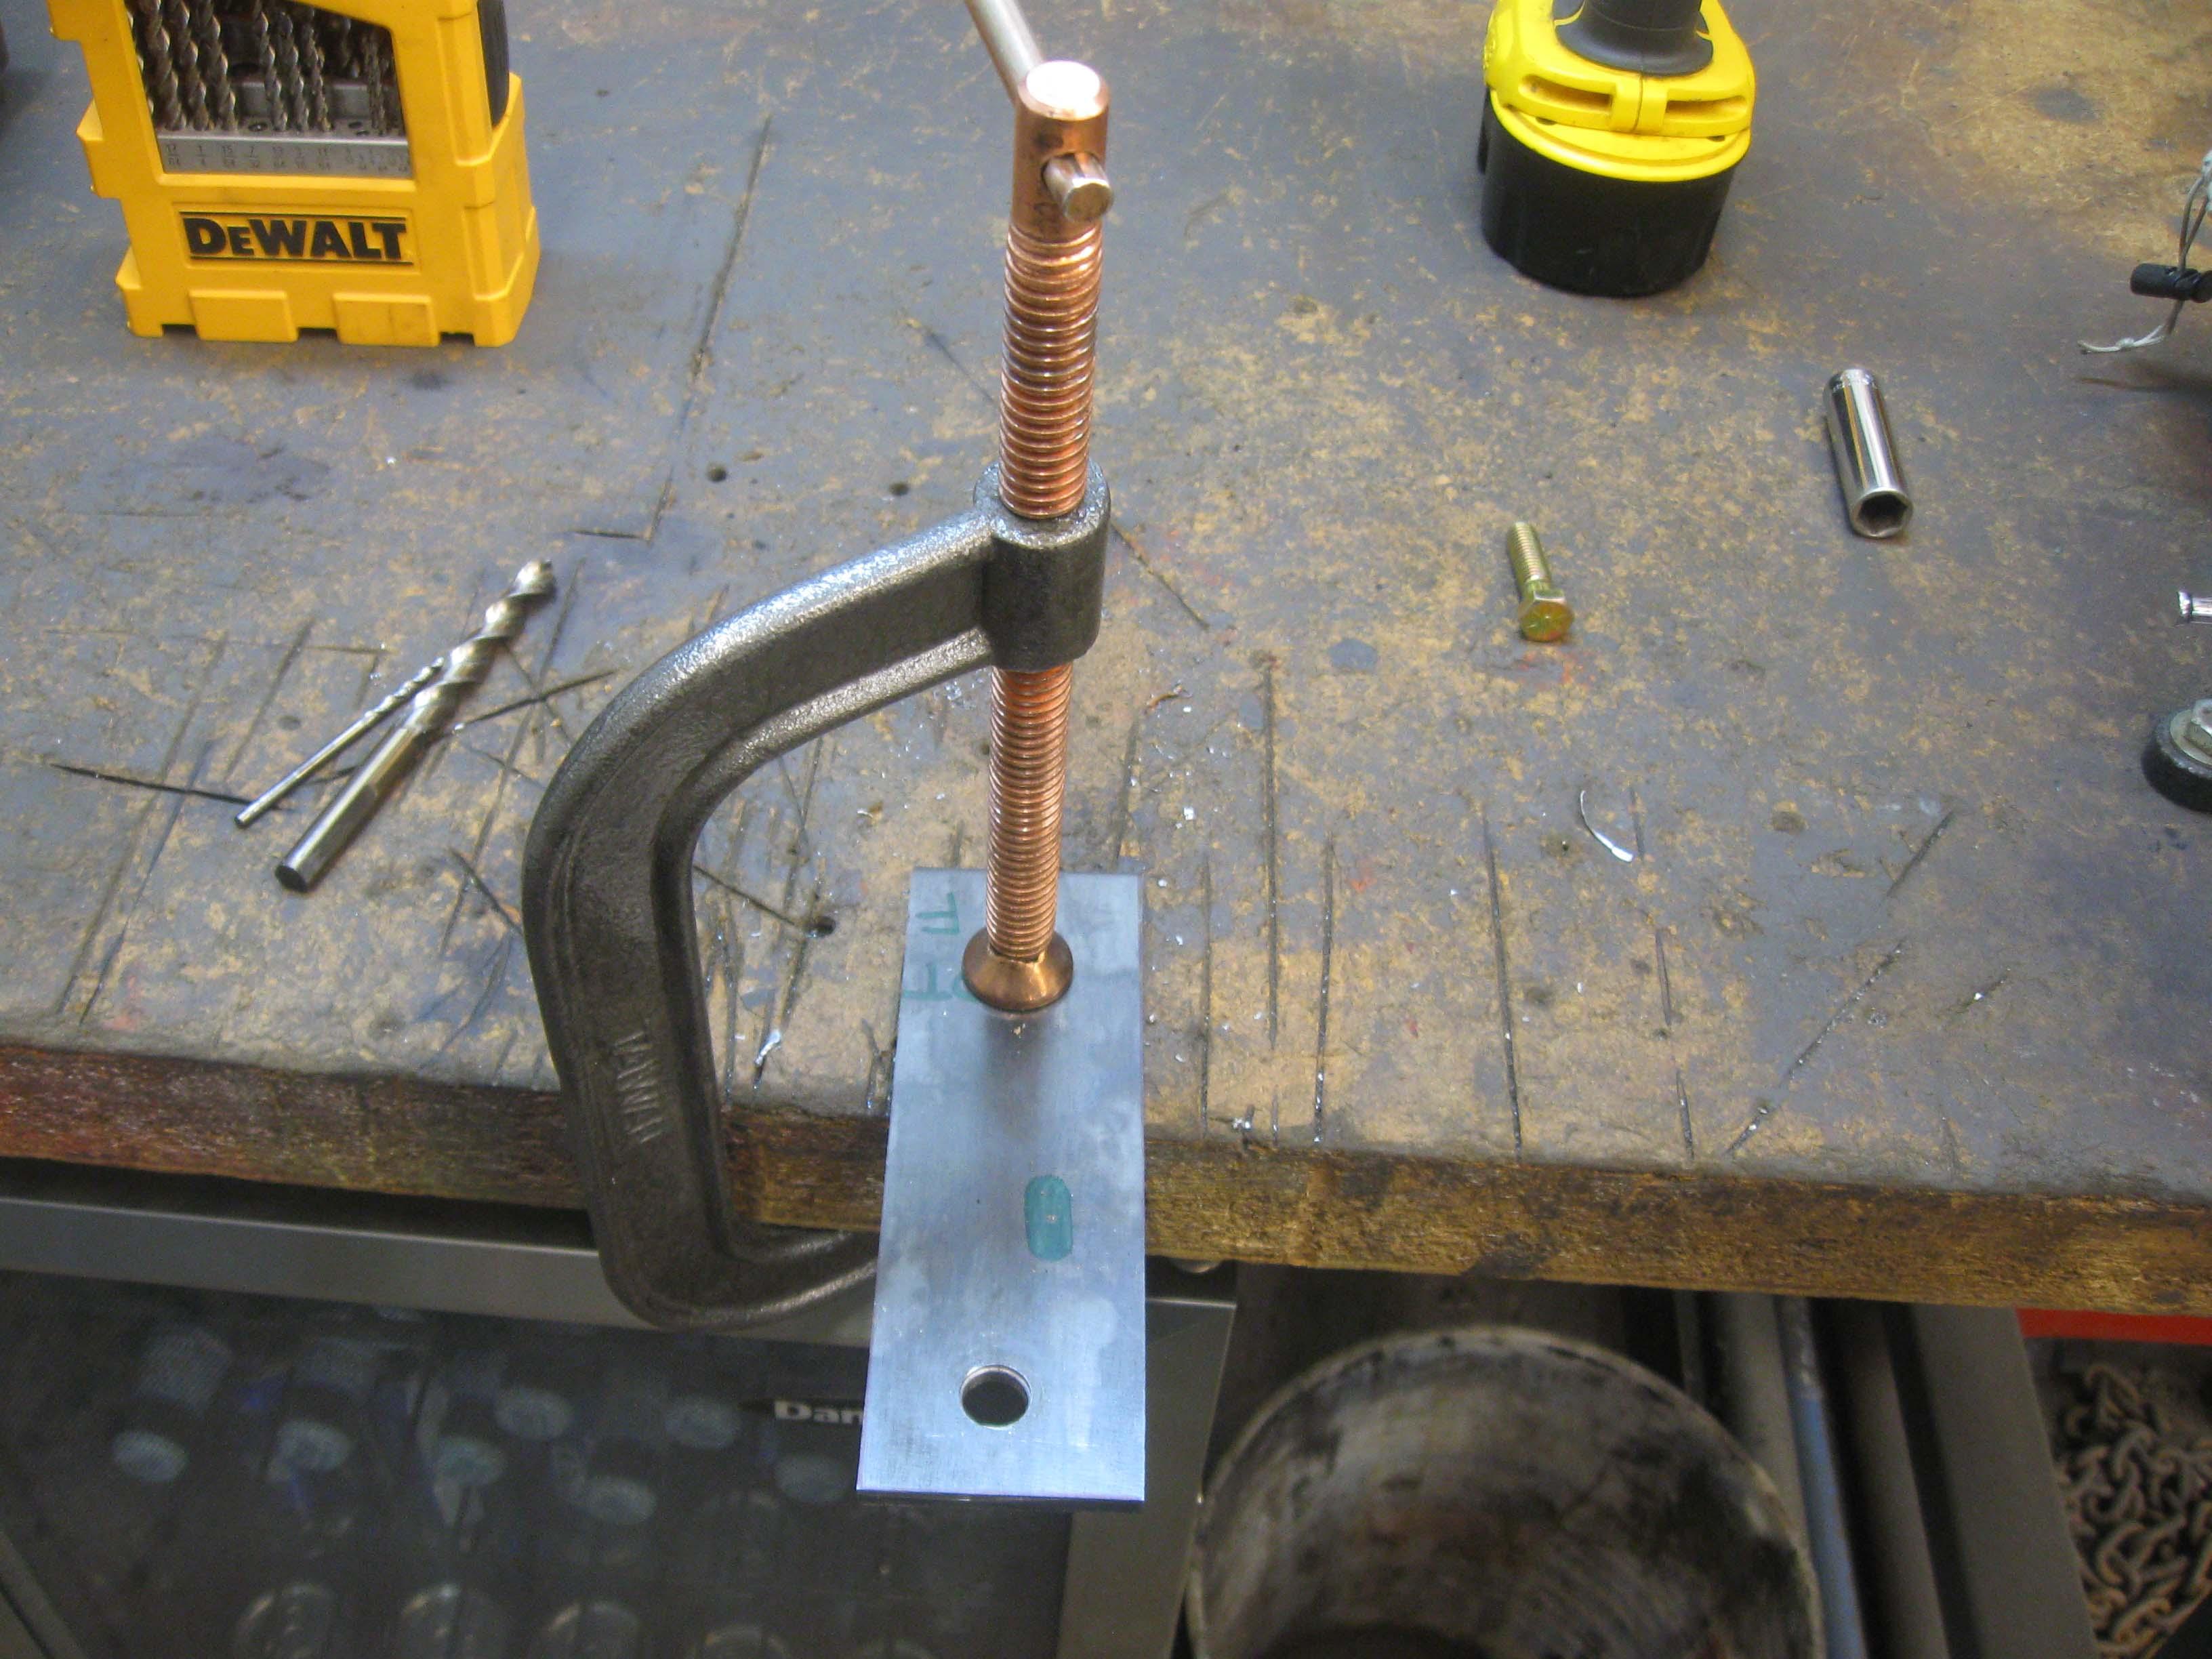
This is pretty much what 1 hour a night gets you, no where fast.
I was playing with the OEM storage box as well to see how that would go in, that is up after I get the seat in.
As for the bolt in, it will mostly be bolt in, the front and middle hole in the back anyway, the other 2 holes I will have to drill, but will make brackets underneath to allow for bolt in, and not using washers and such.
cb
Fixed CJ Seat in YJ Tub that wants a fold n' tumble
Holes are way off
Thought I might turn the feet around and match up... nope
Cut some plates, tapped the threads and see how it all looks
Mark and drill a hole to make a bolt in bracket
This is pretty much what 1 hour a night gets you, no where fast.
I was playing with the OEM storage box as well to see how that would go in, that is up after I get the seat in.
As for the bolt in, it will mostly be bolt in, the front and middle hole in the back anyway, the other 2 holes I will have to drill, but will make brackets underneath to allow for bolt in, and not using washers and such.
cb