• Notice for iPhone users: DO NOT use the image size reduction option when uploading photos to the forum. This causes portrait images to post as landscape. We have added a warning to the image insert pop-up as well.

Jeep cj7 83 right hand drive 4x4 5 sp british export - part II

UPDATE:

Got the CJ5 buttoned up and took it for a ride yesterday, was a great day, albeit very hot.
Swapped the project back in the garage and starting Tuesday night, going to get back after it for the body work.
2 last things to do tonight, finish cleaning up the wood stove and check fluids and blades for the upcoming mowing.

cb
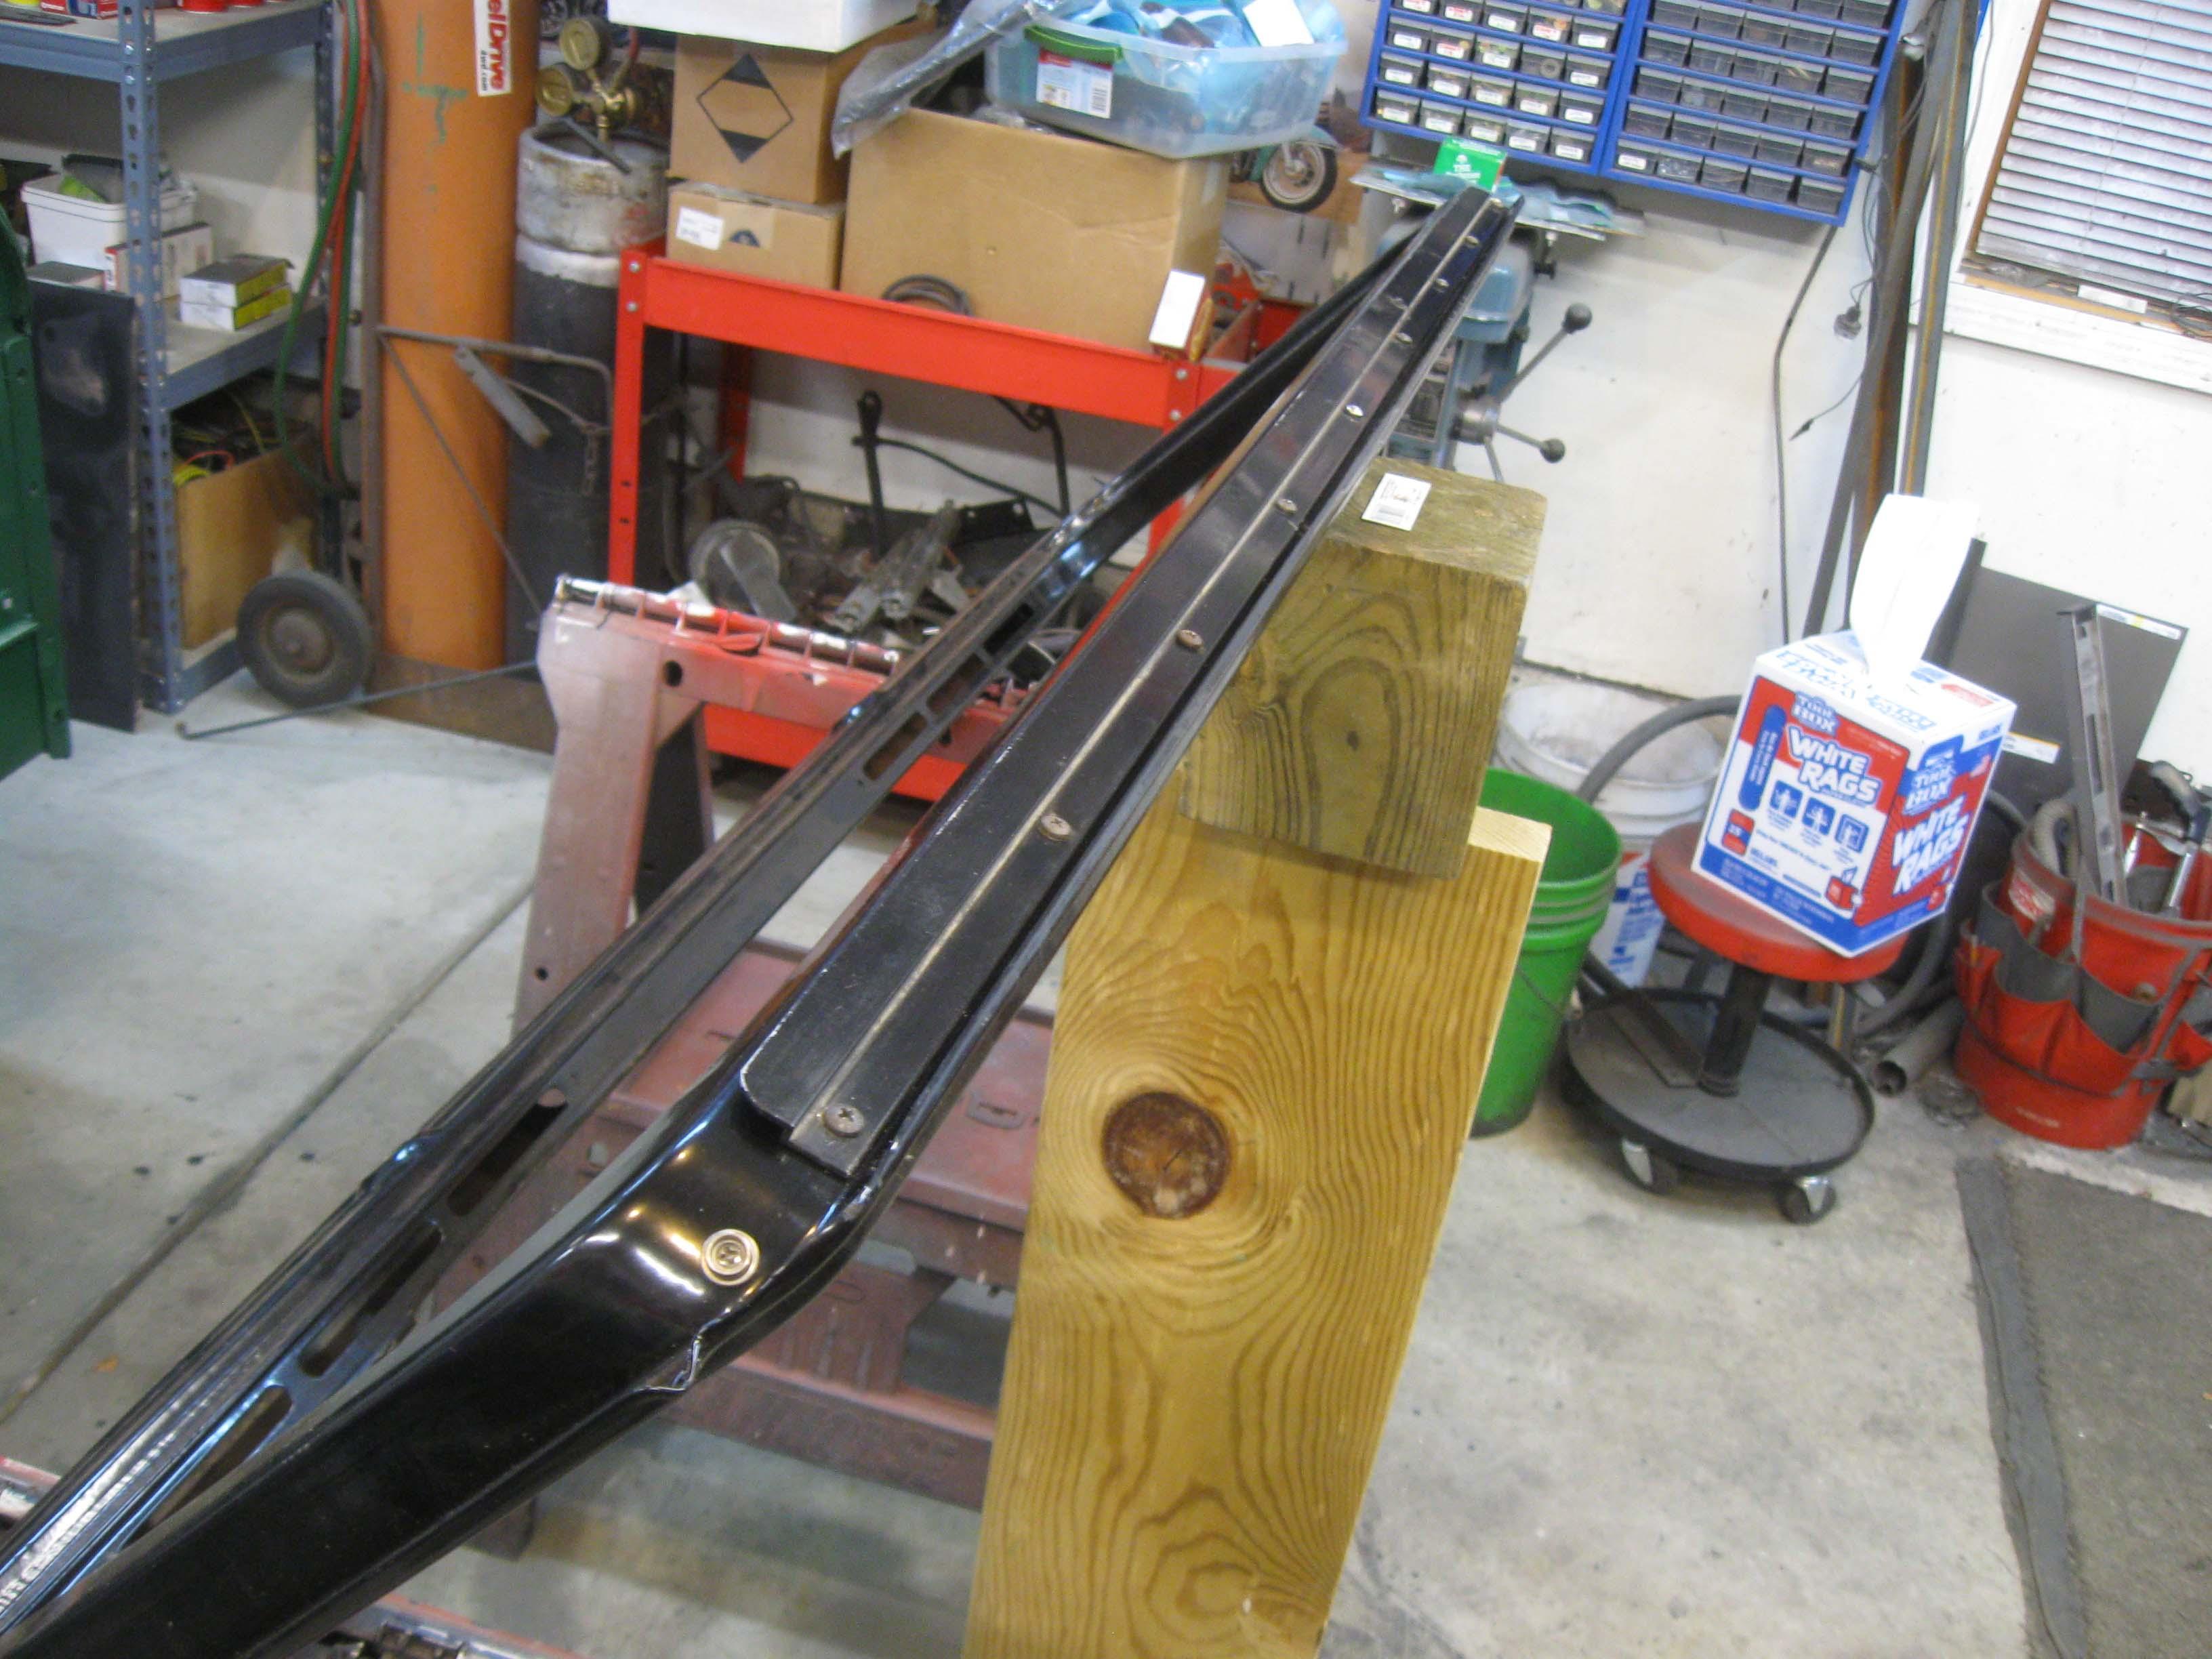
 
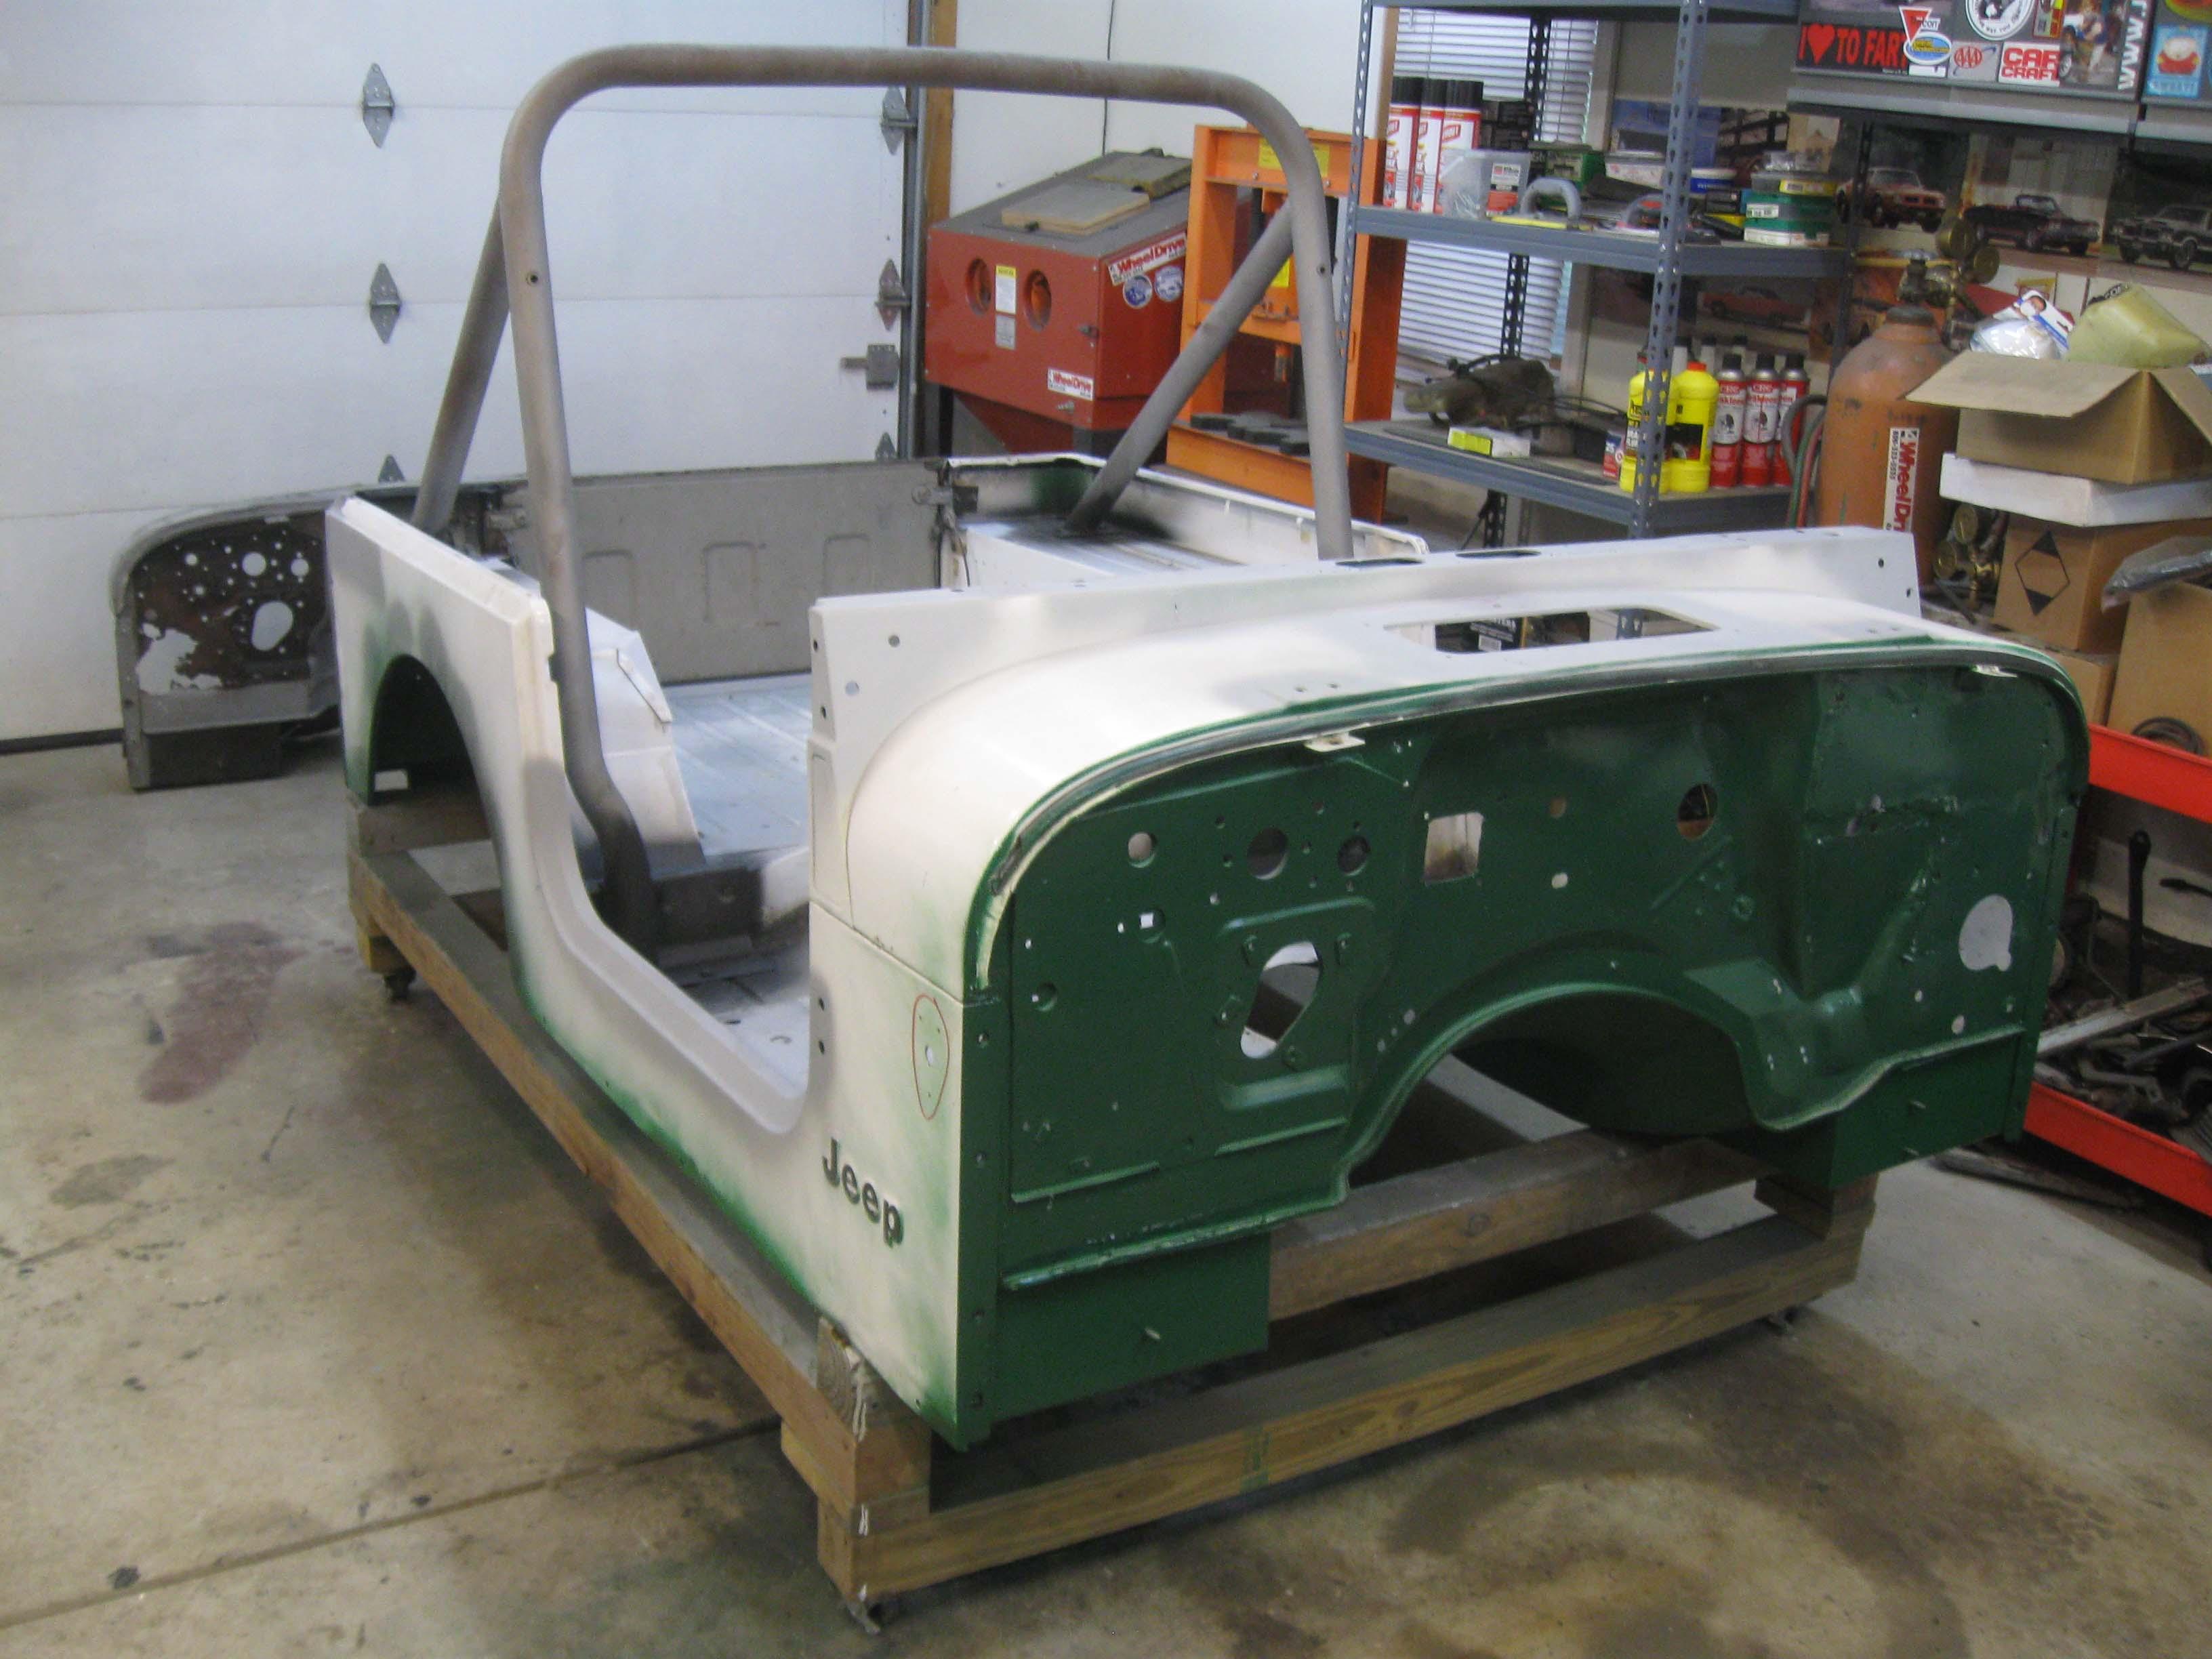
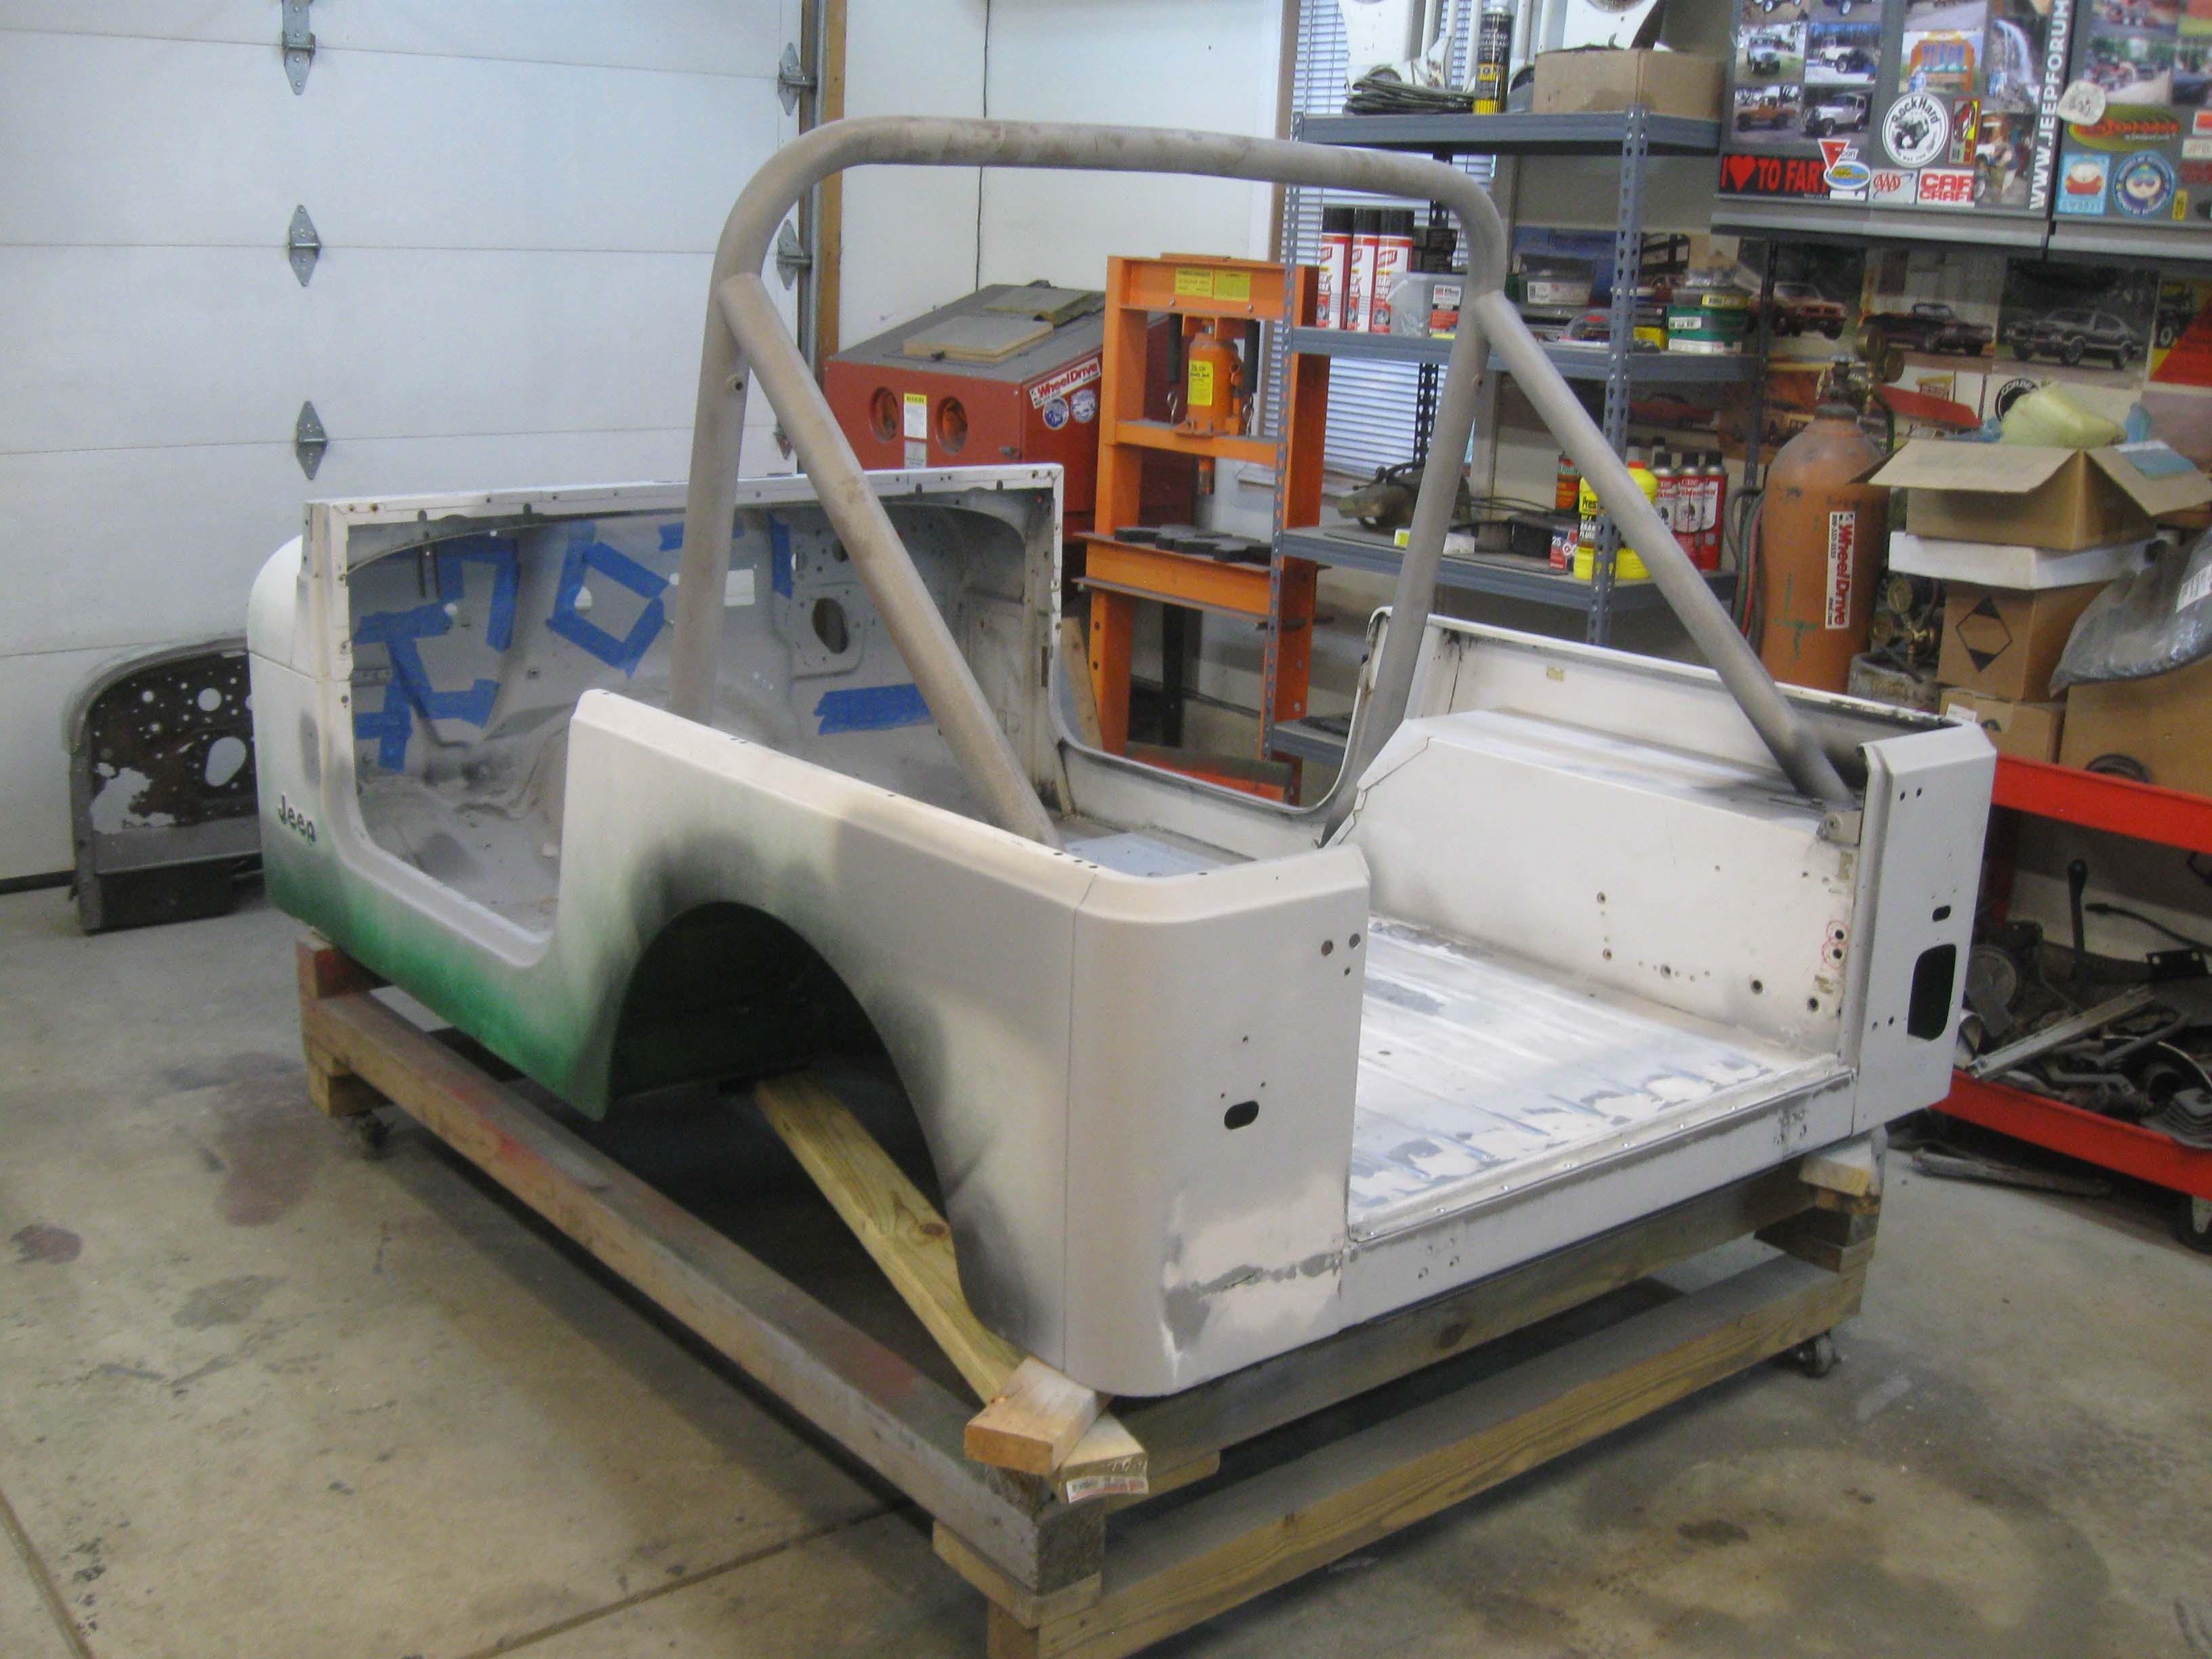
I have been sick and we have been working in the yard, but we are back on track… Orange Jeep CJ5 is done and all working and out of the workshop, Kubotas are tuned and working well and now I moved the project back in the workshop and I am good to go. I did a couple hours of work on some smoothing and shaping and making it look pretty as well as the windshield mods for the bikini top. It should pick up this week and then I am hoping to go on a Jeep adventure, more on that later.

Bikini top rail
IMG_7906-1.jpg


Back in the shop
IMG_7972-1.jpg


Smoothing
IMG_7974-1.jpg

IMG_7976-1.jpg


Primer for protection
IMG_7977-1.jpg


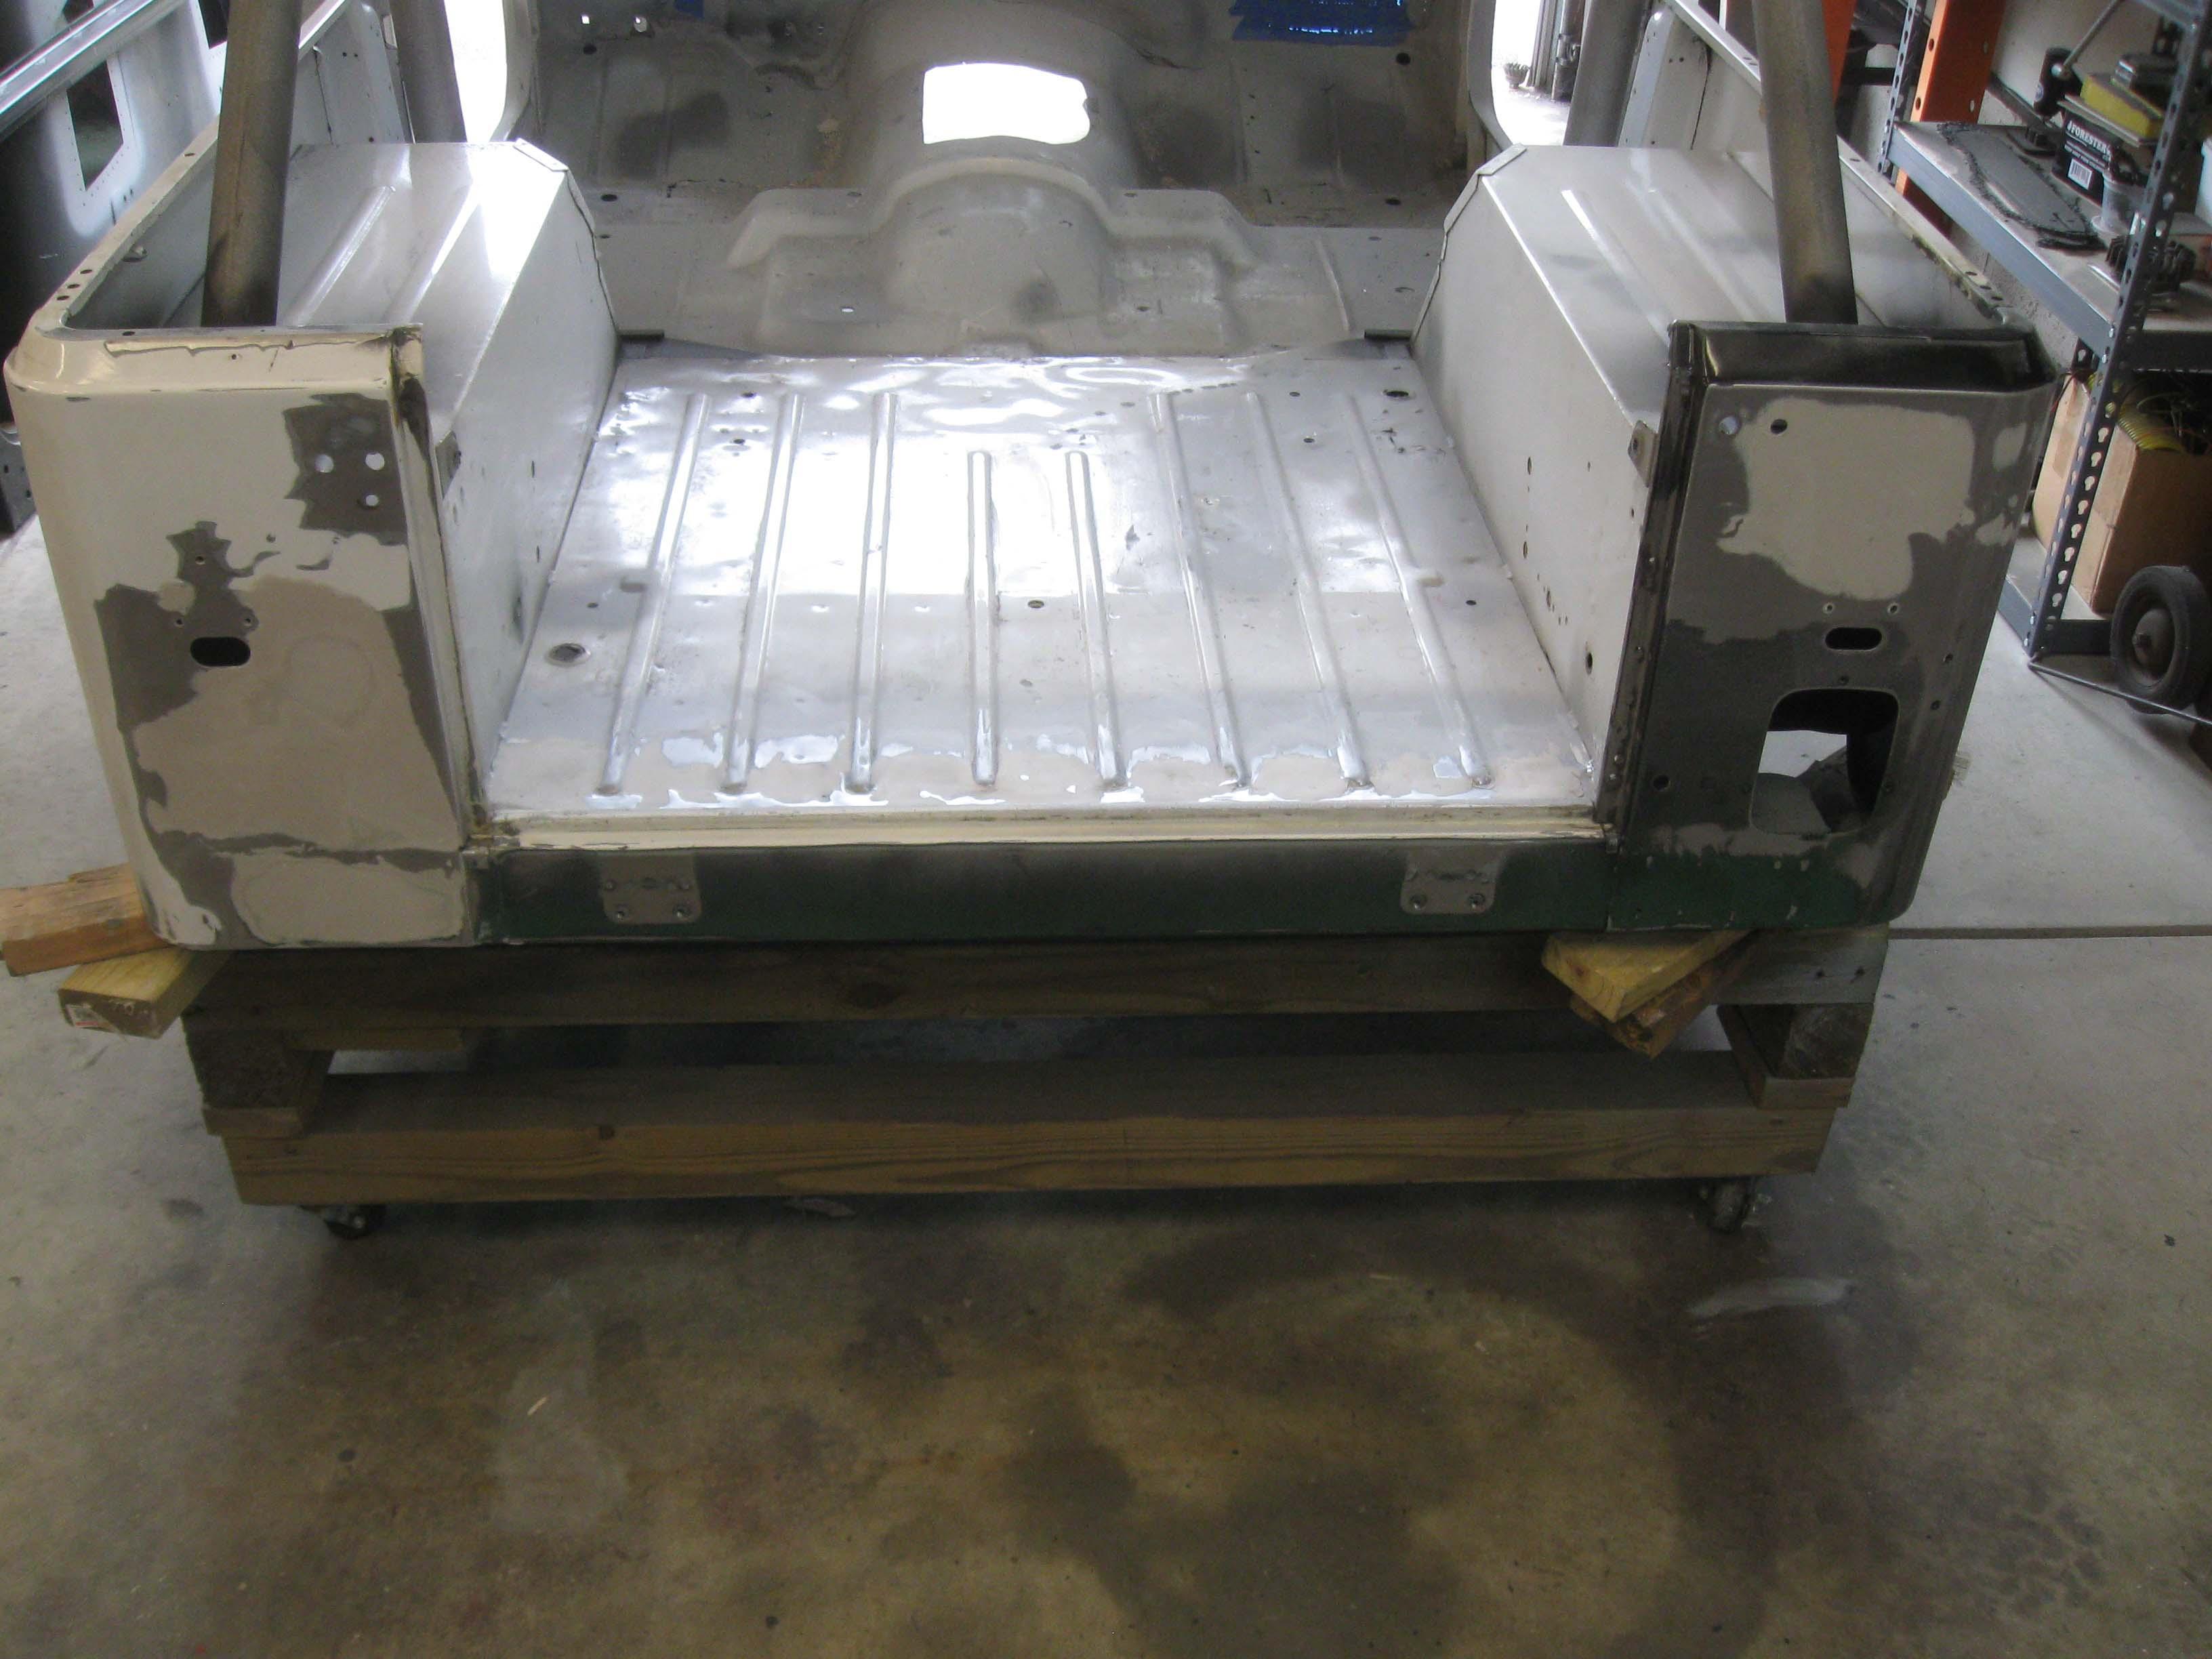
There is a few more spots, mainly the firewall where I worked the metal a lot, the rear corner that was replaced and a few other small spots on the sides, but all in all, I hope it won't take too long.
Get it in primer and paint and we should be in good shape.

It will be a lot of sanding and not a ton of pictures as body work is kinda boring...


cb
 
Body work for a bit...

IMG_7989-1.jpg

IMG_7990-1.jpg


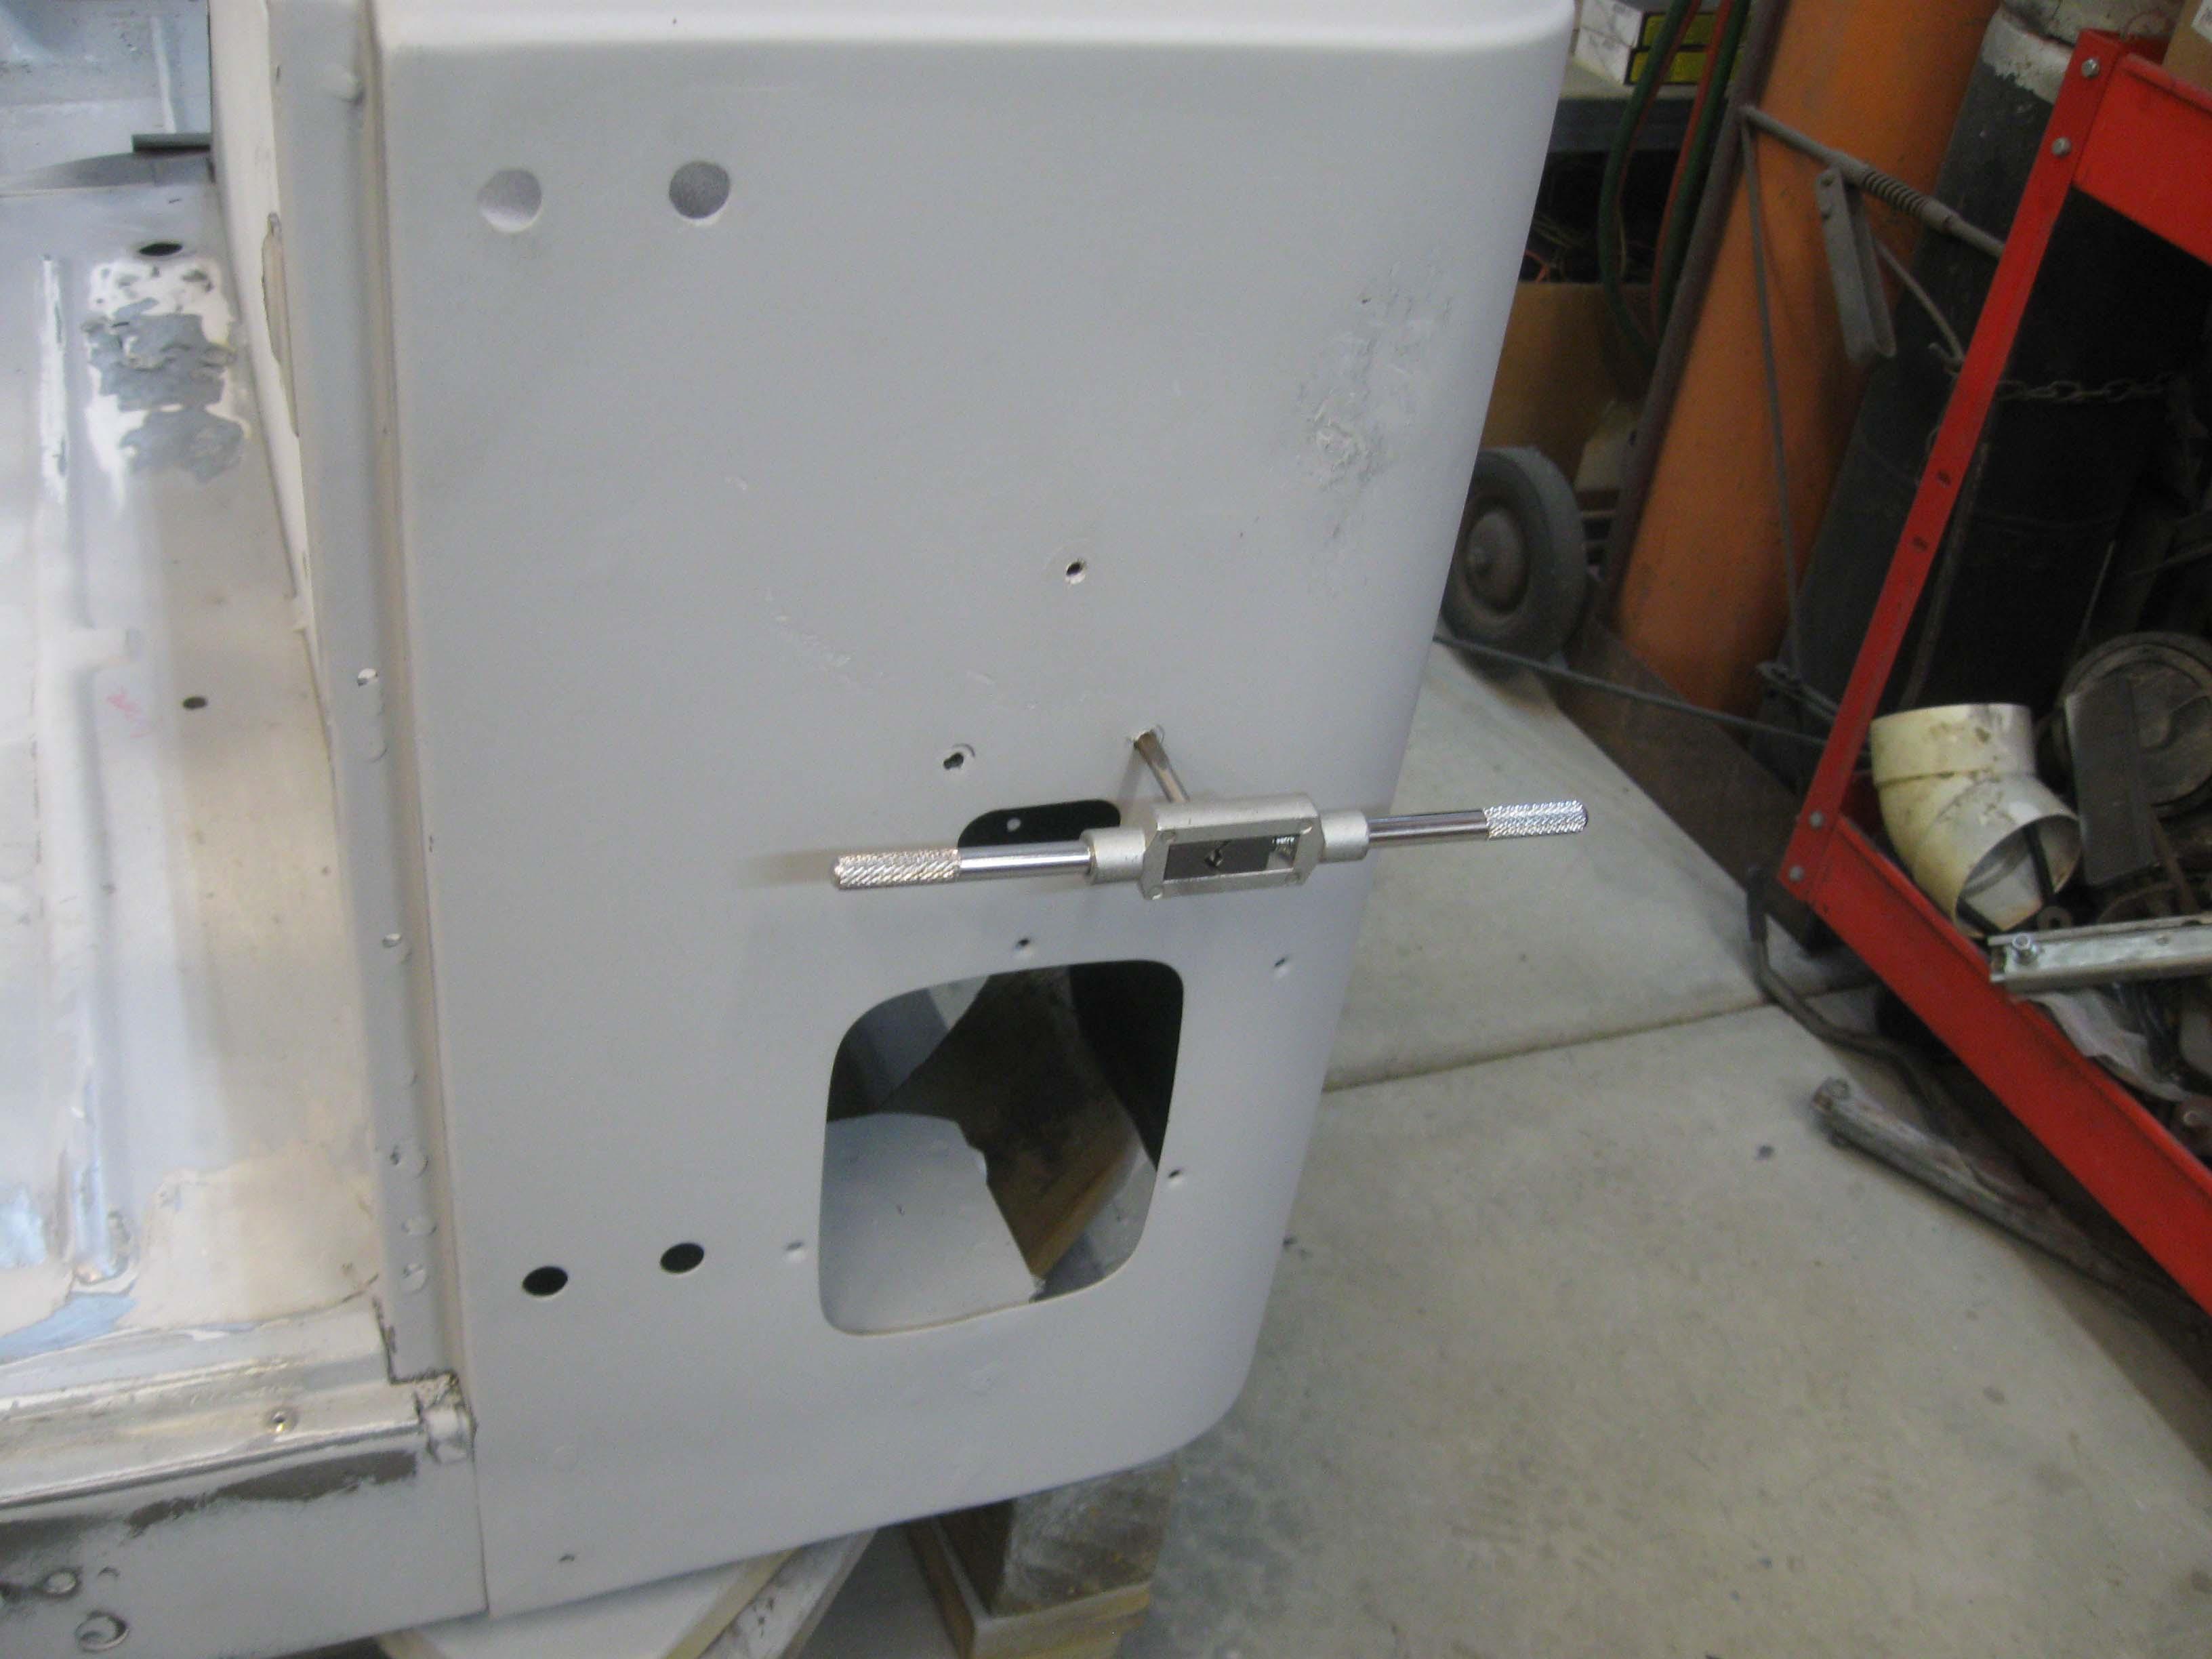
Tapping the holes after

IMG_7999-1.jpg


Need a bit more on the lower side, was a little wavy, so got it back in shape.

IMG_8001-1.jpg


cb
 
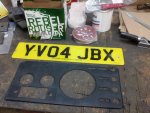
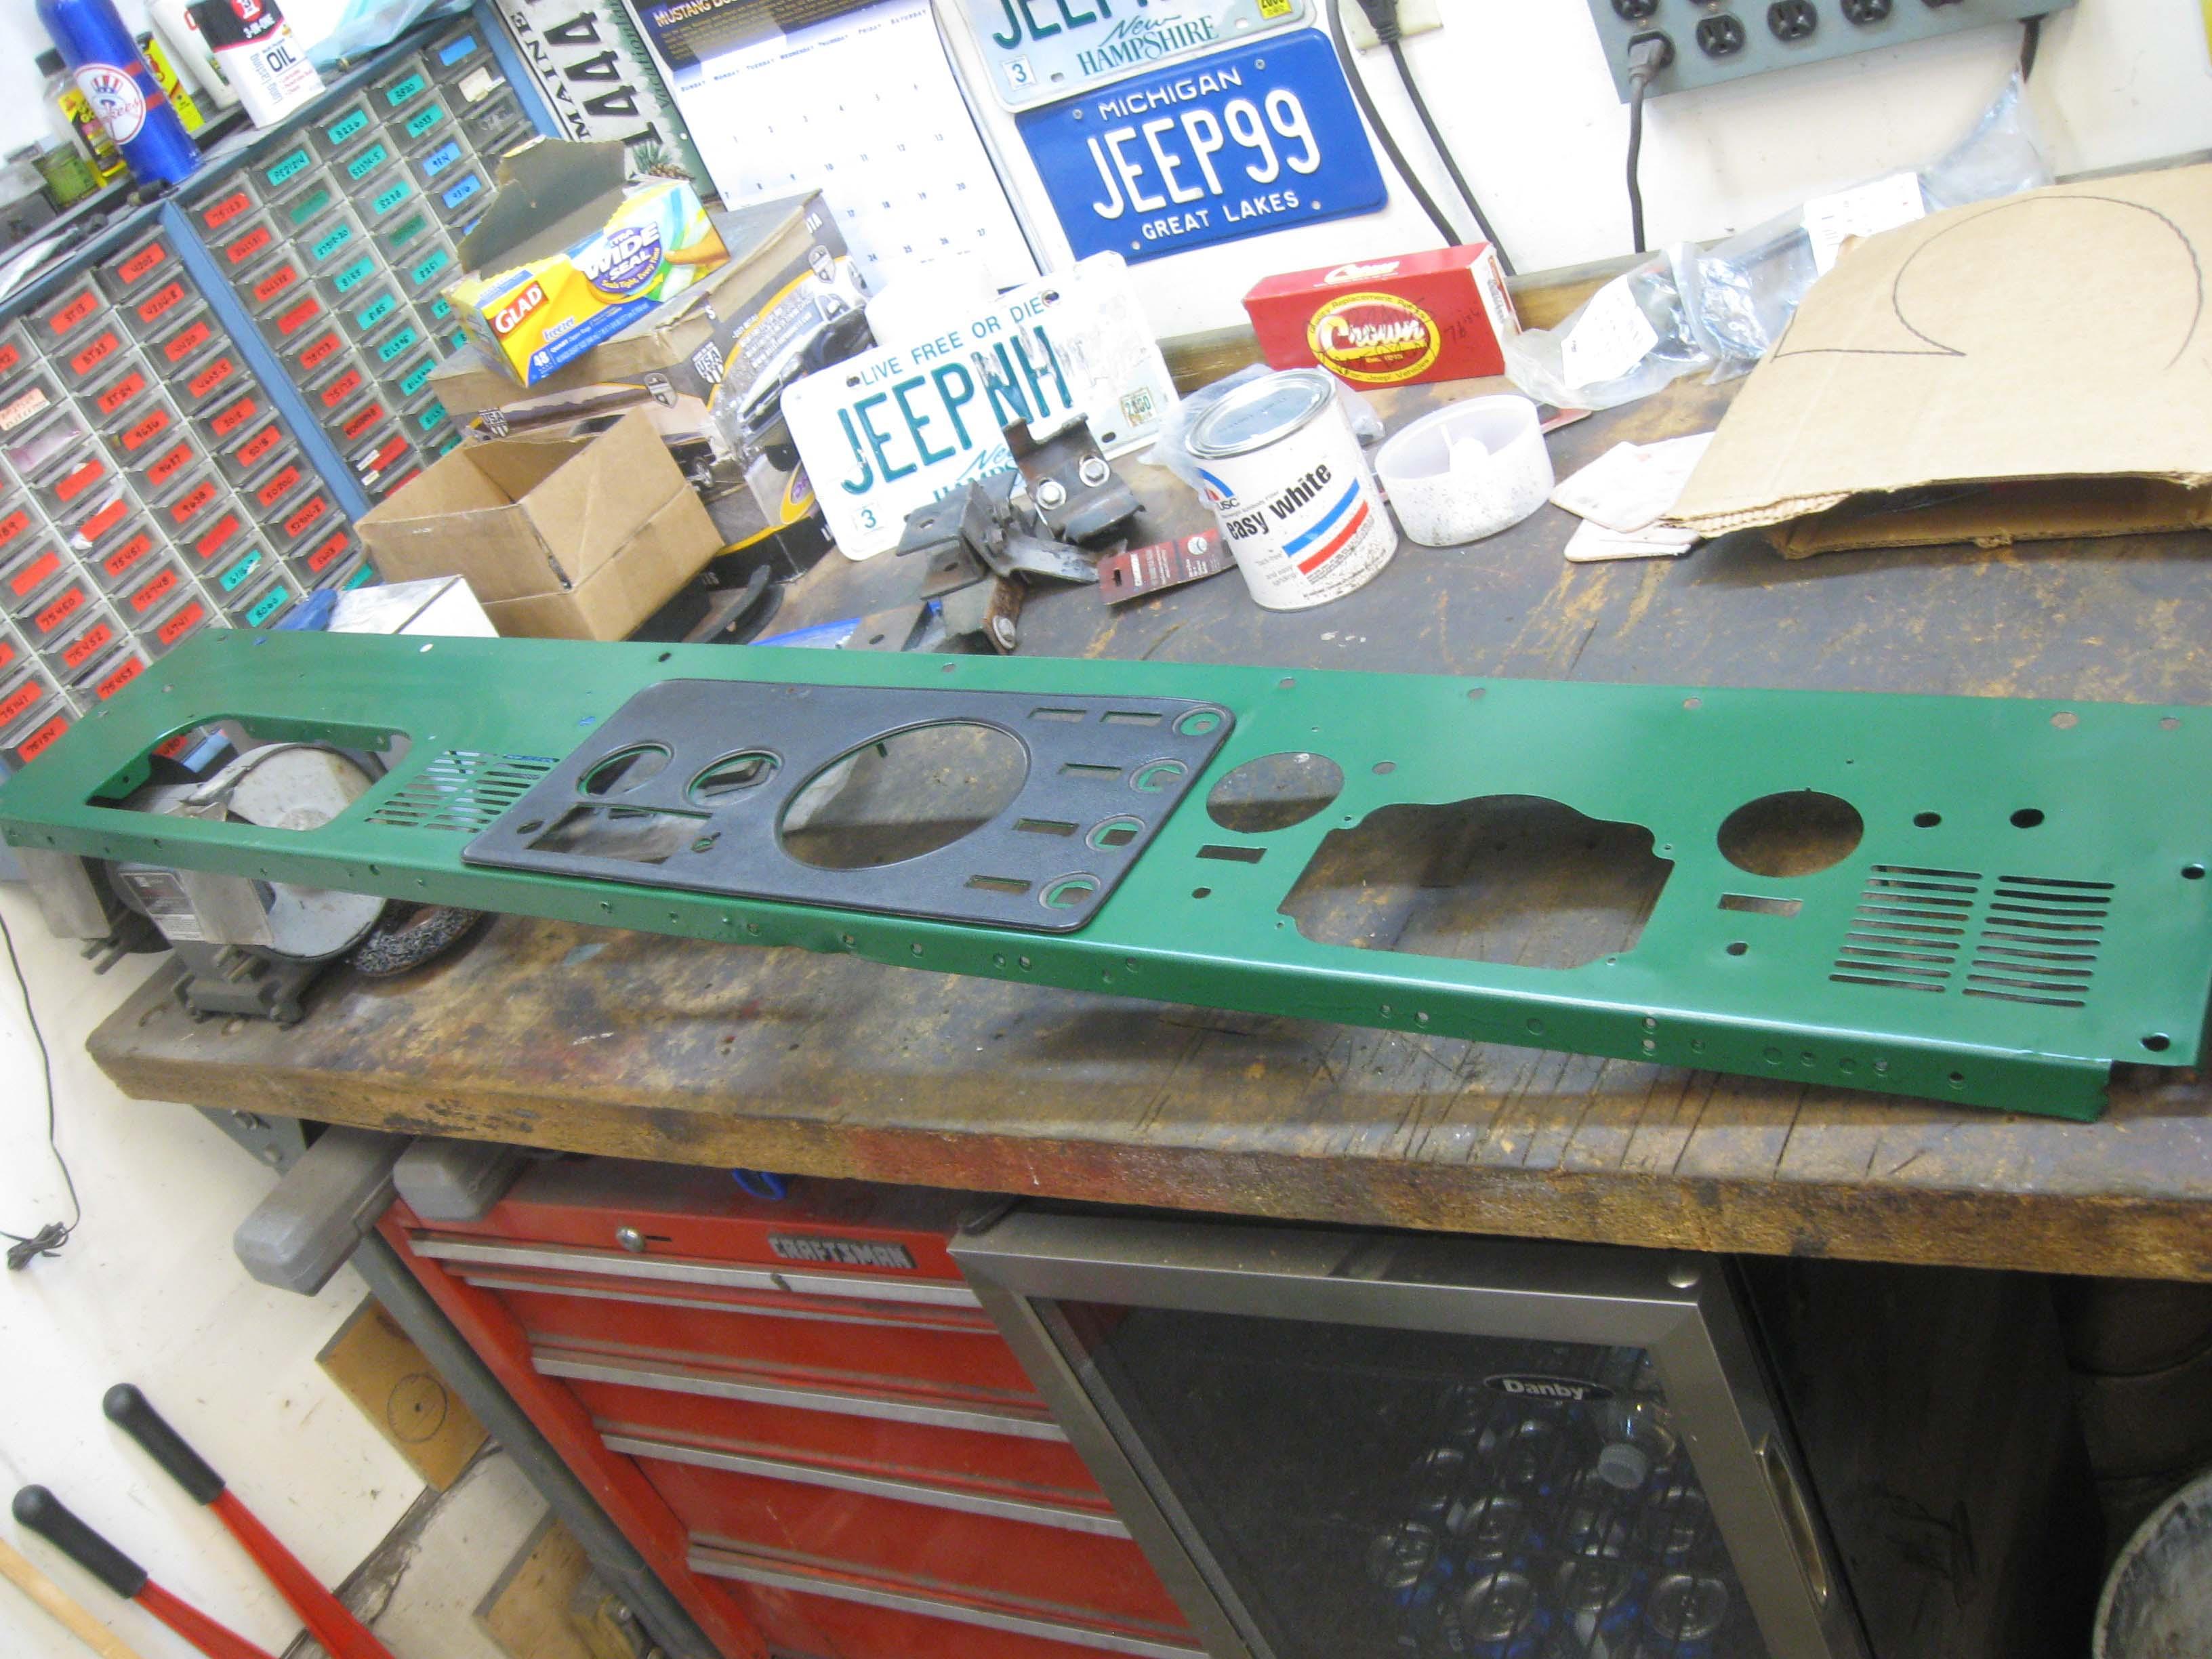
Late day surprise from across the pond... an anatomically correct overlay for my dash panel!!!! Very difficult piece to find anywhere in the world, especially in the states.
Can't thank Dave the Sparky enough, he is a good guy for not only finding one, but sending it over.

Thanks again!!!

0520151532.jpg

cb

PS> The license plate was way above and beyond, very happy to see that in there and it is going on the wall when I get back out there... Memorial Day weekend has some upcoming interruptions to my time and Jeep availability.
 
Heading out in a few to do a bit more.. mostly cleaning up outside and some on the newly acquired parts this week.
Bodywork is the name of the game and it has to get done.
It is raining out, so no more wood splitting and cutting until it stops and it is supposed to rain the next few days.

Here is the lastest


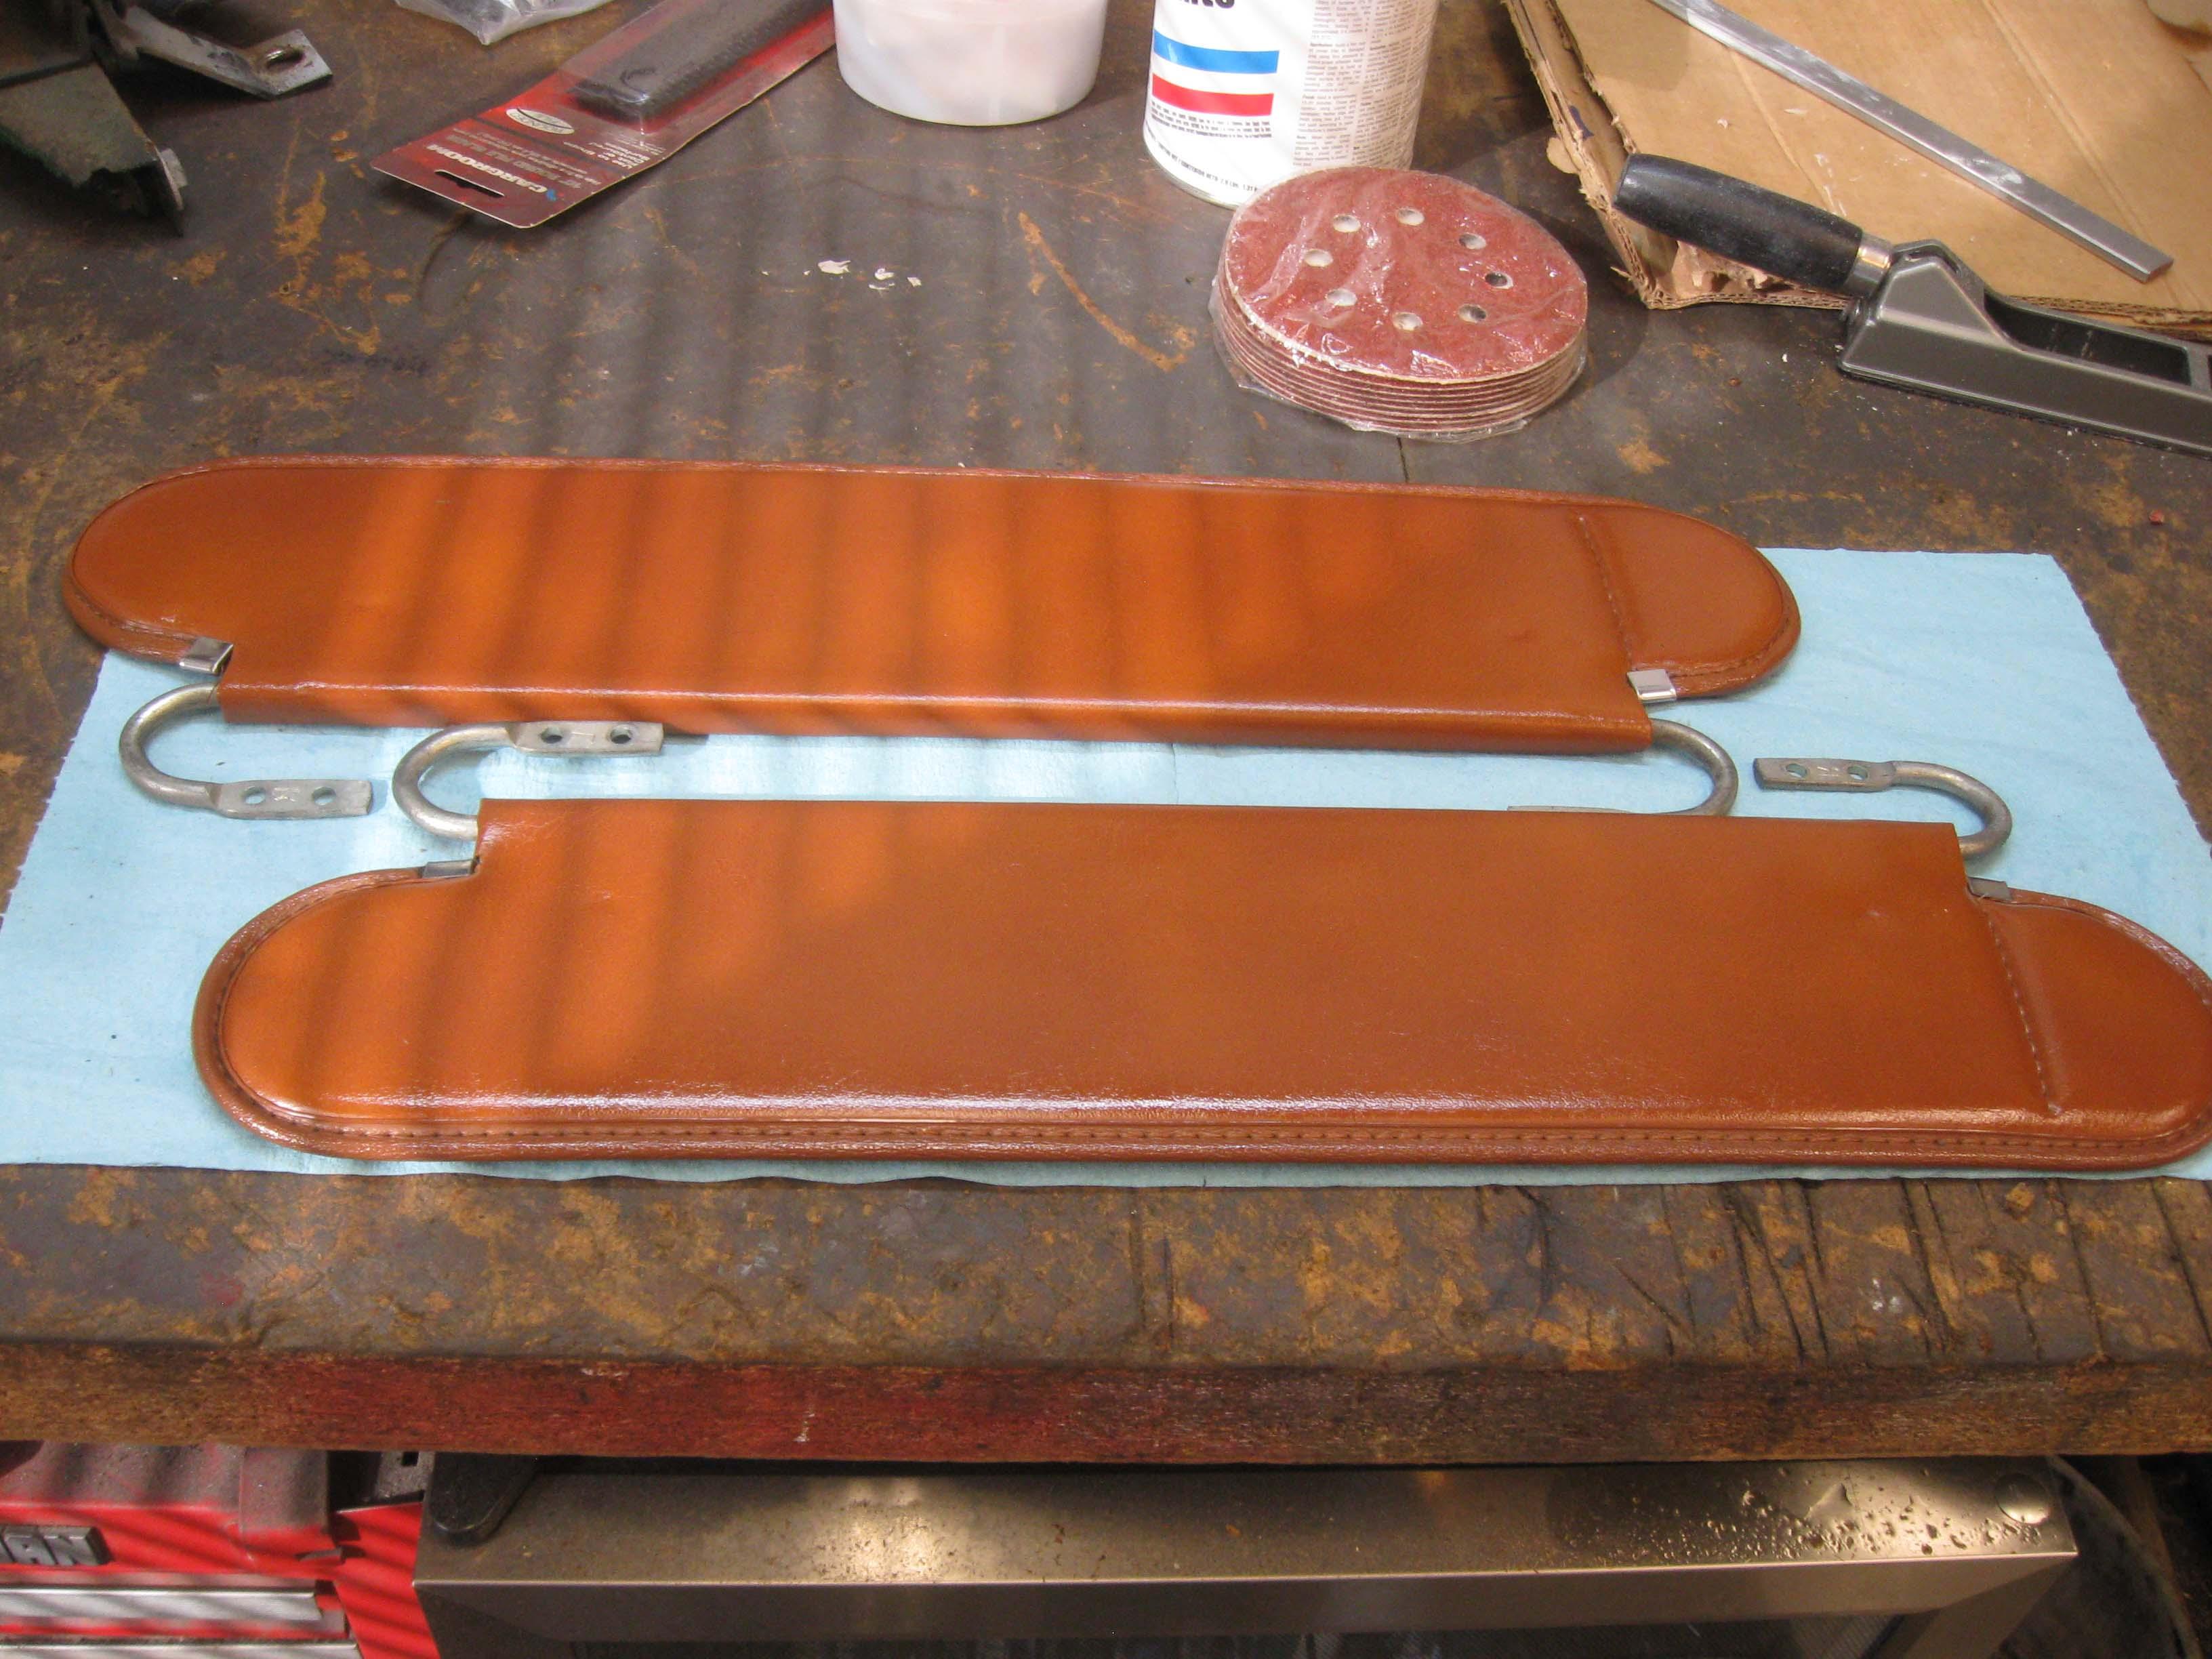
Very cleaned up nutmeg visors
IMG_8071-1.jpg


Replacing the latch in the swingout
IMG_8074-1.jpg


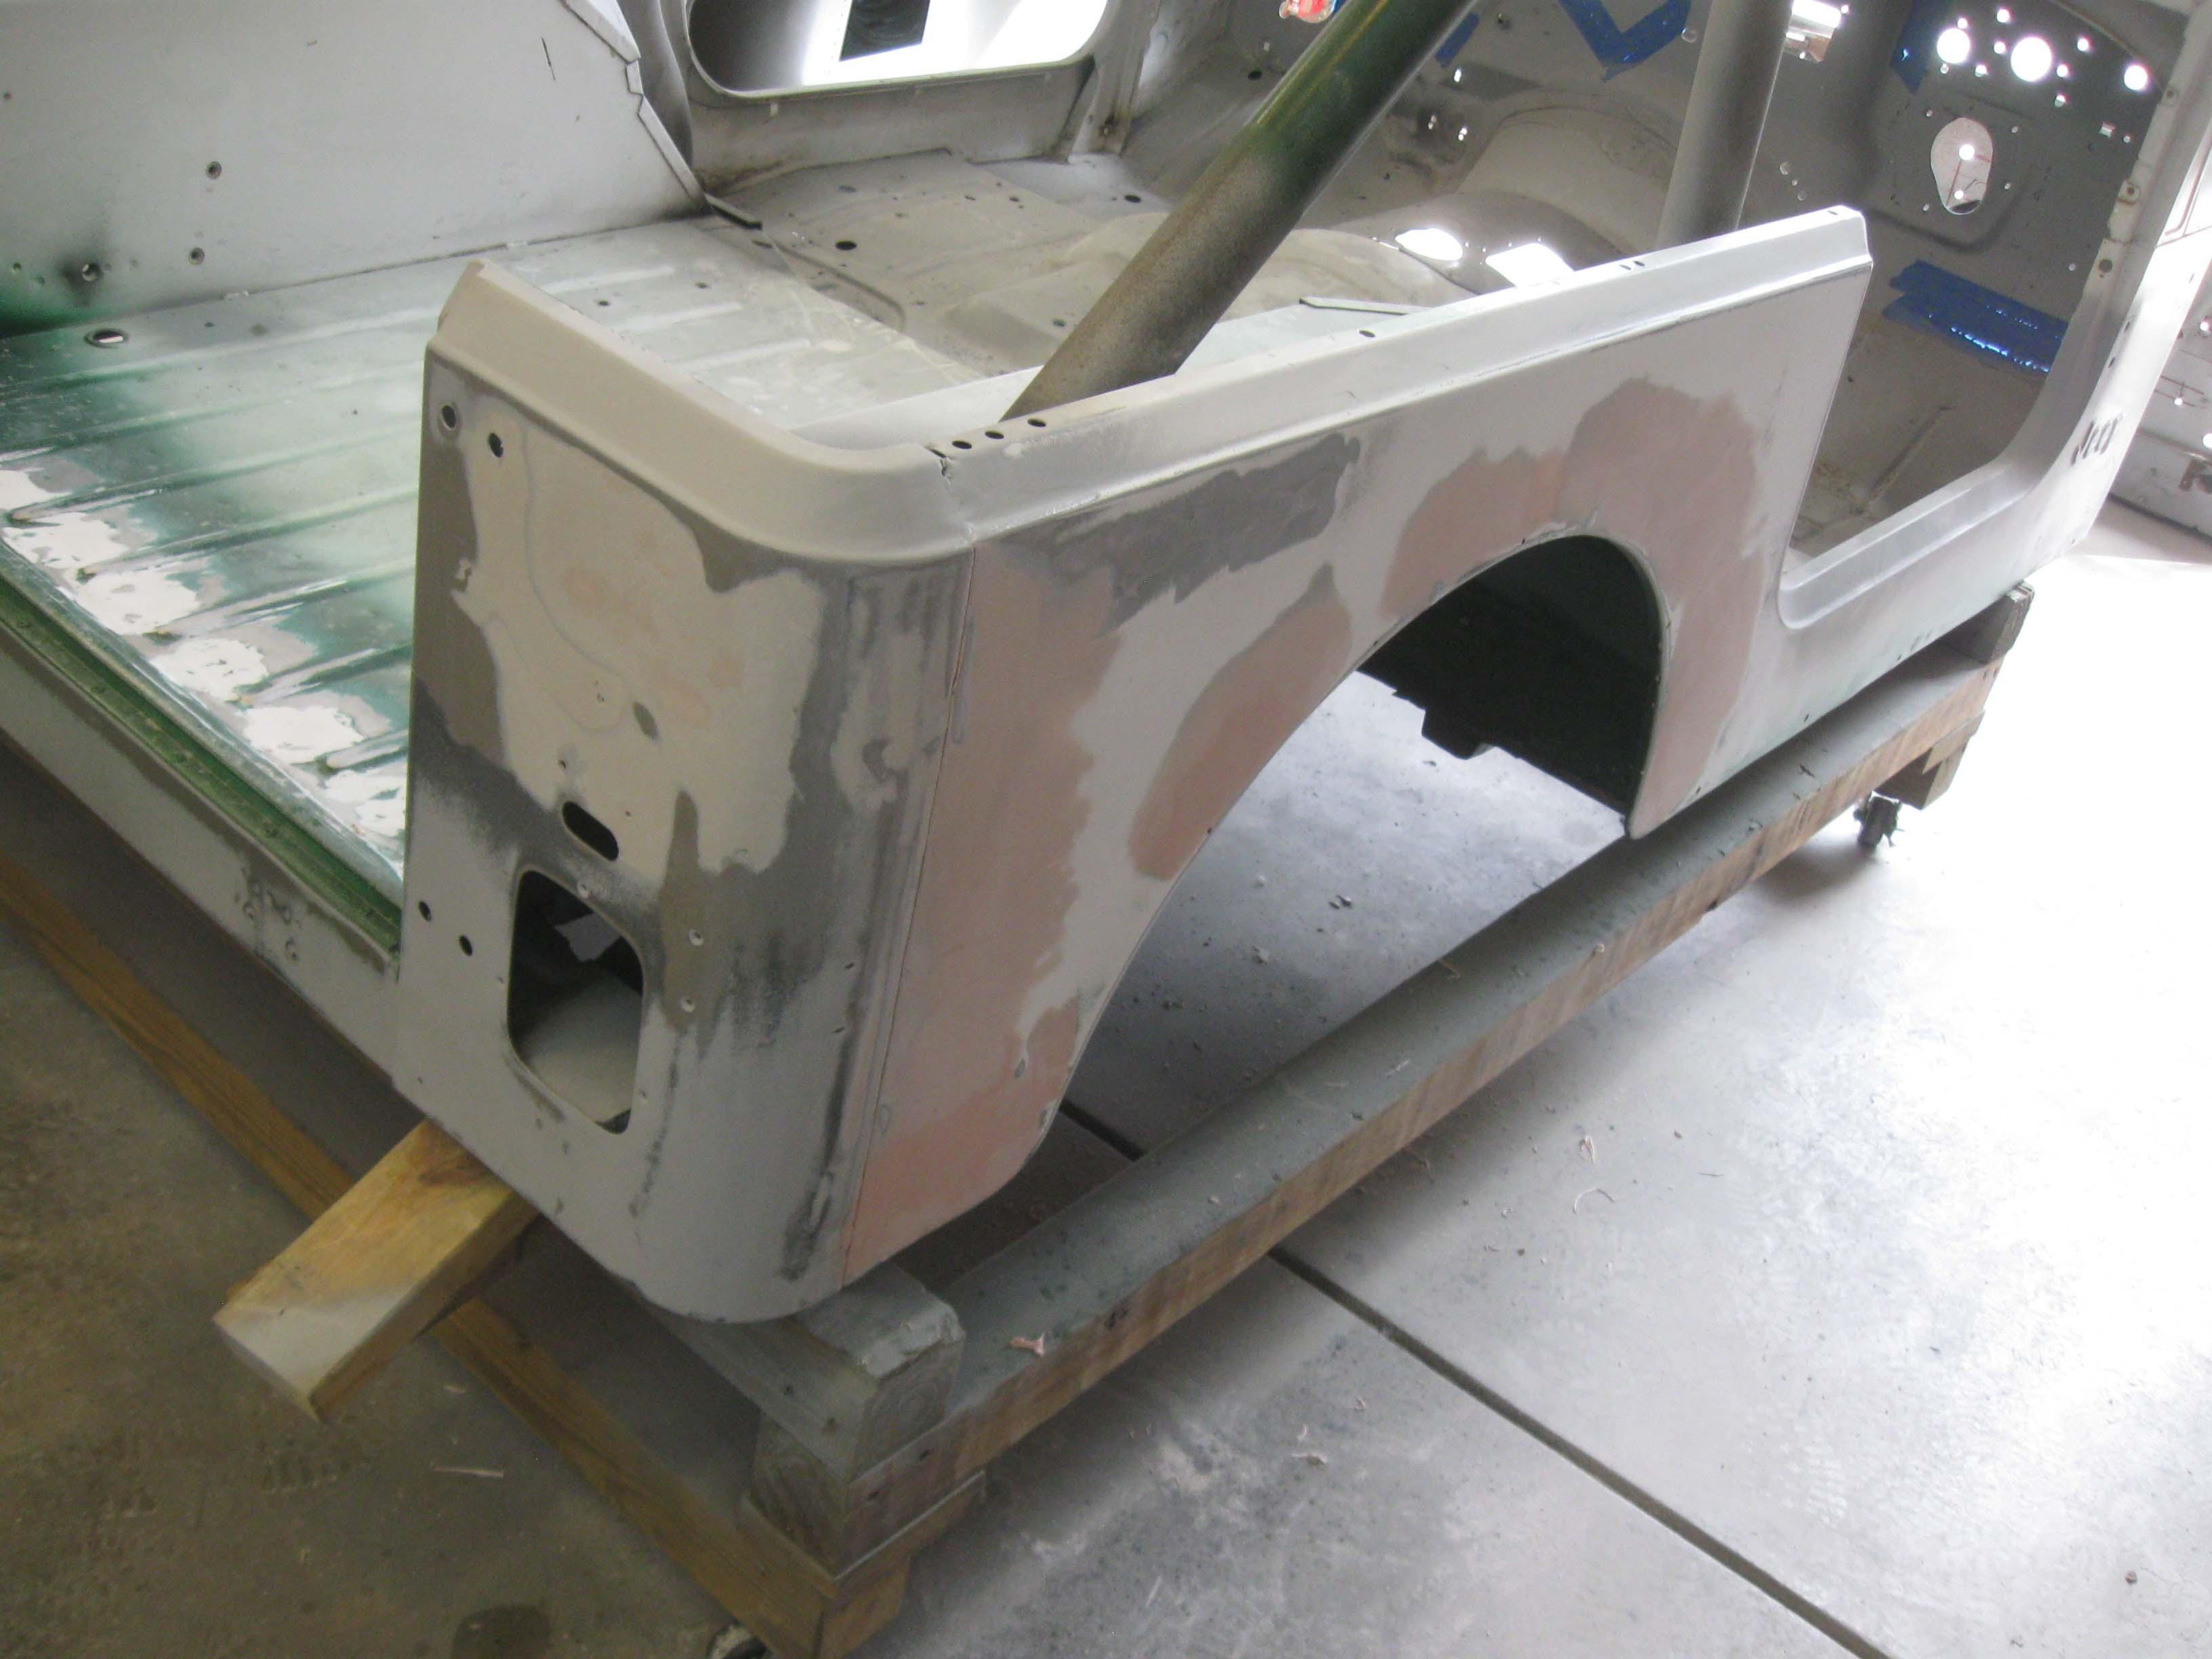
Some more bodywork
IMG_8078-1.jpg


Need to clean up the new T5 cover
IMG_8080-1.jpg


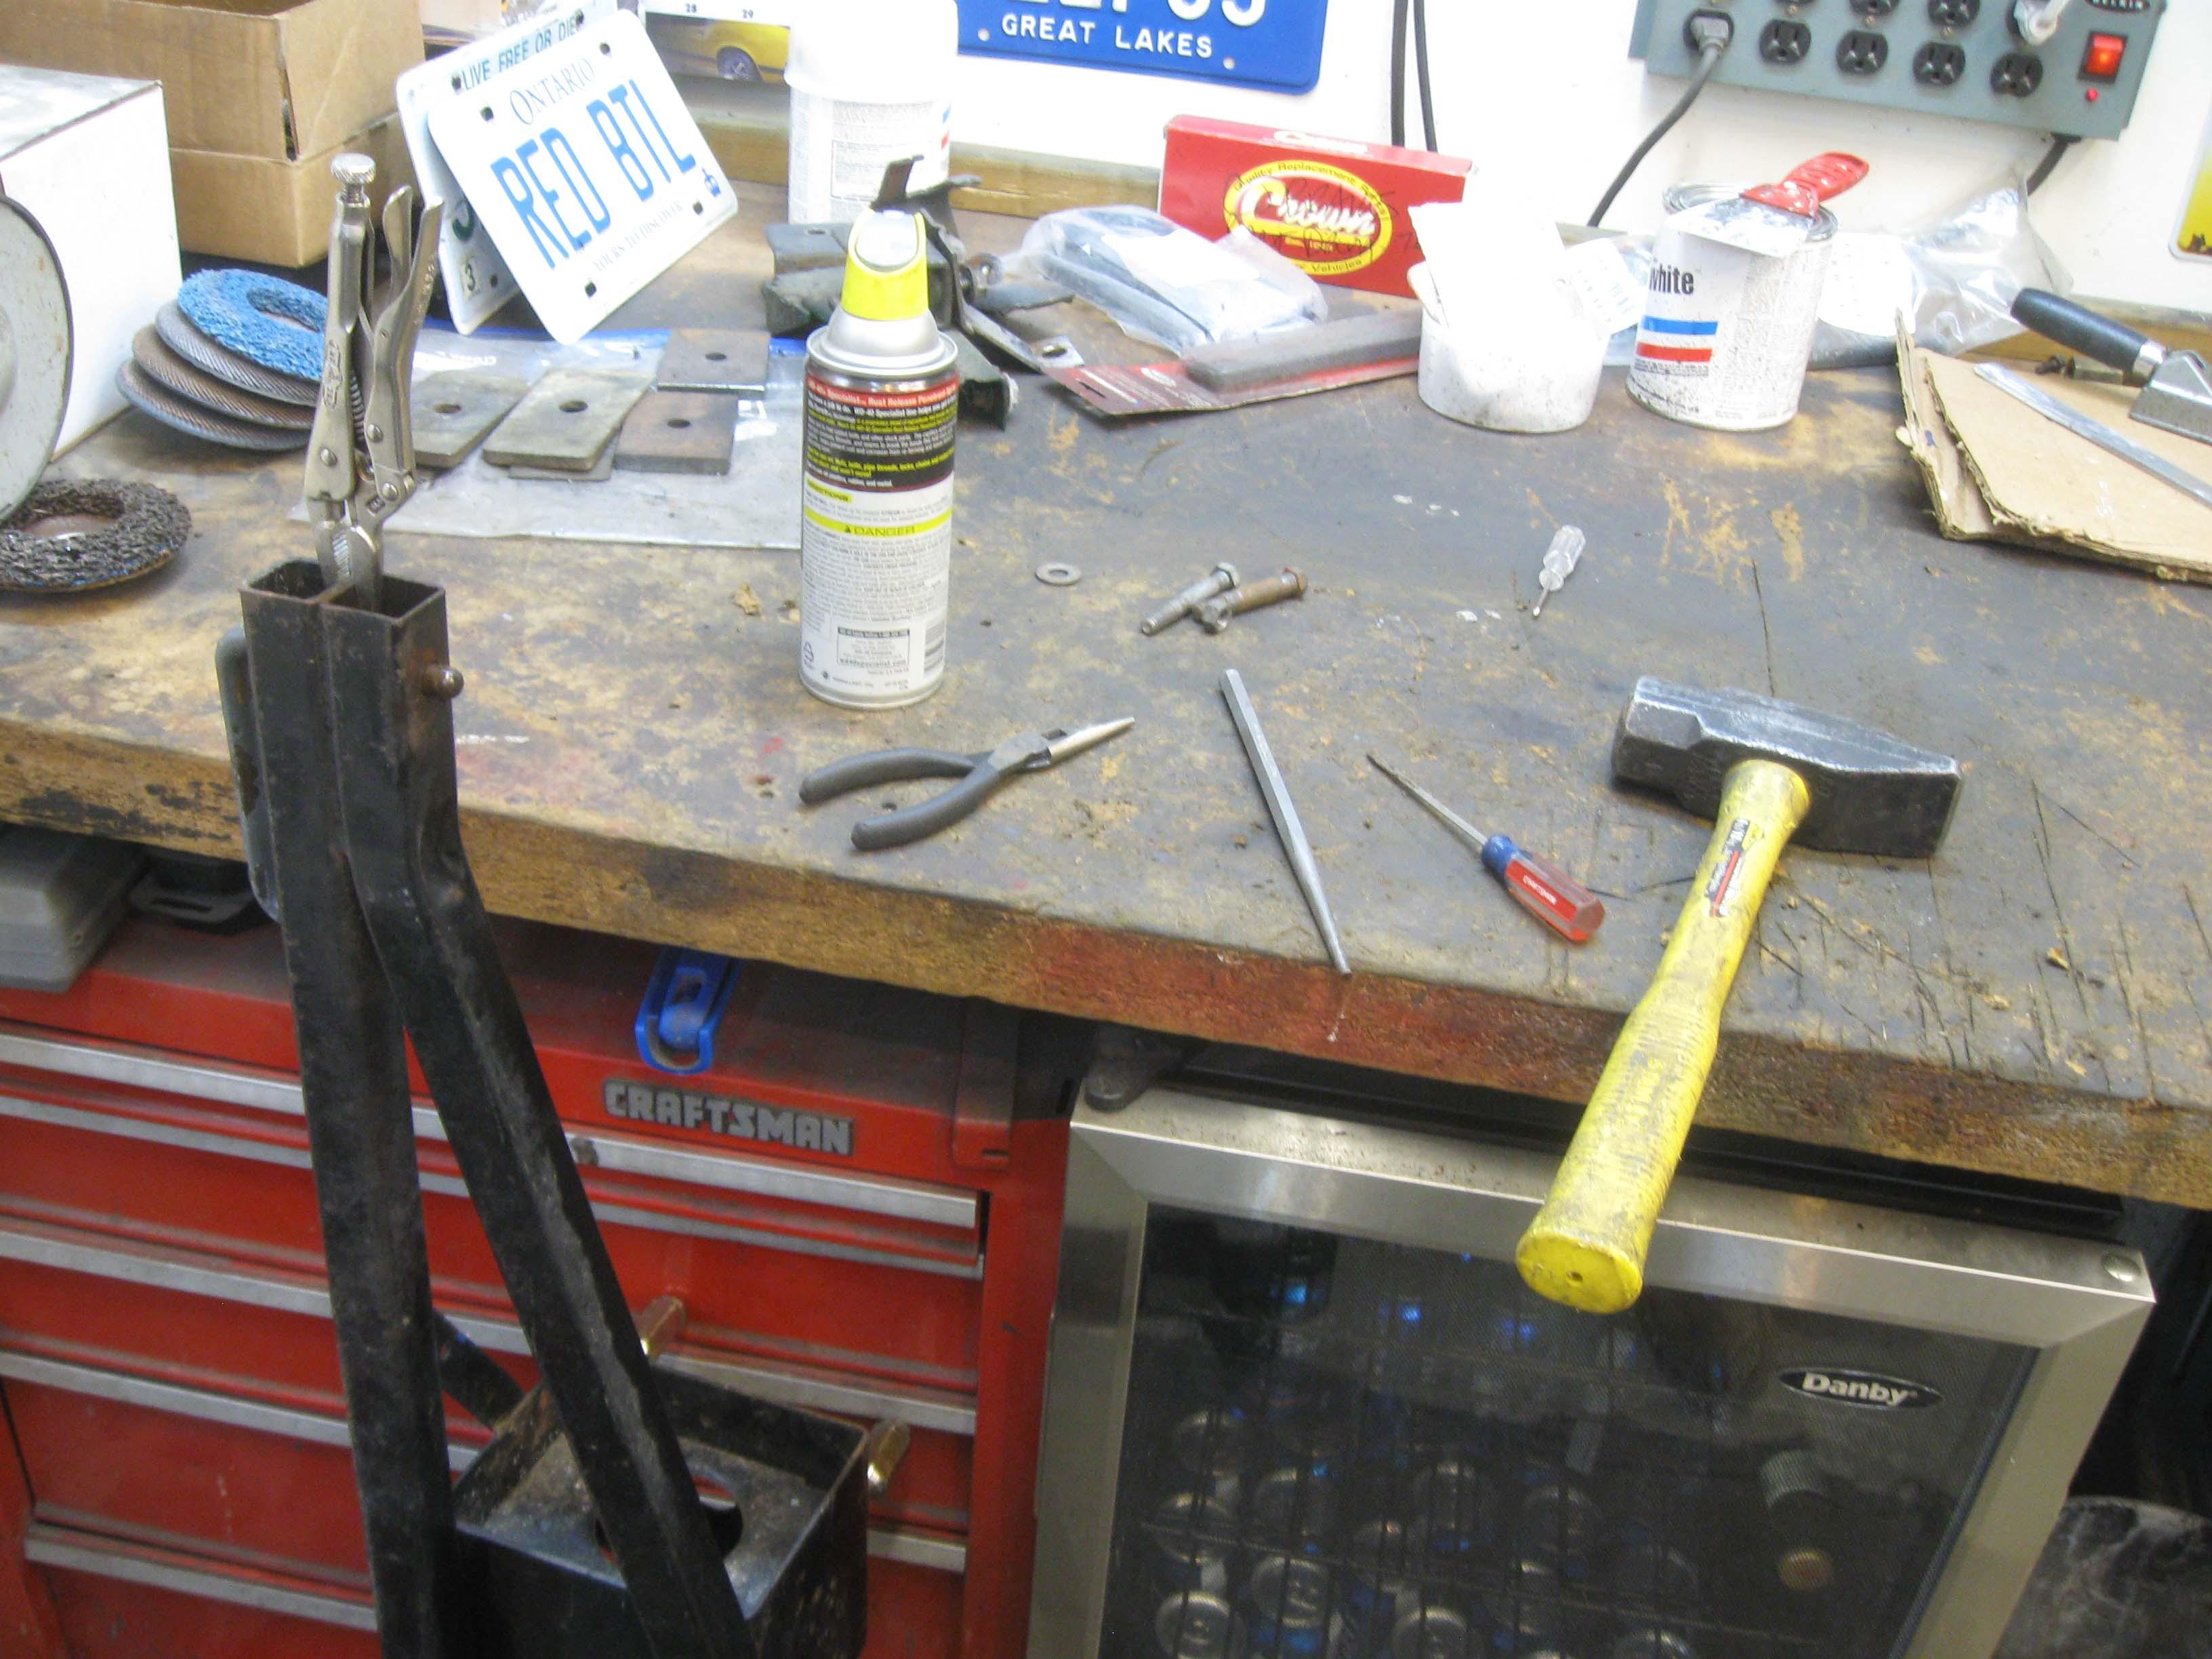
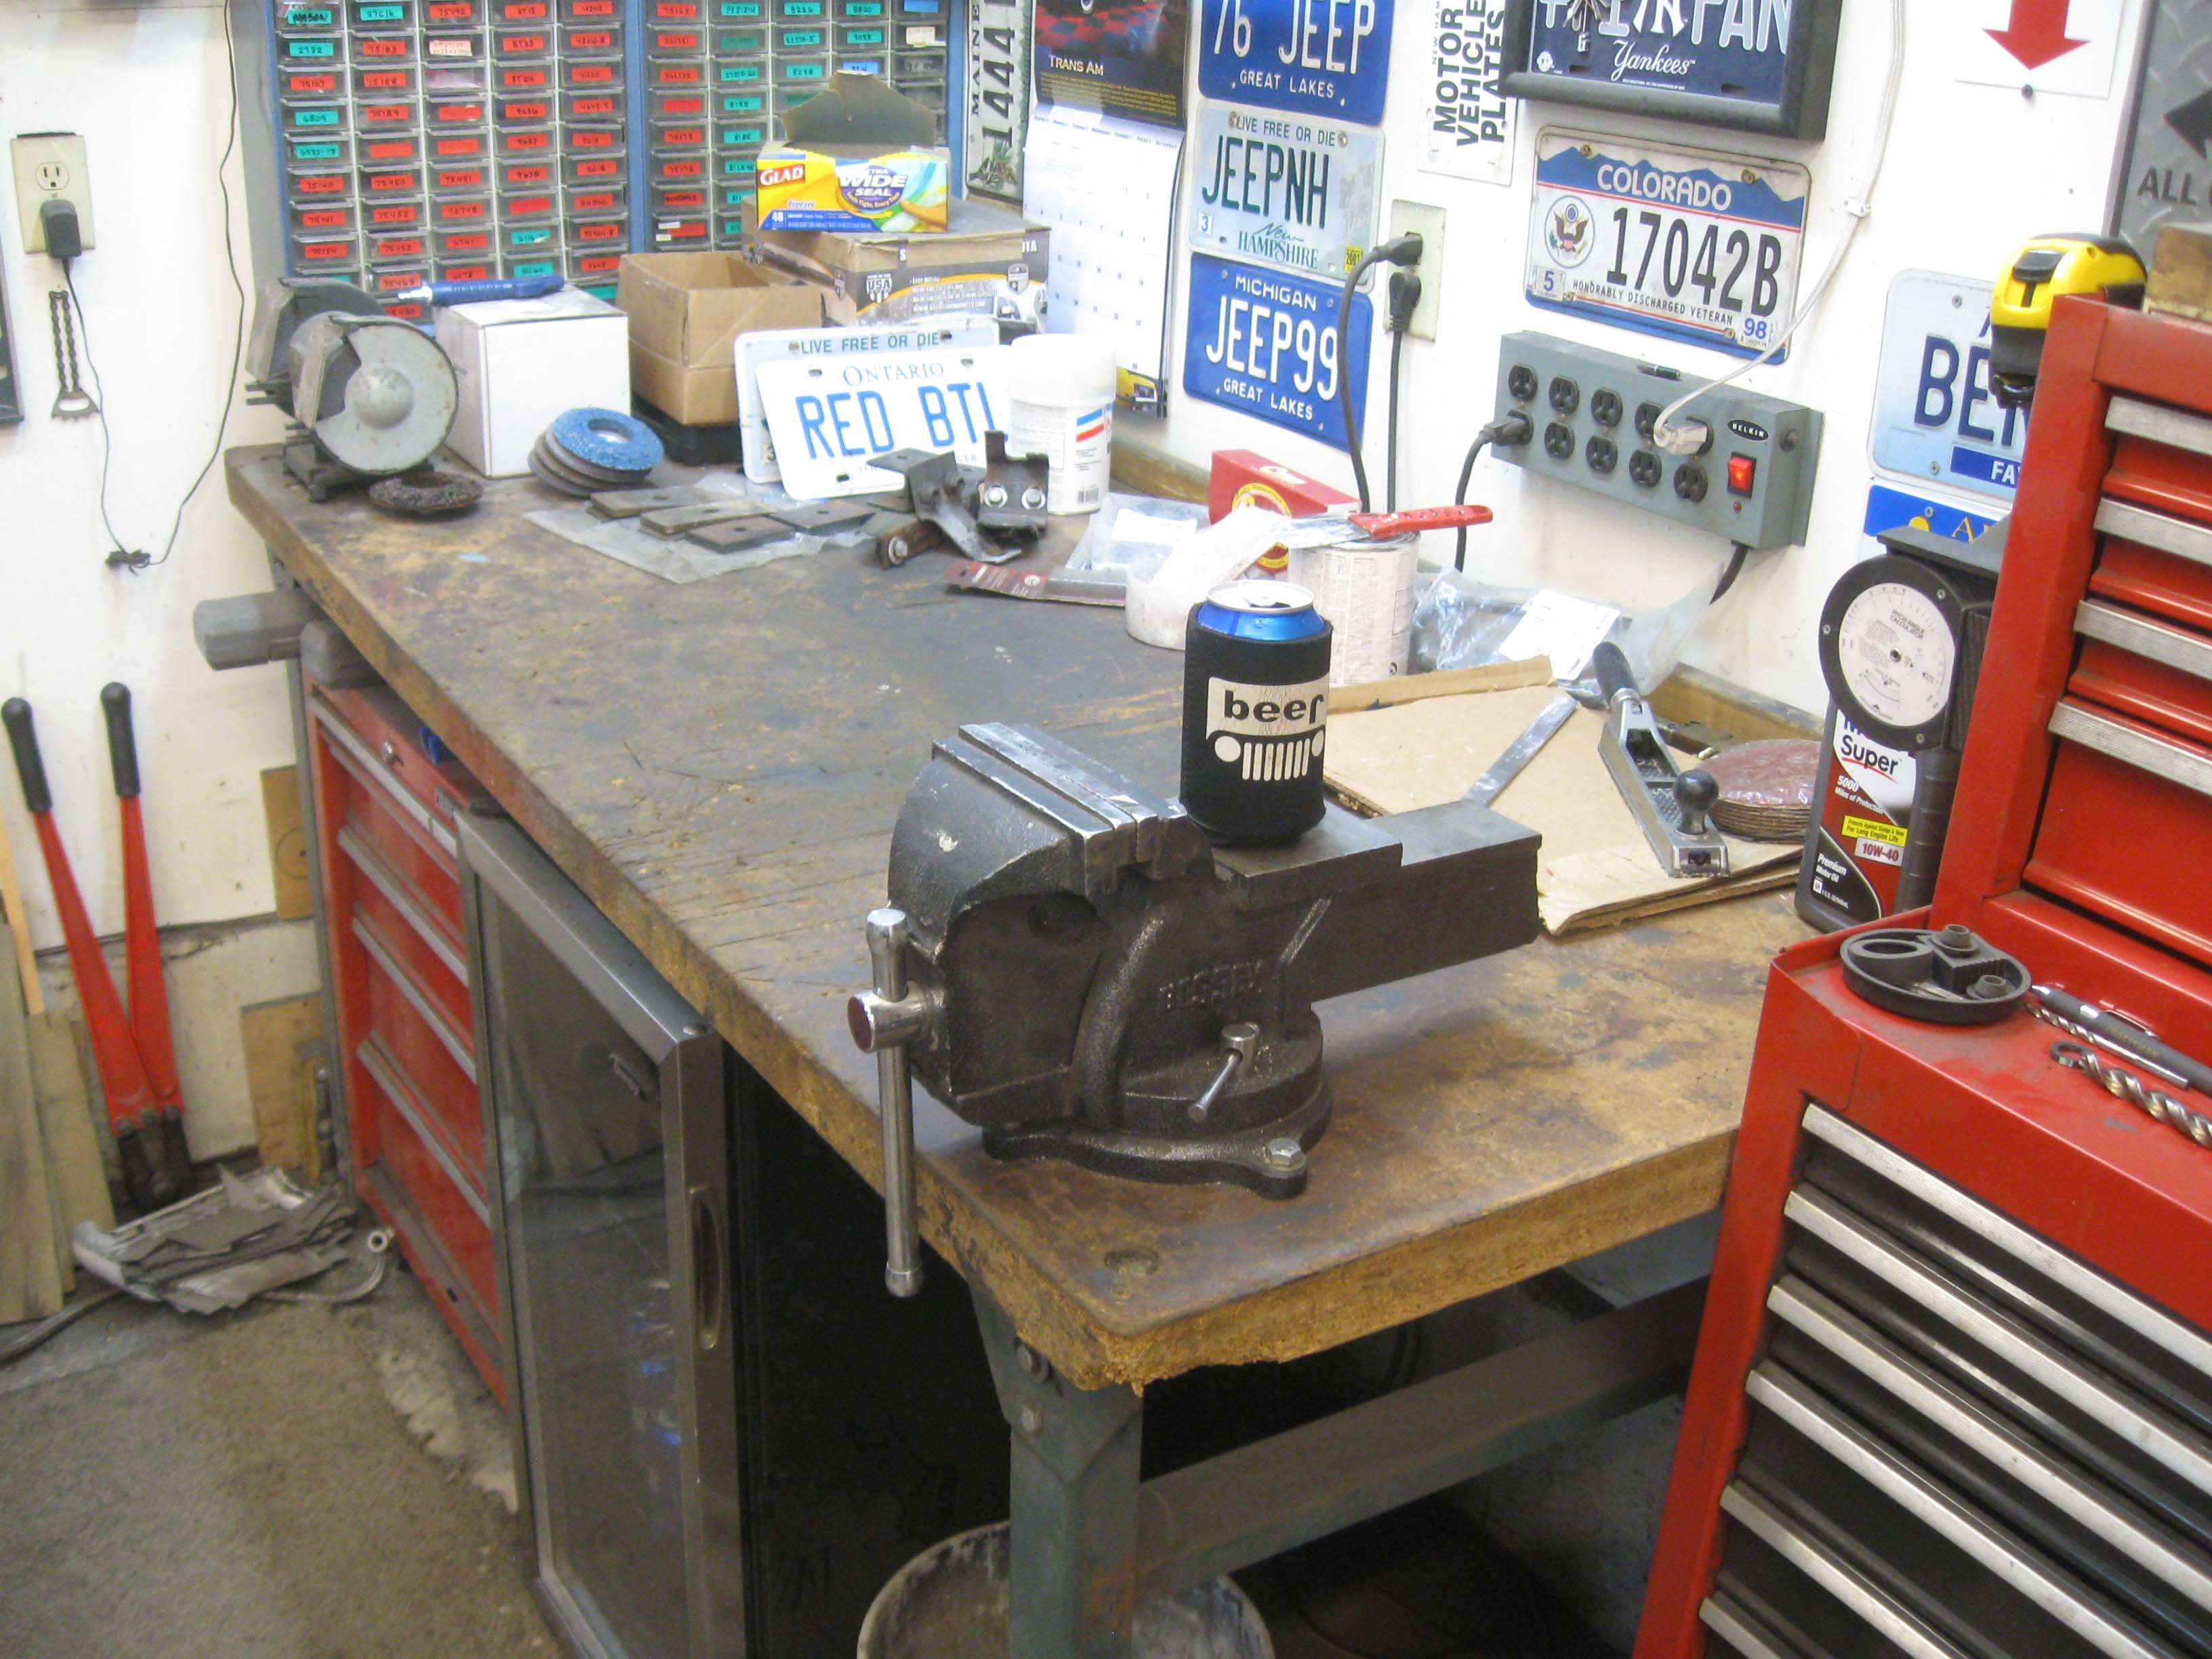
Workbench is mostly cleaned up with all the weeks projects, including new training wheels on a big girl bike, some scooter assembly and parts cleaning.
IMG_8077-1.jpg


Hopefully more later this week and a lot of dust and paint to show for it.

cb
 
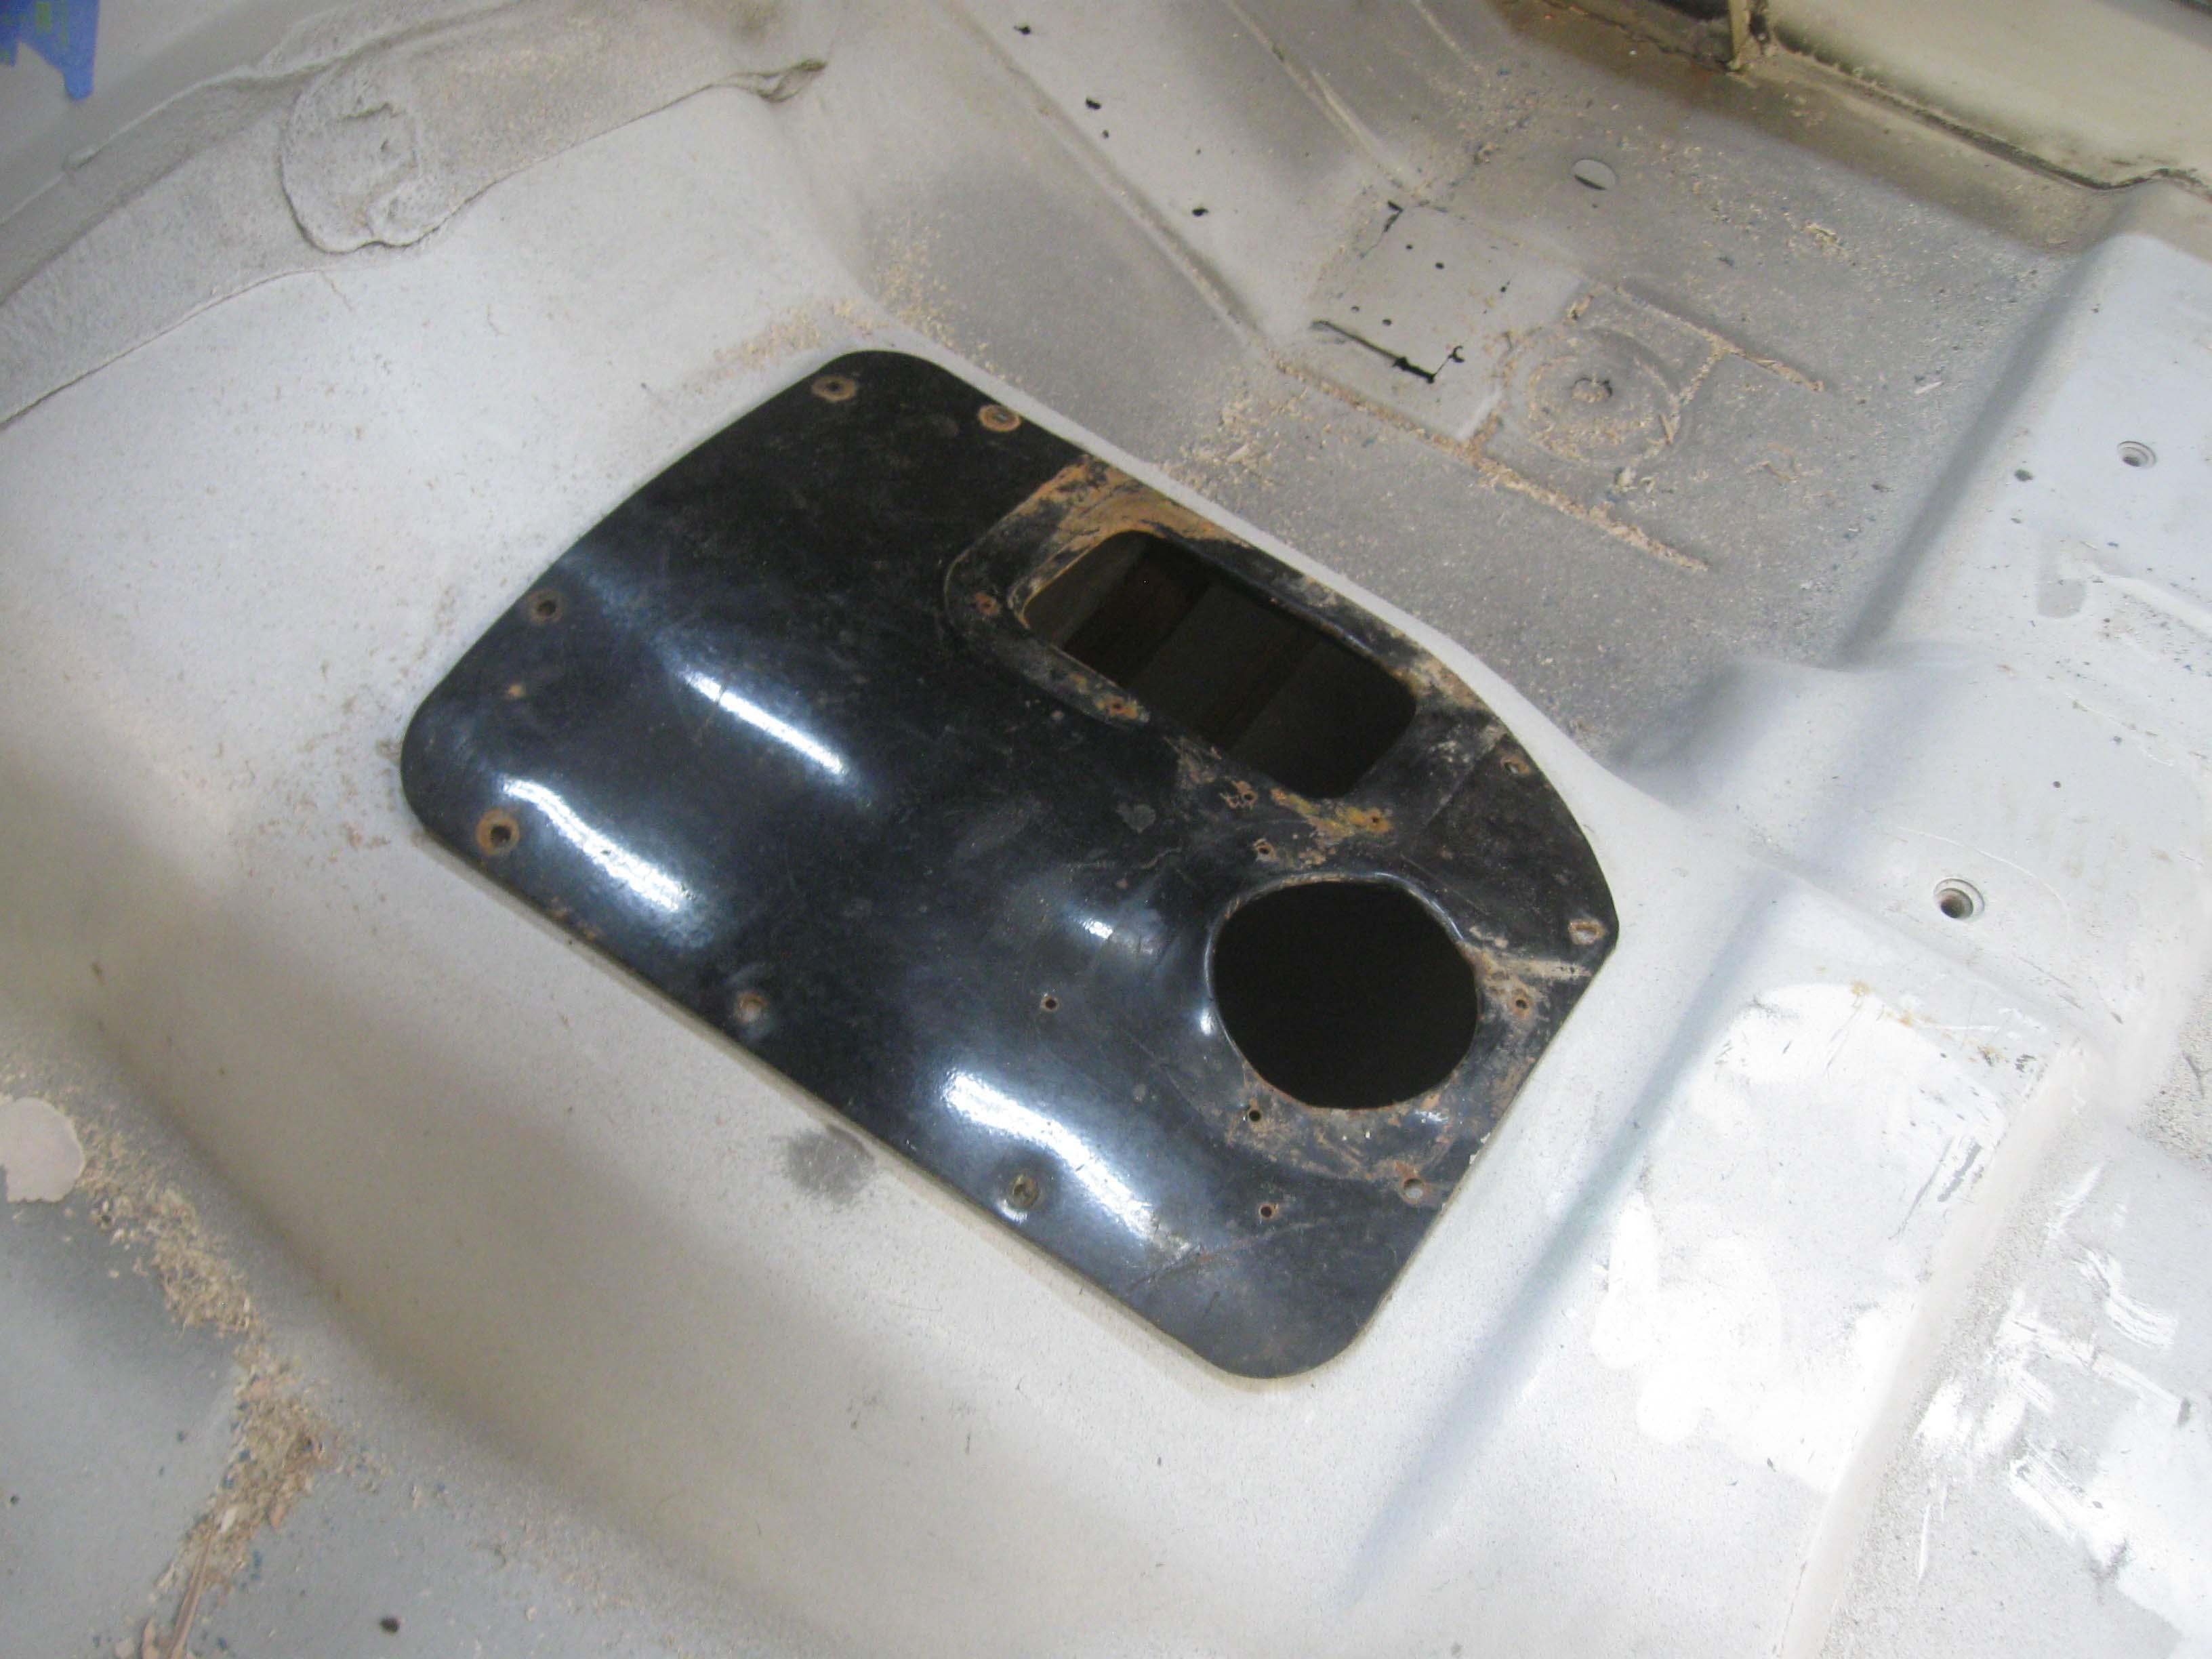
Playing around last night to make sure the cover fit and which holes need to be welded and filled.

IMG_8098-1.jpg

IMG_8102-1.jpg


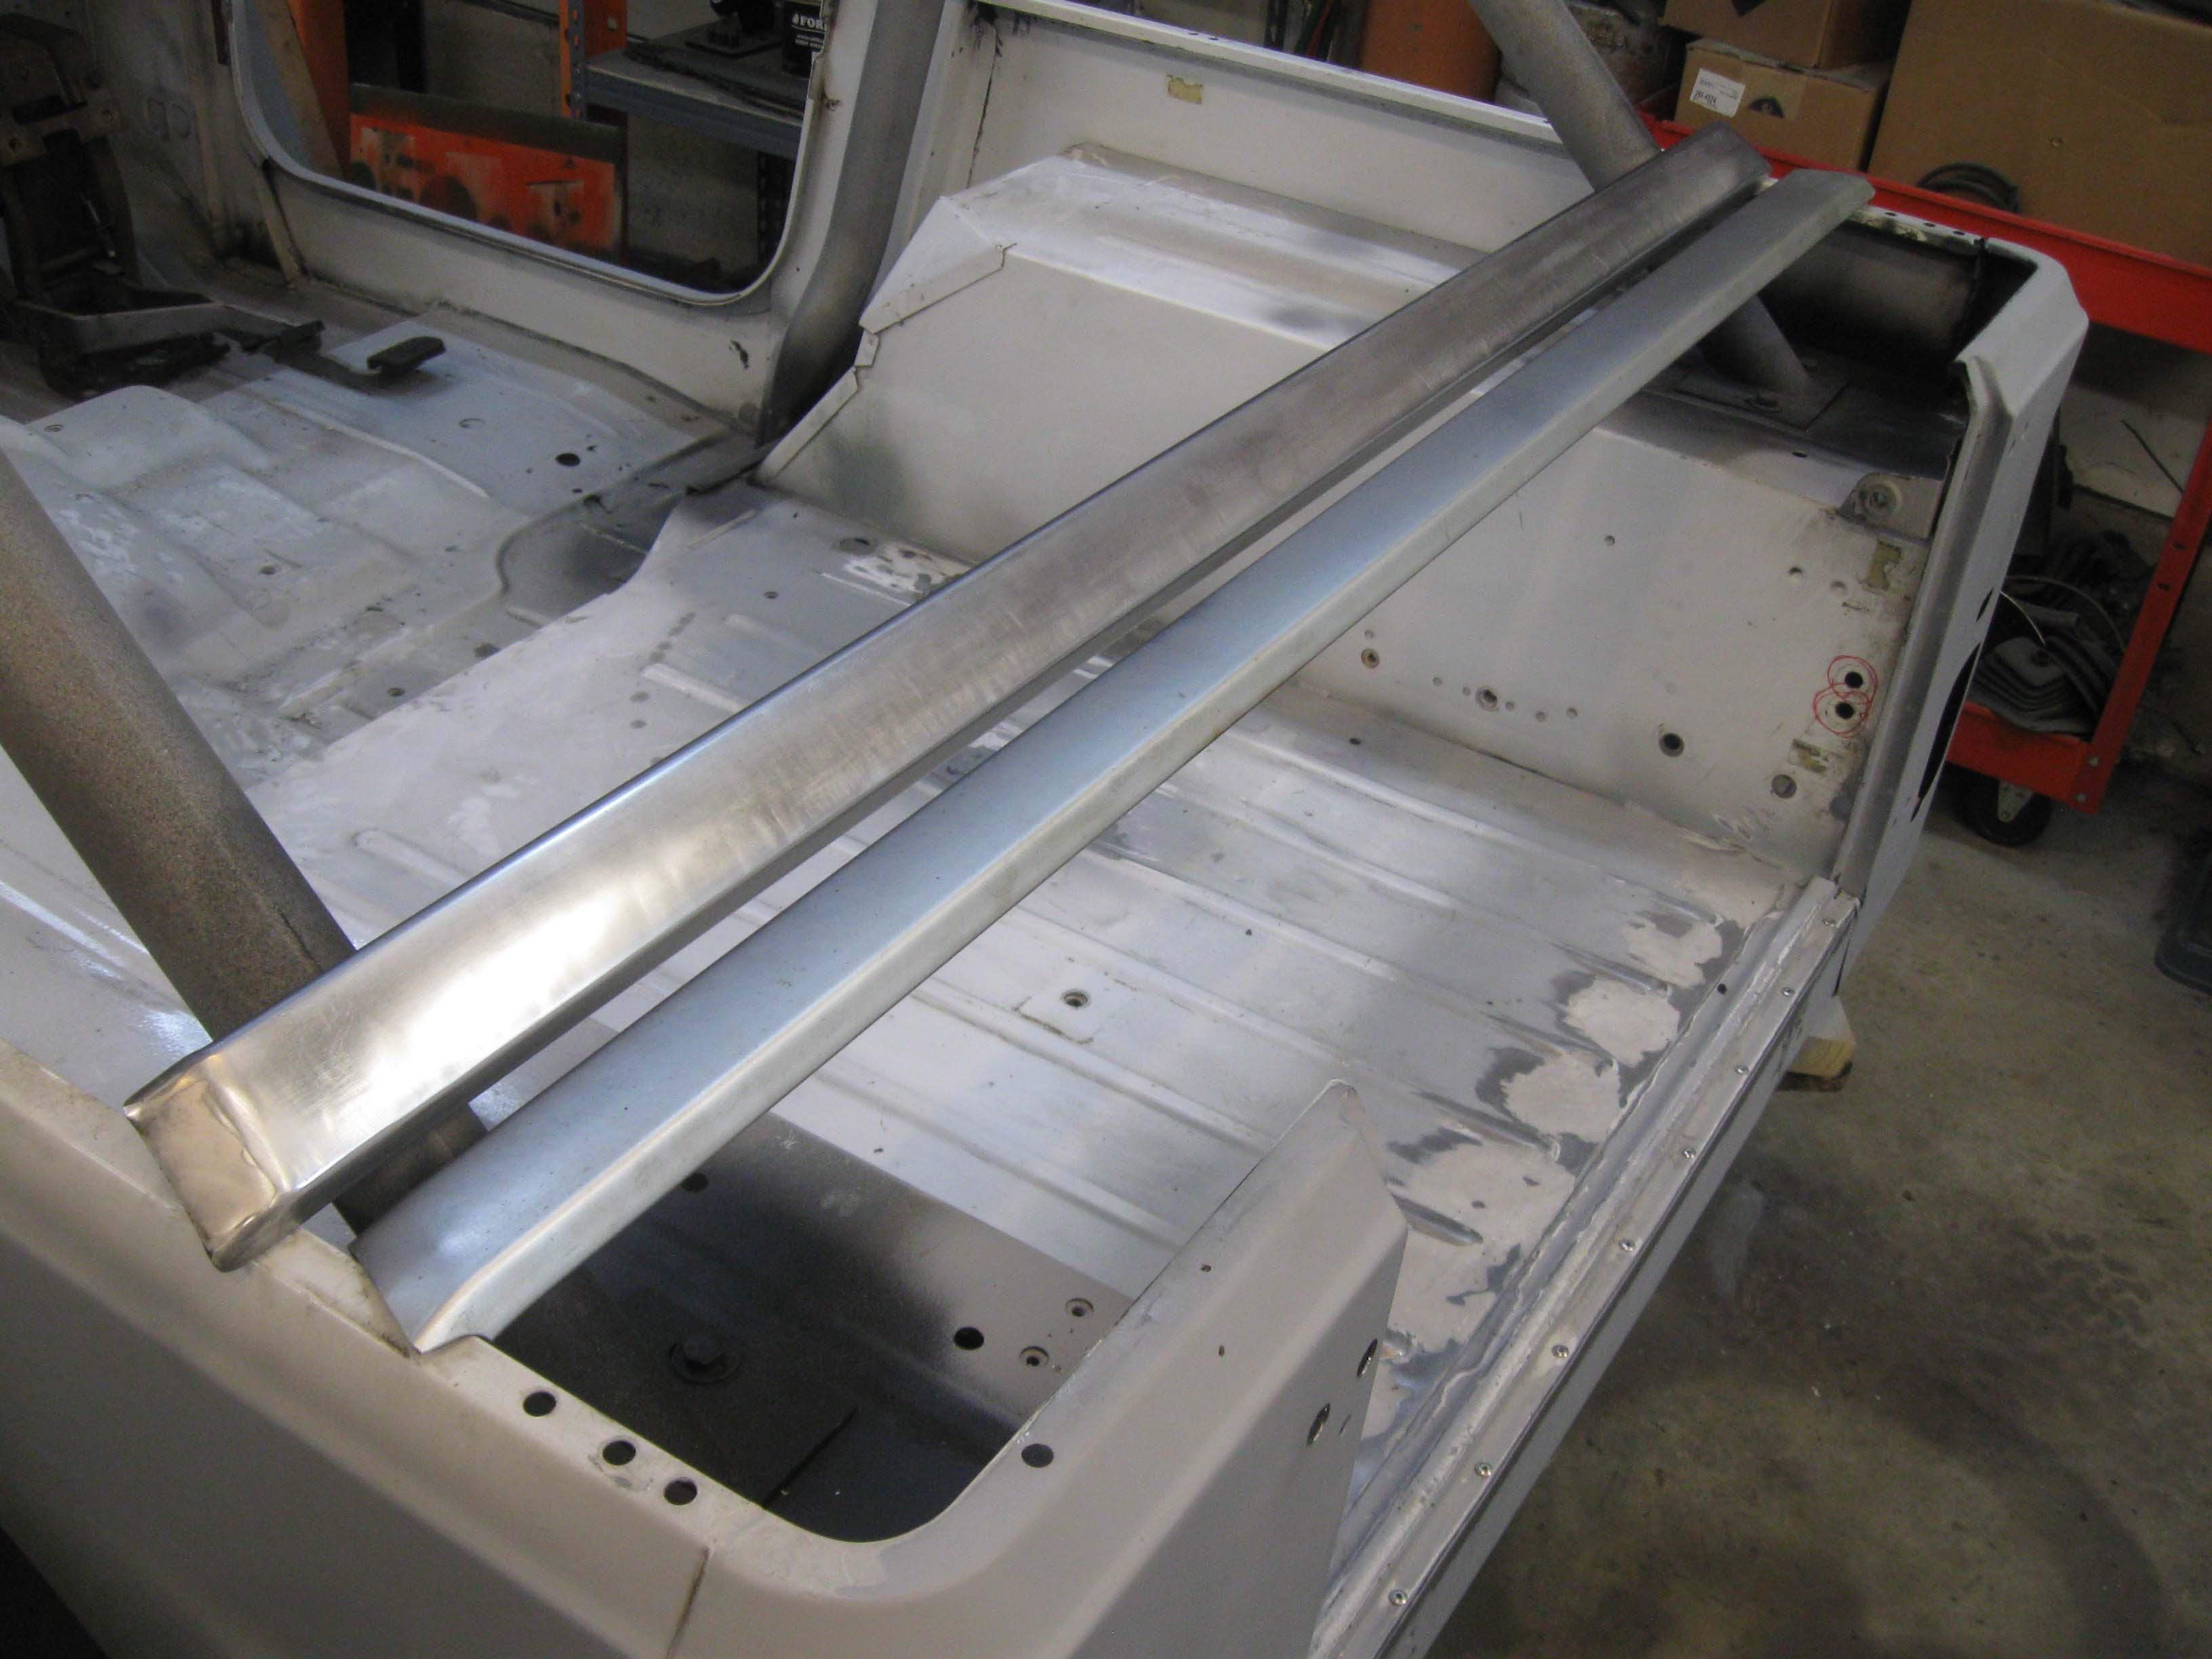
After that, started to strip and polish out the side trim.
IMG_8105-1.jpg


I realize I am procrastinating on the body work, just haven't got in the groove yet with all the parts picking lately.

cb
 
How are you going to clean up the side trim? I'll need to do that as well at some point. I'll also have to replace all of the bolts that slide into the back of the rails. Where can those be purchased?
 
I started last night... 40 grit, 80 grit, 120 grit, 220 grit, all dry... then switched to 400 grit and started on the 600 grit, both wet and then I ran out of steam.

The bolts on the back can purchased off ebay sometimes, they can be made as well, there are instructions somewhere how to do it... I even think someone made a bunch of them and sold them... there are lots of options.

I will get pics up when they are done... they aren't coming out spectacular, but better than they were... there was a lot of road grime on the underside and a lot of dings and dents. All in all there was some staining and stuff that came off, so just trying to make them look presentable.

cb
 
How are you going to clean up the side trim? I'll need to do that as well at some point. I'll also have to replace all of the bolts that slide into the back of the rails. Where can those be purchased?

Depends if you want original, original-ish, or "works." If you want "works," McMaster-Carr has some suitable flanged elevator bolts (http://www.mcmaster.com/#elevator-bolts/=xlujpe), I forget the size but a google search may help? They work perfectly, and the flange keeps them from spinning while you try to tighten the nut on the reverse side.

Getting enough rain lately? O_O
 
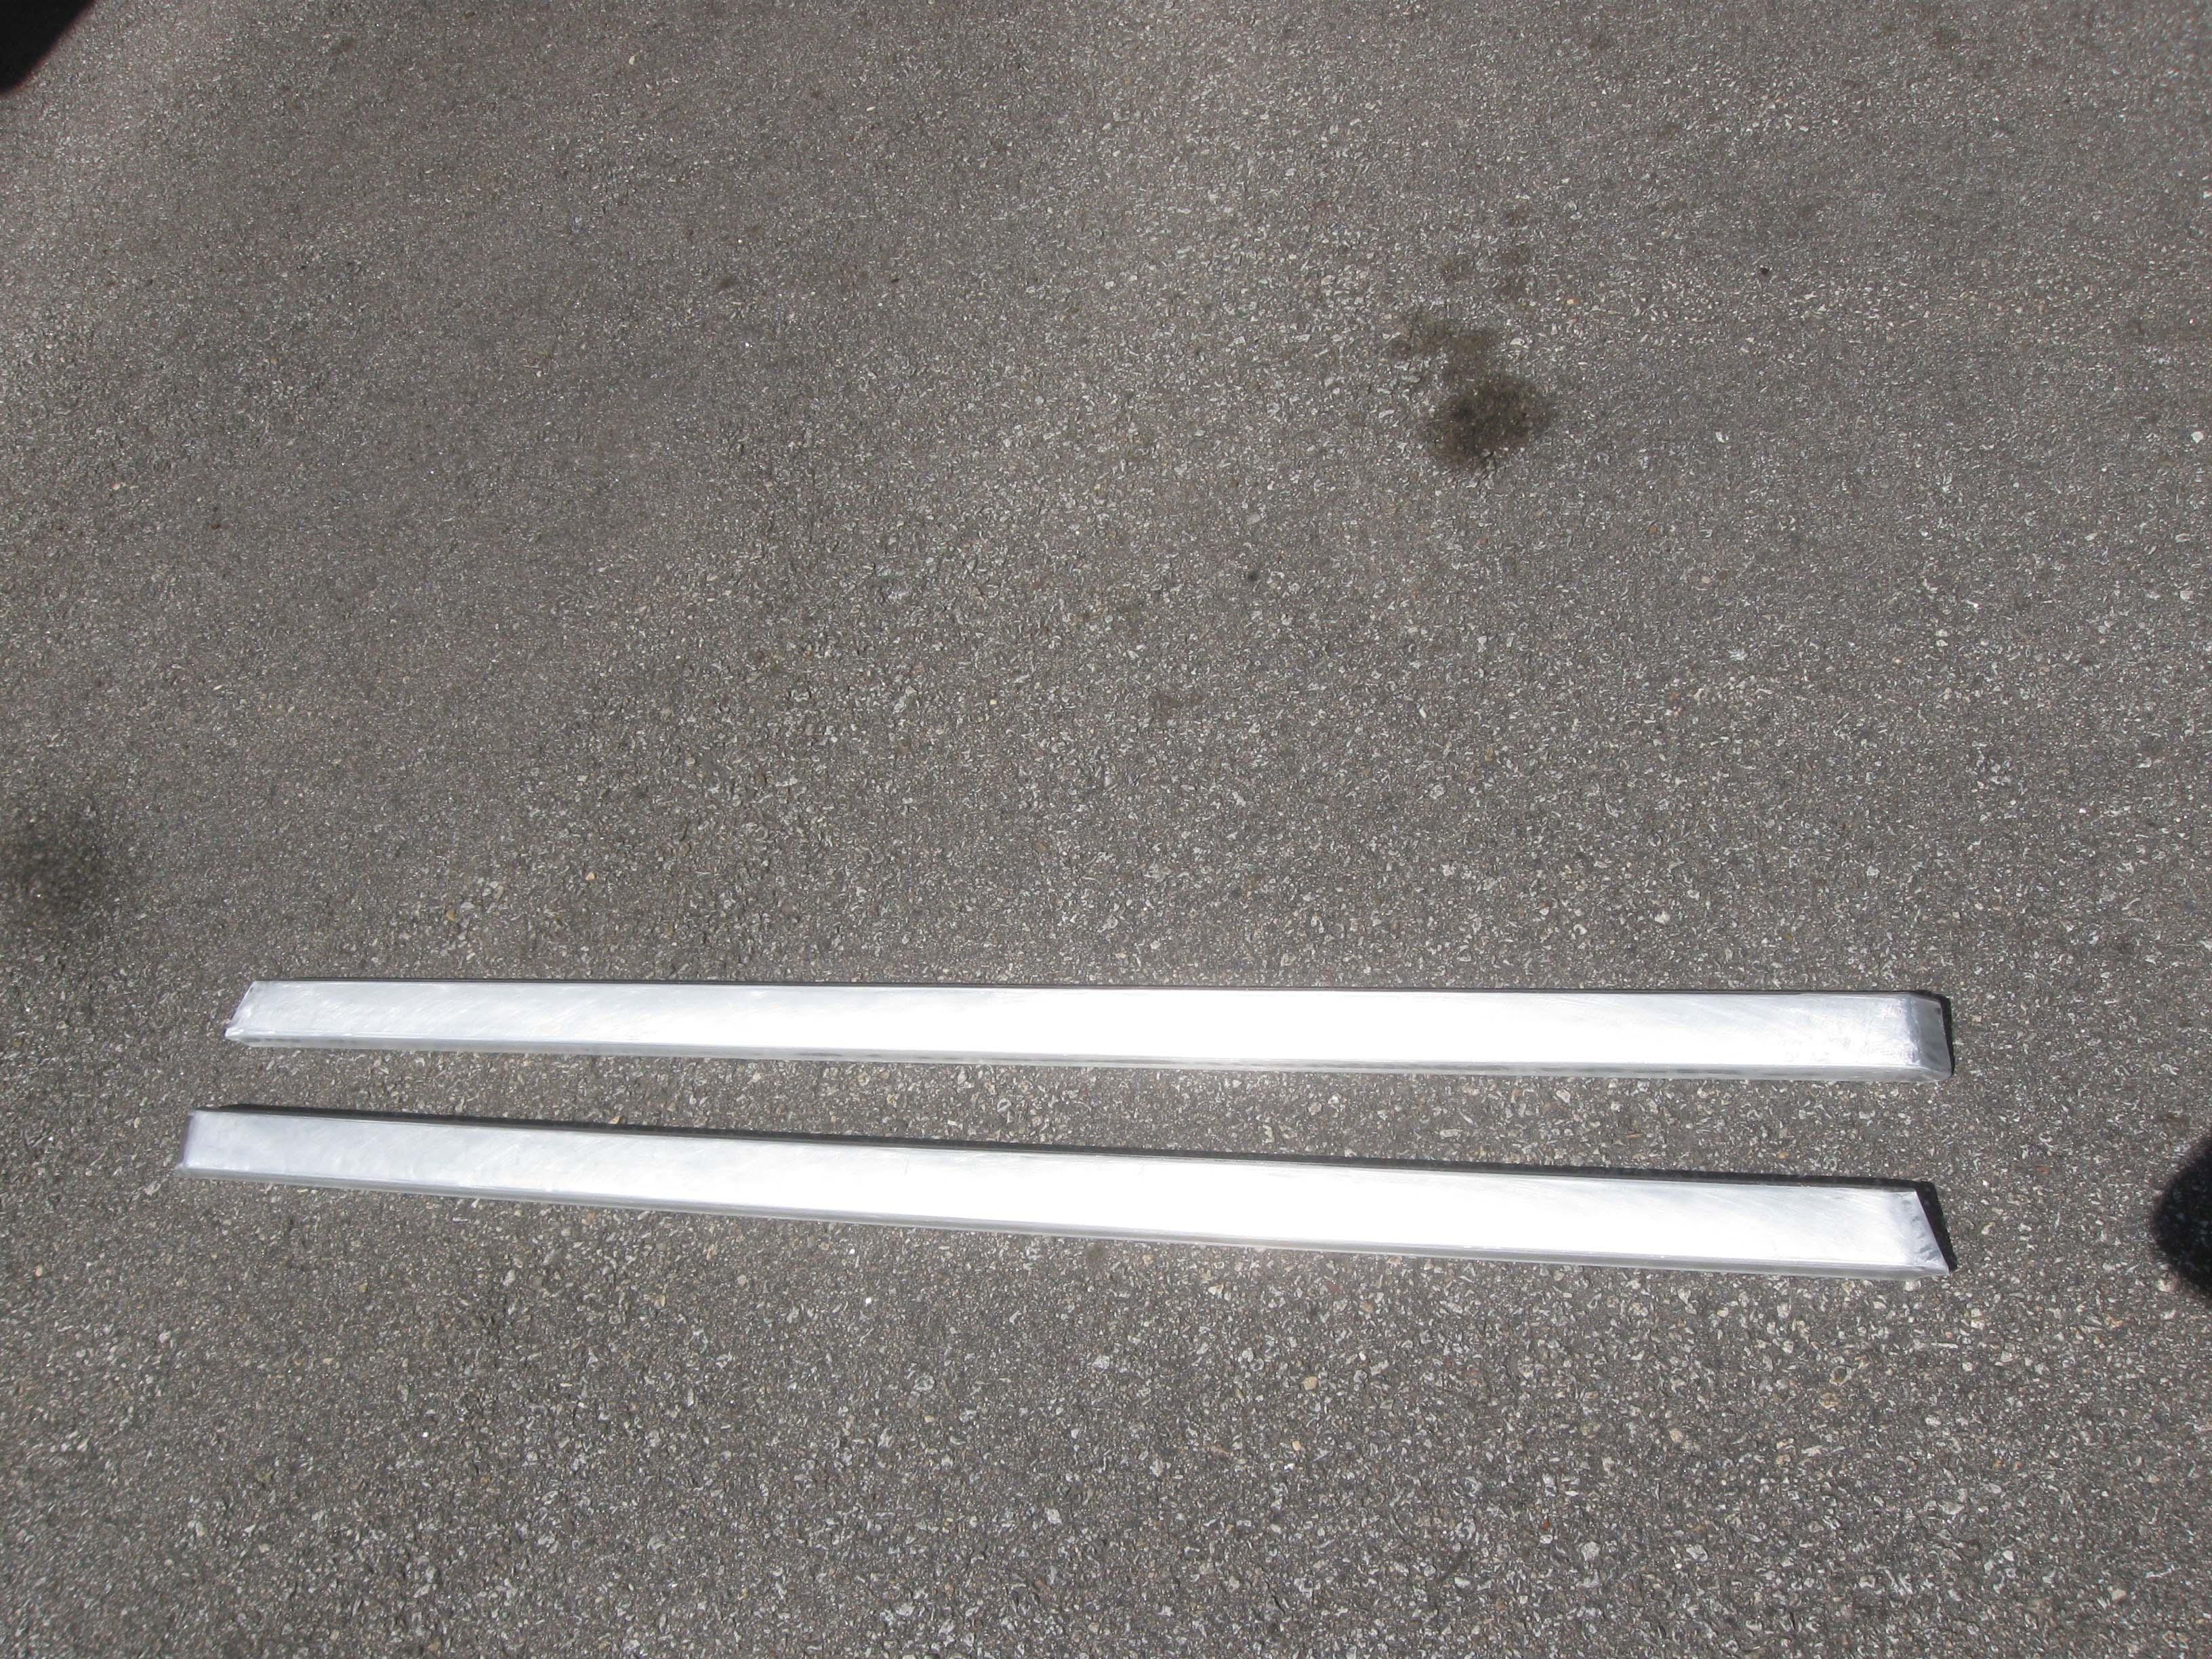
This is the result after all the wet sanding... far from perfect, but in the sunlight, they are shiny.

IMG_8196.jpg

cb
 
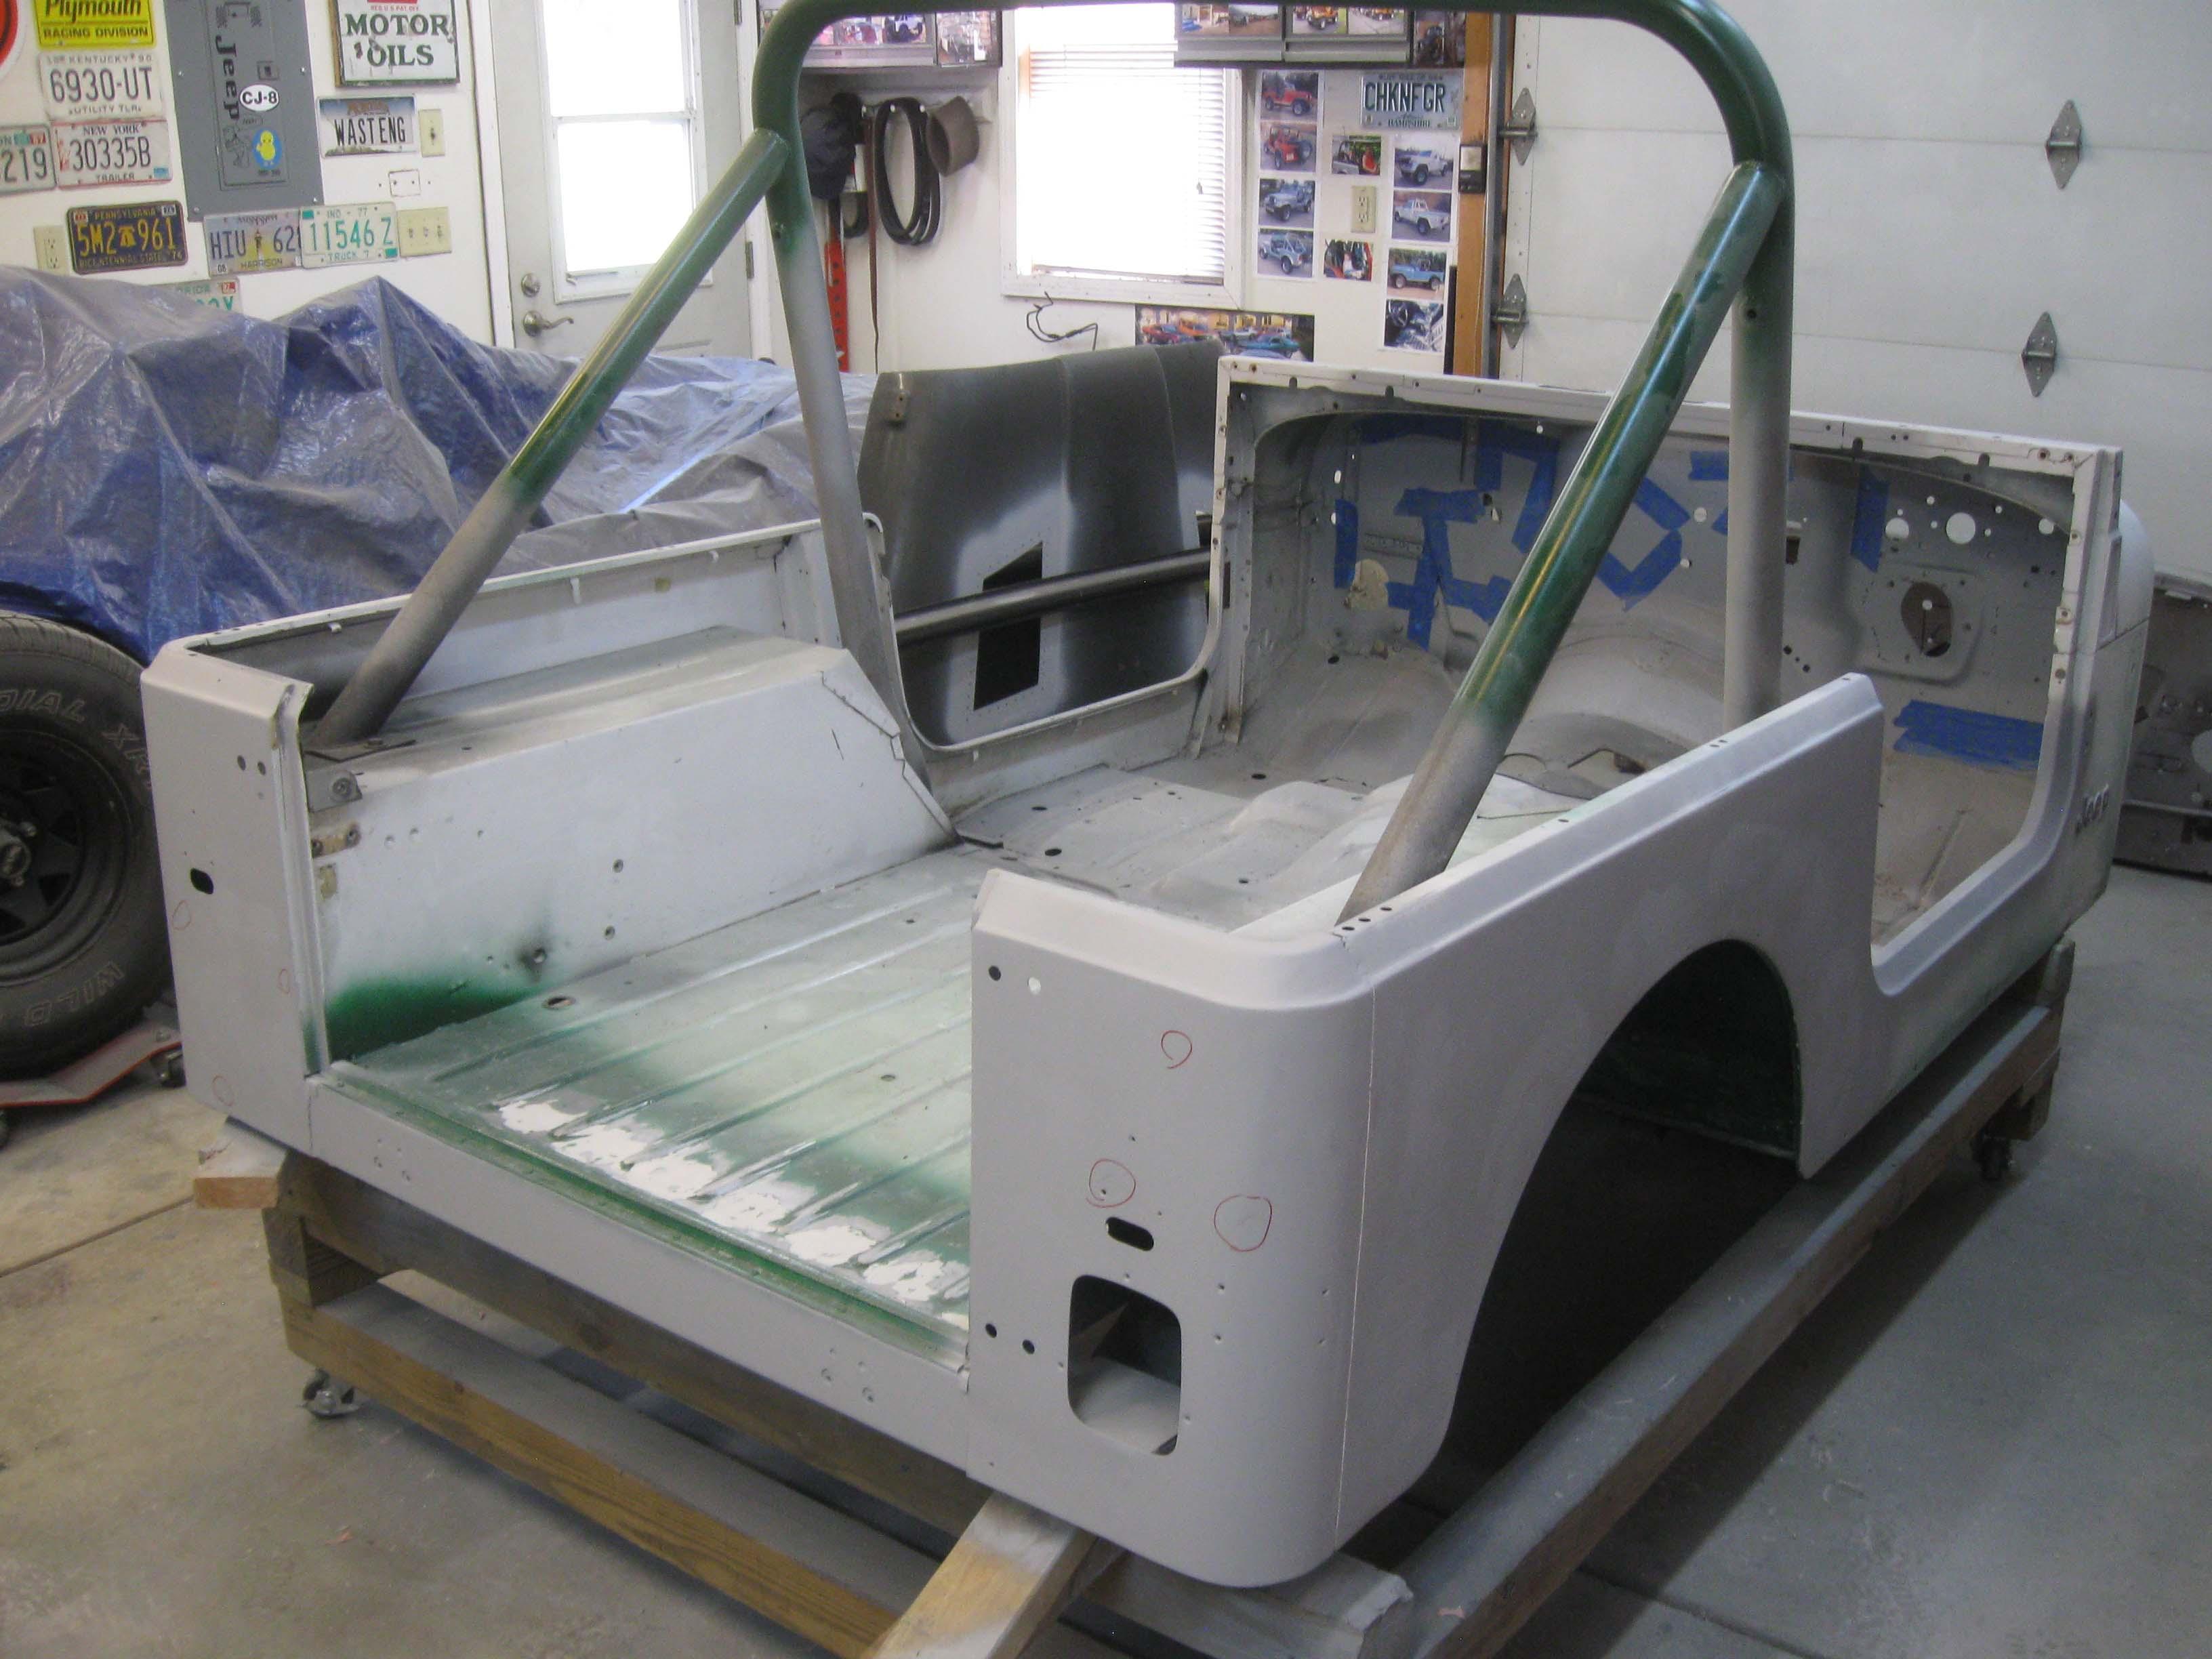
A few hours of bodywork over the weekend and more tonight hopefully.

Passenger Side
IMG_8198-1.jpg

IMG_8203-1.jpg


Driver Side (need more sanding and small filler)
IMG_8200-1.jpg

IMG_8206-1.jpg


Rails are sanded and all set to be polished out
IMG_8195-1.jpg


I need to get the tub at least painted and back on the chassis... running out of room!!!

Can't believe this has been just shy of 7 months since I tore down the body.

cb
 
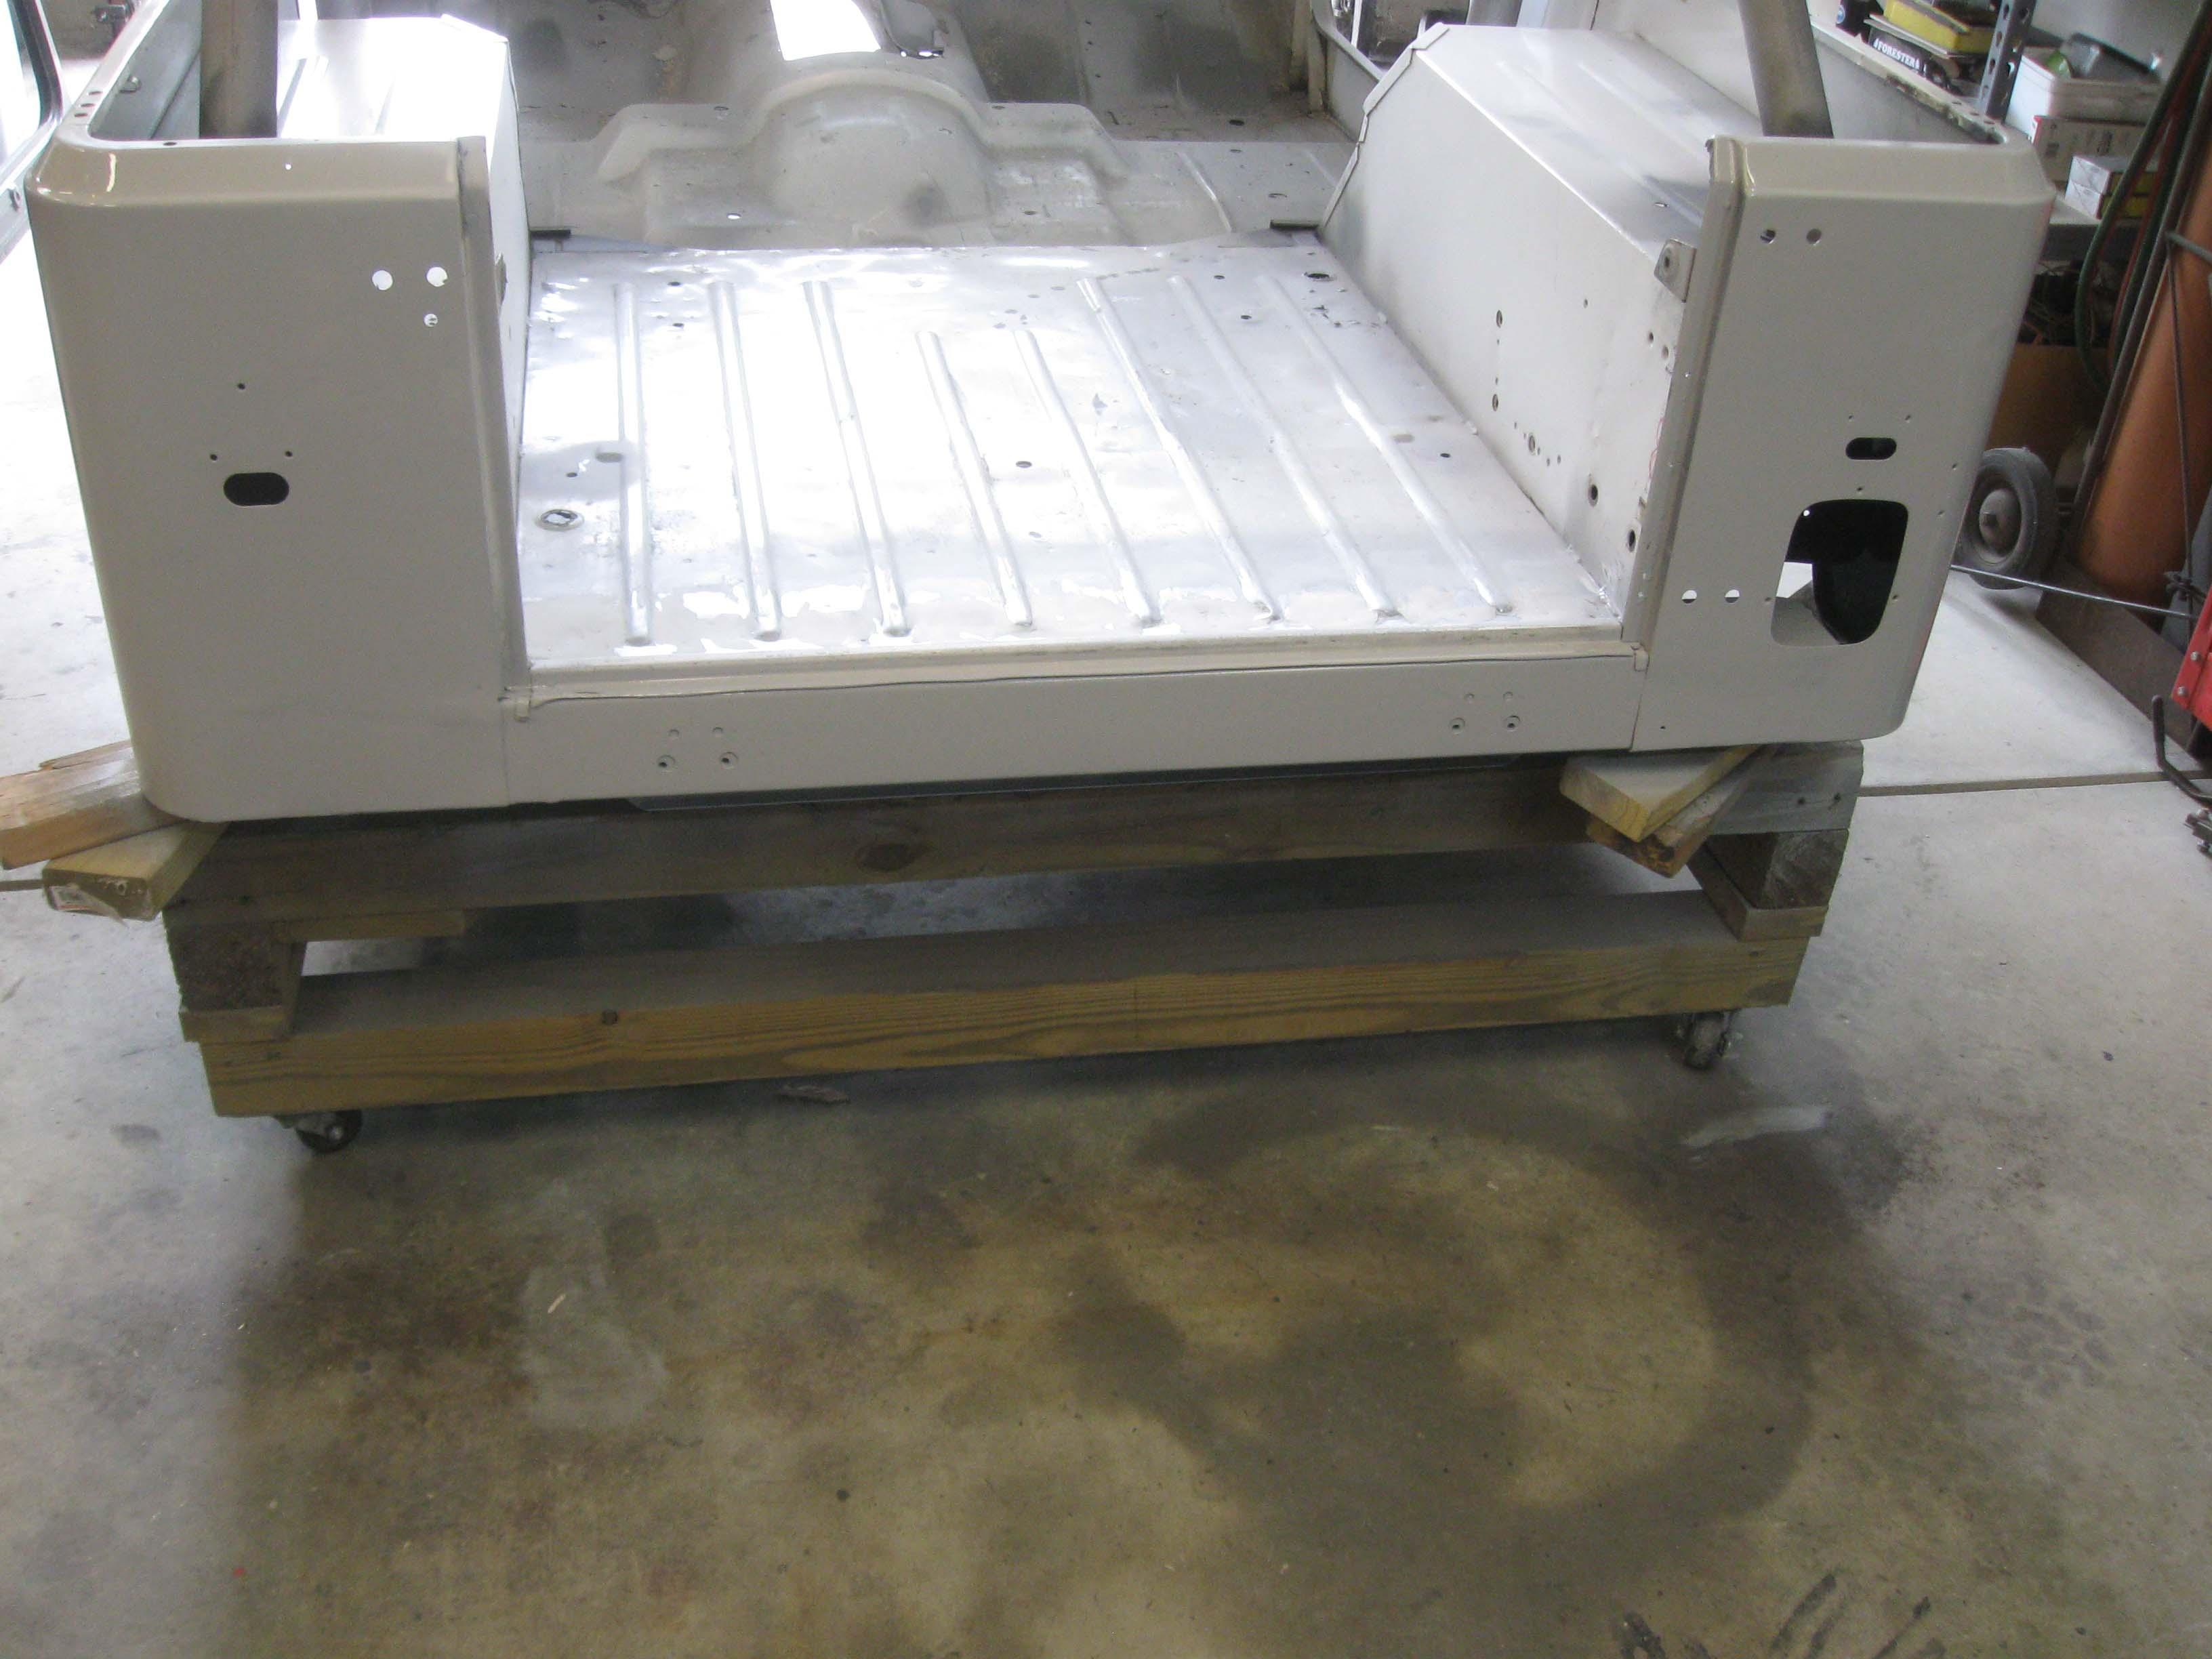
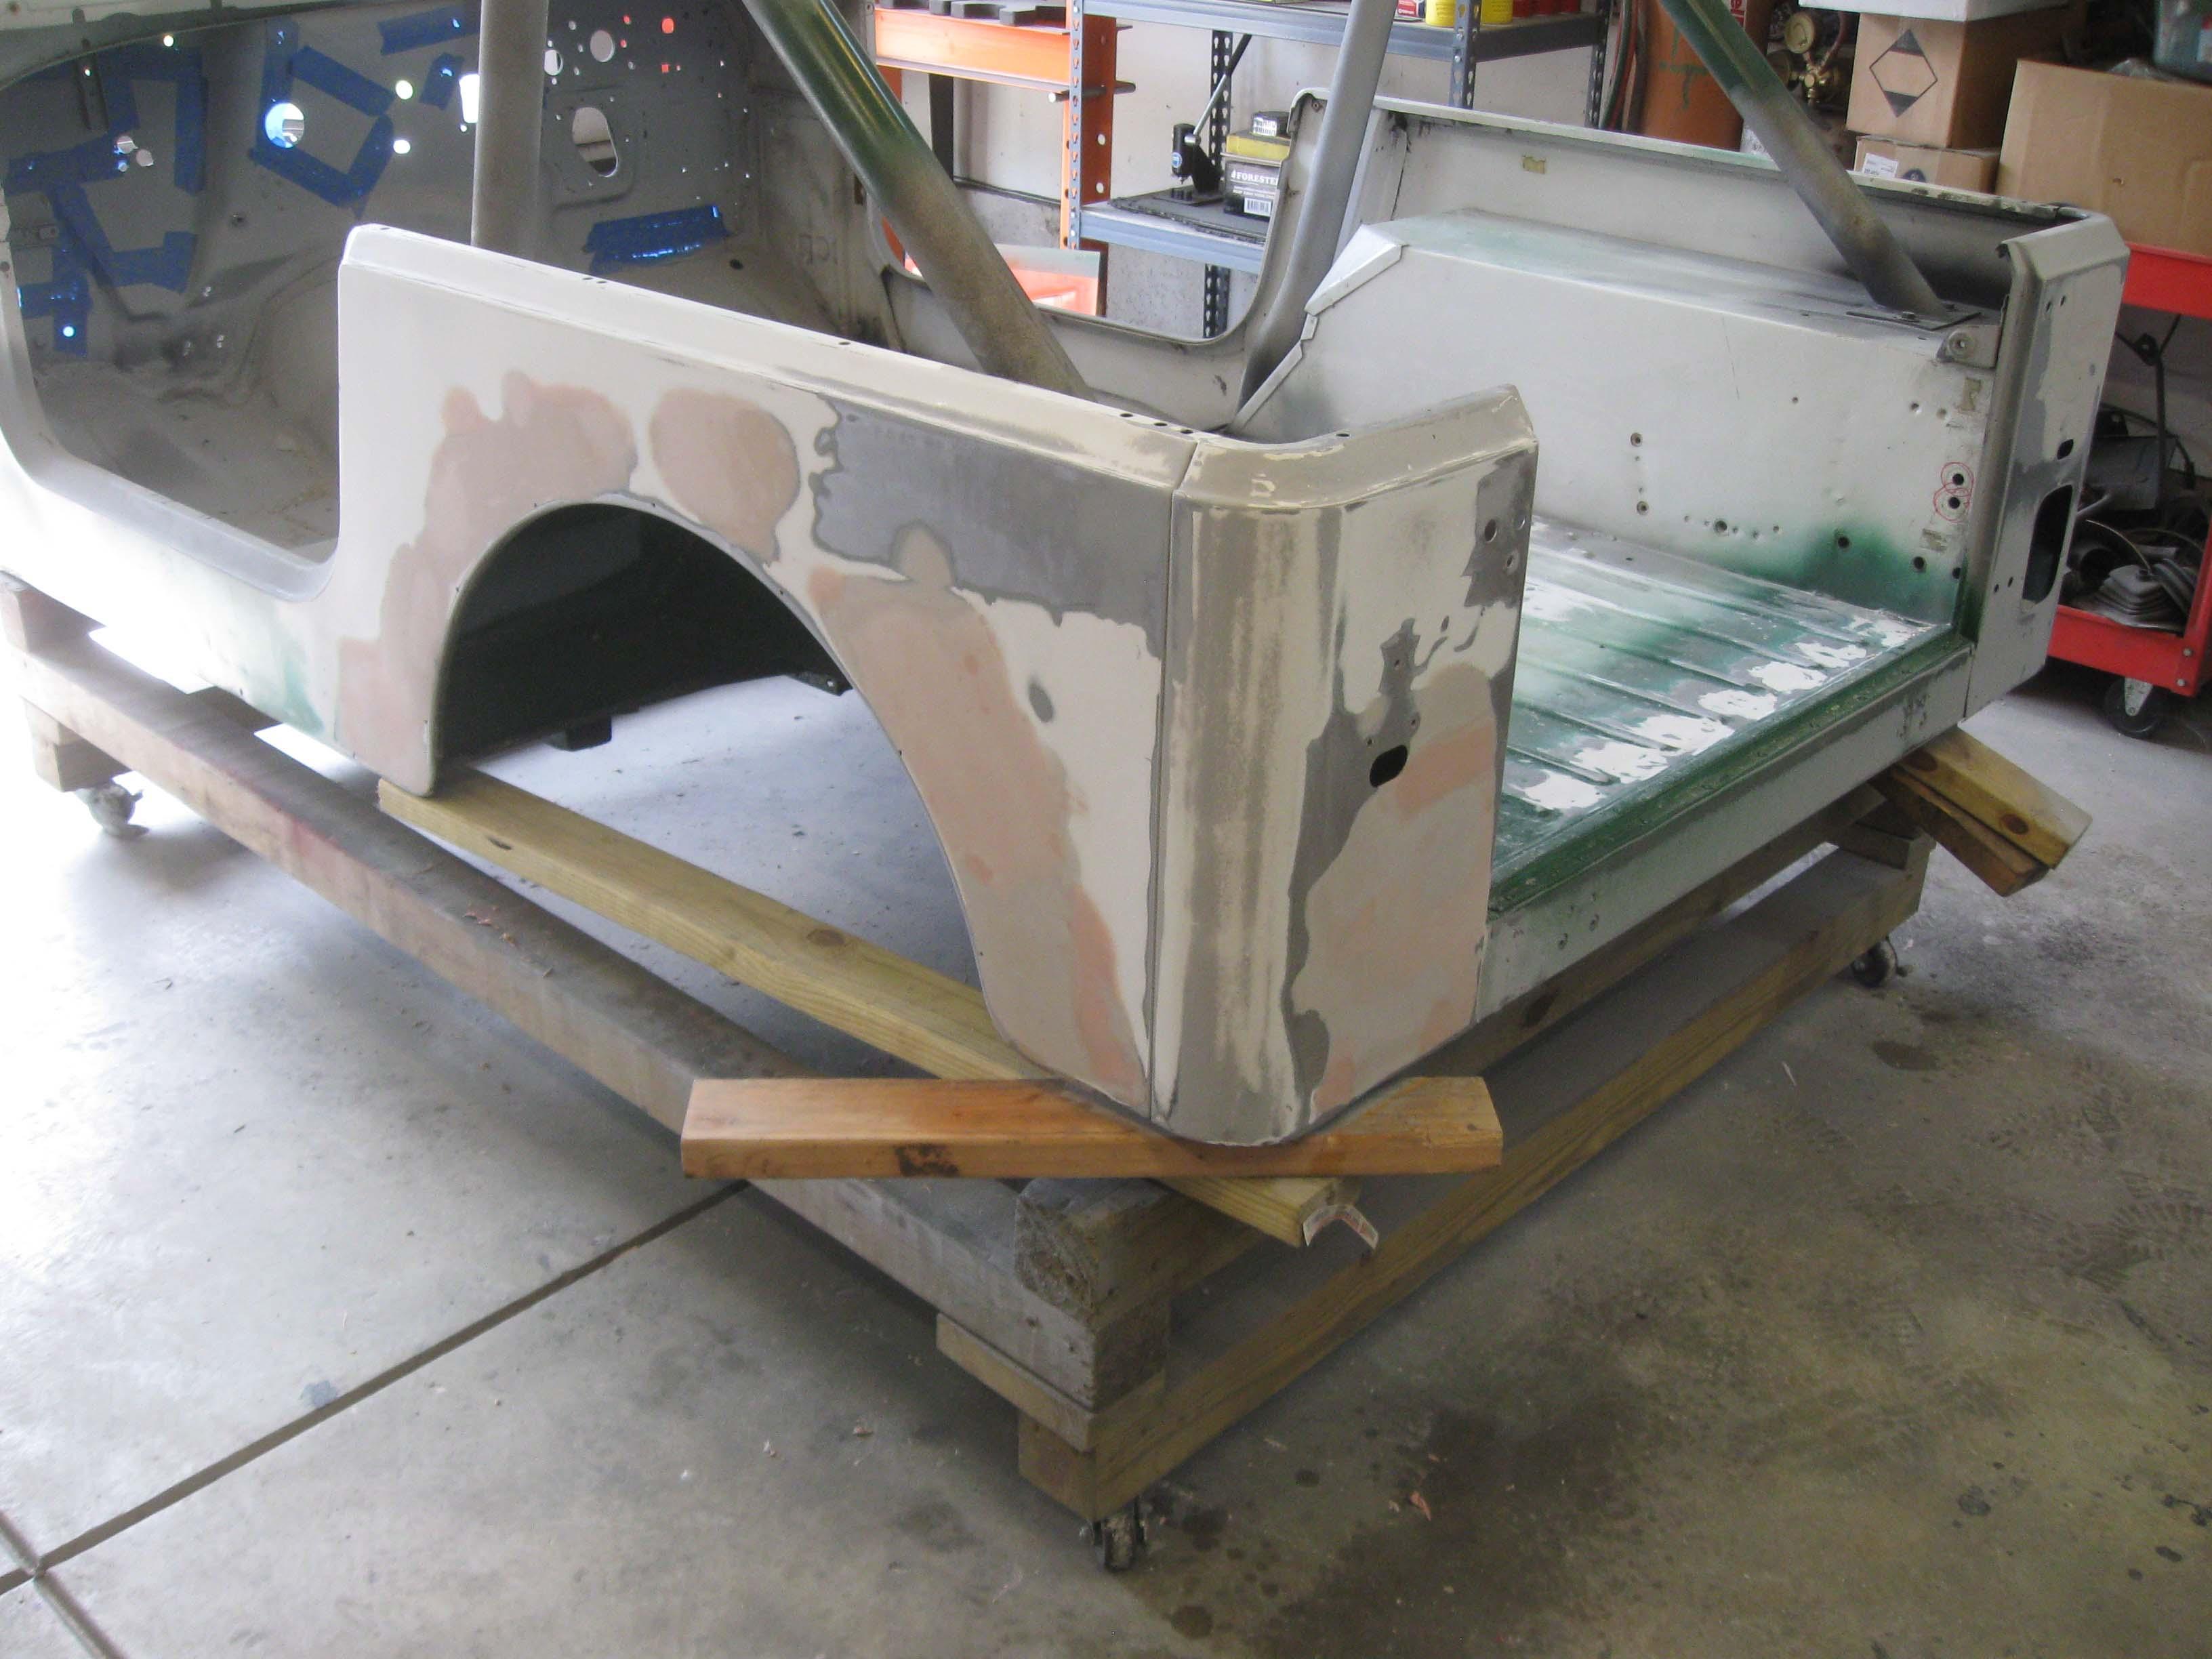
Progress is still being made... spent another 3-4 hours over the weekend getting the rear end all set with the body work as well as a few spots on the floor where I had some heat warpage from the under body brace replacements.

All in all, I hope to have it all in primer in a week or so... then I can put some color on it and get it back together.

cb
 
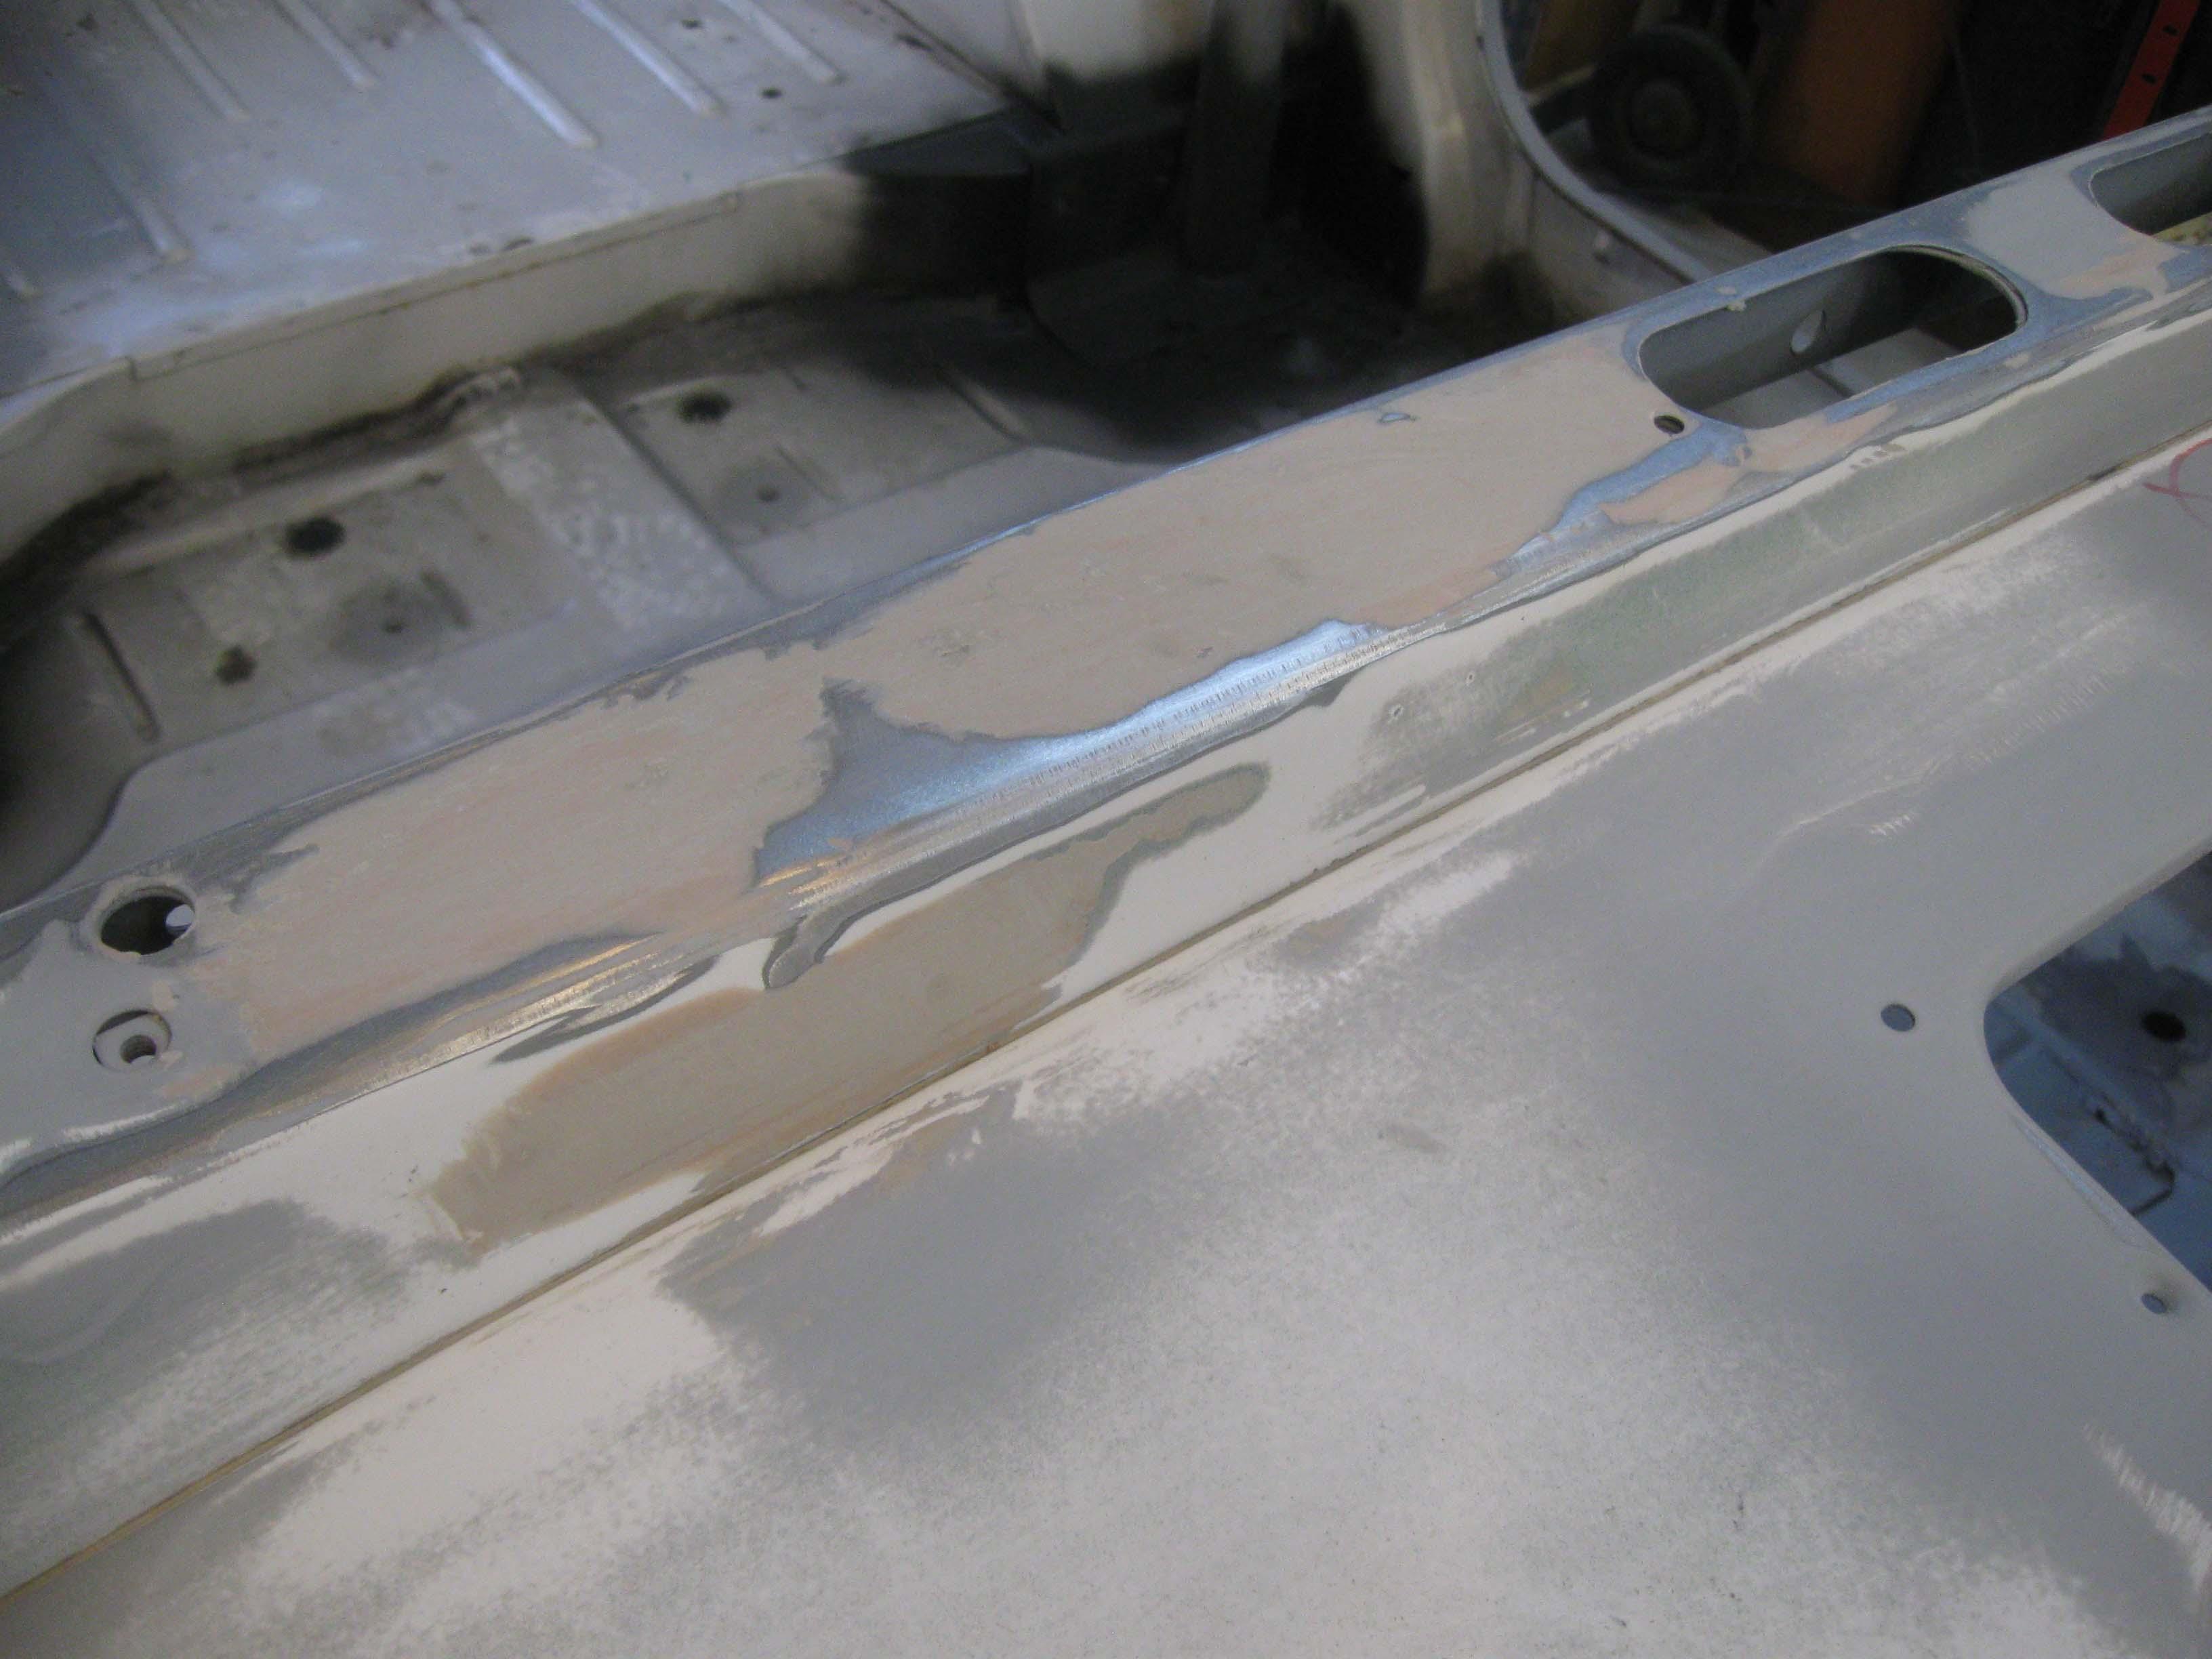
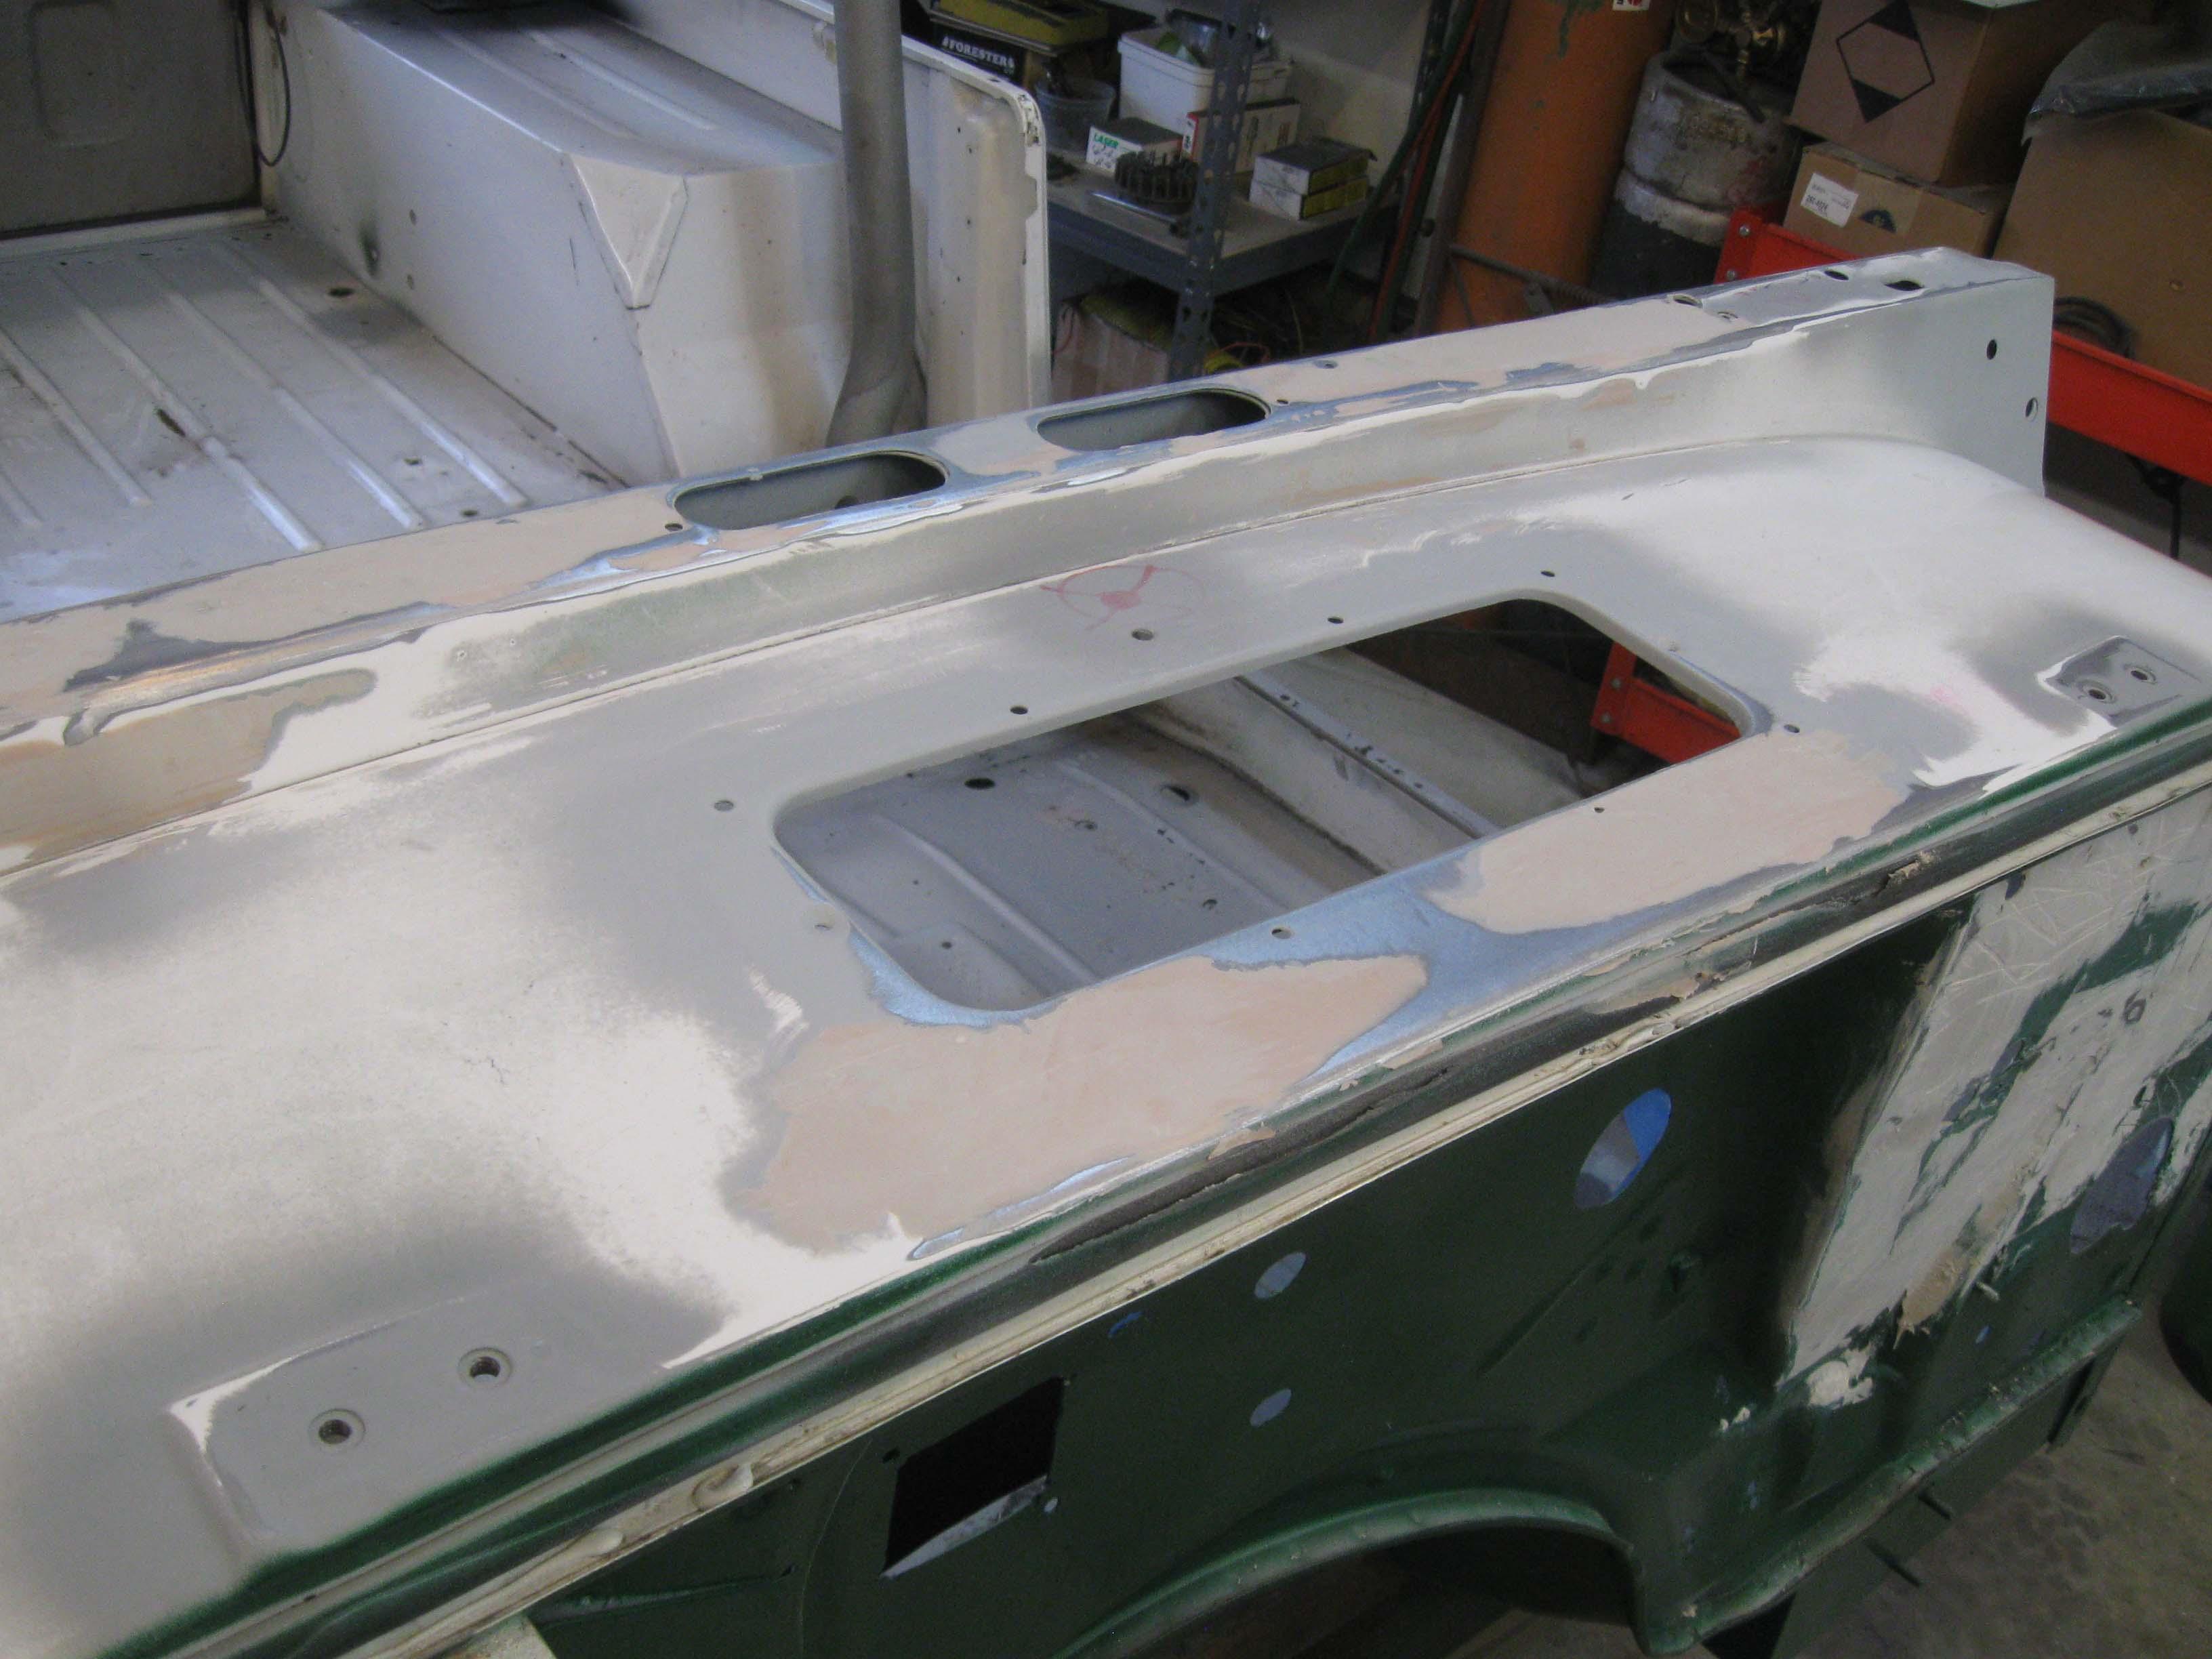
As I had said, body work and more of it... a lot of filling in the little imperfections from the welding on the insdie of the firewall as well as sanding the whole think down.
No bedliner on this one, just the floors in green.
The black primer is all the areas that I did in 40 grit and then 80 and then 120.
I will get it all to 120, then black sandable primer, then 220, then sealer and paint.

Lots of extra steps, but it will be nicer in the end.

IMG_8277.jpg

cb
 
Also, look on the rear of the tub, doesn't it look like Homer Simpsons eyes coming through the grey primer... saw that last night and thought I had one too many, but today, still looks the same.

cb
 
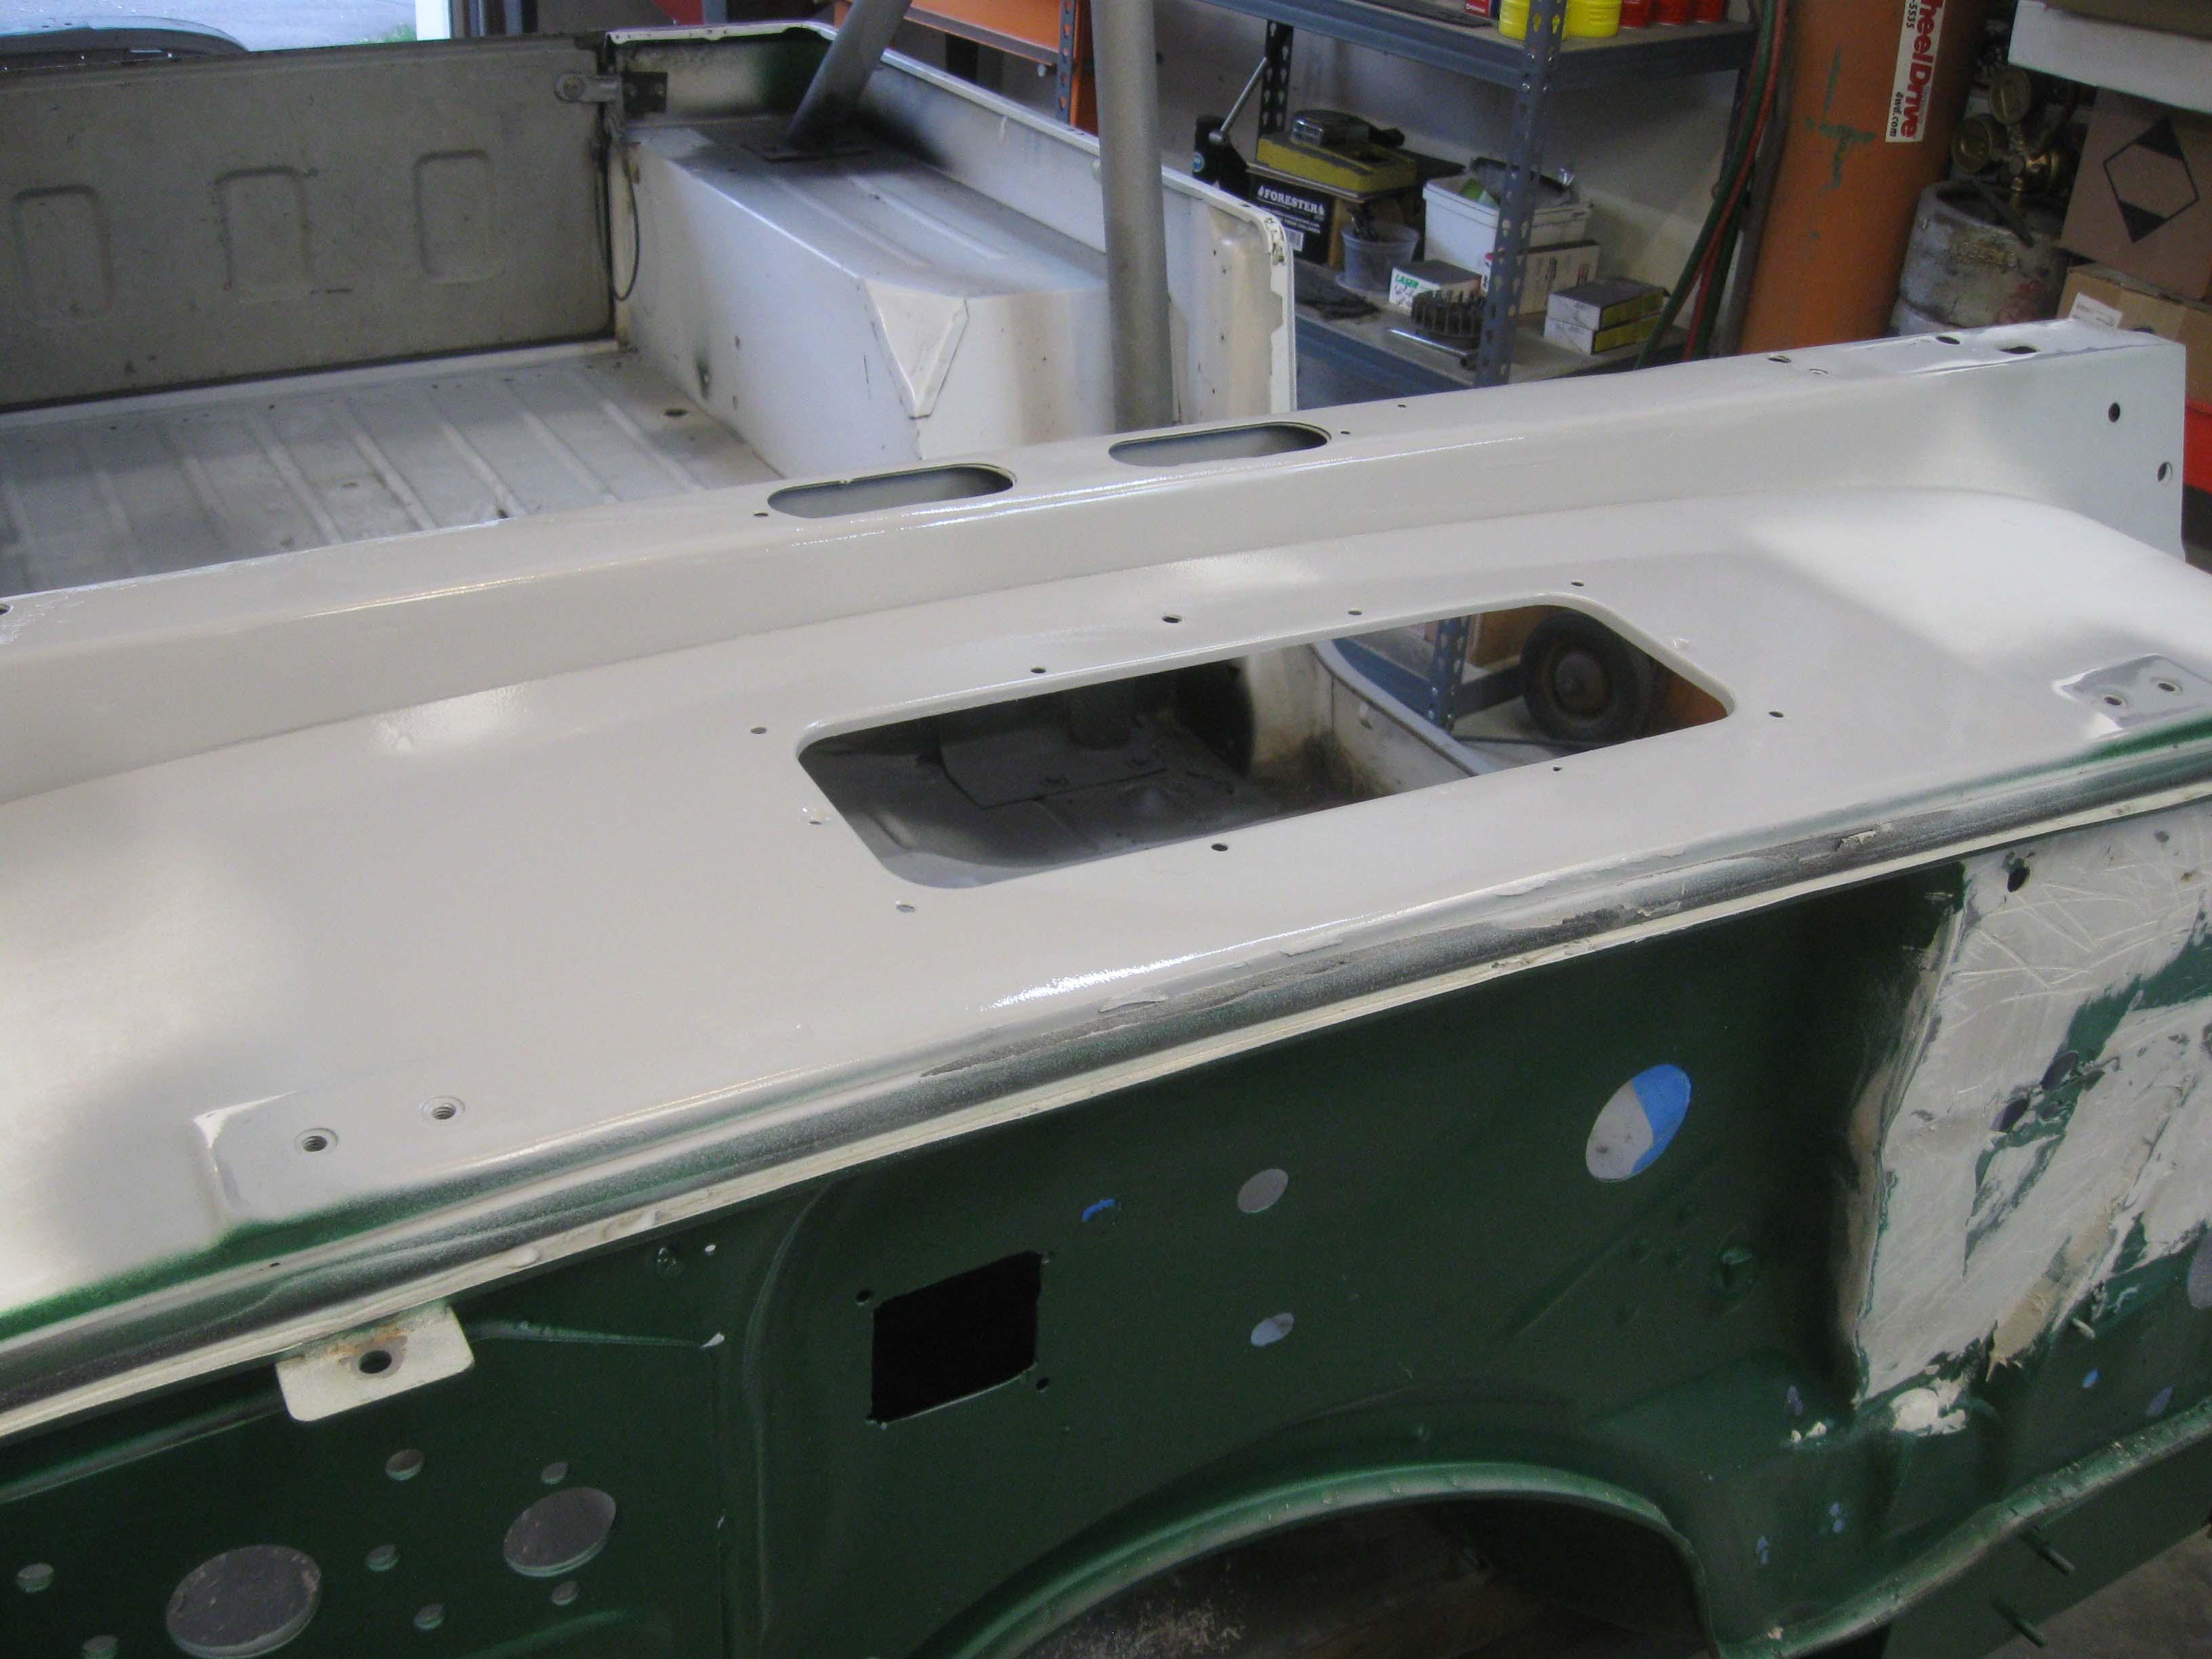
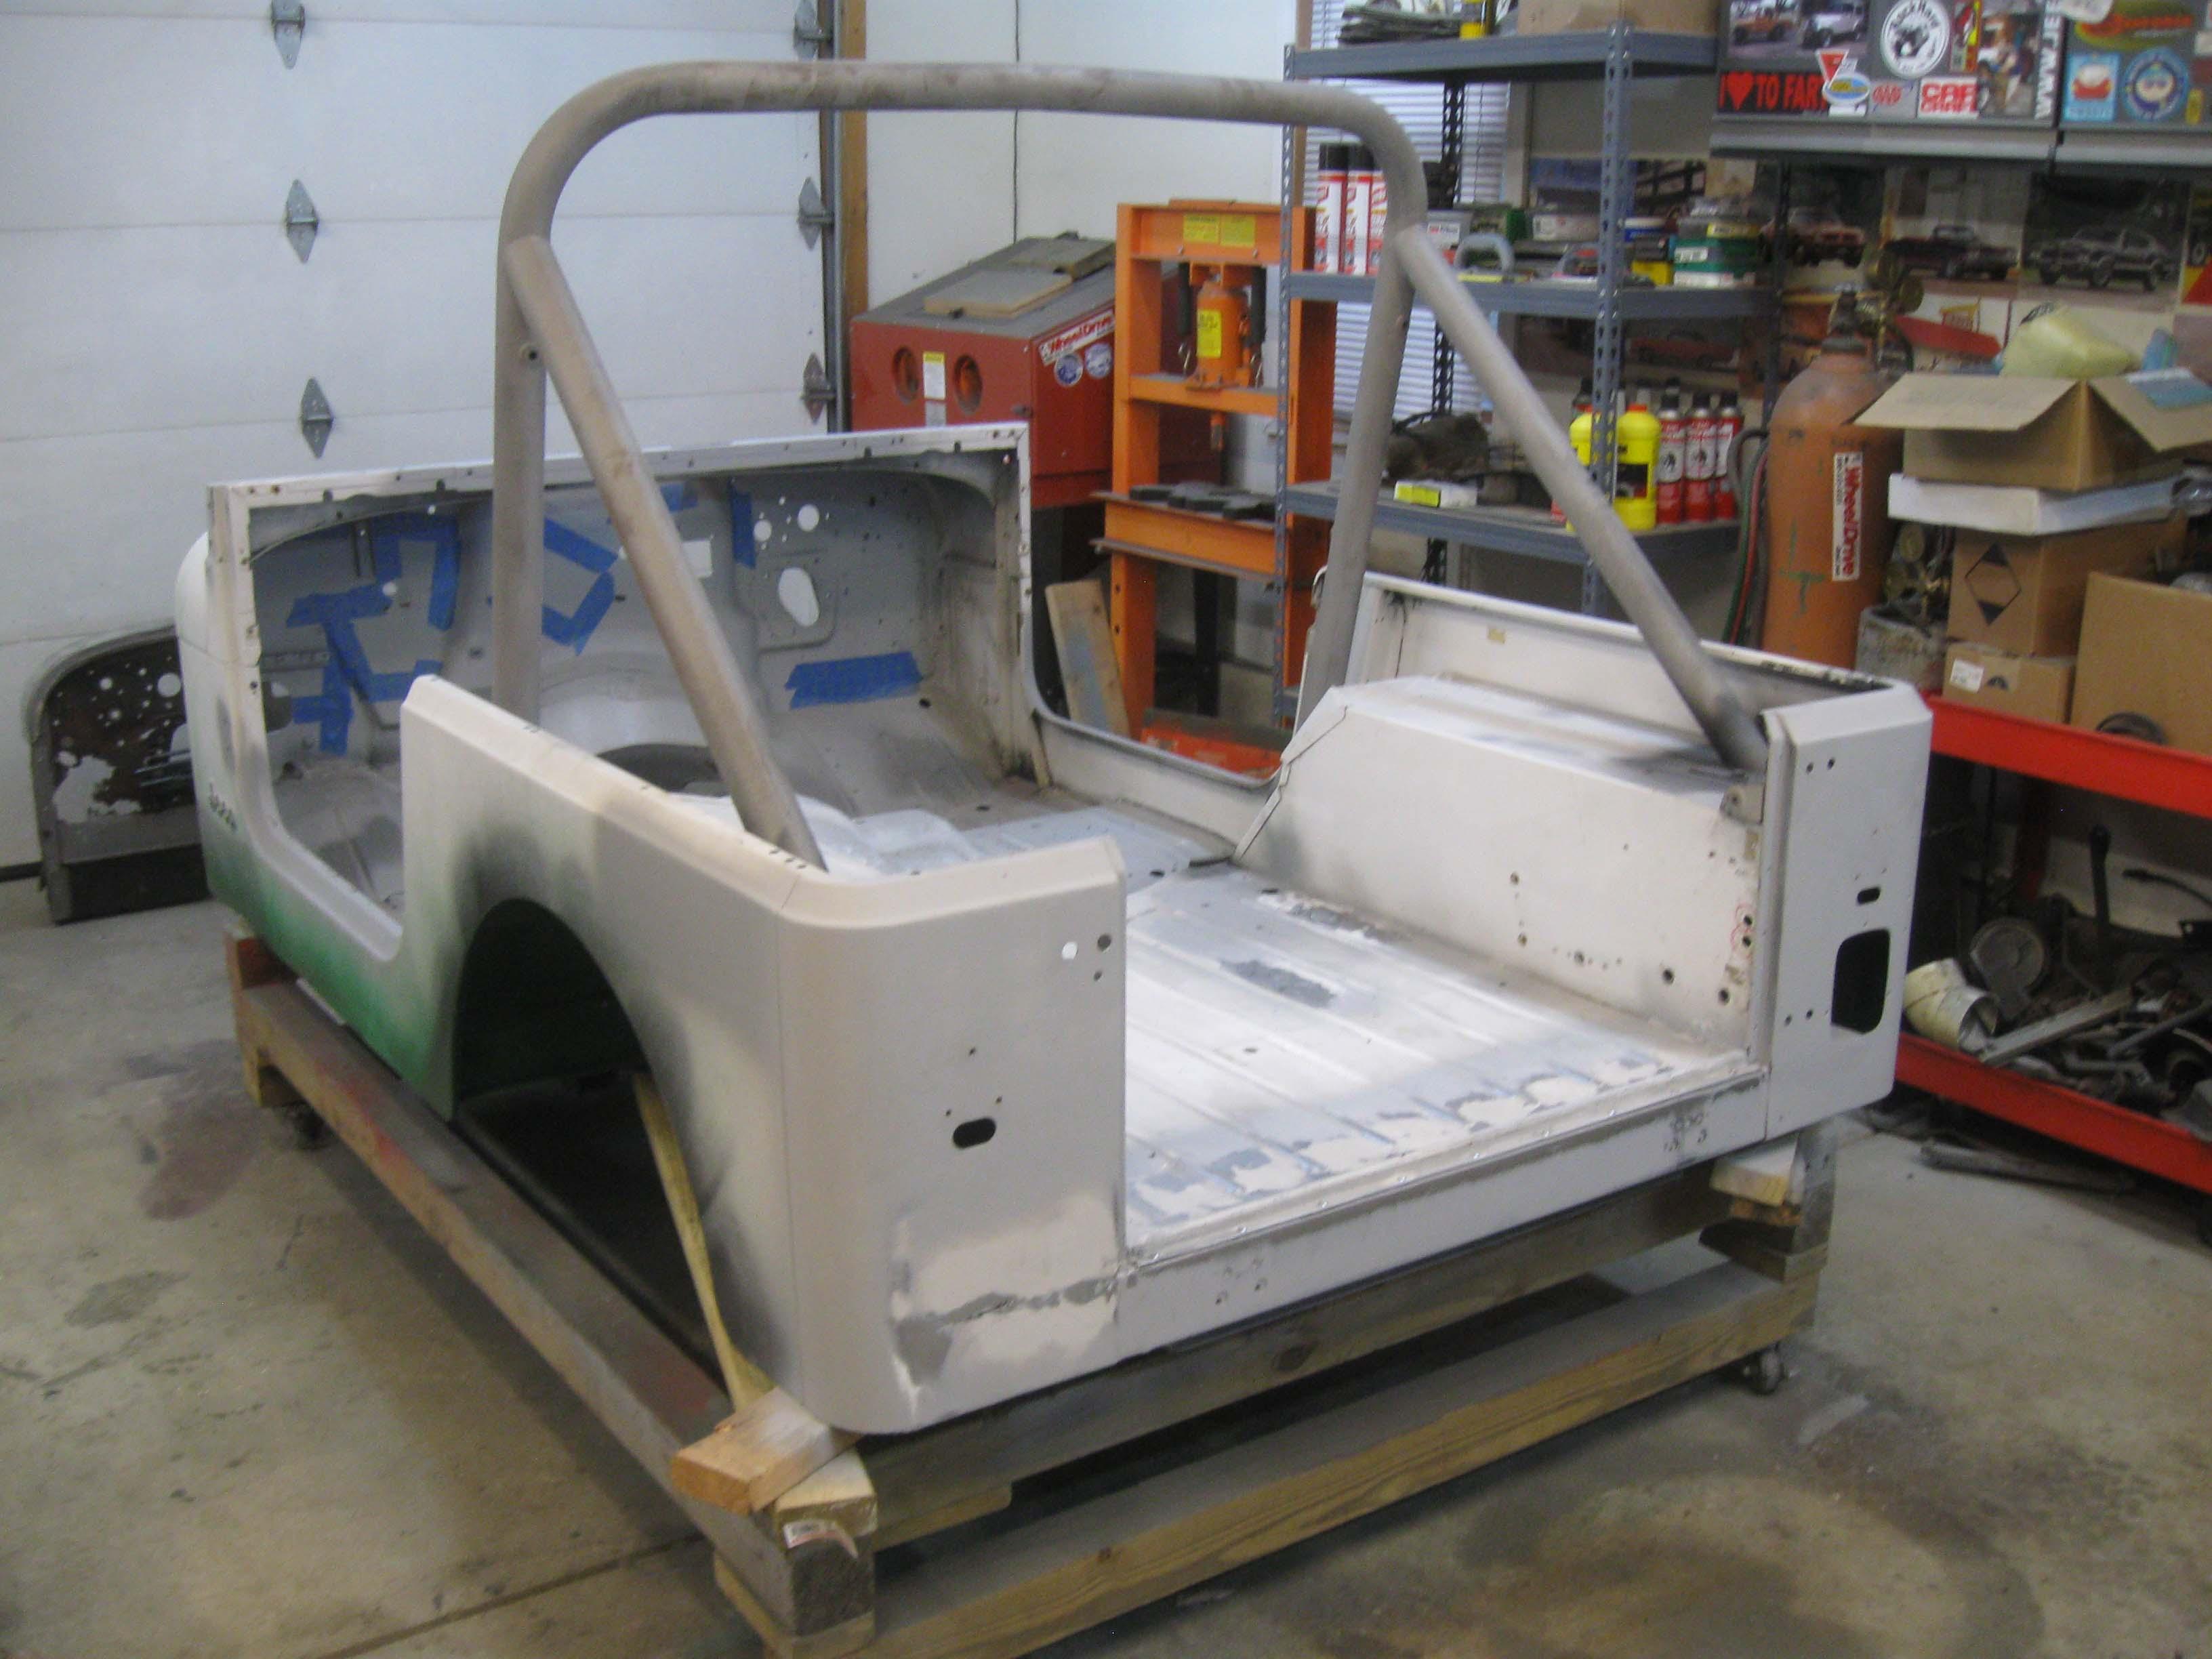
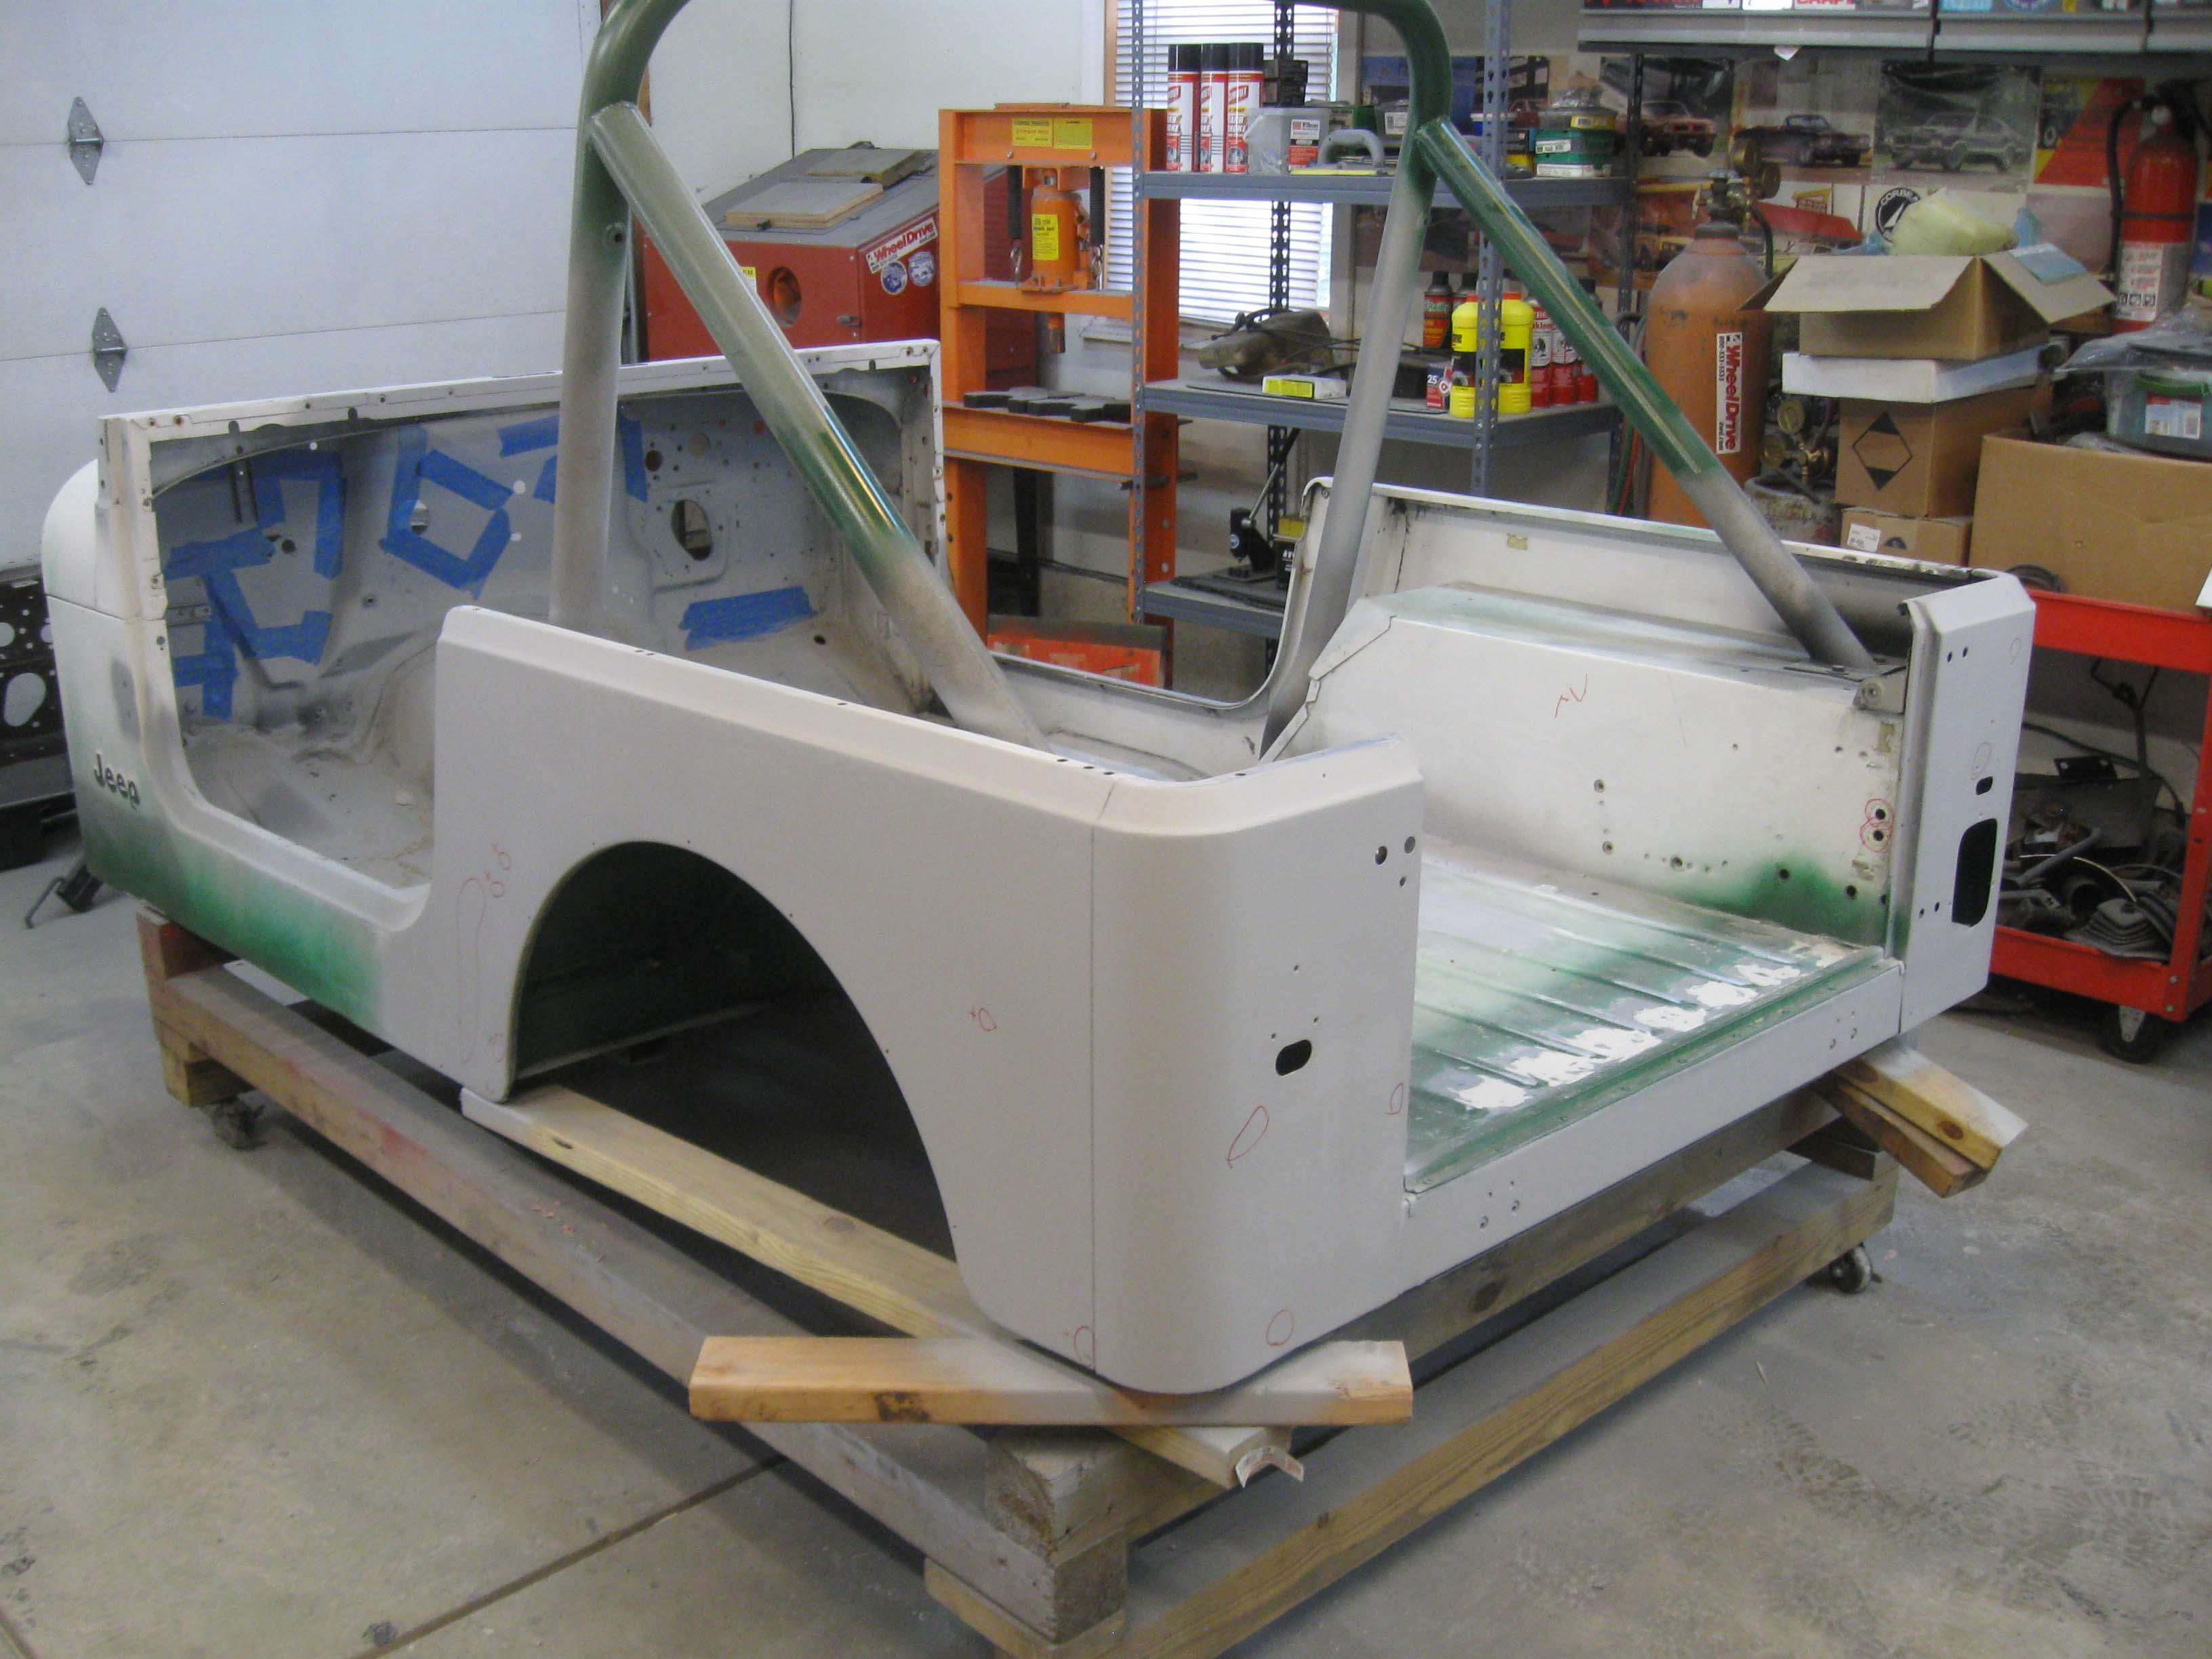
4 days of bodywork straight through pretty much resulted in the body sanded down to 220 all over and now sits in full primer.
The firewall receiving some color... just to make sure this is the color that is desired.

I hope to get it painted towards the end of the week and cleared soon there after.
Long time coming on the bodywork.

-download.php.jpg

cb

EDIT: Seam sealer was in there as well, forgot to mention it.
 
Looks great. Looks like you primered over poor Homer. DOH!
 
Looks great. You got a couple extra holes over where the battery will be. What are they for?
 
Looks great. You got a couple extra holes over where the battery will be. What are they for?

One of the holes was already there on the YJ body/firewall and "almost" lined up with the heater assembly posts(one of the 4) , so I just left it and will use a larger washer and cover it.
The other oblong hole I guess I didn't fill it... there were 2, for the LHD emergency brake foot mechanism... so I guess that was missed as well.

cb
 
Back
Top