• Notice for iPhone users: DO NOT use the image size reduction option when uploading photos to the forum. This causes portrait images to post as landscape. We have added a warning to the image insert pop-up as well.

Jeep cj7 83 right hand drive 4x4 5 sp british export - part II

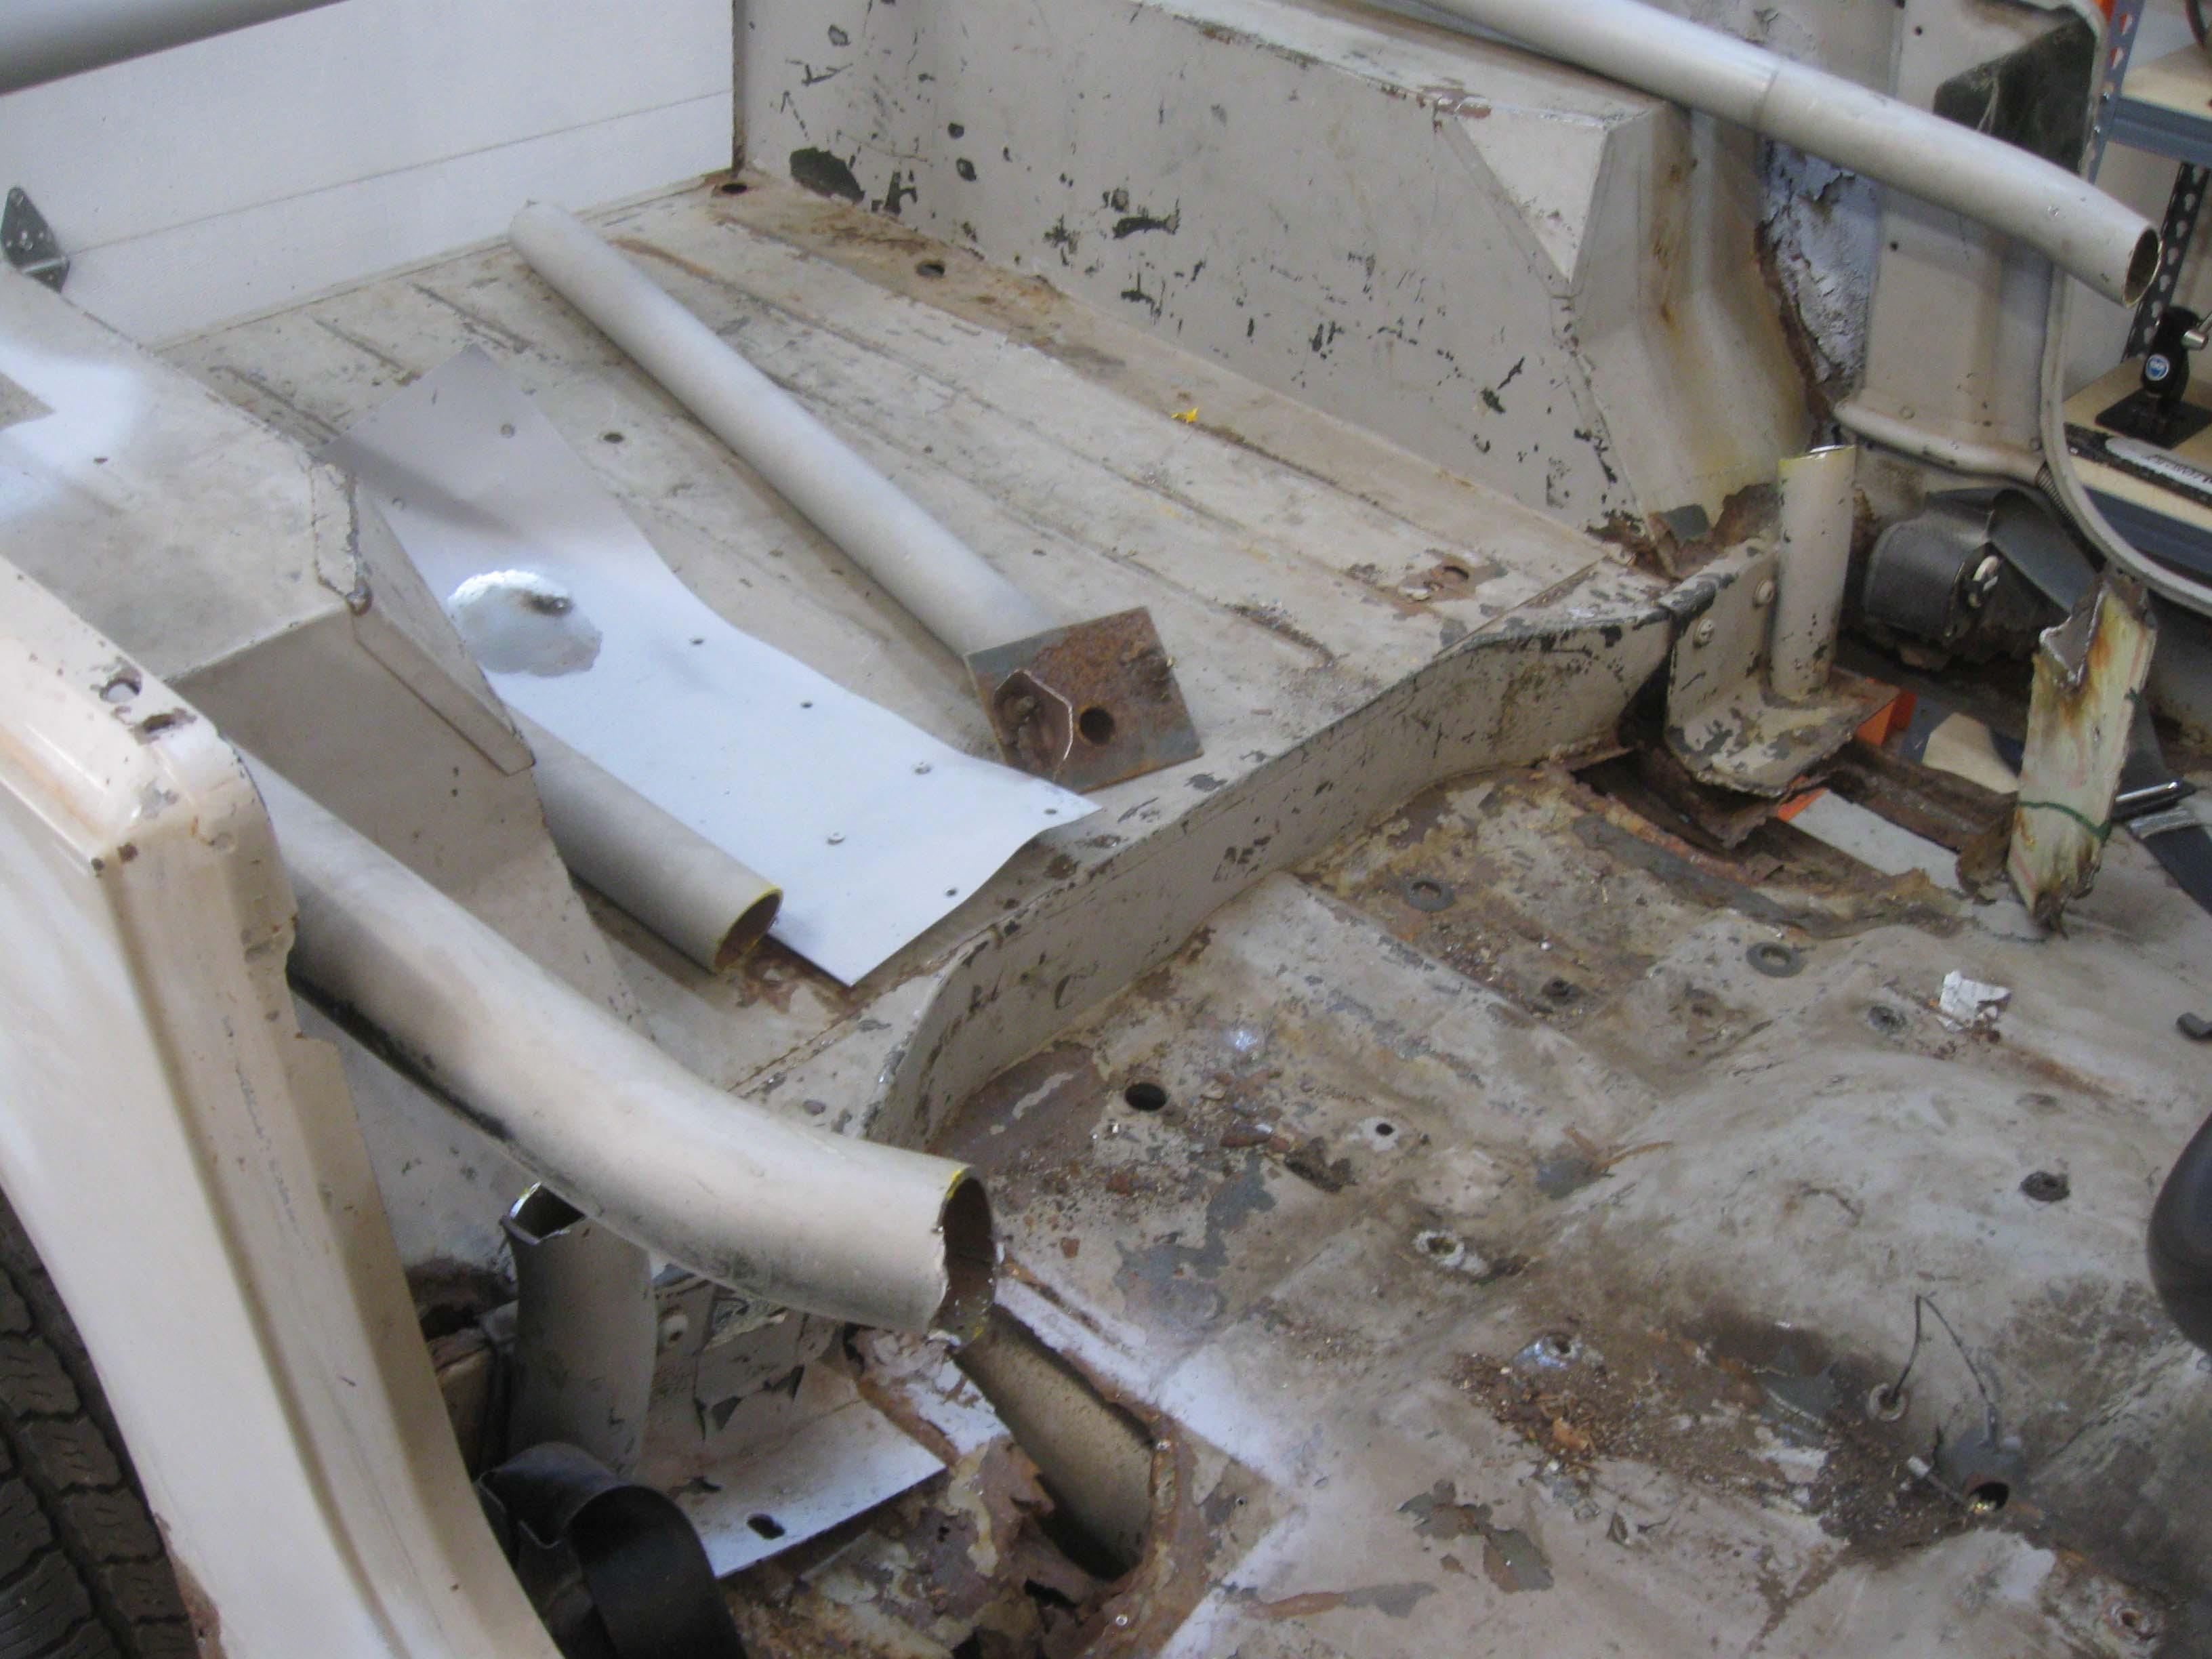
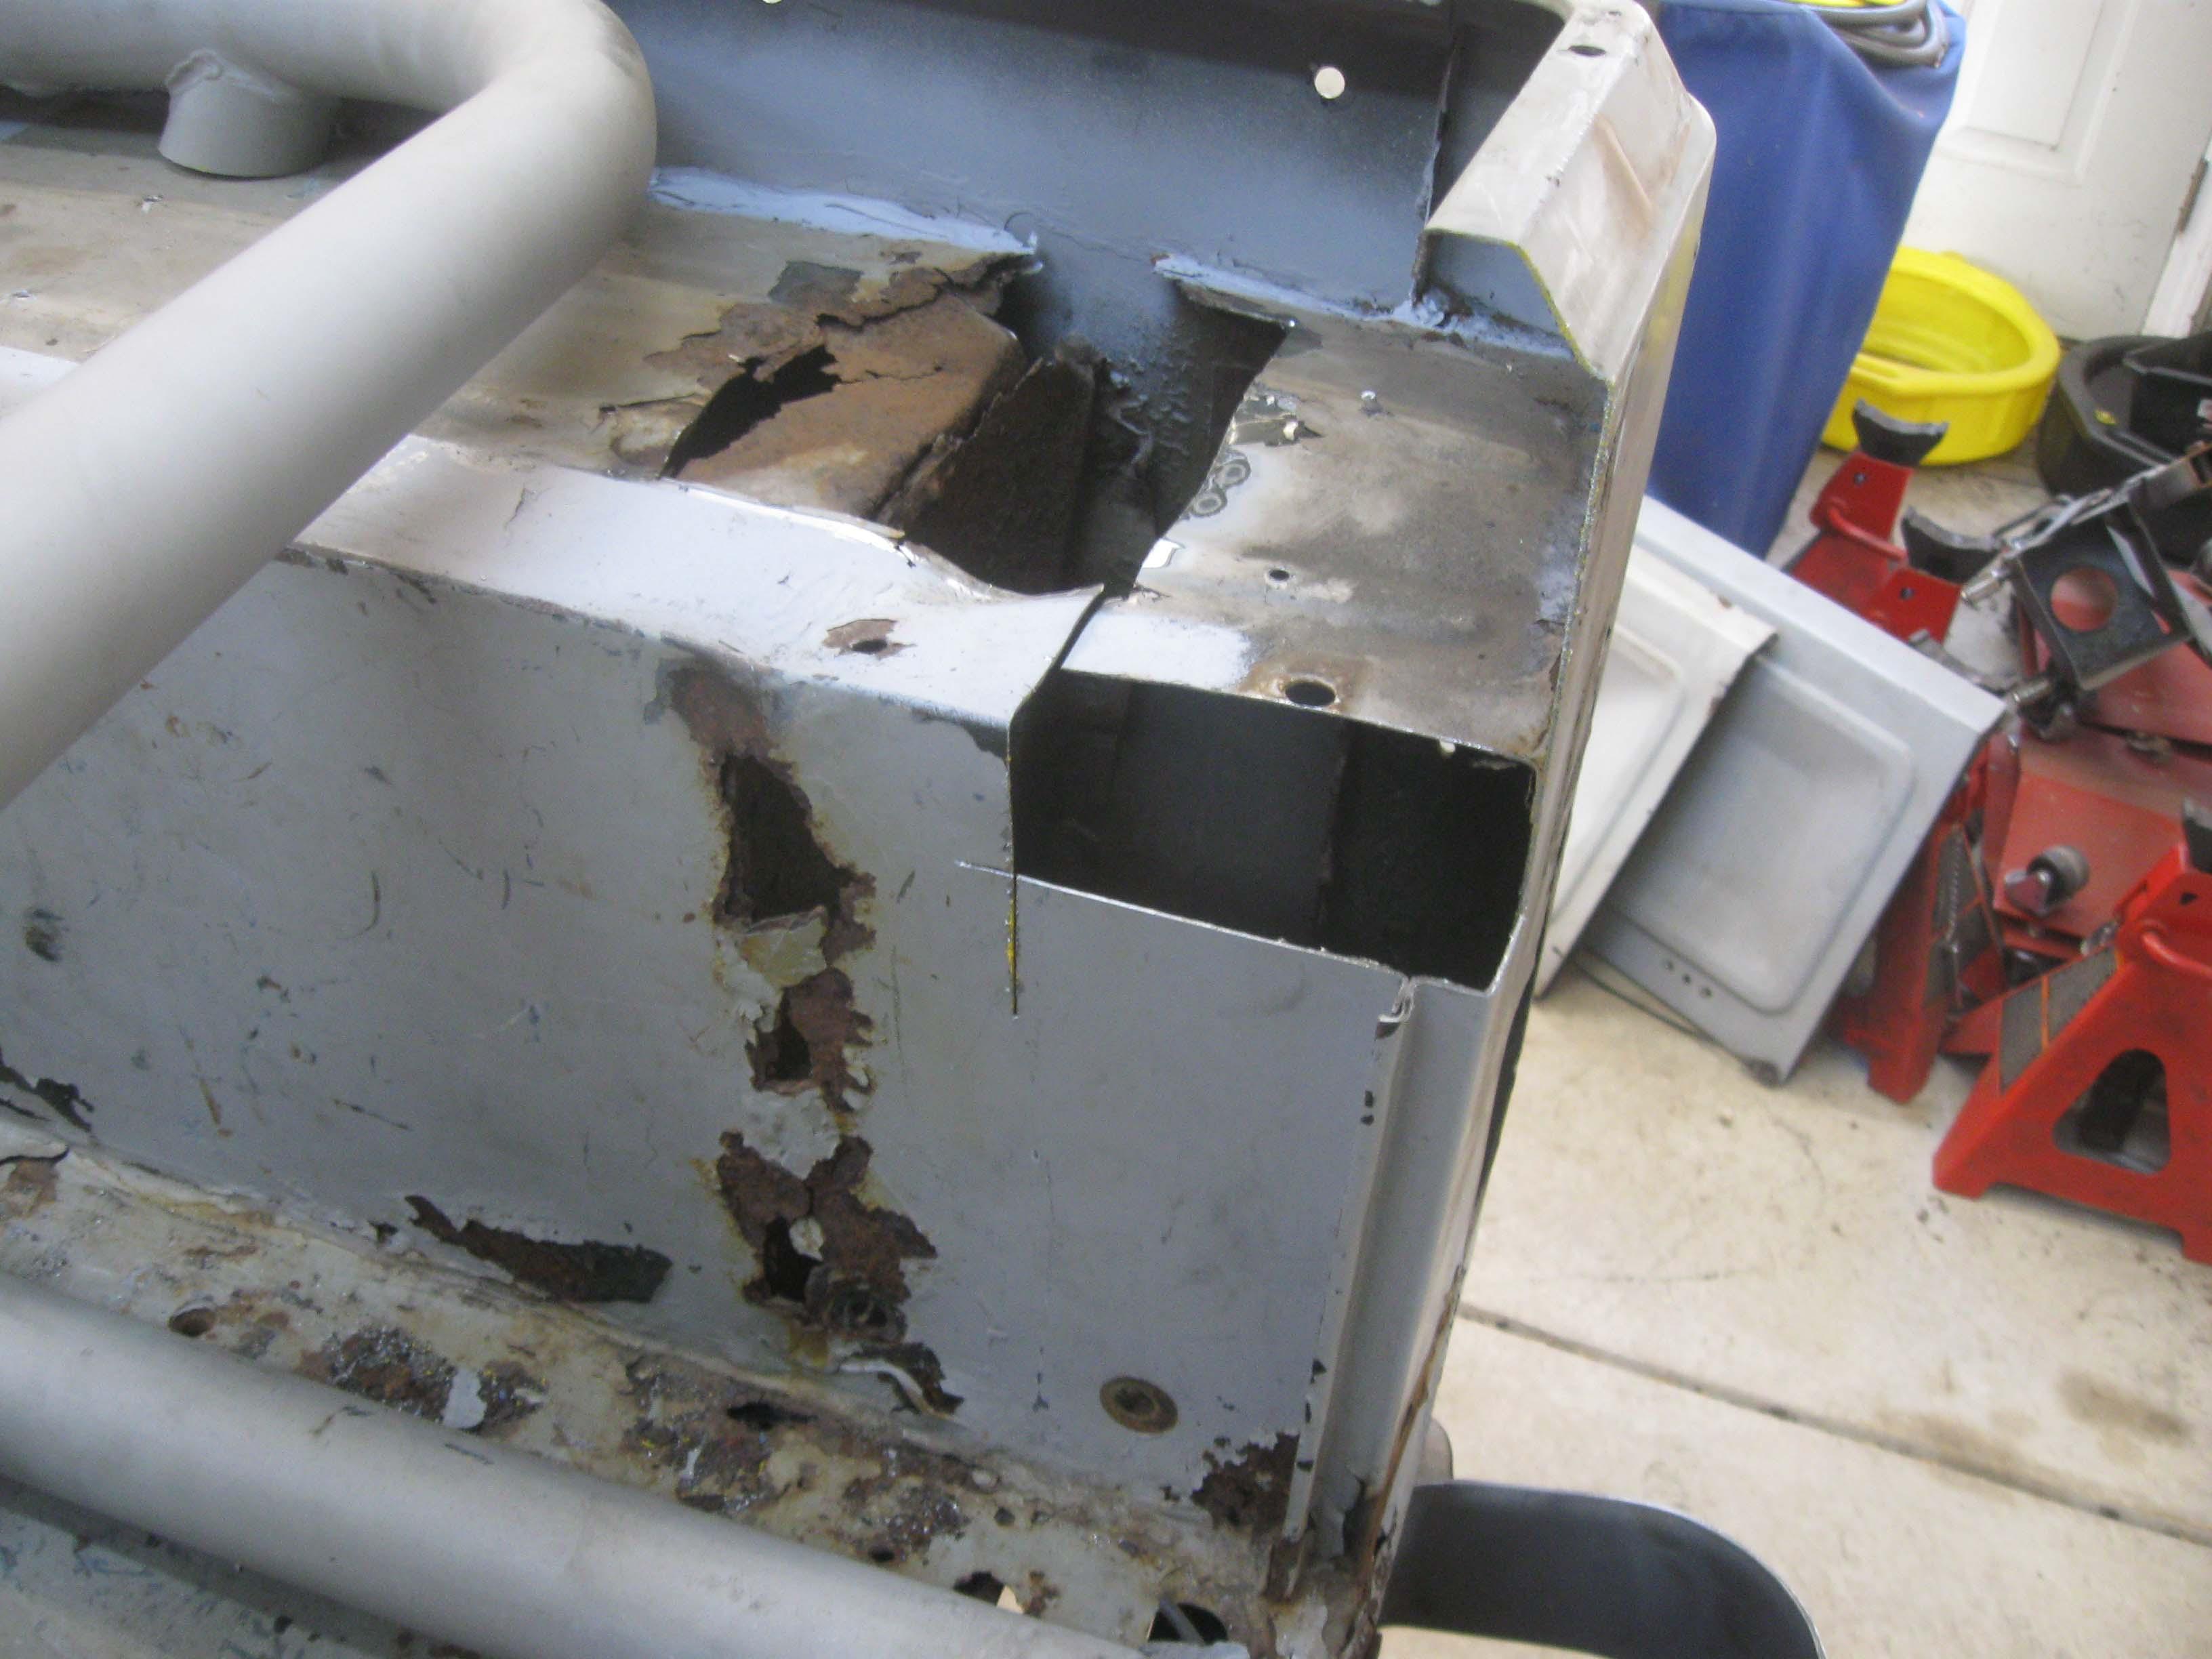
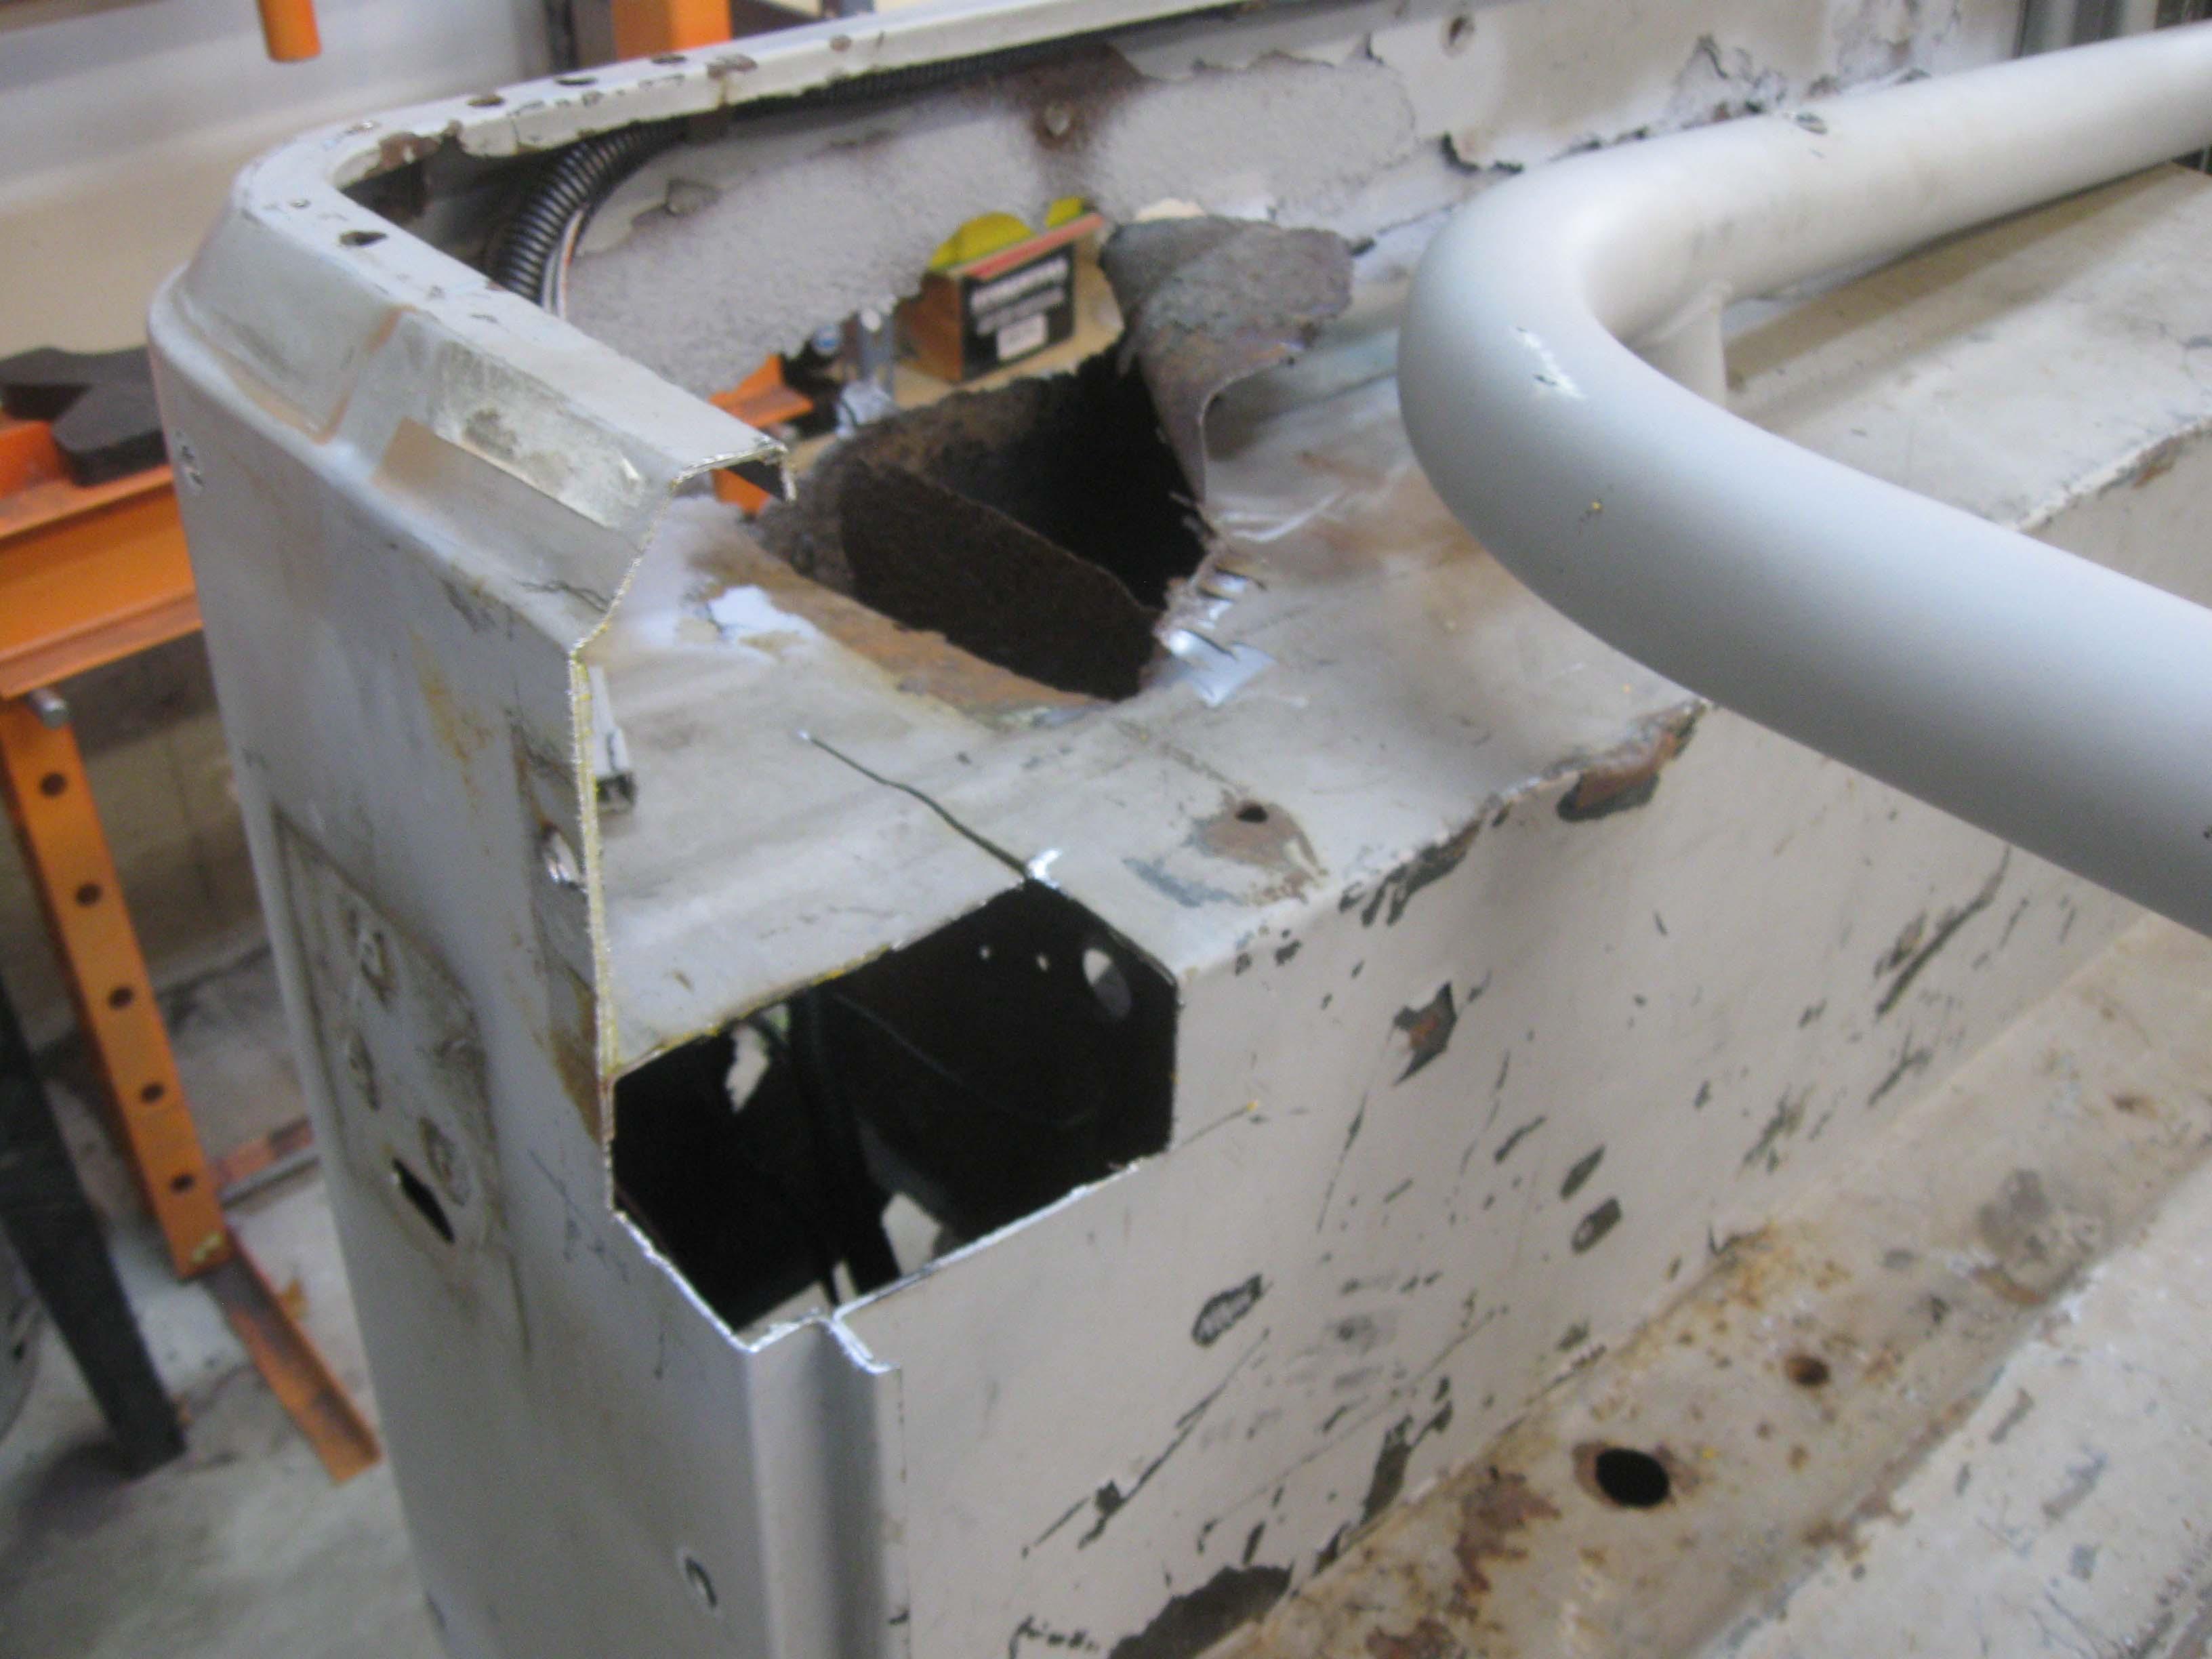
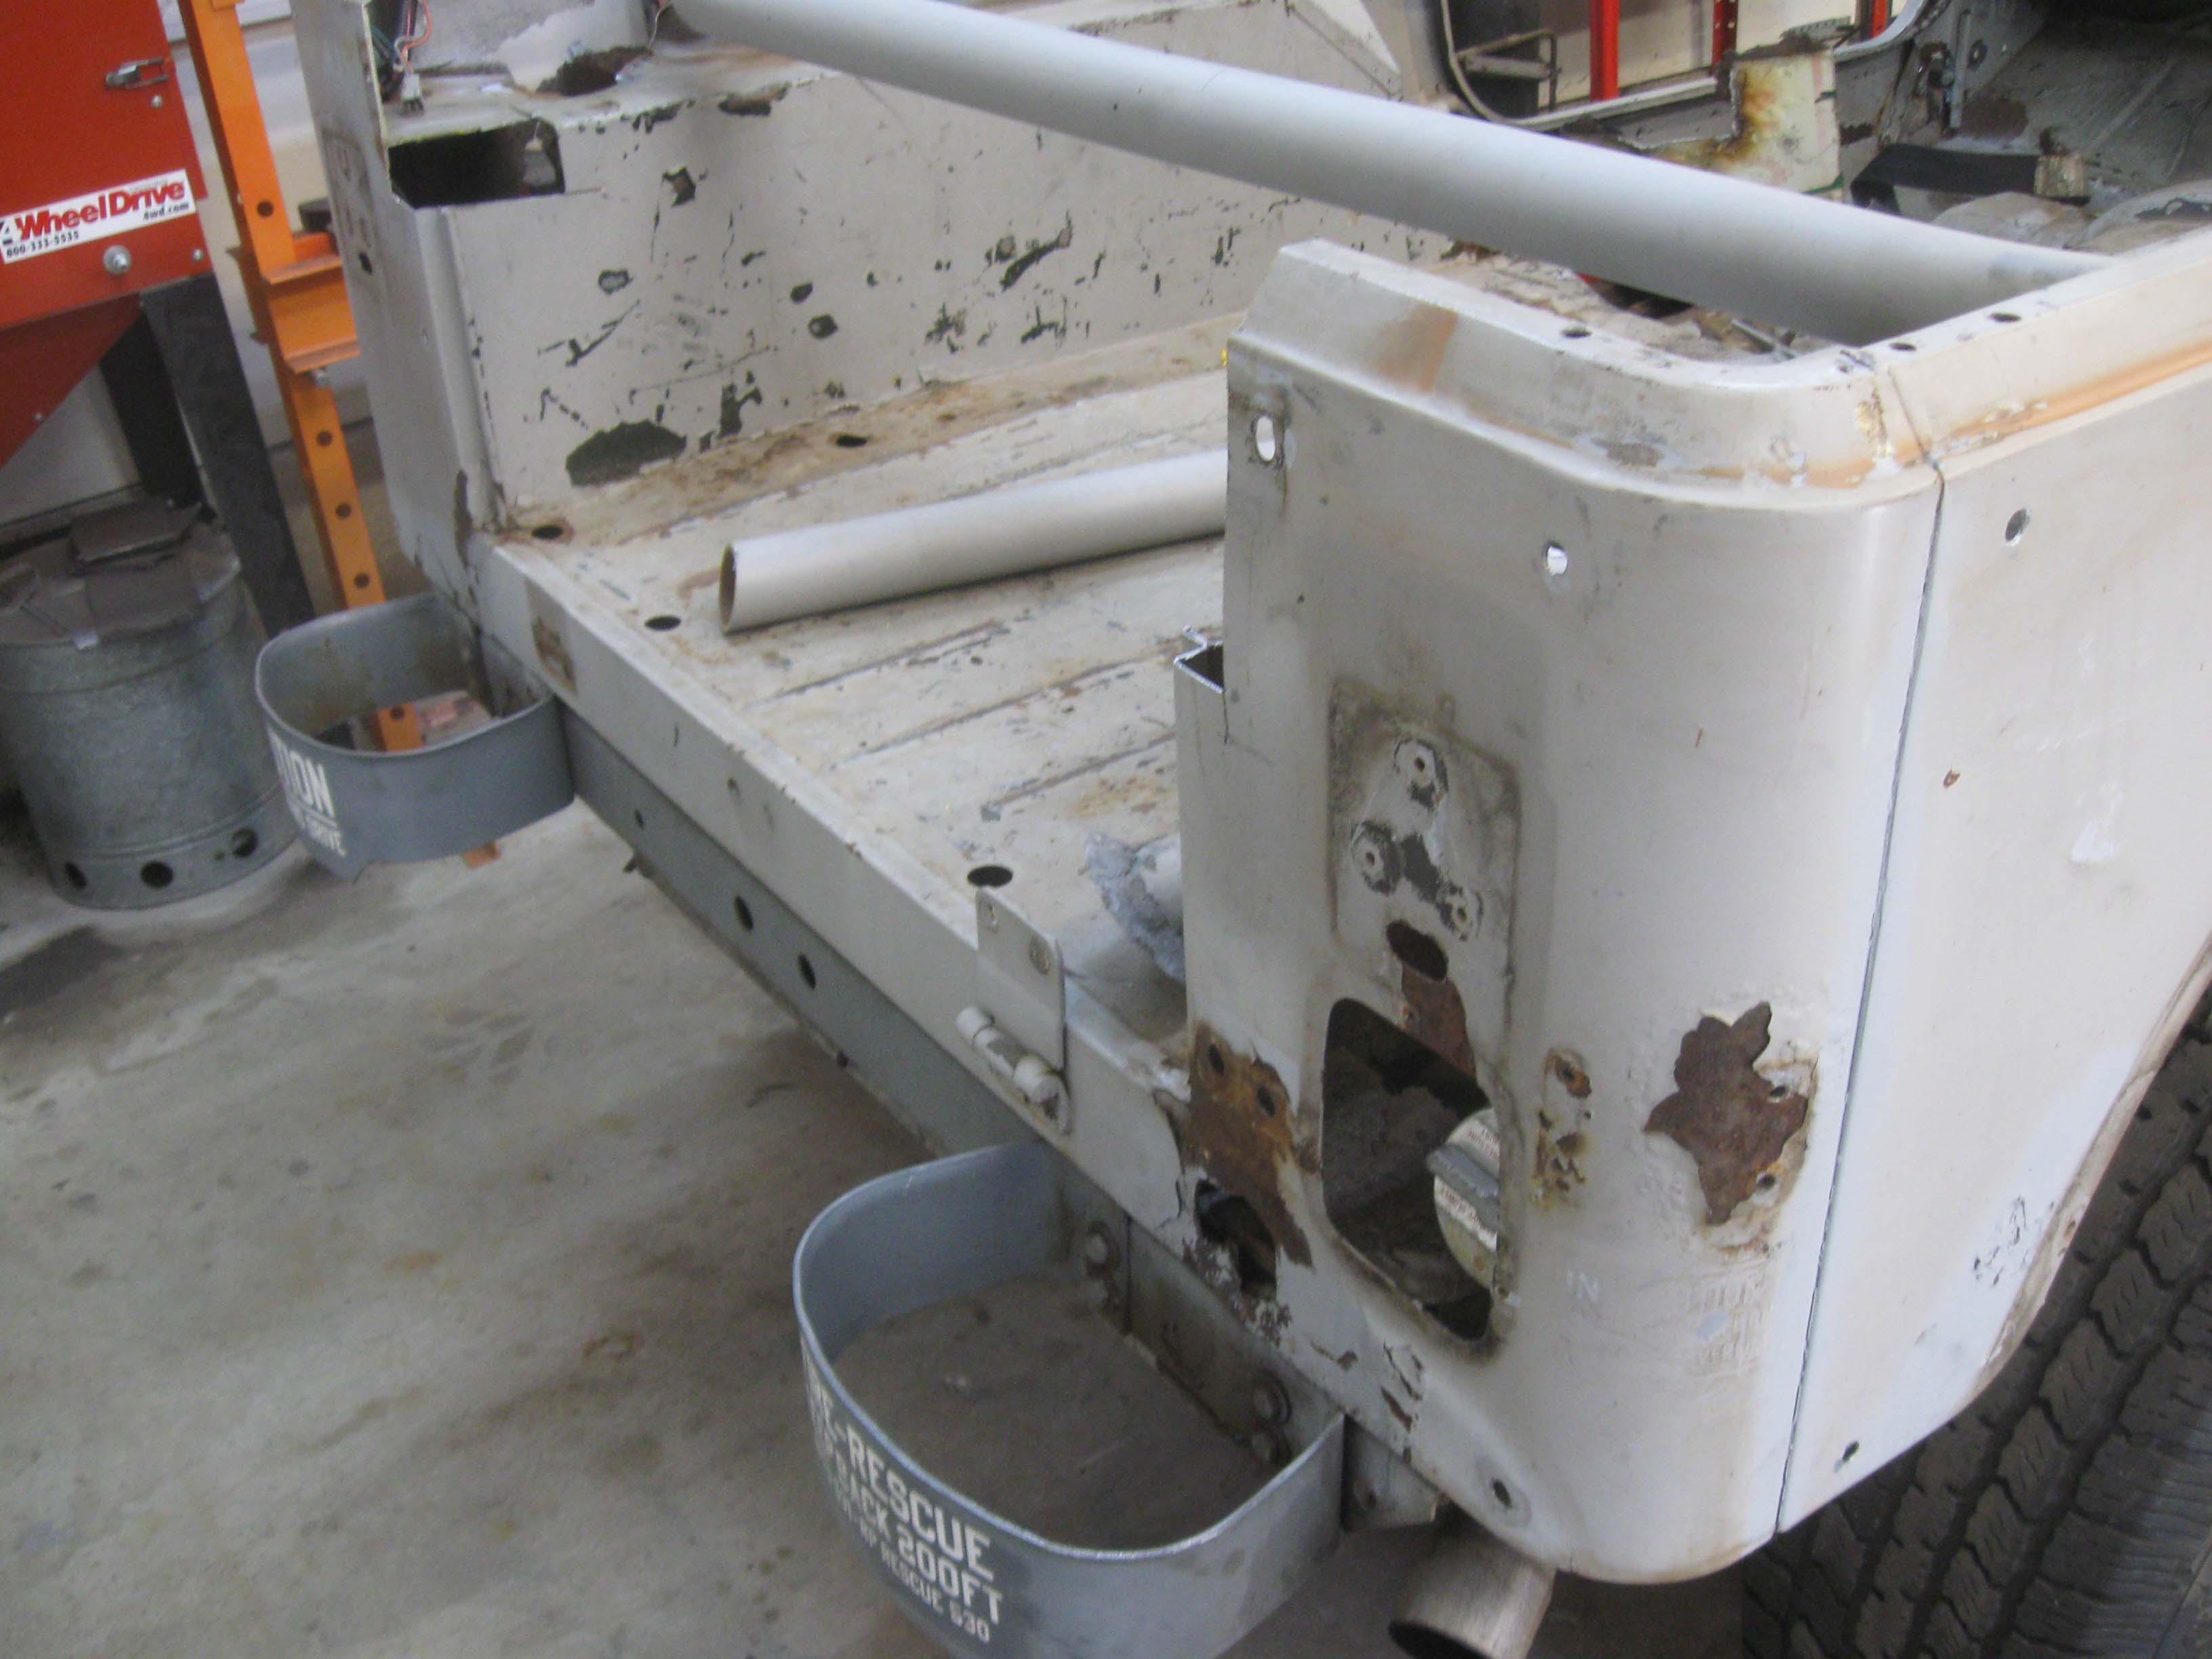
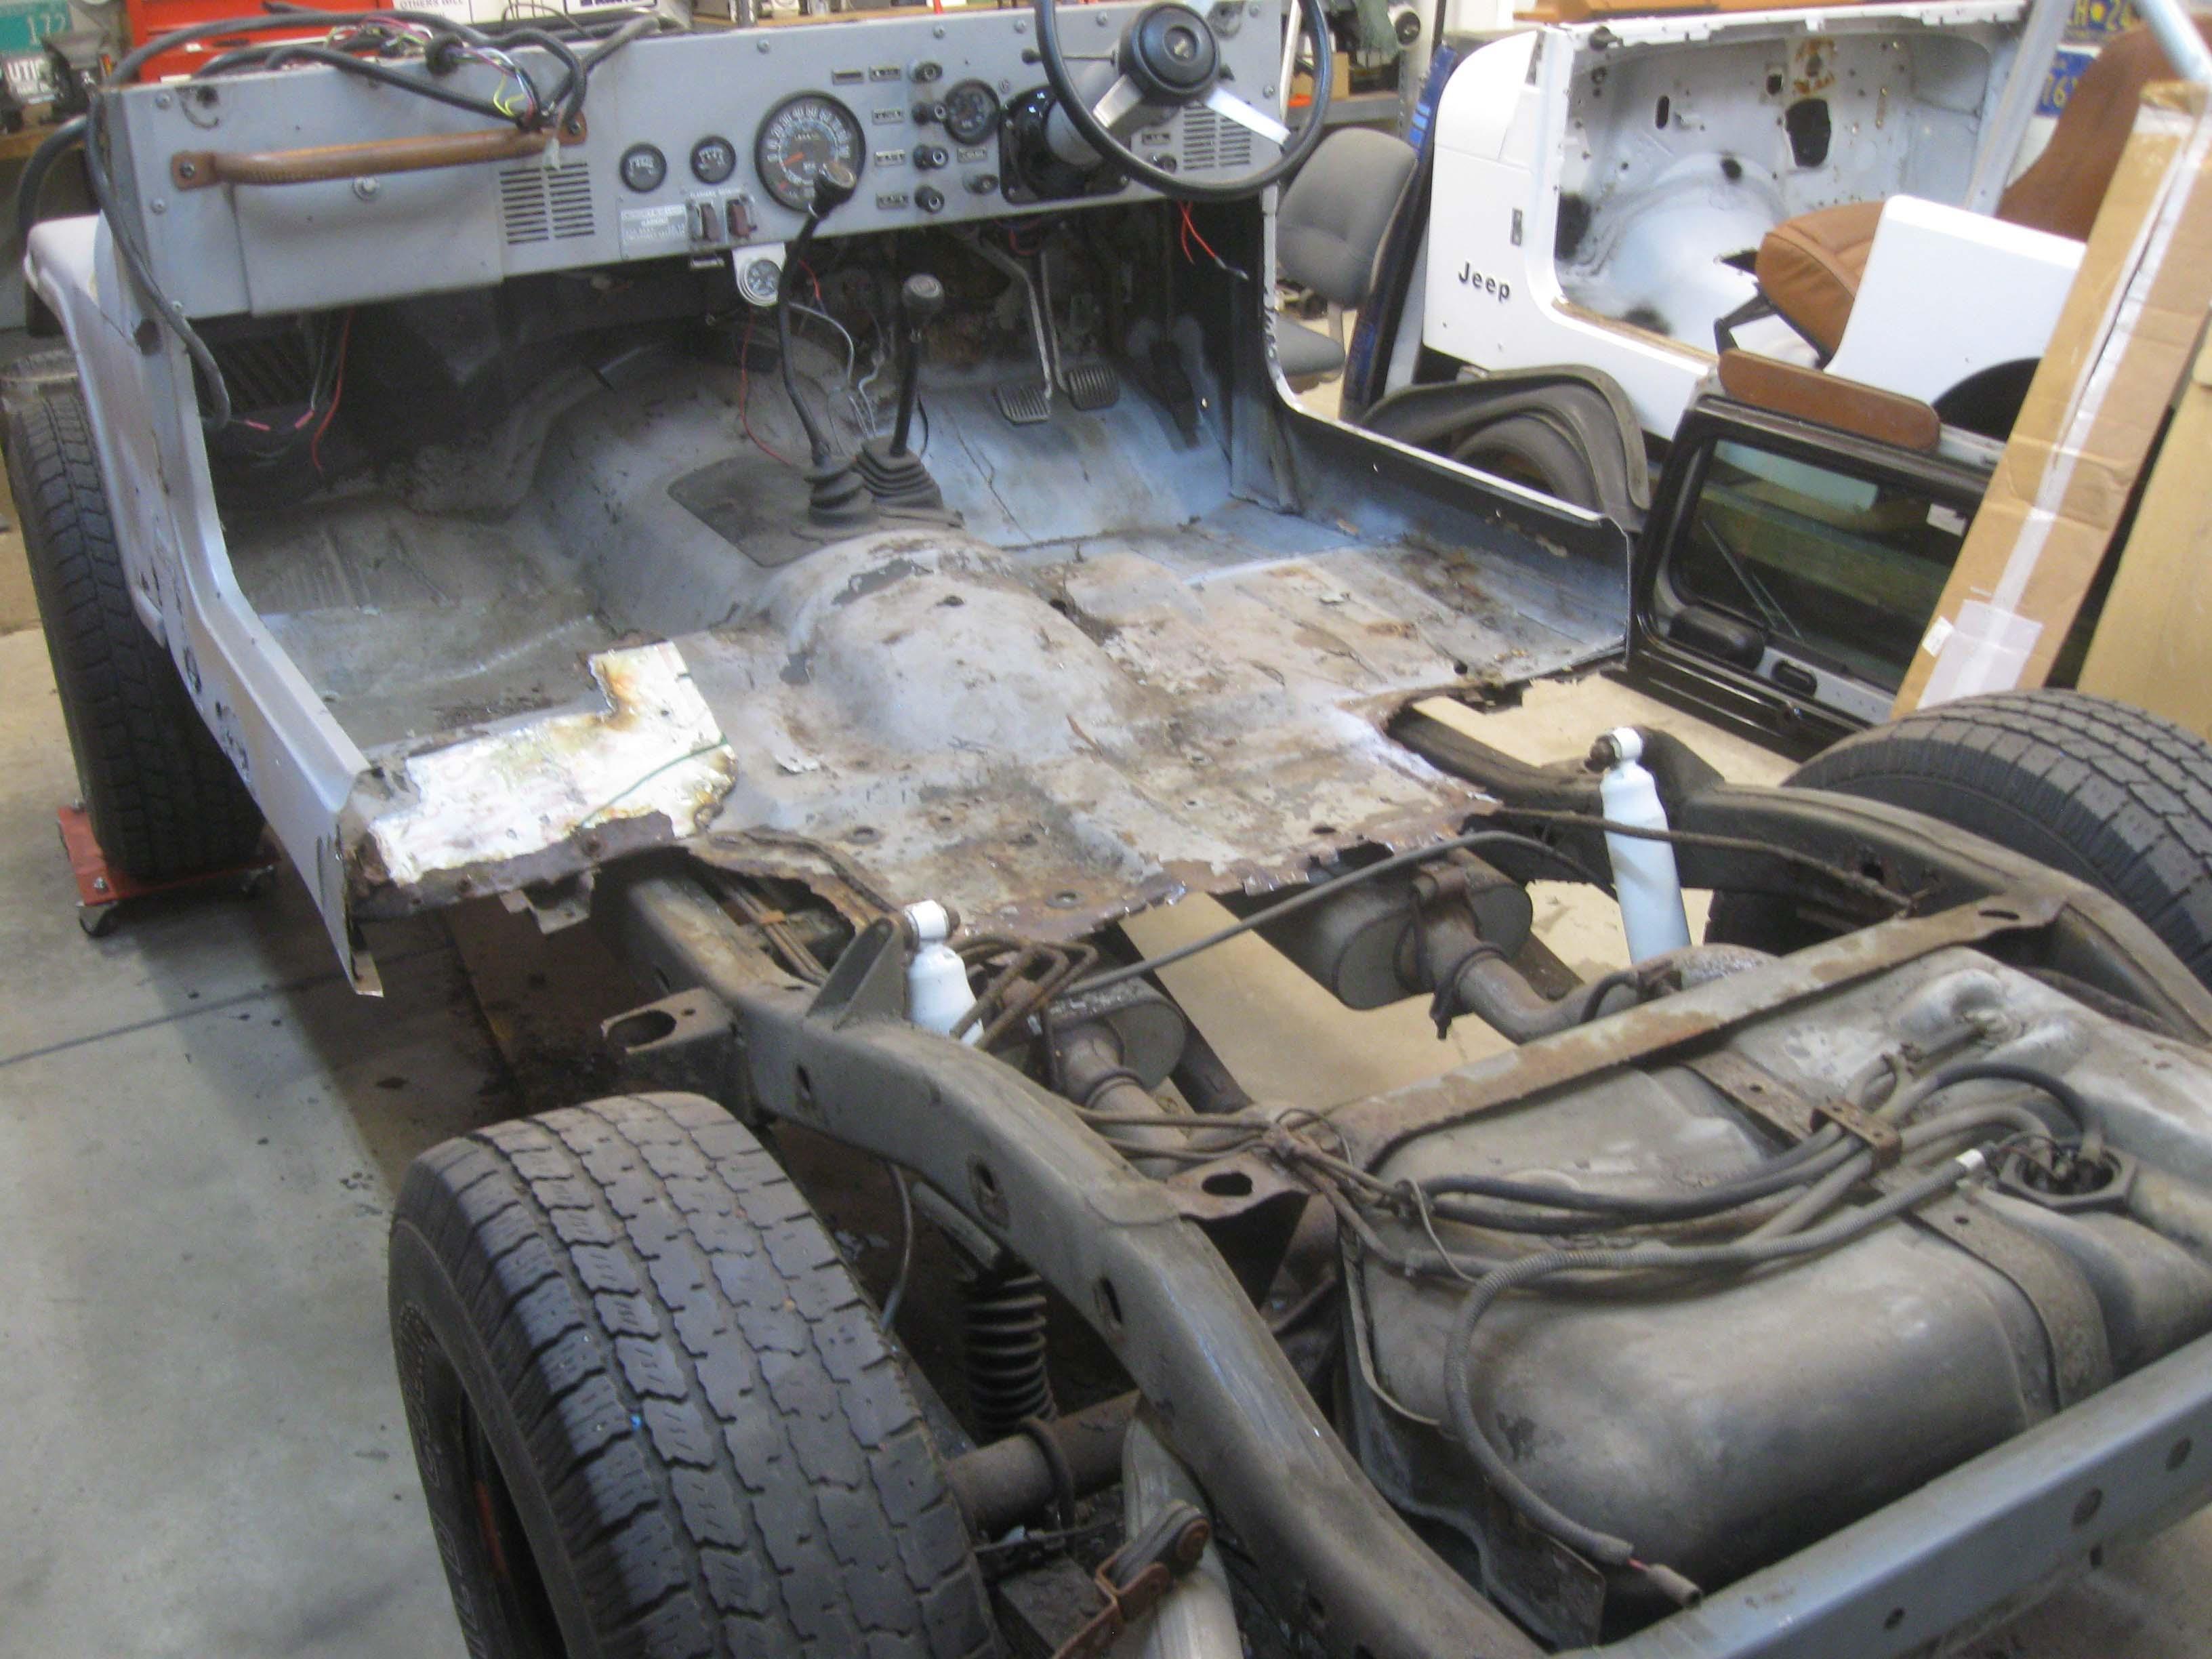
Attacking the rear
IMG_6650-1.jpg

IMG_6651-1.jpg

IMG_6652-1.jpg

IMG_6653-1.jpg


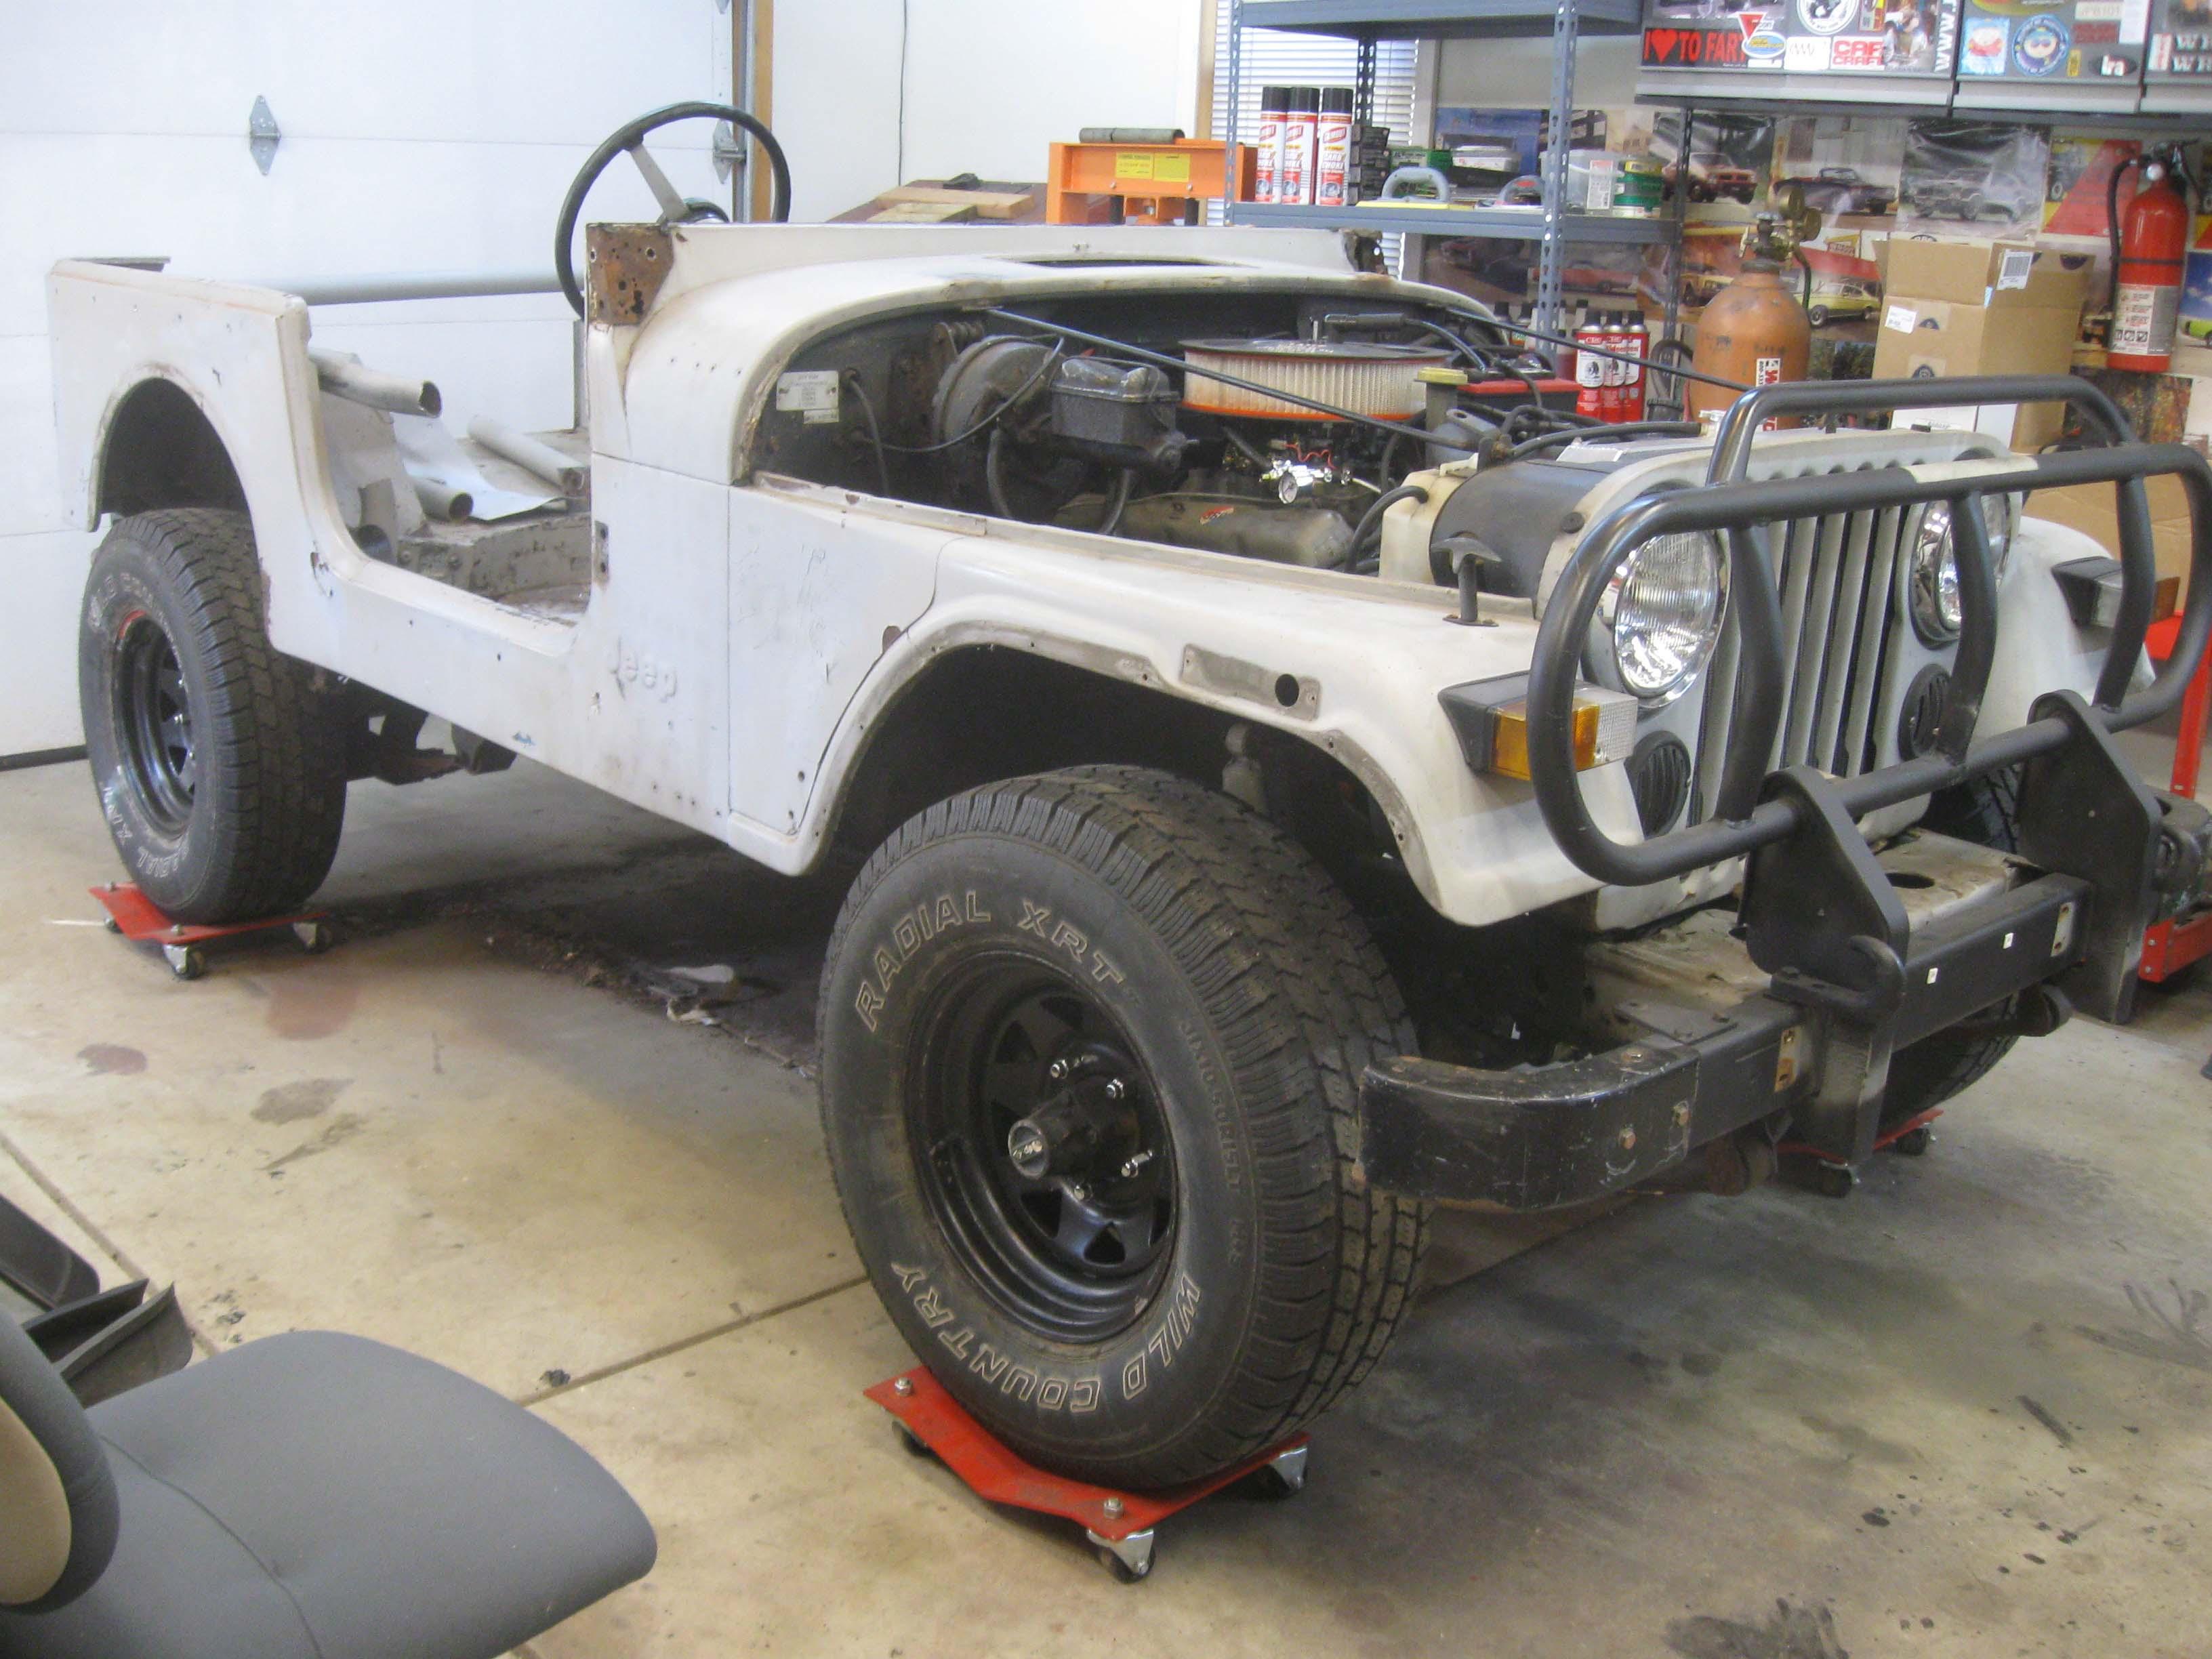
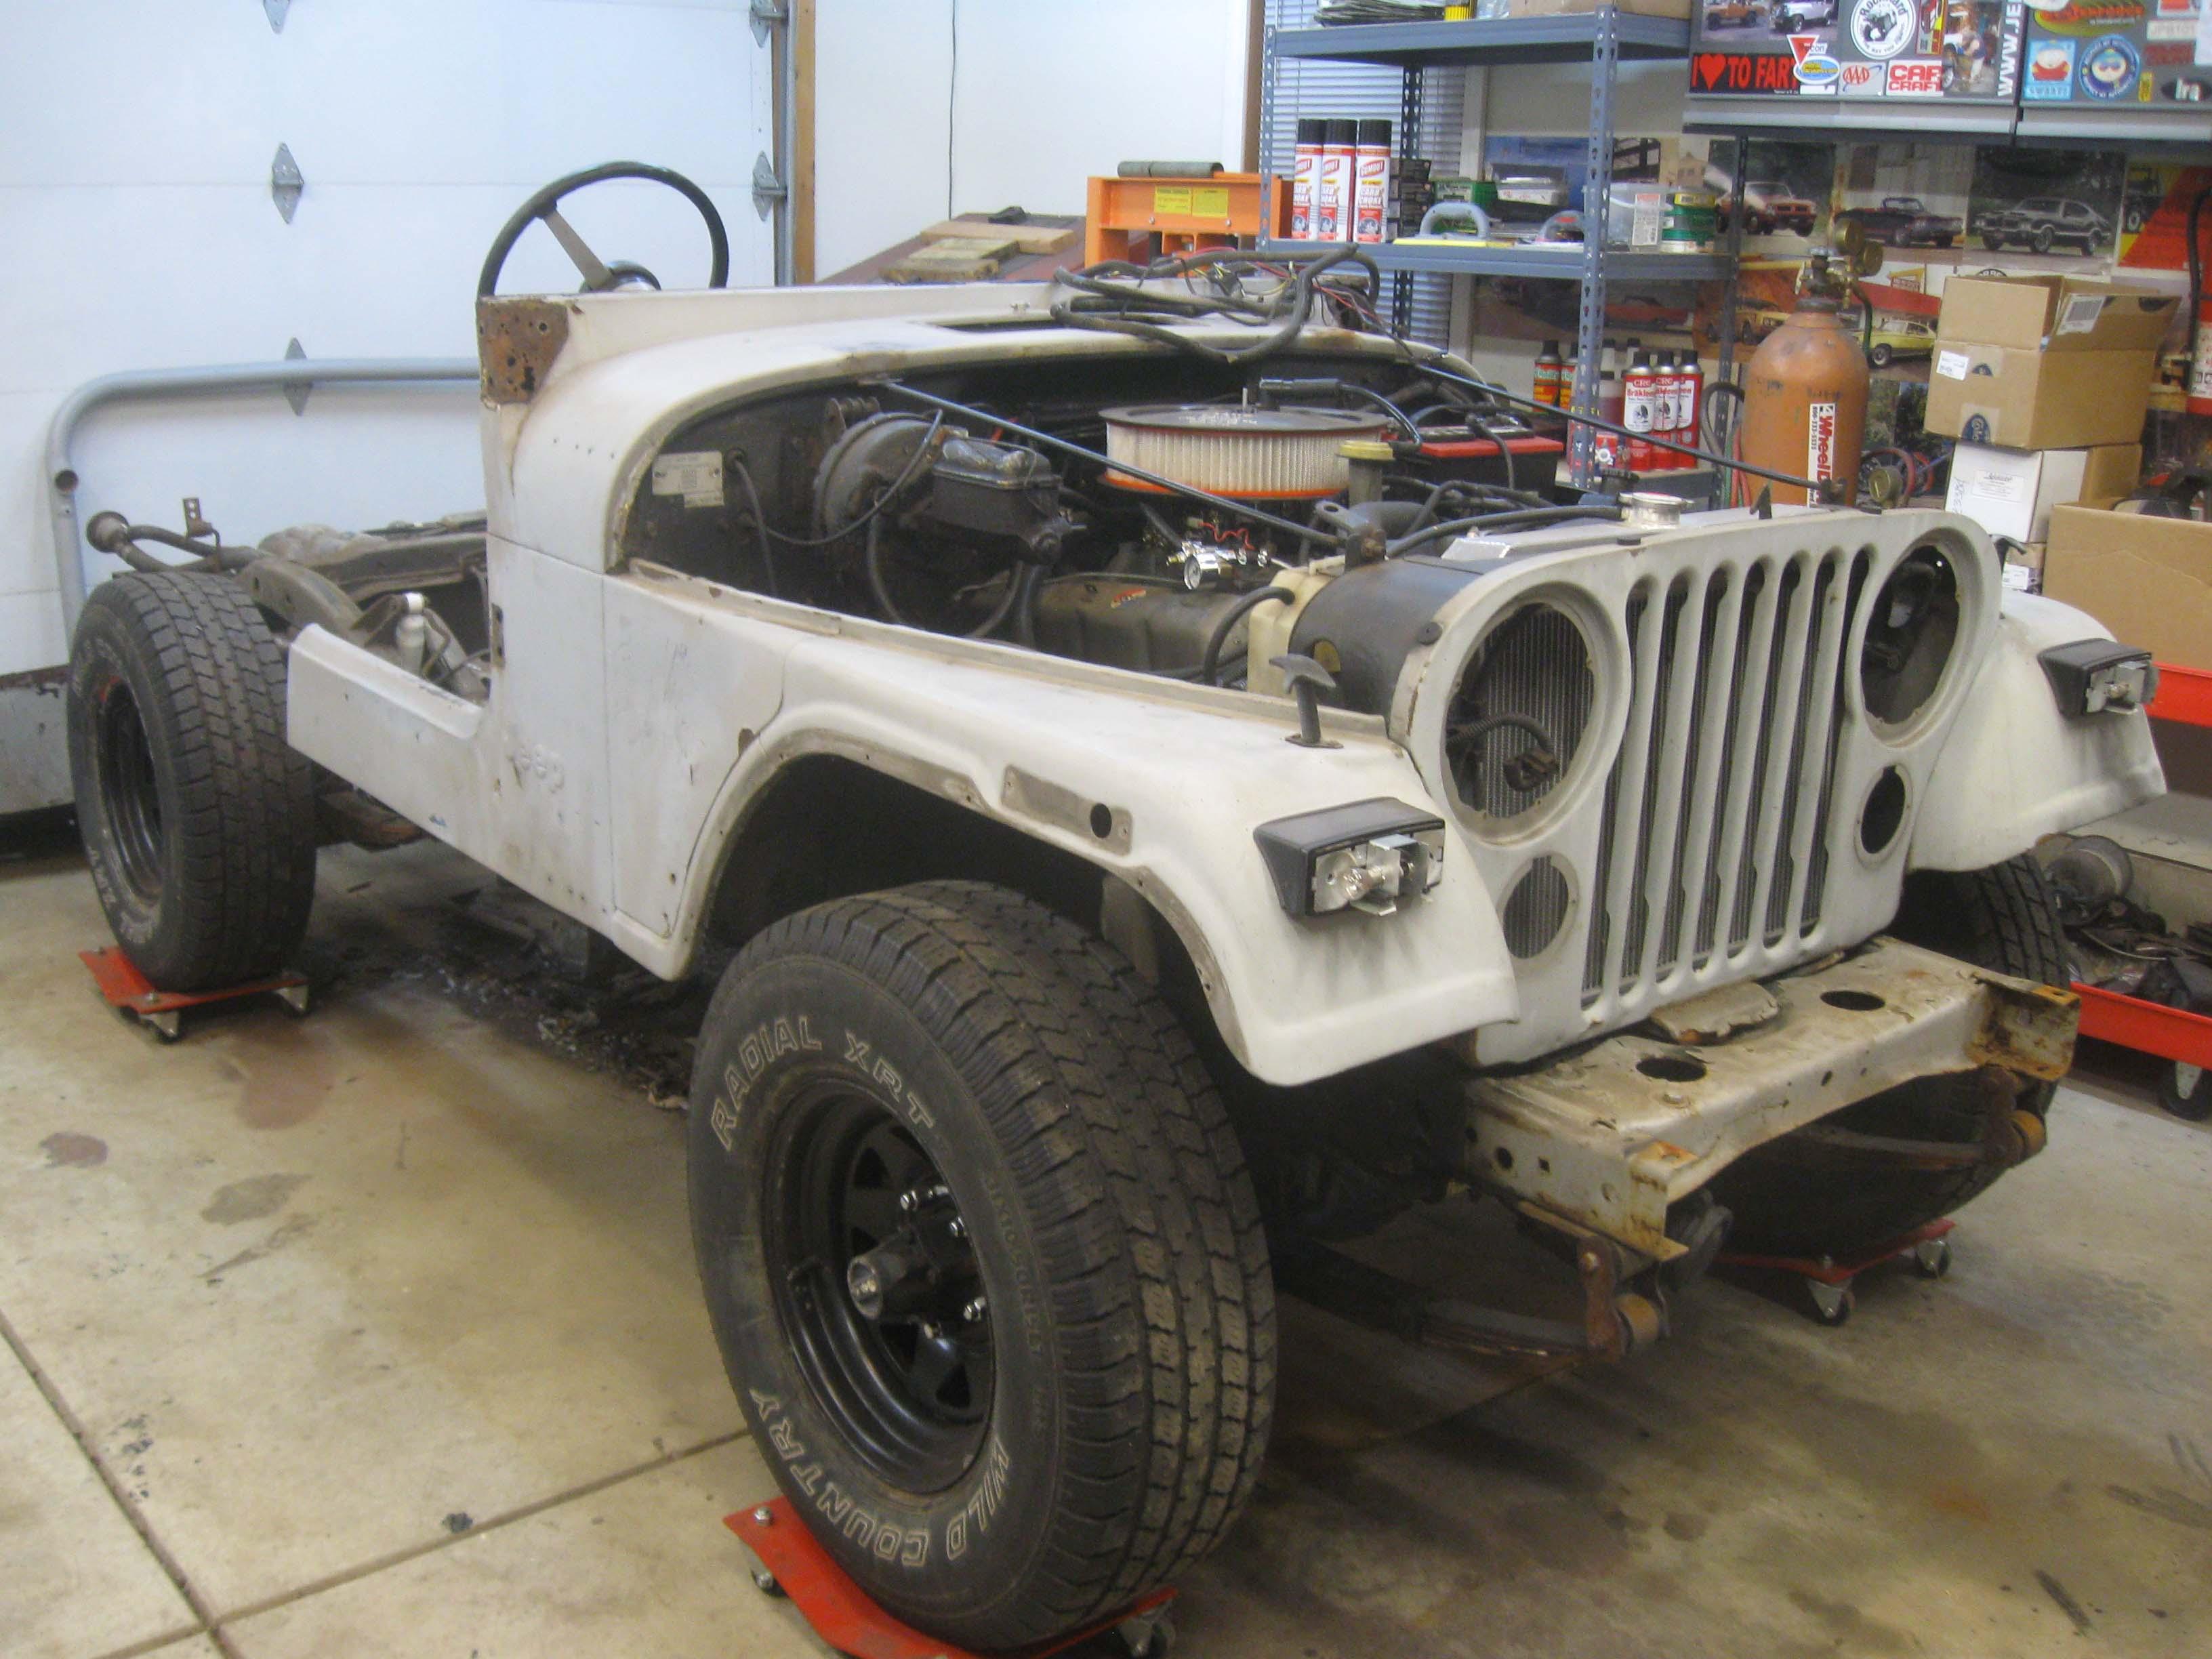
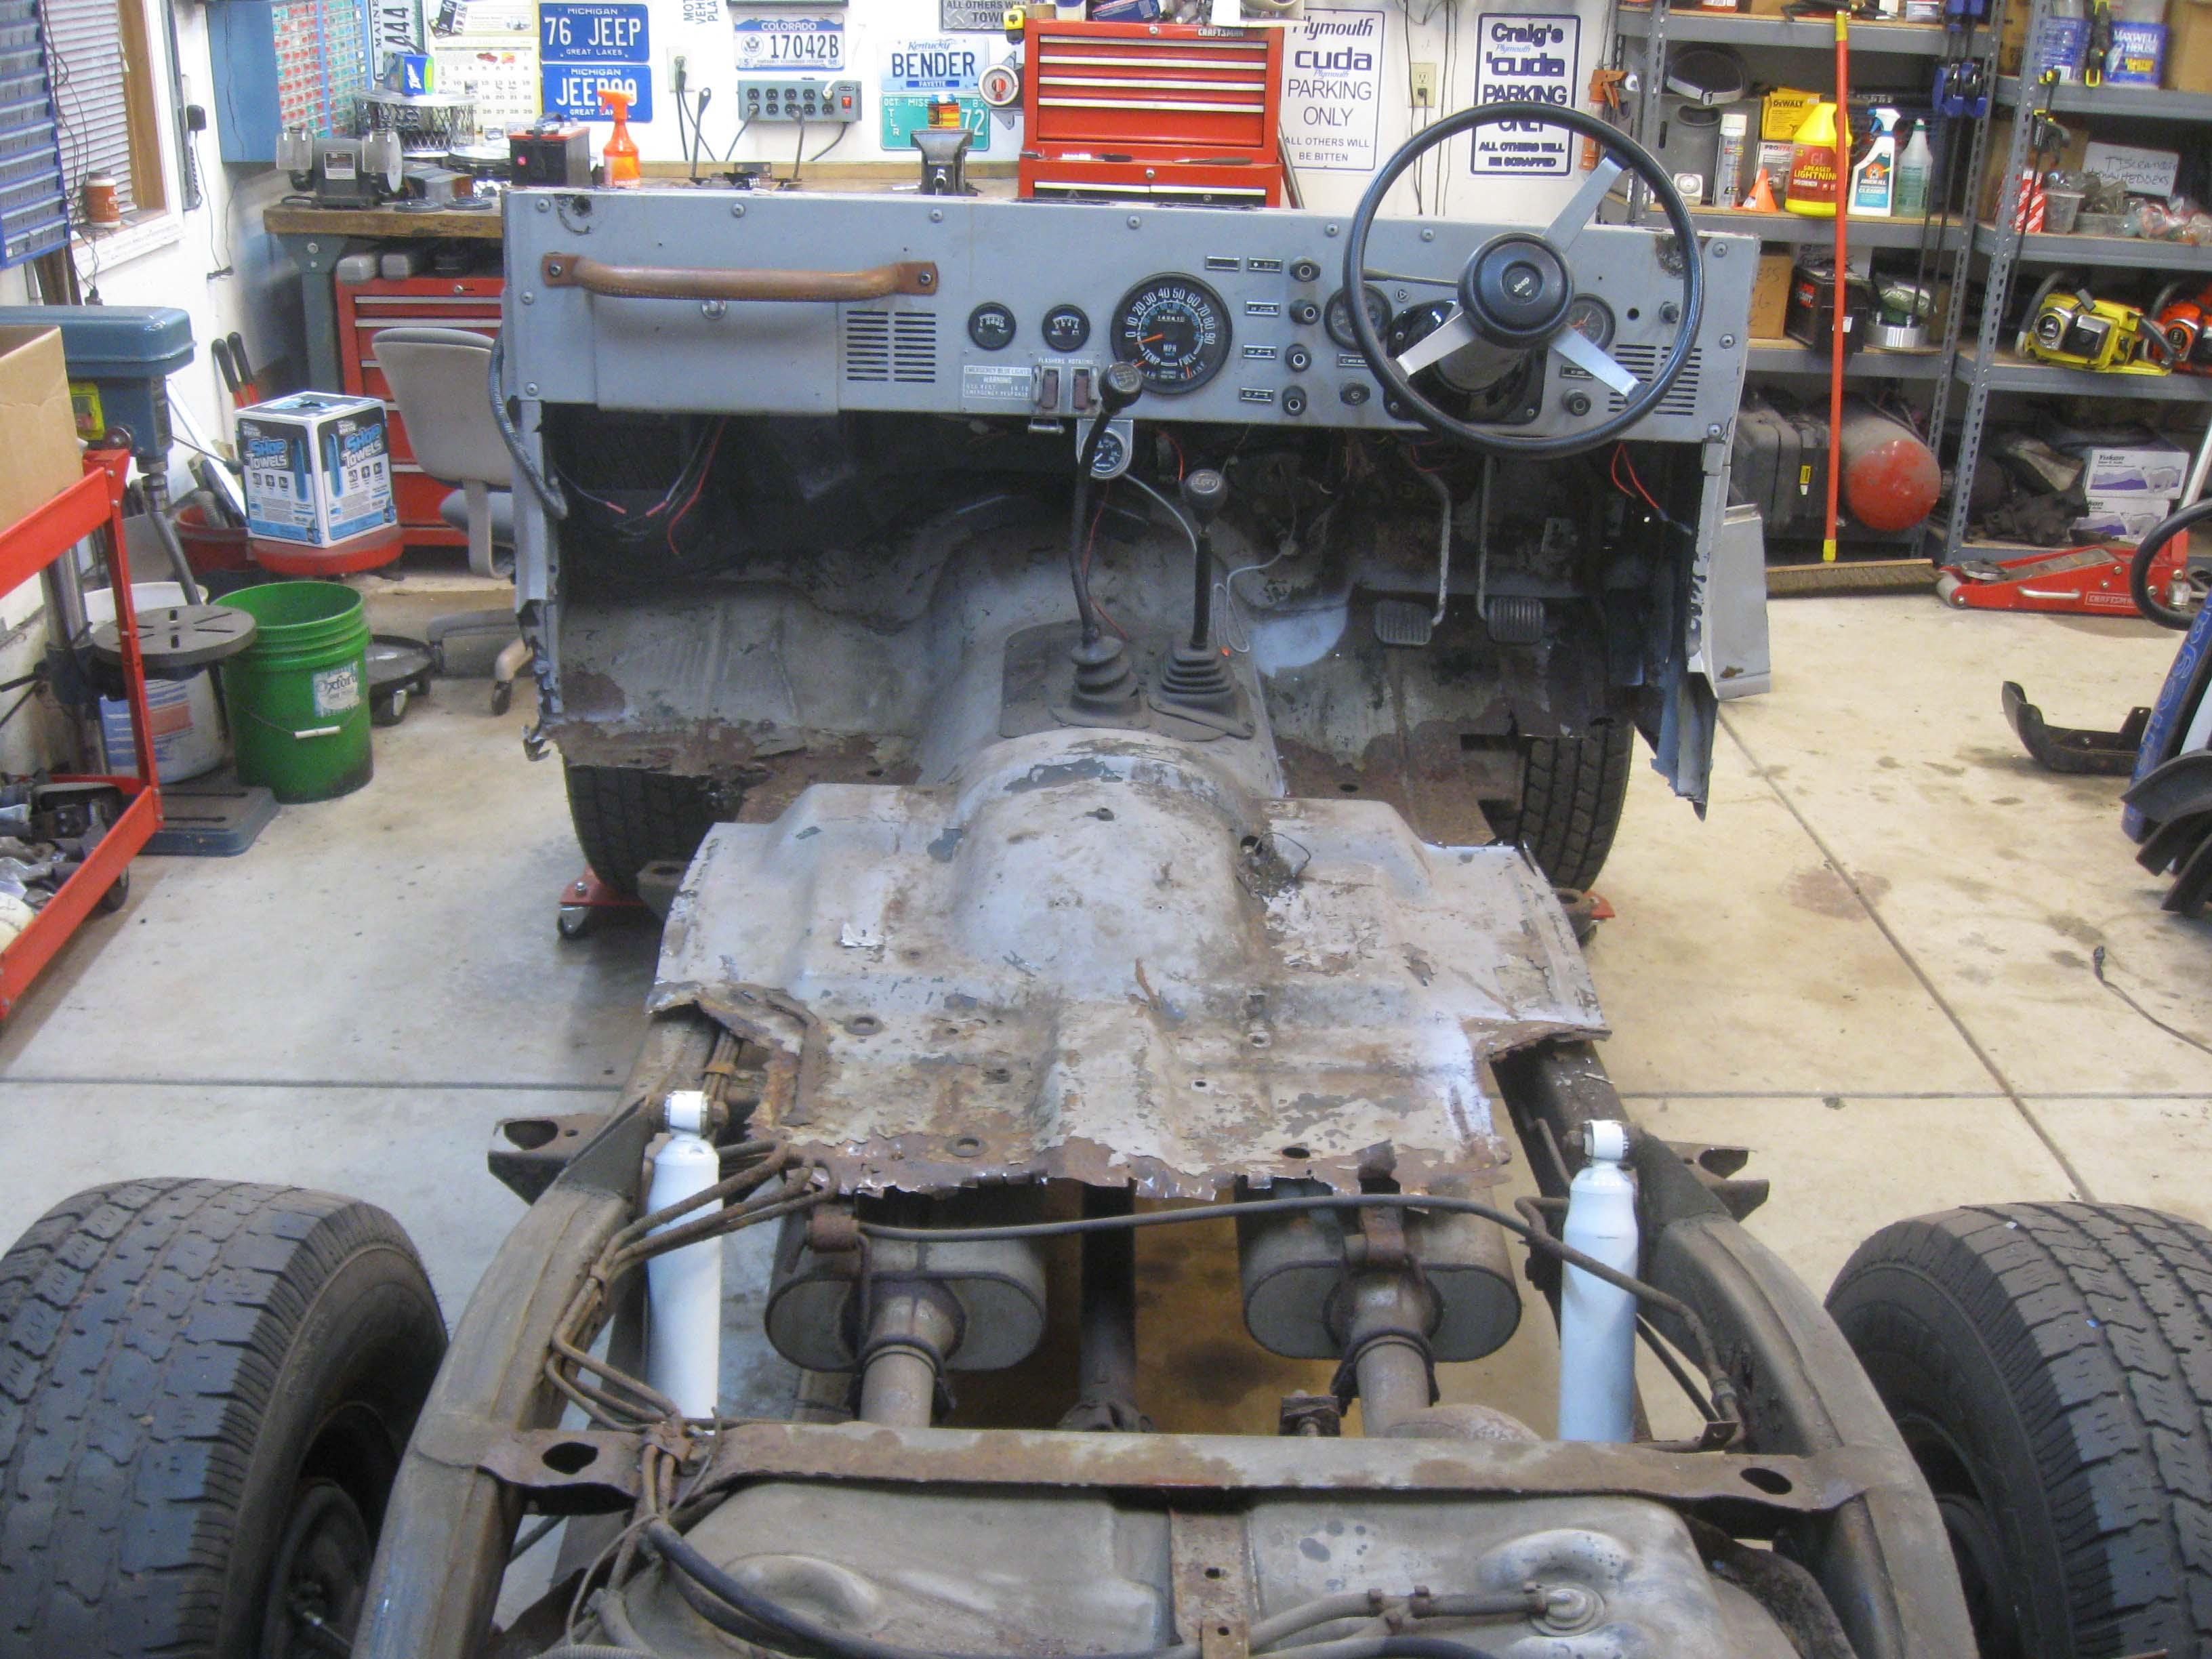
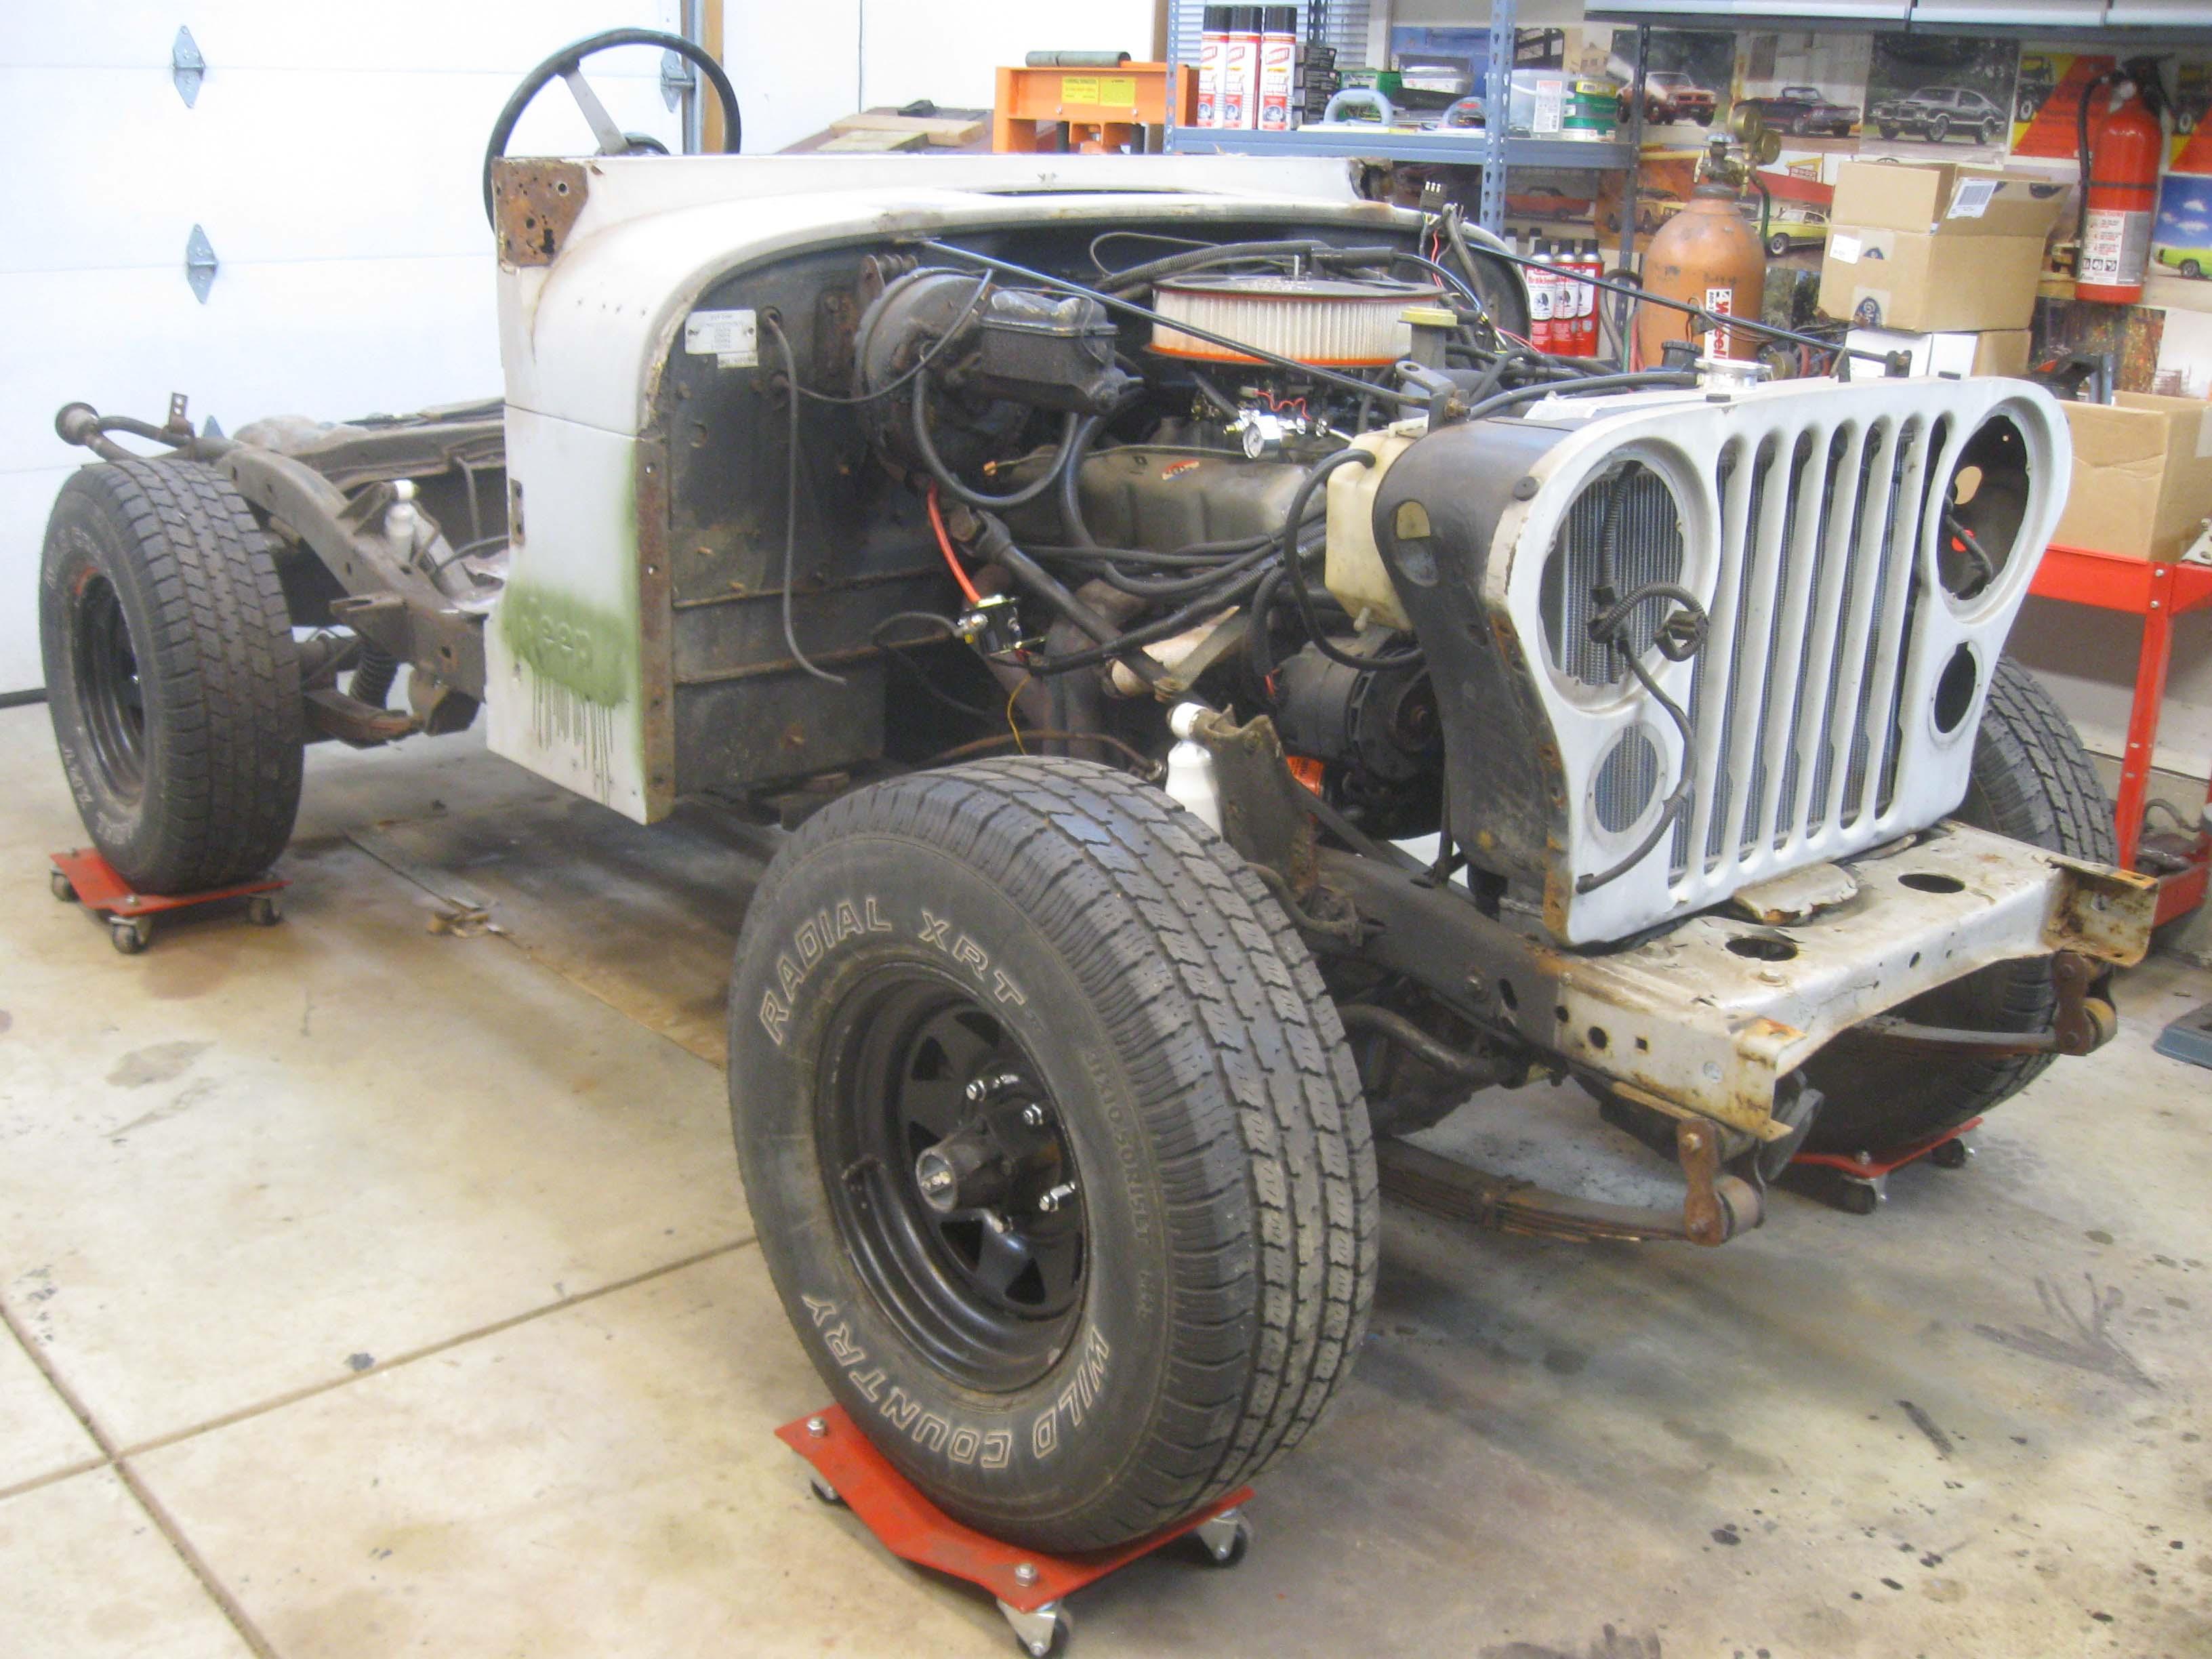
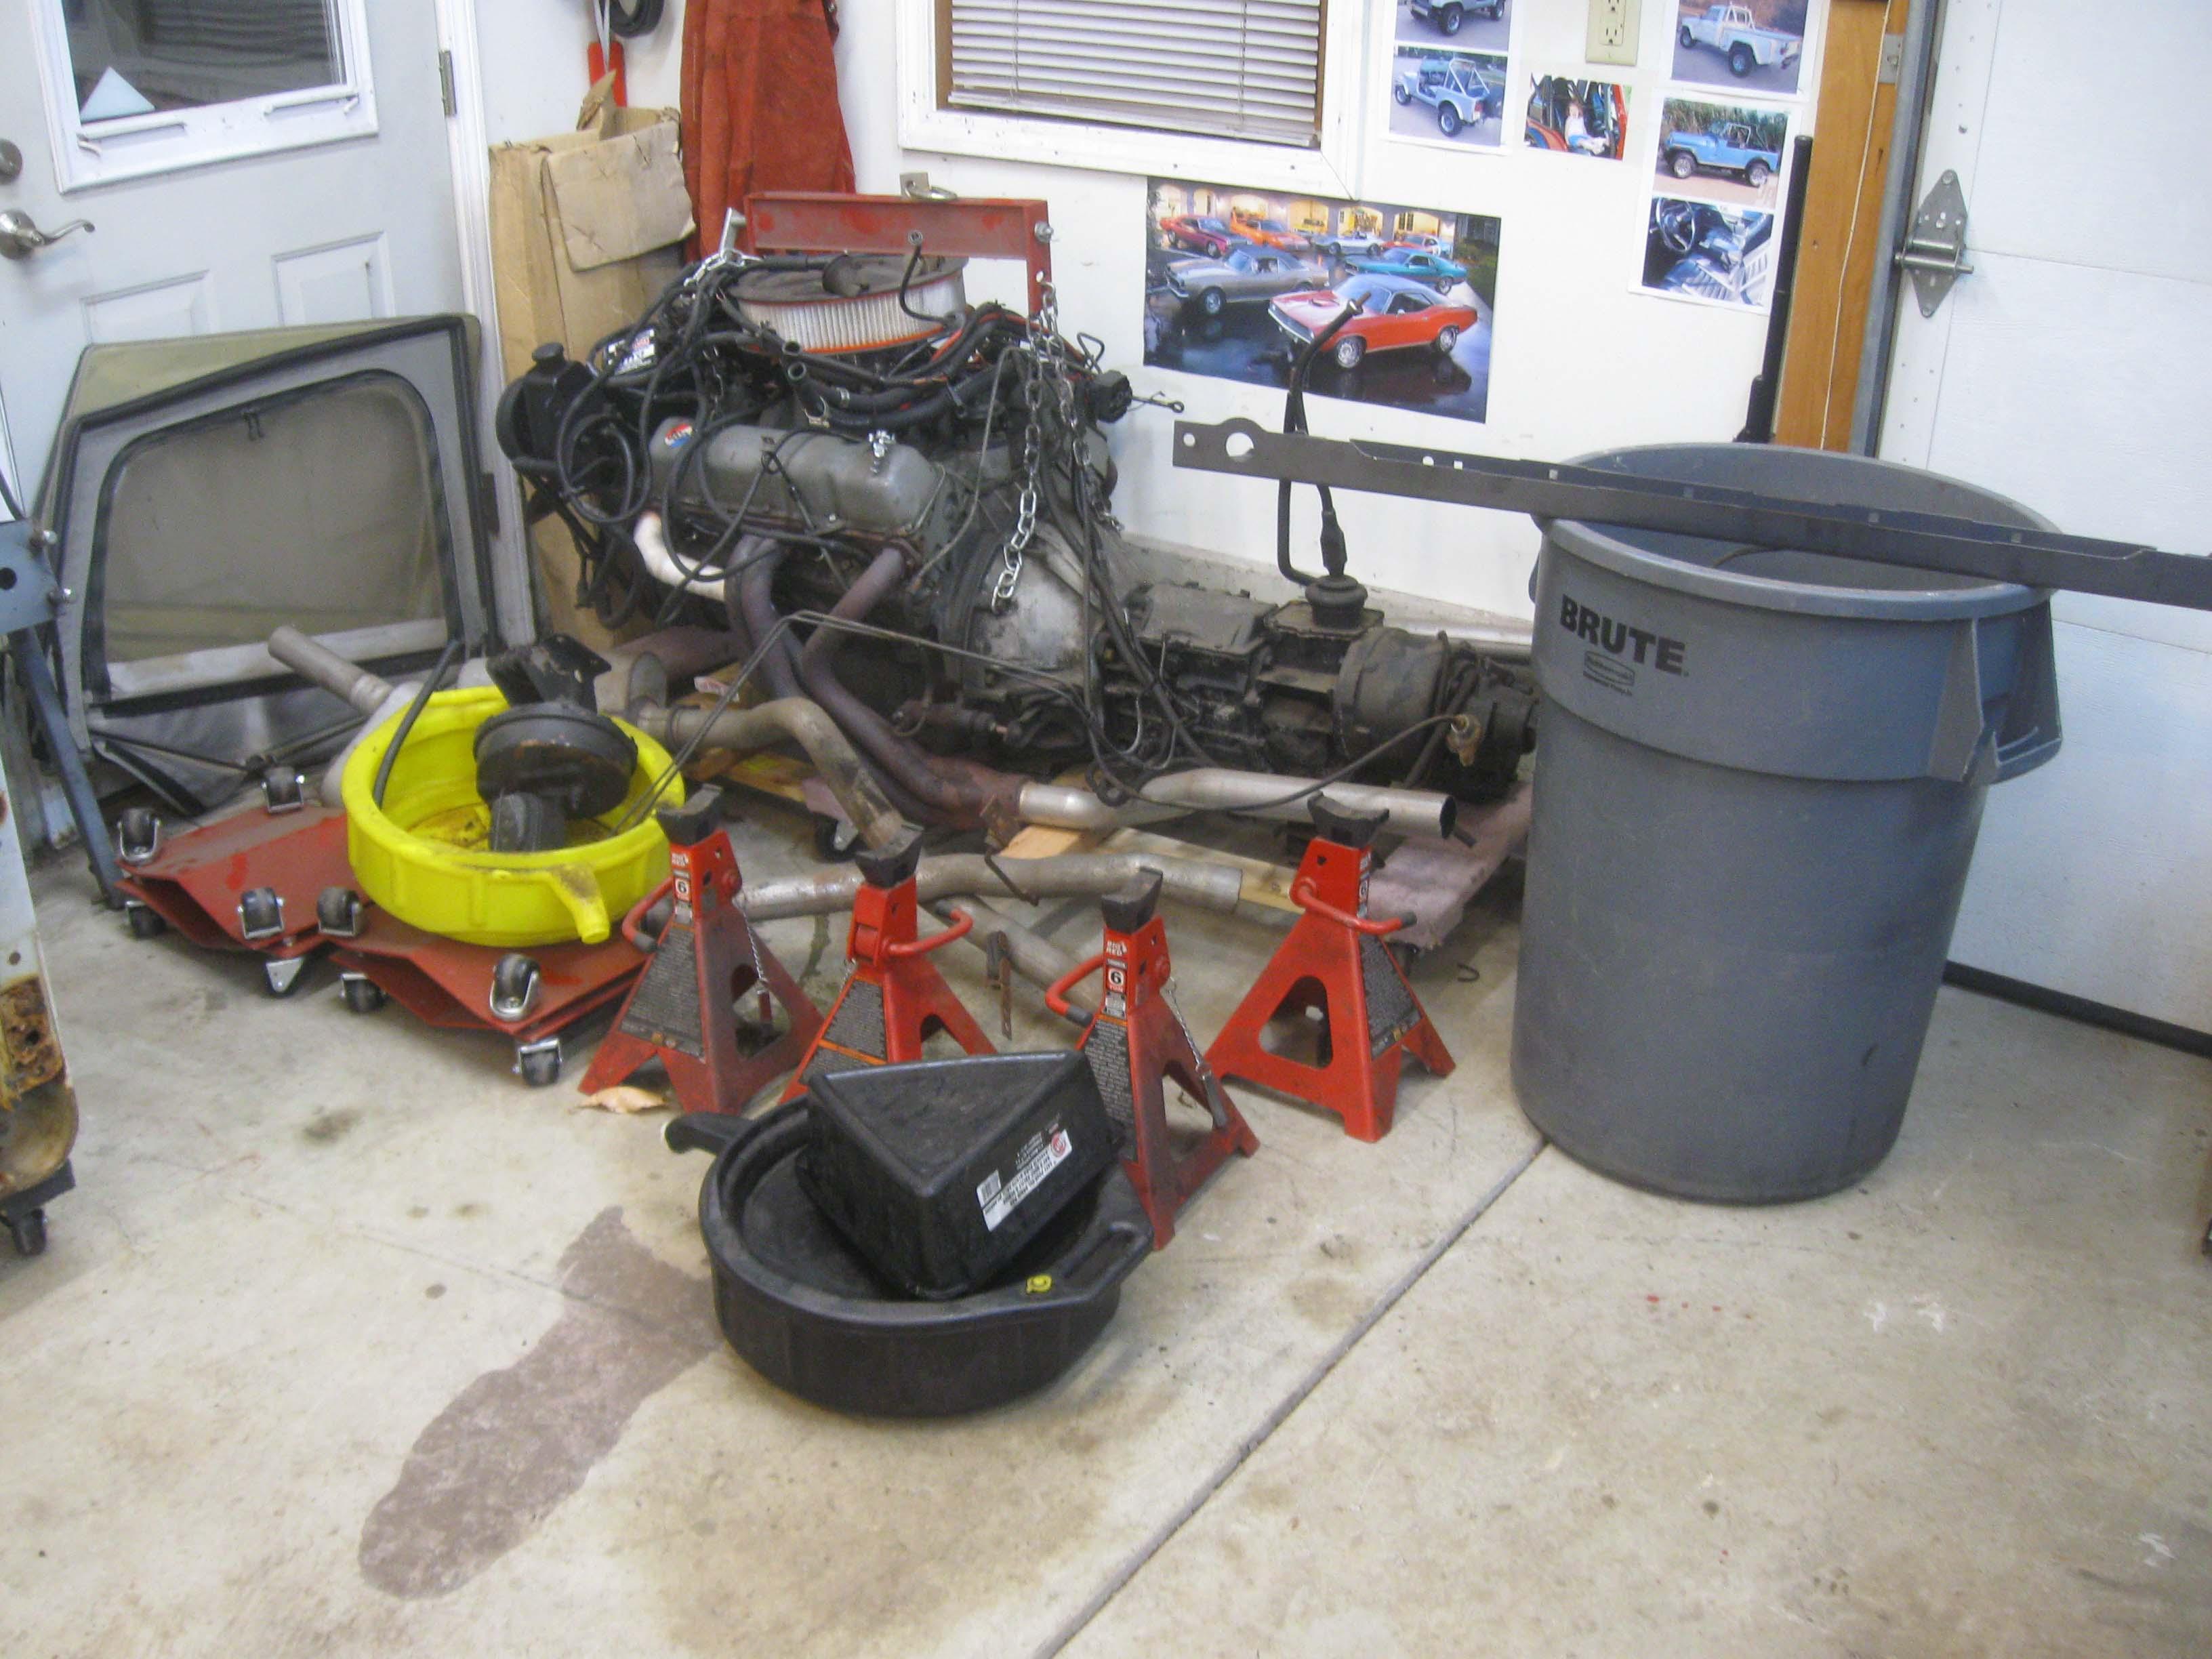
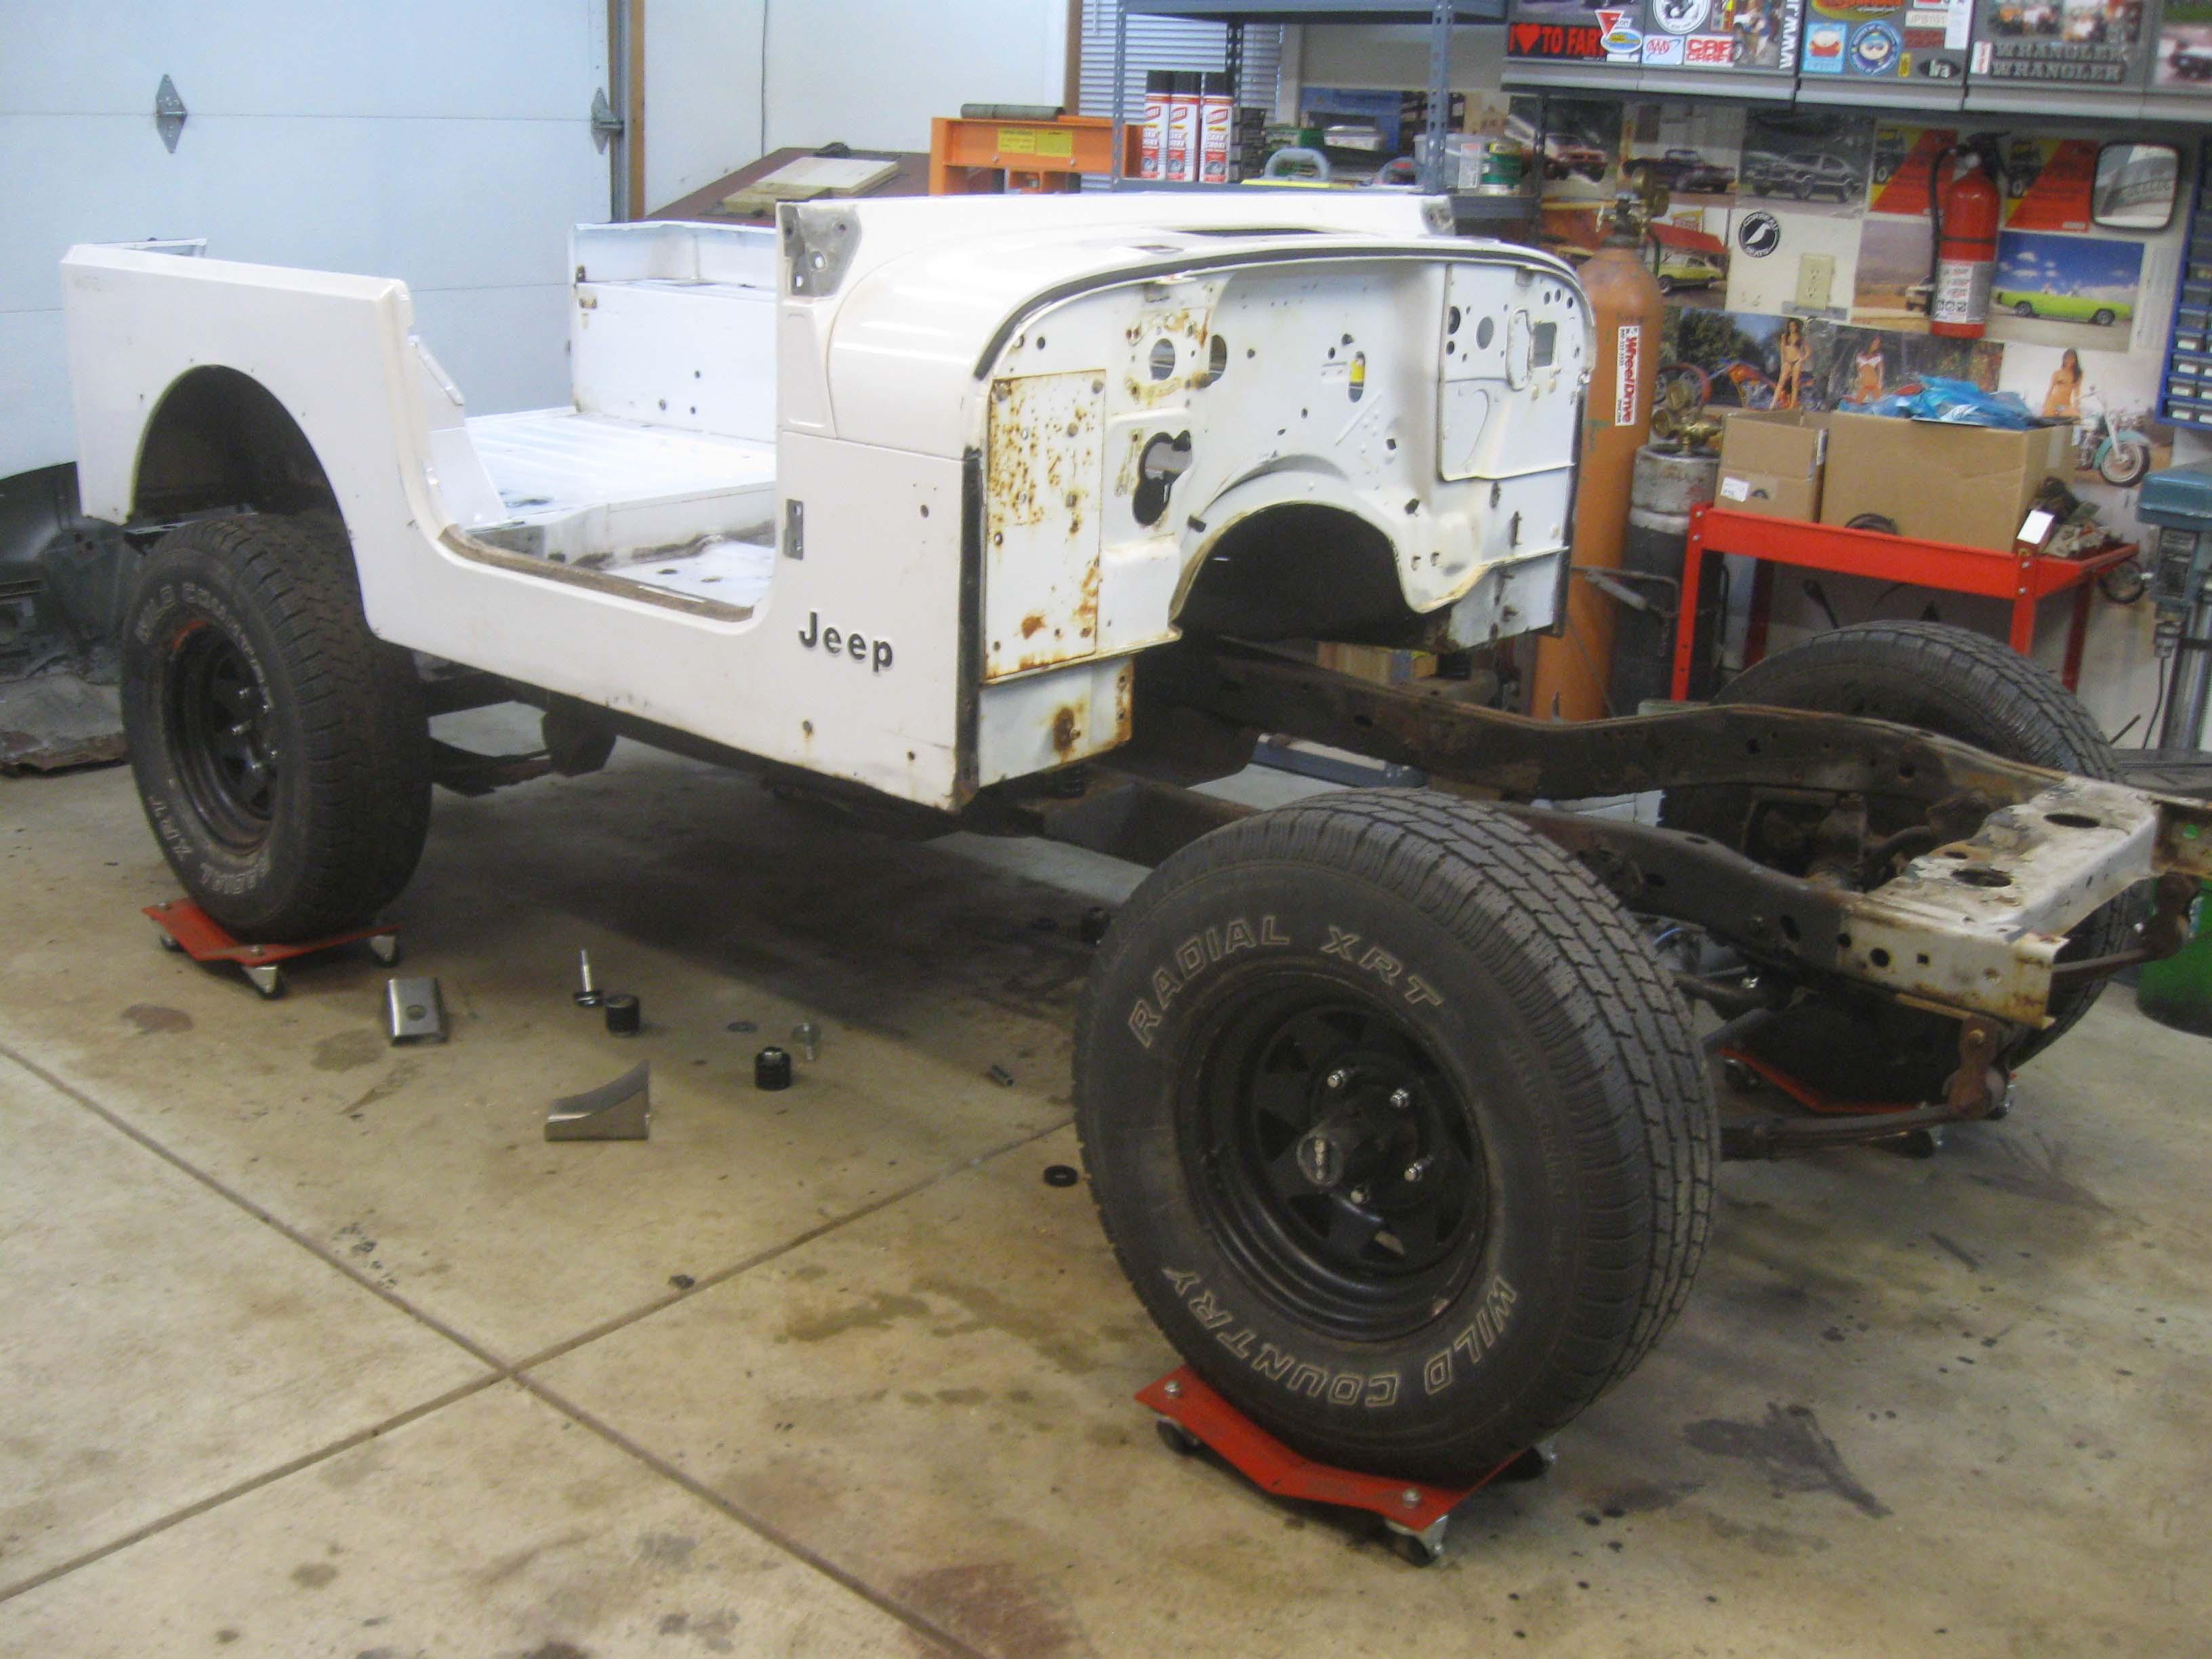
As she sits right now:
IMG_6649-1.jpg


More parts picking and hopefully a few hours tomorrow morning to get the rest of the rear stuff off if I can get to it.

More later.

cb
 
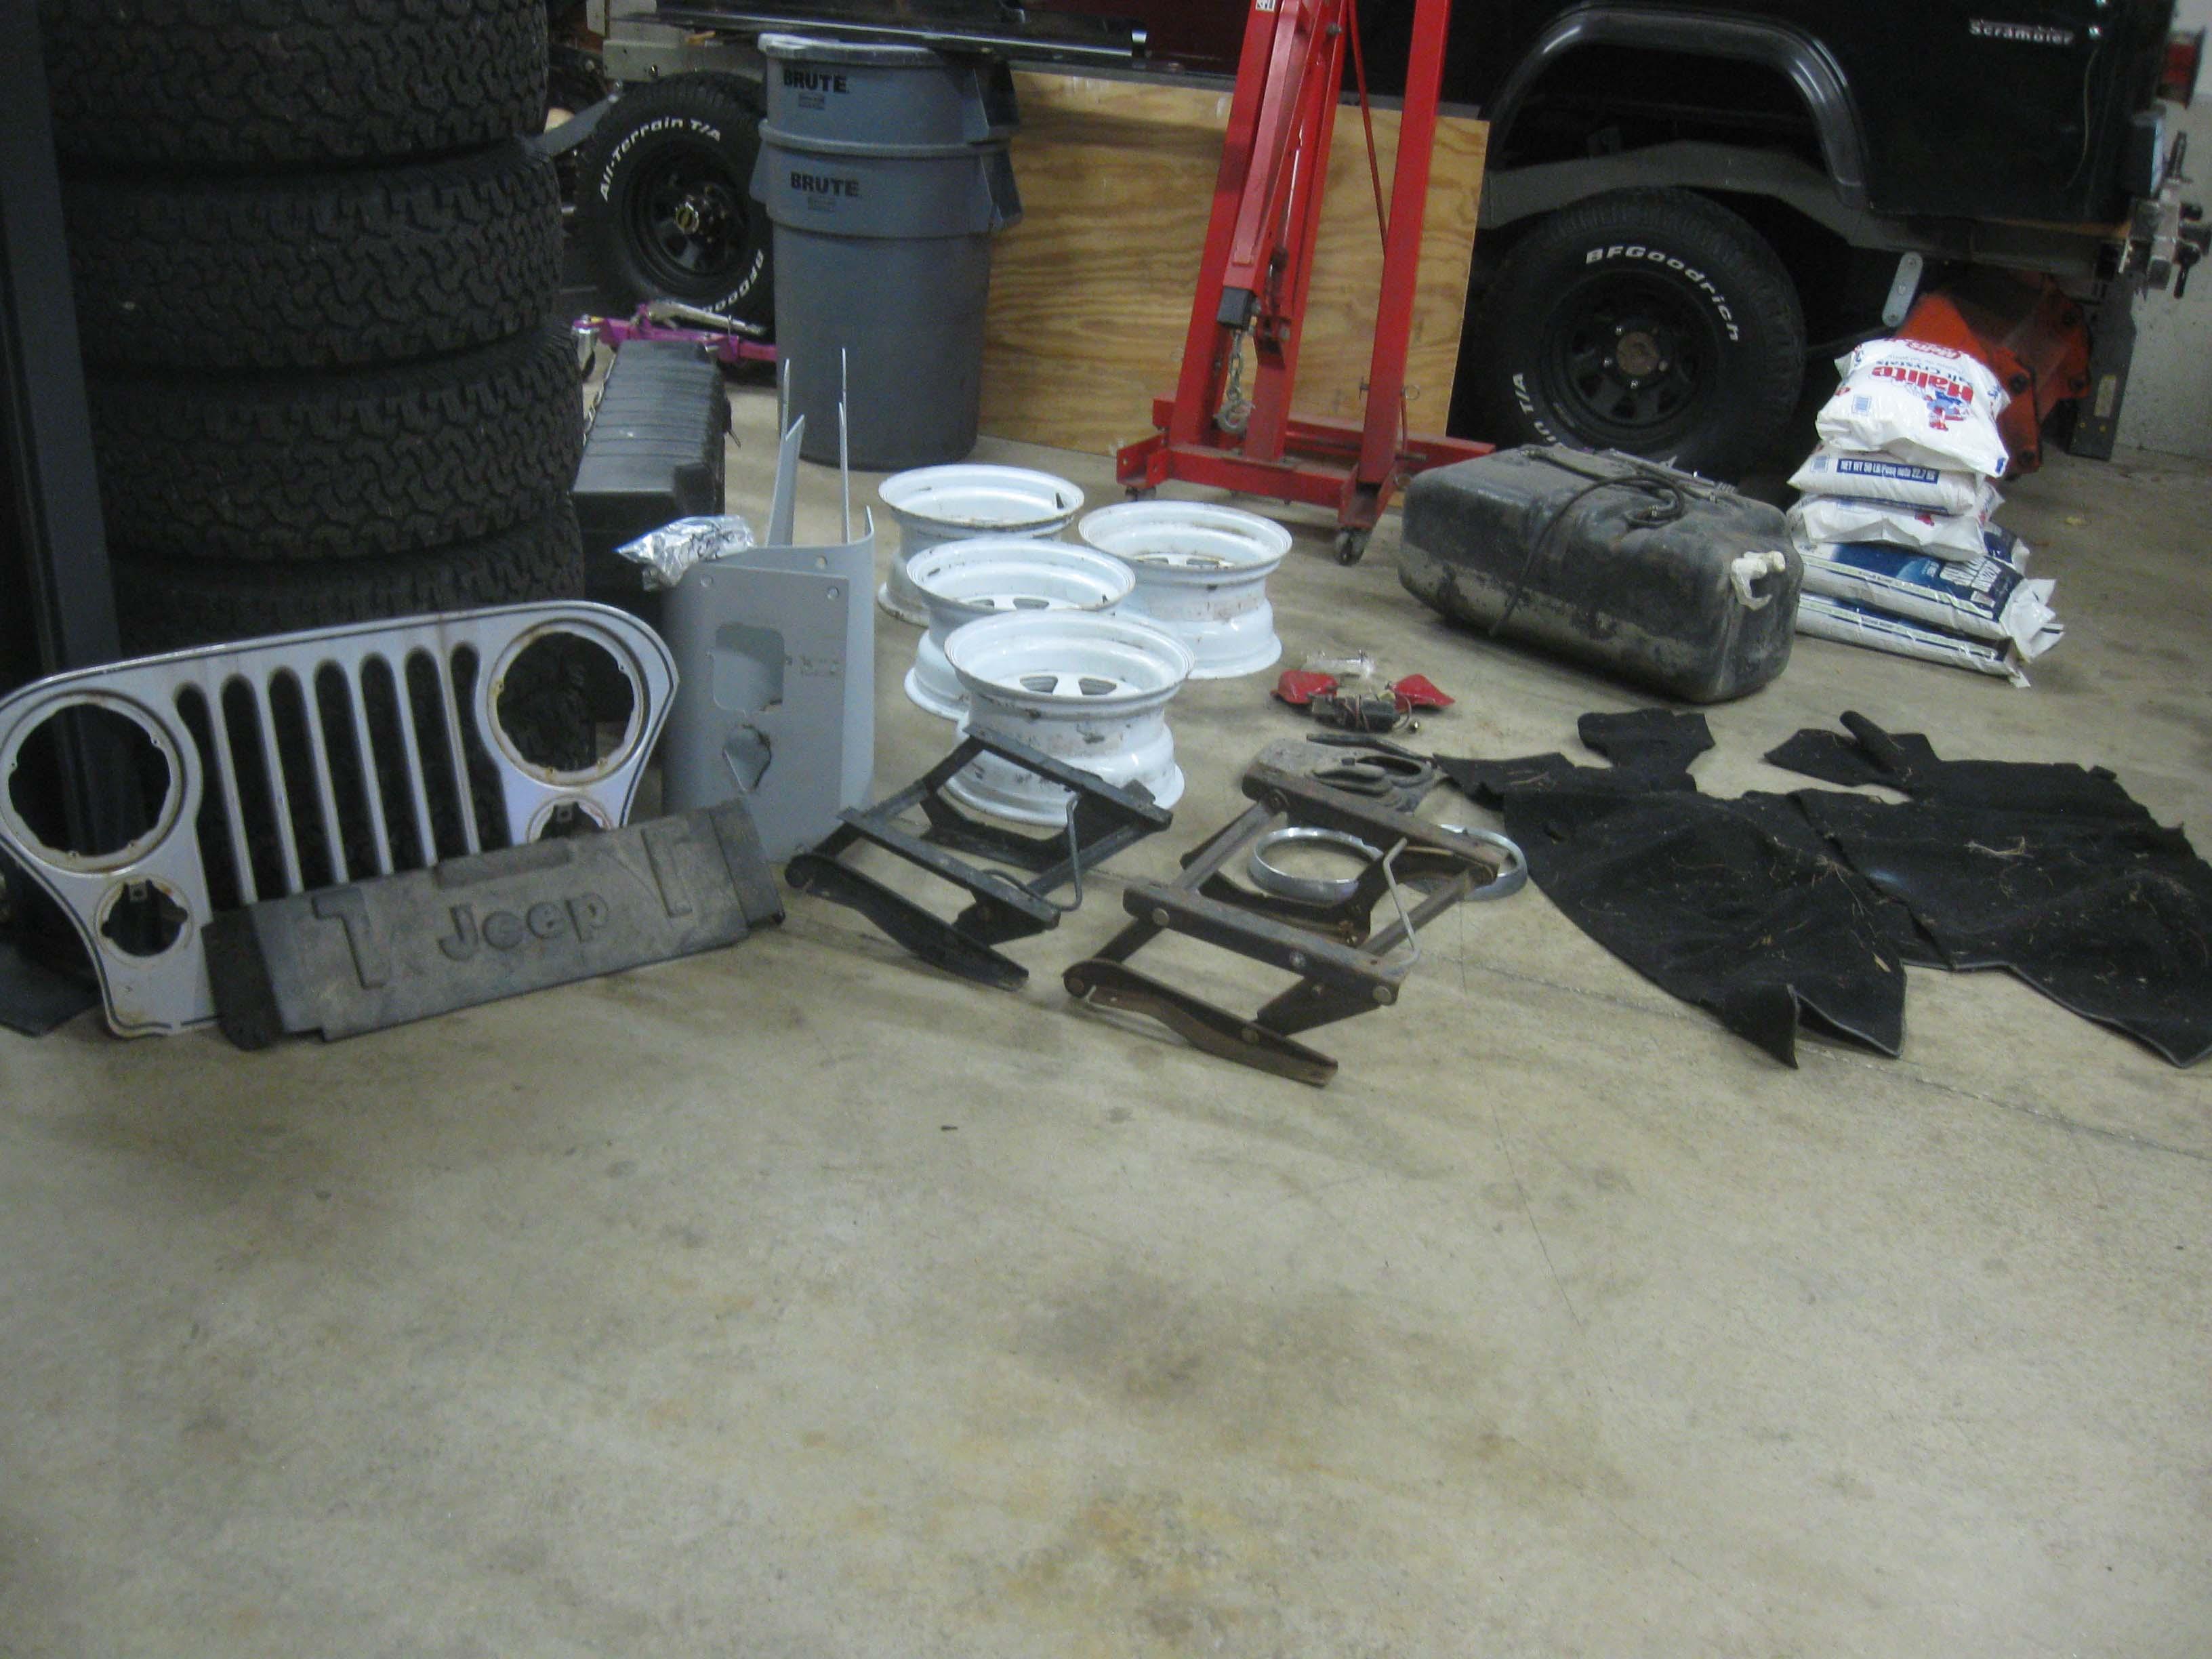
Parts picking...

Went out for a seat bracket and came home with much more.

IMG_6667-1.jpg


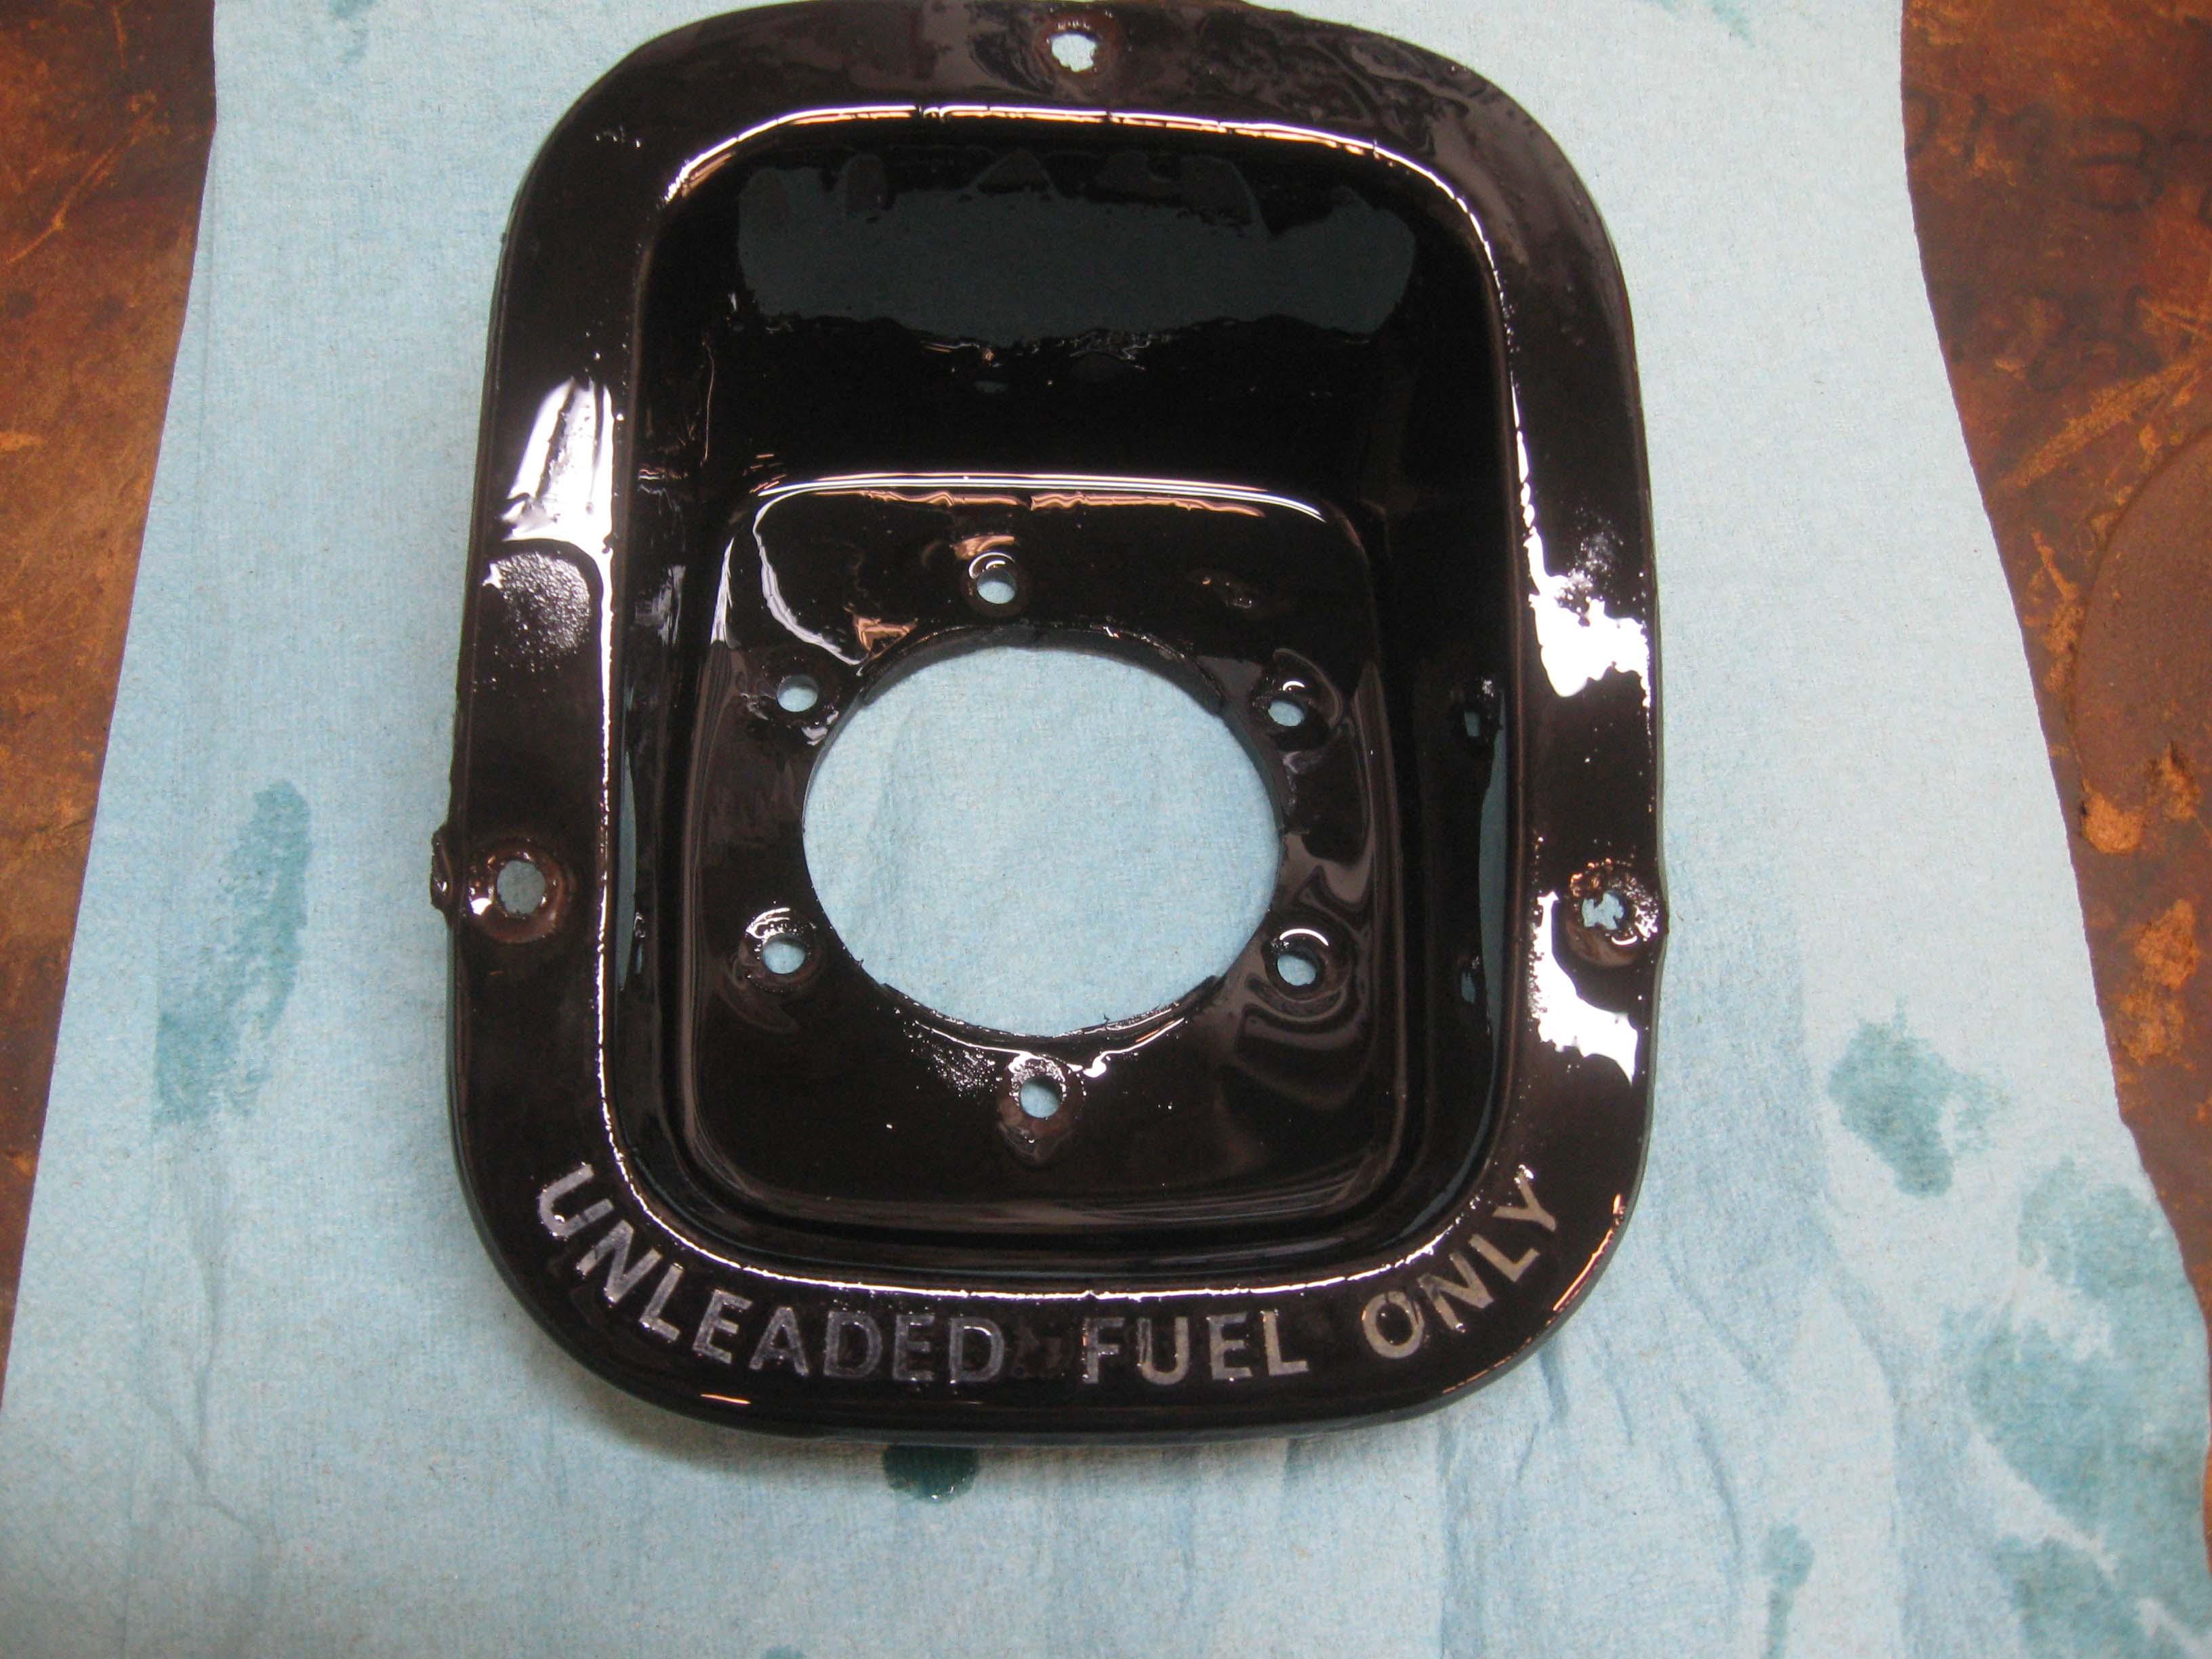
Also, trying to clean up the fuel filler bezel I found today.
I cleaned it and put on some armour all to soak in as it was dry.

The "Unleaded Fuel Only" was still on it... been in dry storage for the last 10 years, hard to come by that up here these days.

IMG_6674-1.jpg


cb
 
I have a spare set of the proper RHD drivers seat bases i may be persuaded to let go if you dont have them CB, but alas no handbrake to go with them i am afraid.:(
 
I actually needed the RHD passenter or LHD driver base as it was cracked and missing the "go foward" handle part.
The RHD driver base is in good shape from what I can see and has the hand brake lever.
Thanks for the offer though, I should have clarified what the needs was.

Thanks,
Craig
 
I was busy this morning.

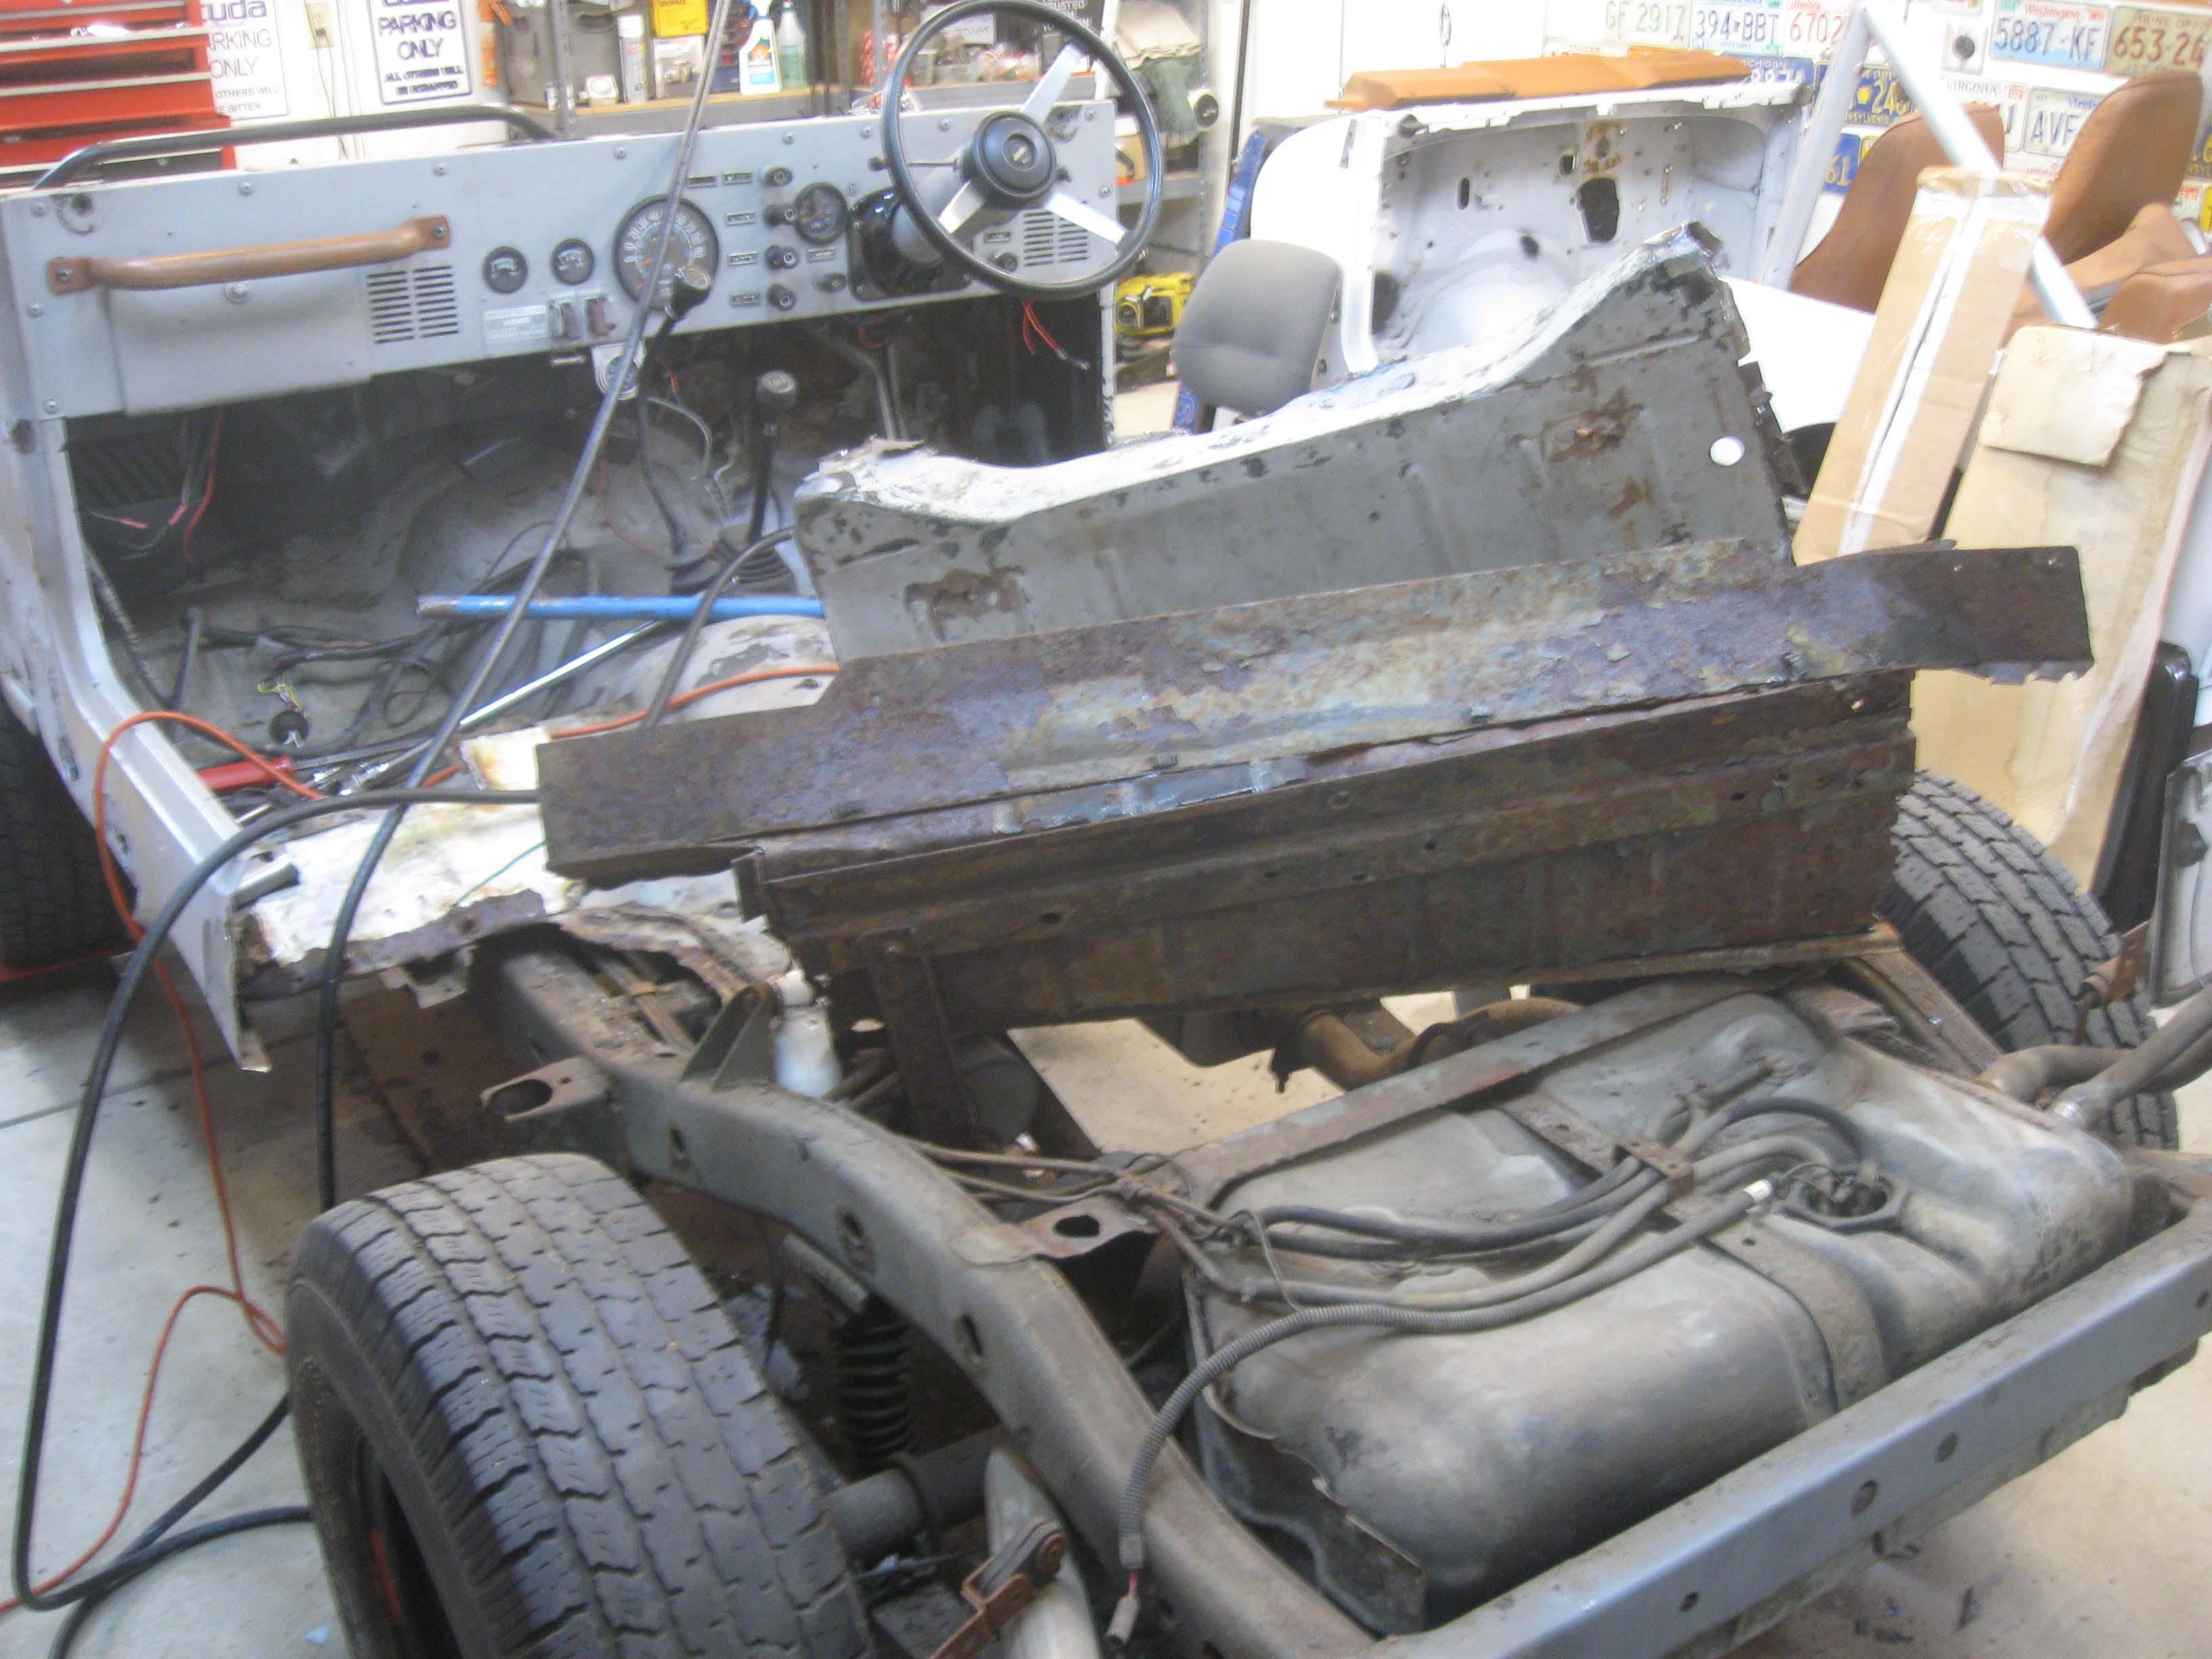
Rust vs. me... I won... or it was a tie, but I am whole, no tetanus(yet) and the back half of the Jeep has been removed.
The body mounts are all shot (big surprise) and there is probaby 10 lbs. of rusty junk under the Jeep now (I swept up, but didn't clean it up).
I have to get all the rusty bits of steel to the recycler as there isn't a lot of room to move around, will do that this week sometime.
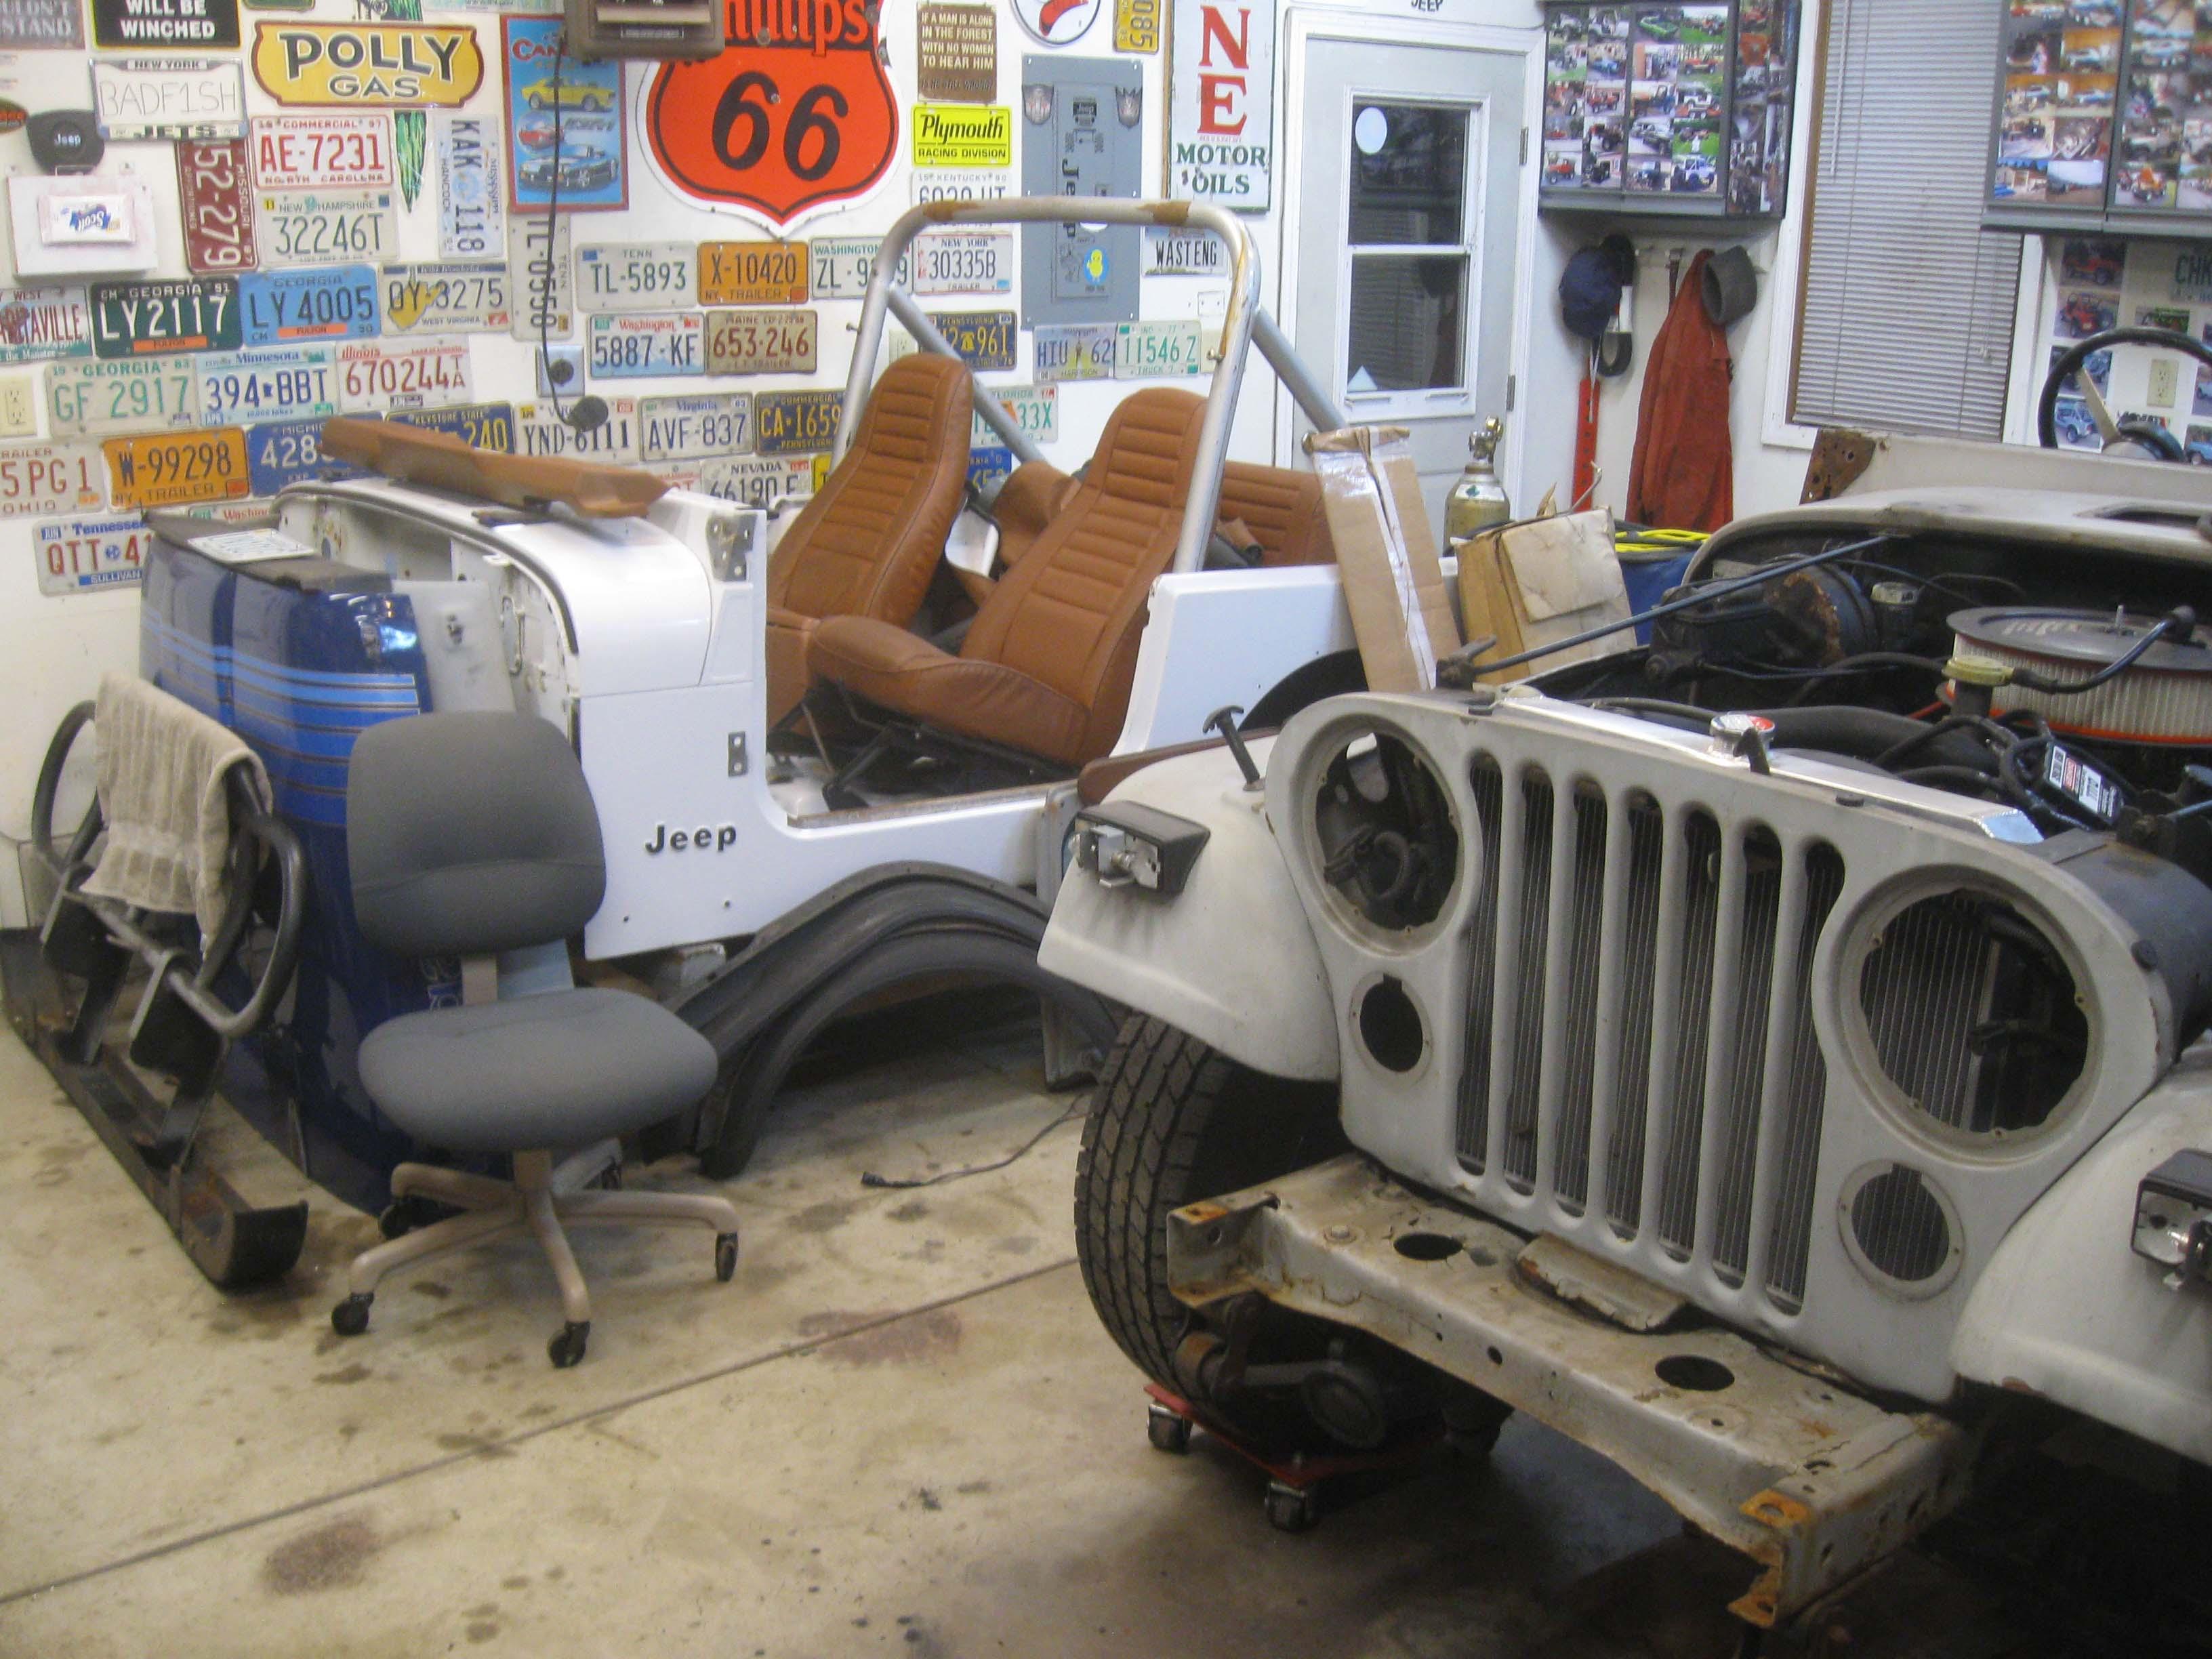
I need new fenders as well, so I made a deal and will pick them up this week, trade as well as some cash, so that is good, not to mention I sold a few things, that will help stem the cash flow out on the project a bit.

All in all, a good say and now it is football time!

IMG_6689-1.jpg

IMG_6696-1.jpg


And just to squash any rumors that I have all the time in the world to do this ;) I was up at 430 this morning doing the website stuff and then out to the garage and didn't come back in until the family woke up. If it is what I have to do, I have to do :)

The worst part of the day though was the one body mount that wouldn't come out and it was right on top of the dual exhaust and near the gas filler neck, so I didn't want to start hacking and creating sparks. Took every tool in the tool box to get that sucker out!

IMG_6684-1.jpg


cb
 
More updates...

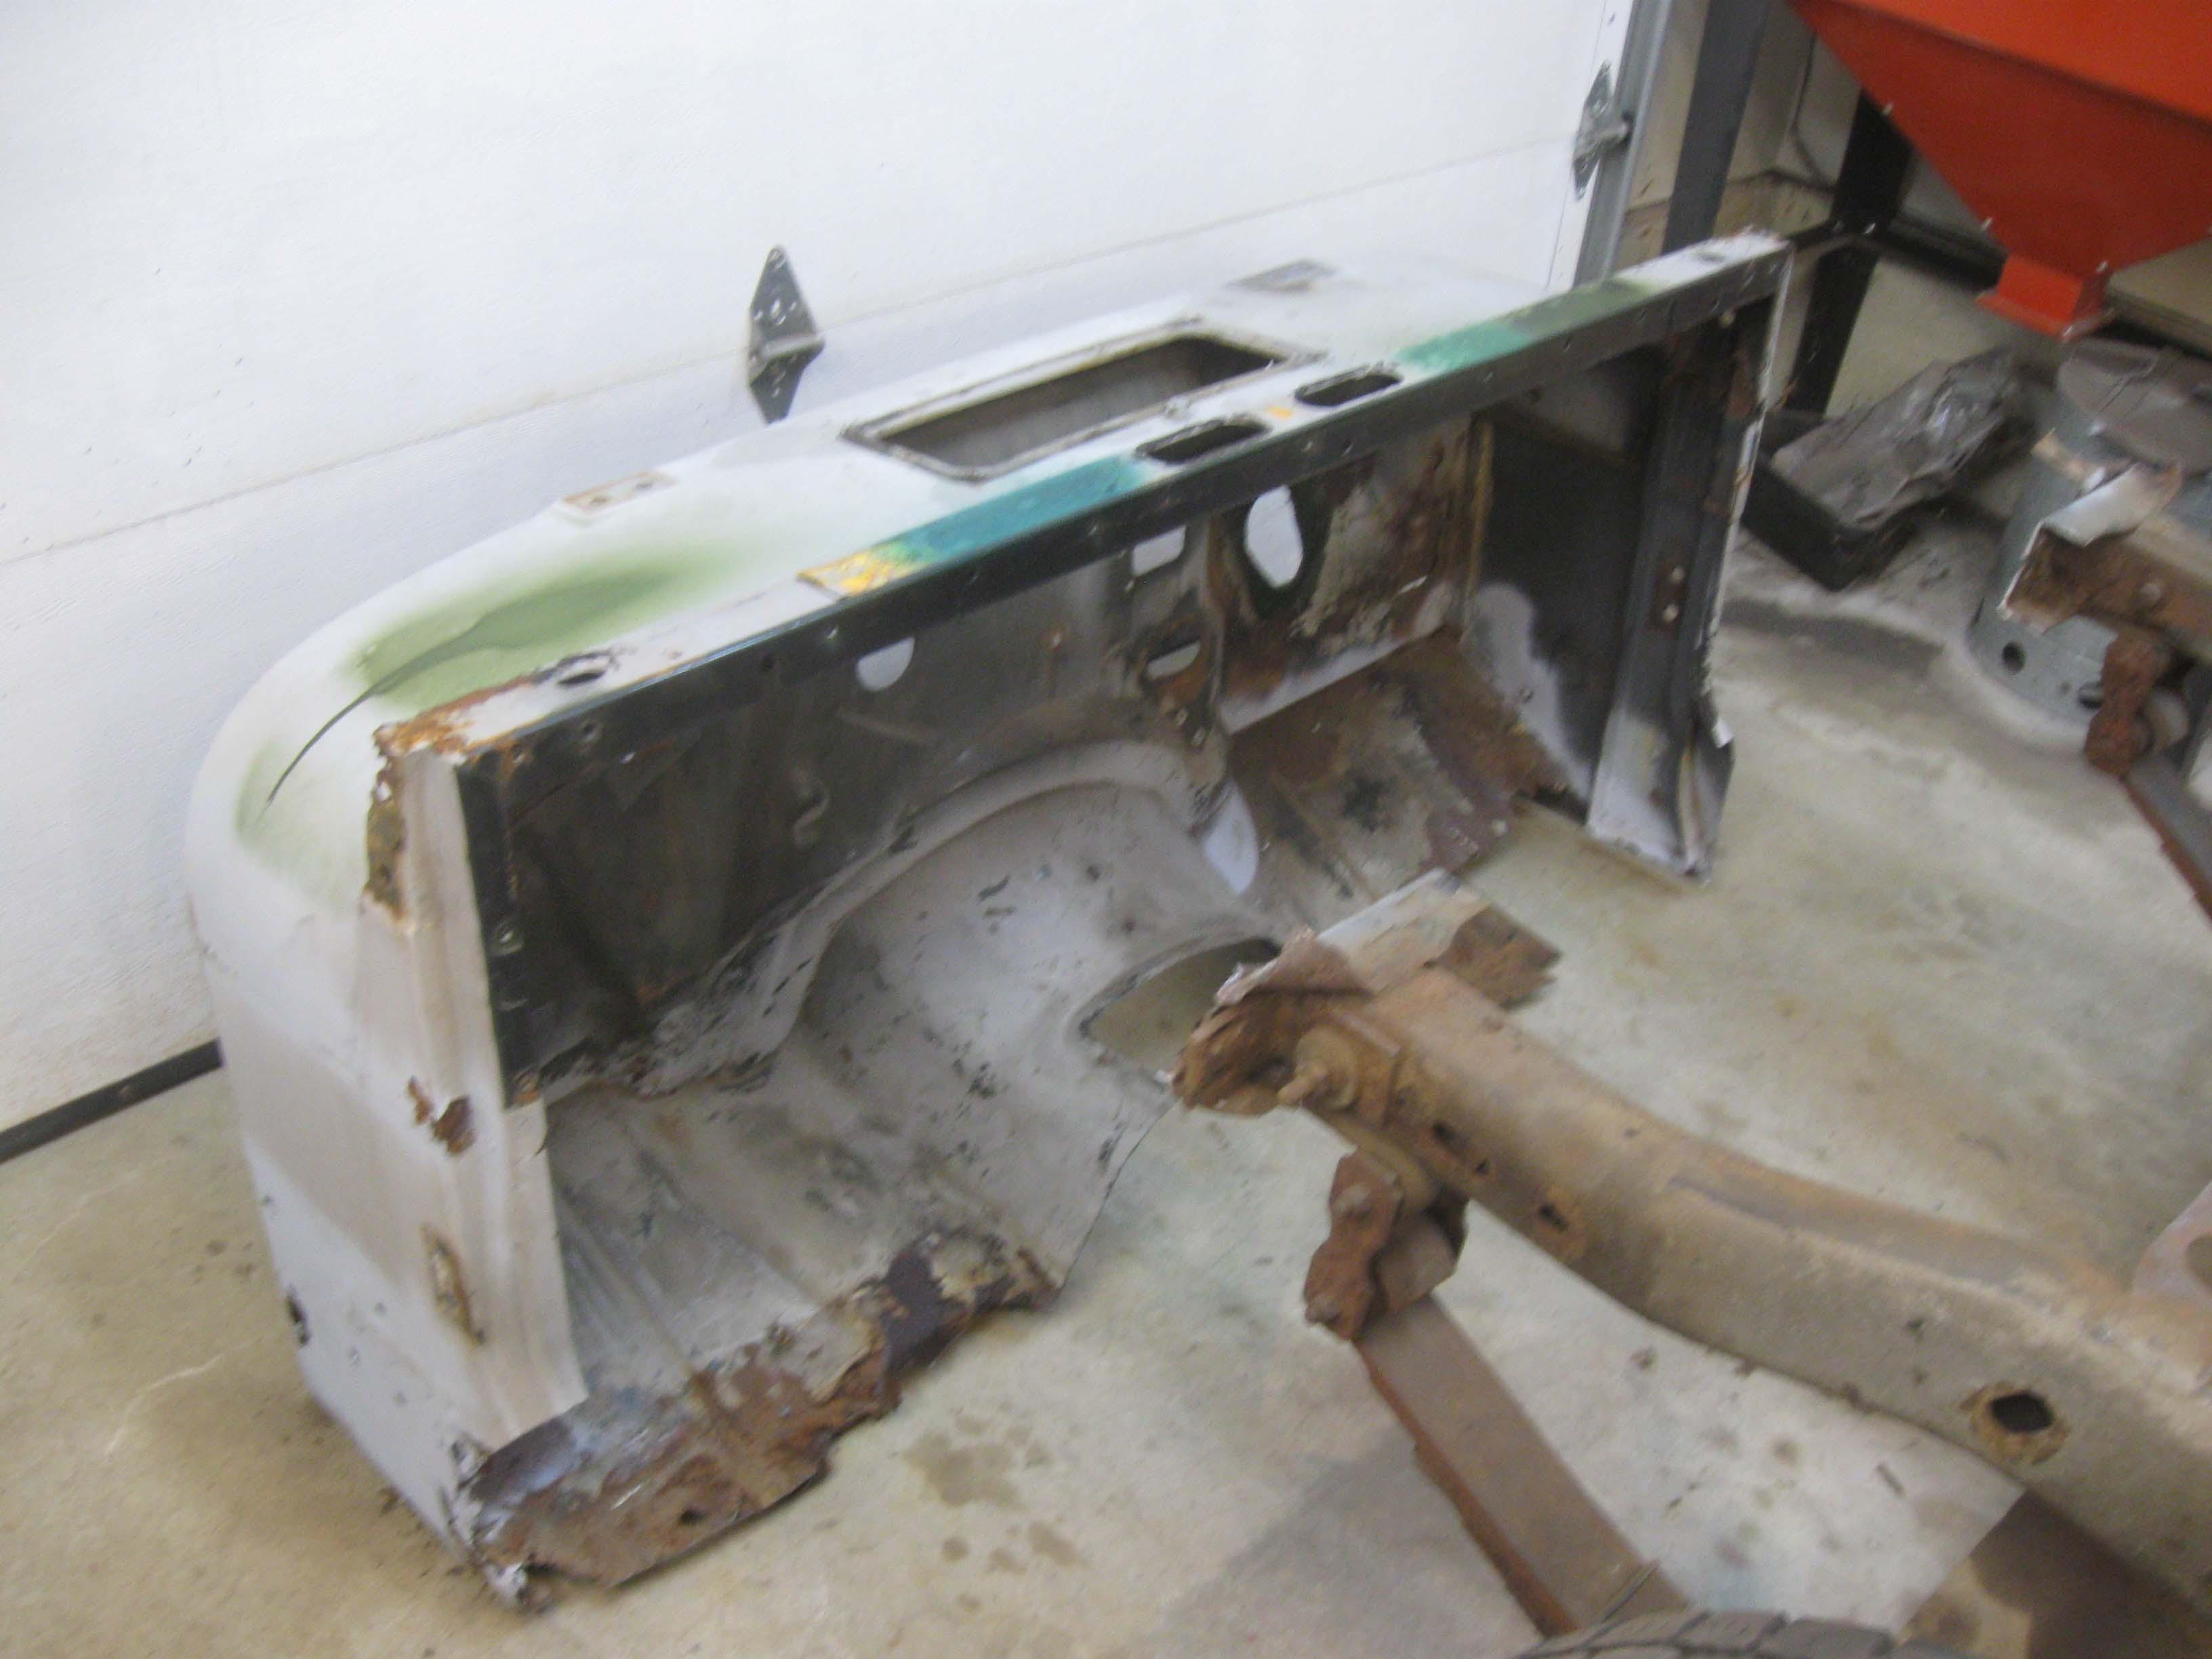
Bumper off, some grille parts off, some fender stuff as well.
IMG_6699-1.jpg


Shot of parts accumulating that will be reused
IMG_6702-1.jpg


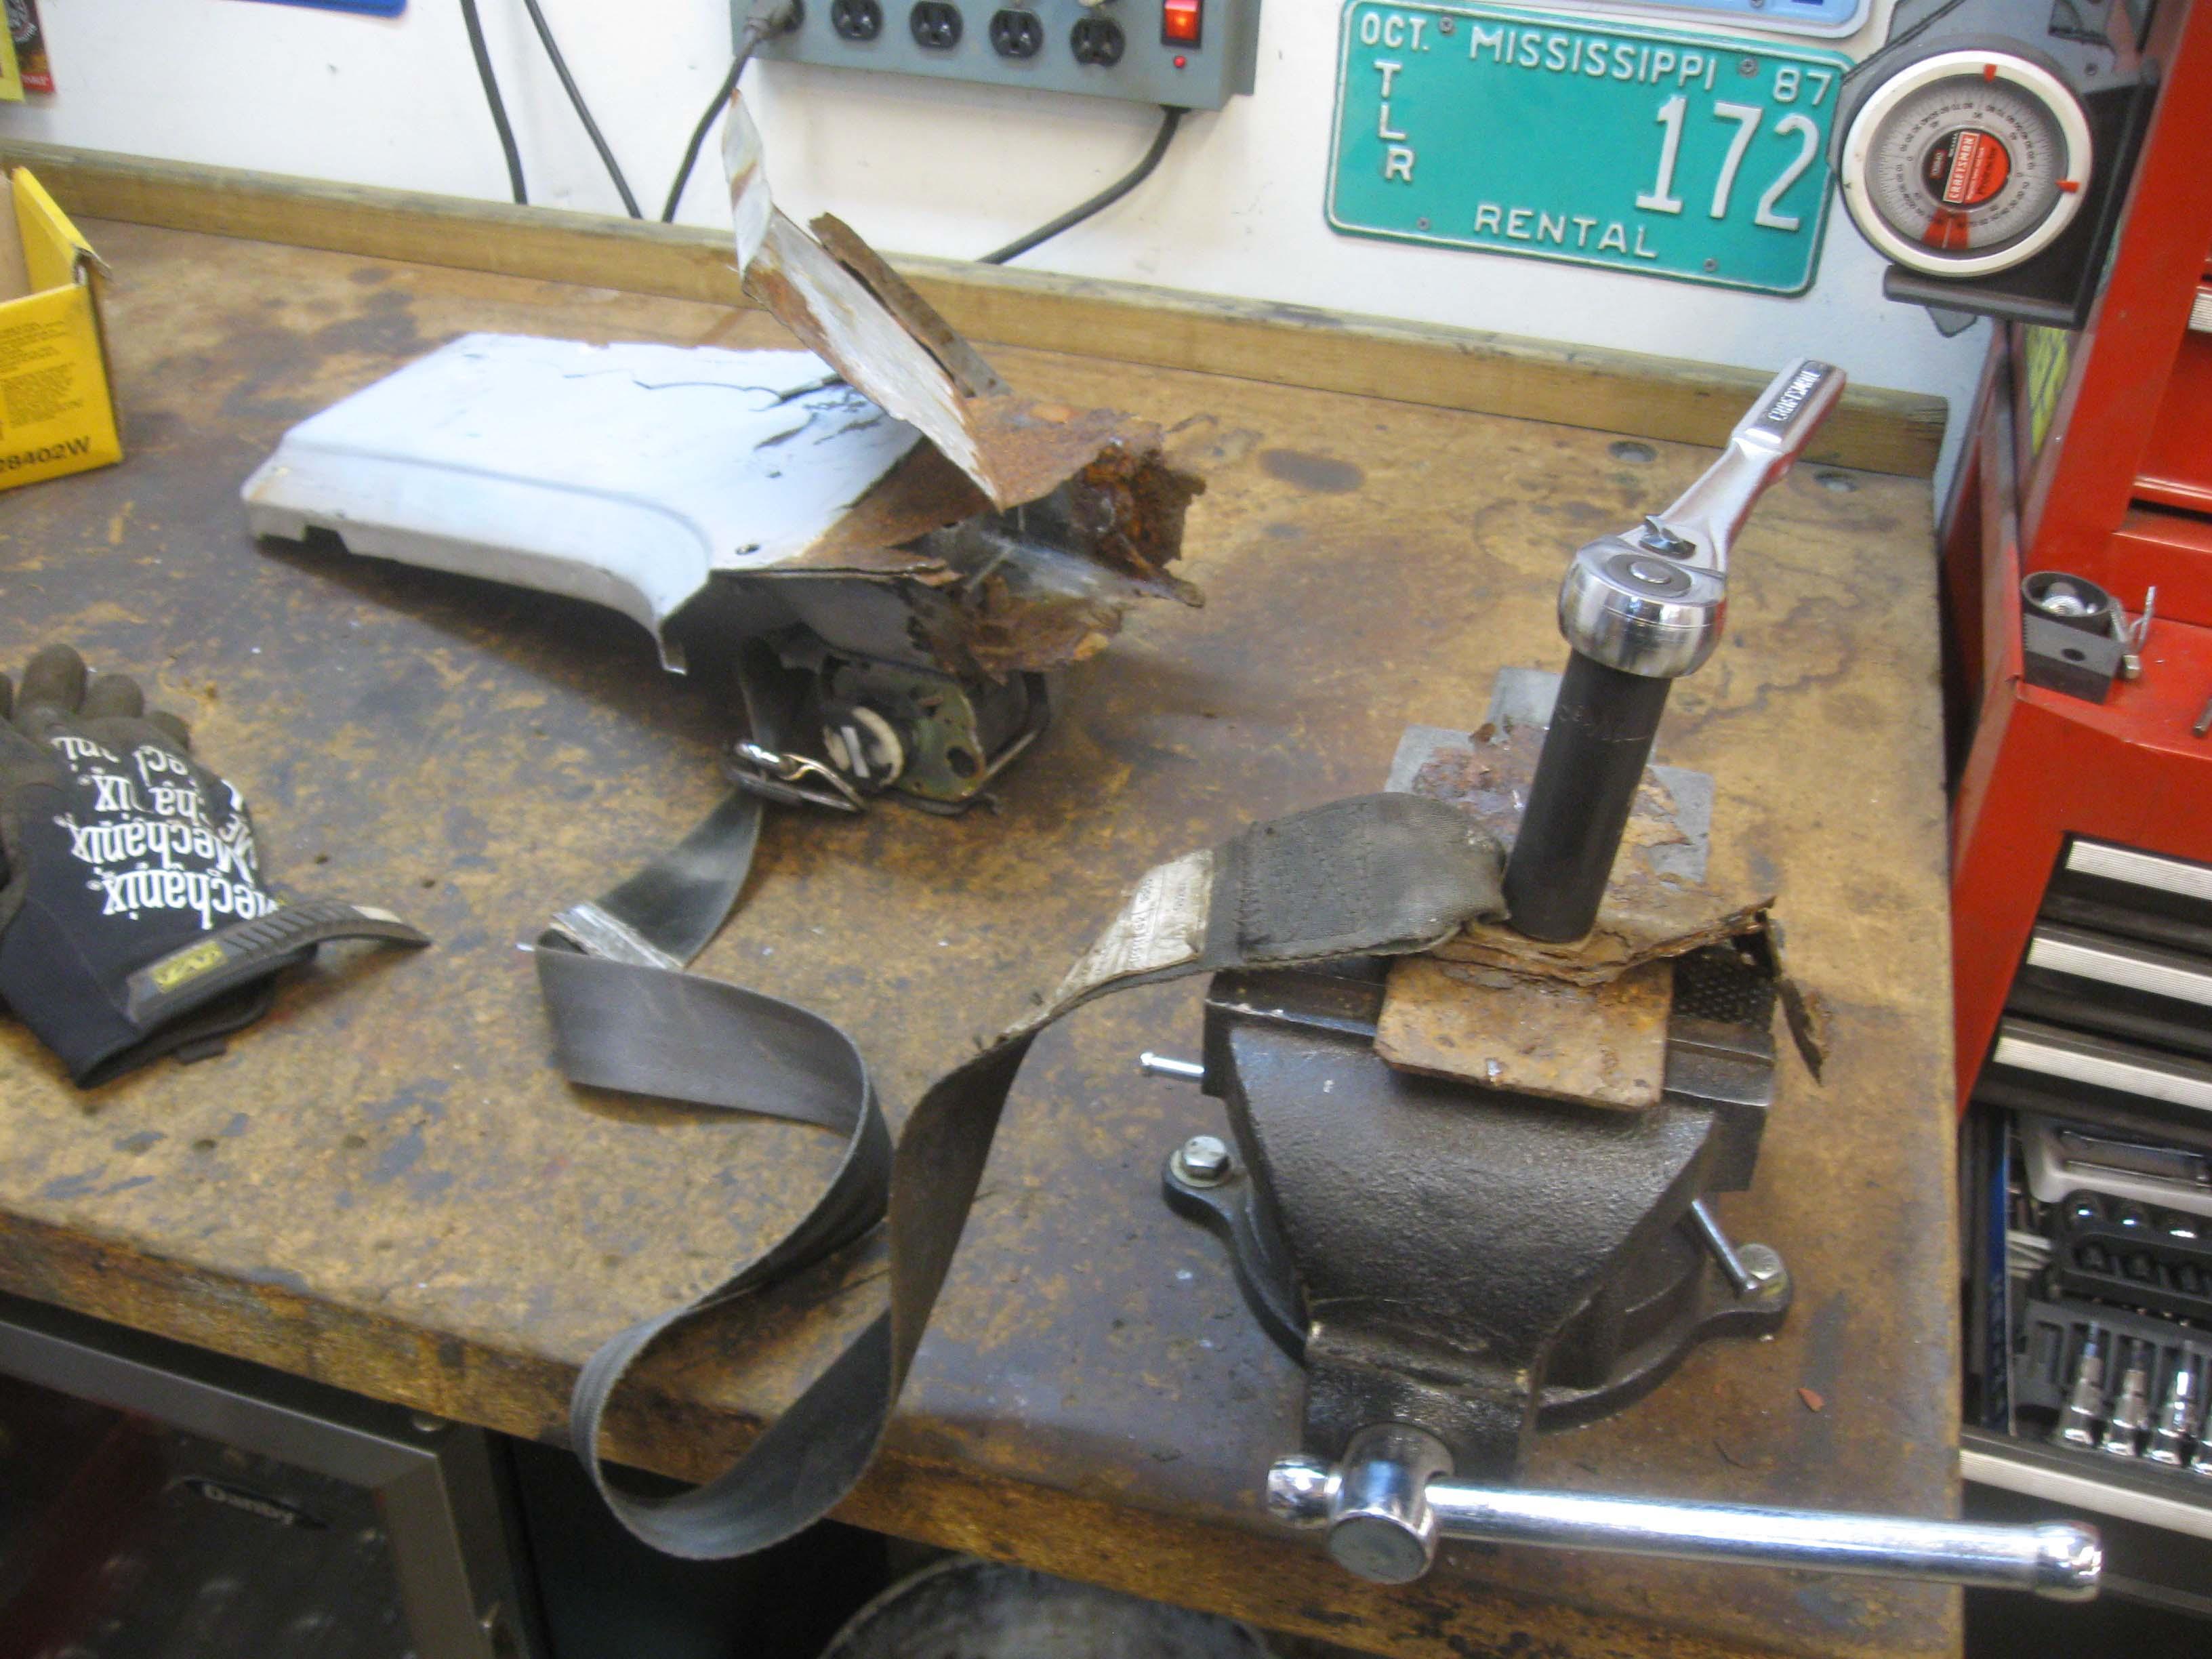
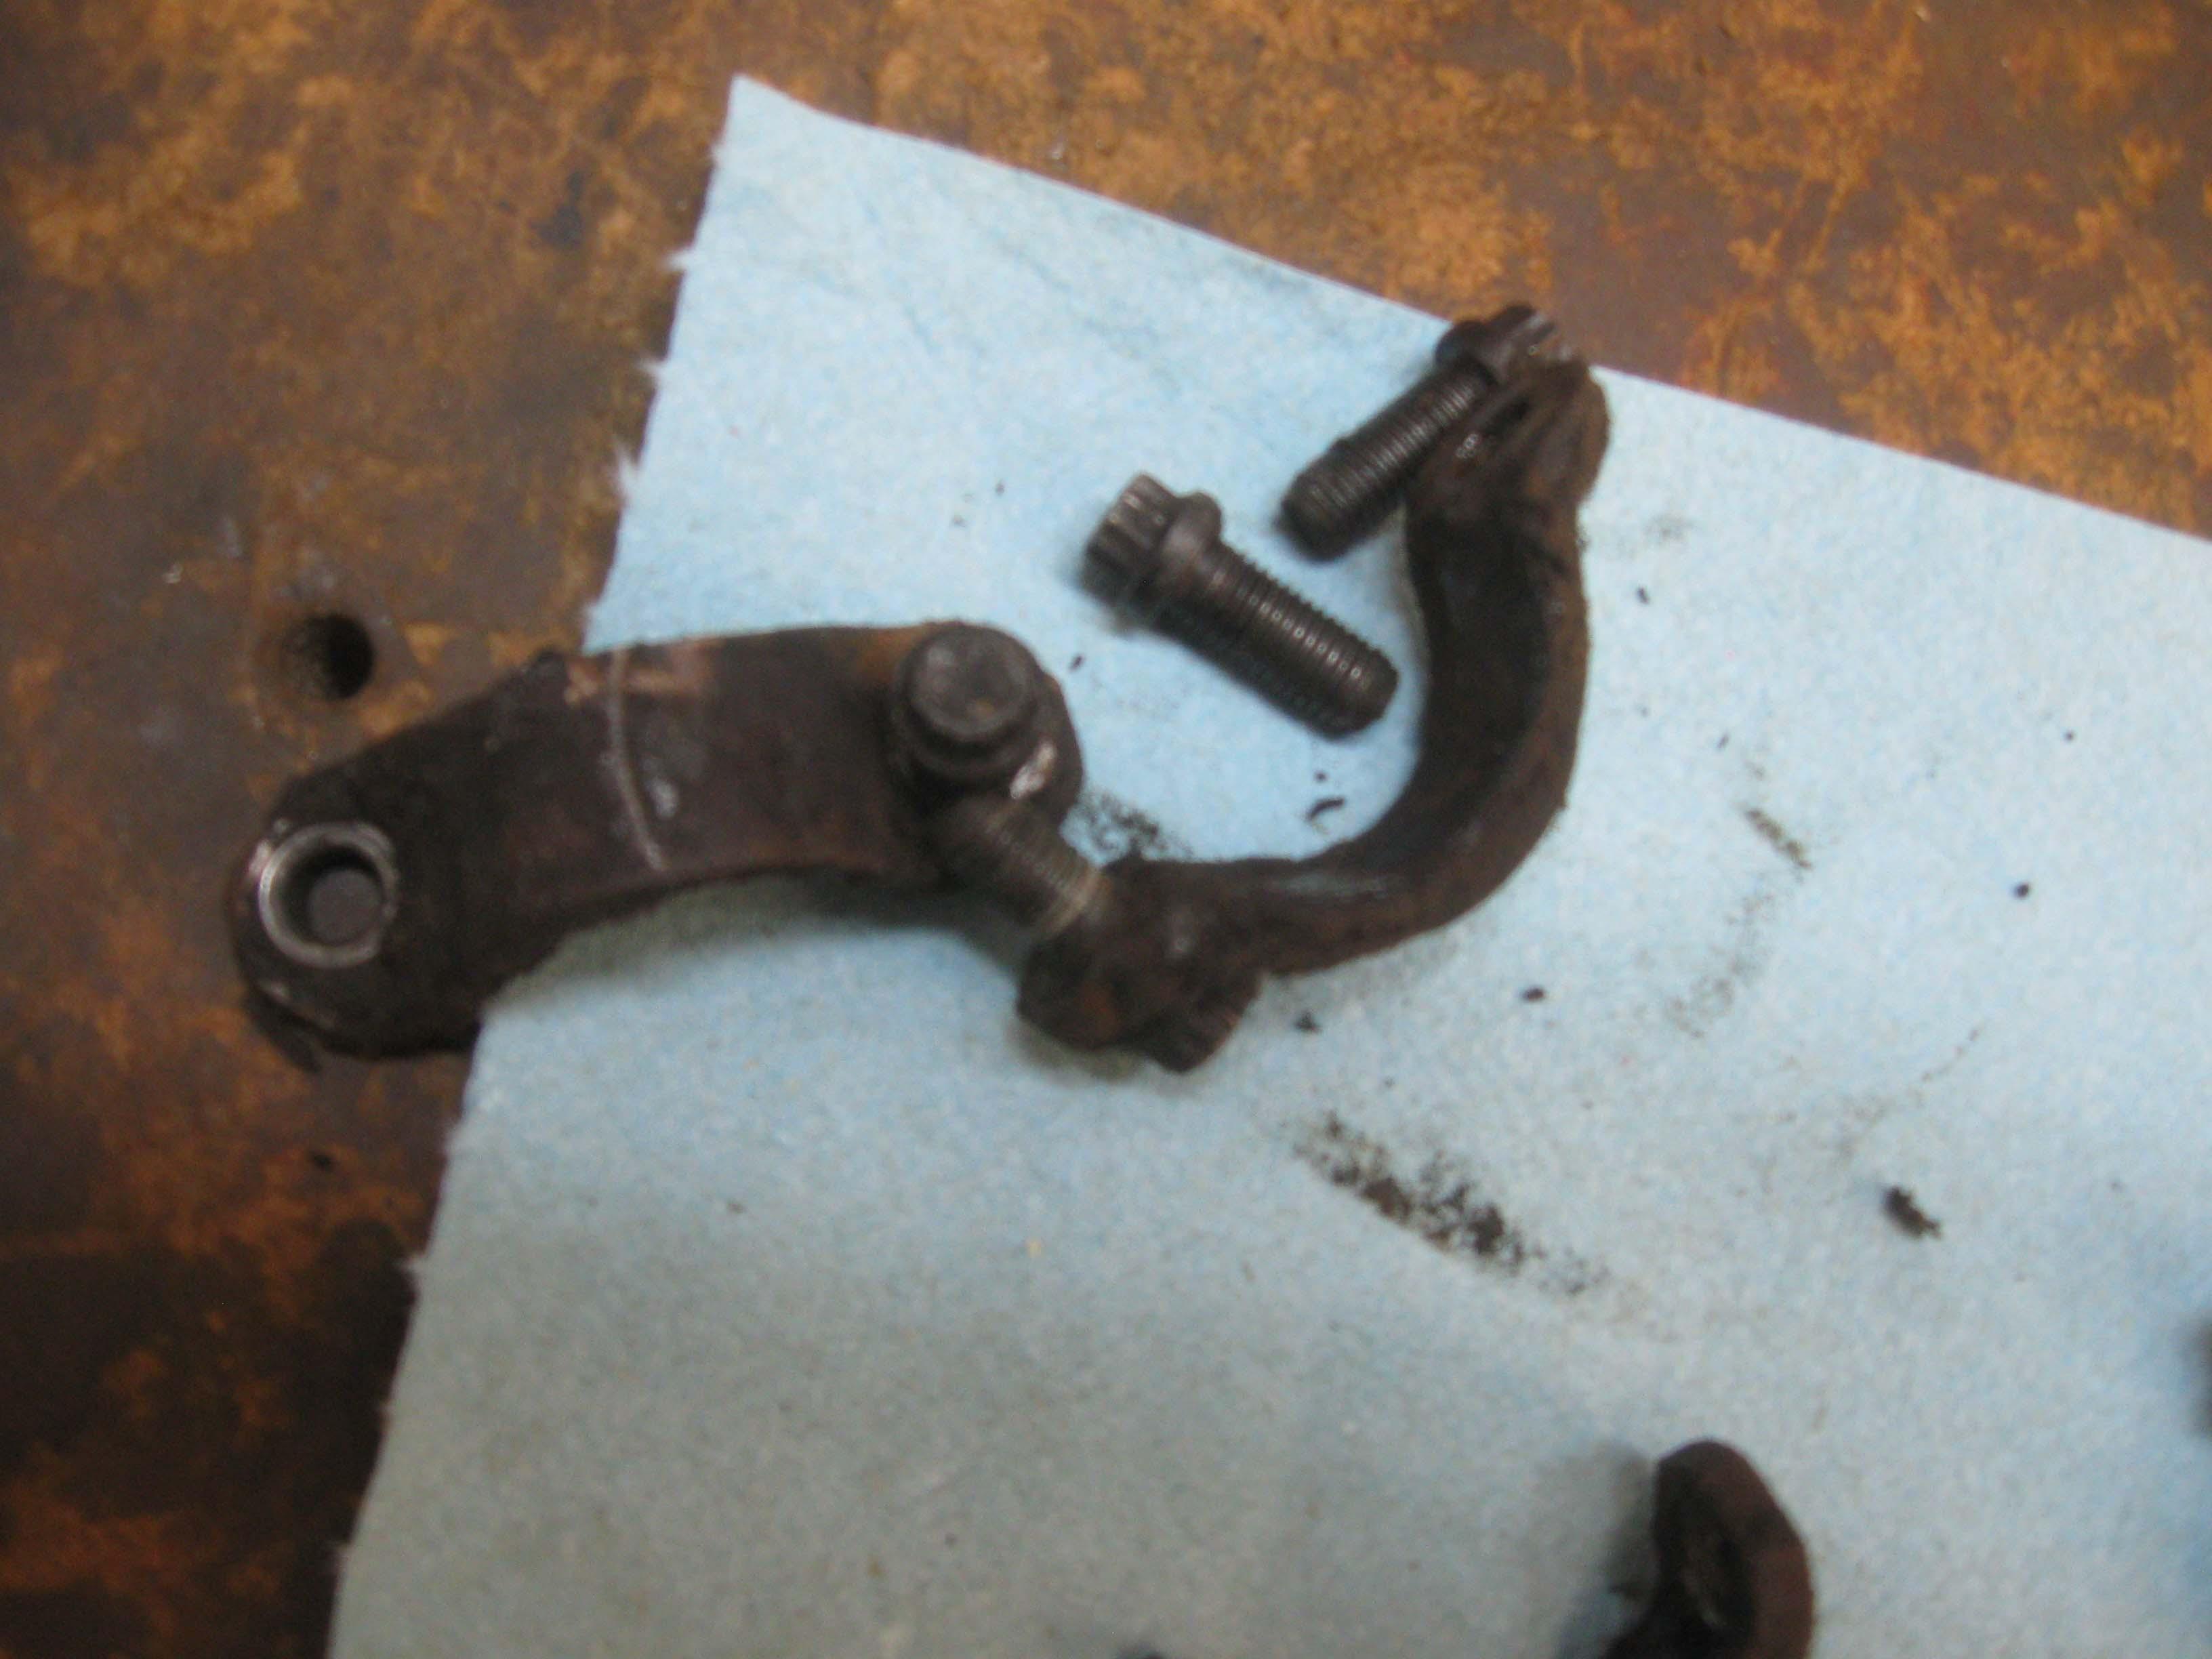
Seat belt liberation
IMG_6697-1.jpg


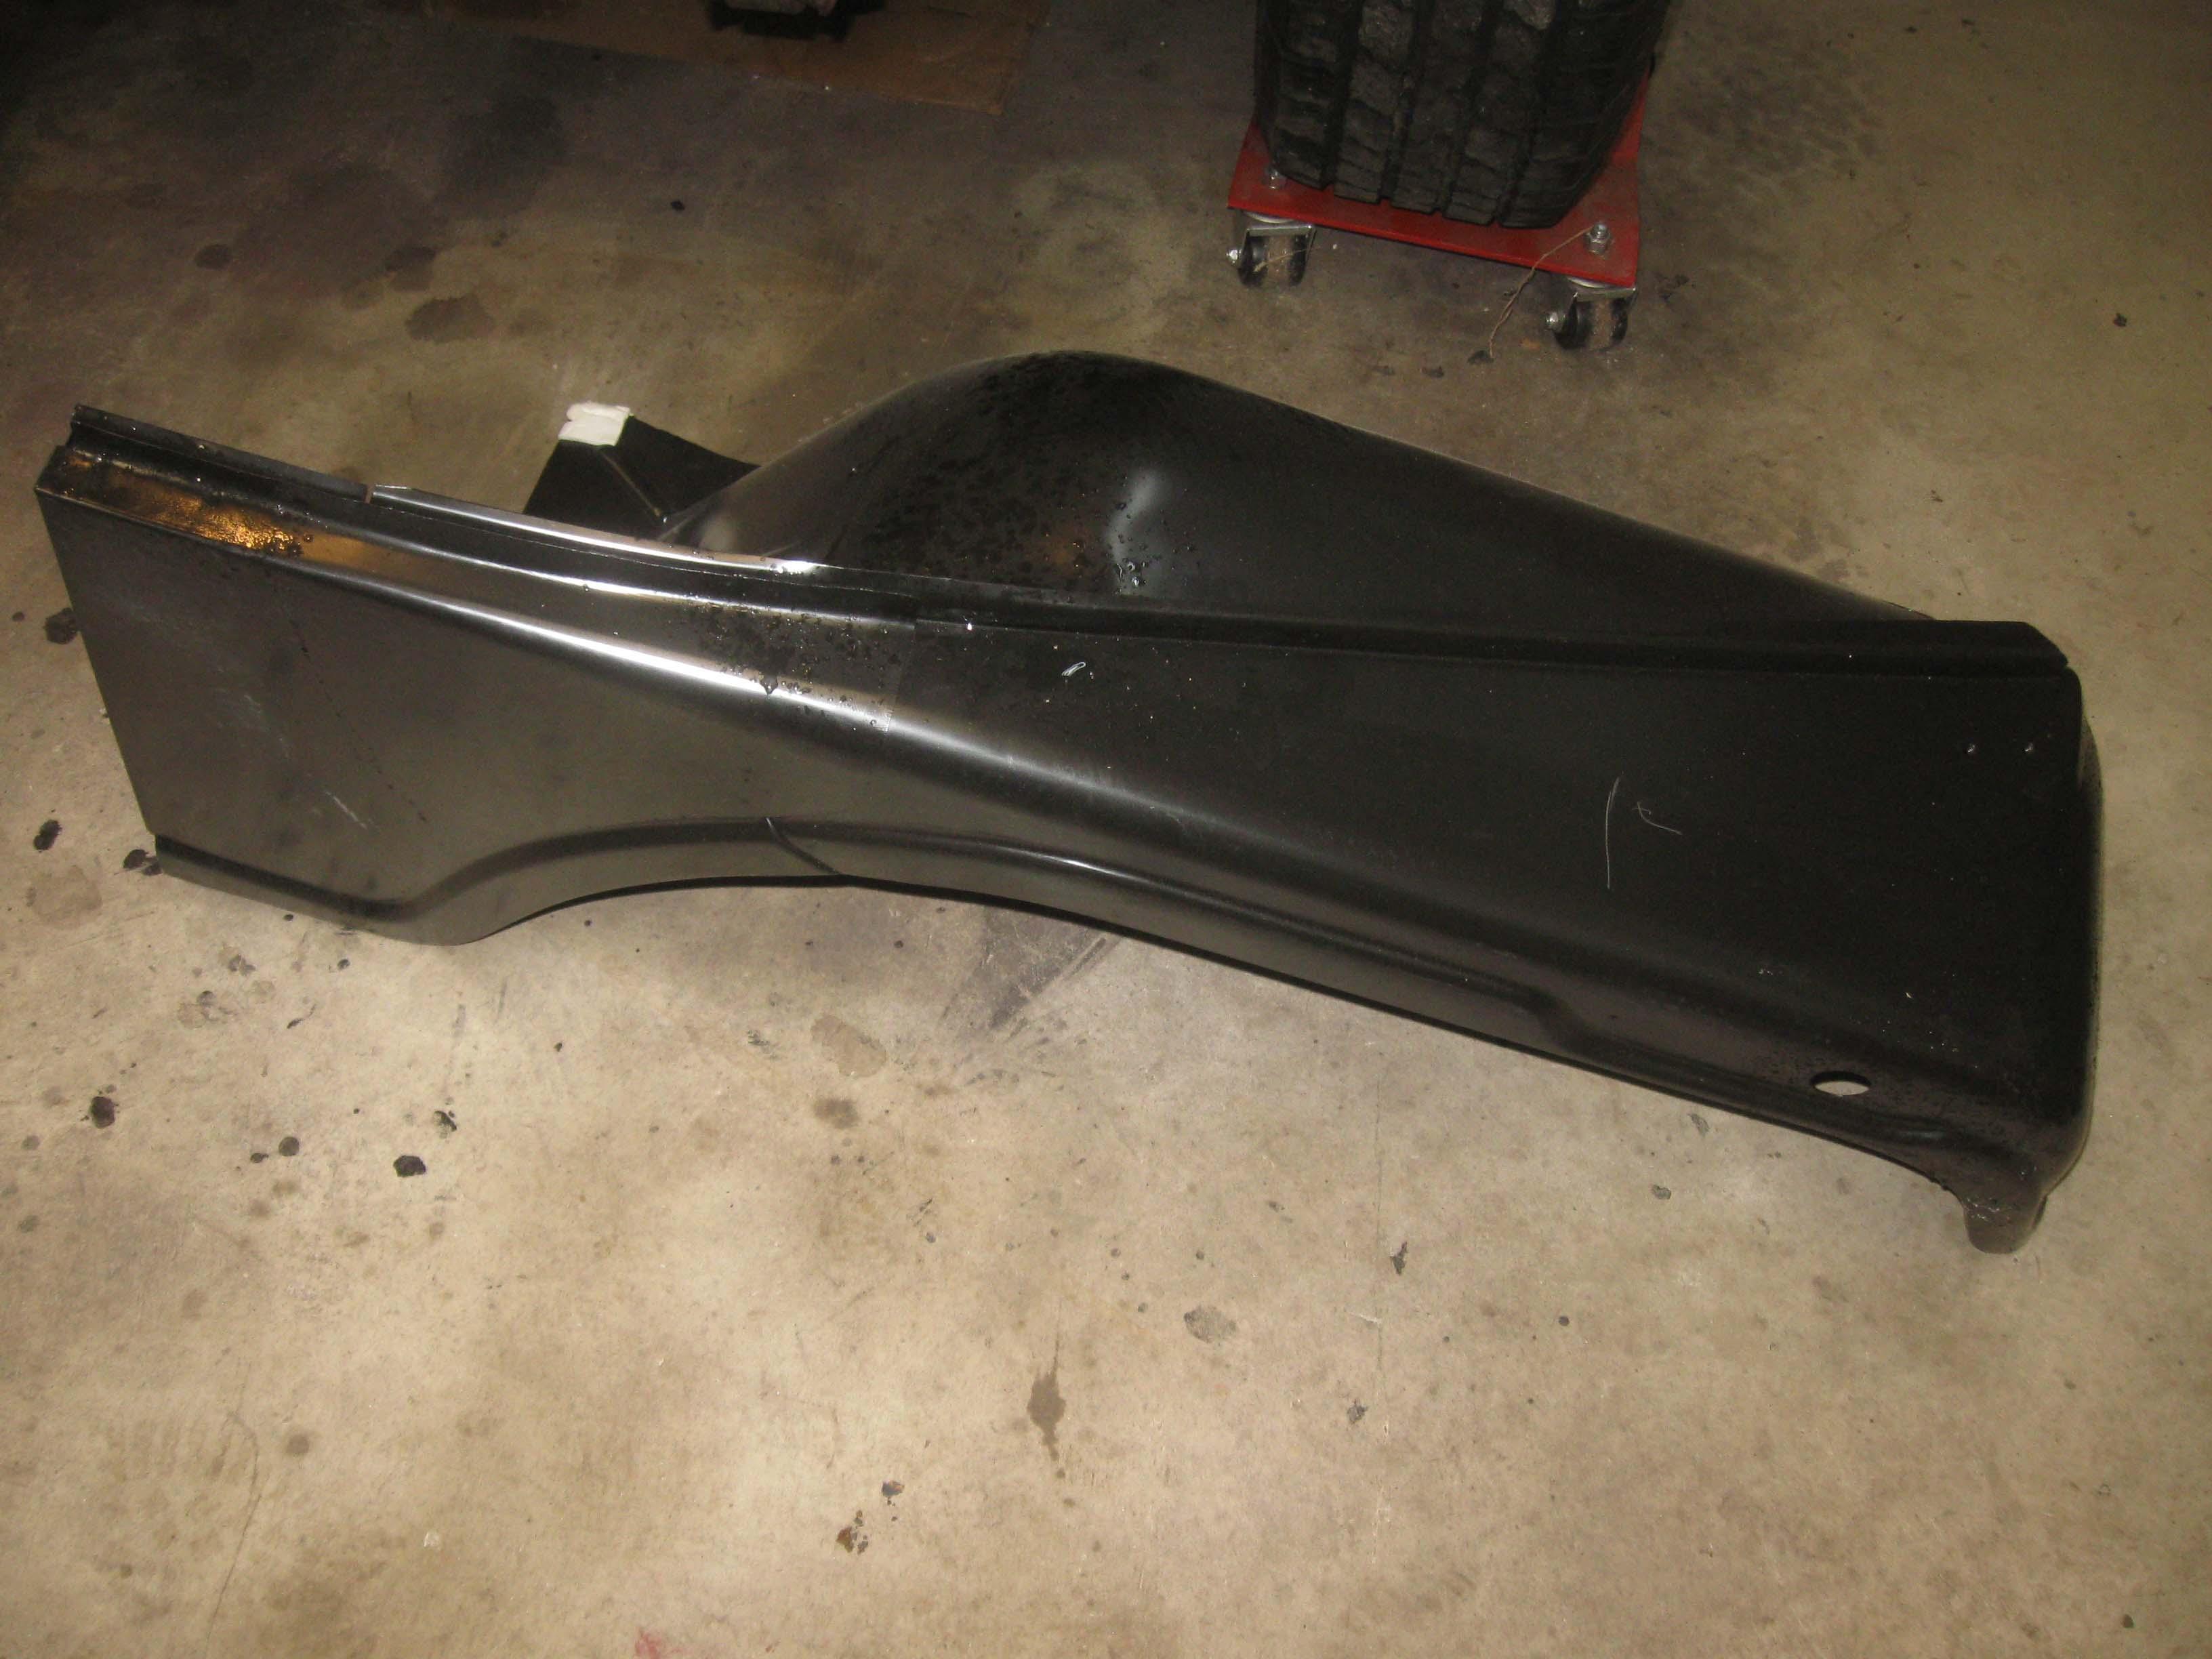
New fenders (were stored in a storage bin for the last 10 years... aftermarket, but Cobra brand?
IMG_6710-1.jpg

IMG_6711-1.jpg


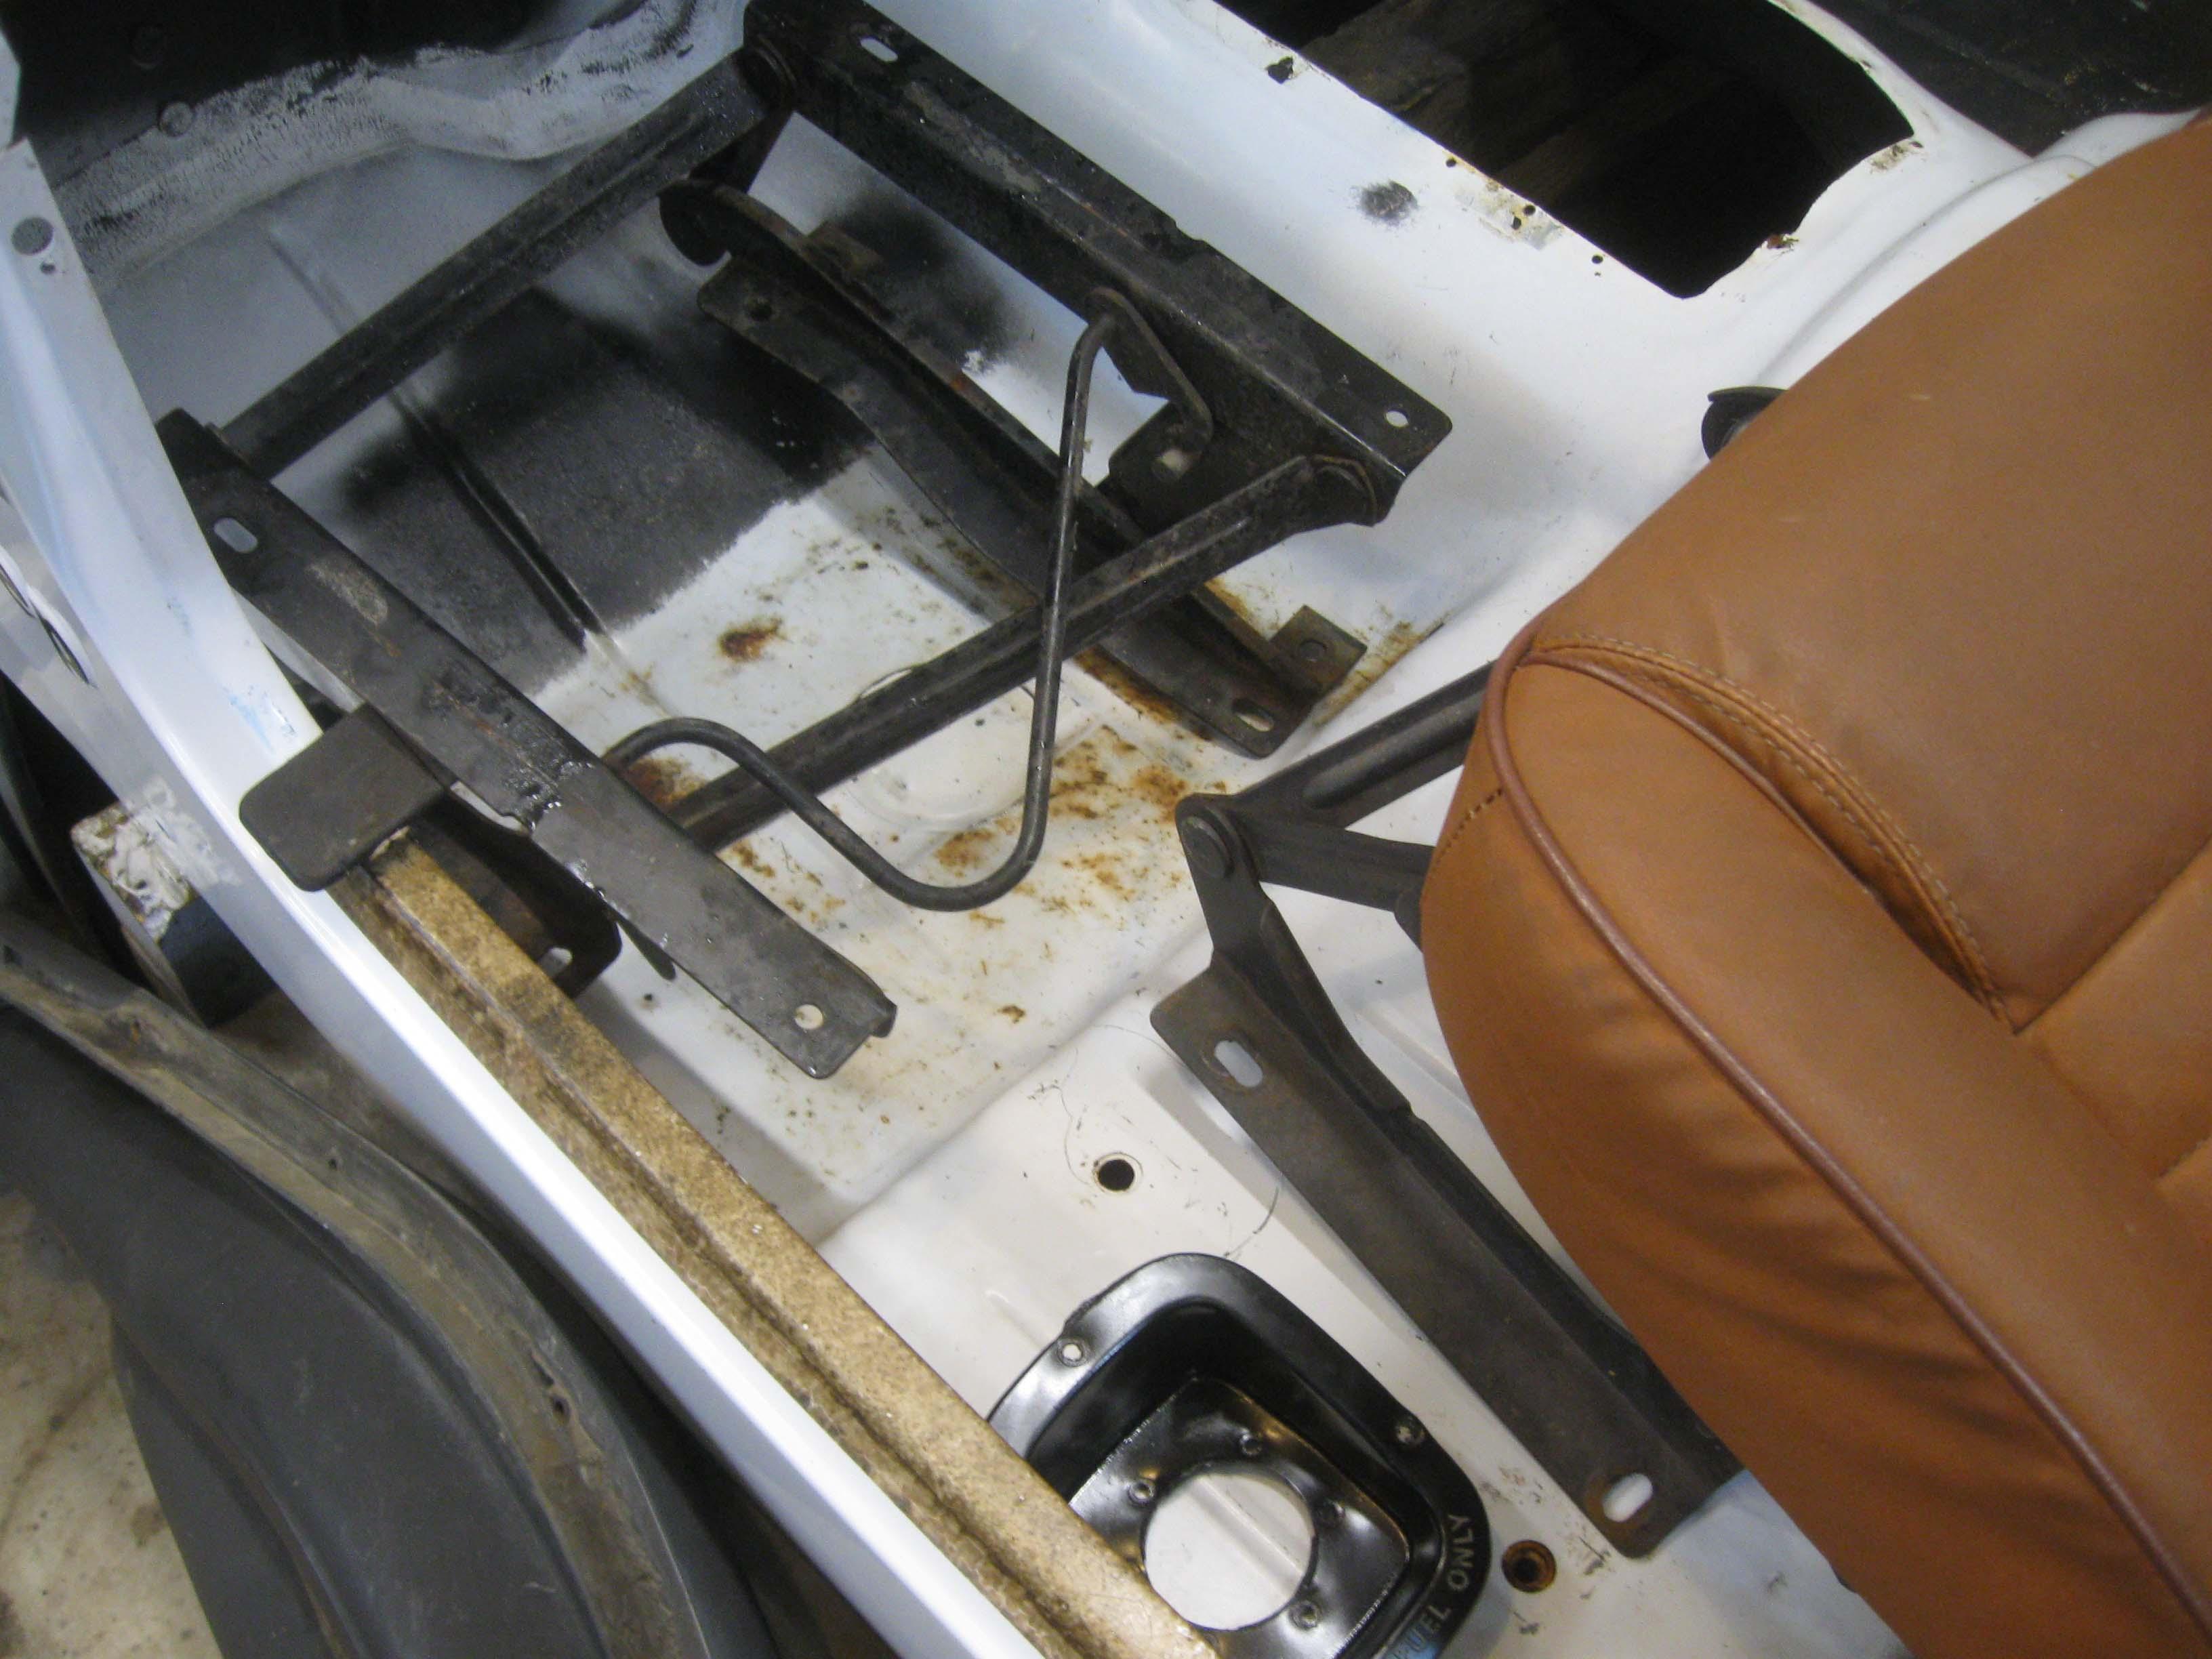
Got 2 LHD passenger side seat brackets the other day, today I found a LHD Driver, or a RHD passenger, which is what I needed:
IMG_6712-1.jpg


All in all, things are moving along, but going to get parts and ordering stuff and such is chewing up a lot of time.

Tomorrow I hope to get rid of all the excess cut off and cut out metal and clean up the garage for the next phase, which will happen the next 2 nights.
Then I have other stuff to attend to, but hopefully get a few hours this weekend and next week, which is Turkey week!

cb
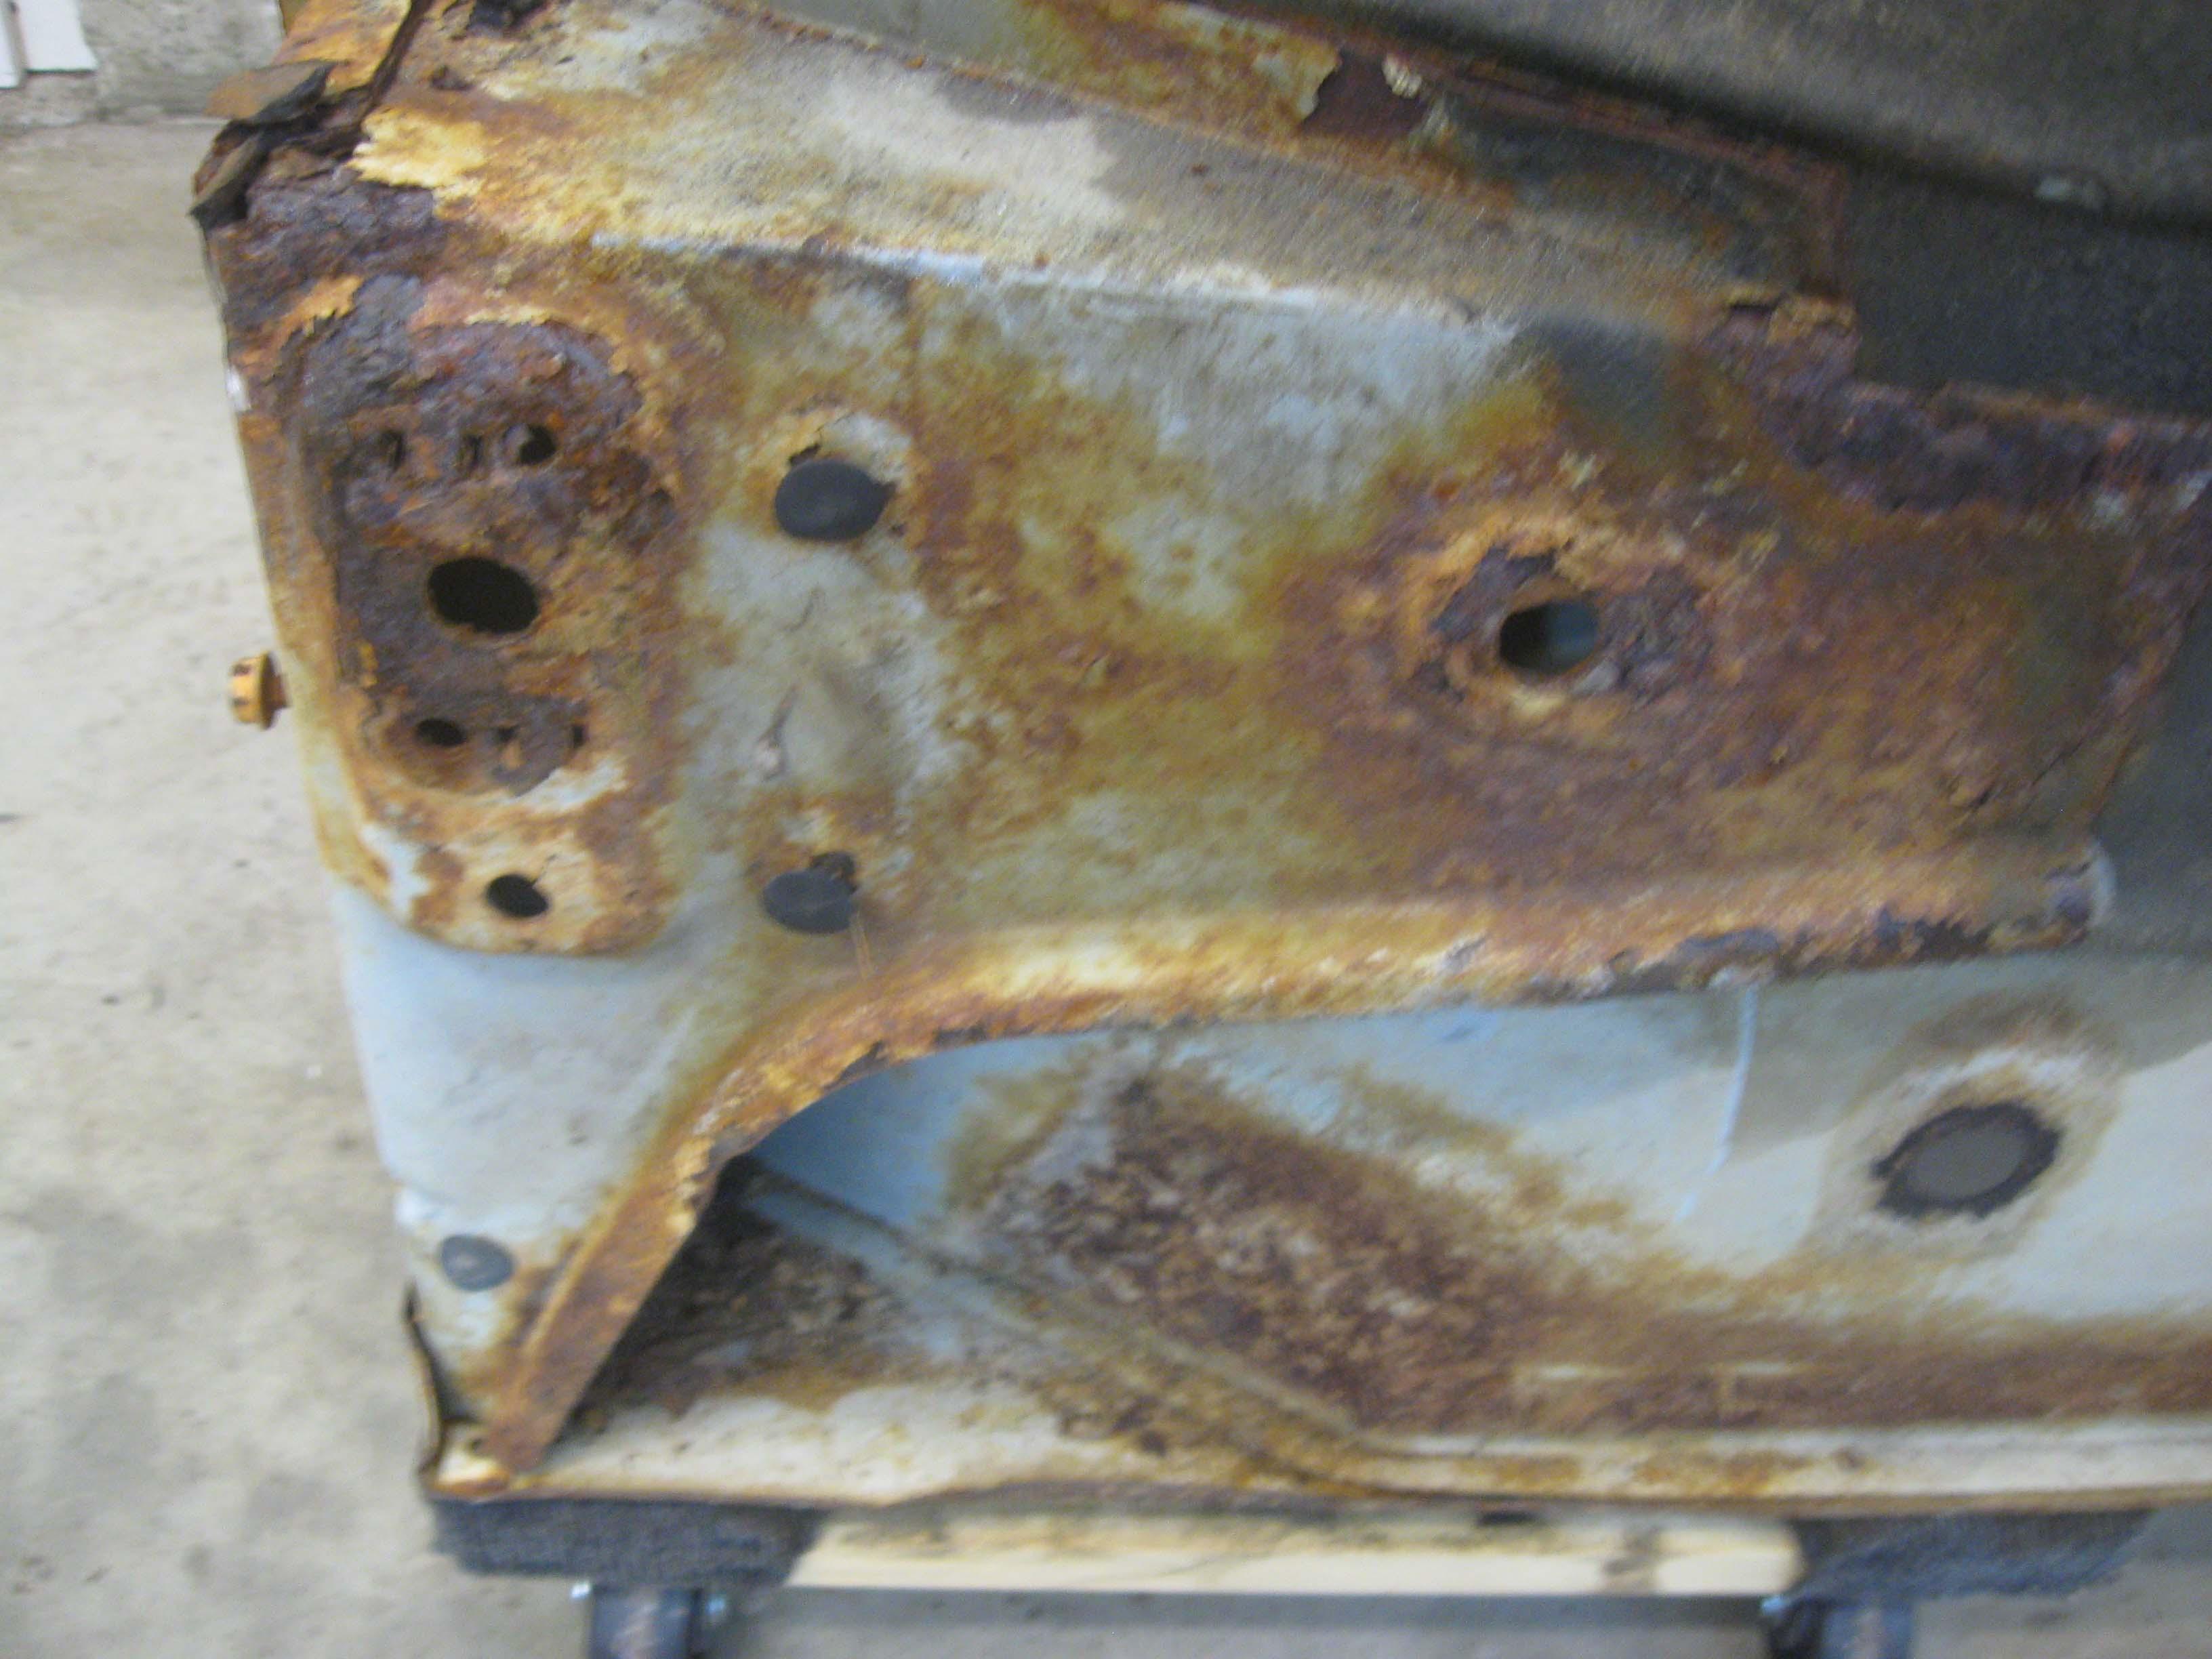
 
Spent more time over the past couple nights, not a lot to report besides more rust, dirt, bloody knuckles, beer consumed and frustrations and confusions.

This picture shows where and how they hooked the exhaust to the bottom of the Jeep body into the support channels.
It does explain the vibration as well as the heat from that area, makes more sense now, but also it is welded in and bolt in.
I think I will just end up redoing the exhaust mounting situation when I get the body off.

IMG_6746-1.jpg


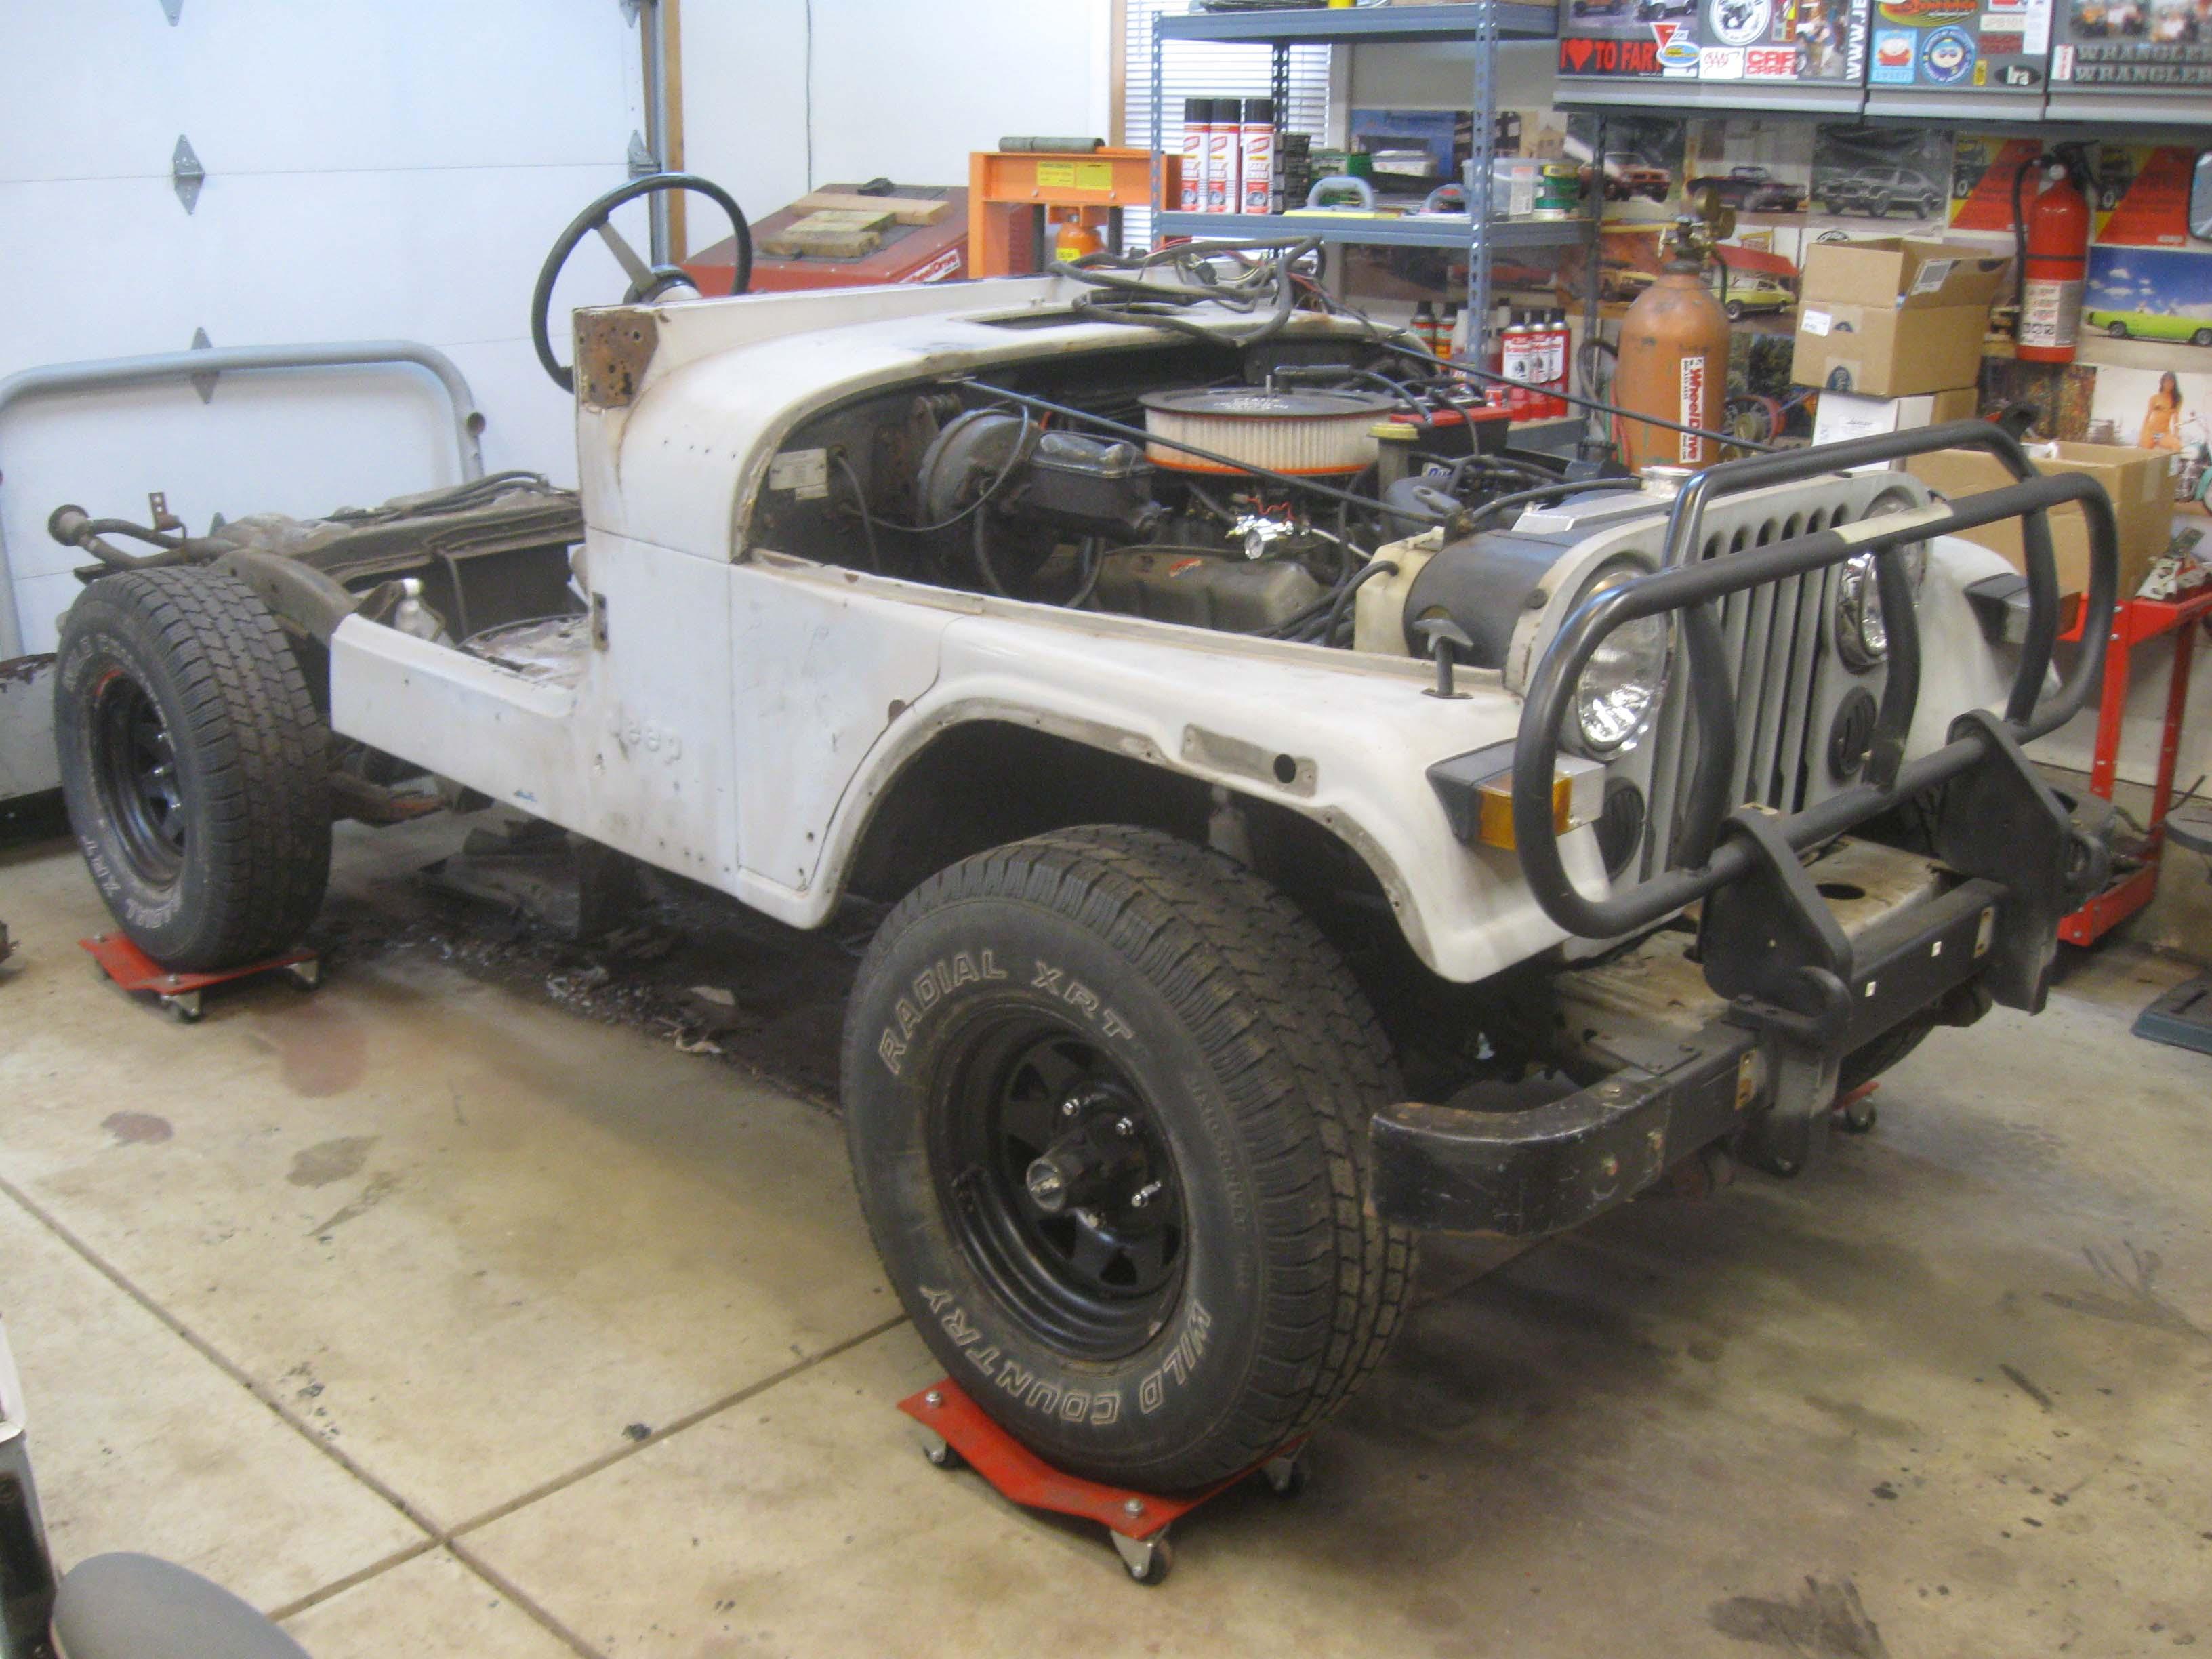
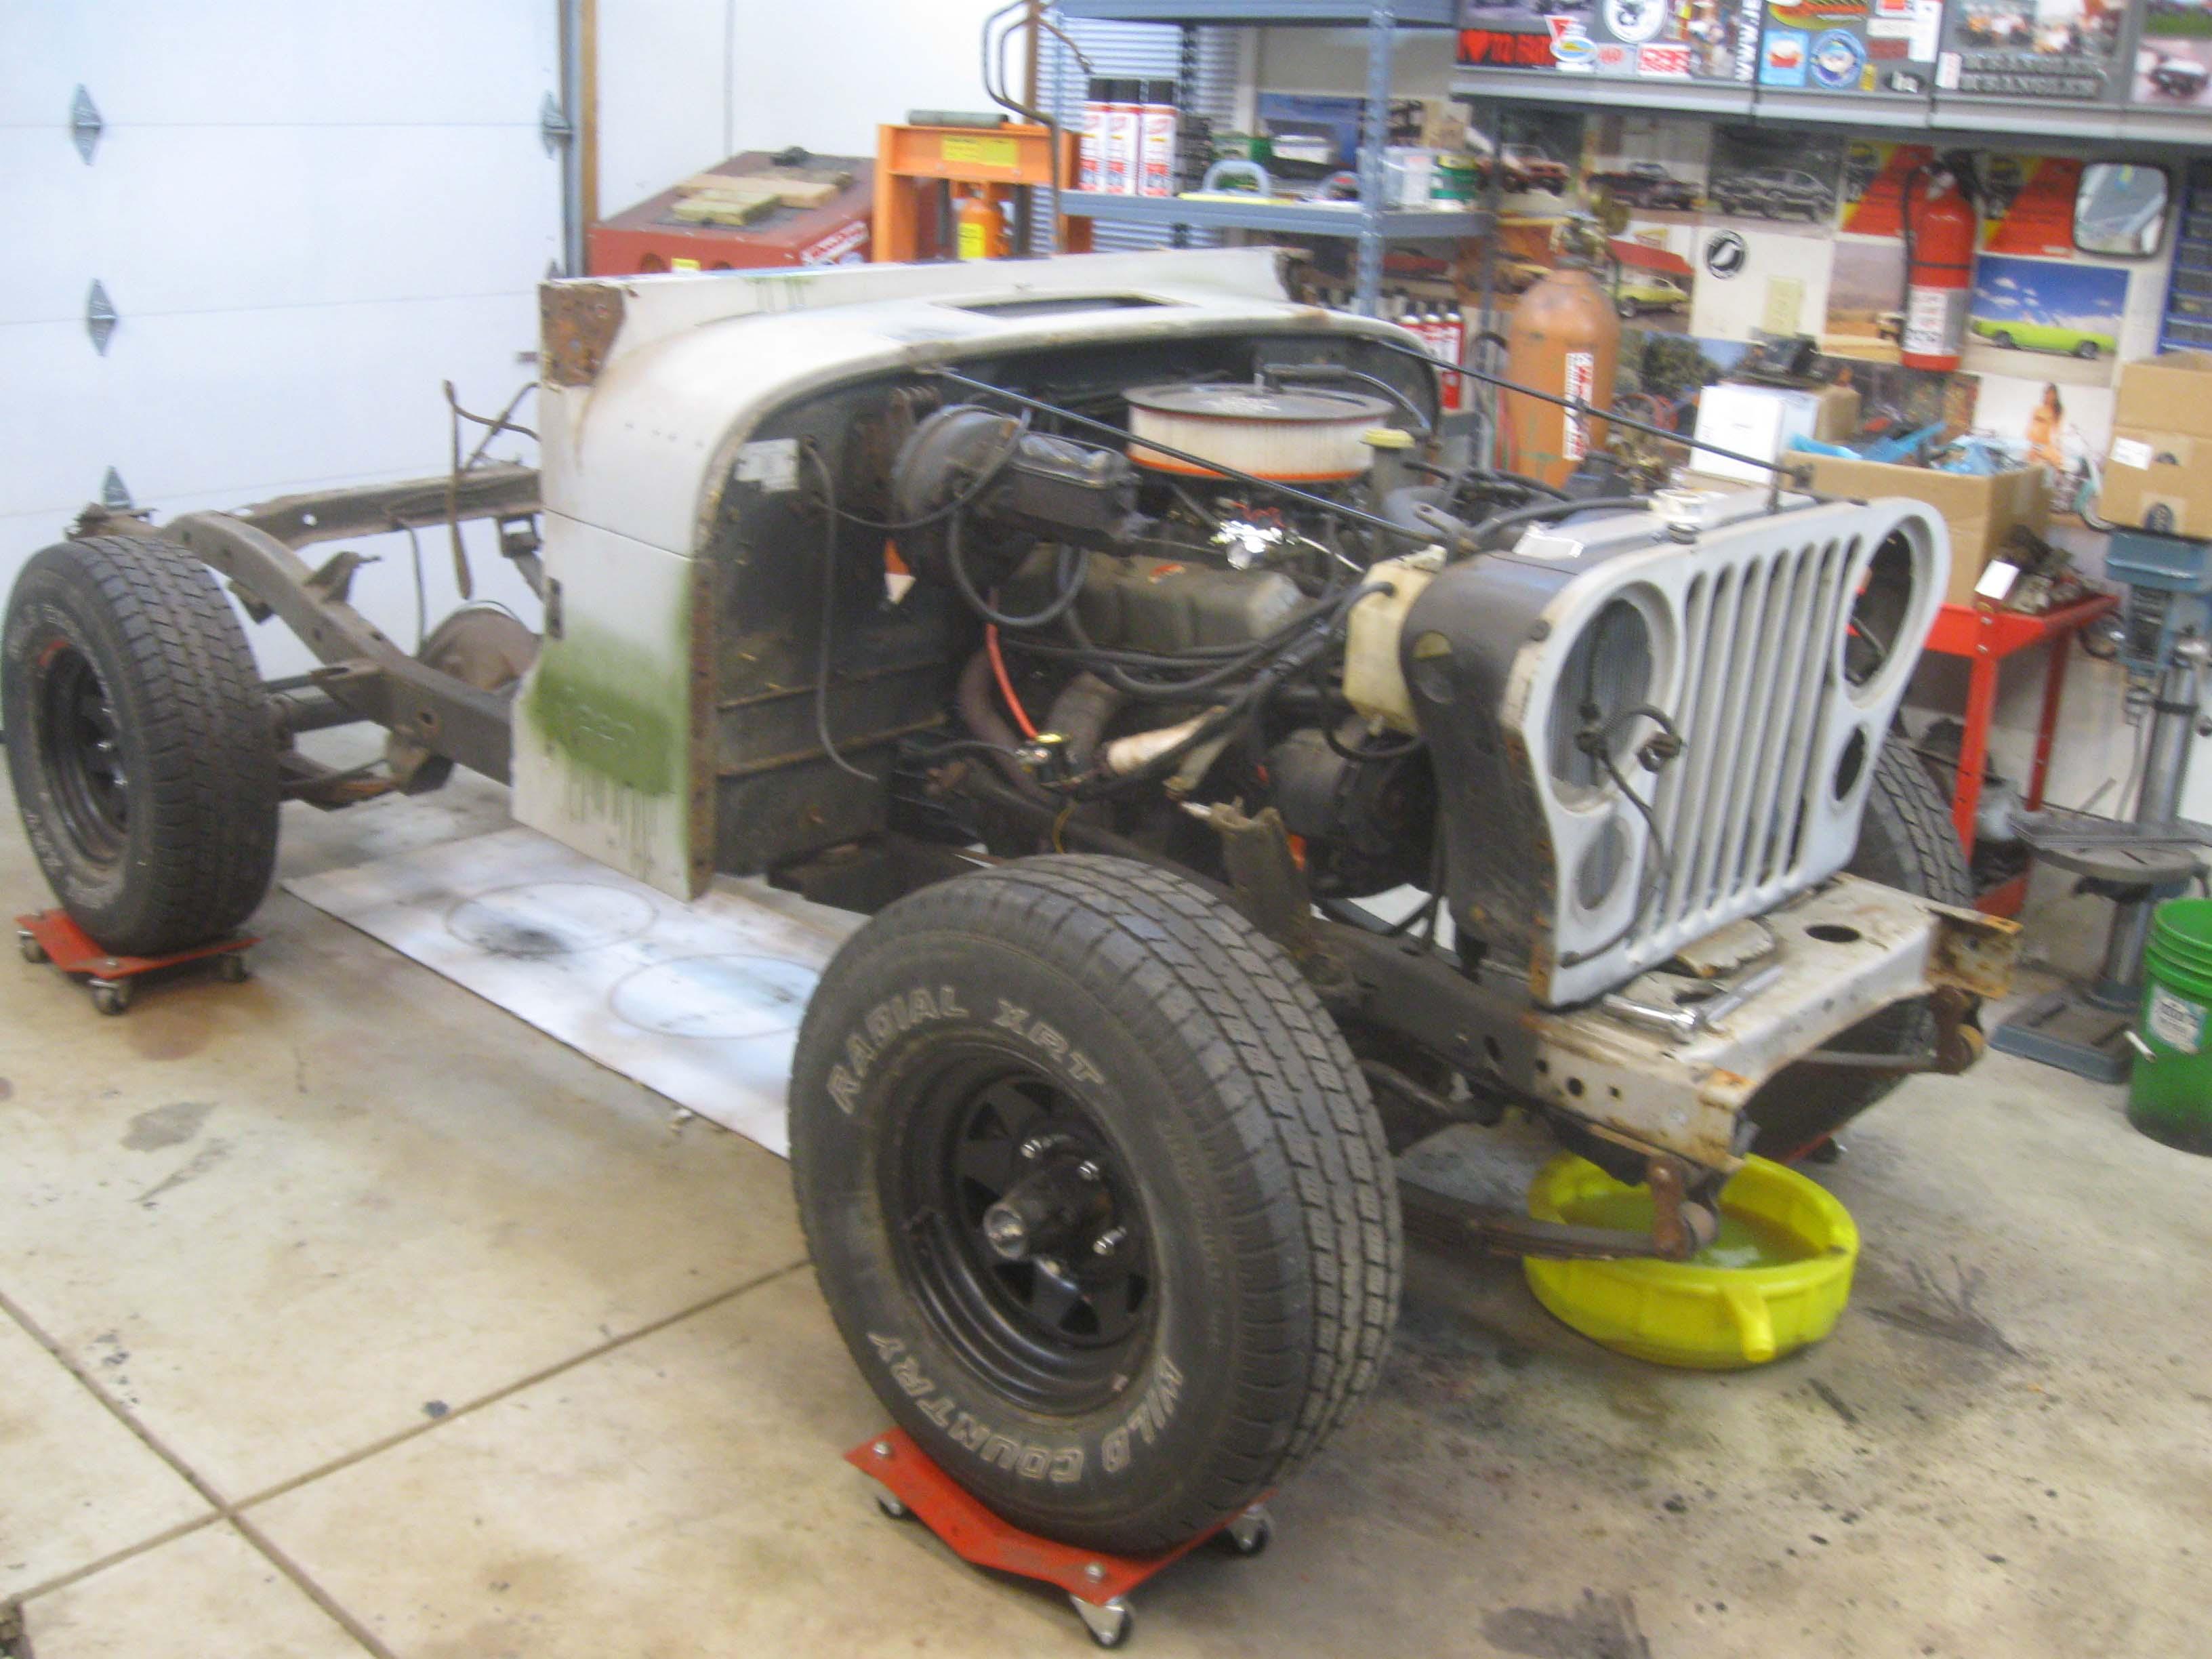
This is how it sat as I left last night.
2 hours to get one fender off... bolt heads stripped and rusted in place. Fun times!

IMG_6742-1.jpg


Nothing tonight, but I hope by the end of hte weekend to have the dash out, steering column, steering wheel and tank dropped and lines removed from the frame rails for making way for rear cross member repair as well as body mount repair.

cb
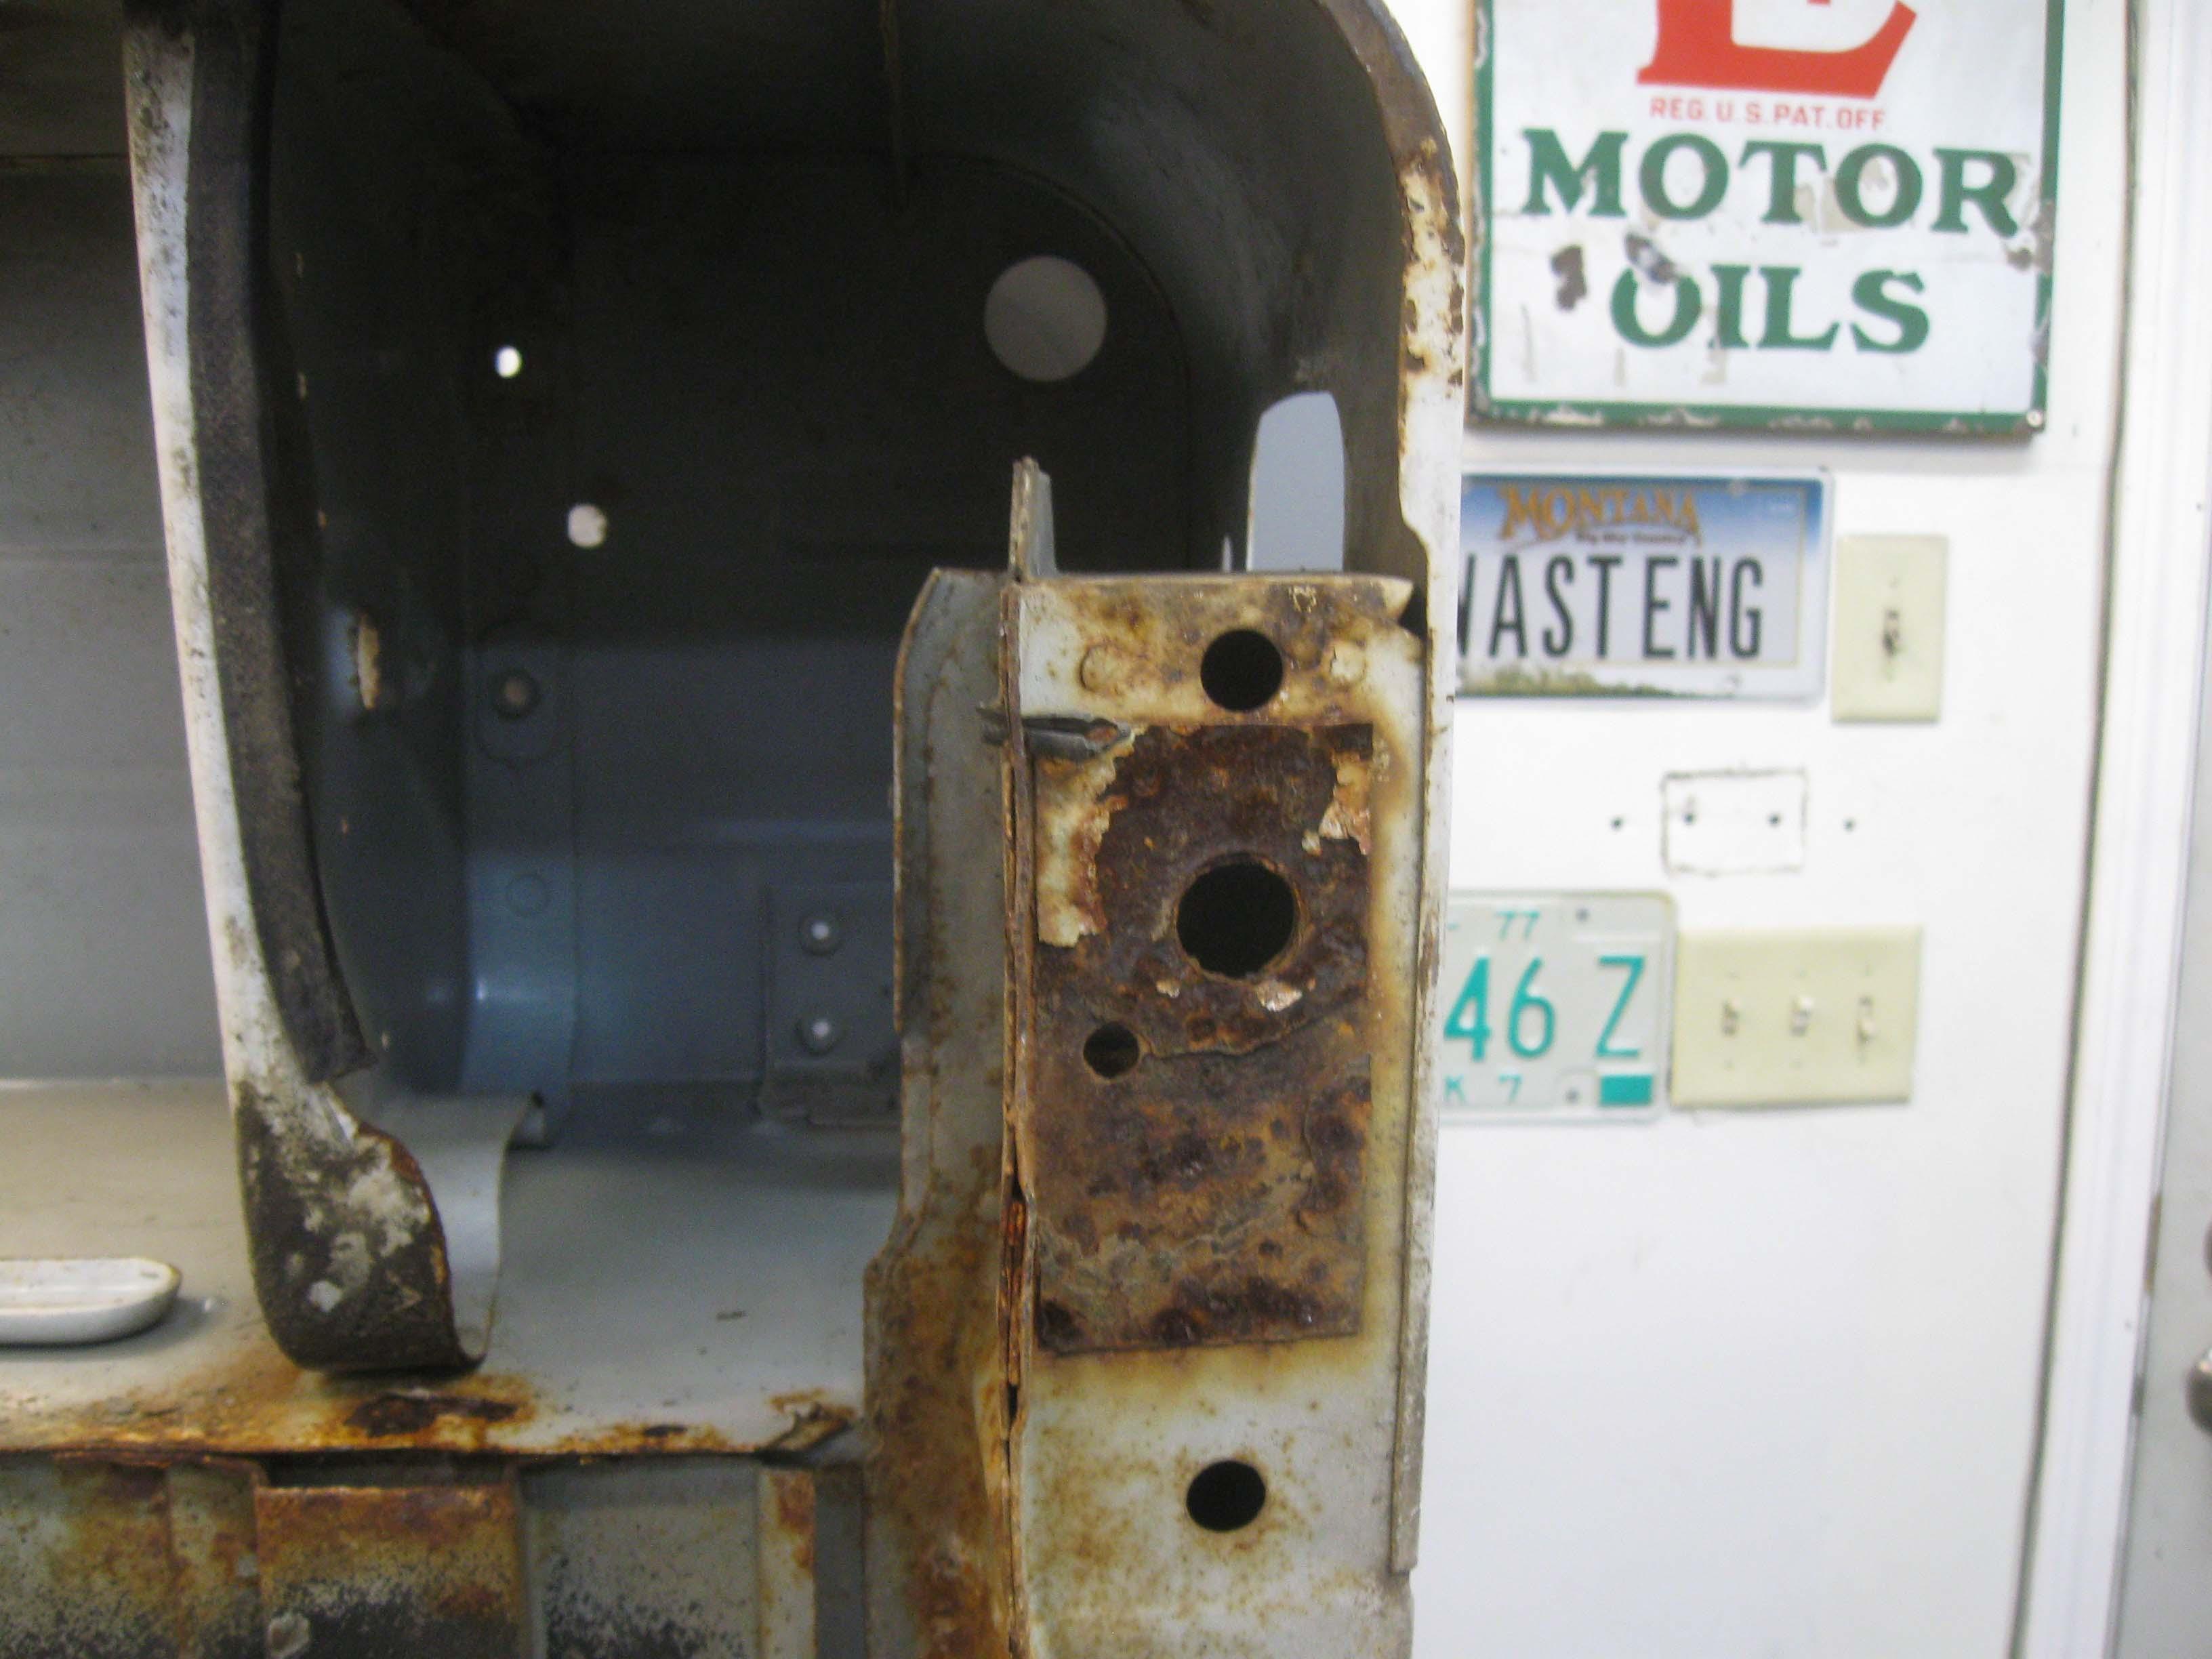
 
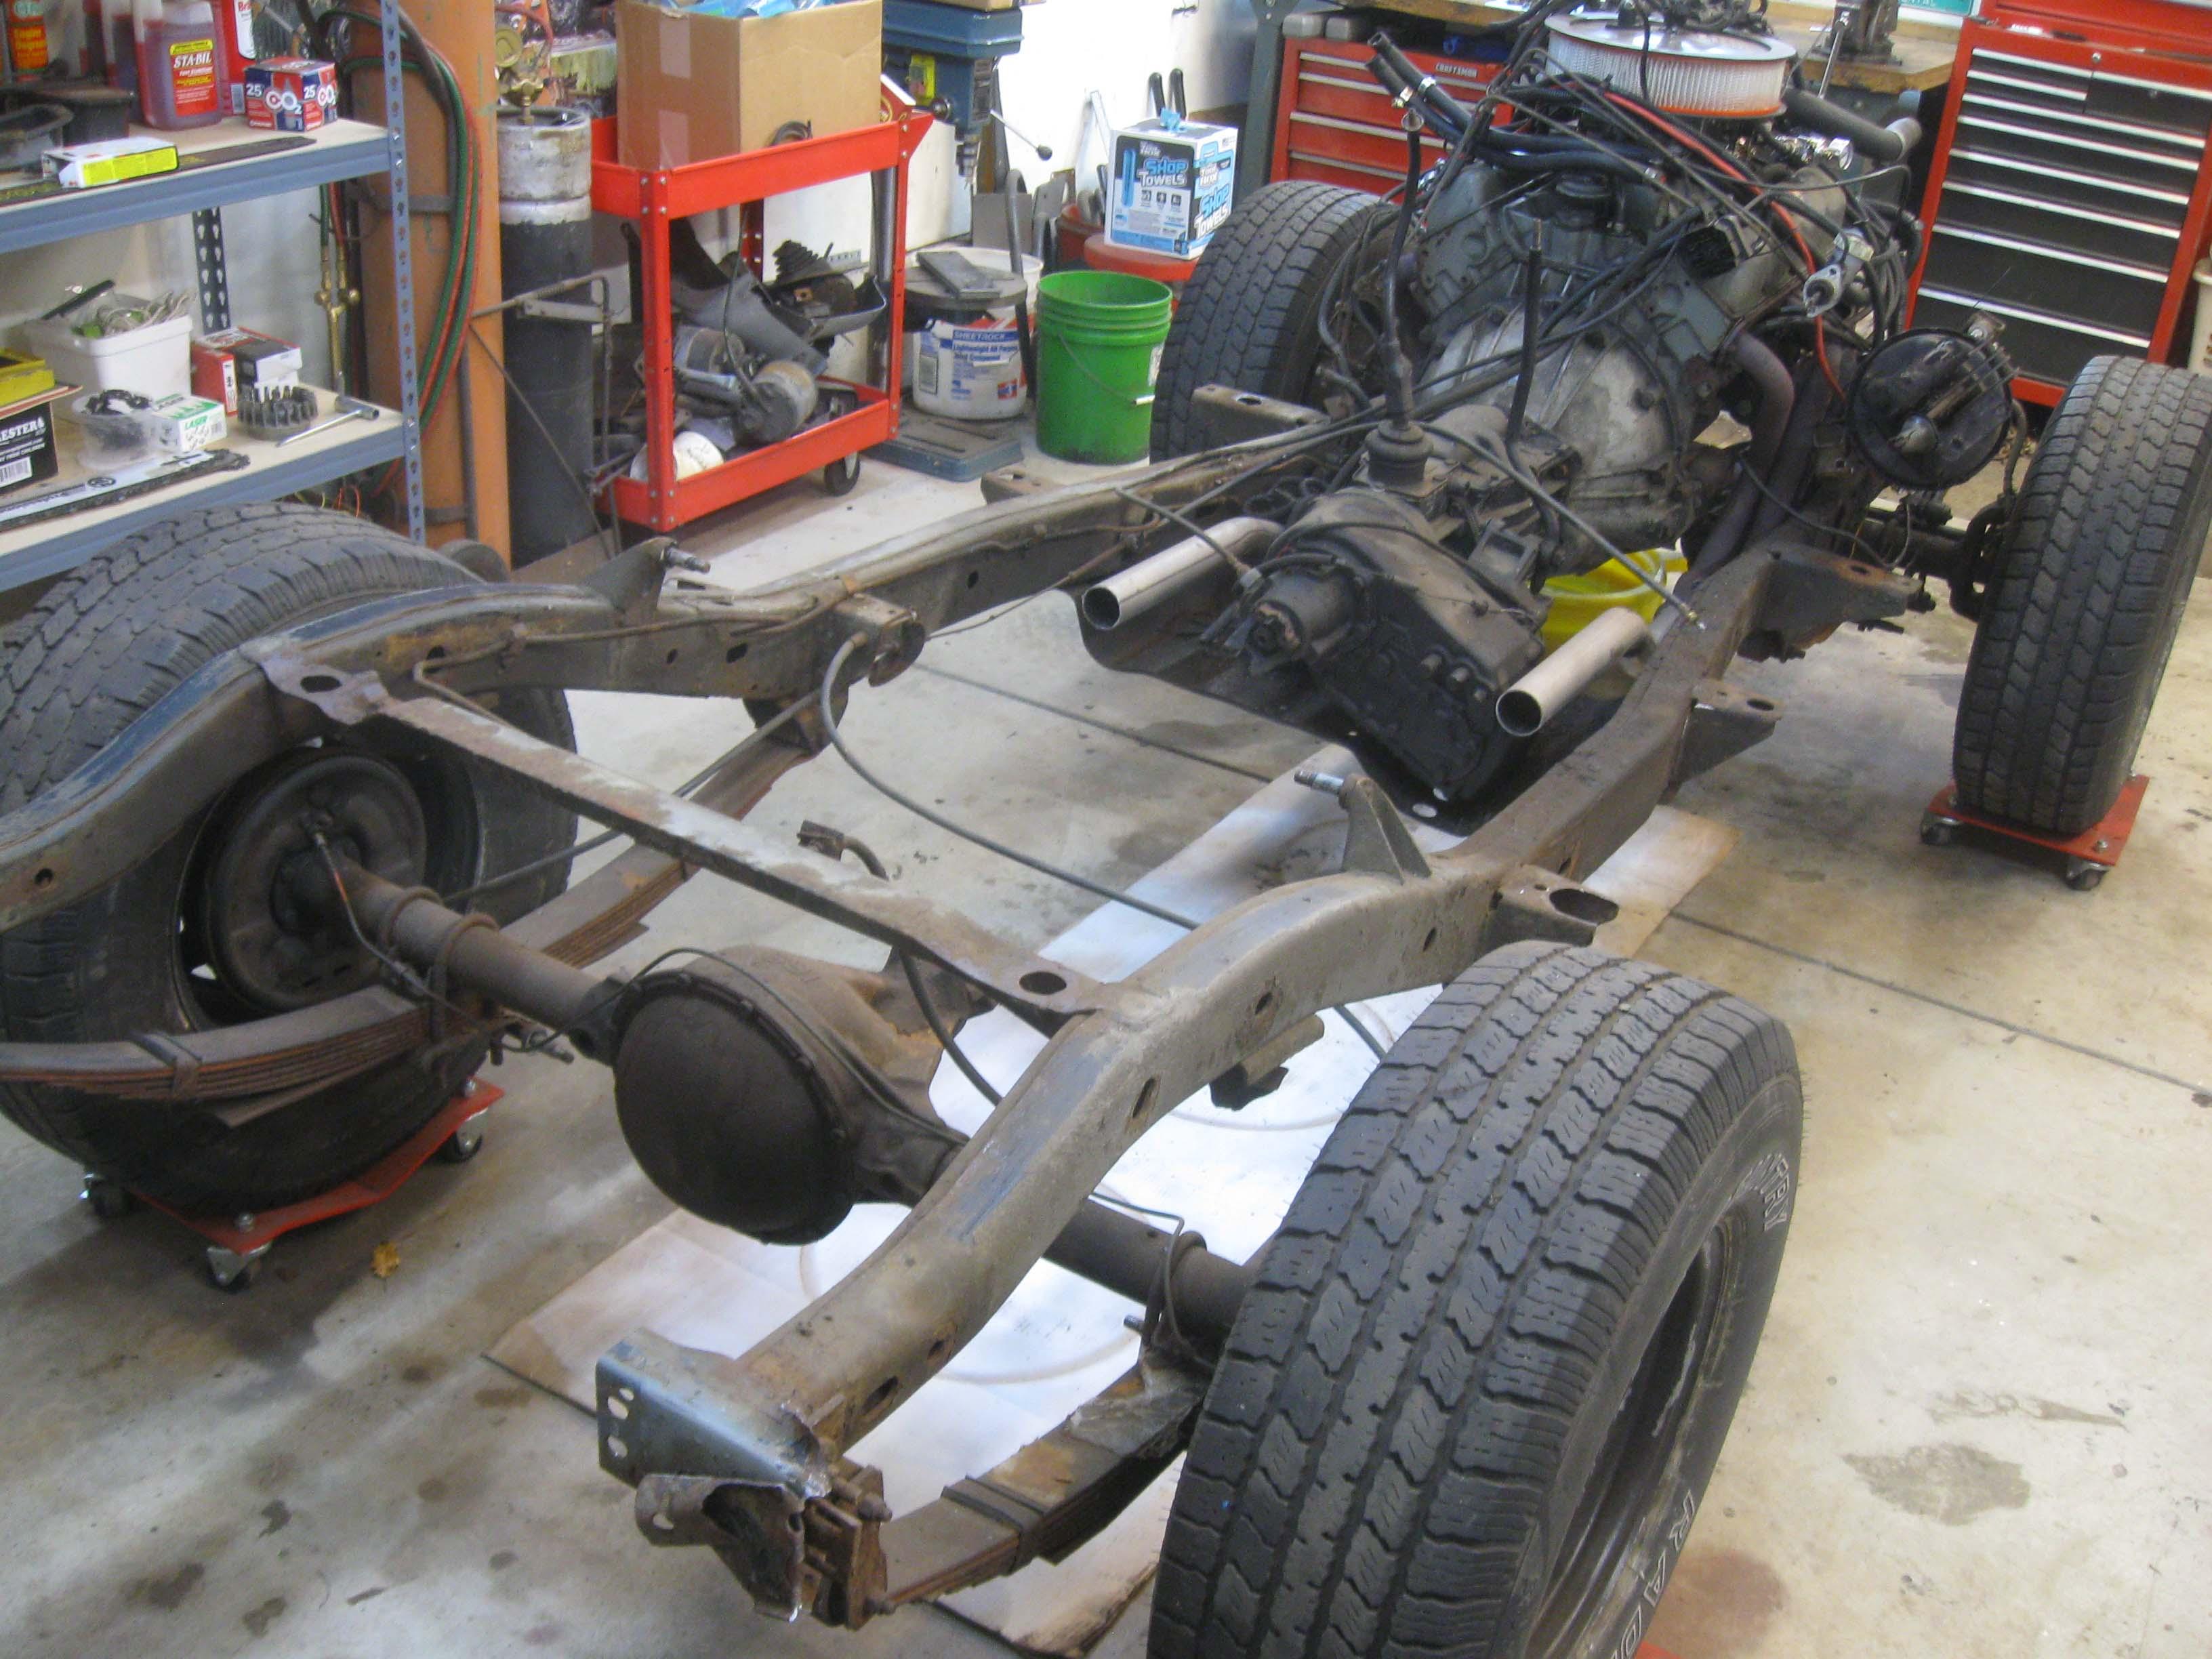
For that much body rot, the frame looks great!

Question - in the seat belt liberation photo, are you using some sort of grabber socket on the torx bolt - or does this thing not have torx bolts?
 
Nice observation.
Let me tell you a little story about what the underside of all bolts that stuck through the body had on them.

Basically every bolt that went through the floor and had more the 1/2" protrusion received a lock washer and a nut. Some appeared to be tack welded as well.
I am not quite sure why this is, but basically a lot of the time I was fighting up top, I really had to go underneath, bust off the nut and then I could get the torx to move.

I think it could have been that some of the holes had been stripped over time and the nut/washer combo was just insurance, but I am not sure.


However, in this particular case, yes, the lower strap retaining loop had a hex bolt in it.

cb
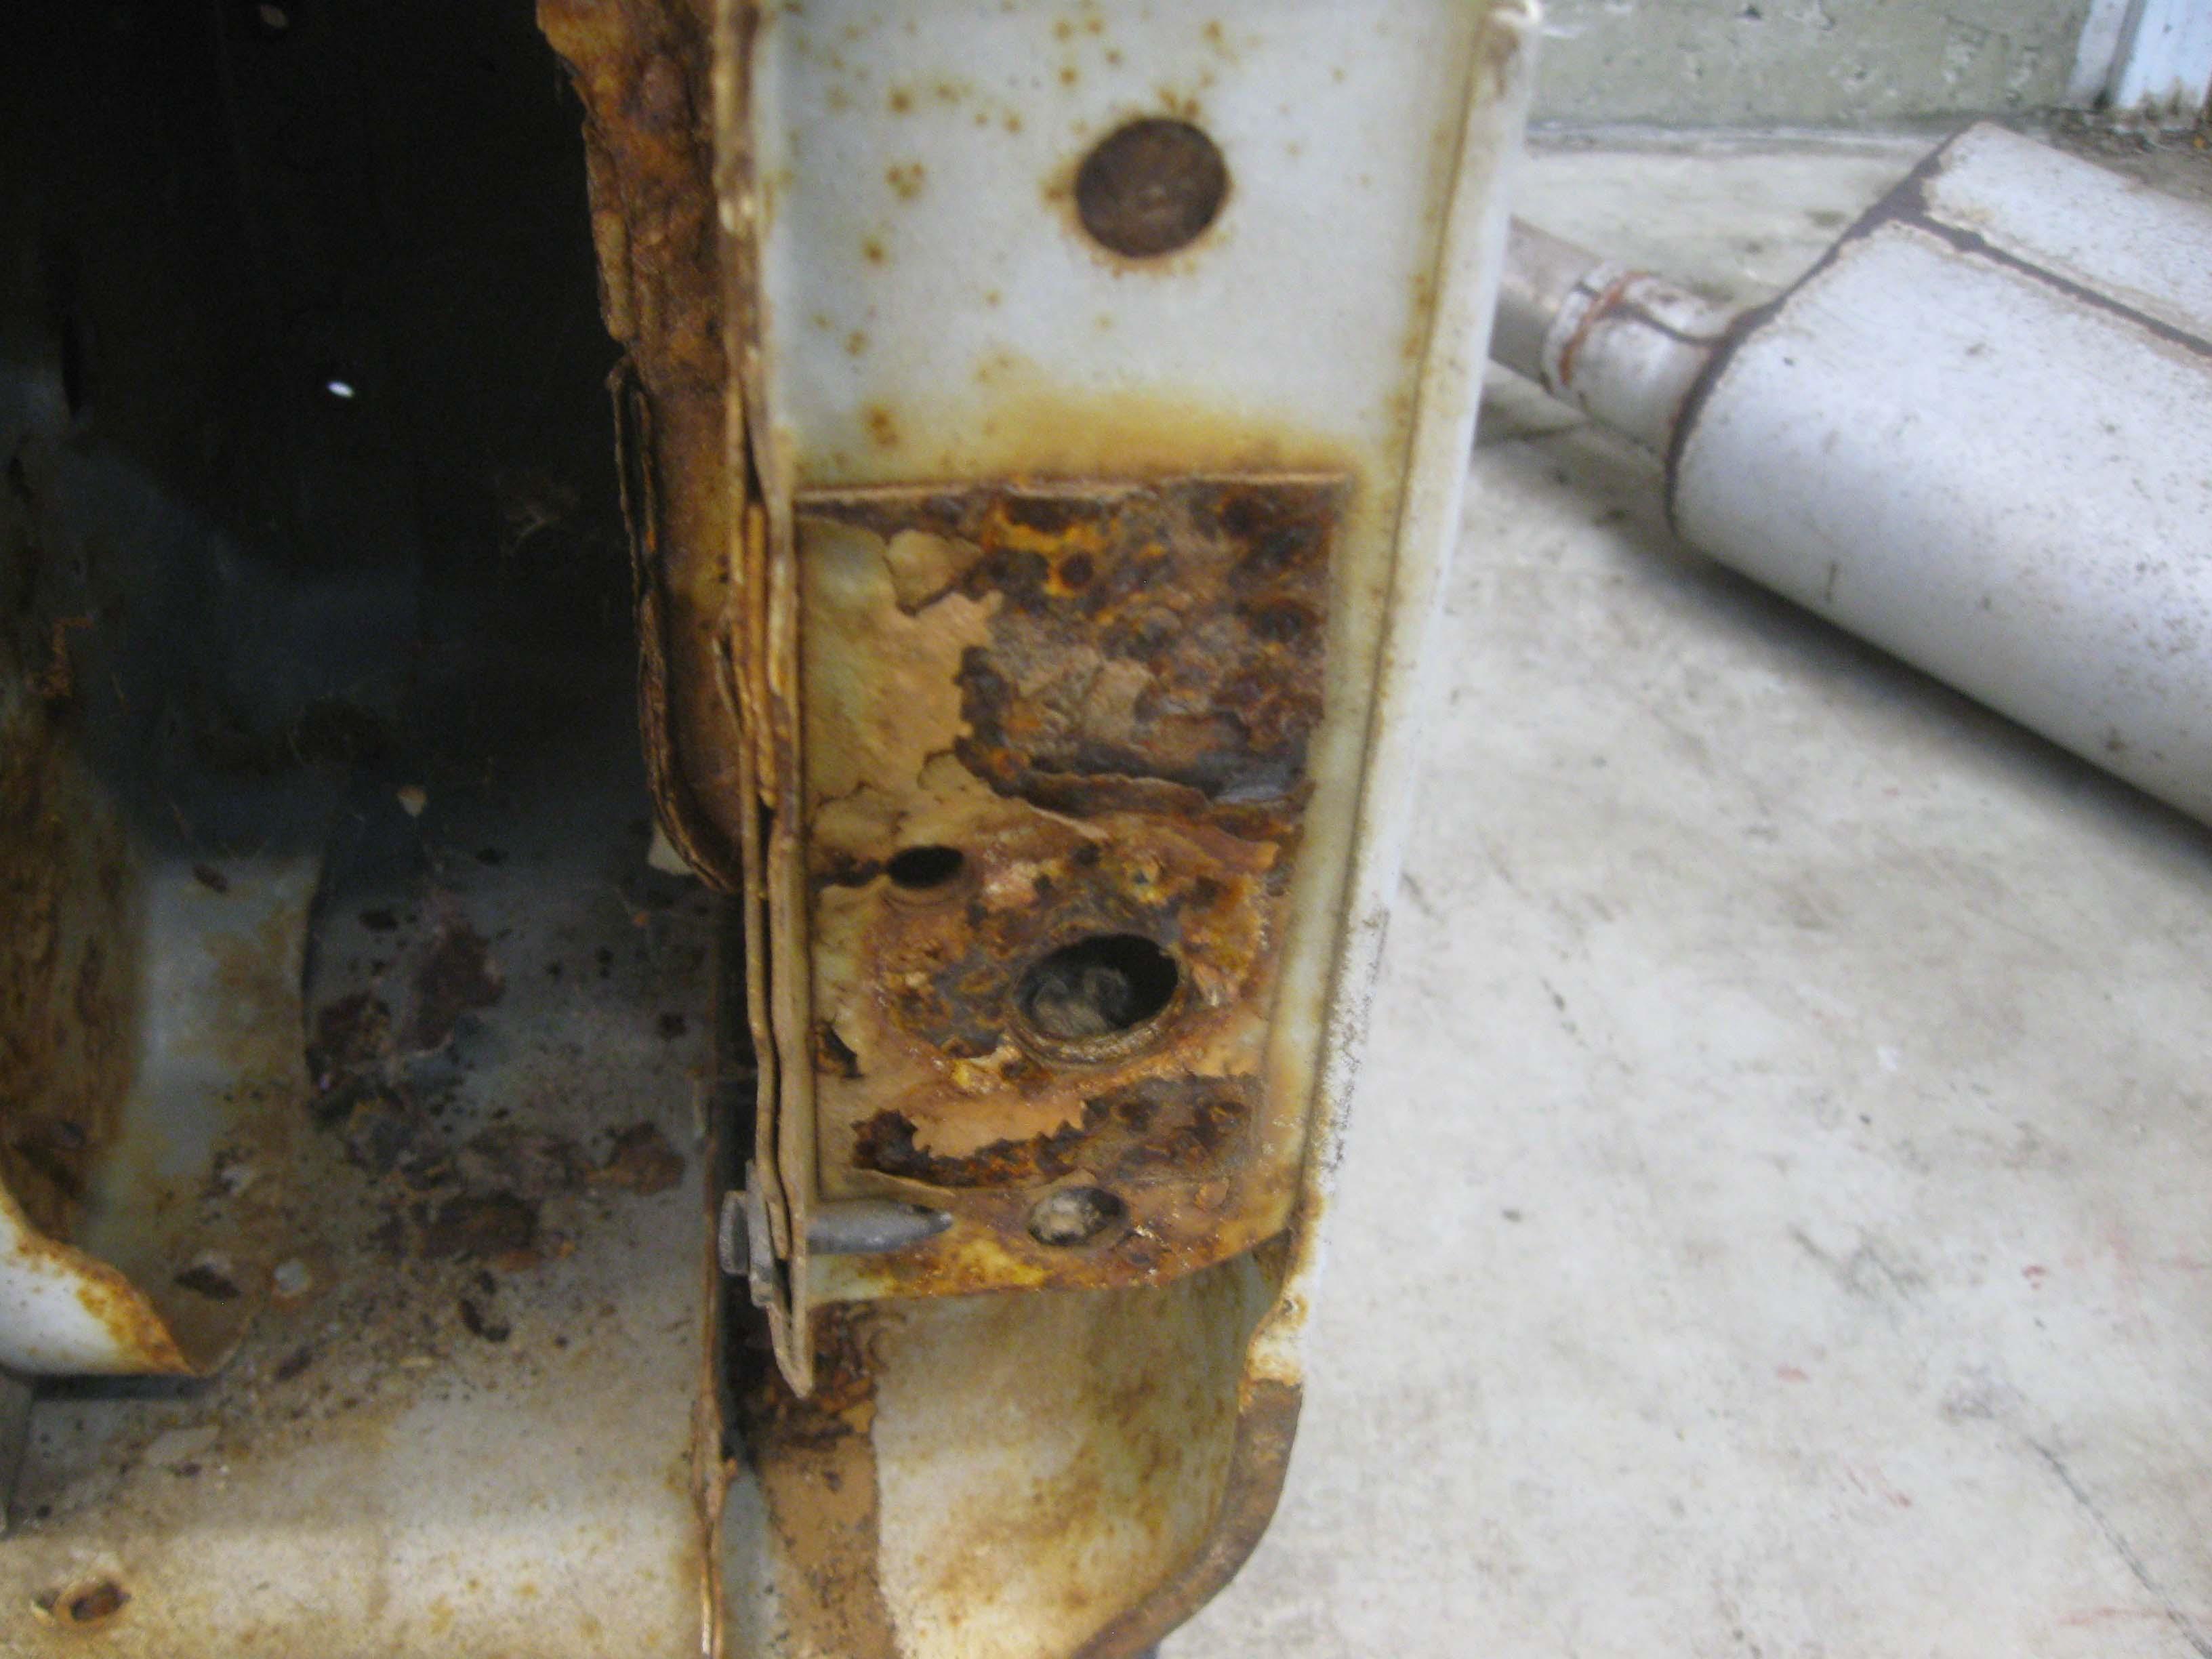
 
Sorry... the frame is in very nice shape.
I have all the body mount bolts out... I am thinking 6 decent frame mounts and 4 that aren't.
Fortunately the 2 that are bad are the ones that get relocated when using a YJ tub and the rear crossmember is trashed, so I will put a new one on.
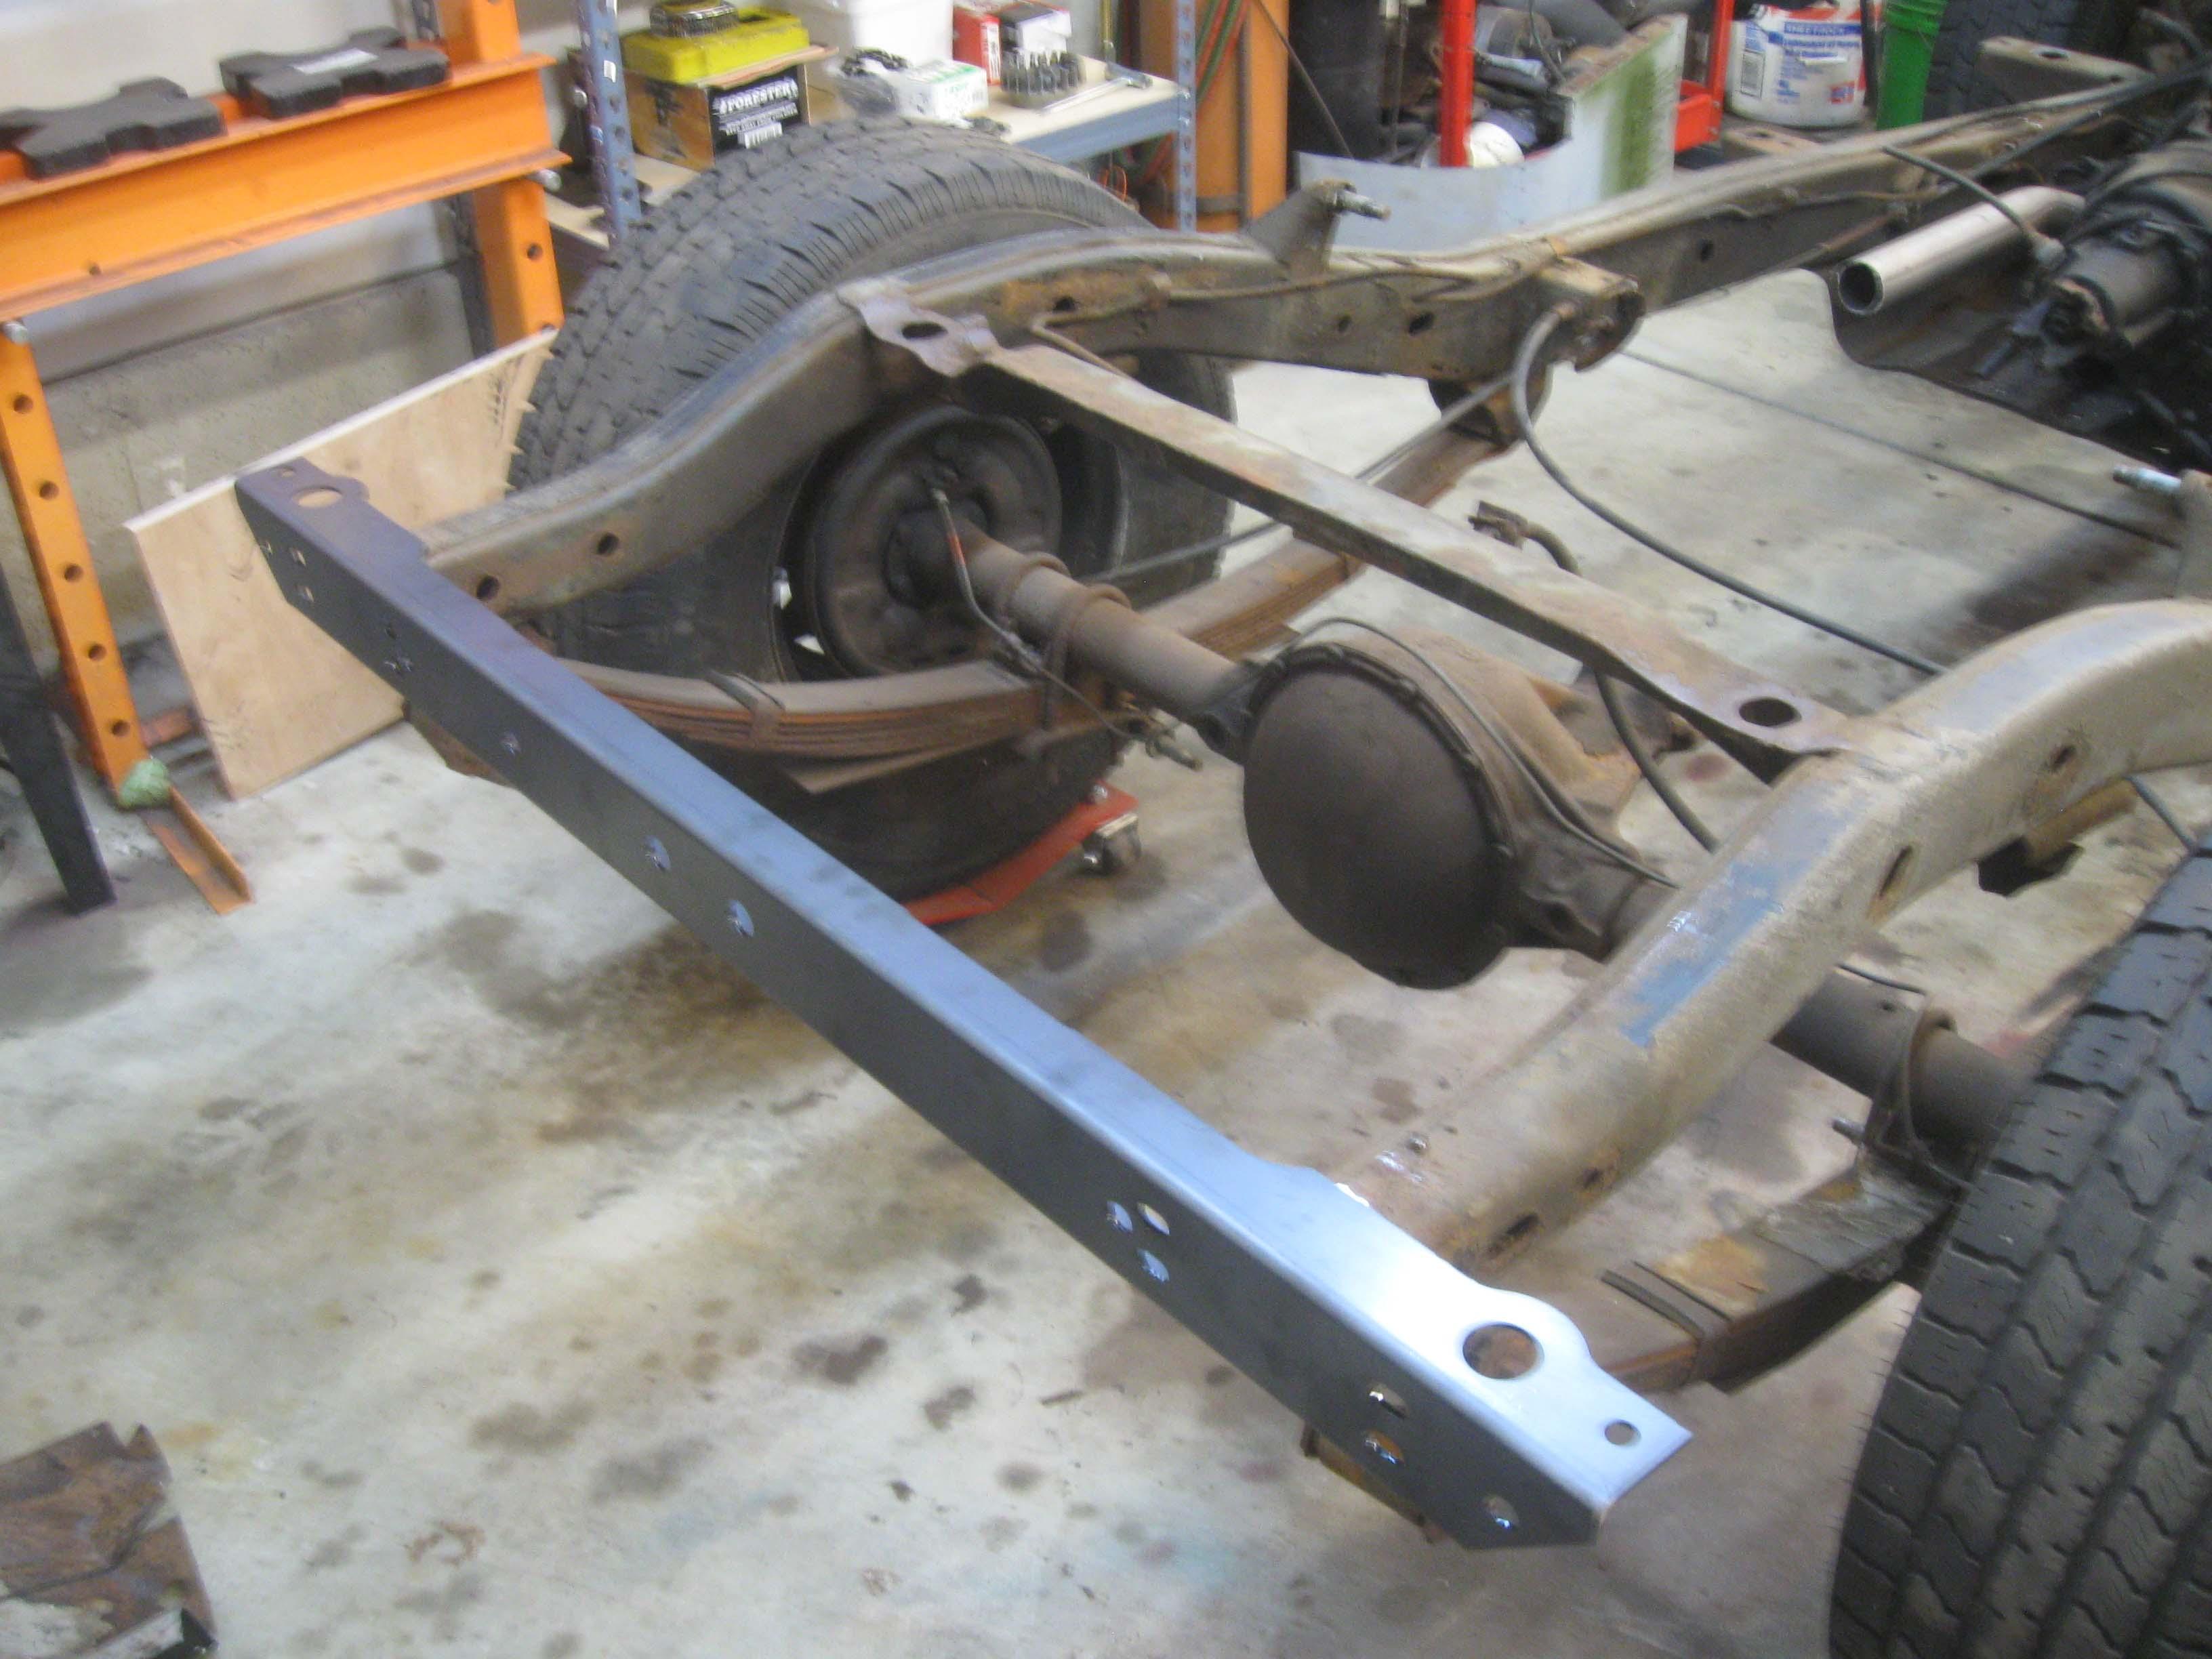
Stay tuned...

cb
 
Looks like you have the belts all figured out. I use a small stream of water to cool the bolt heads while cutting them off with a 4" cut off wheel. This will keep the belt material from melting and a set of seat belts can be saved sans bolts. A little messy but worth it.
 
LIBERATION!

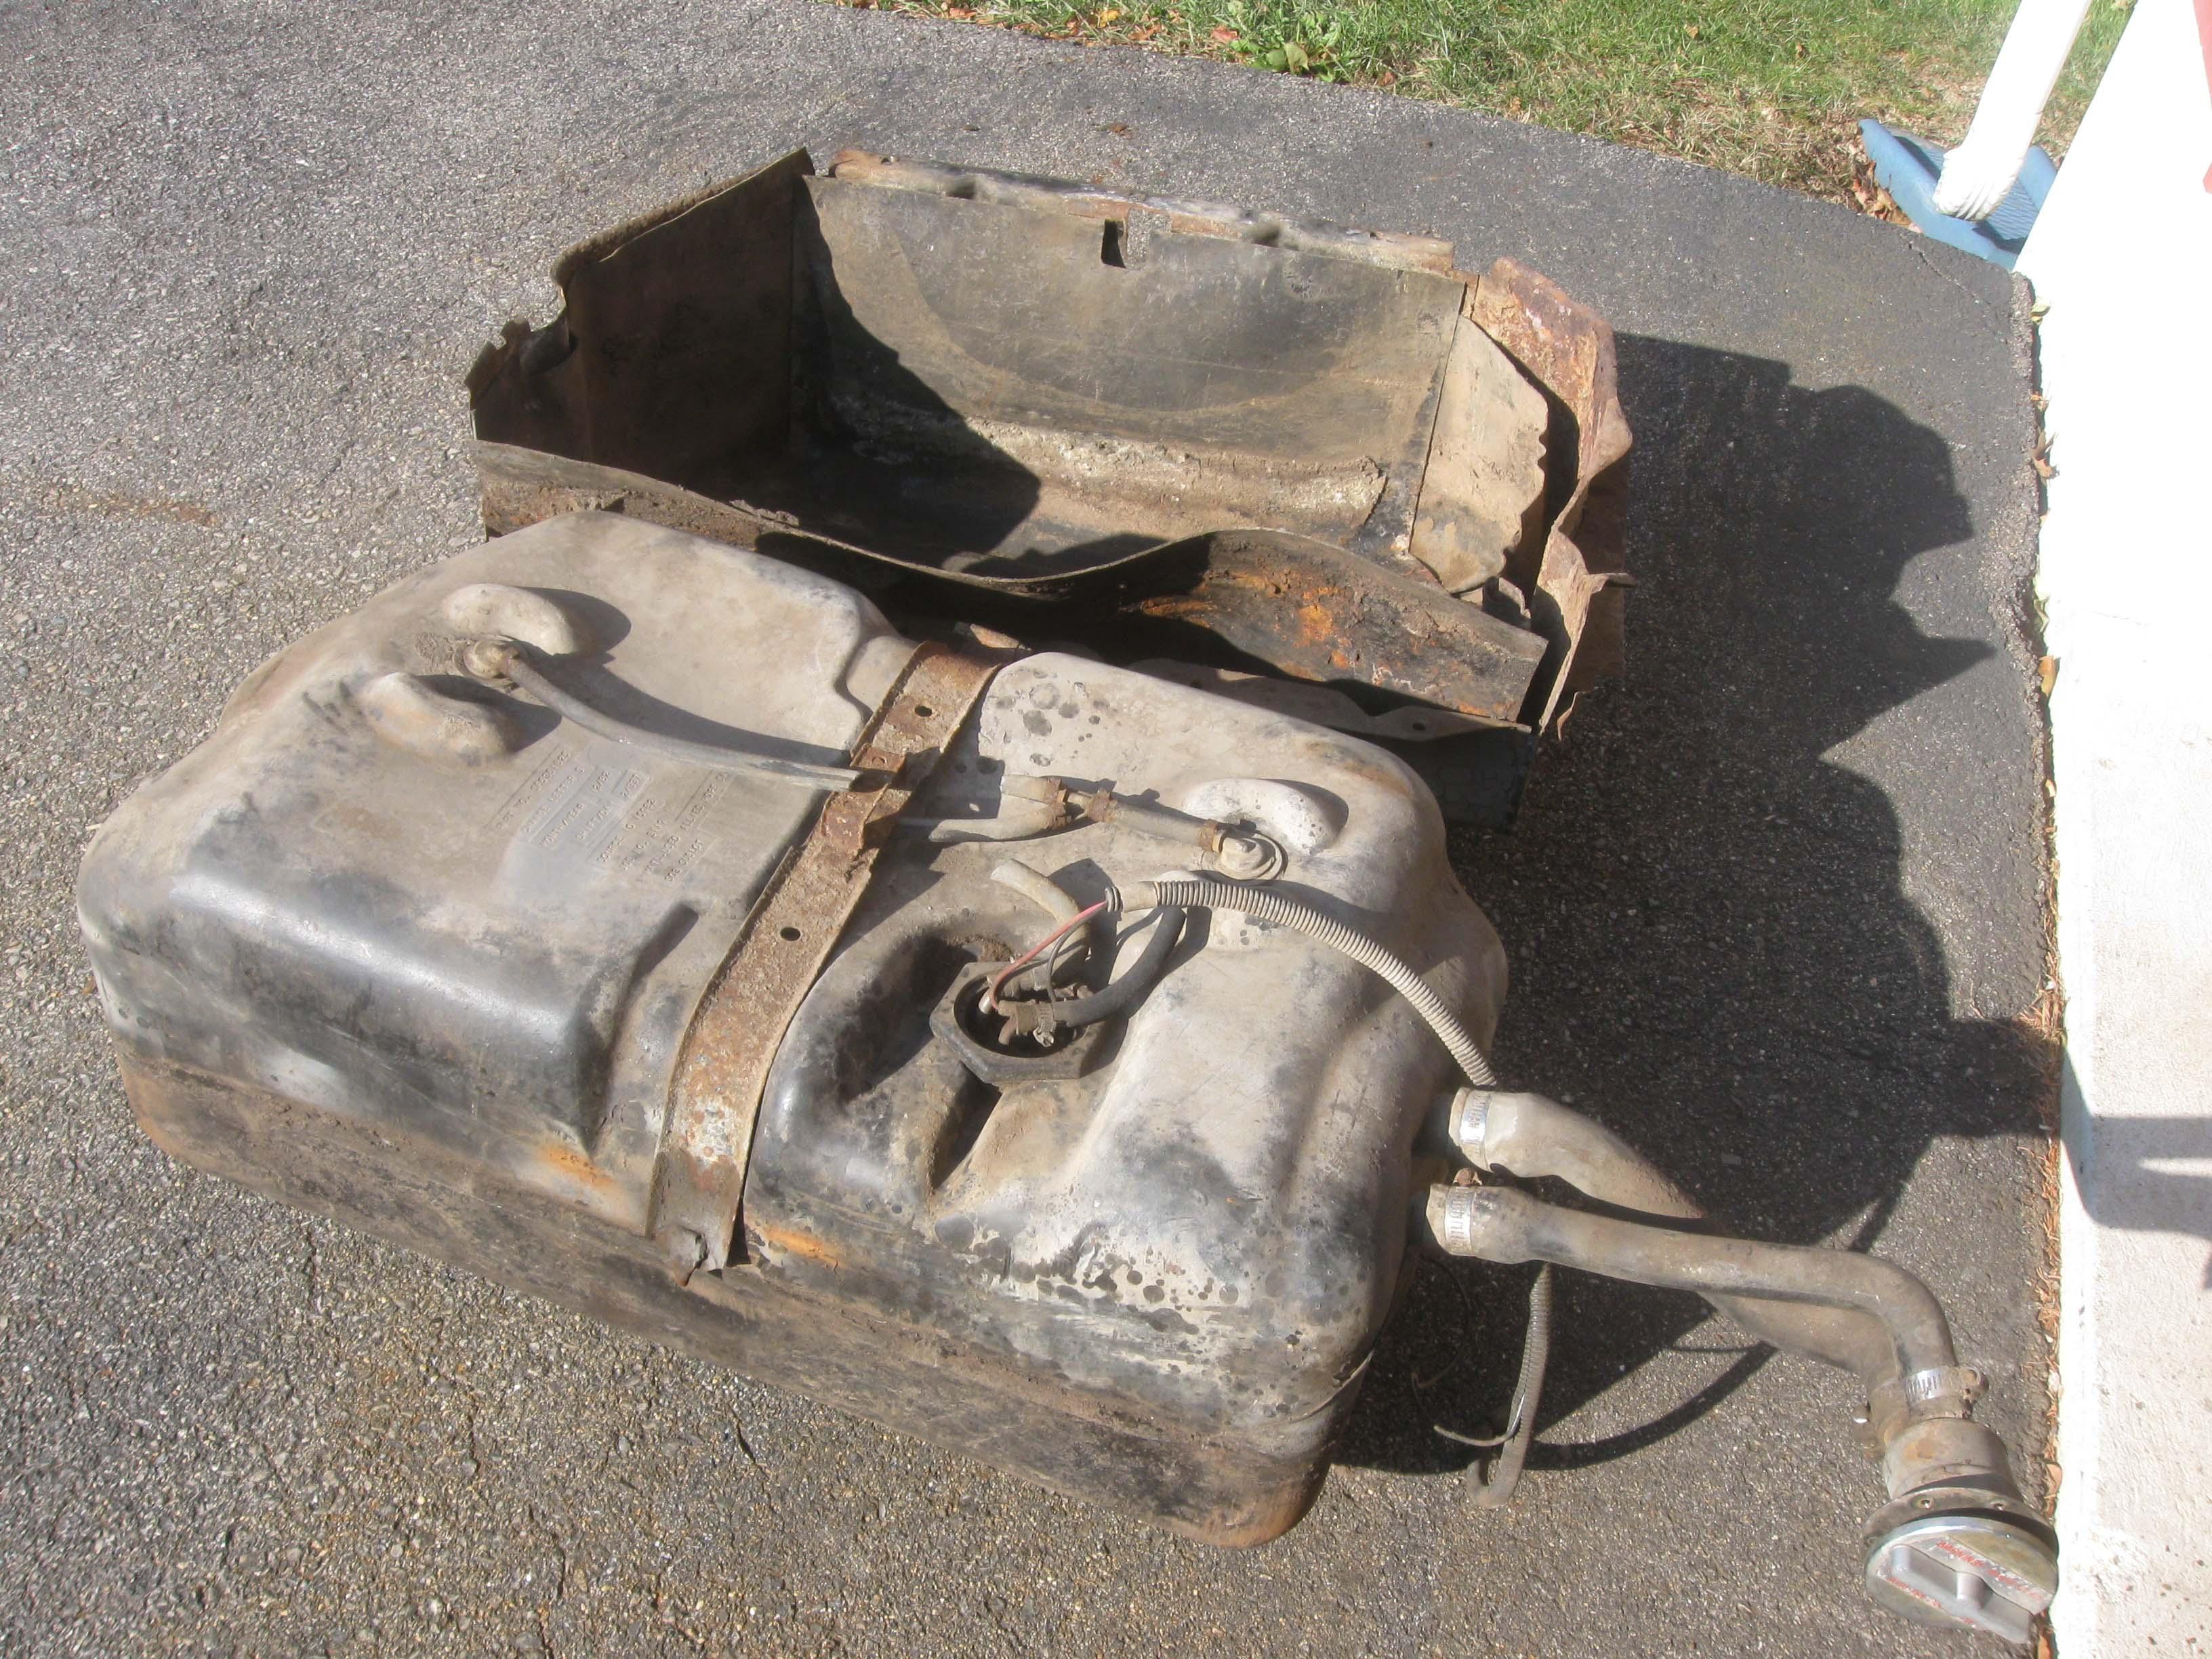
That was the theme for the weekend. I got the tub finally liberated from the frame and I got the gas tank liberated from the skid, which was no easy feat with all the junk that was shoved in the sides of it.

How the weekend started out:
IMG_6794-1.jpg


How it ended up:
IMG_6828-1.jpg


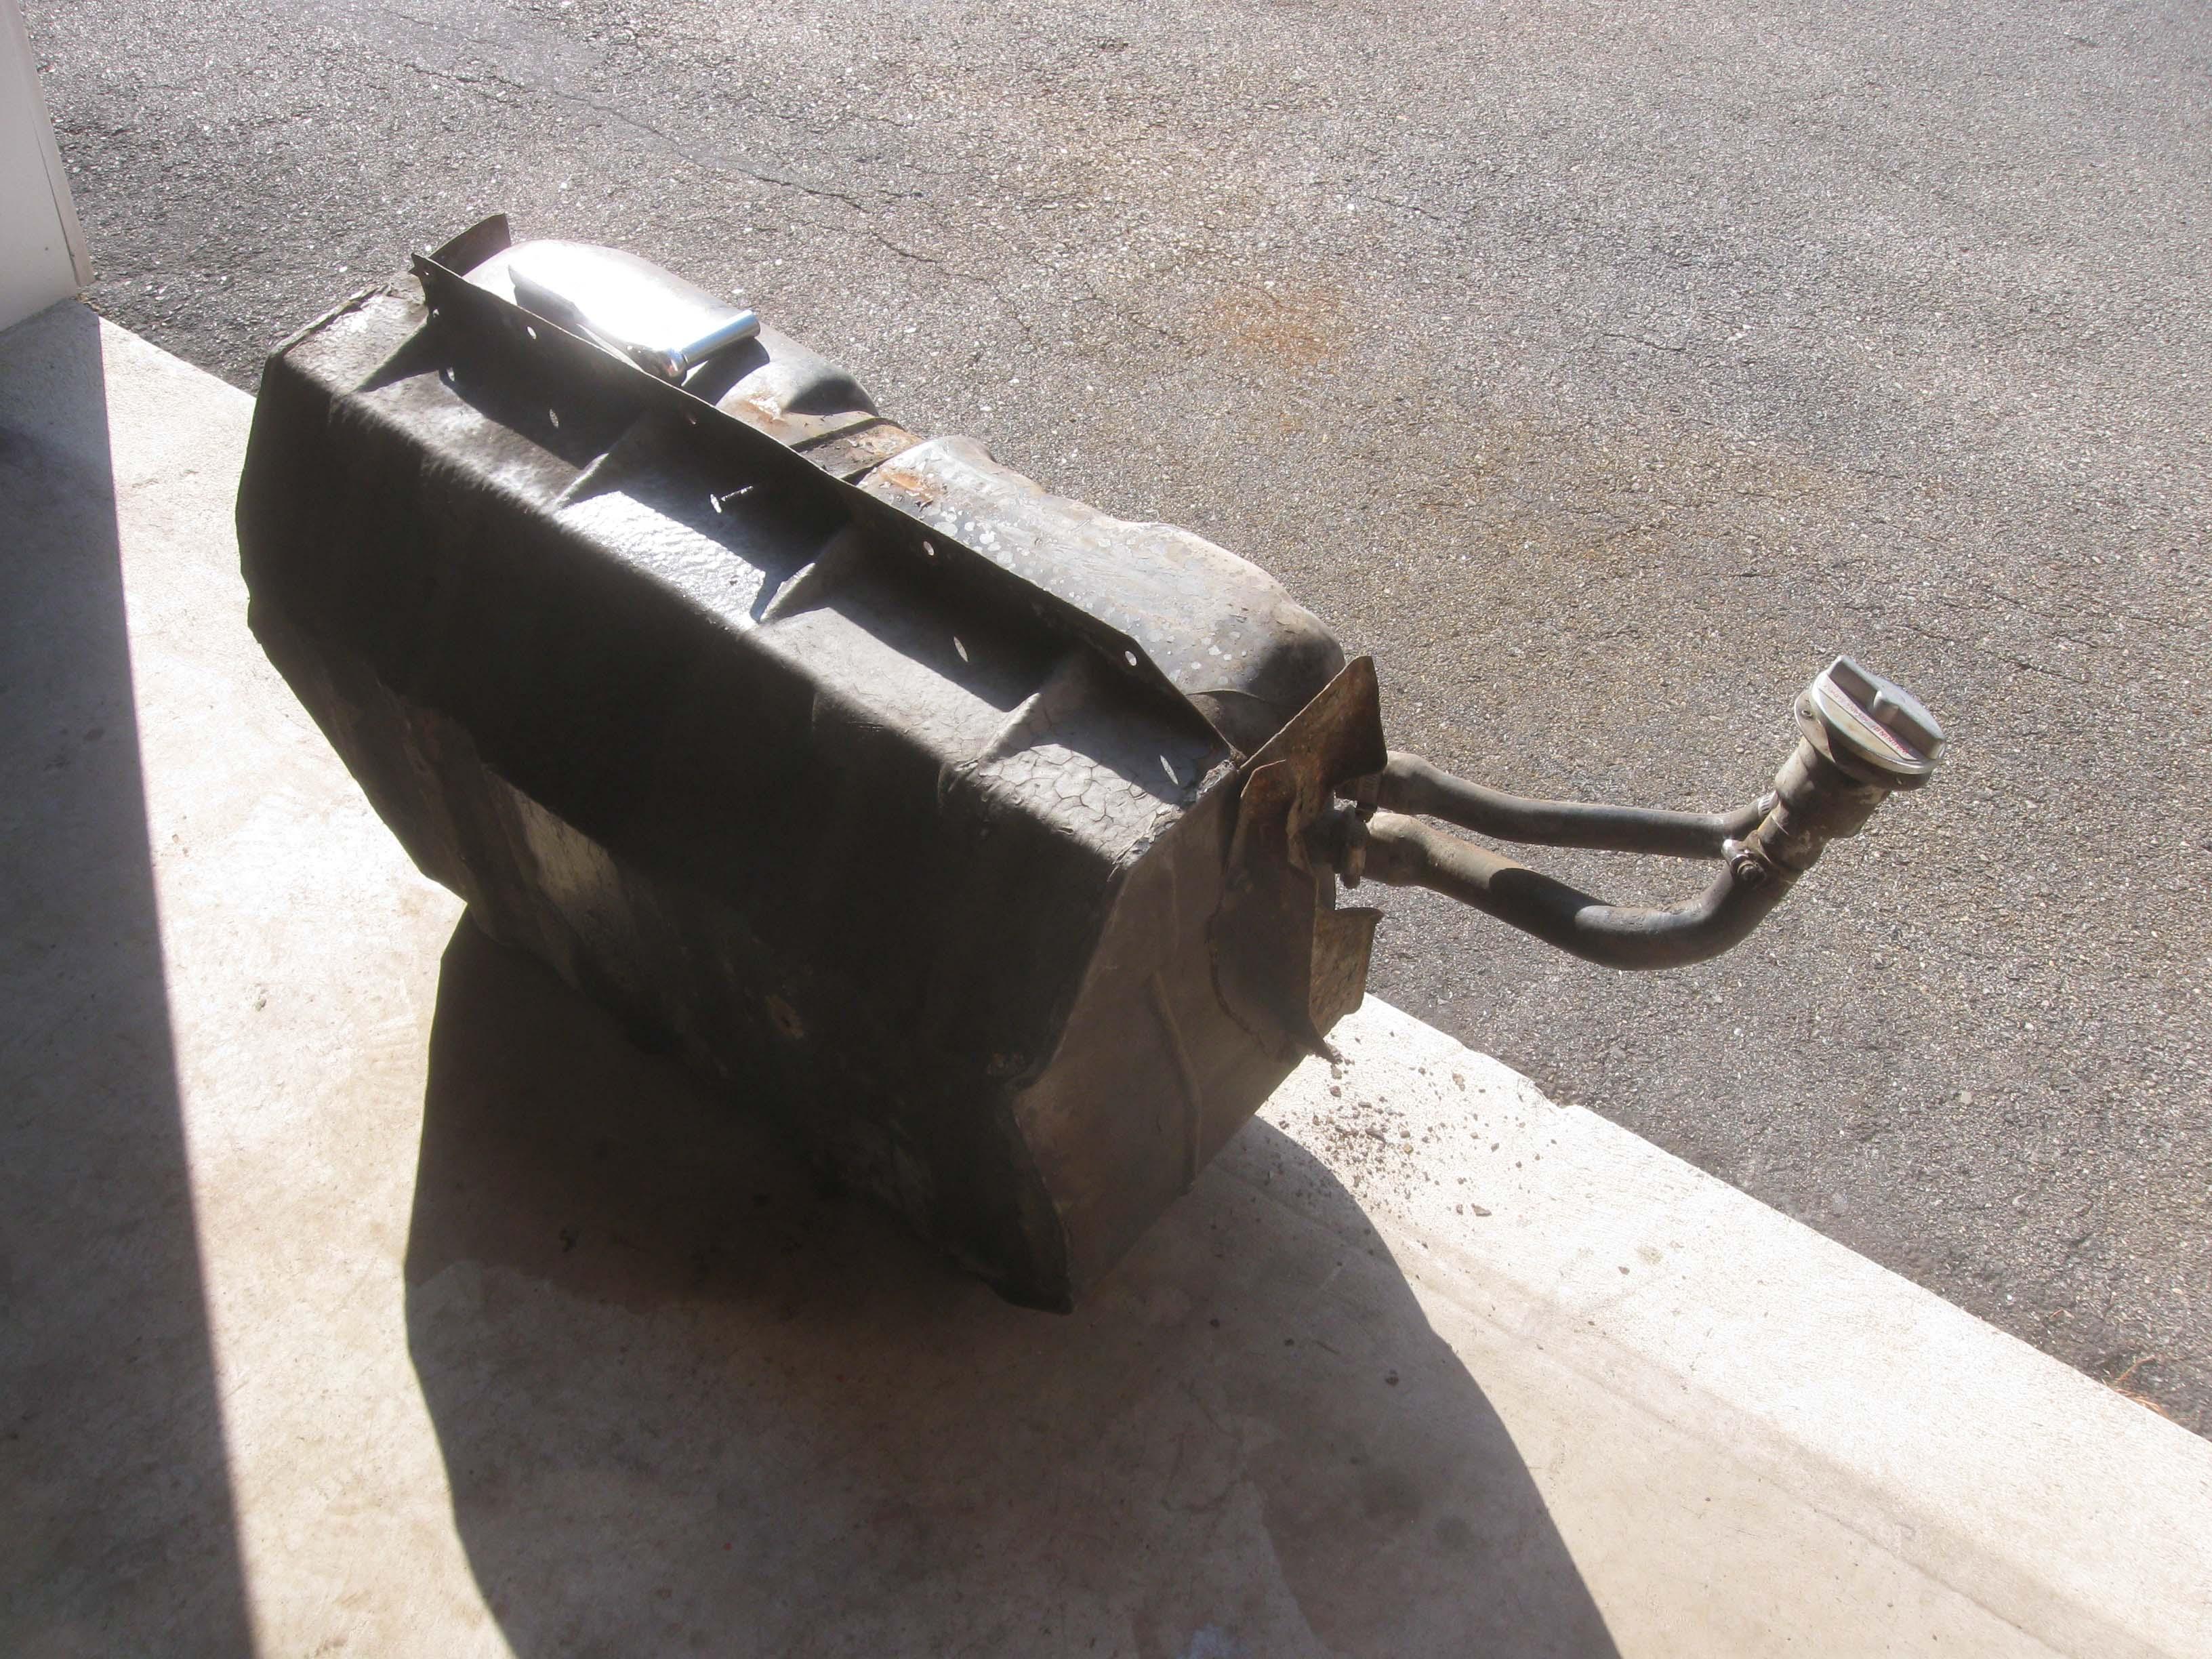
Gas tank liberated:
IMG_6807-1.jpg

IMG_6809-1.jpg


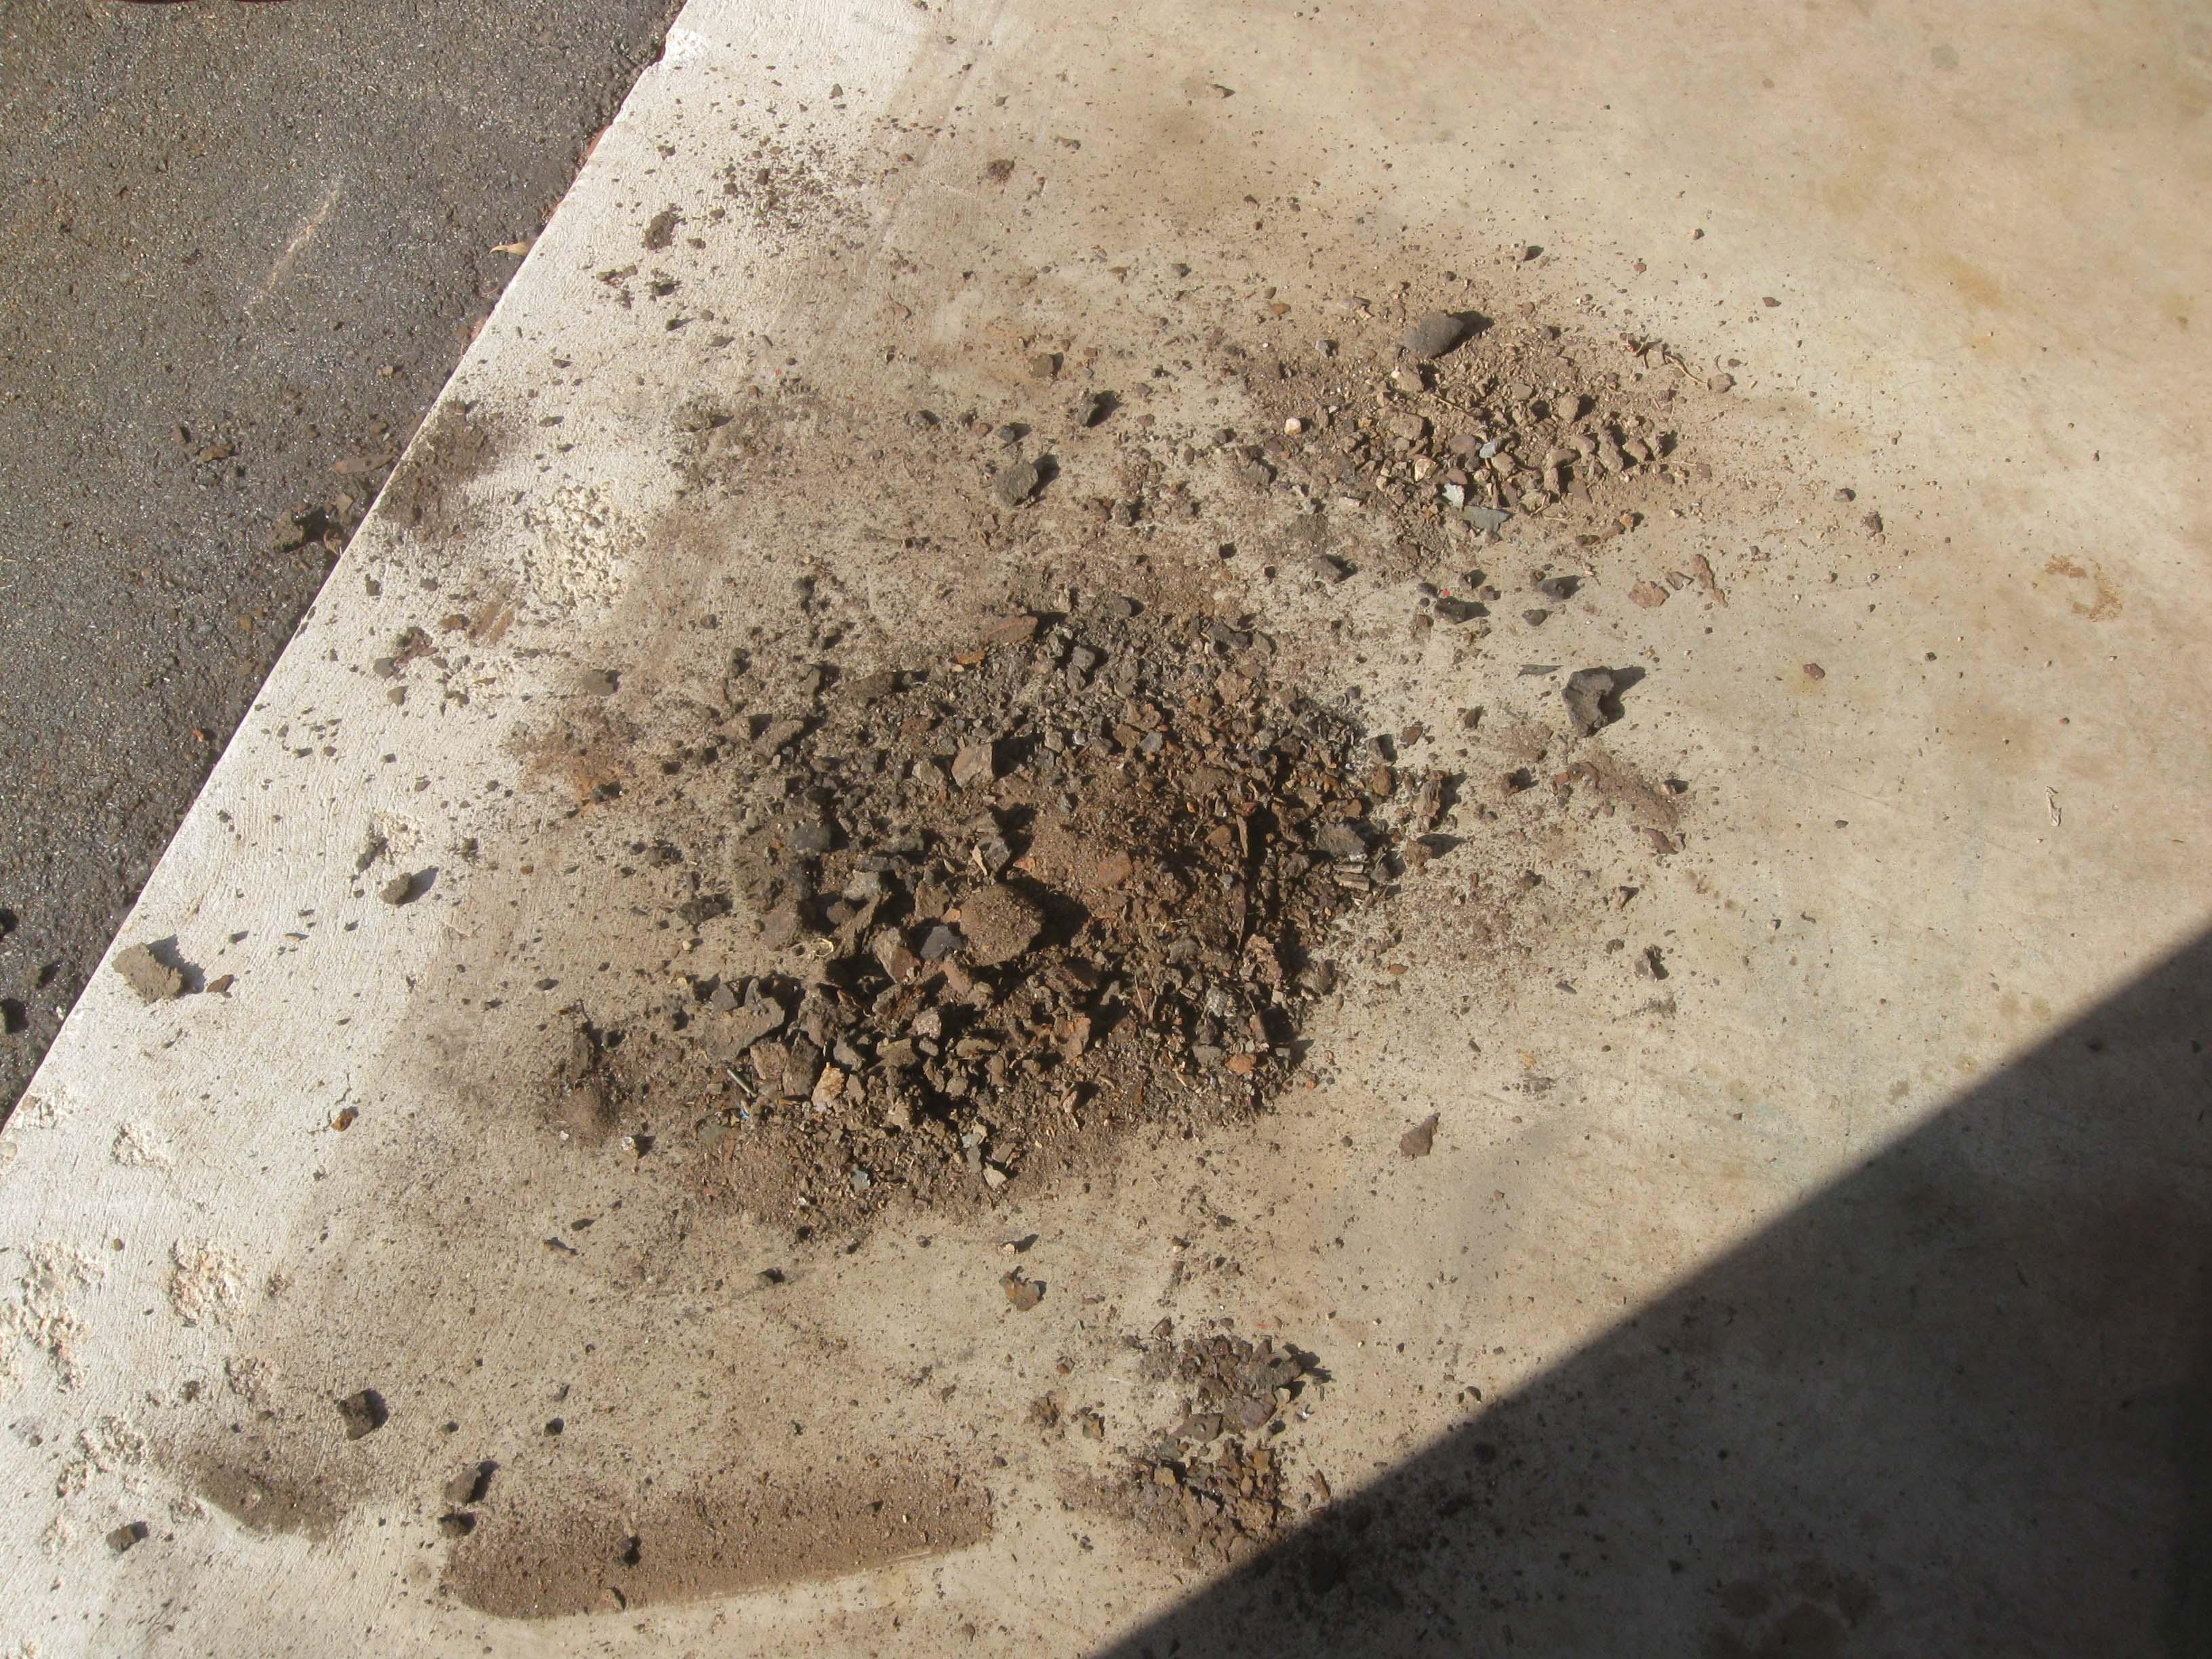
All the junk that fell out
IMG_6810-1.jpg


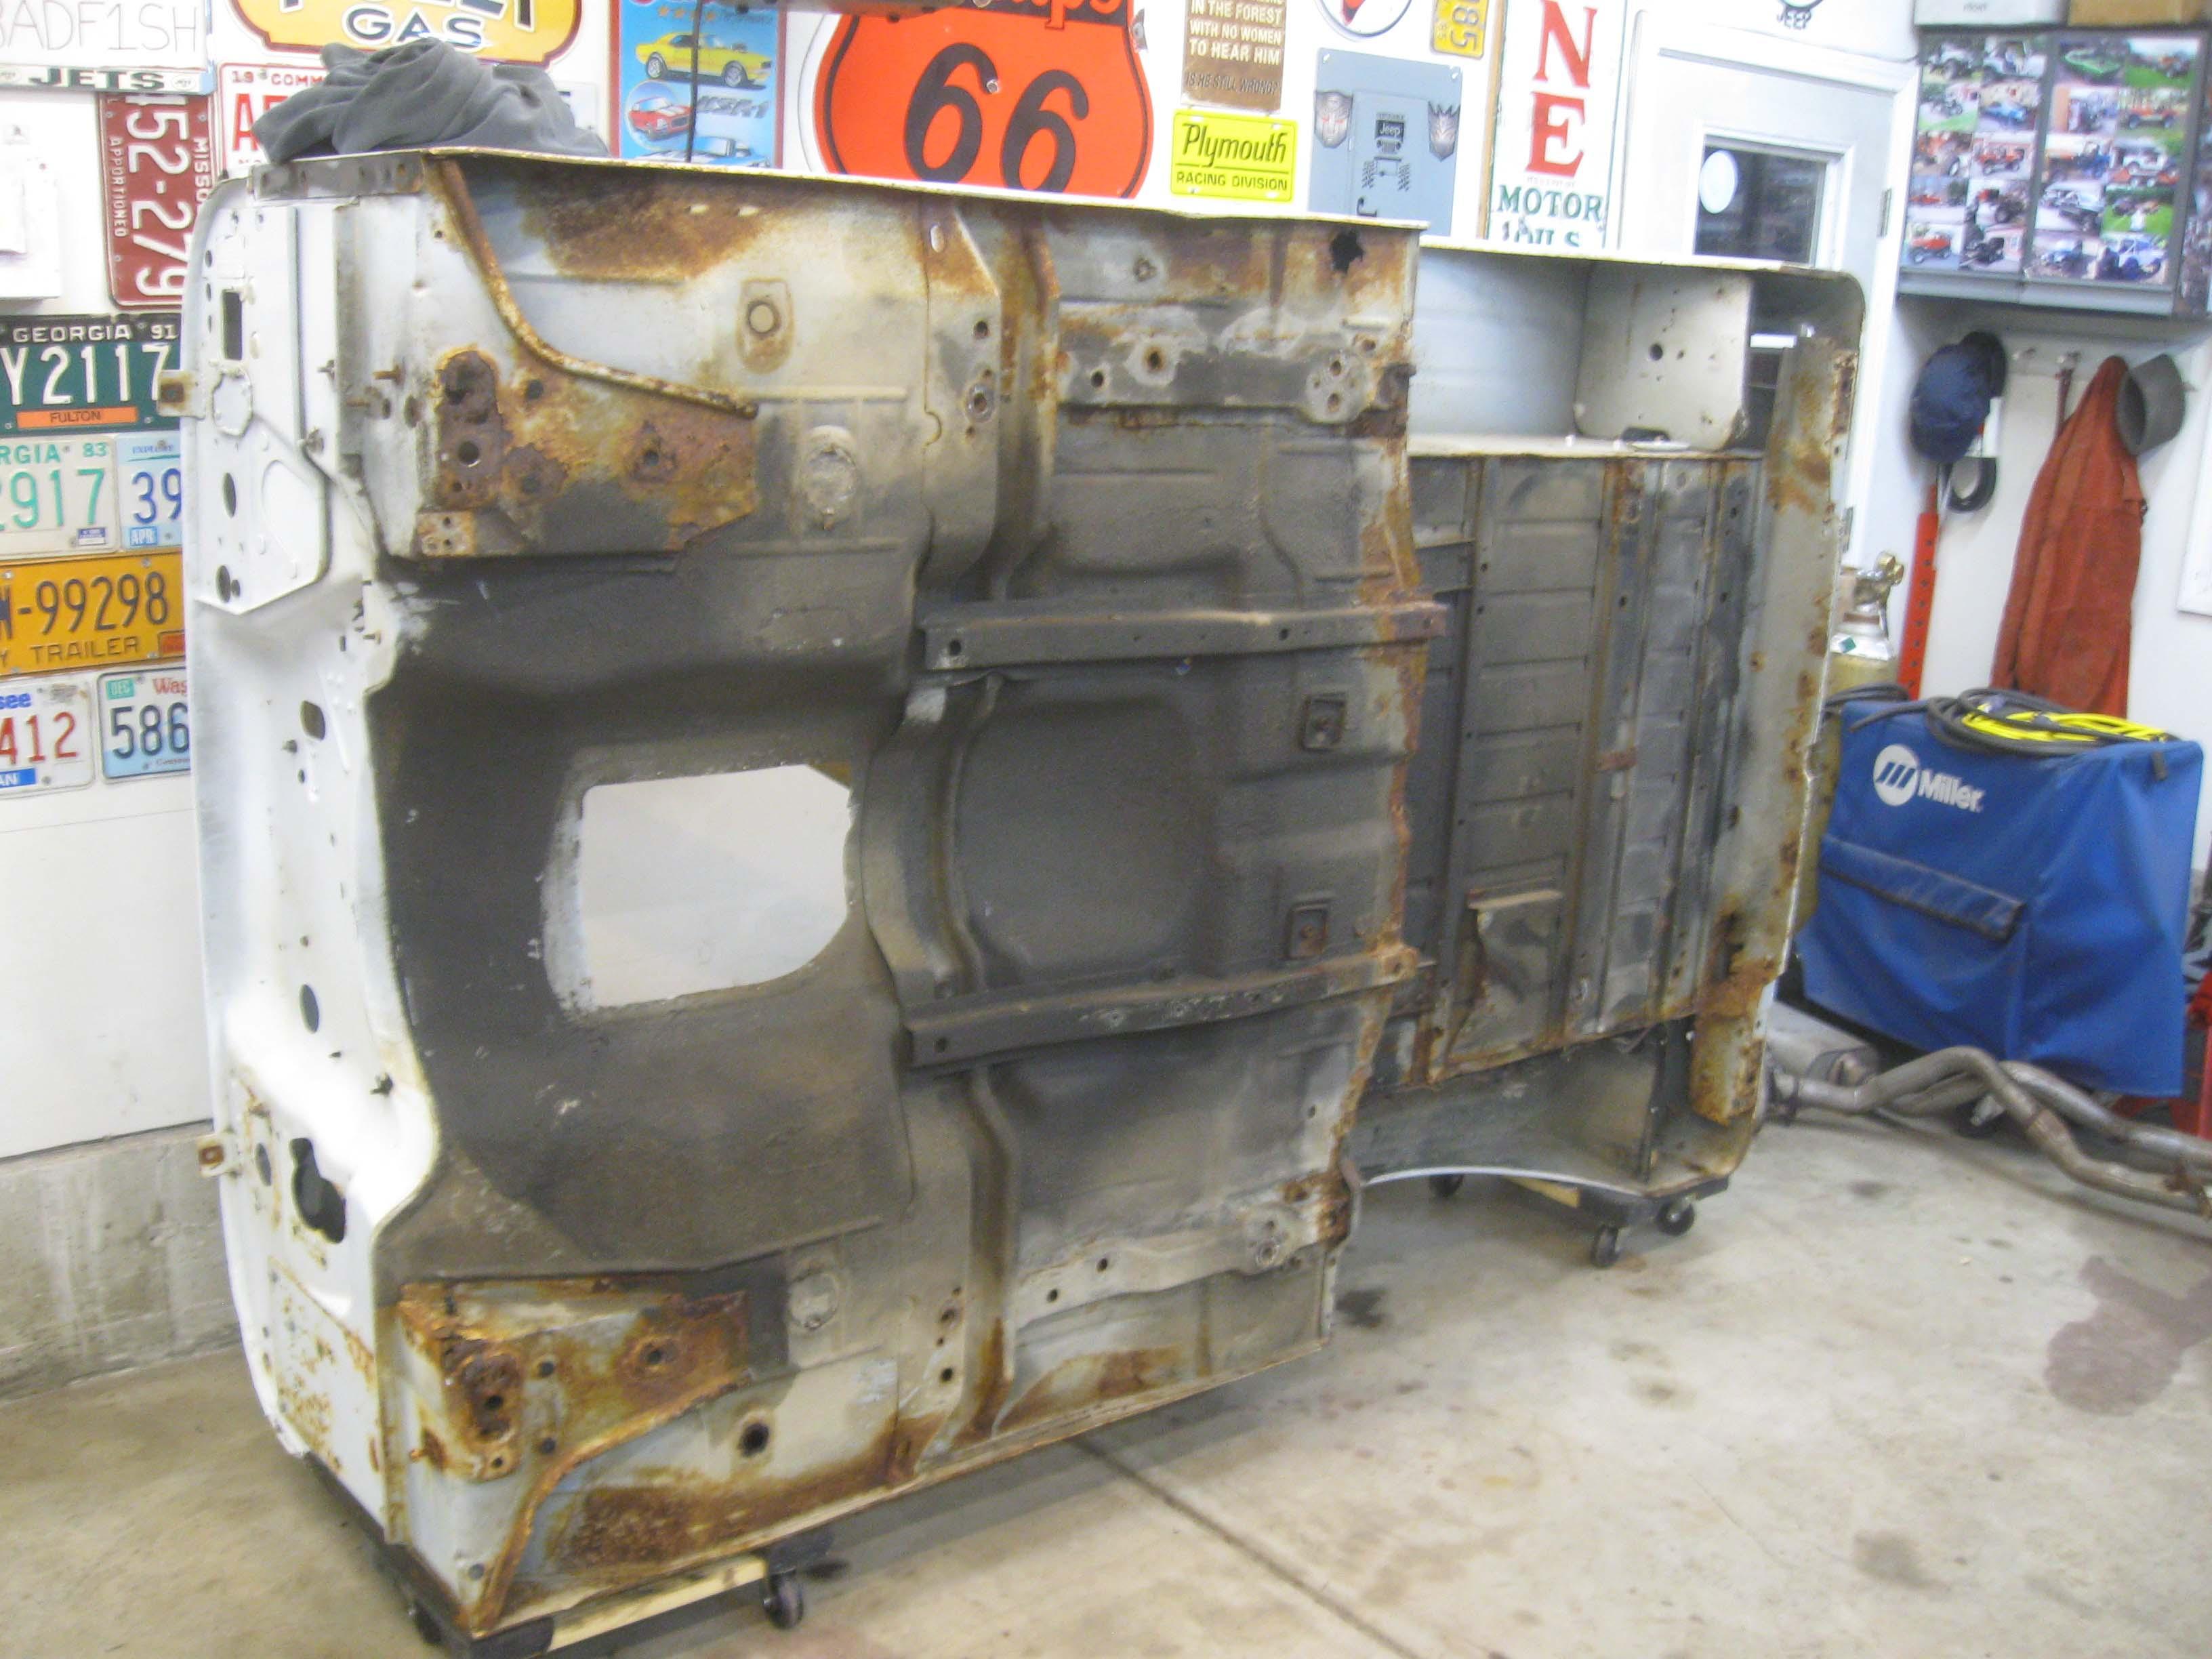
Front tub section removed (need to cut up some parts of it and then keep the firewall for the transplant)
IMG_6812-1.jpg


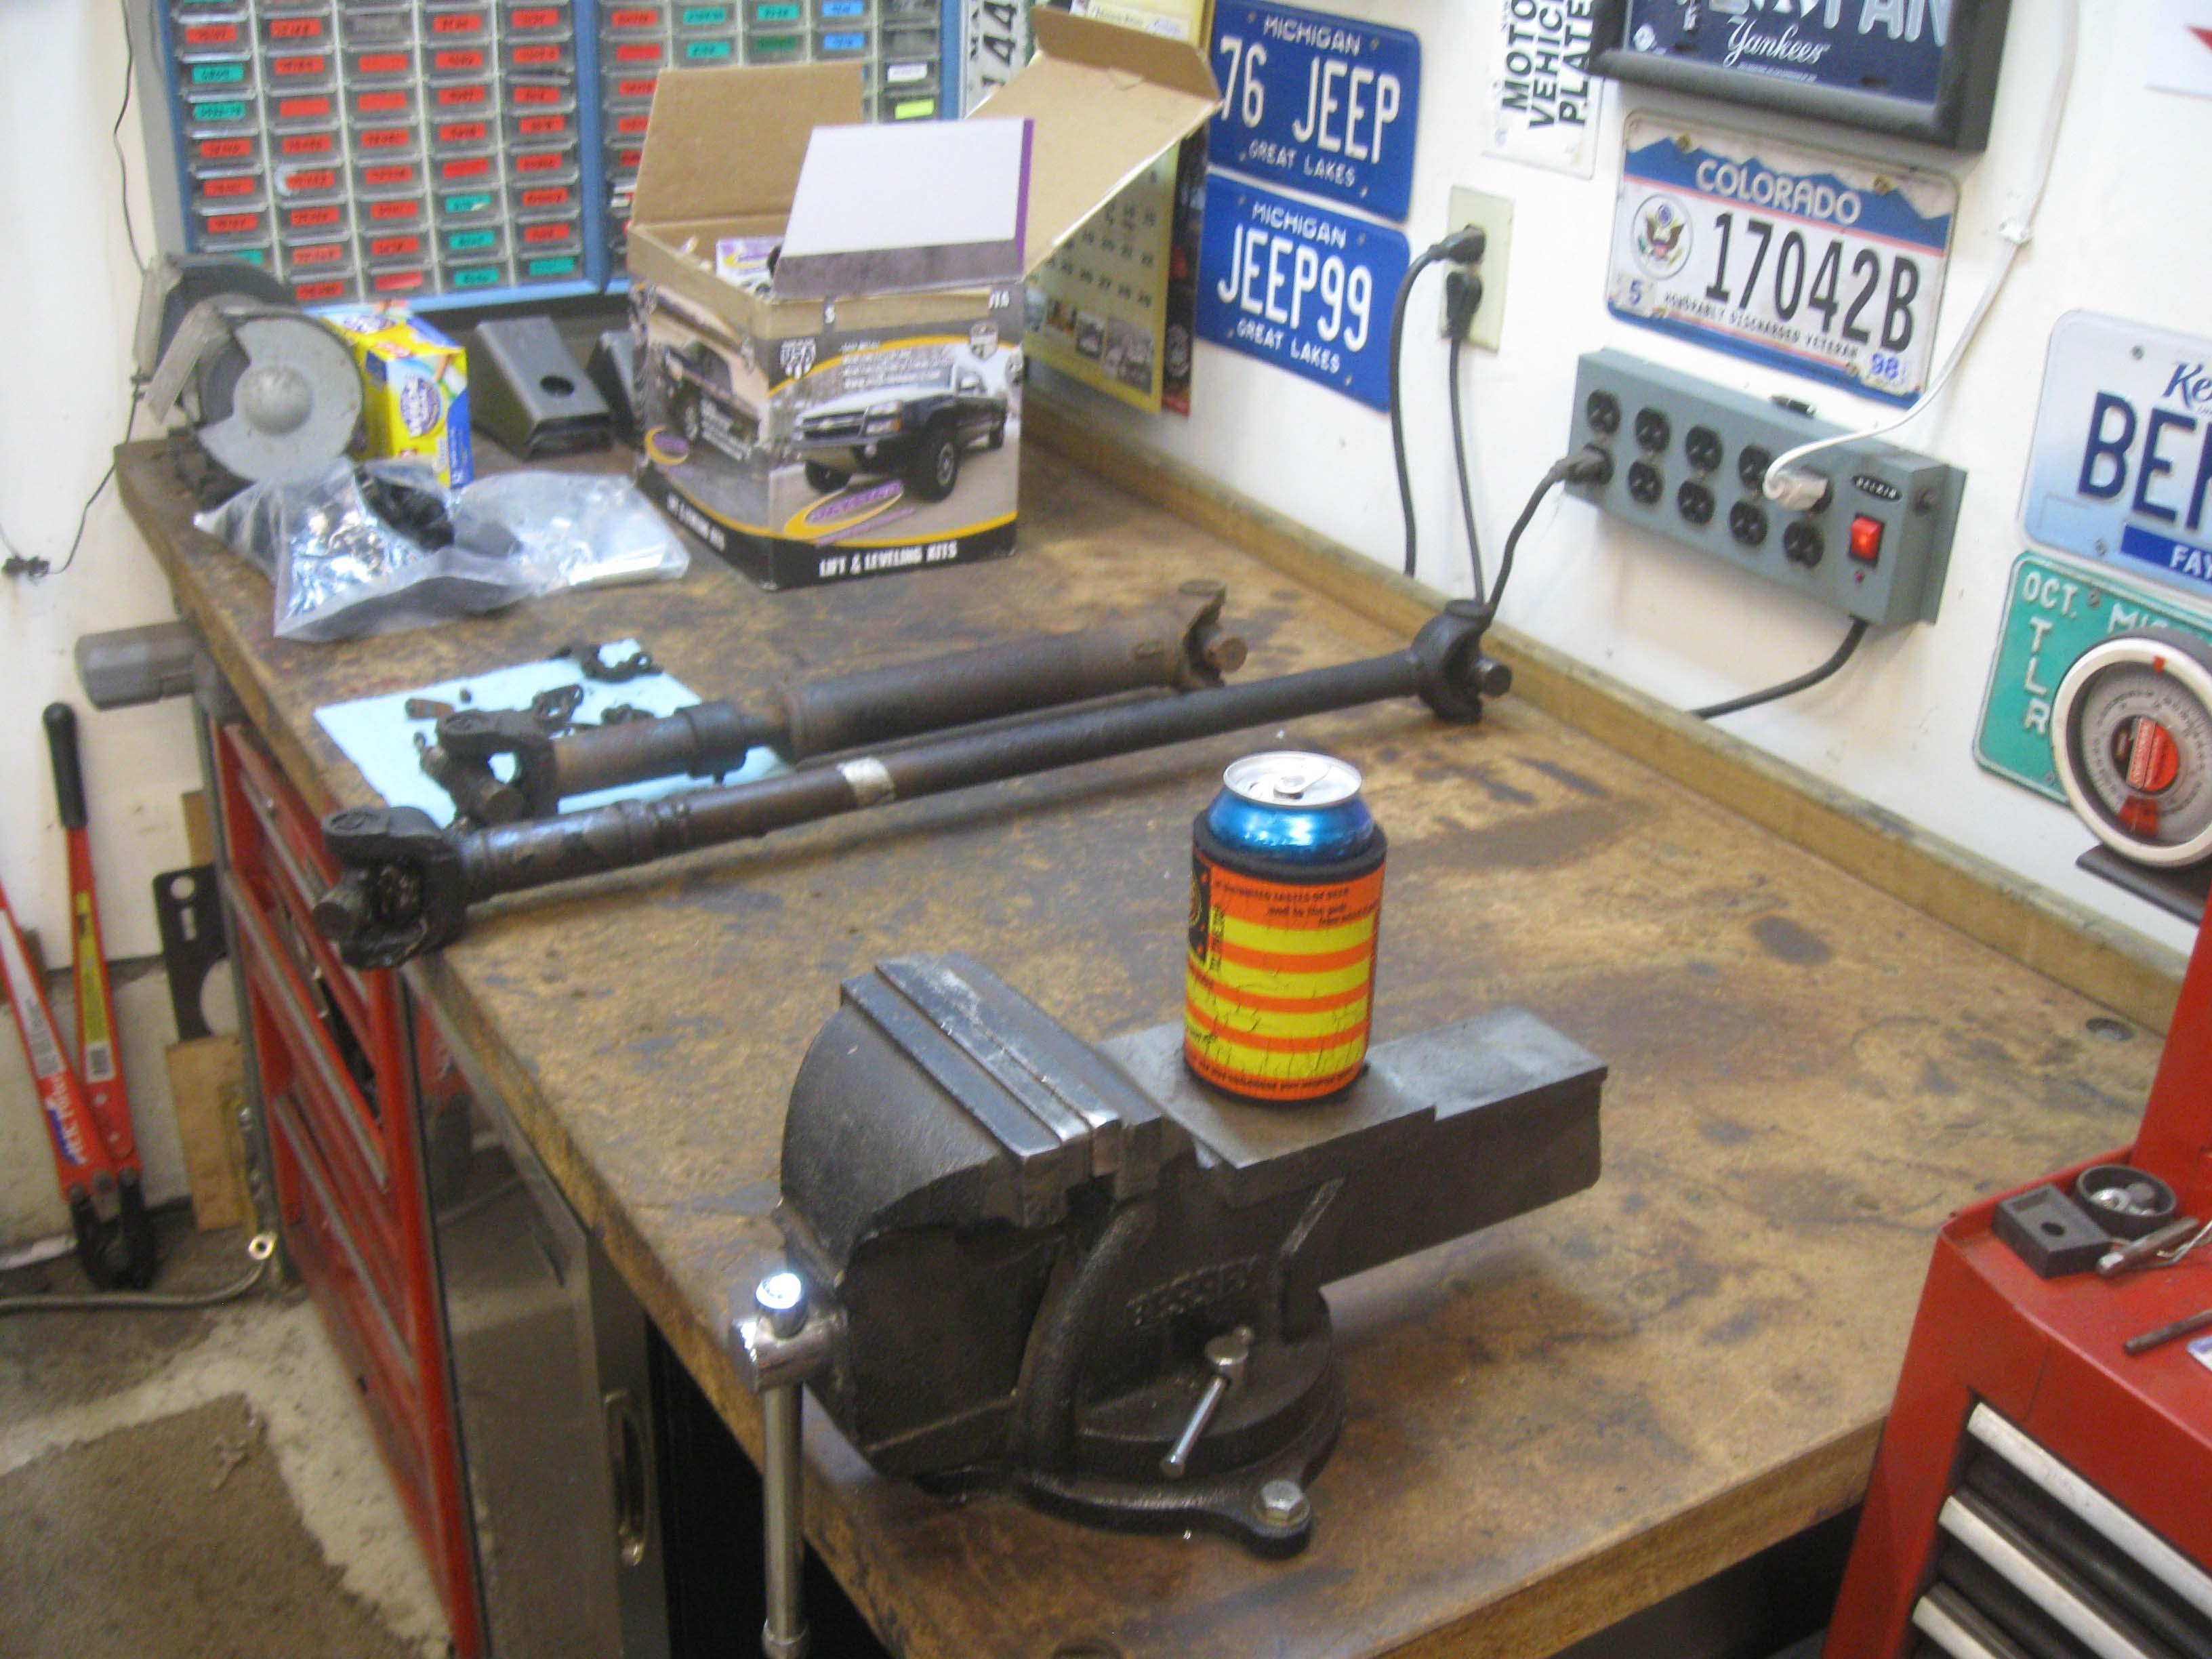
Finished up with the driveshafts out and ready to go get balanced and new u-joints installed.
IMG_6830-1.jpg

IMG_6832-1.jpg


I hope to get the rear cross member cut out today and replaced as well as some body mounts.
We will see how the day progresses.

cb
 
I dropped the driveshafts off this morning at the driveline shop to get new u-joints and to get balanced. I then spent 2 hours on the Internet ordering parts and getting the website updated.

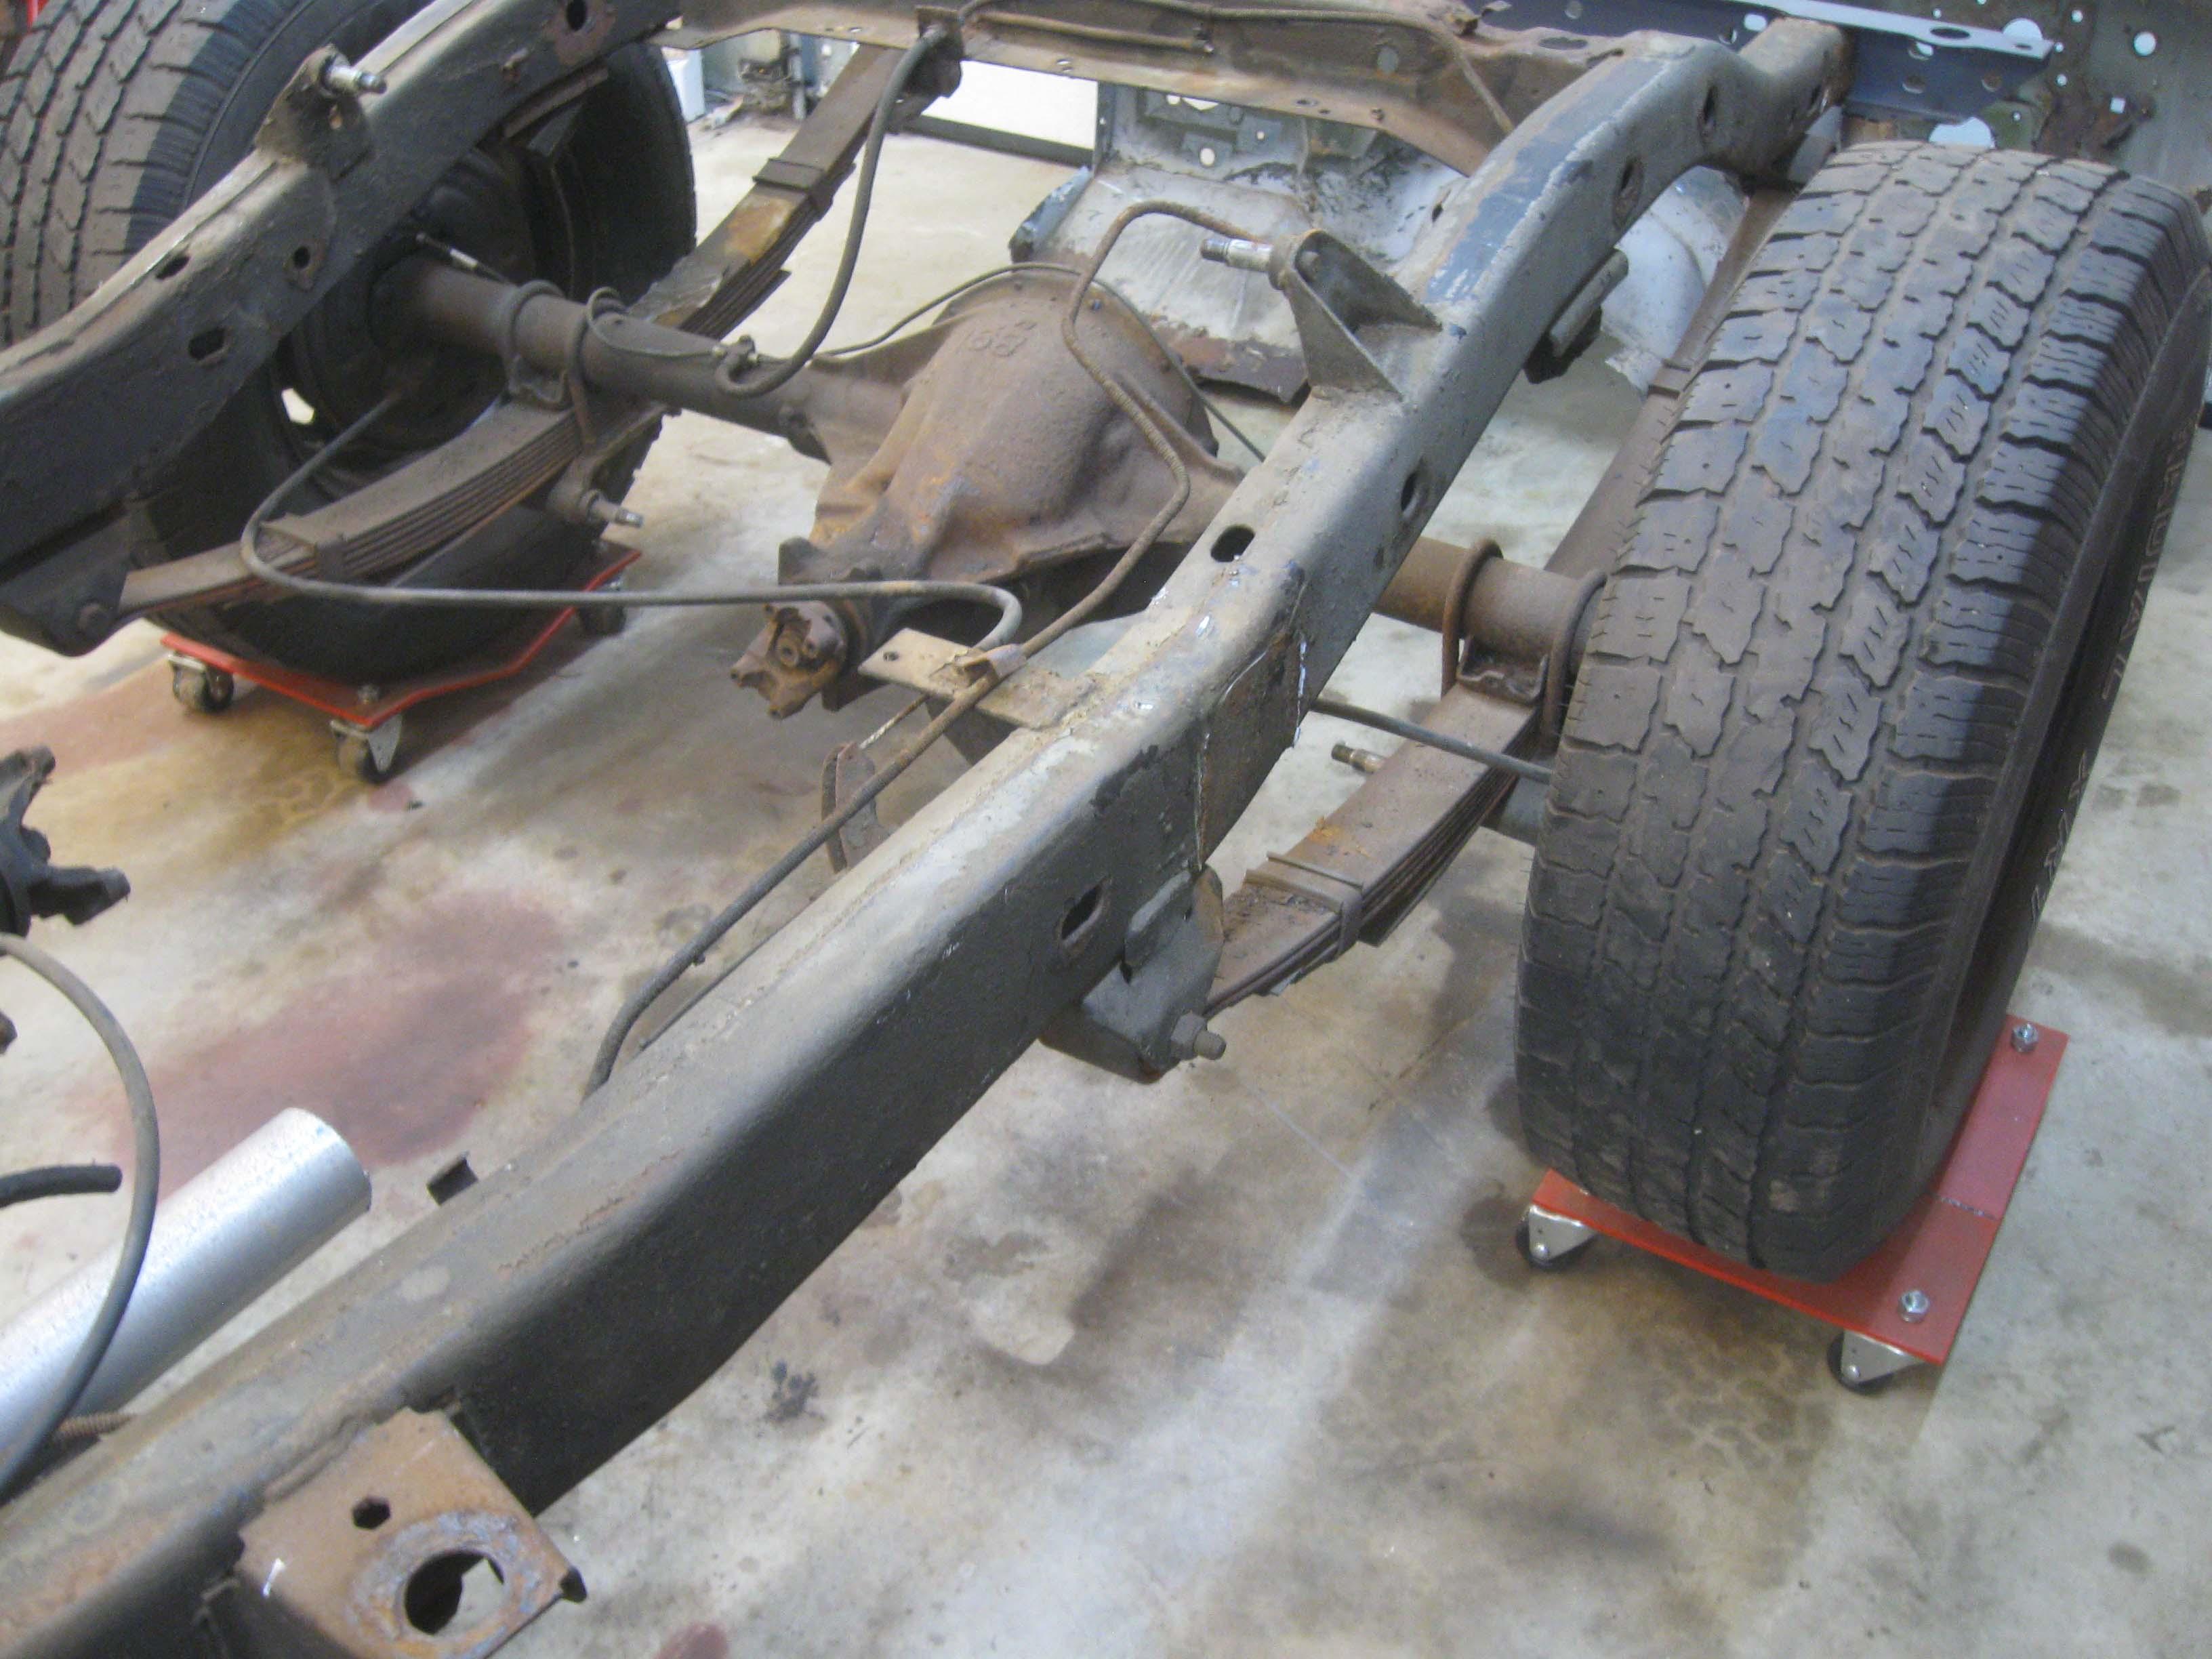
Checking out the underside of the Jeep
IMG_6837-1.jpg


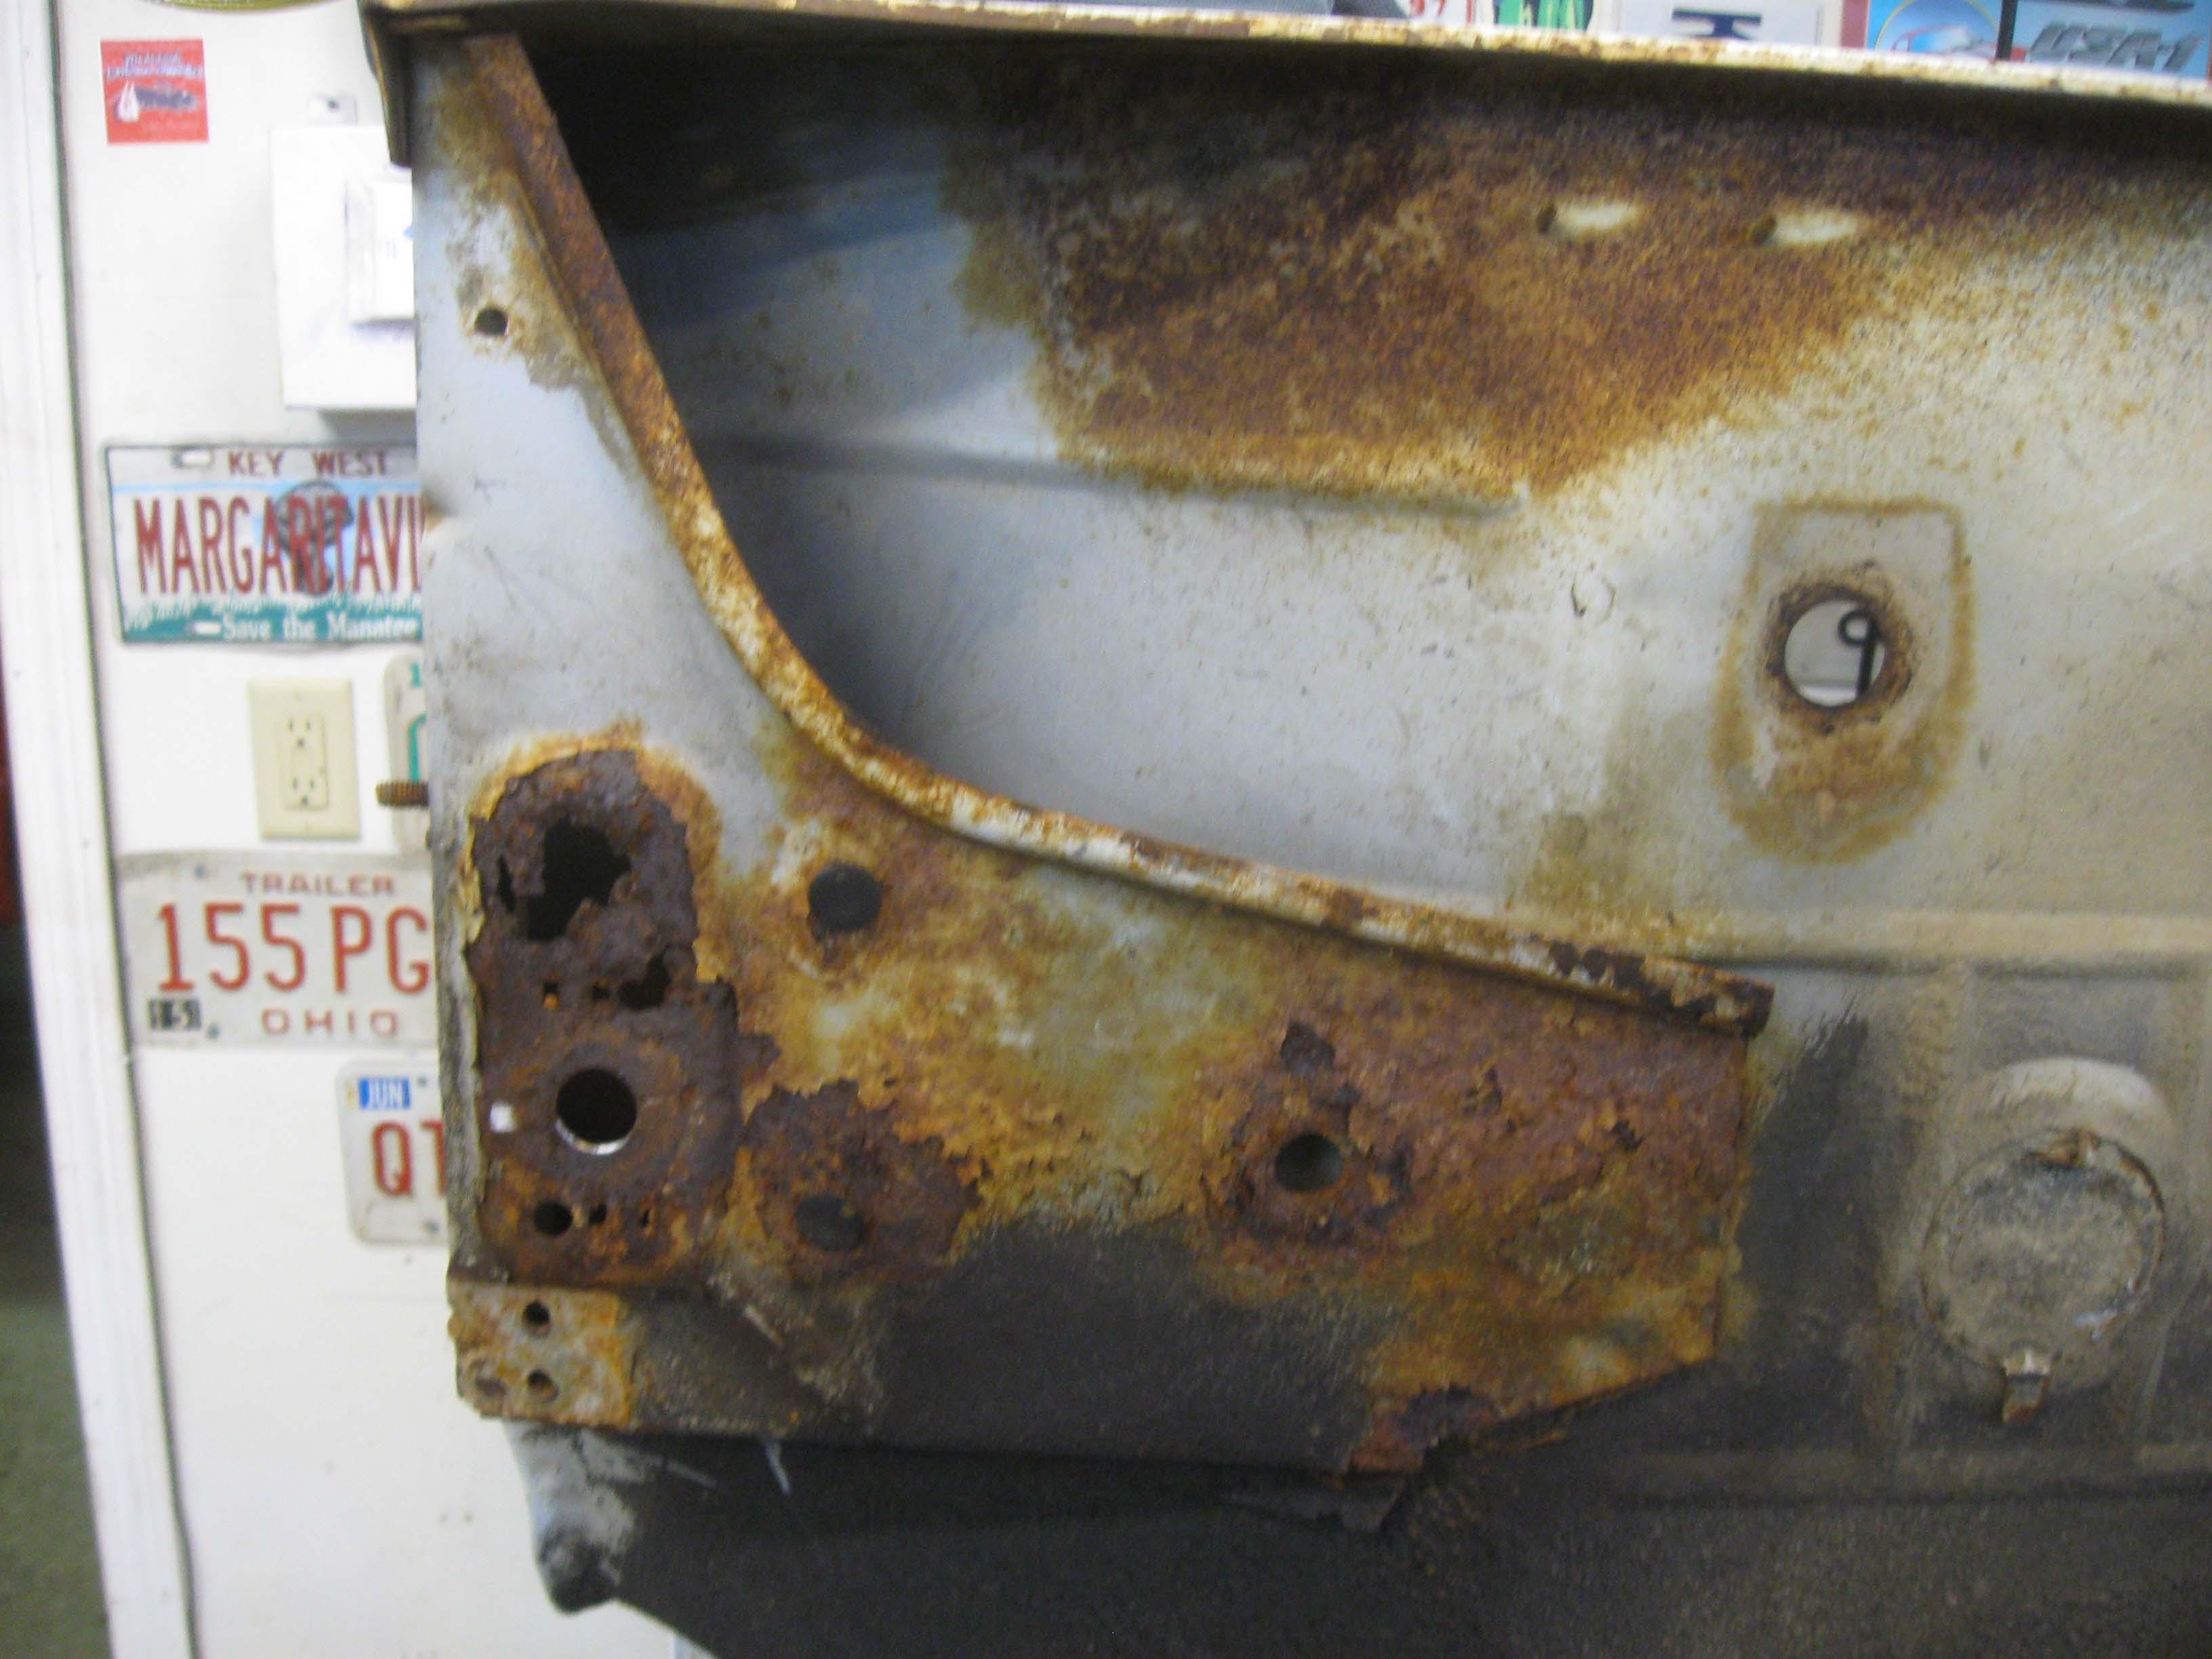
Rust in the front
IMG_6845-1.jpg

IMG_6846-1.jpg


Rust in the rear
IMG_6847-1.jpg

IMG_6848-1.jpg


Rear cross member temp fabbed in
IMG_6839-1.jpg


Body mounts removed
IMG_6842-1.jpg

IMG_6843-1.jpg


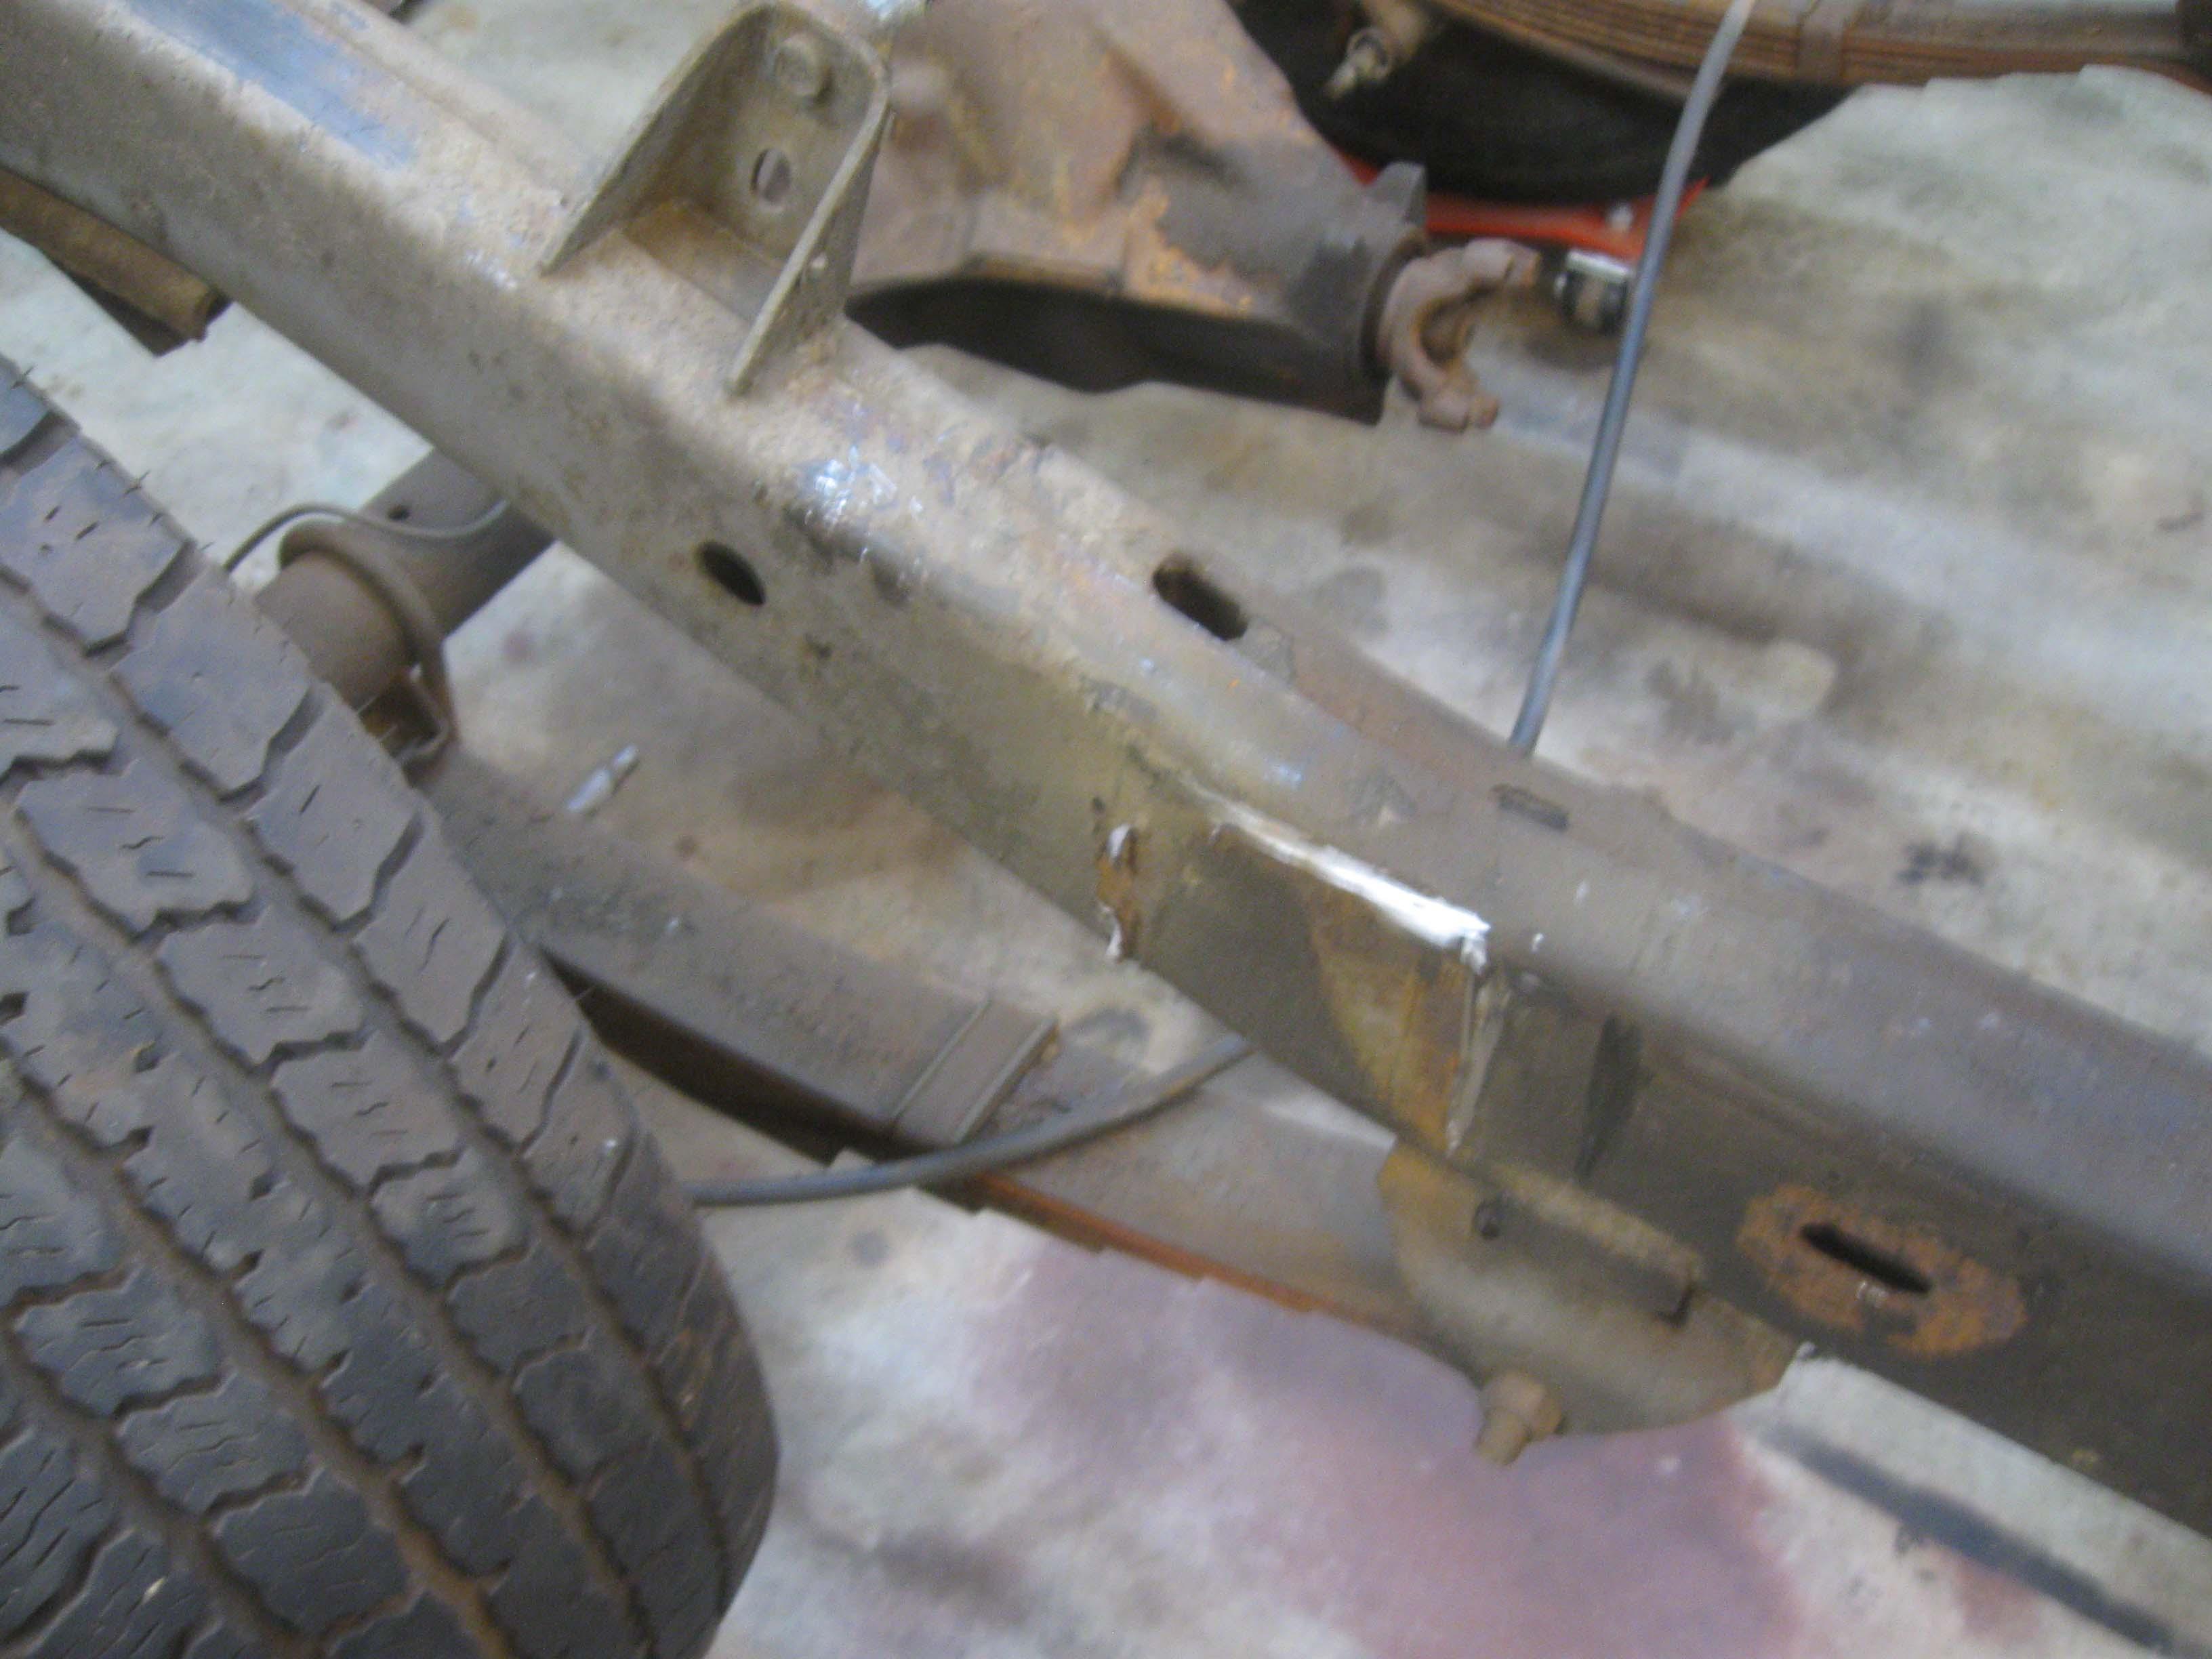
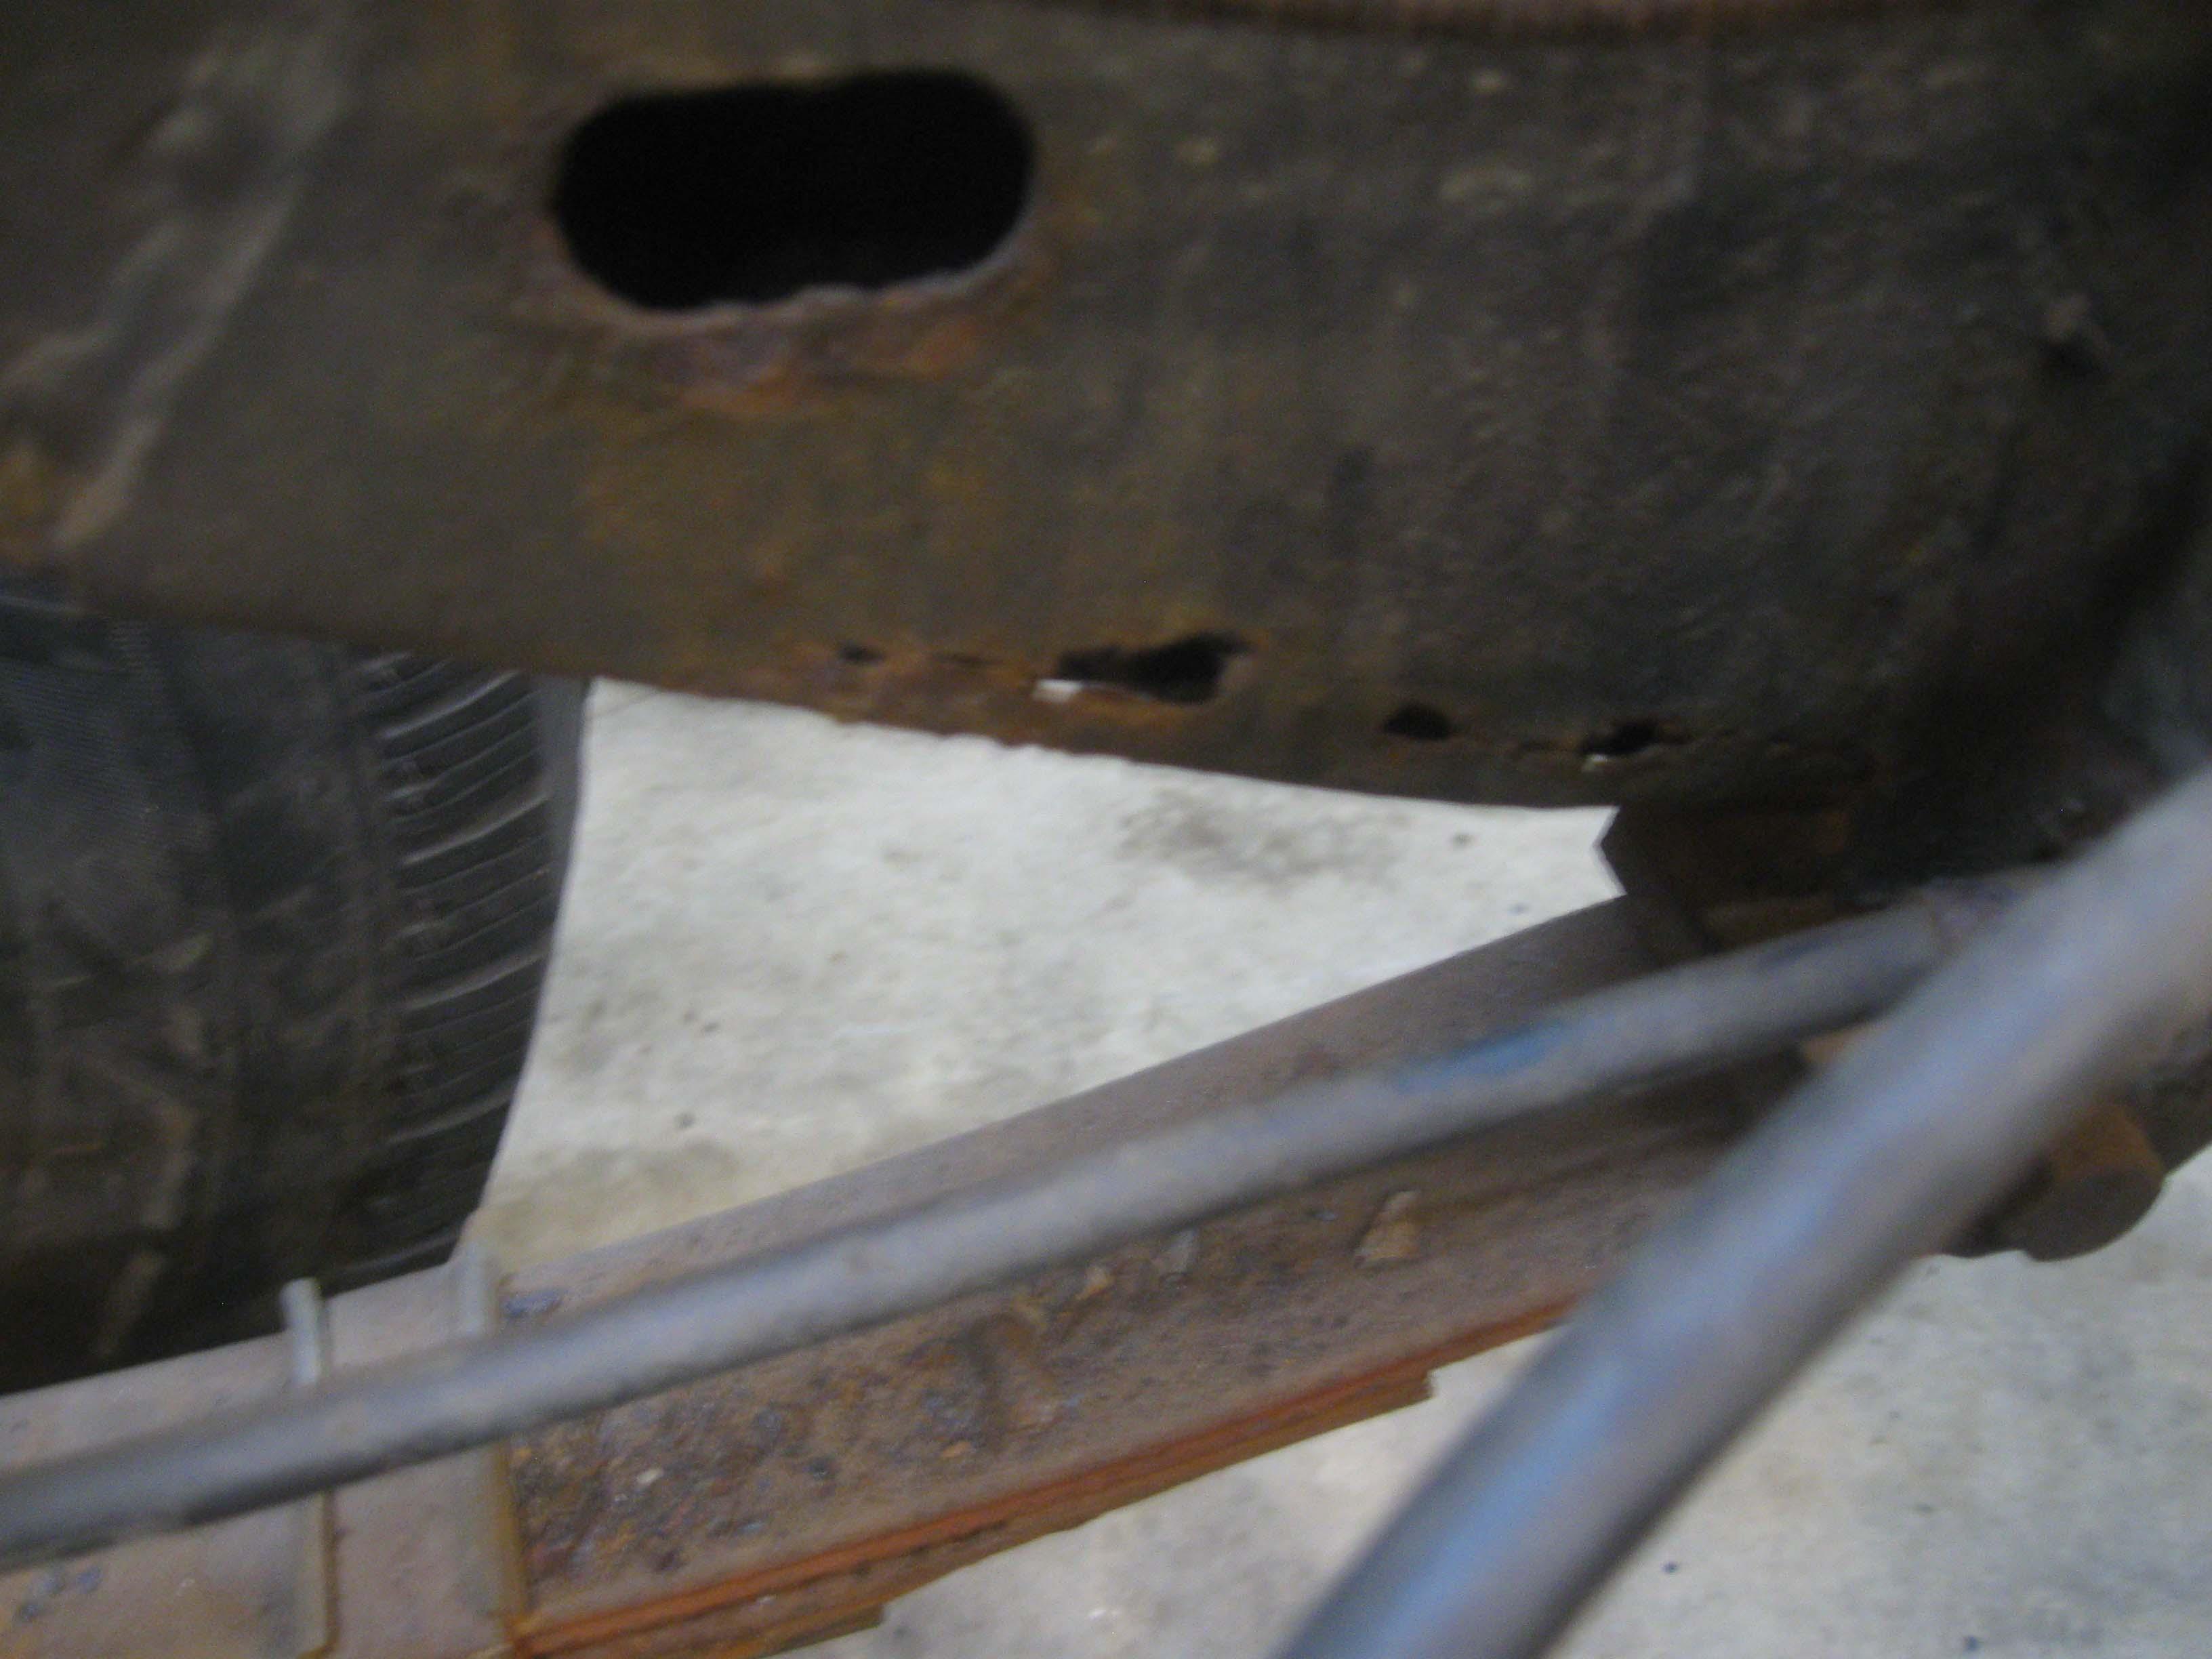
Bummer... soft spot in the frame
IMG_6840-1.jpg


So, this has officially become a frame off and frame up restoration... I need to get the motor out and the frame cleaned of parts so I can flip it over and fix the issues correctly... then grind/sand it down and give it some POR-15 love. It is the right thing to do, but just a ton more time and money than I had thought.

cb
 
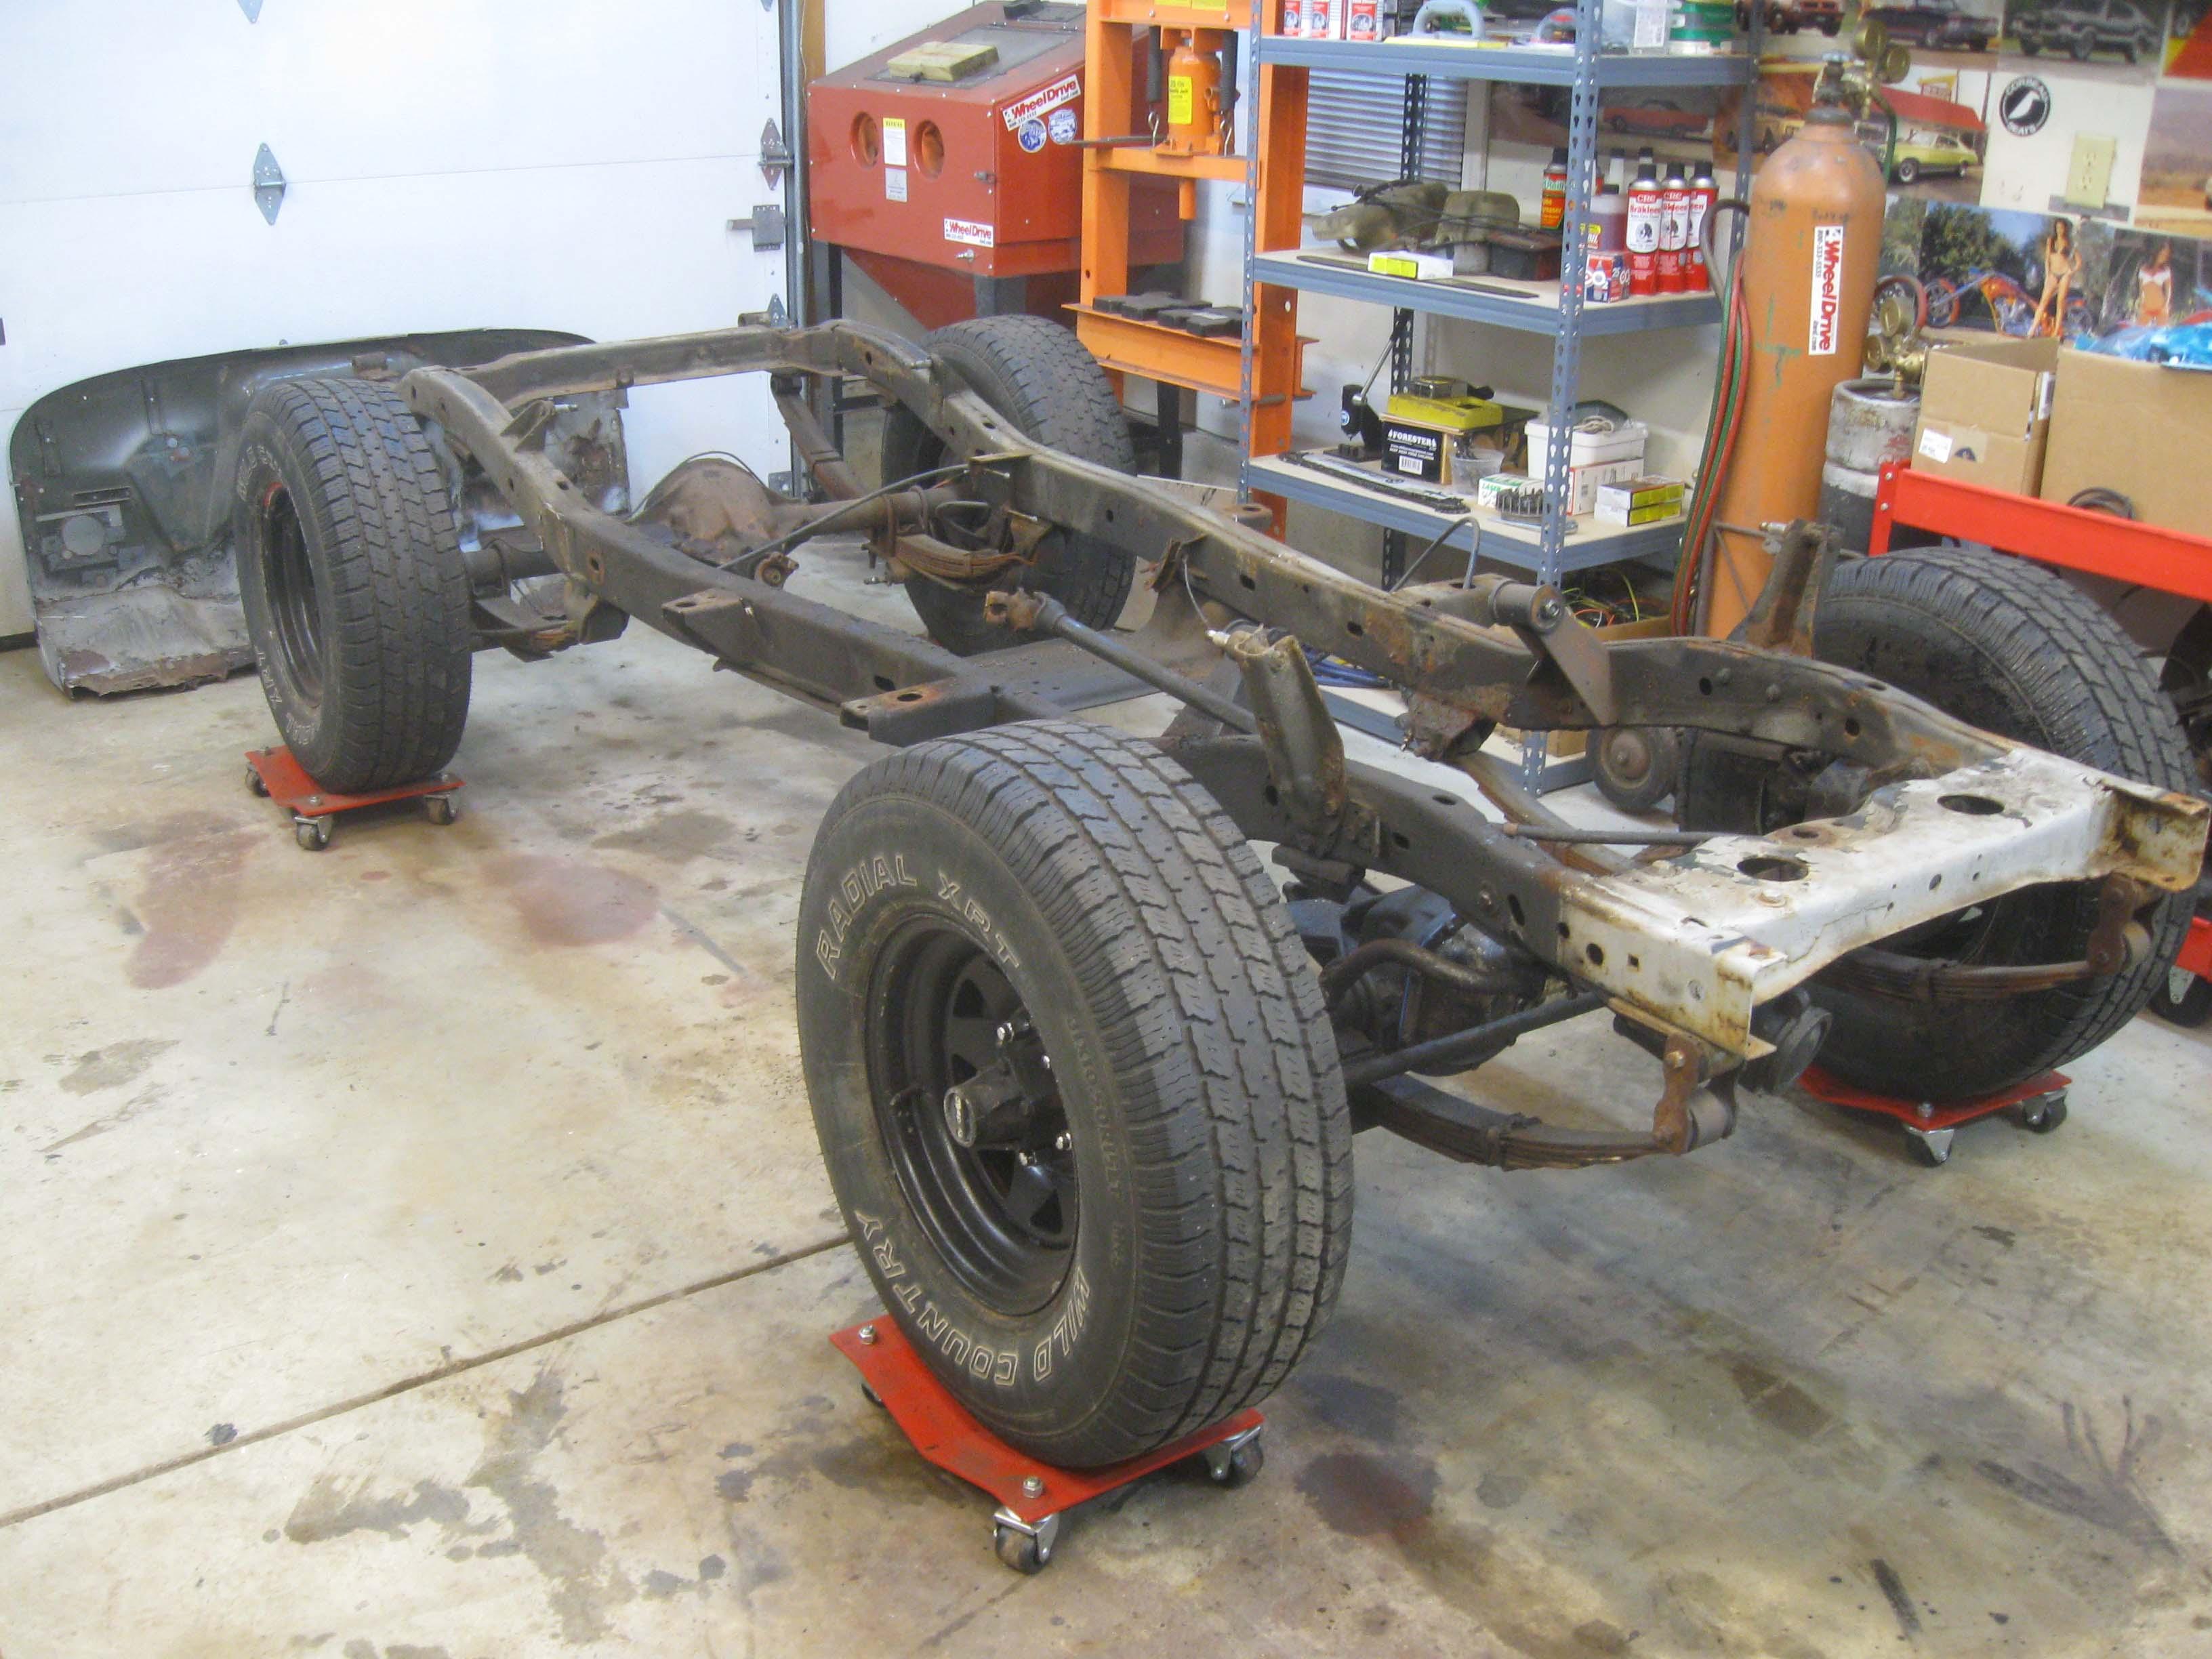
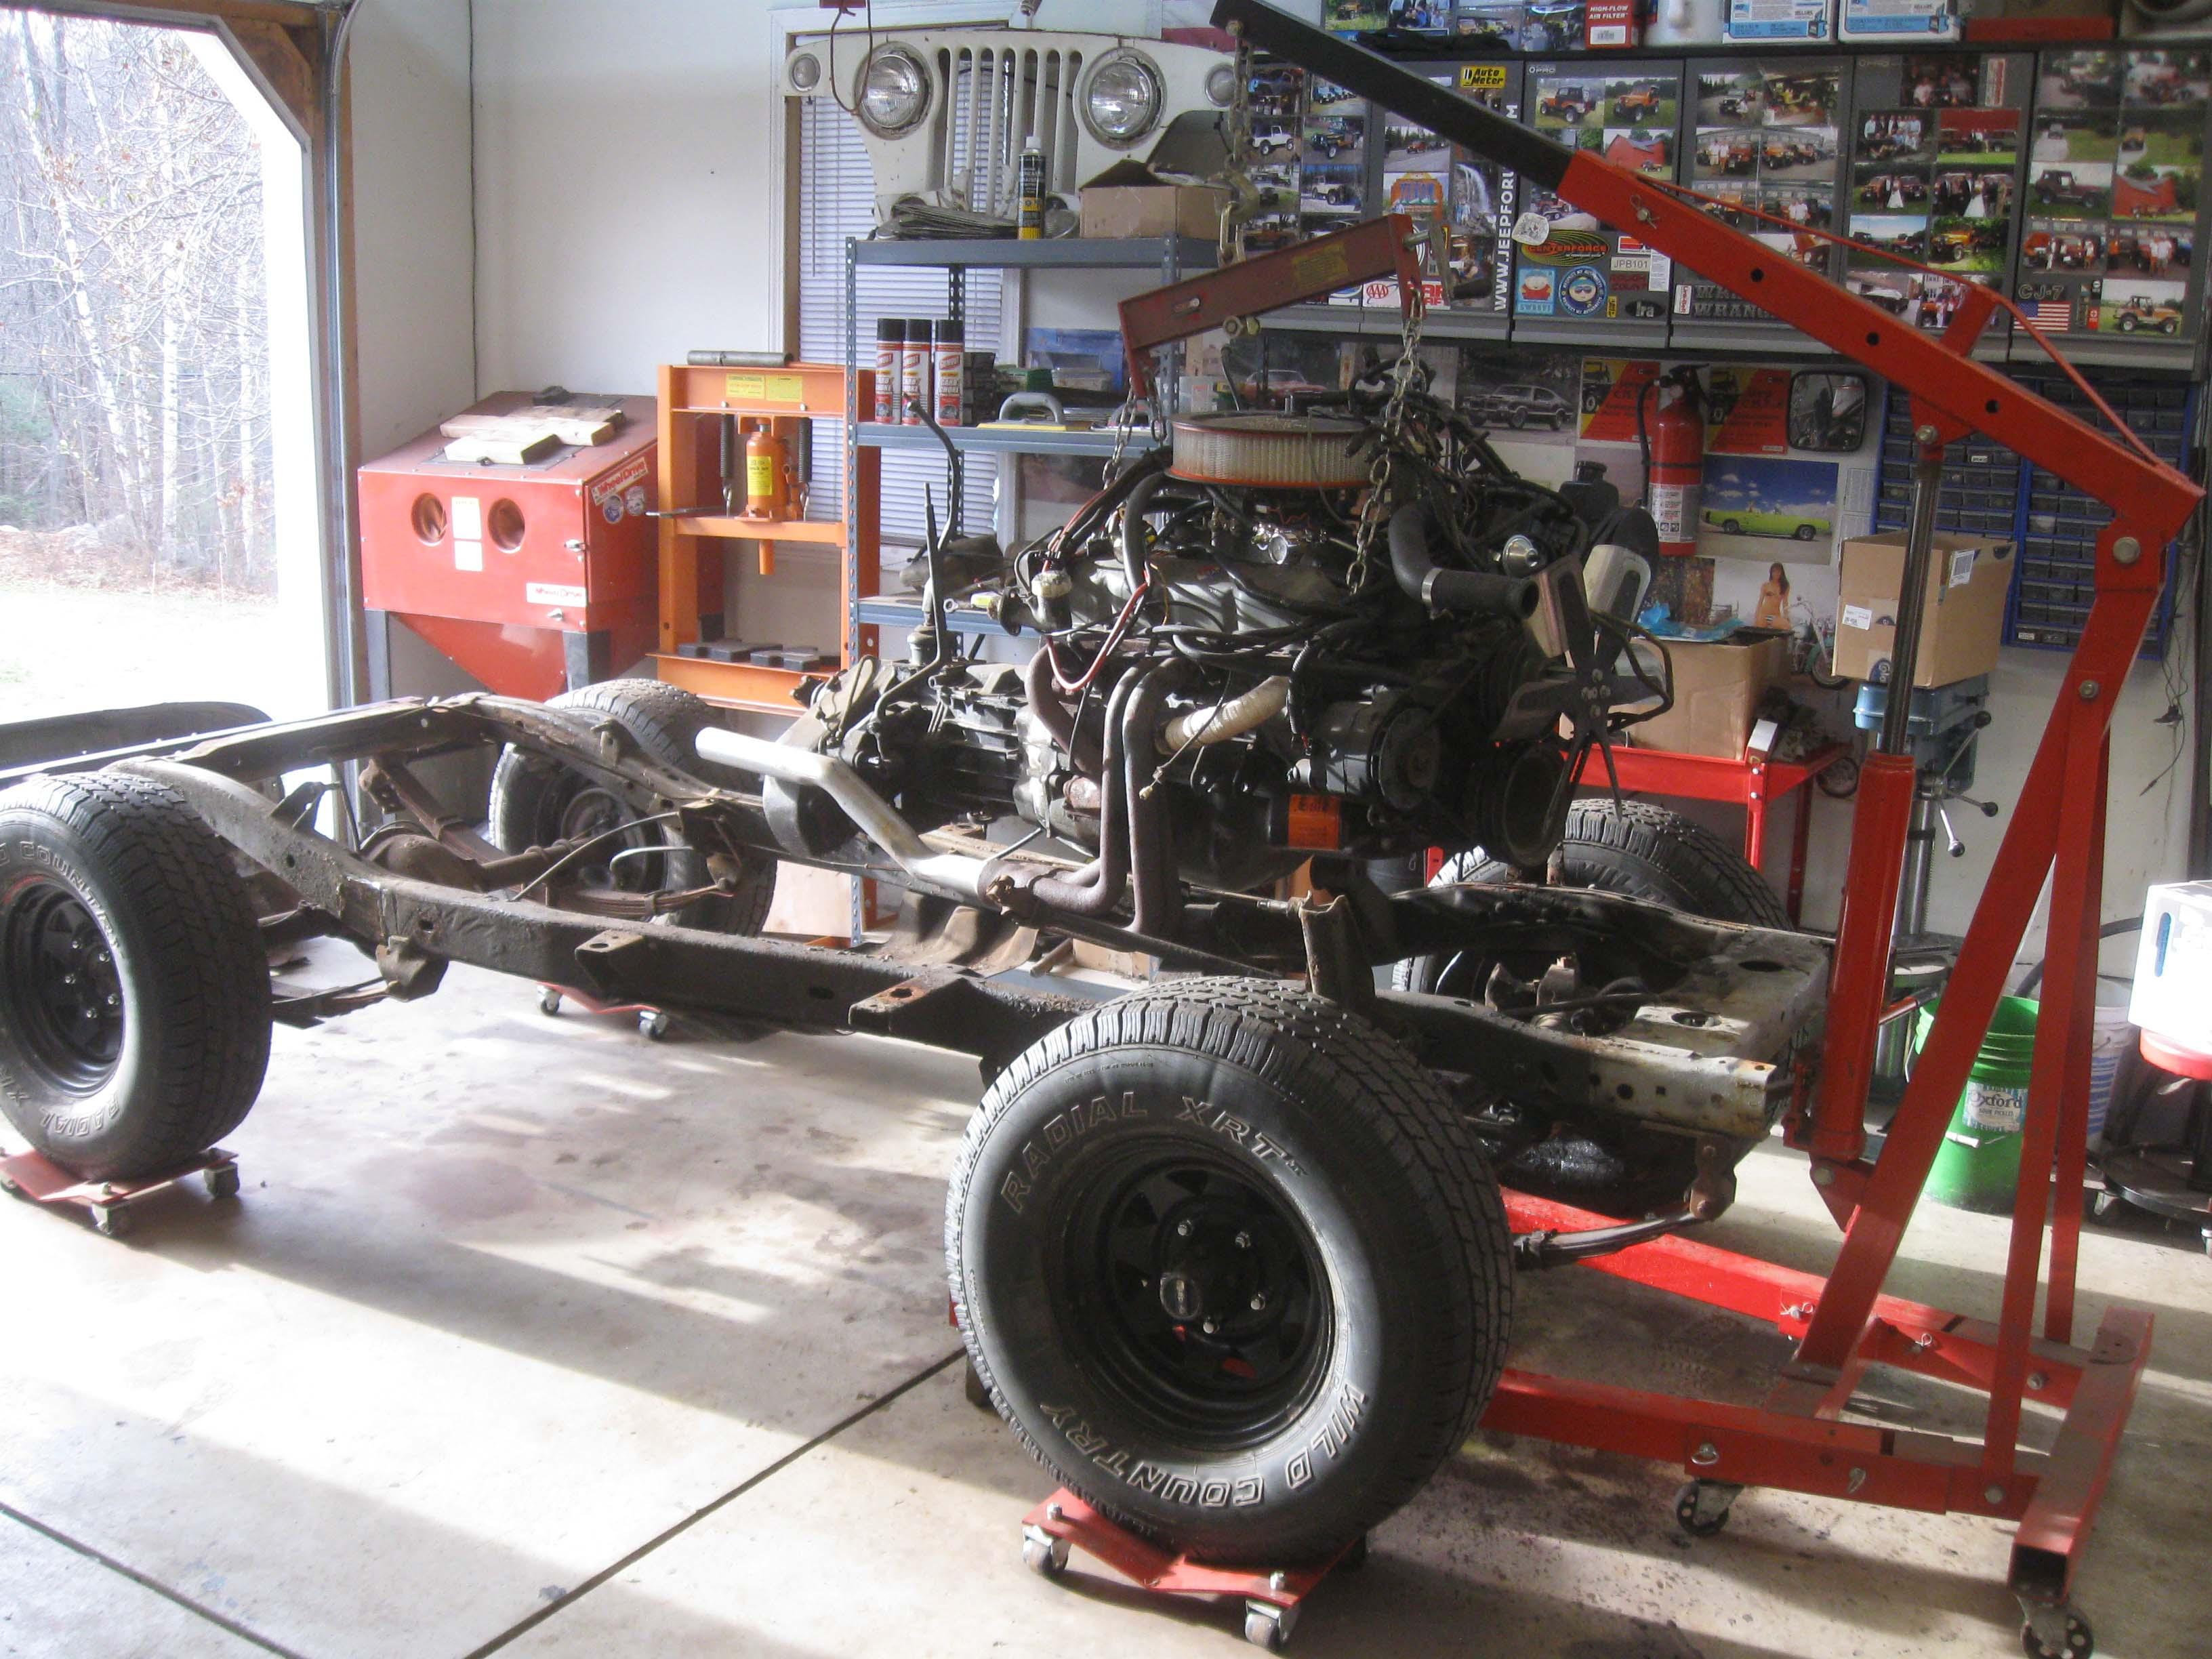
Engine is out, frame is mostly cleaned up... making progress

IMG_6868-1.jpg

IMG_6853-1.jpg


Engine sitting in the corner waiting for a while

IMG_6869-1.jpg


I received some rocker mouldings as well from a guy on another forum. I got the hardware out as well, it was stuck in there pretty good.

IMG_6852-1.jpg


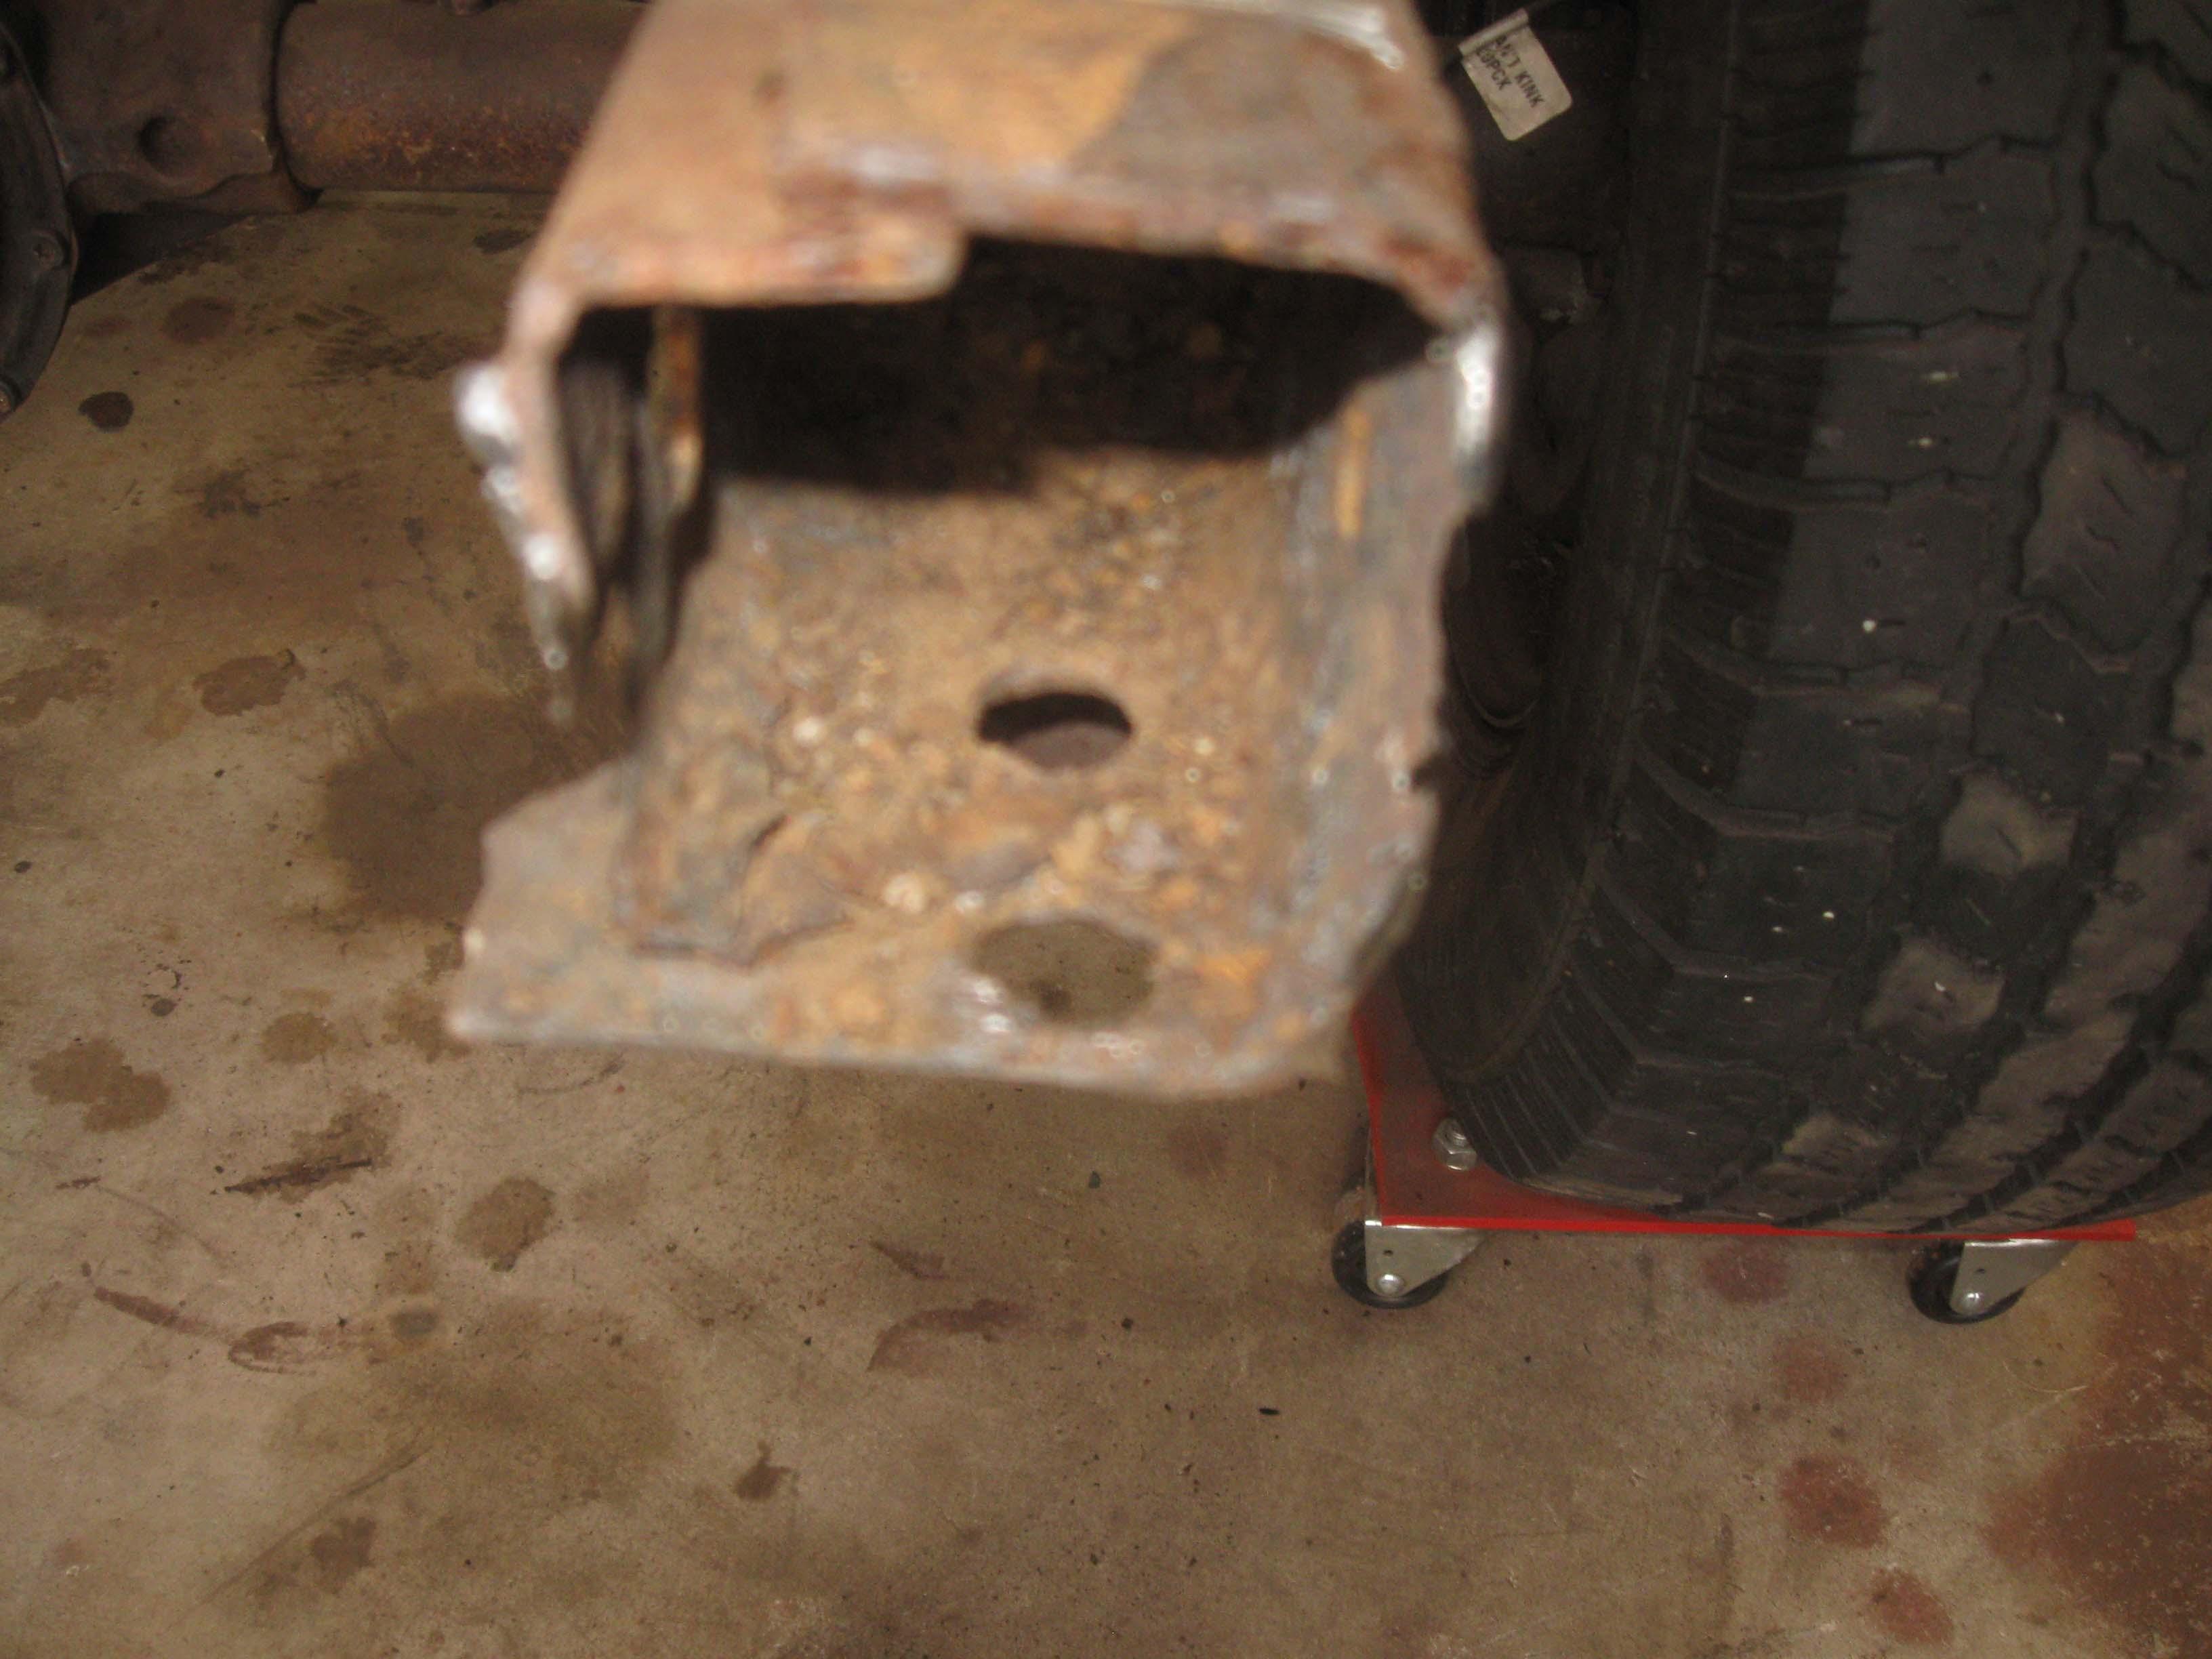
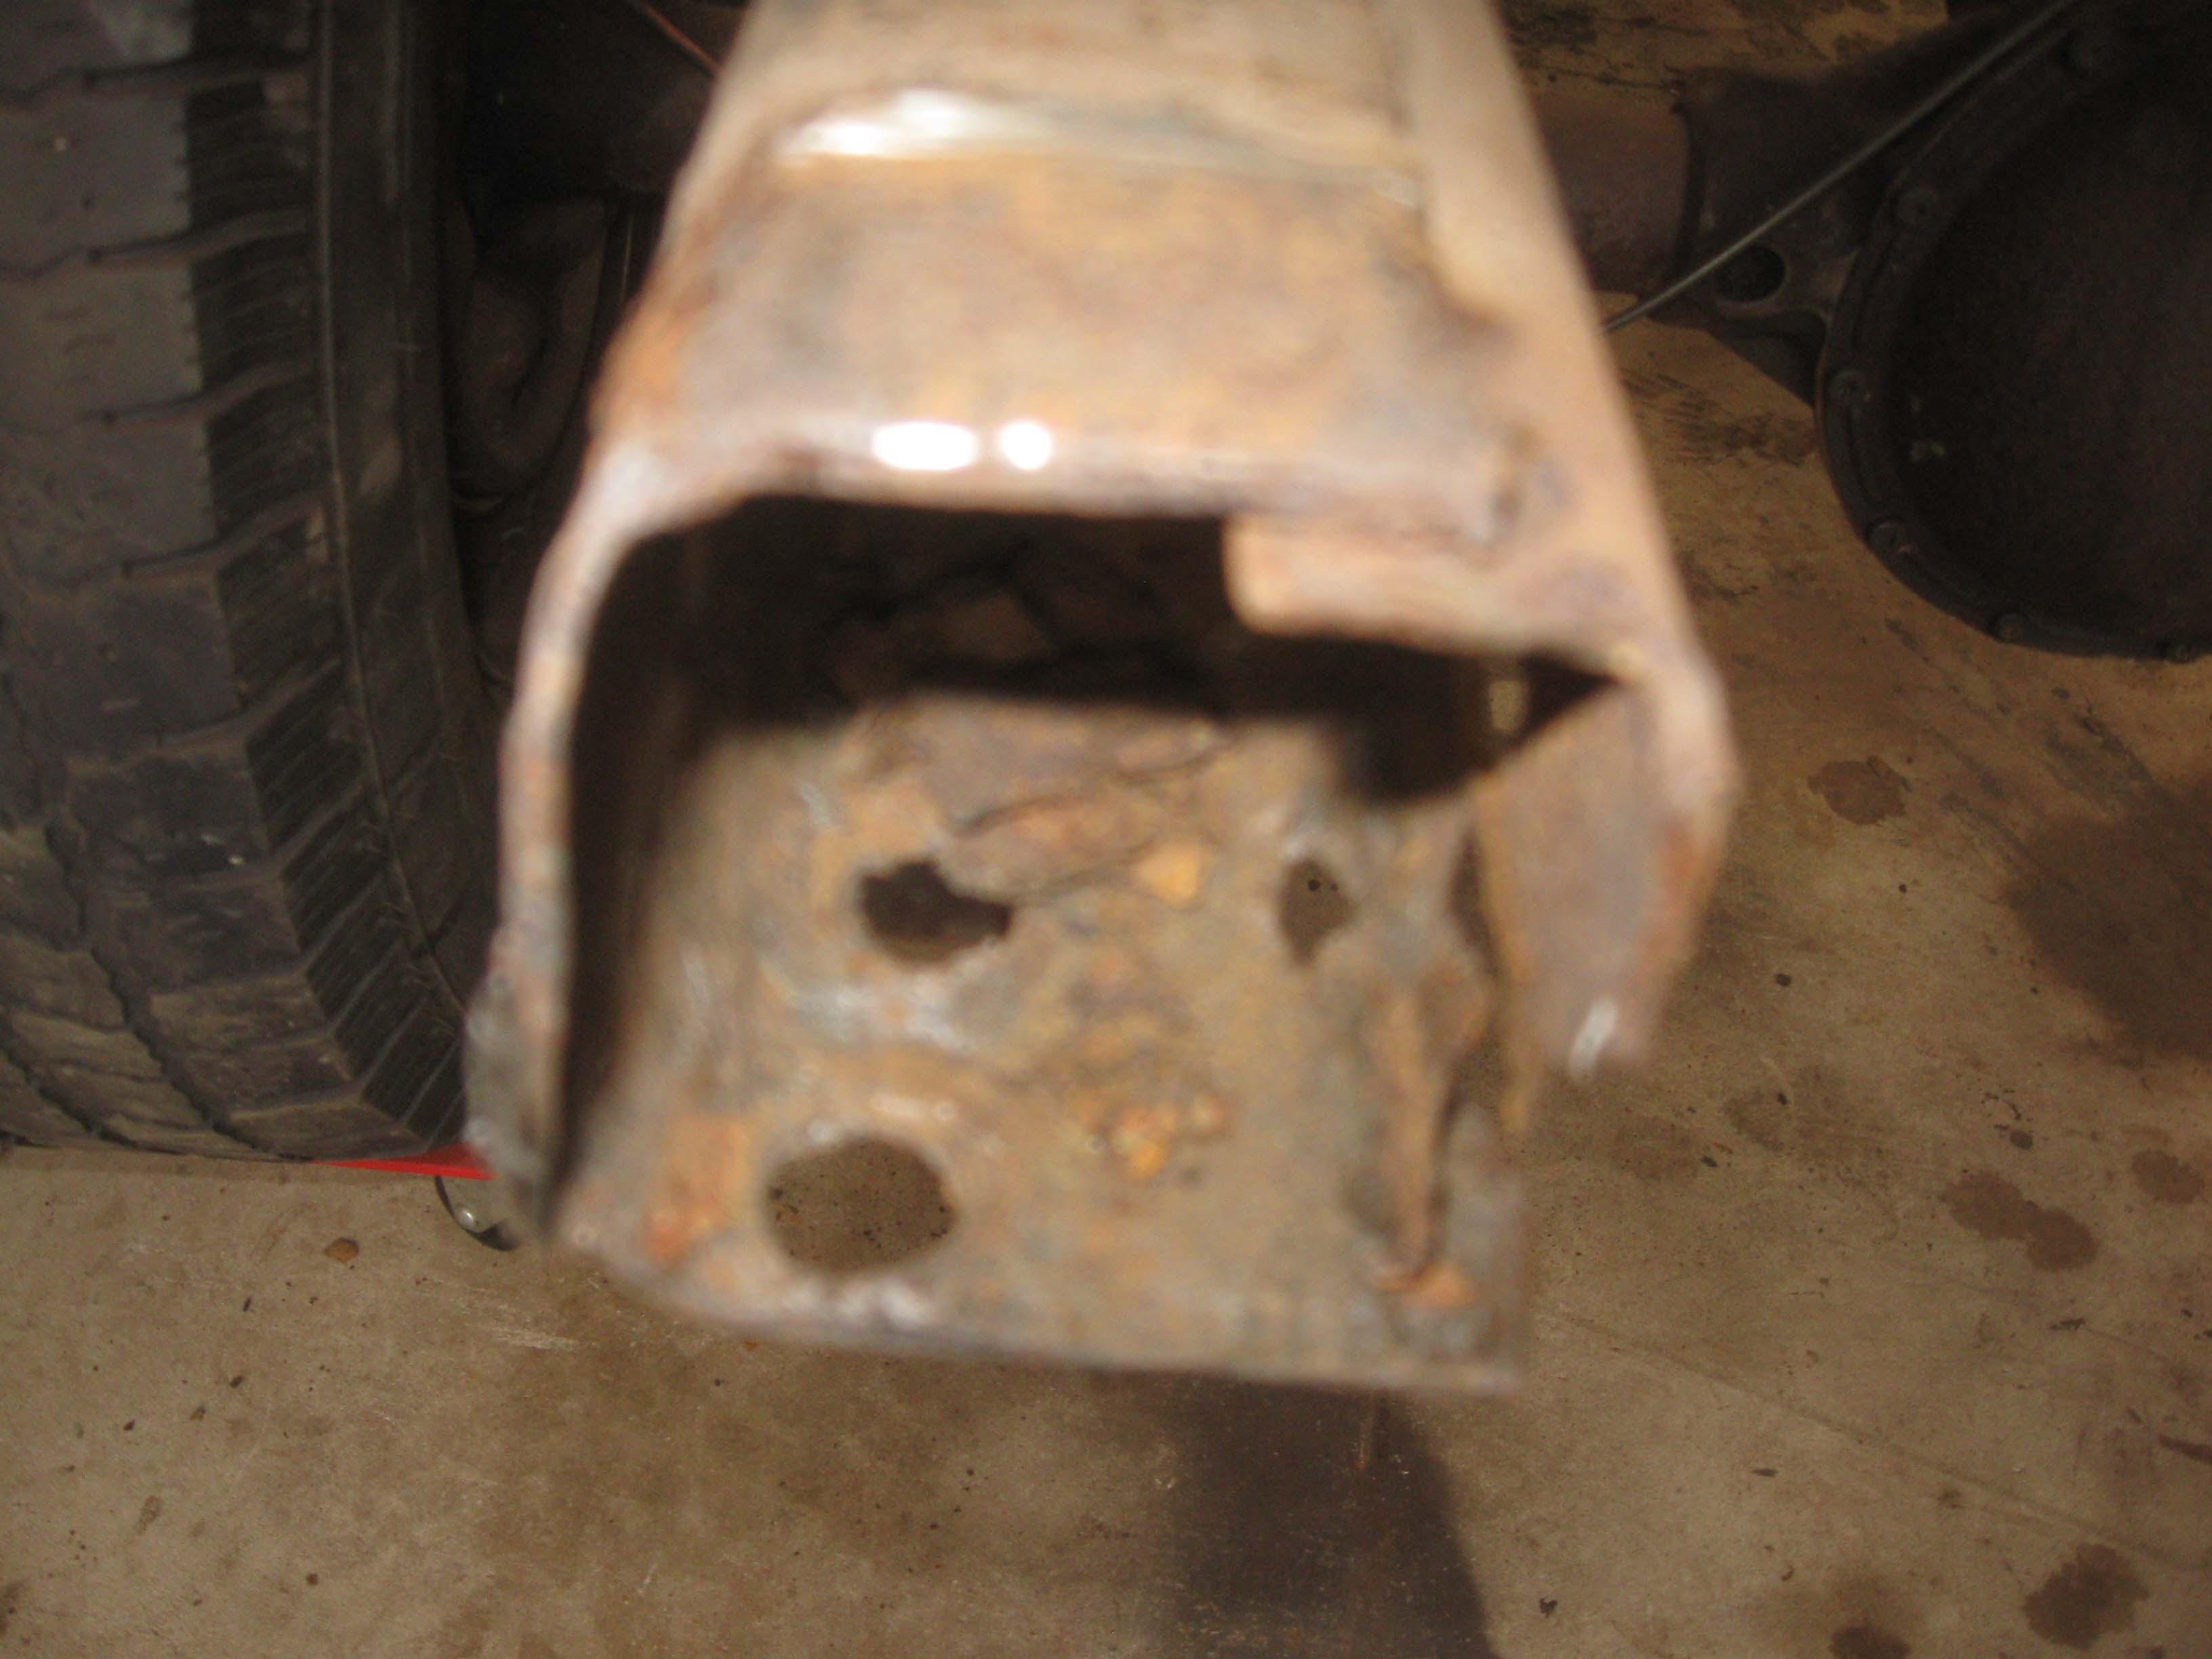
For those friends that don't know what I was talking about with the rust and the captive nuts, this is what the rear ends that go in the cross member look like.
I have to fix them up before I get the rear cross member situated.

IMG_6858-1.jpg

IMG_6859-1.jpg


It is snowing right now, so not sure what kind of progress will be made, but all in all, I am alright with where I am at.

cb
 
I received some rocker mouldings as well from a guy on another forum. I got the hardware out as well, it was stuck in there pretty good.


cb[/QUOTE]

I'm Here too! :wave: Glad to have them go to a unique project like this one. :cool:
 
I received some rocker mouldings as well from a guy on another forum. I got the hardware out as well, it was stuck in there pretty good.


cb

I'm Here too! :wave: Glad to have them go to a unique project like this one. :cool:[/QUOTE]
Ahhh, I see... sorry, I didn't put 2 and 2 together!!!!

cb
 
Over the last few days, I have done a few things, but not a ton with no power... and it is freezing out there without the heater on!!!

Doesn't matter though, Thanksgiving really showed what we were thankful for when the days stretched on without power... we had a great time.
No Internet and no information for 3 days allows you to really relax.

How we stand today
IMG_6880-1.jpg


It is not attached, mainly because I forgot something pretty important. If you order a CJ kit, you will have CJ bolts. Although the spacers fit in the holes nicely, you won't have what you need to attach it and figure out where the body mounts go as the body is a YJ.

So, scratch that plan and when the power is out and you only have hand tools, you can't get a lot done, especially when the temperature is 15 degrees and you have to run the shop with the garage door open to not get carbon monoxide poisoning from the generator... it was comical ;)

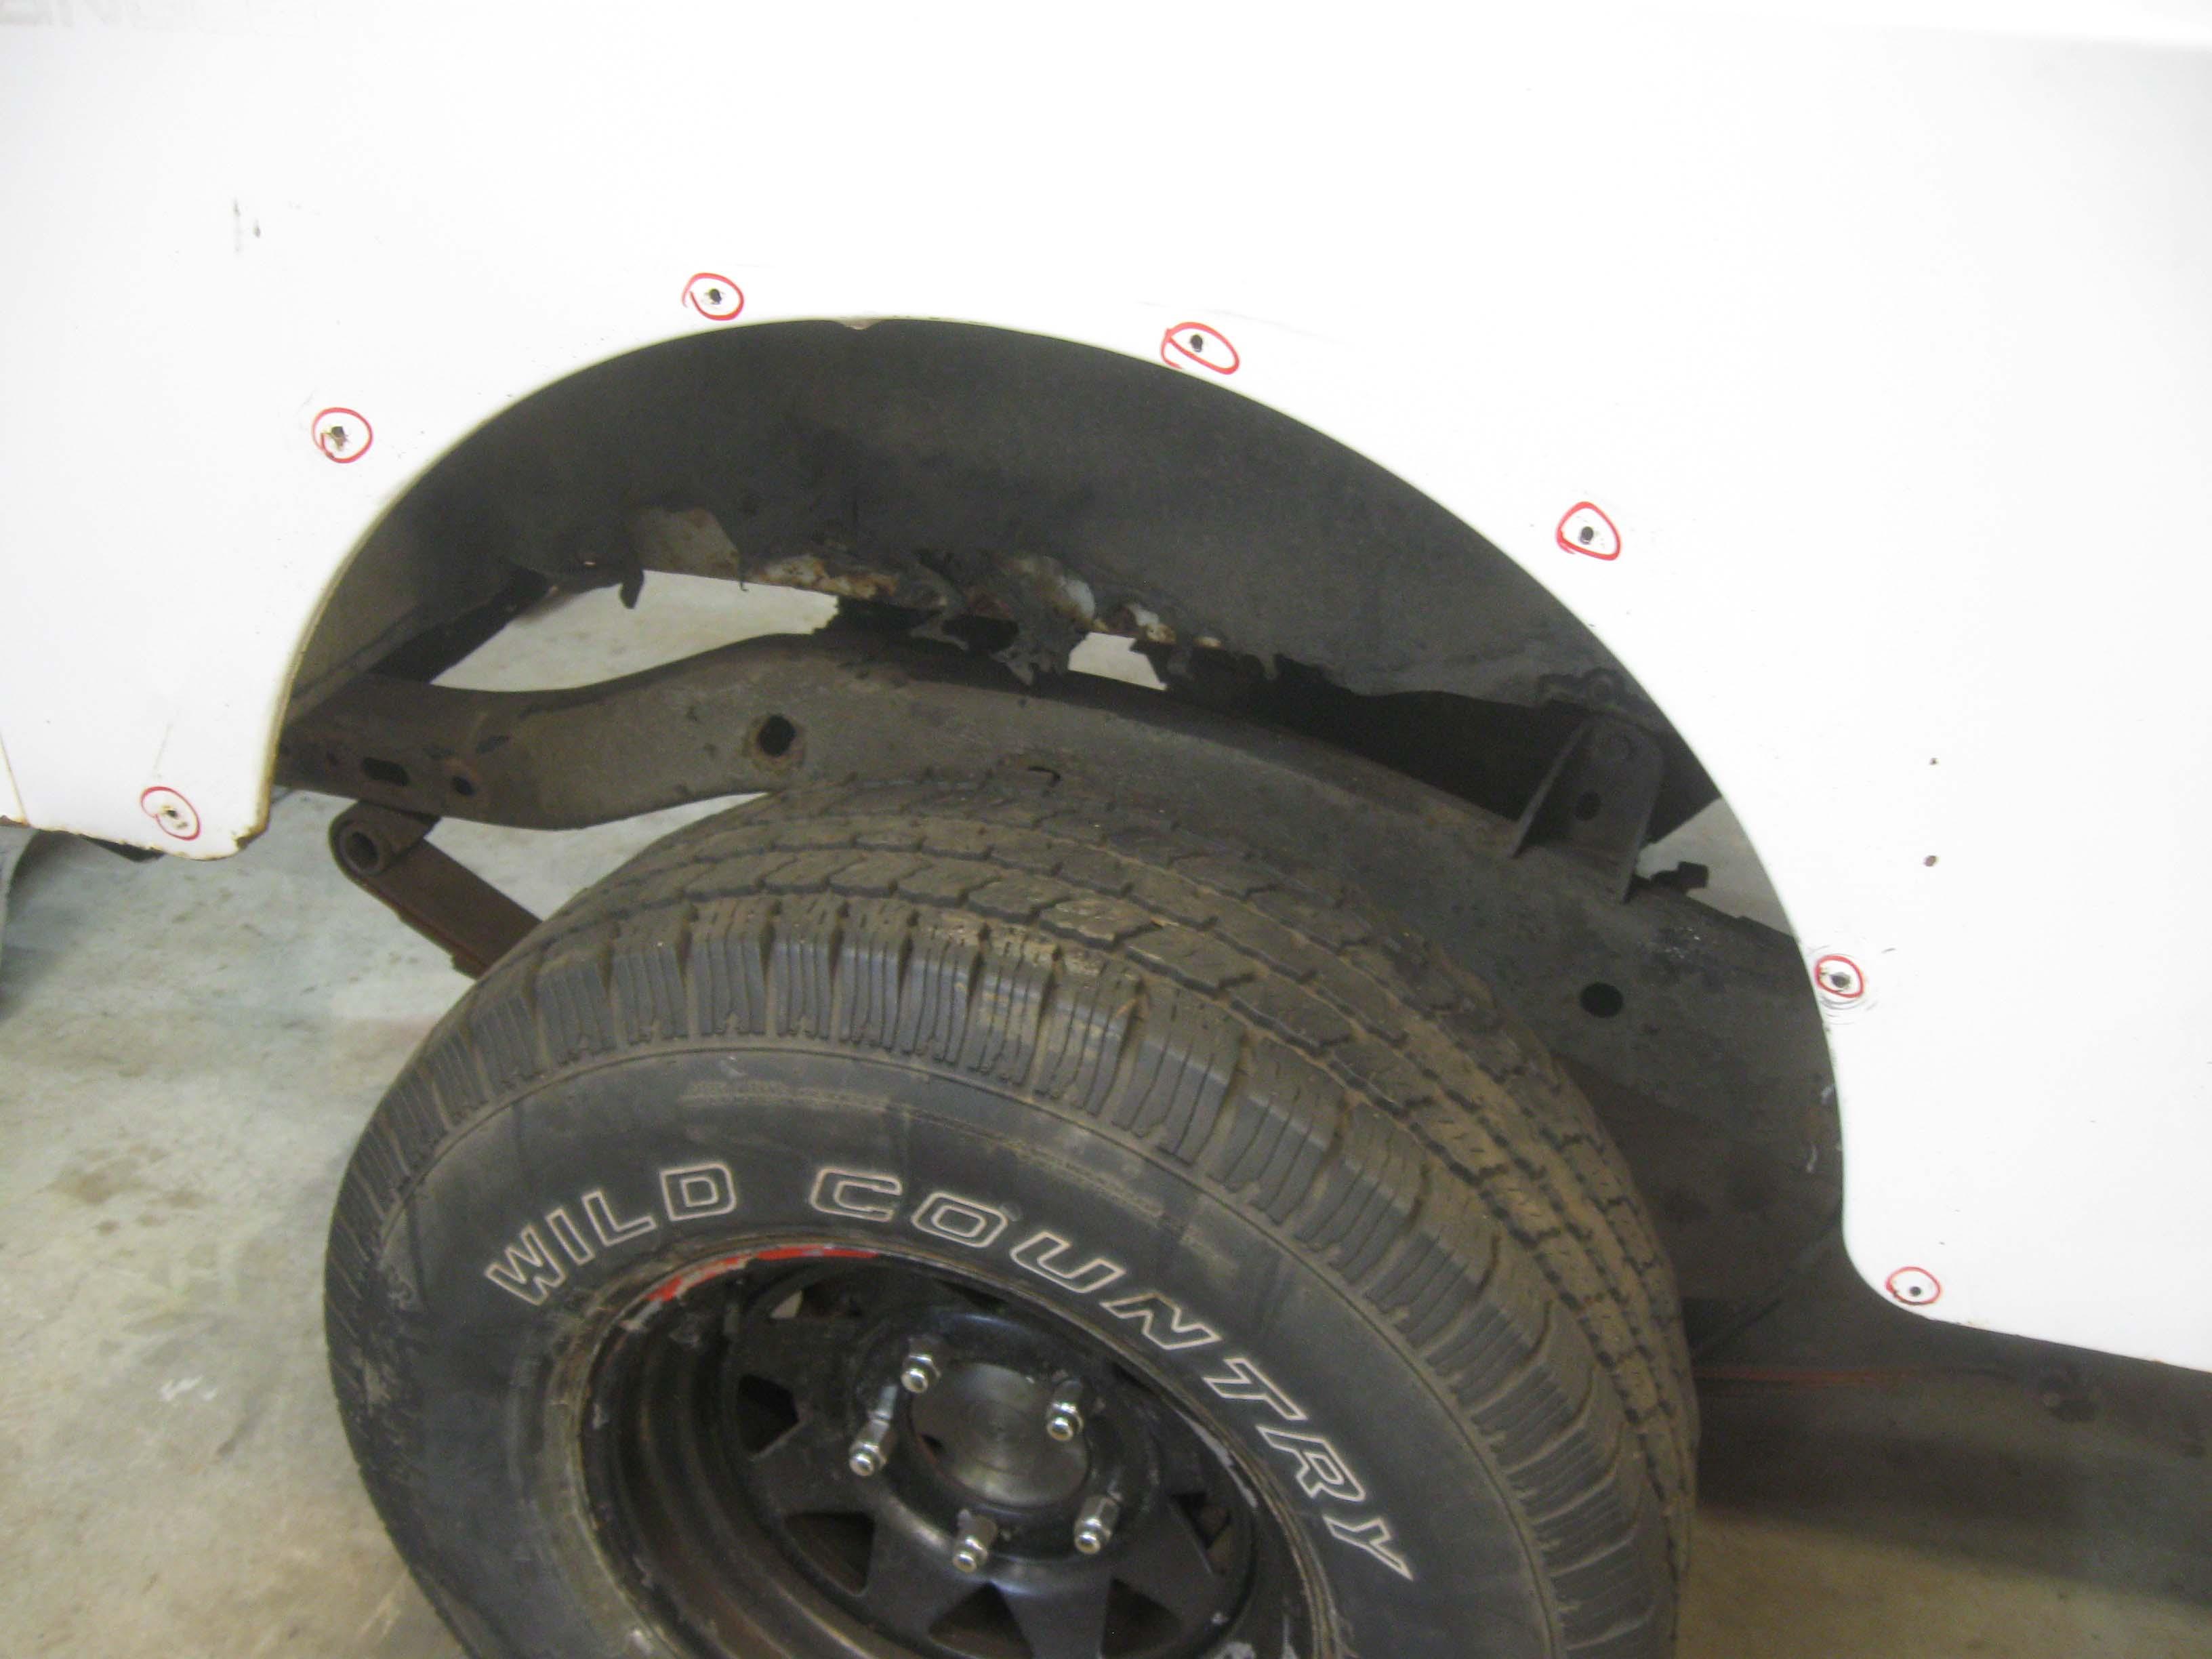
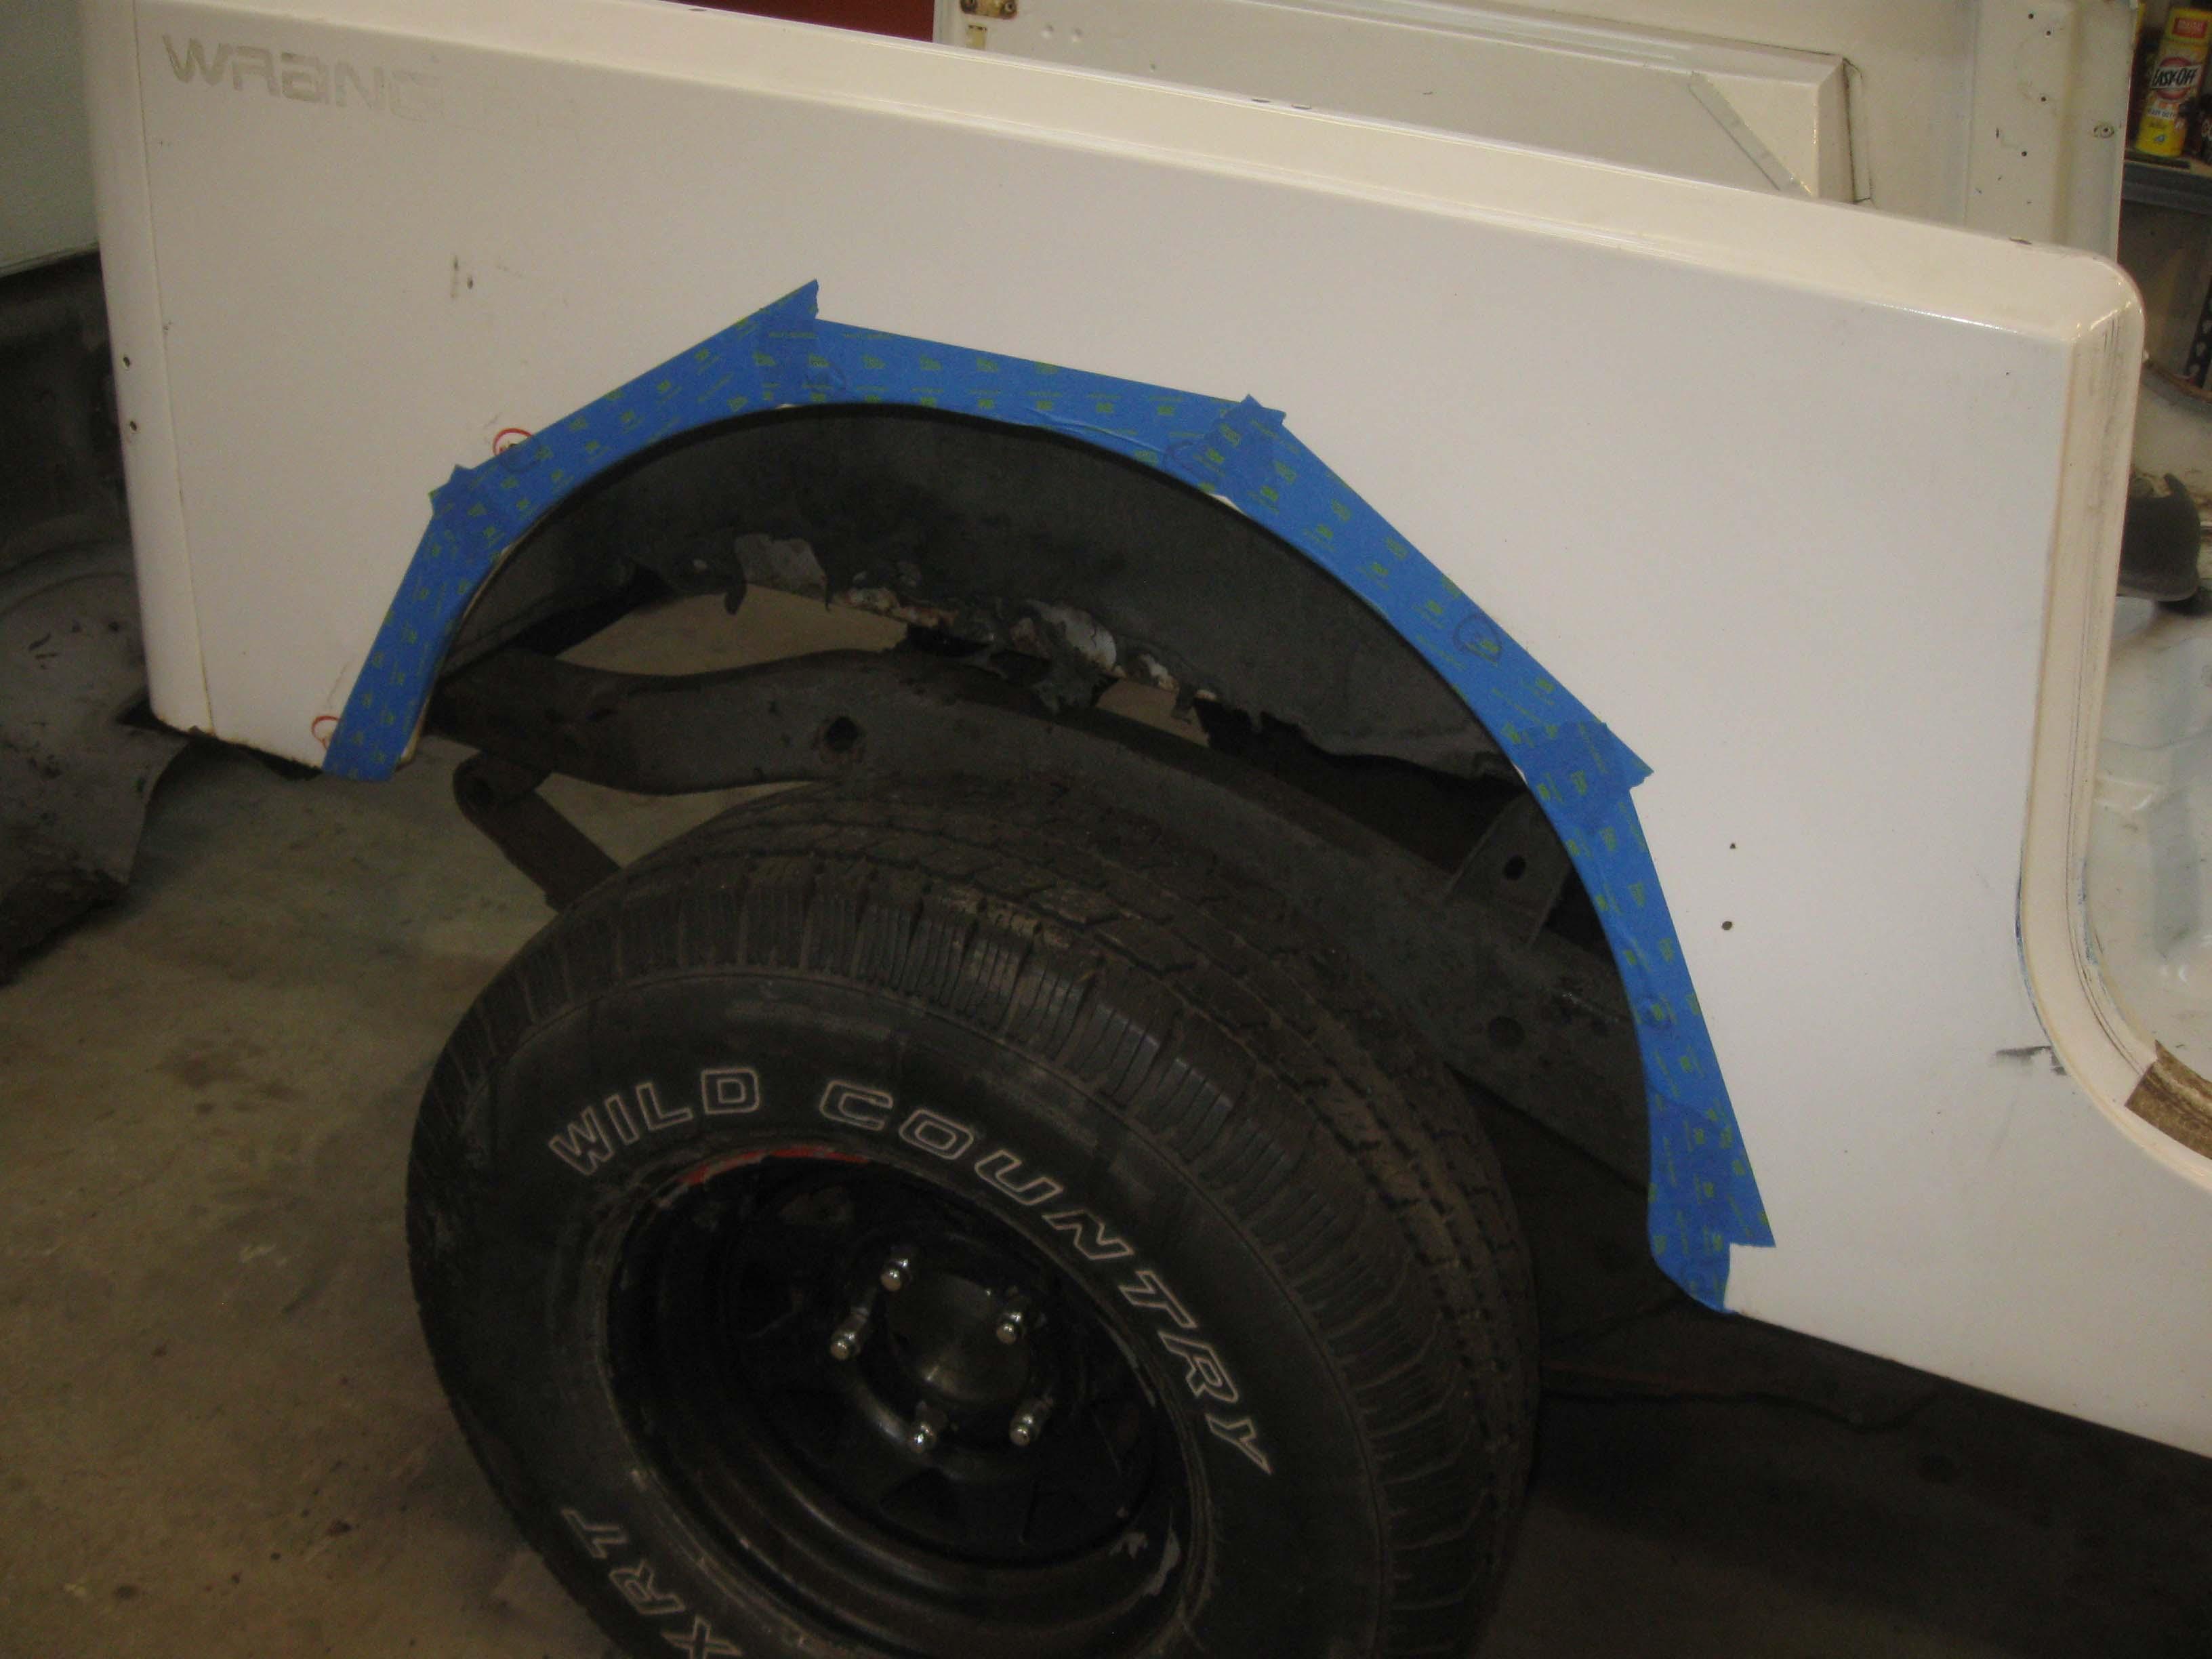
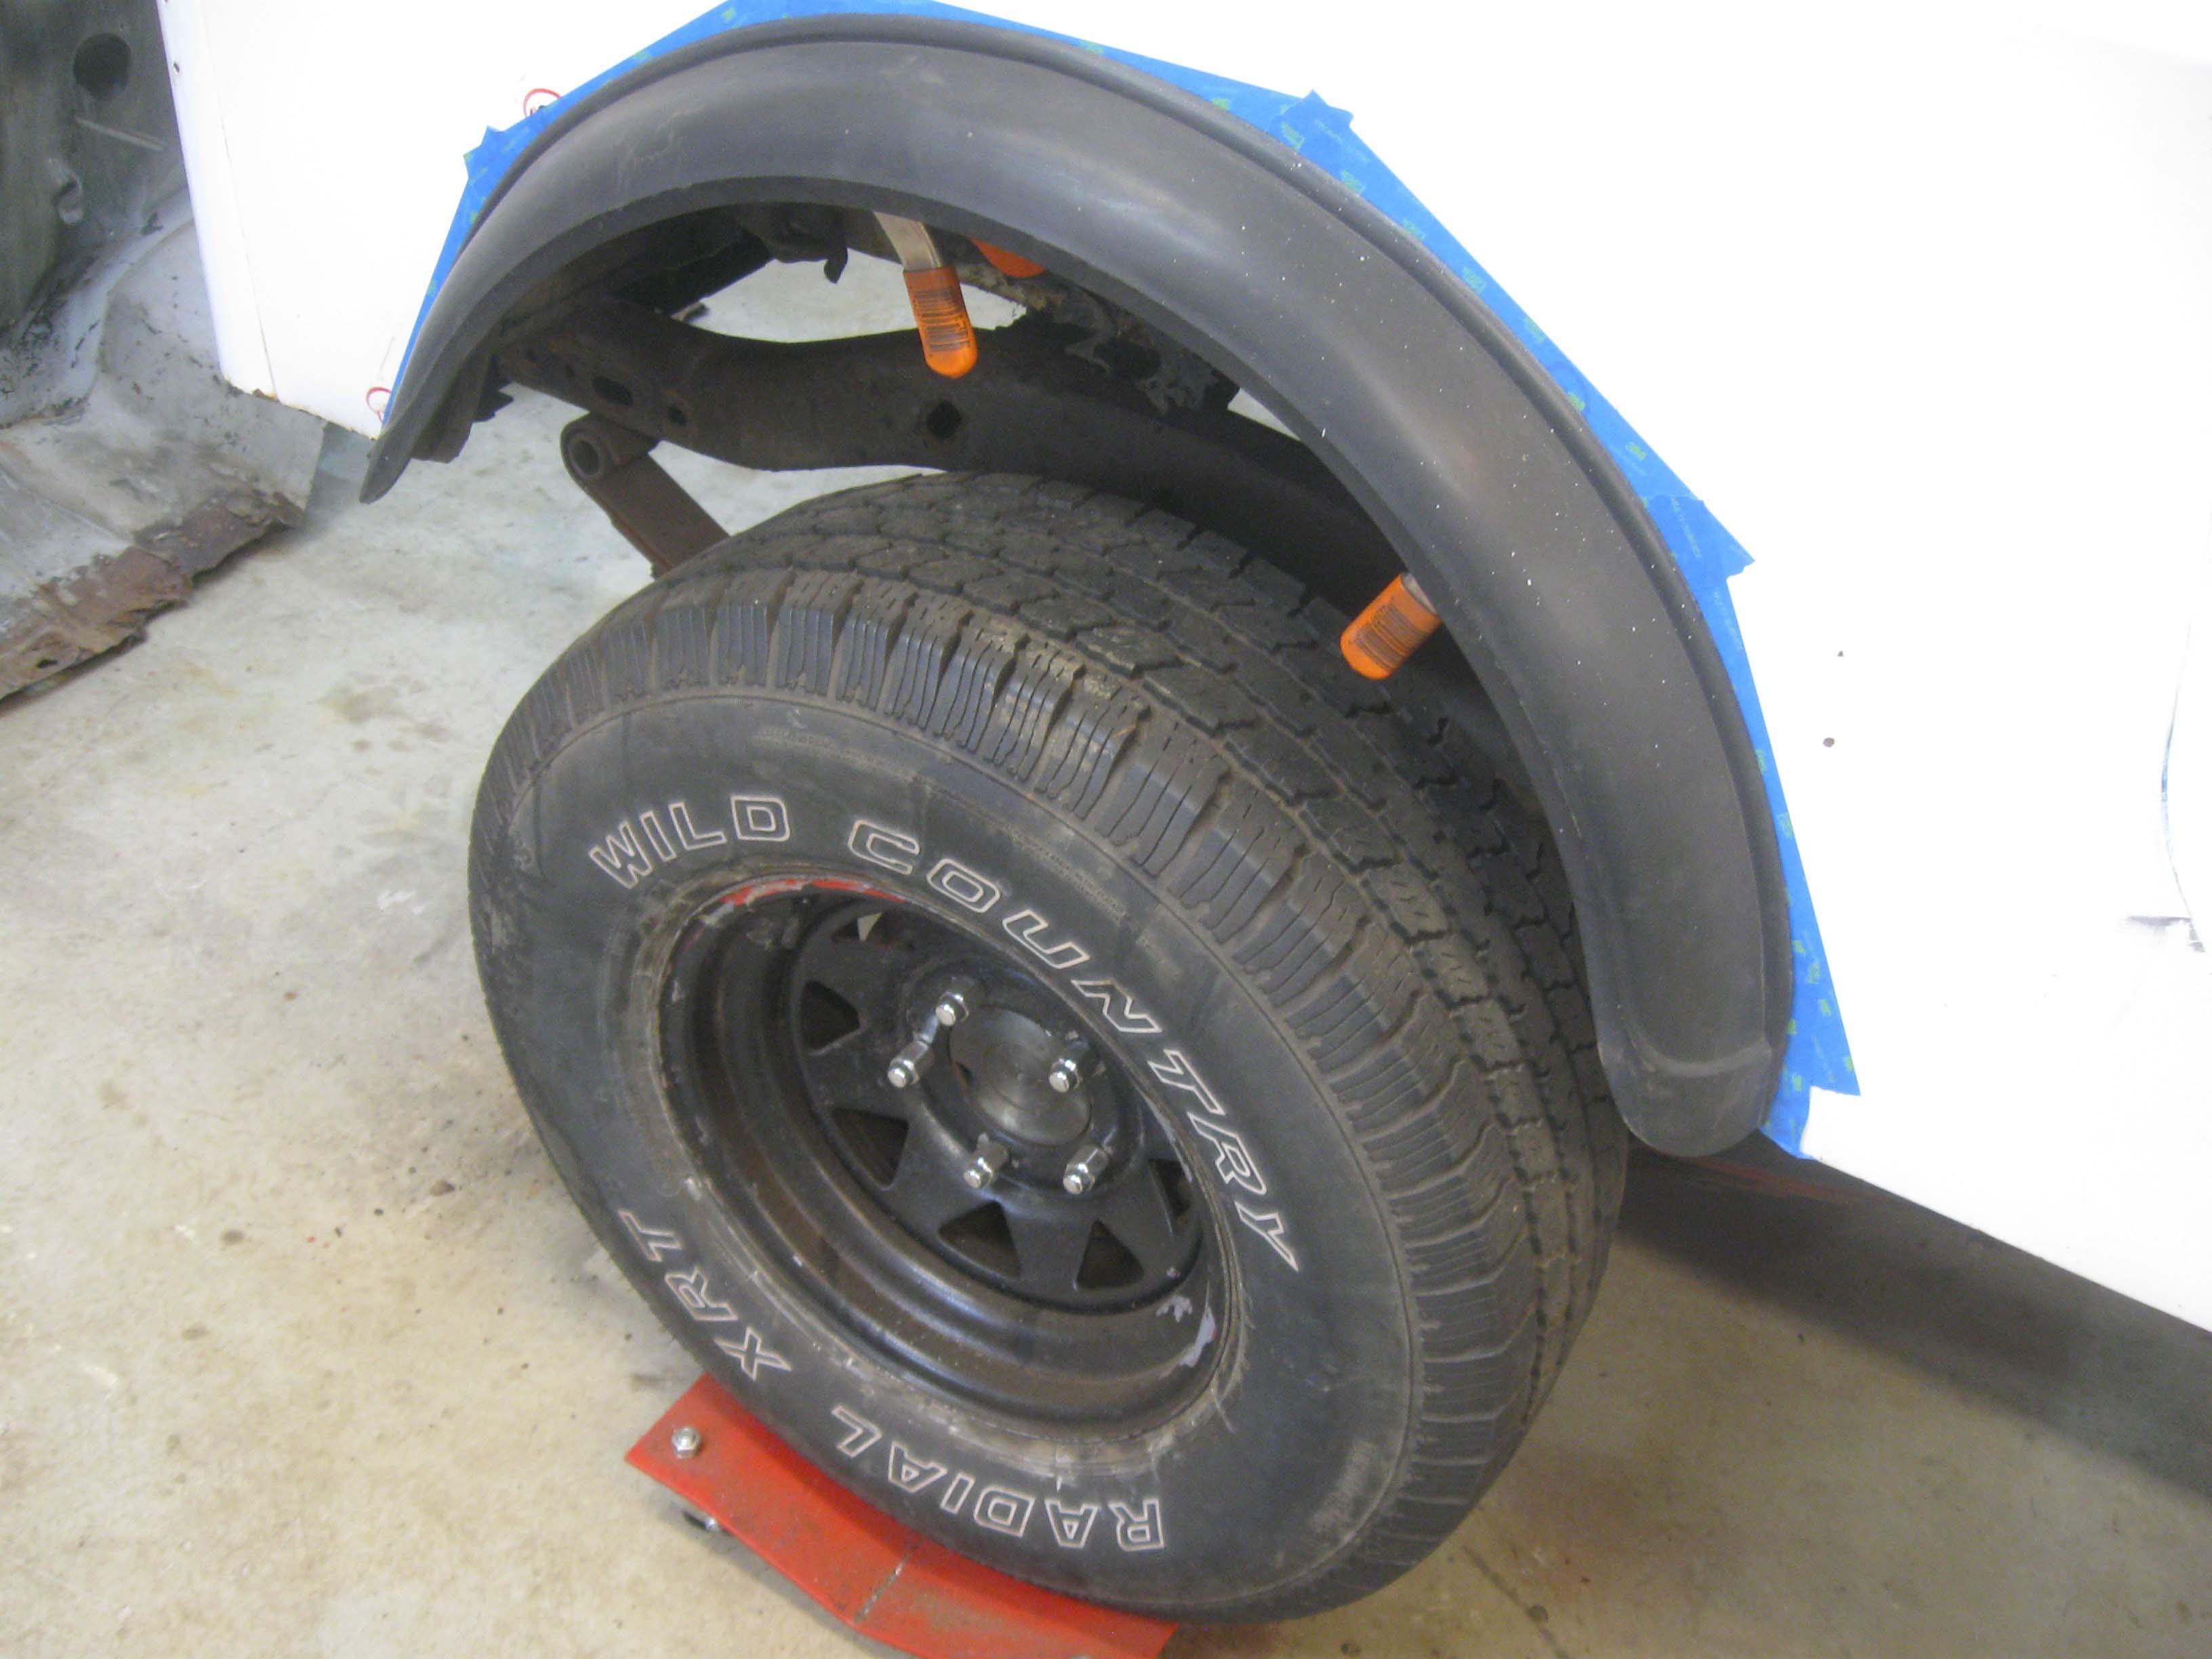
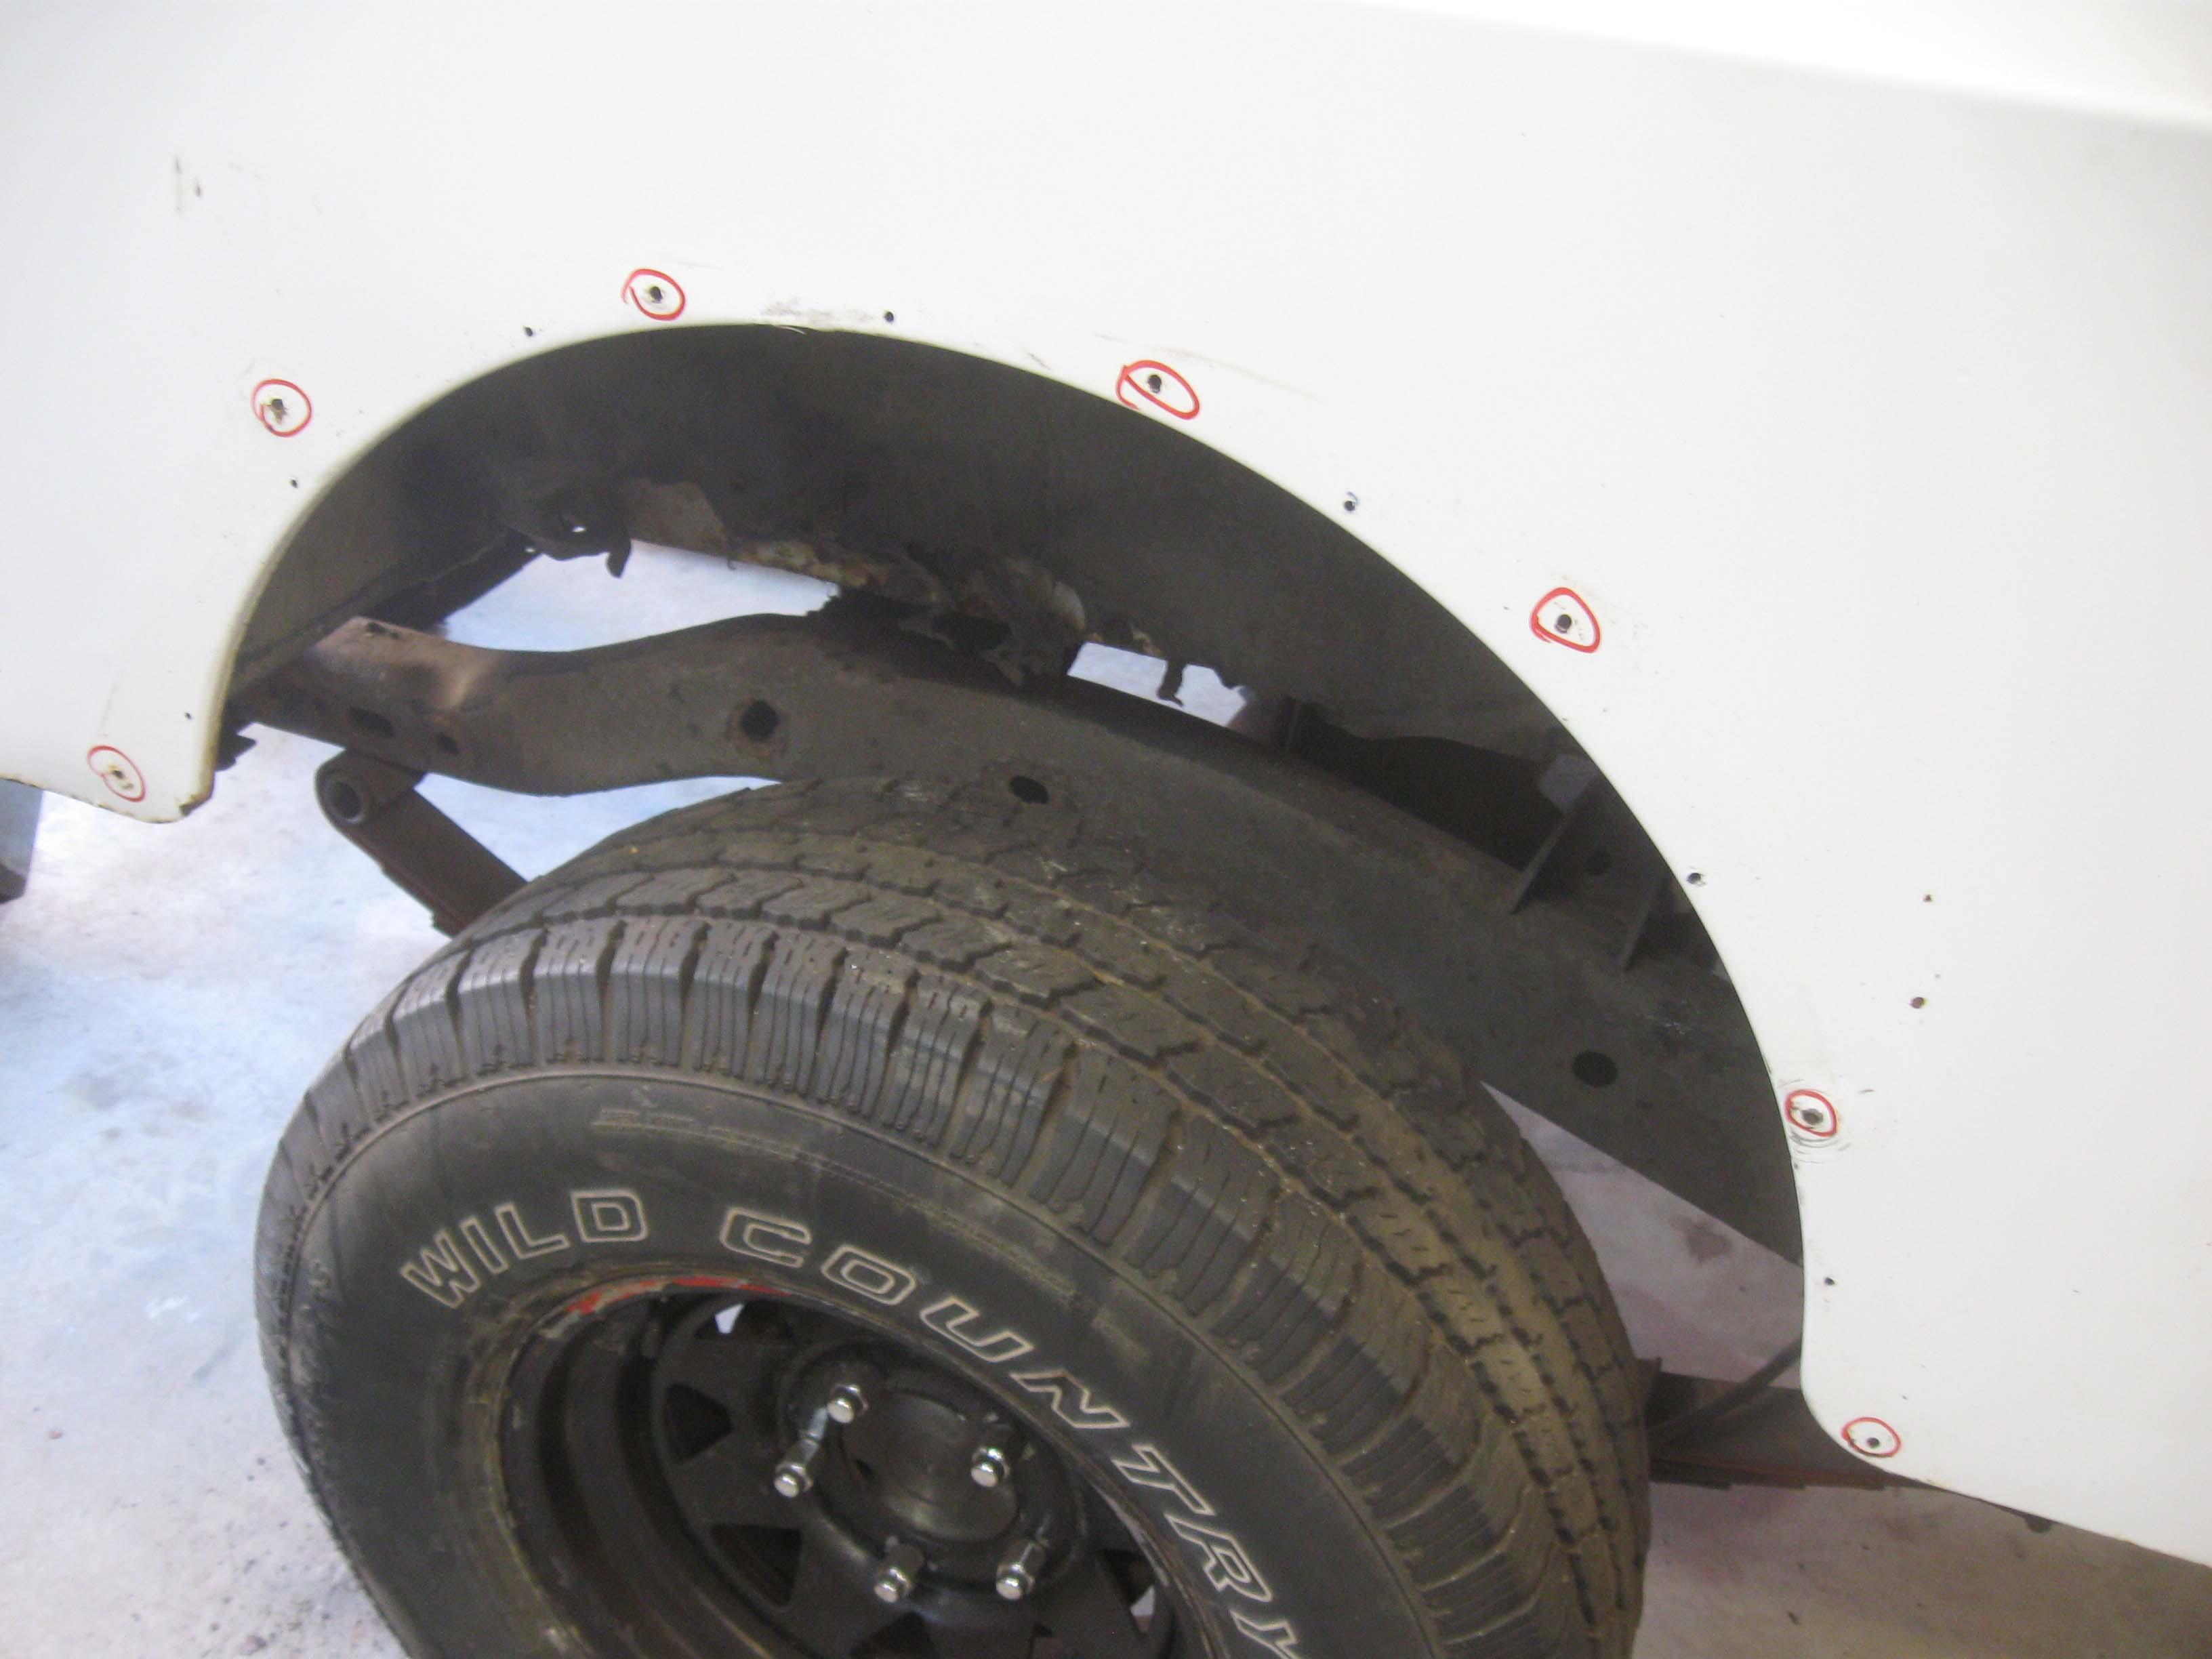
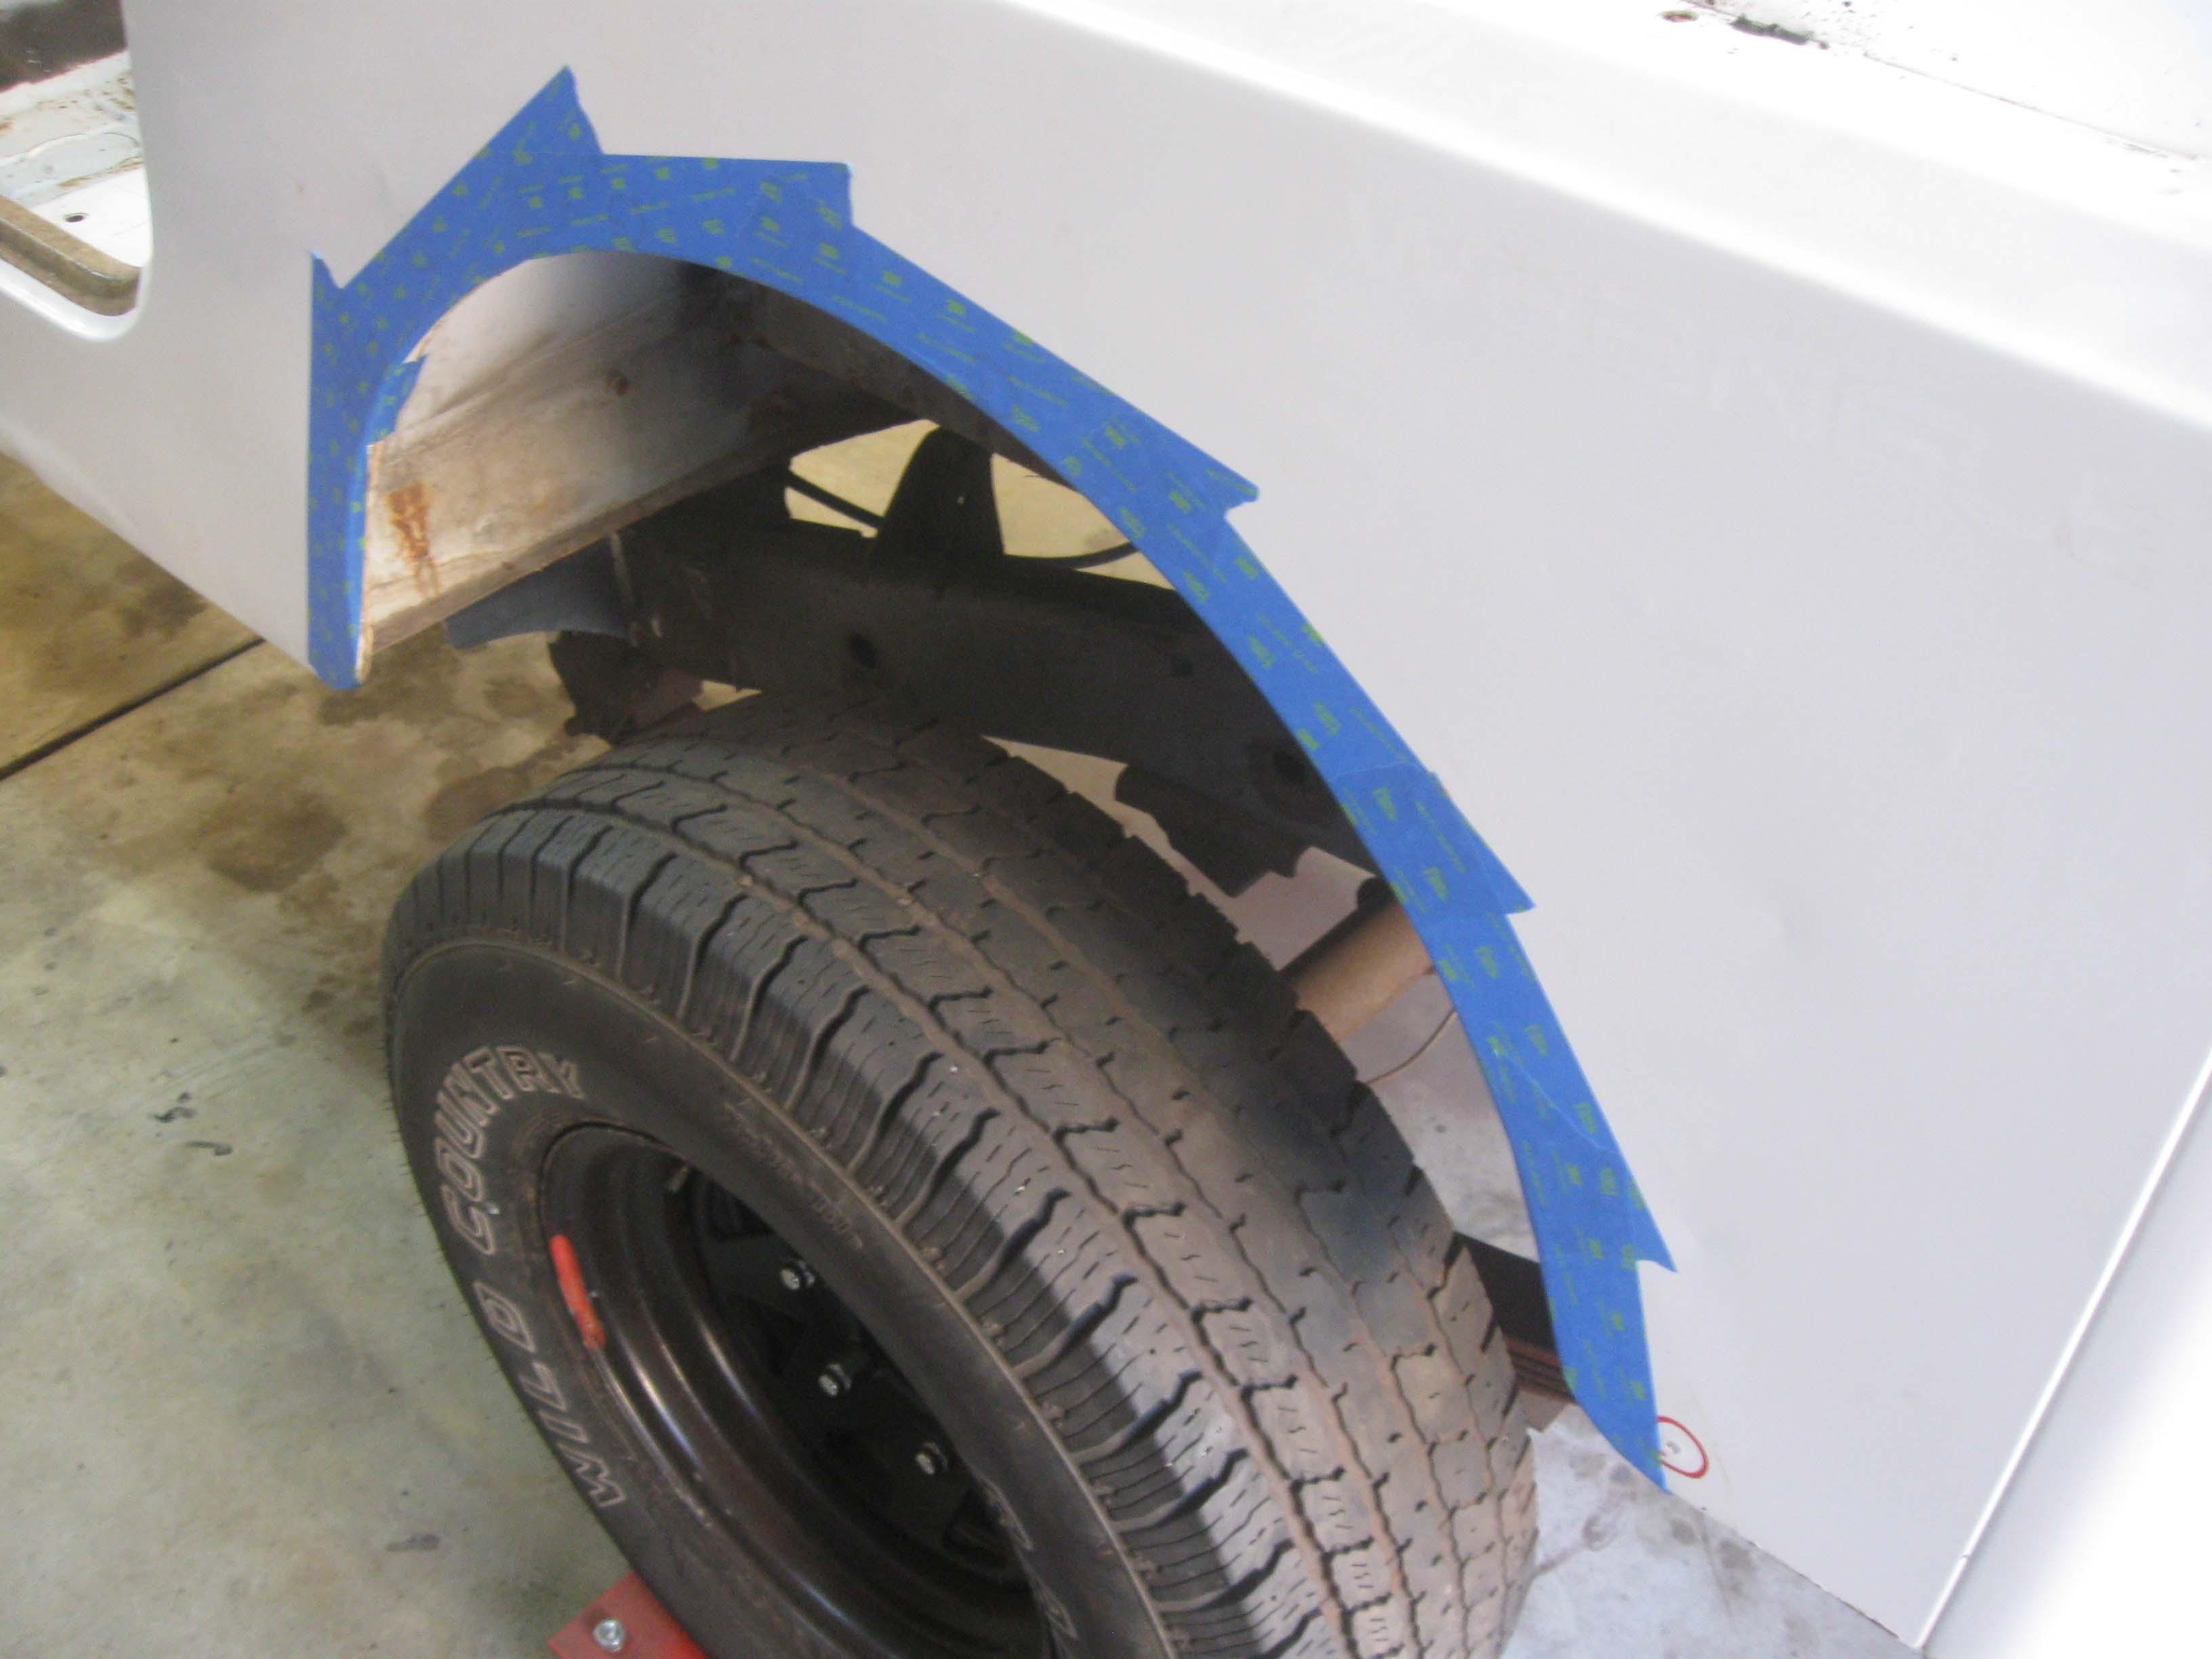
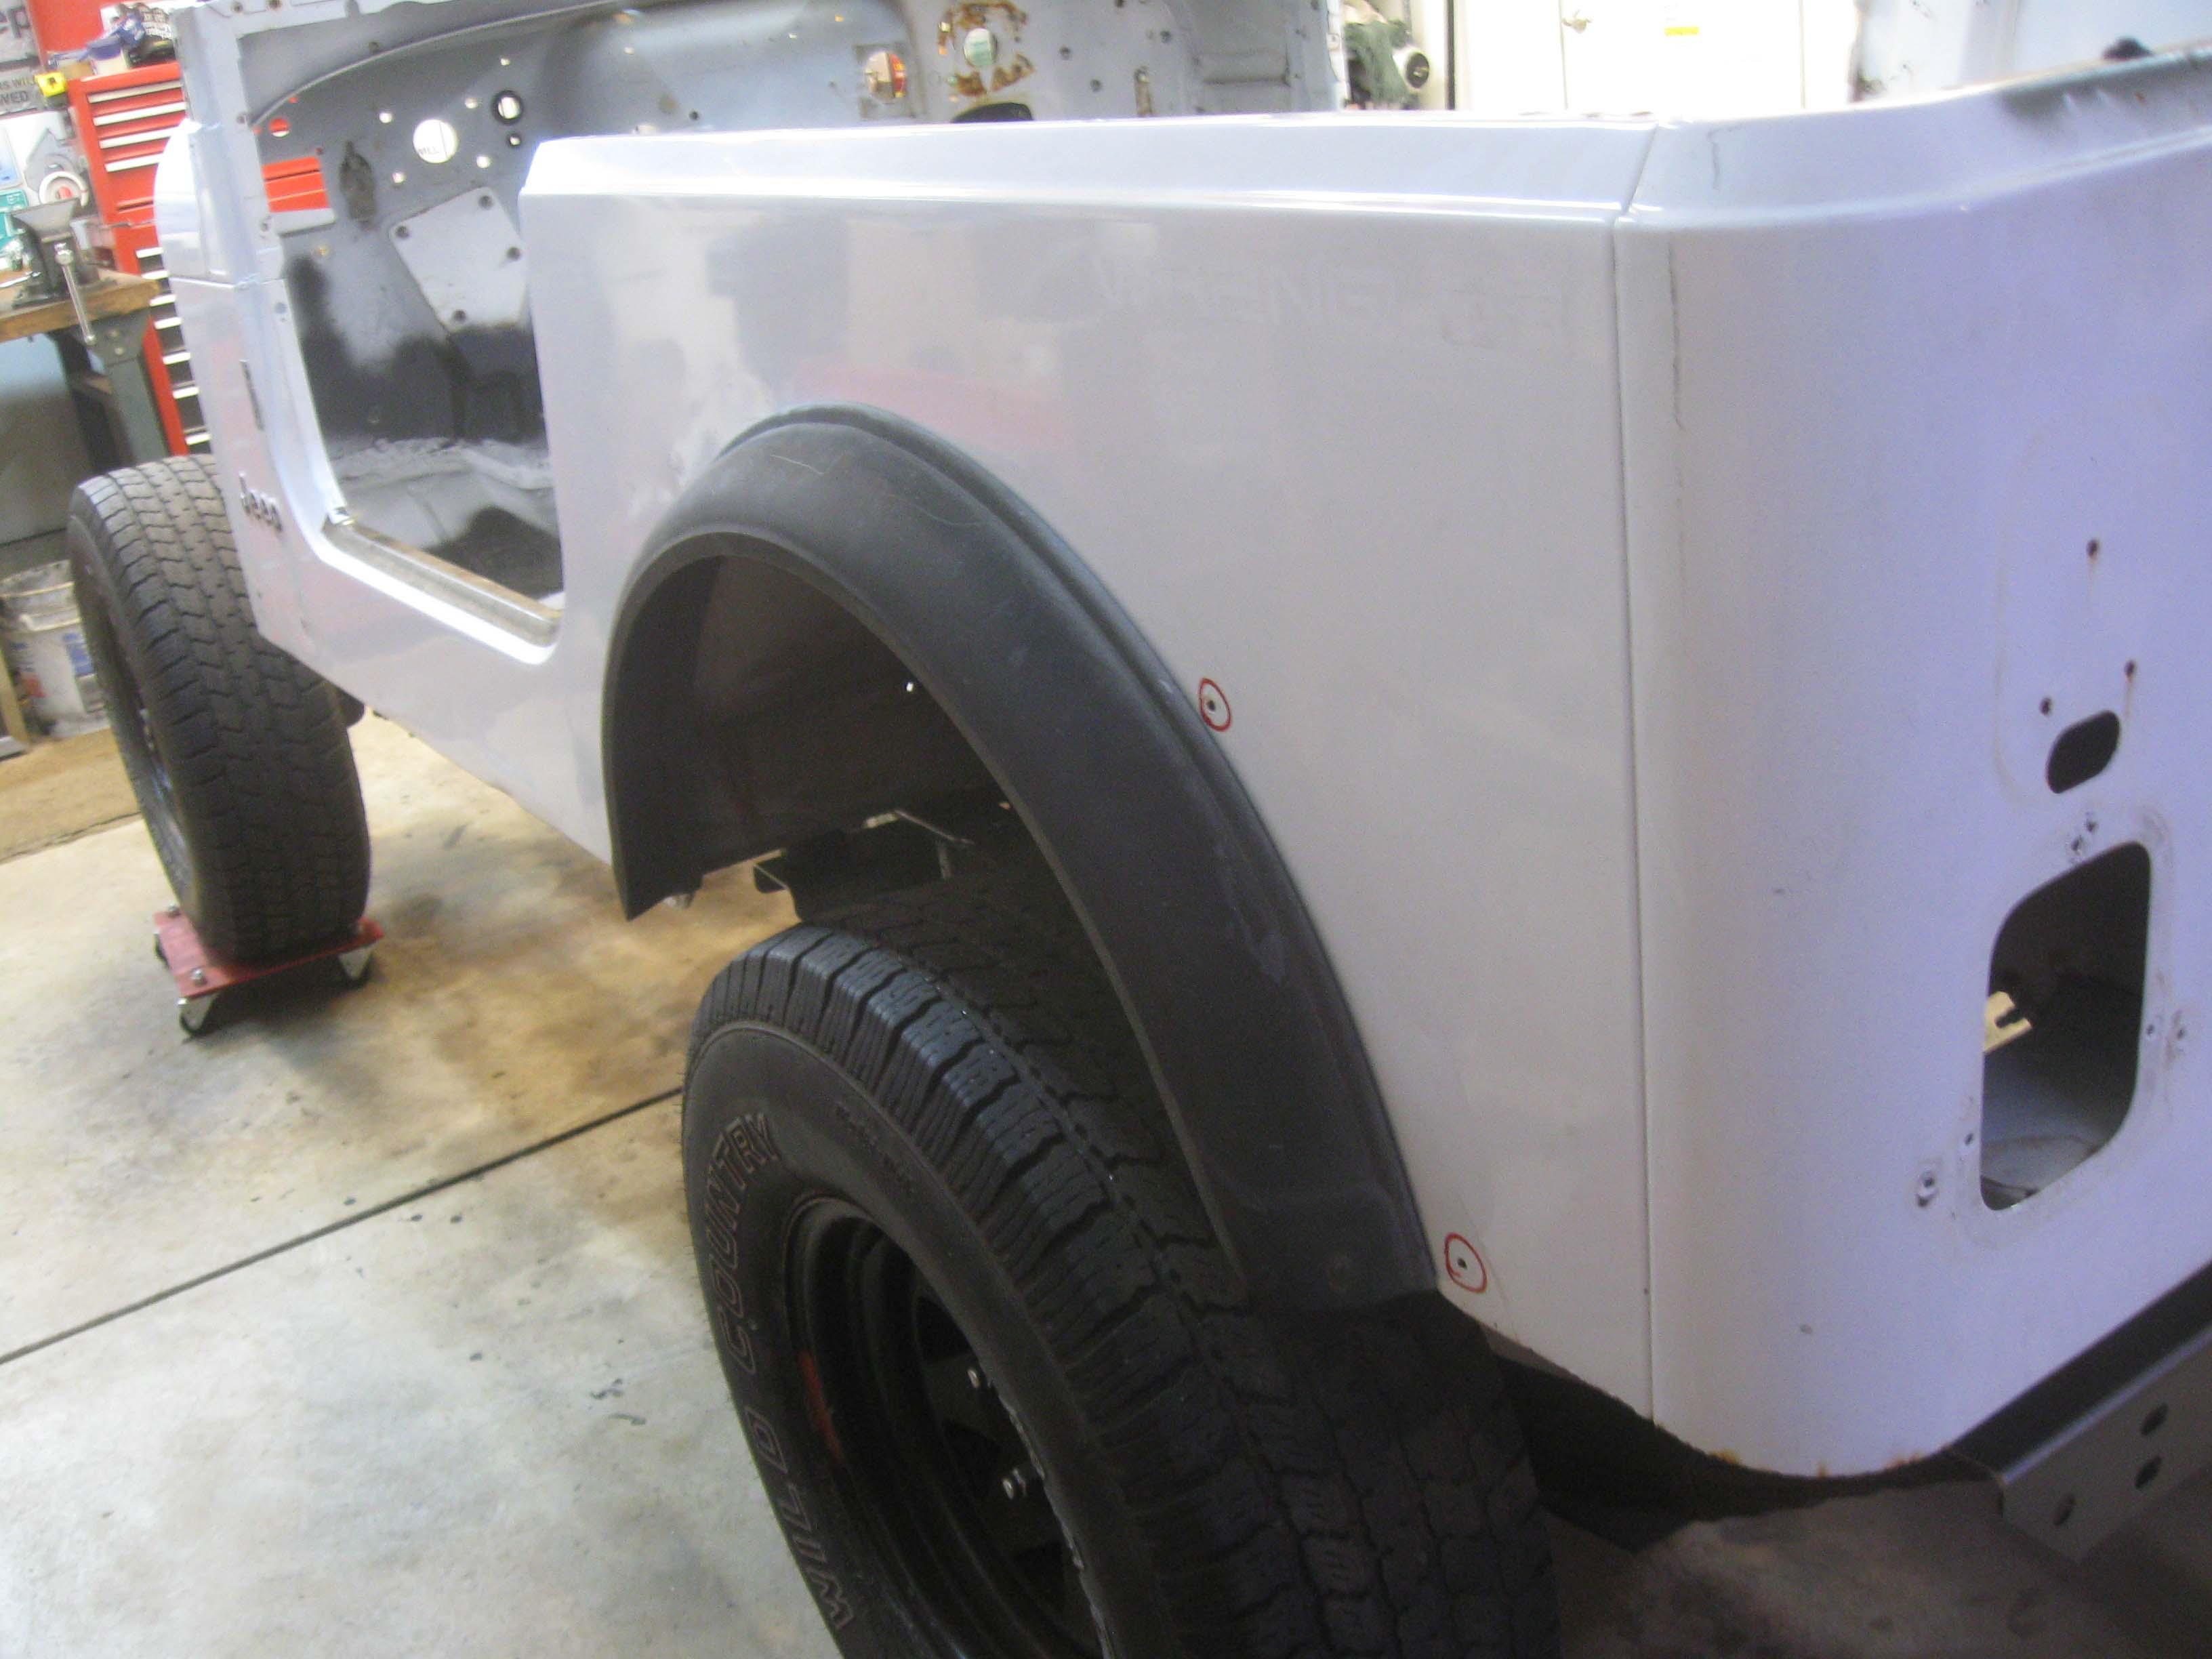
So, we moved onto simple hand tools to attach the fender flares
IMG_6896-1.jpg

IMG_6897-1.jpg

IMG_6899-1.jpg

IMG_6901-1.jpg

IMG_6902-1.jpg

IMG_6903-1.jpg


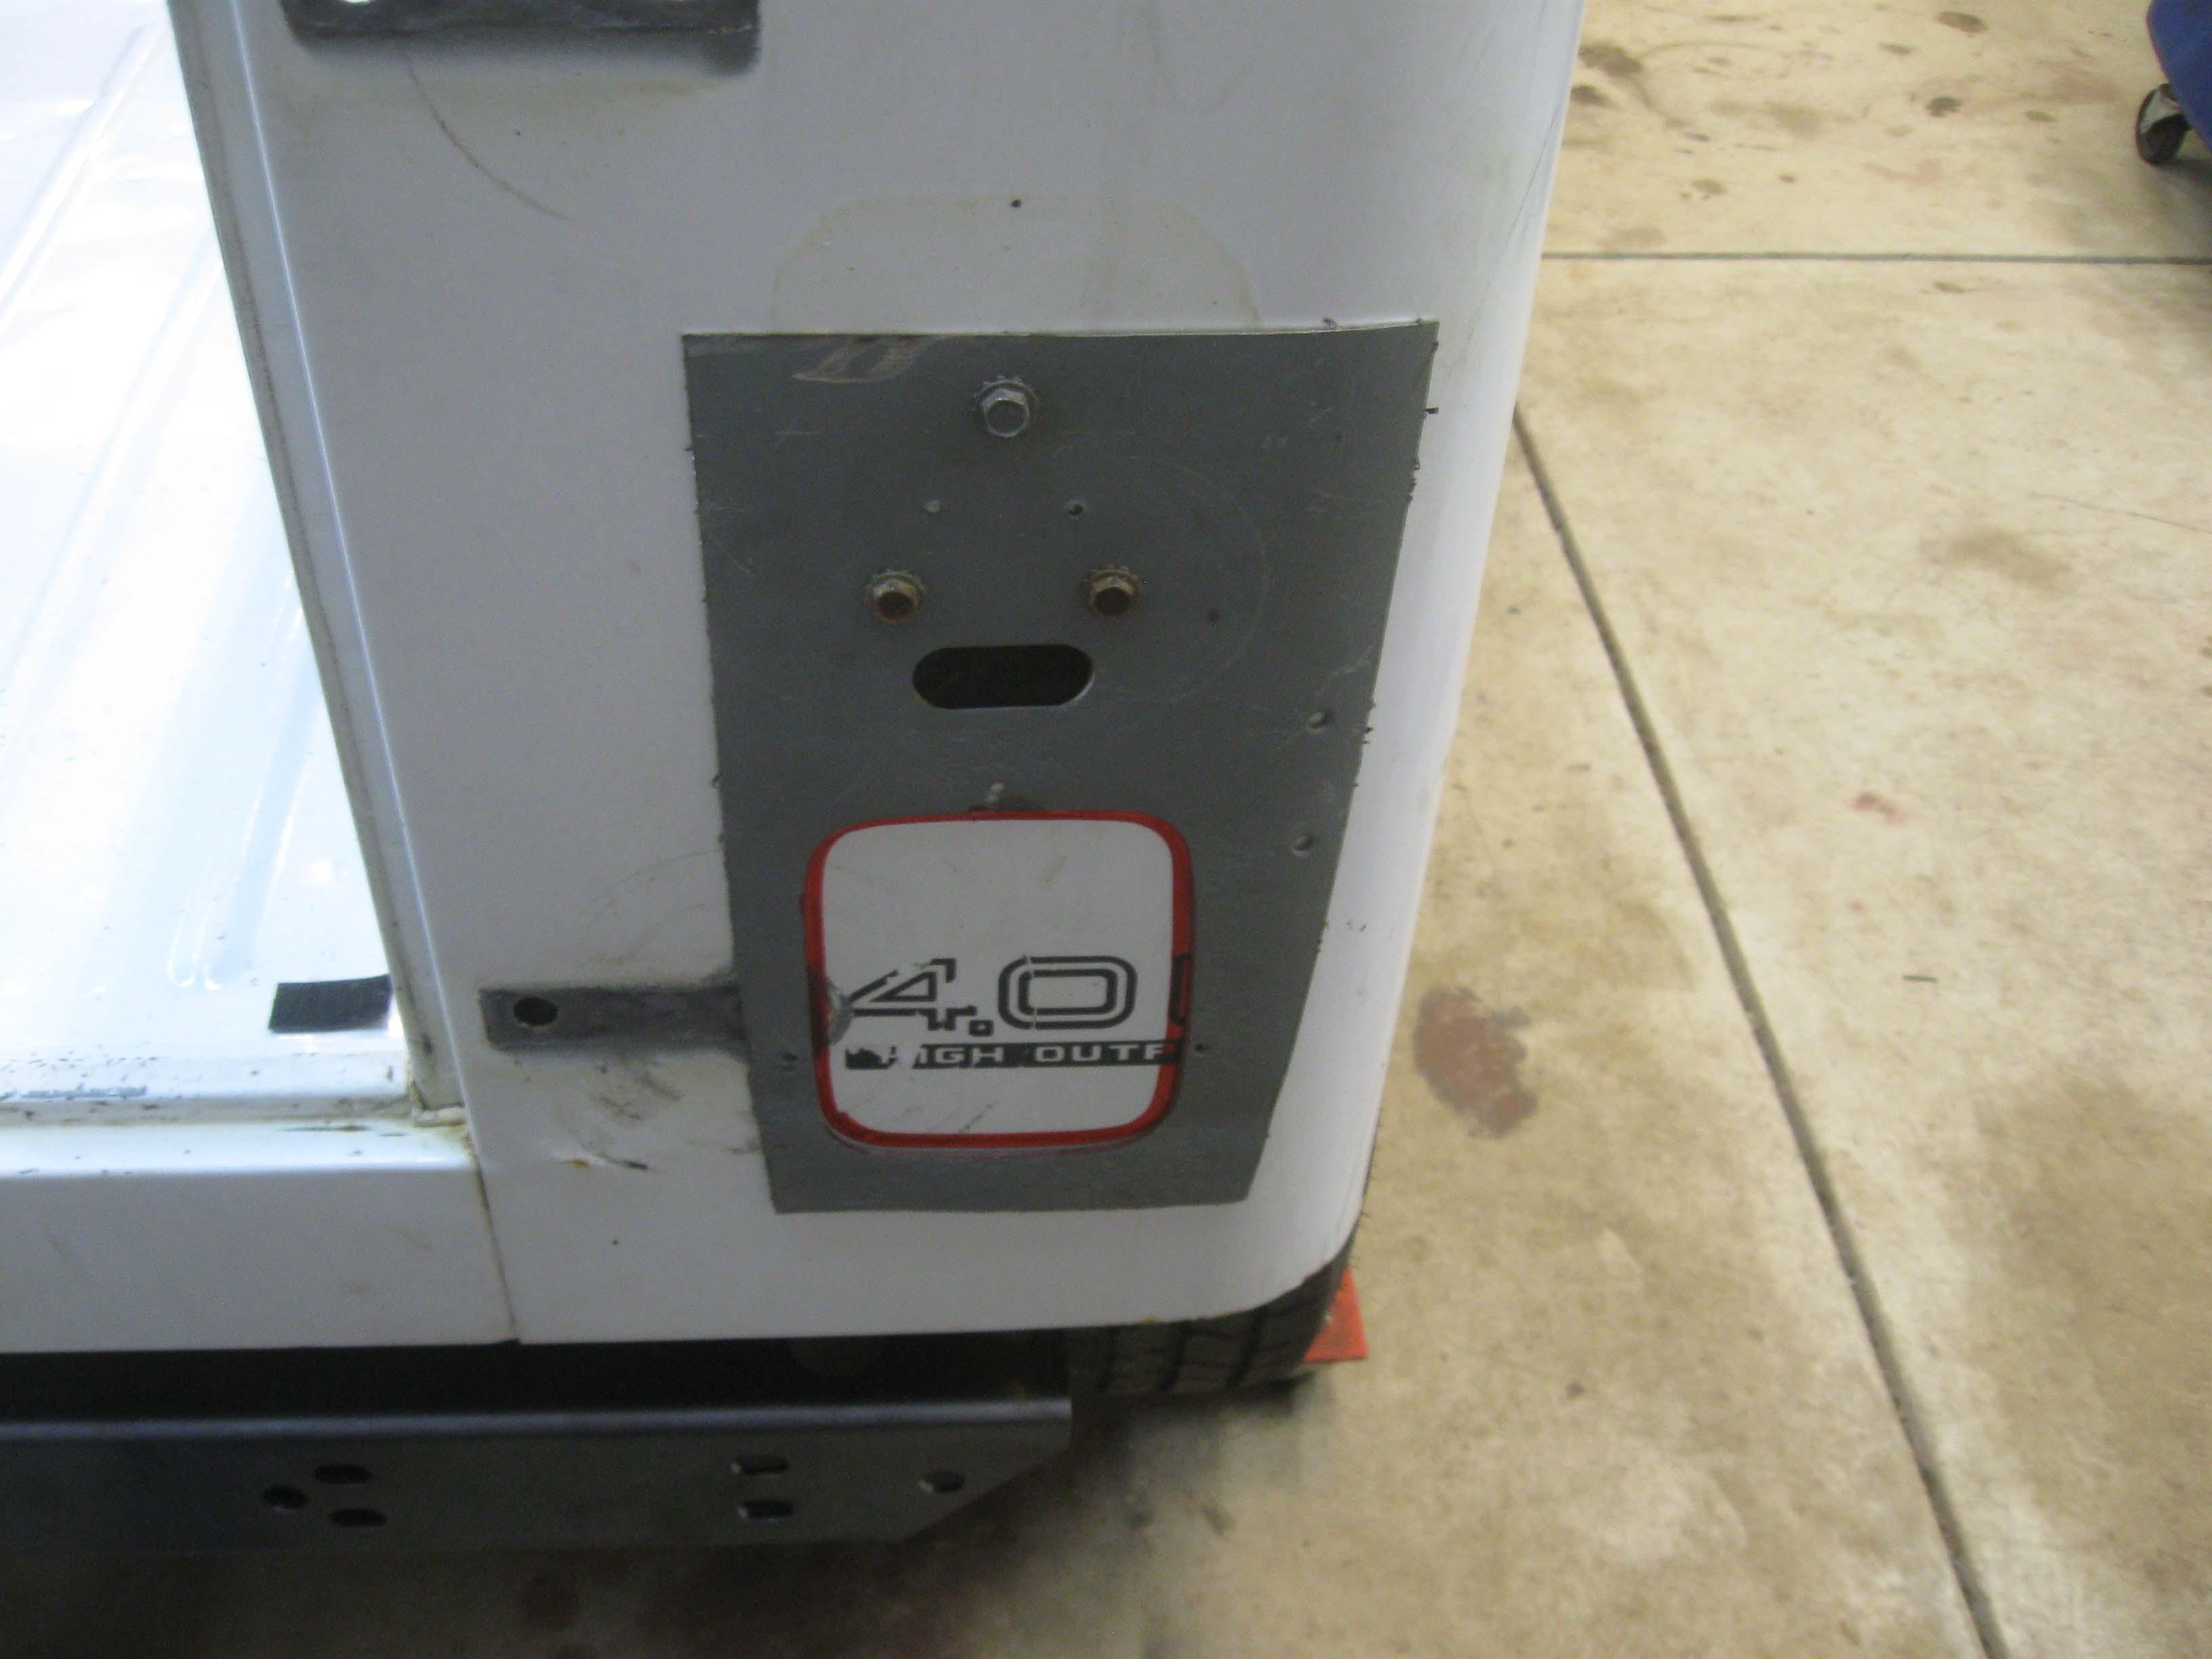
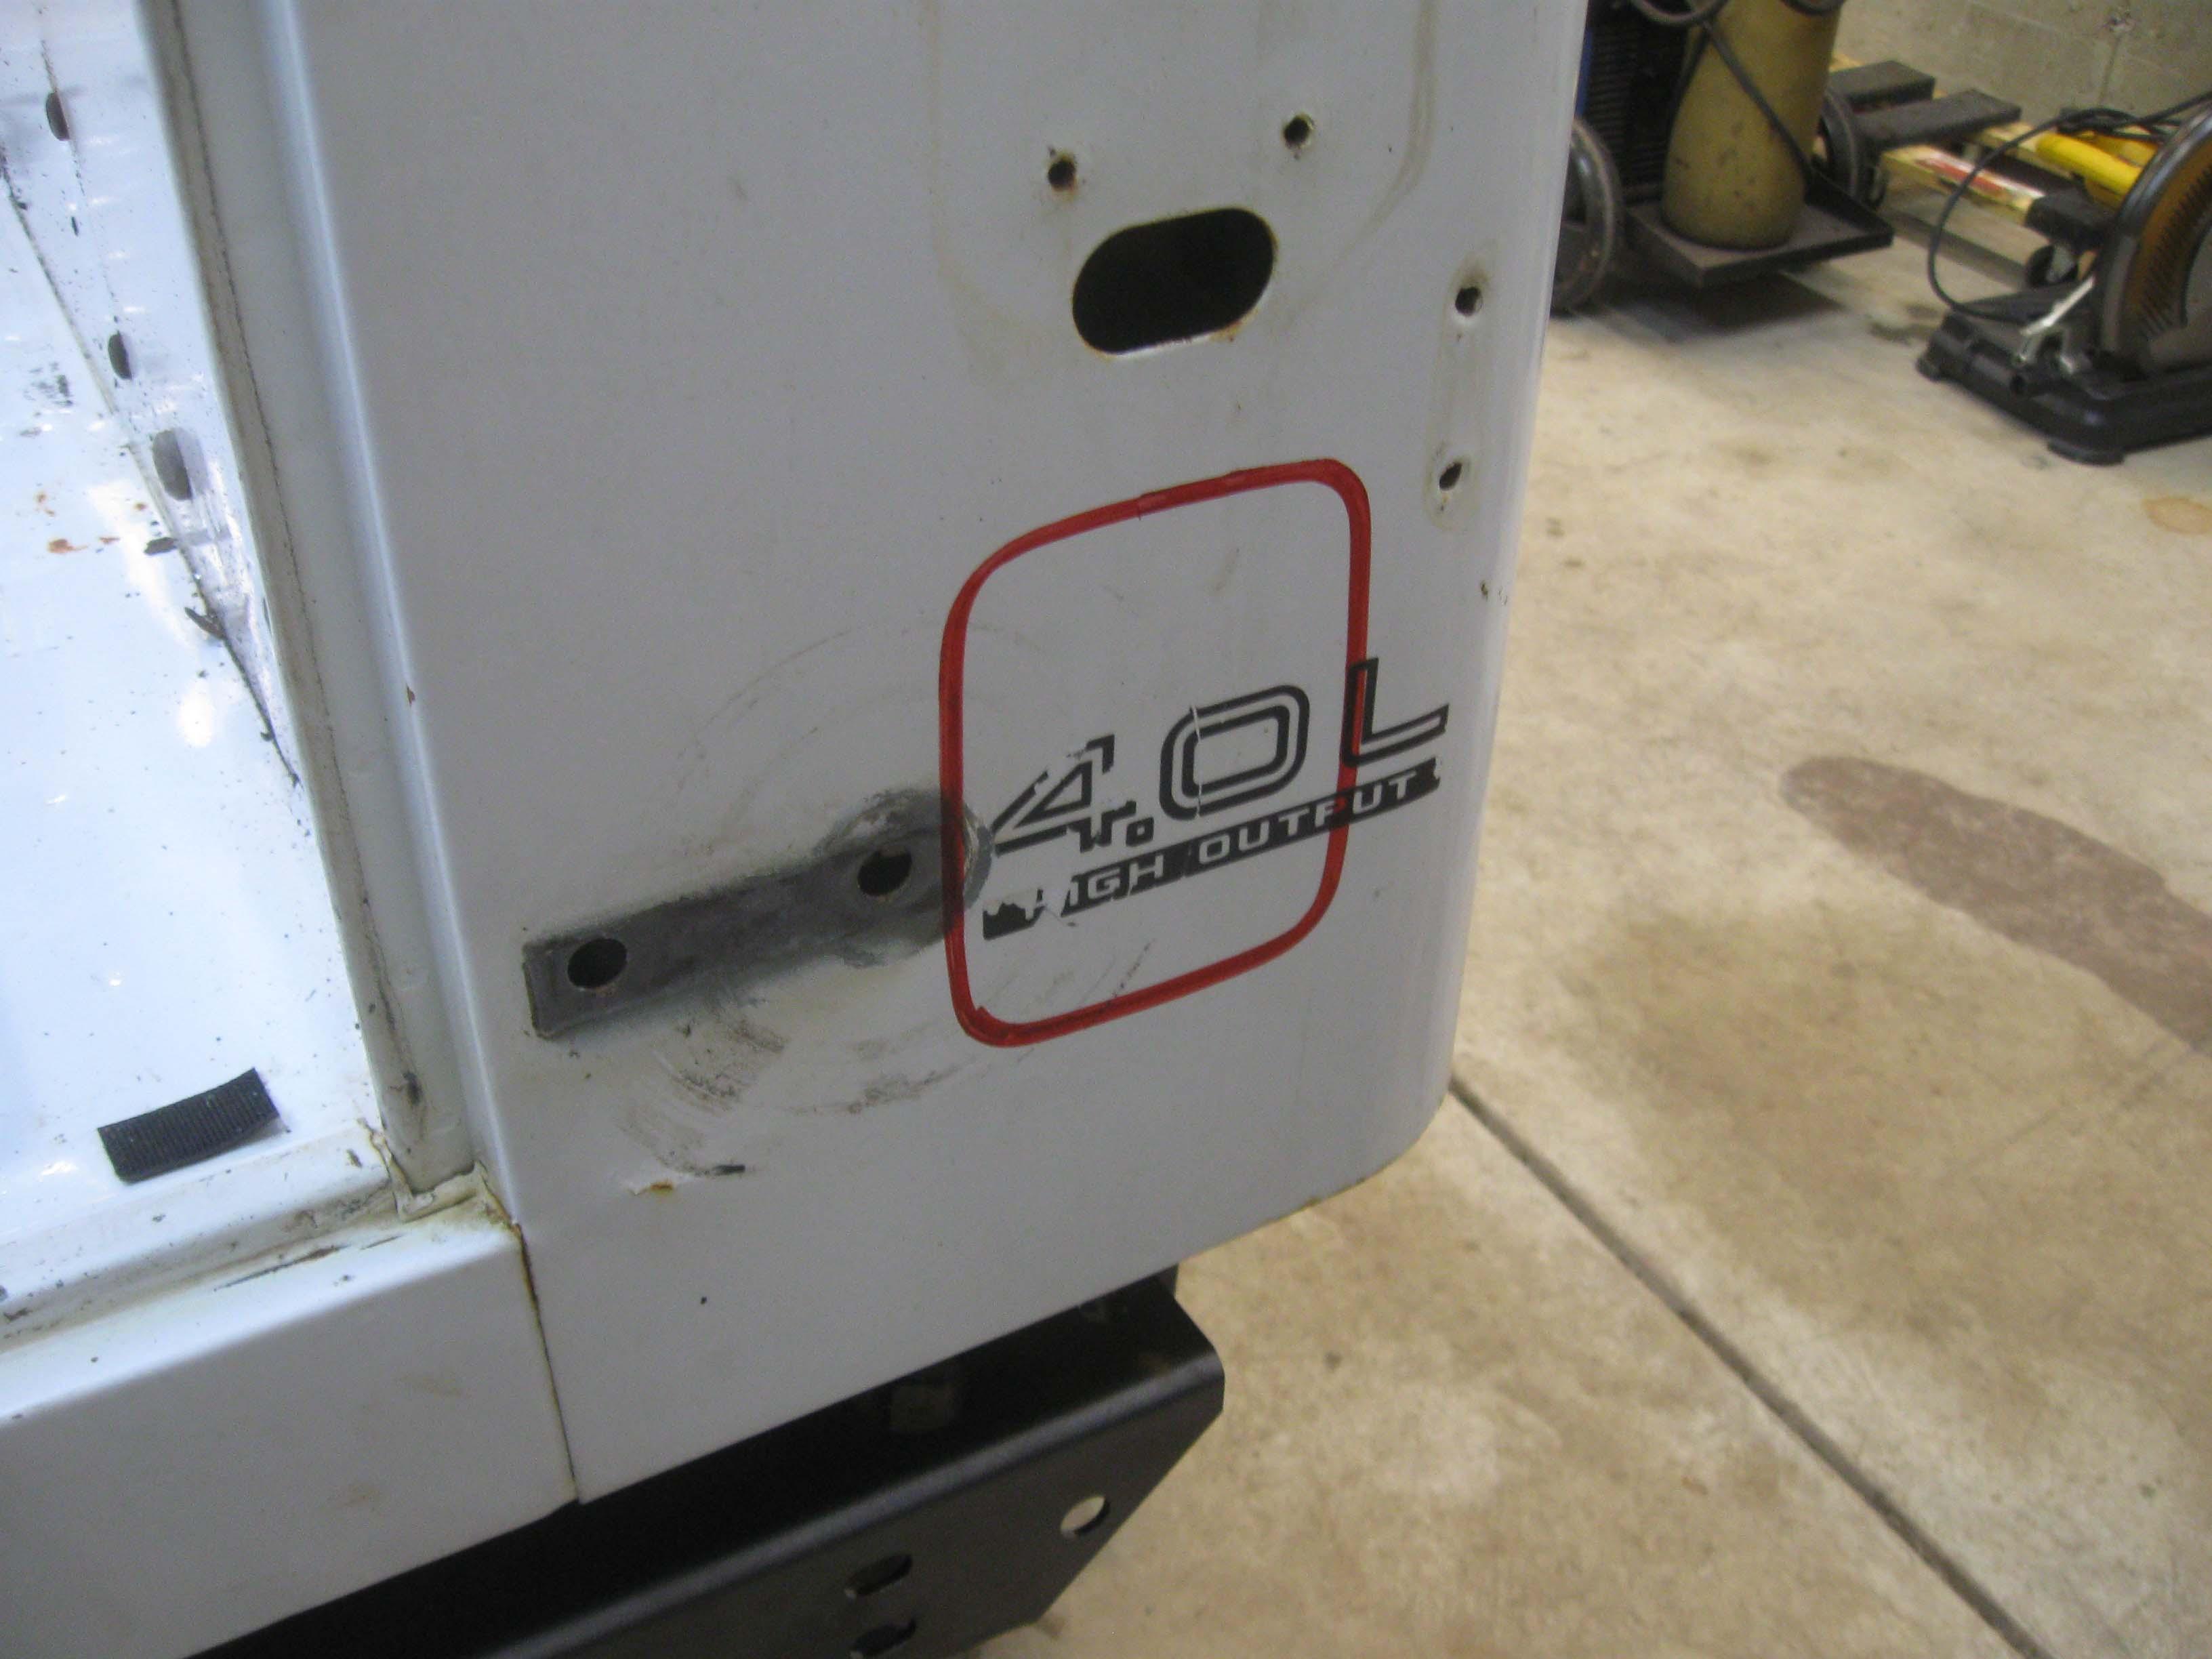
After that, measuring up the hole to be cut for the filler
IMG_6890-1.jpg

IMG_6891-1.jpg


cb
 
The whole purpose of the body on was to center it on the mounts and get the position of the busted ones that needed to be relocated

IMG_6884-1.jpg

IMG_6886-1.jpg

IMG_6887-1.jpg


Some trimming was needed as the YJ body and these CJ mounts were a little bit off.

cb
 
Forgot the last picture from last night... The rear cross member was put back on to make sure all cleared and it looked good!

IMG_6904-1.jpg


cb
 
Back
Top