• Notice for iPhone users: DO NOT use the image size reduction option when uploading photos to the forum. This causes portrait images to post as landscape. We have added a warning to the image insert pop-up as well.

Jeep cj7 83 right hand drive 4x4 5 sp british export - part II

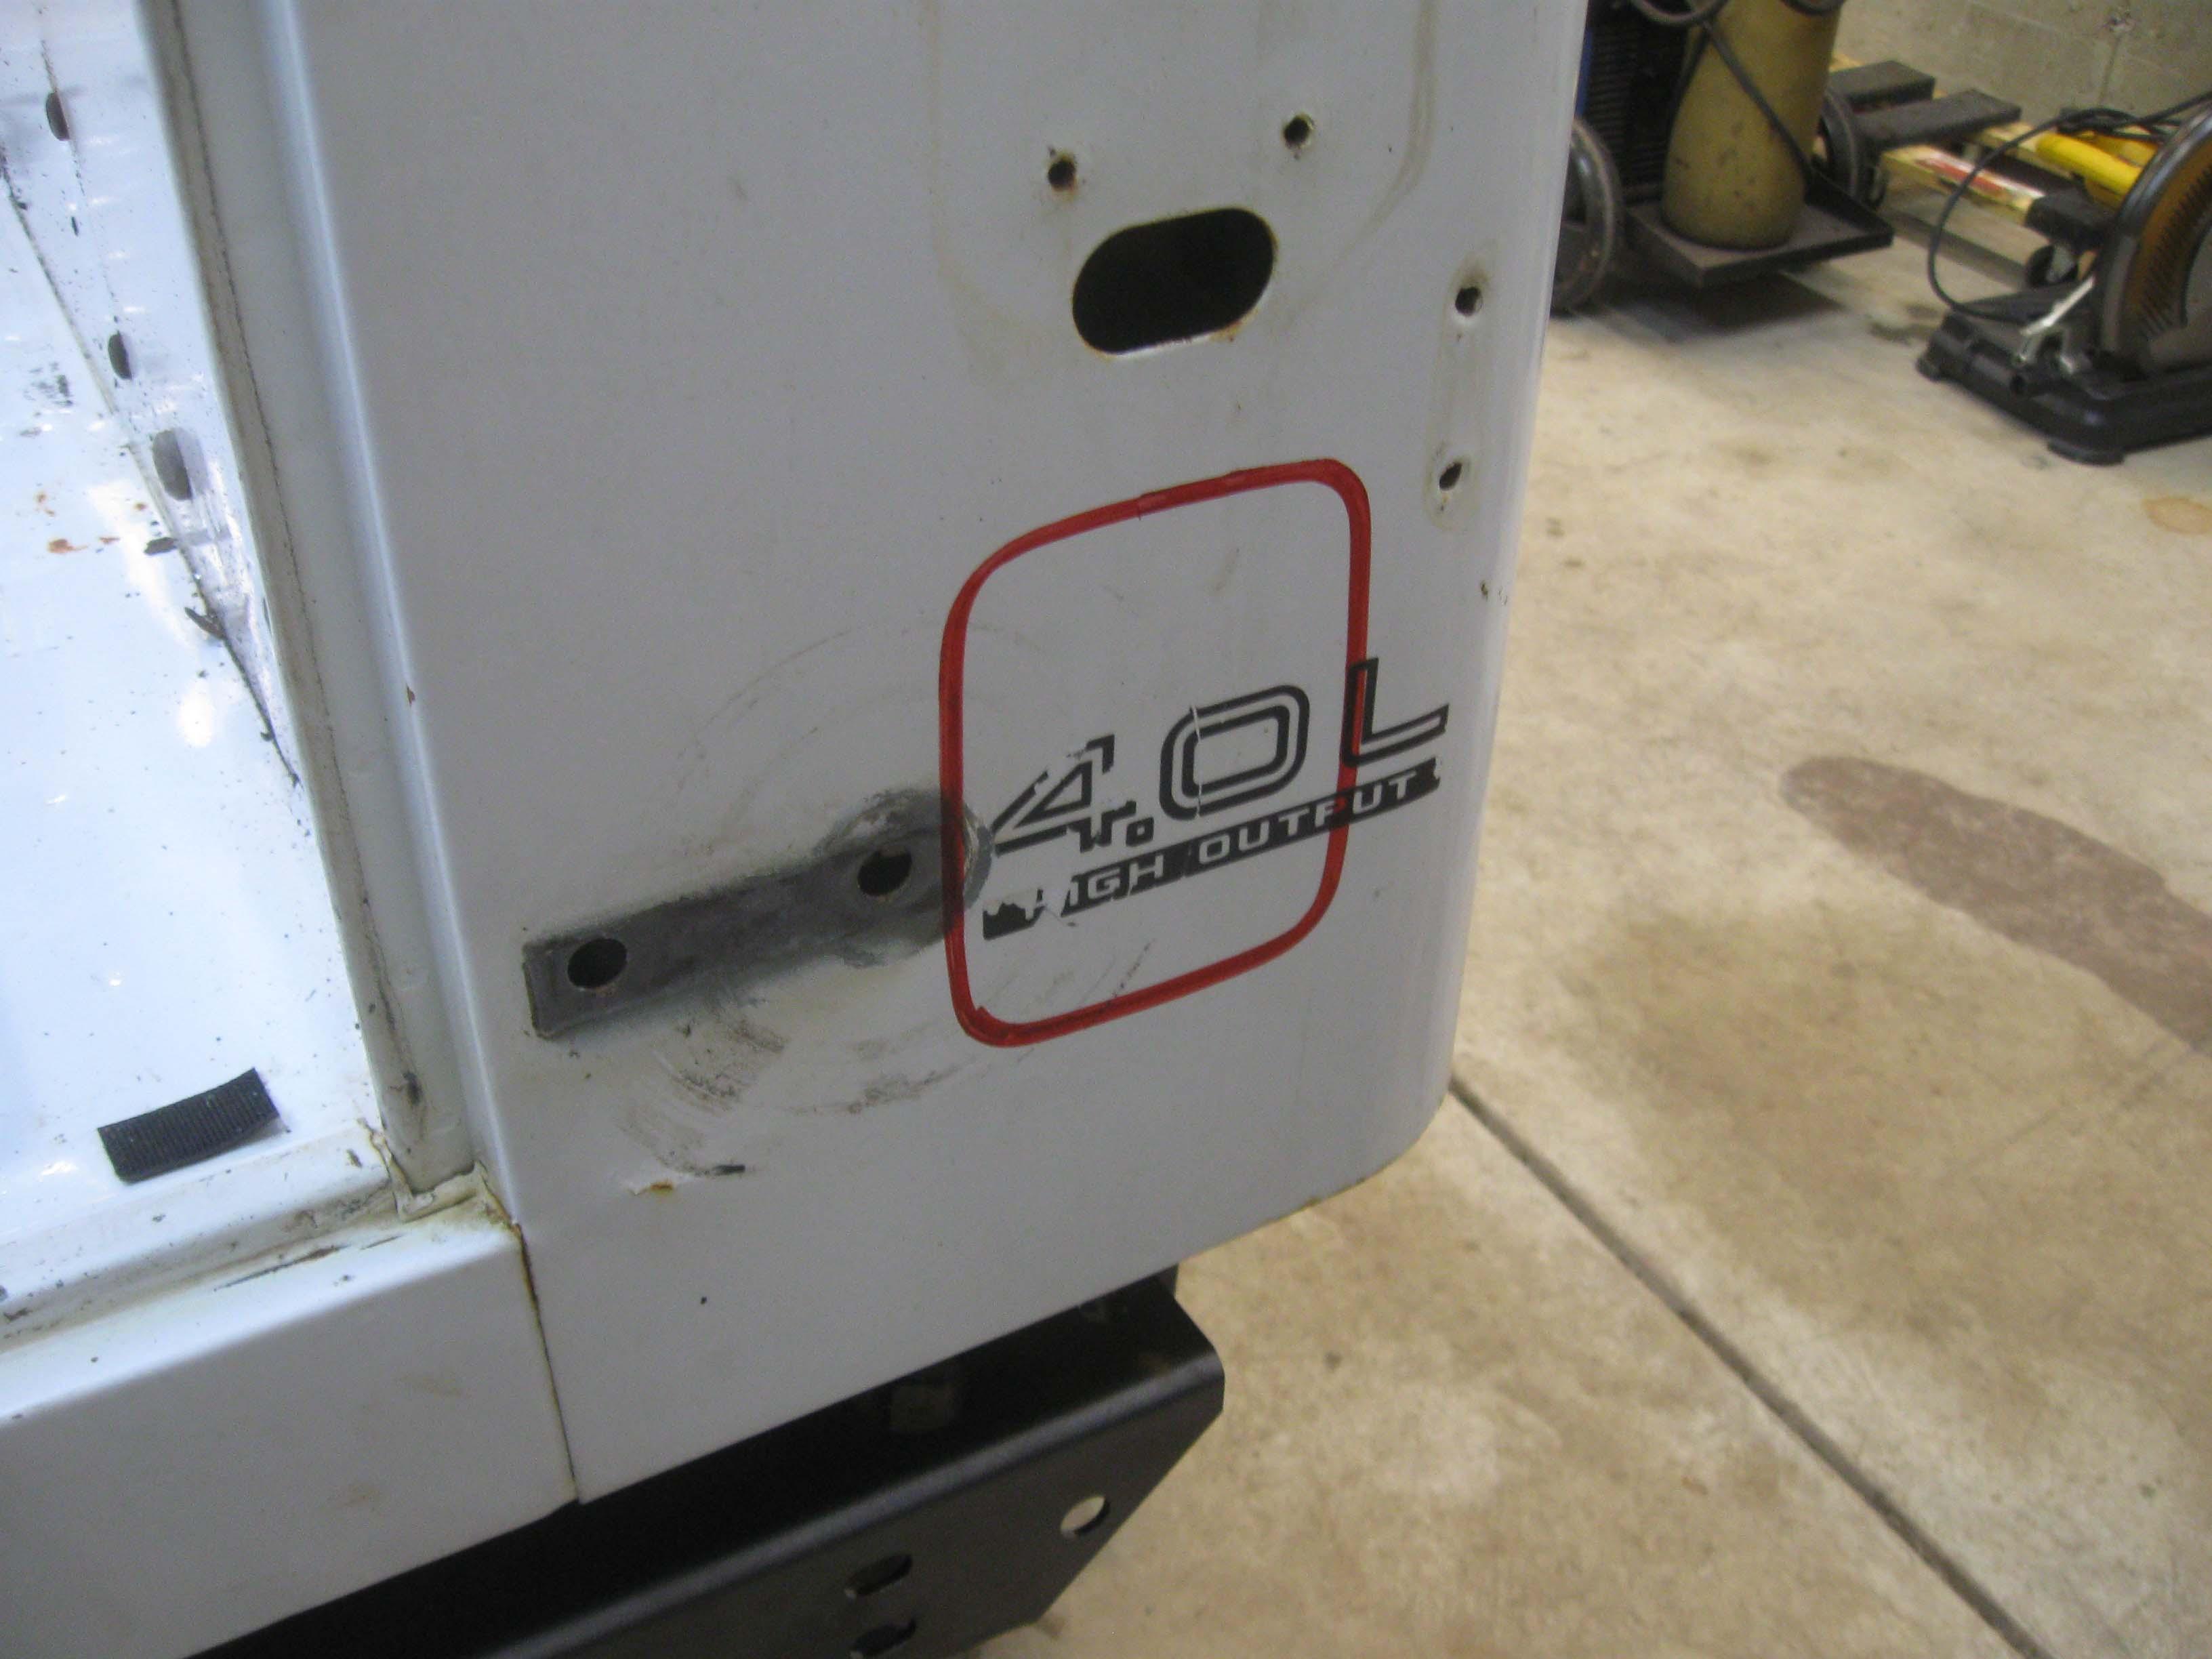
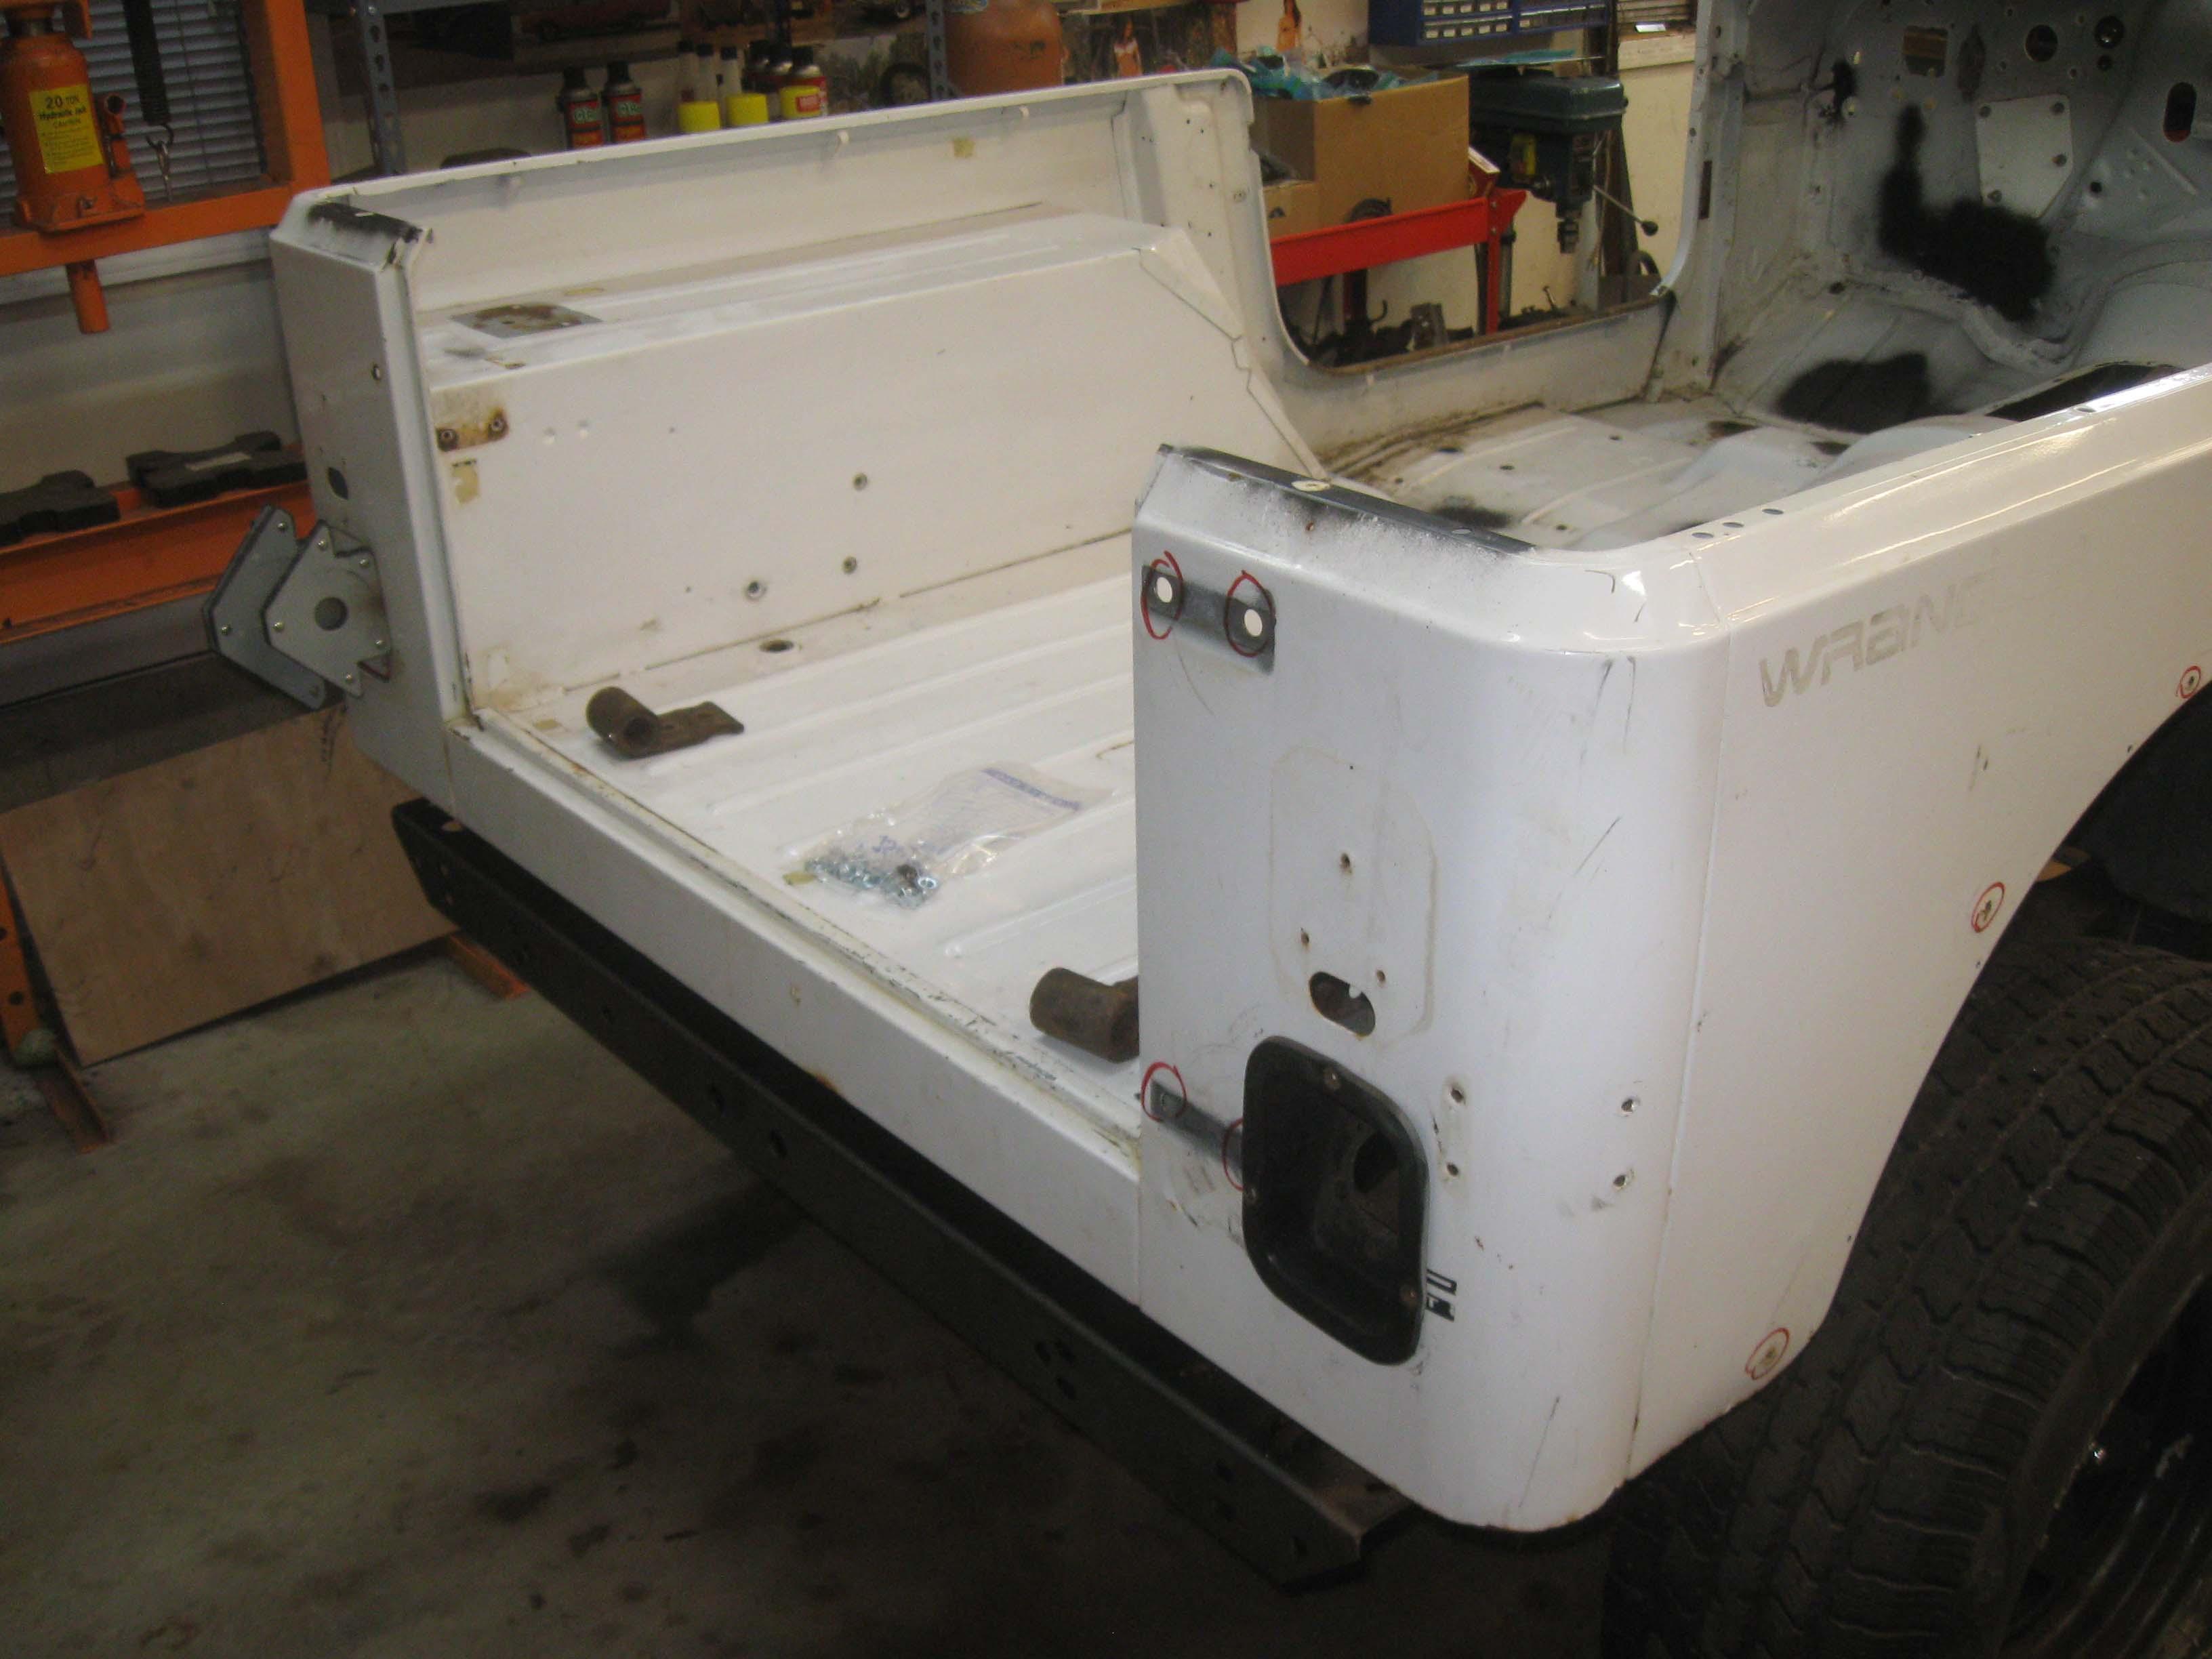
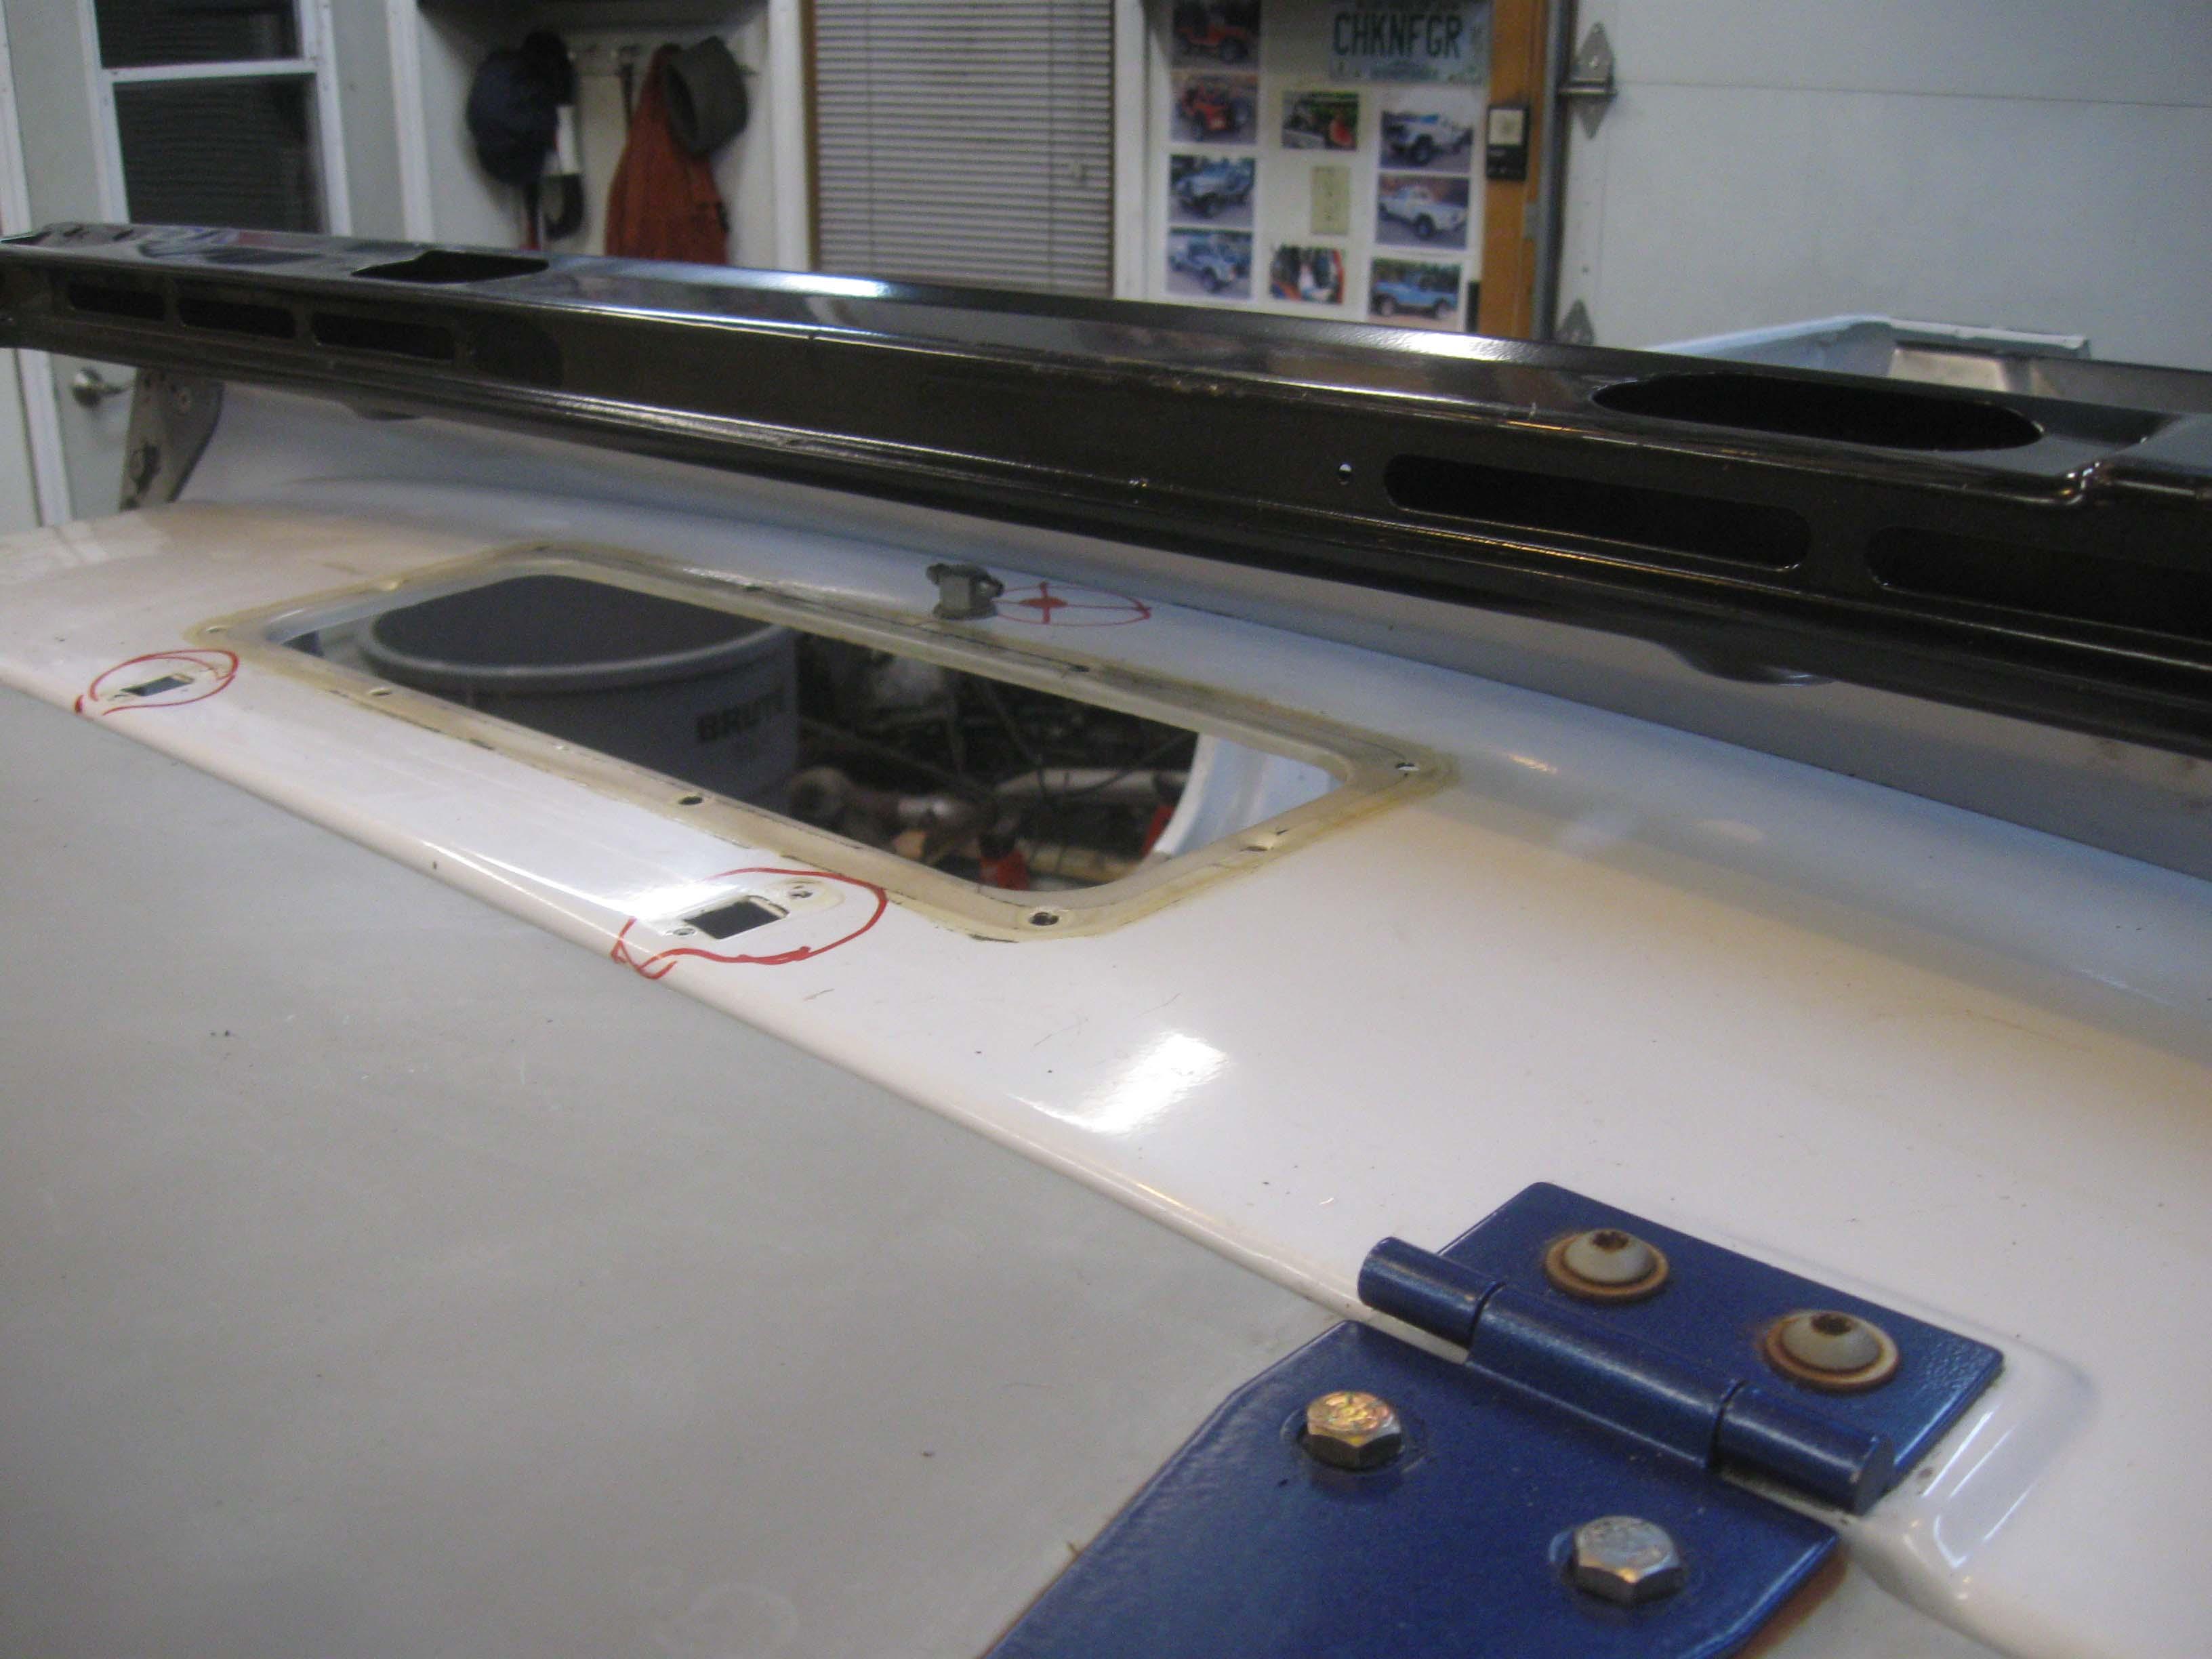
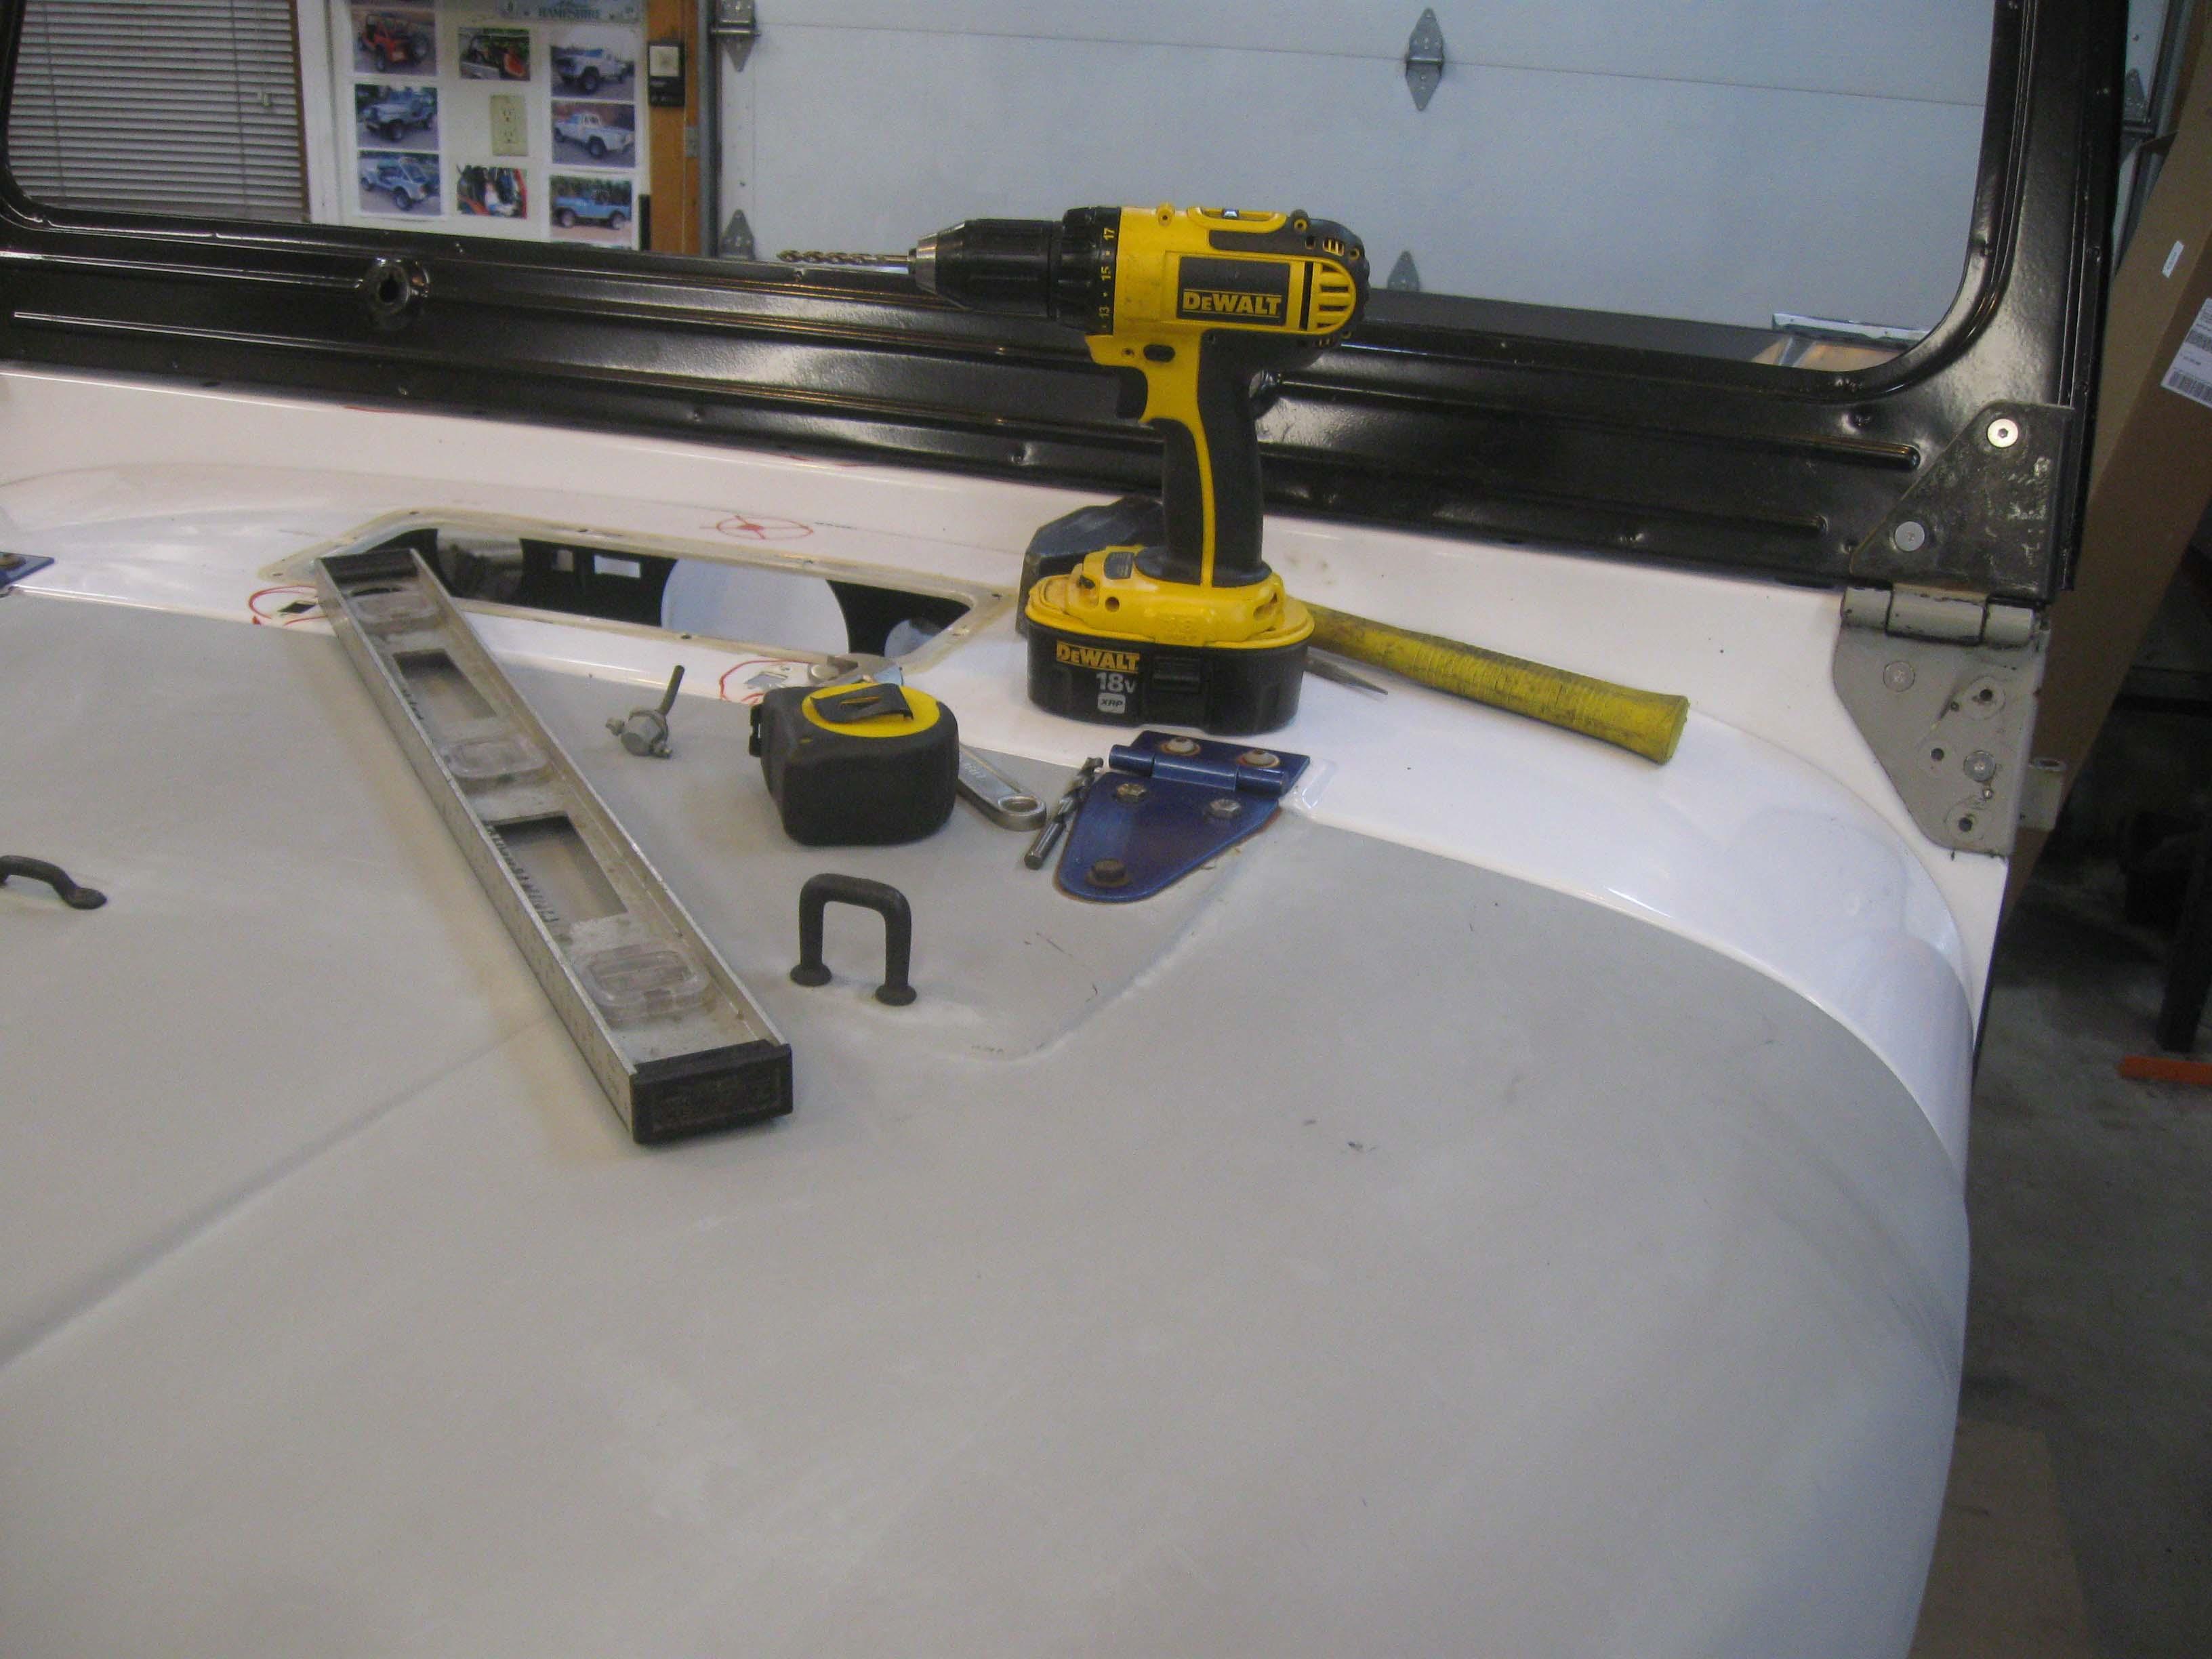
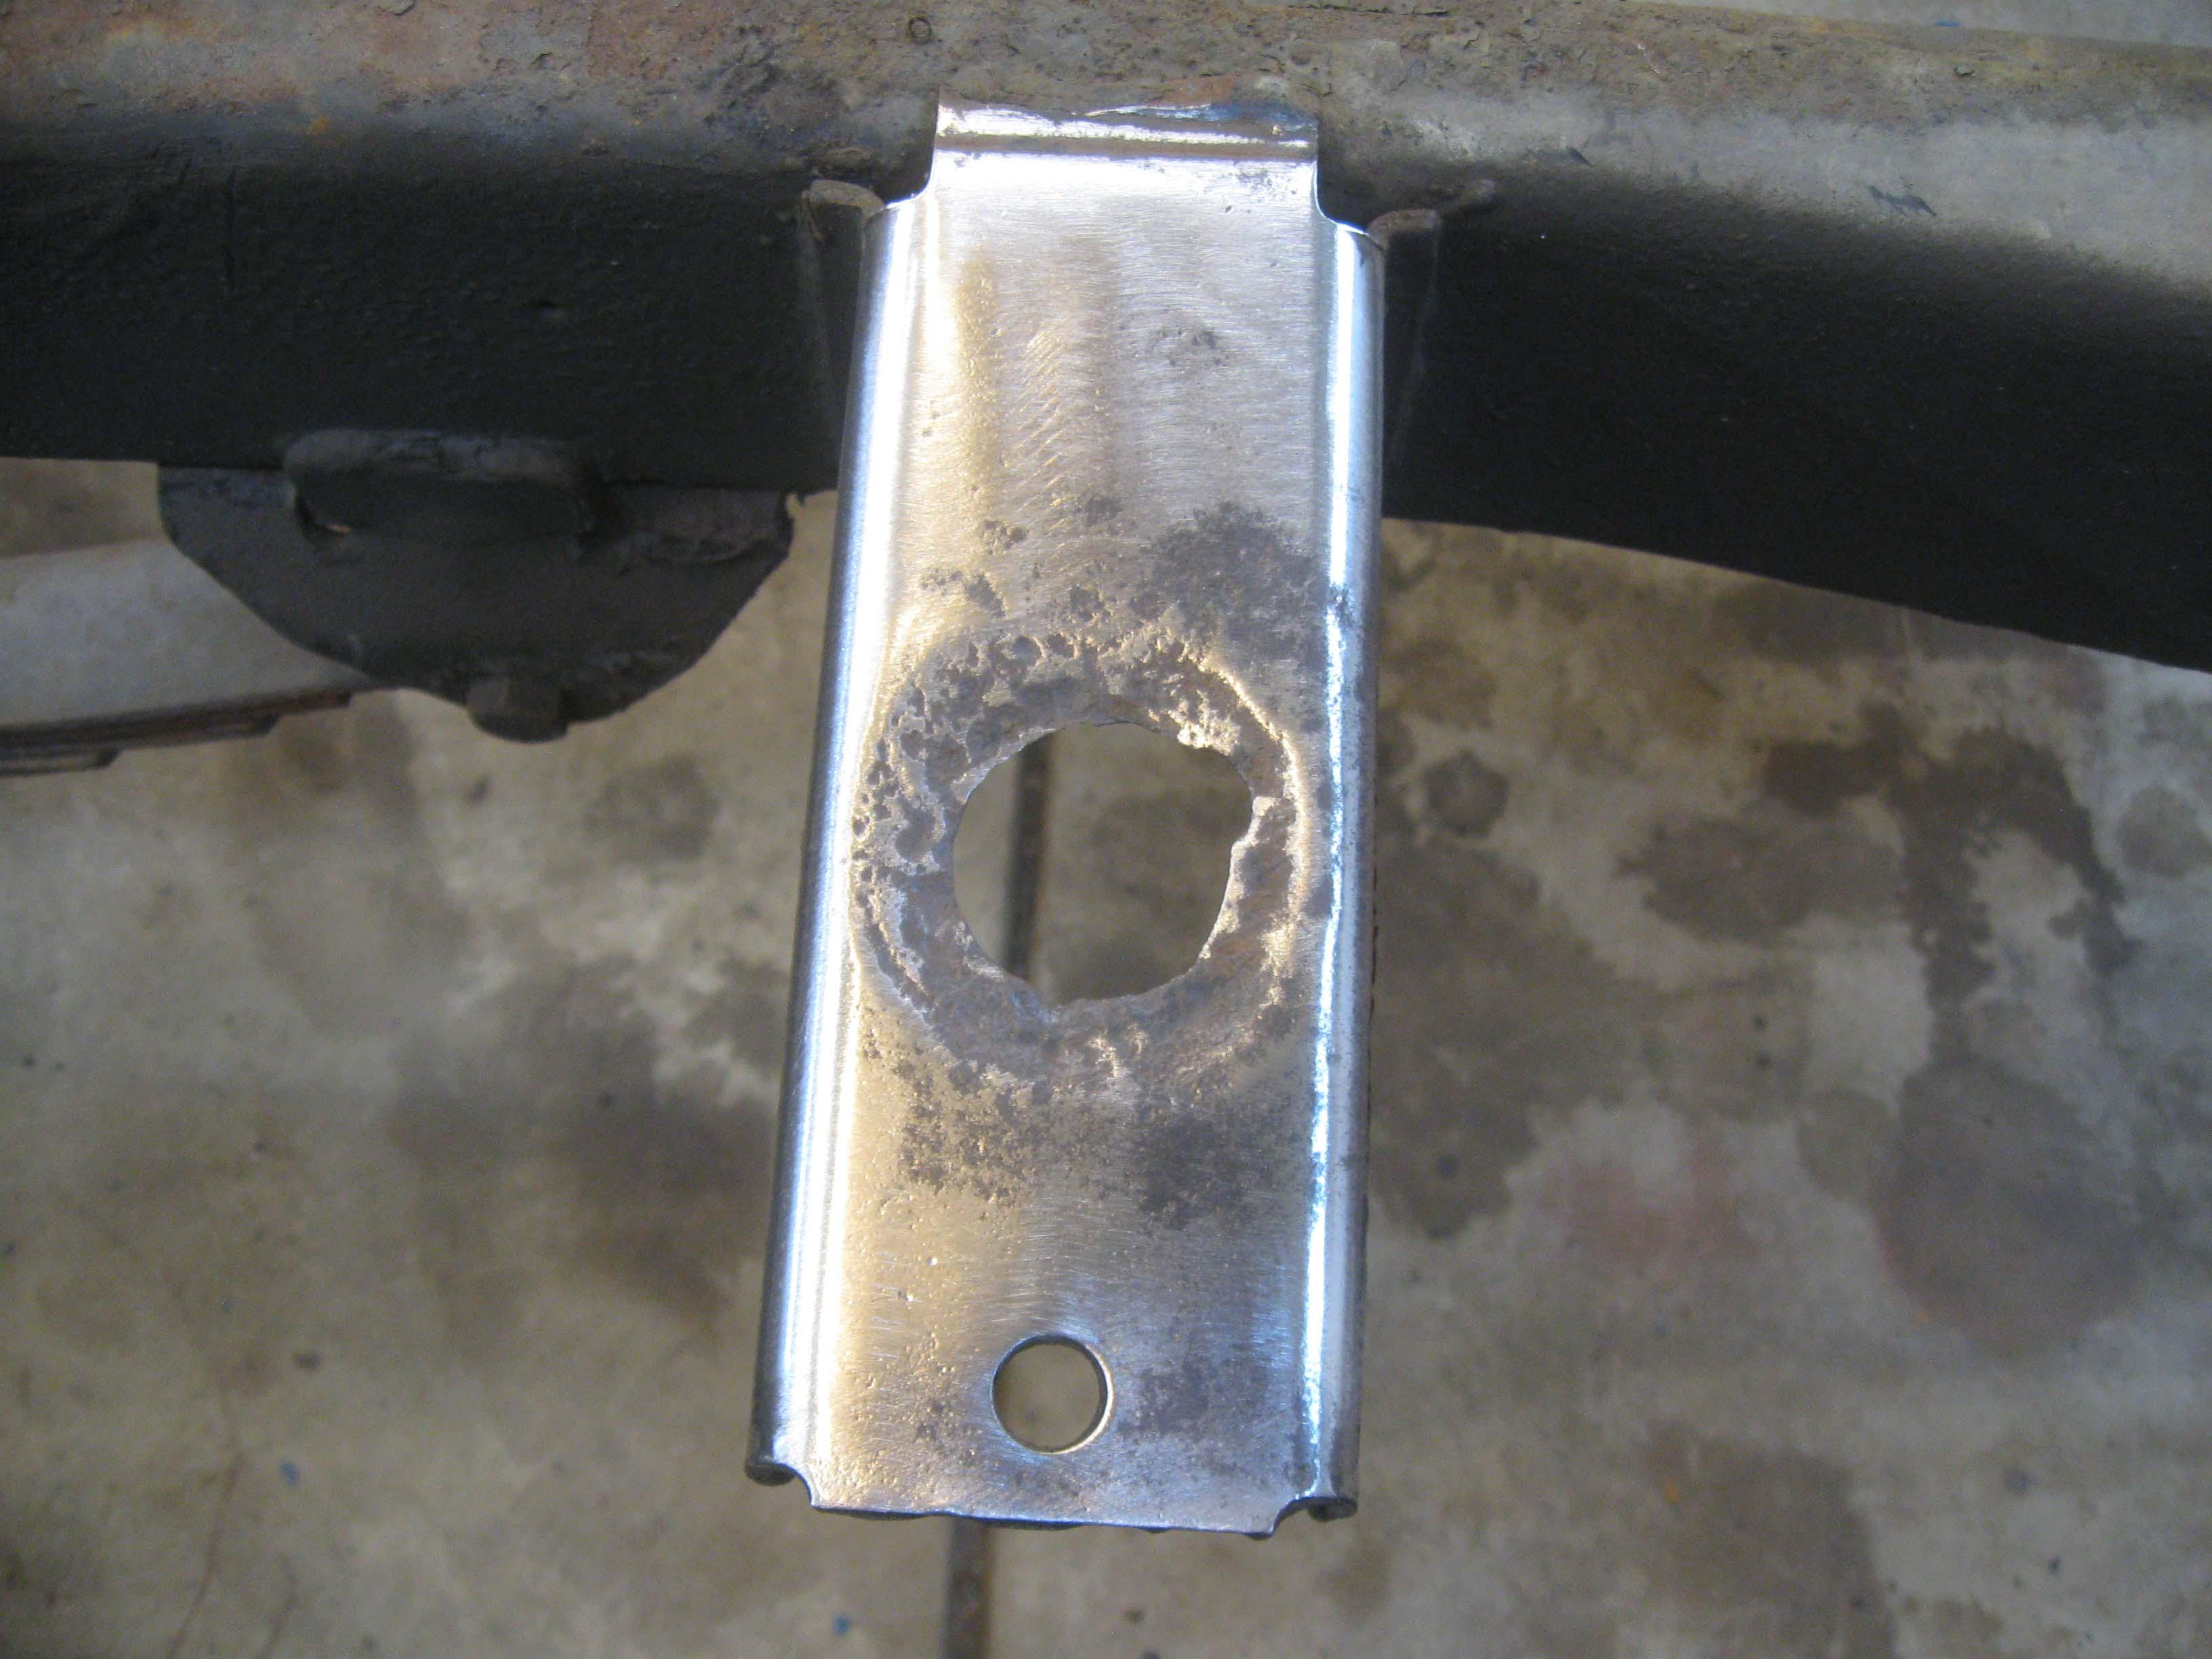
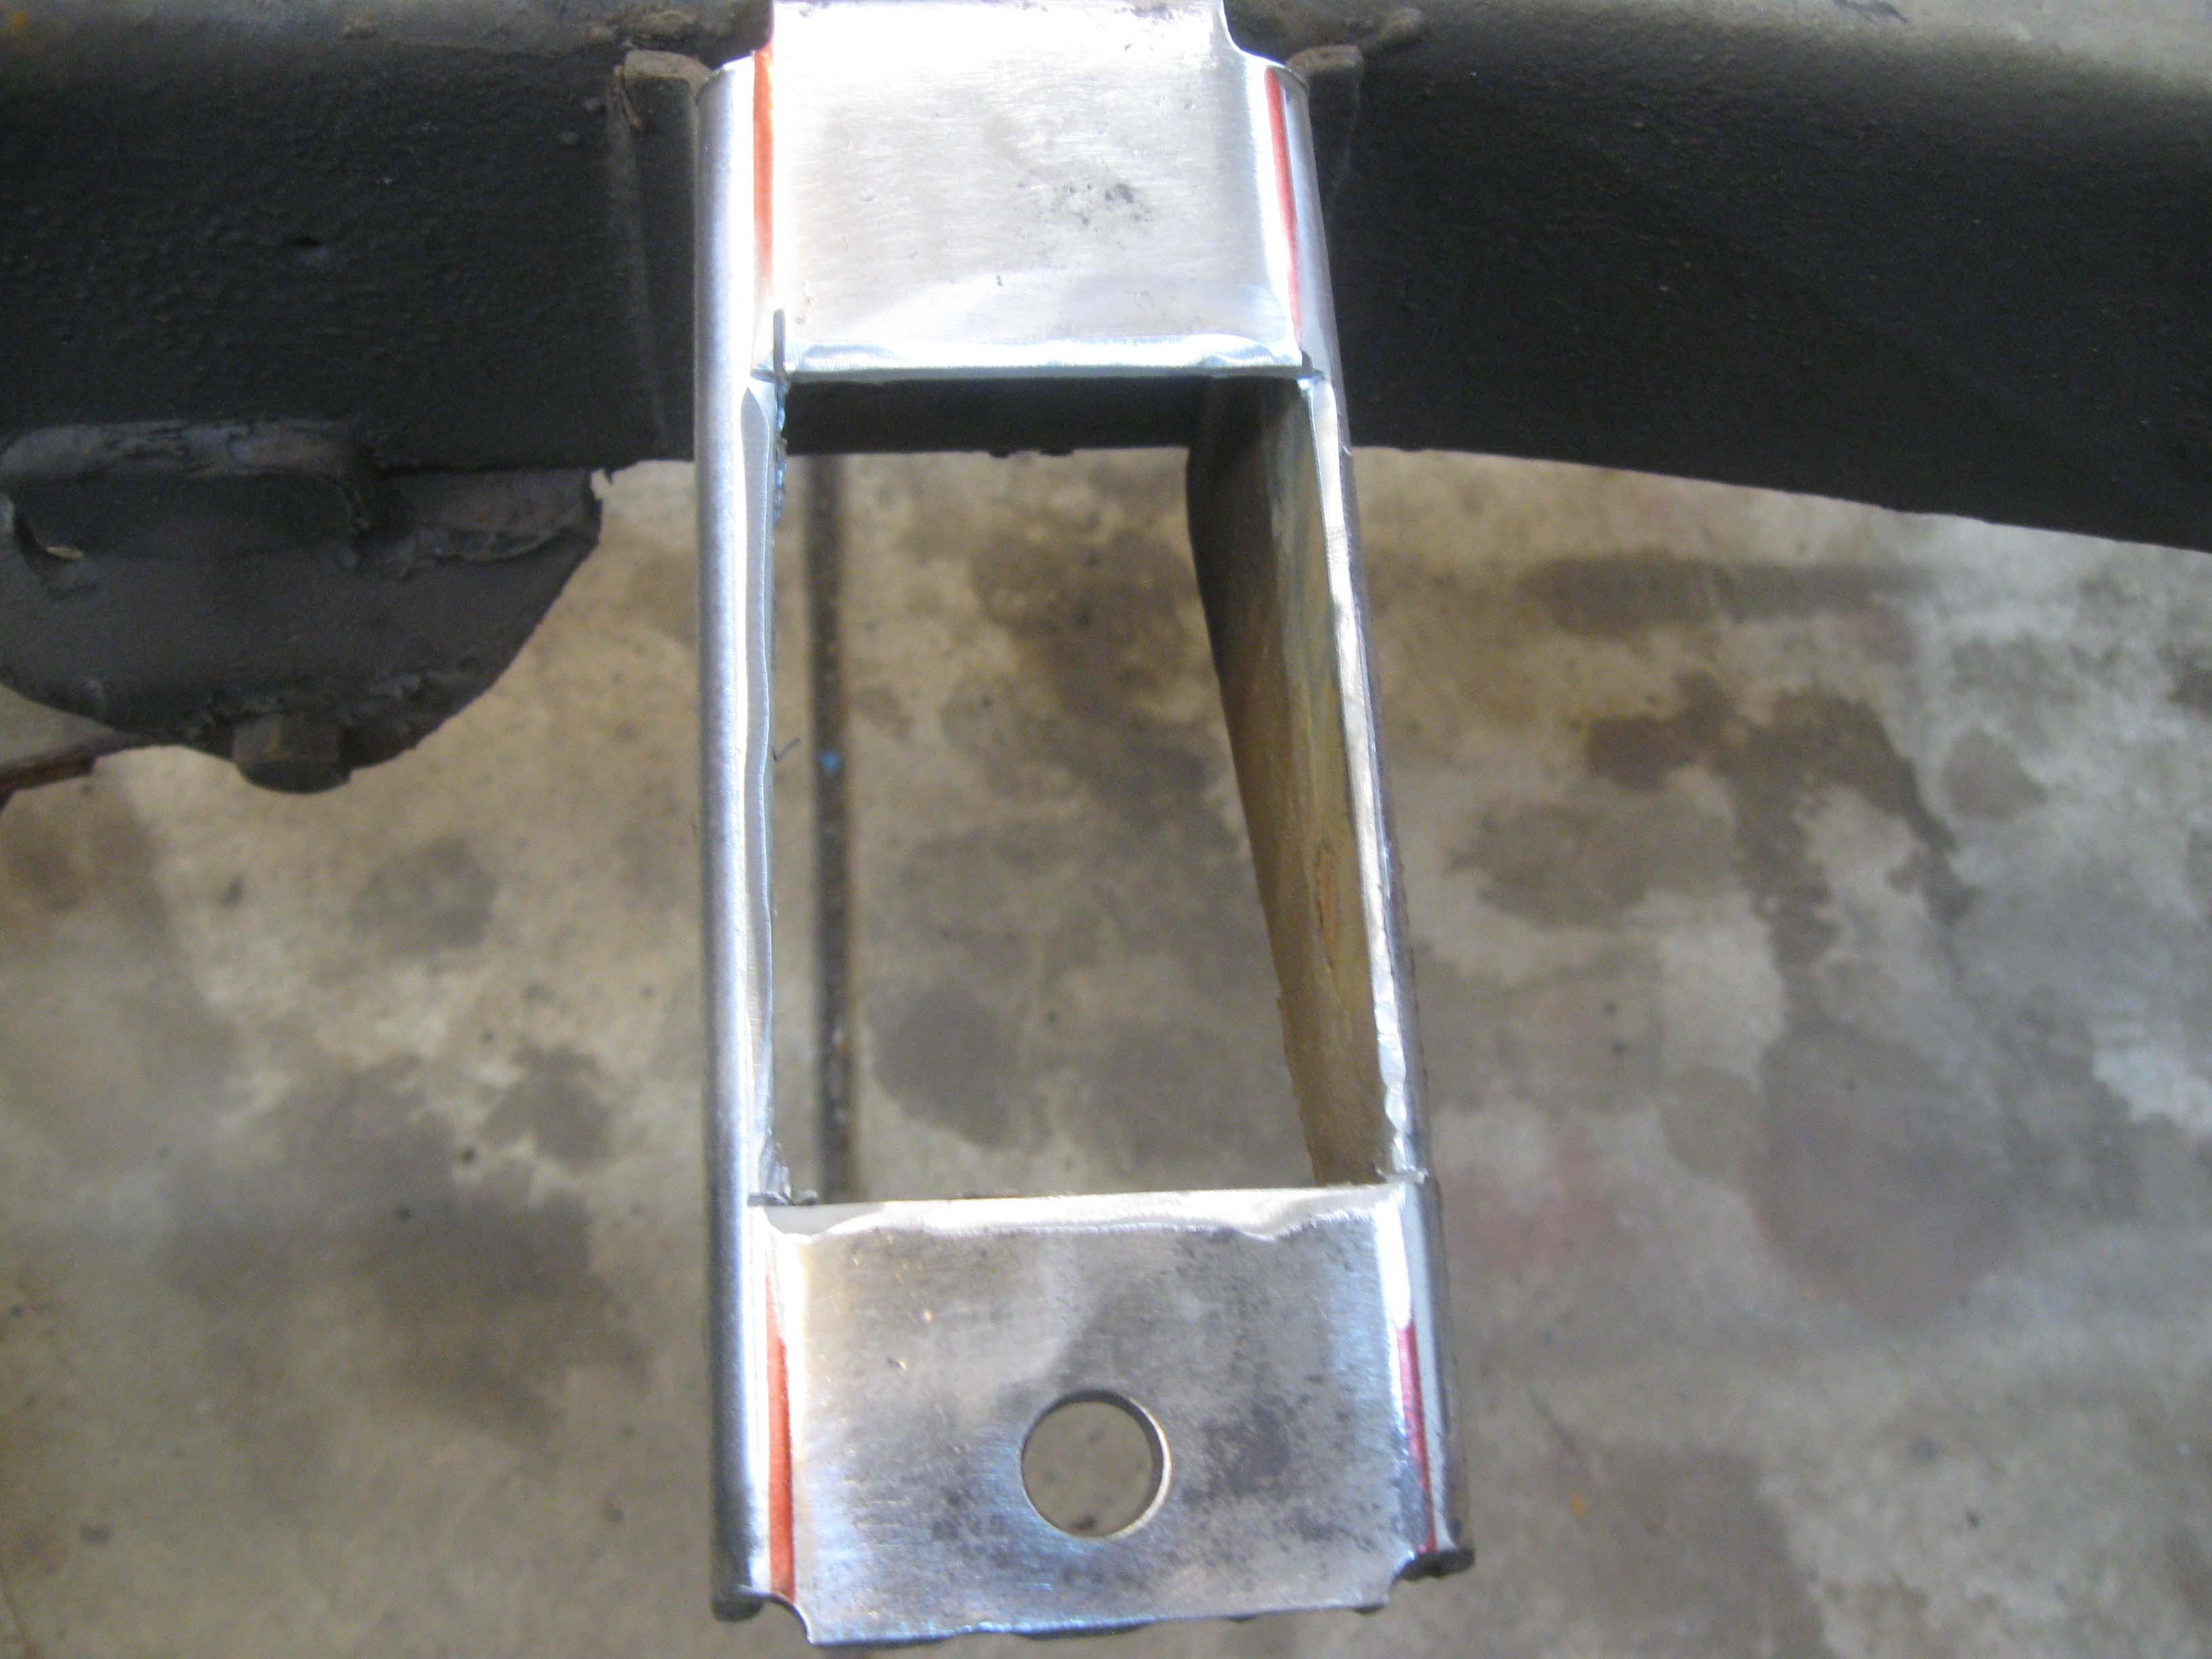
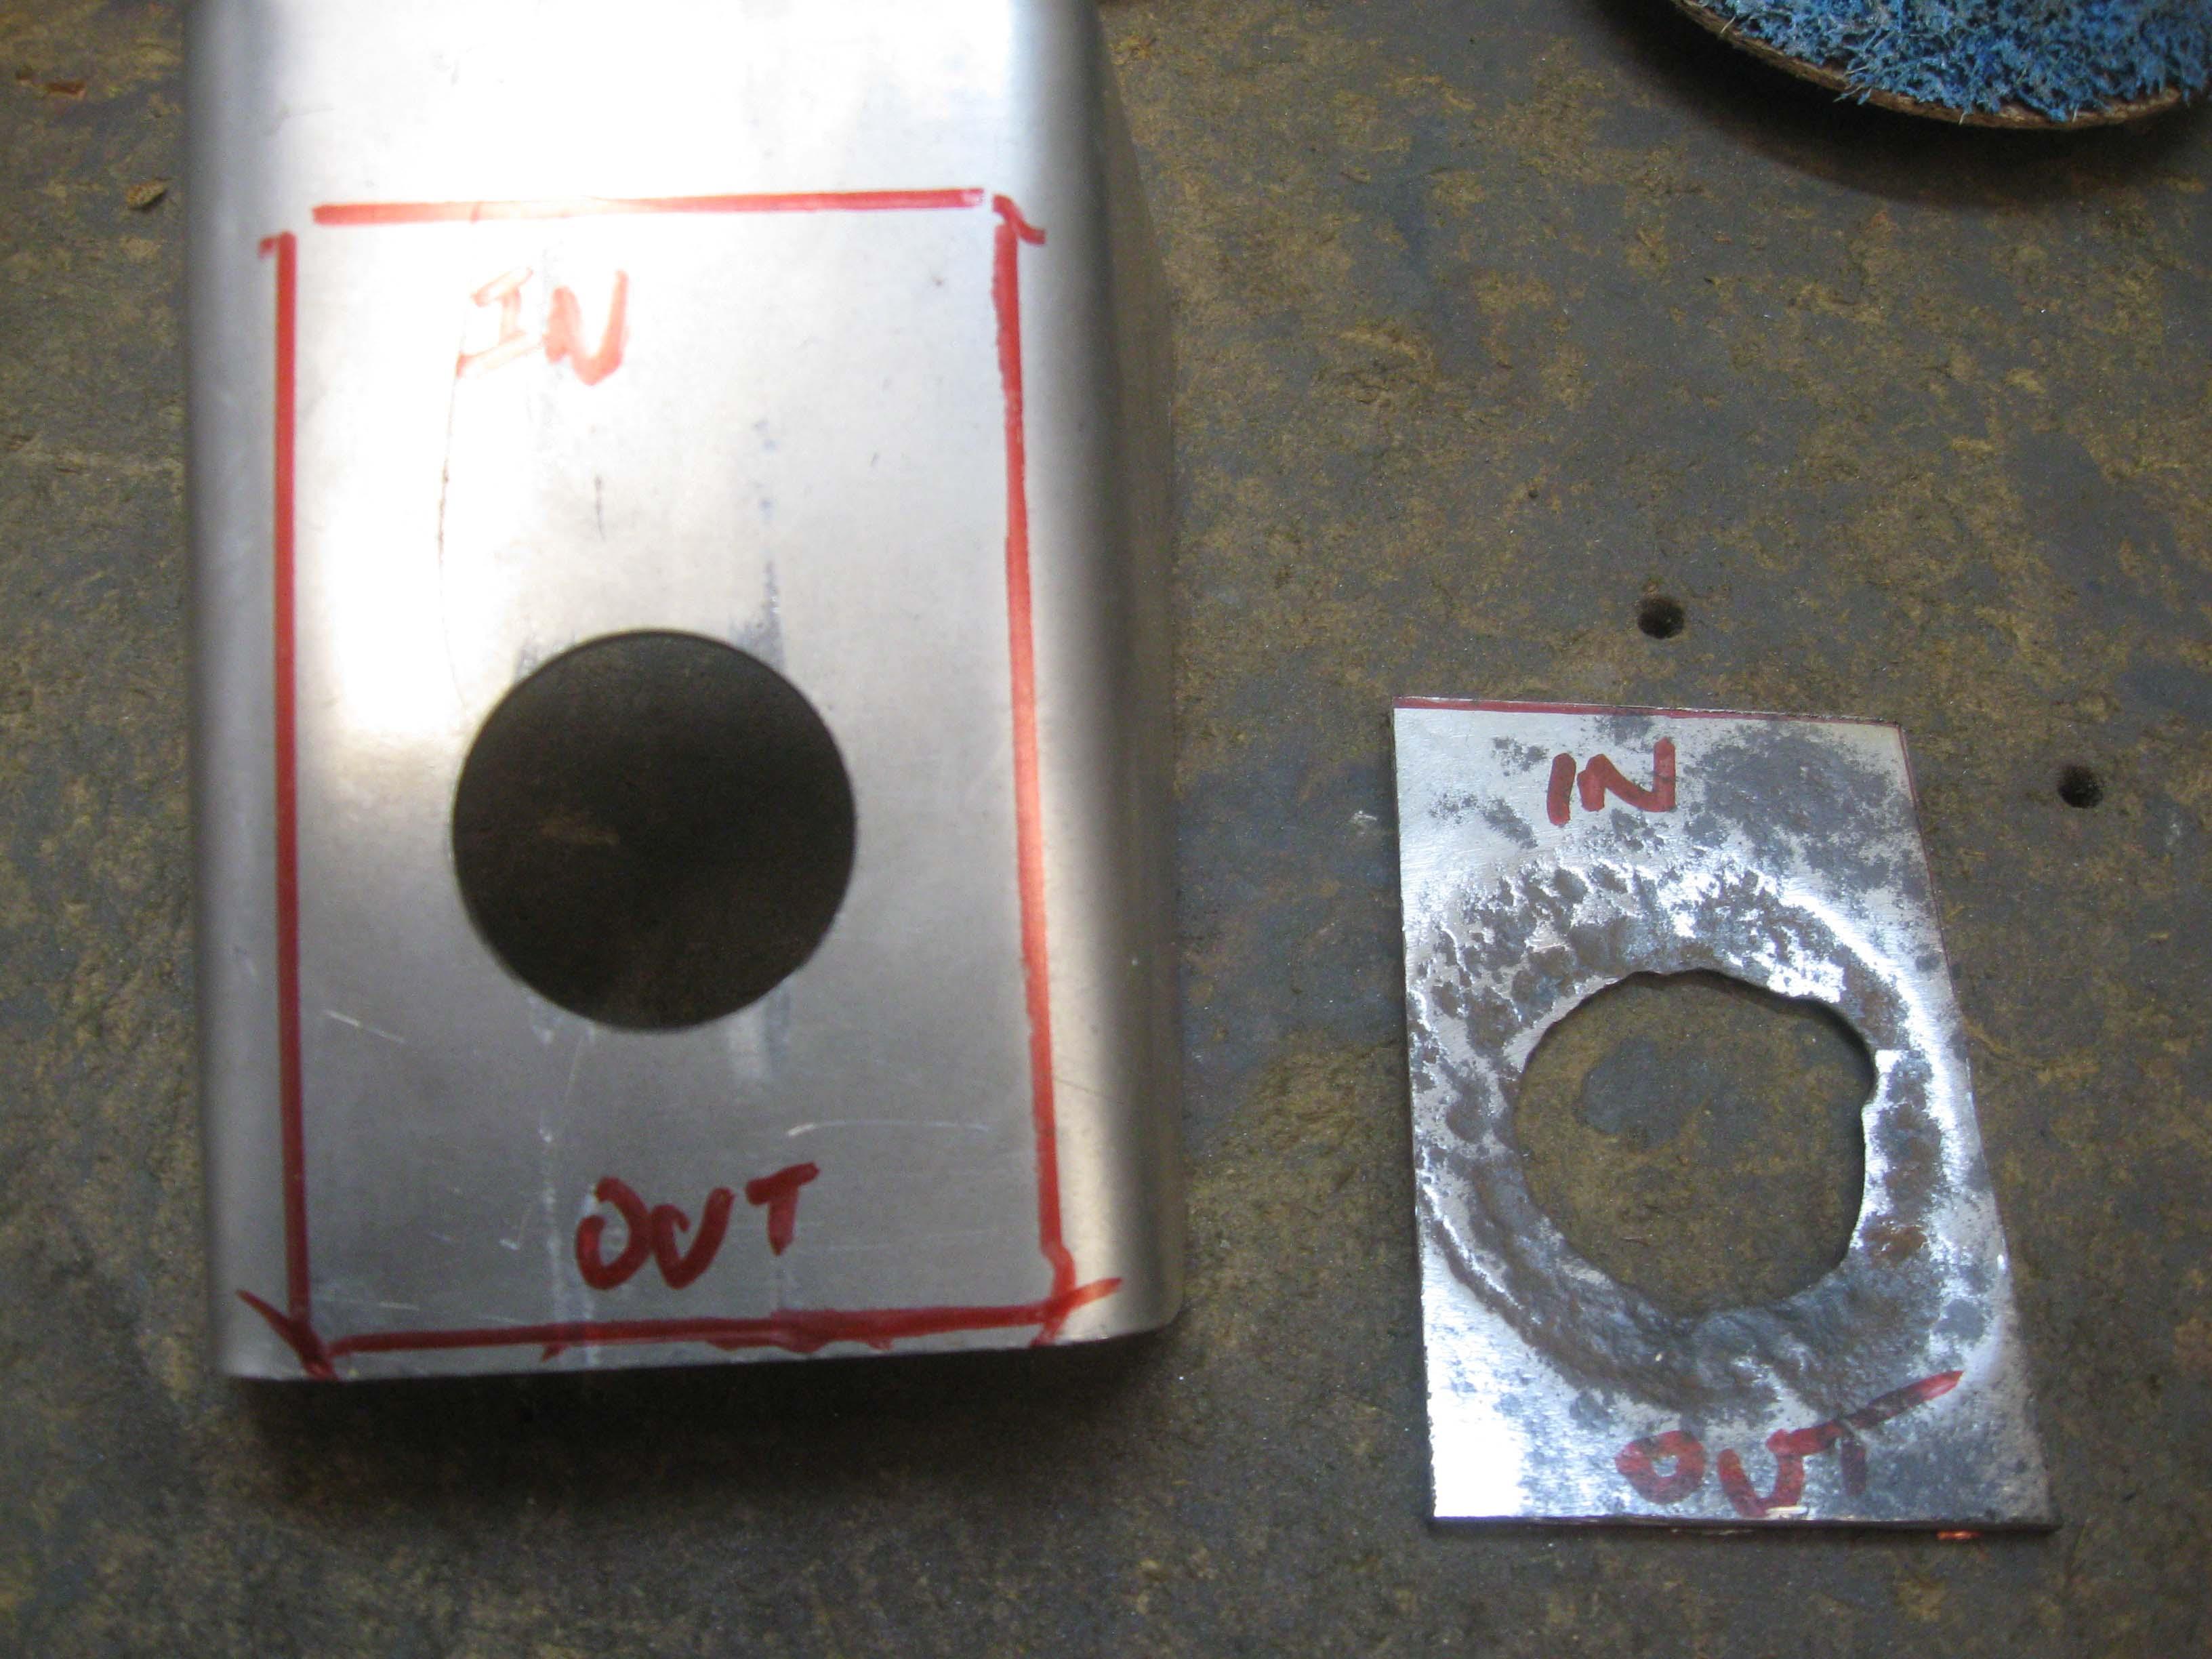
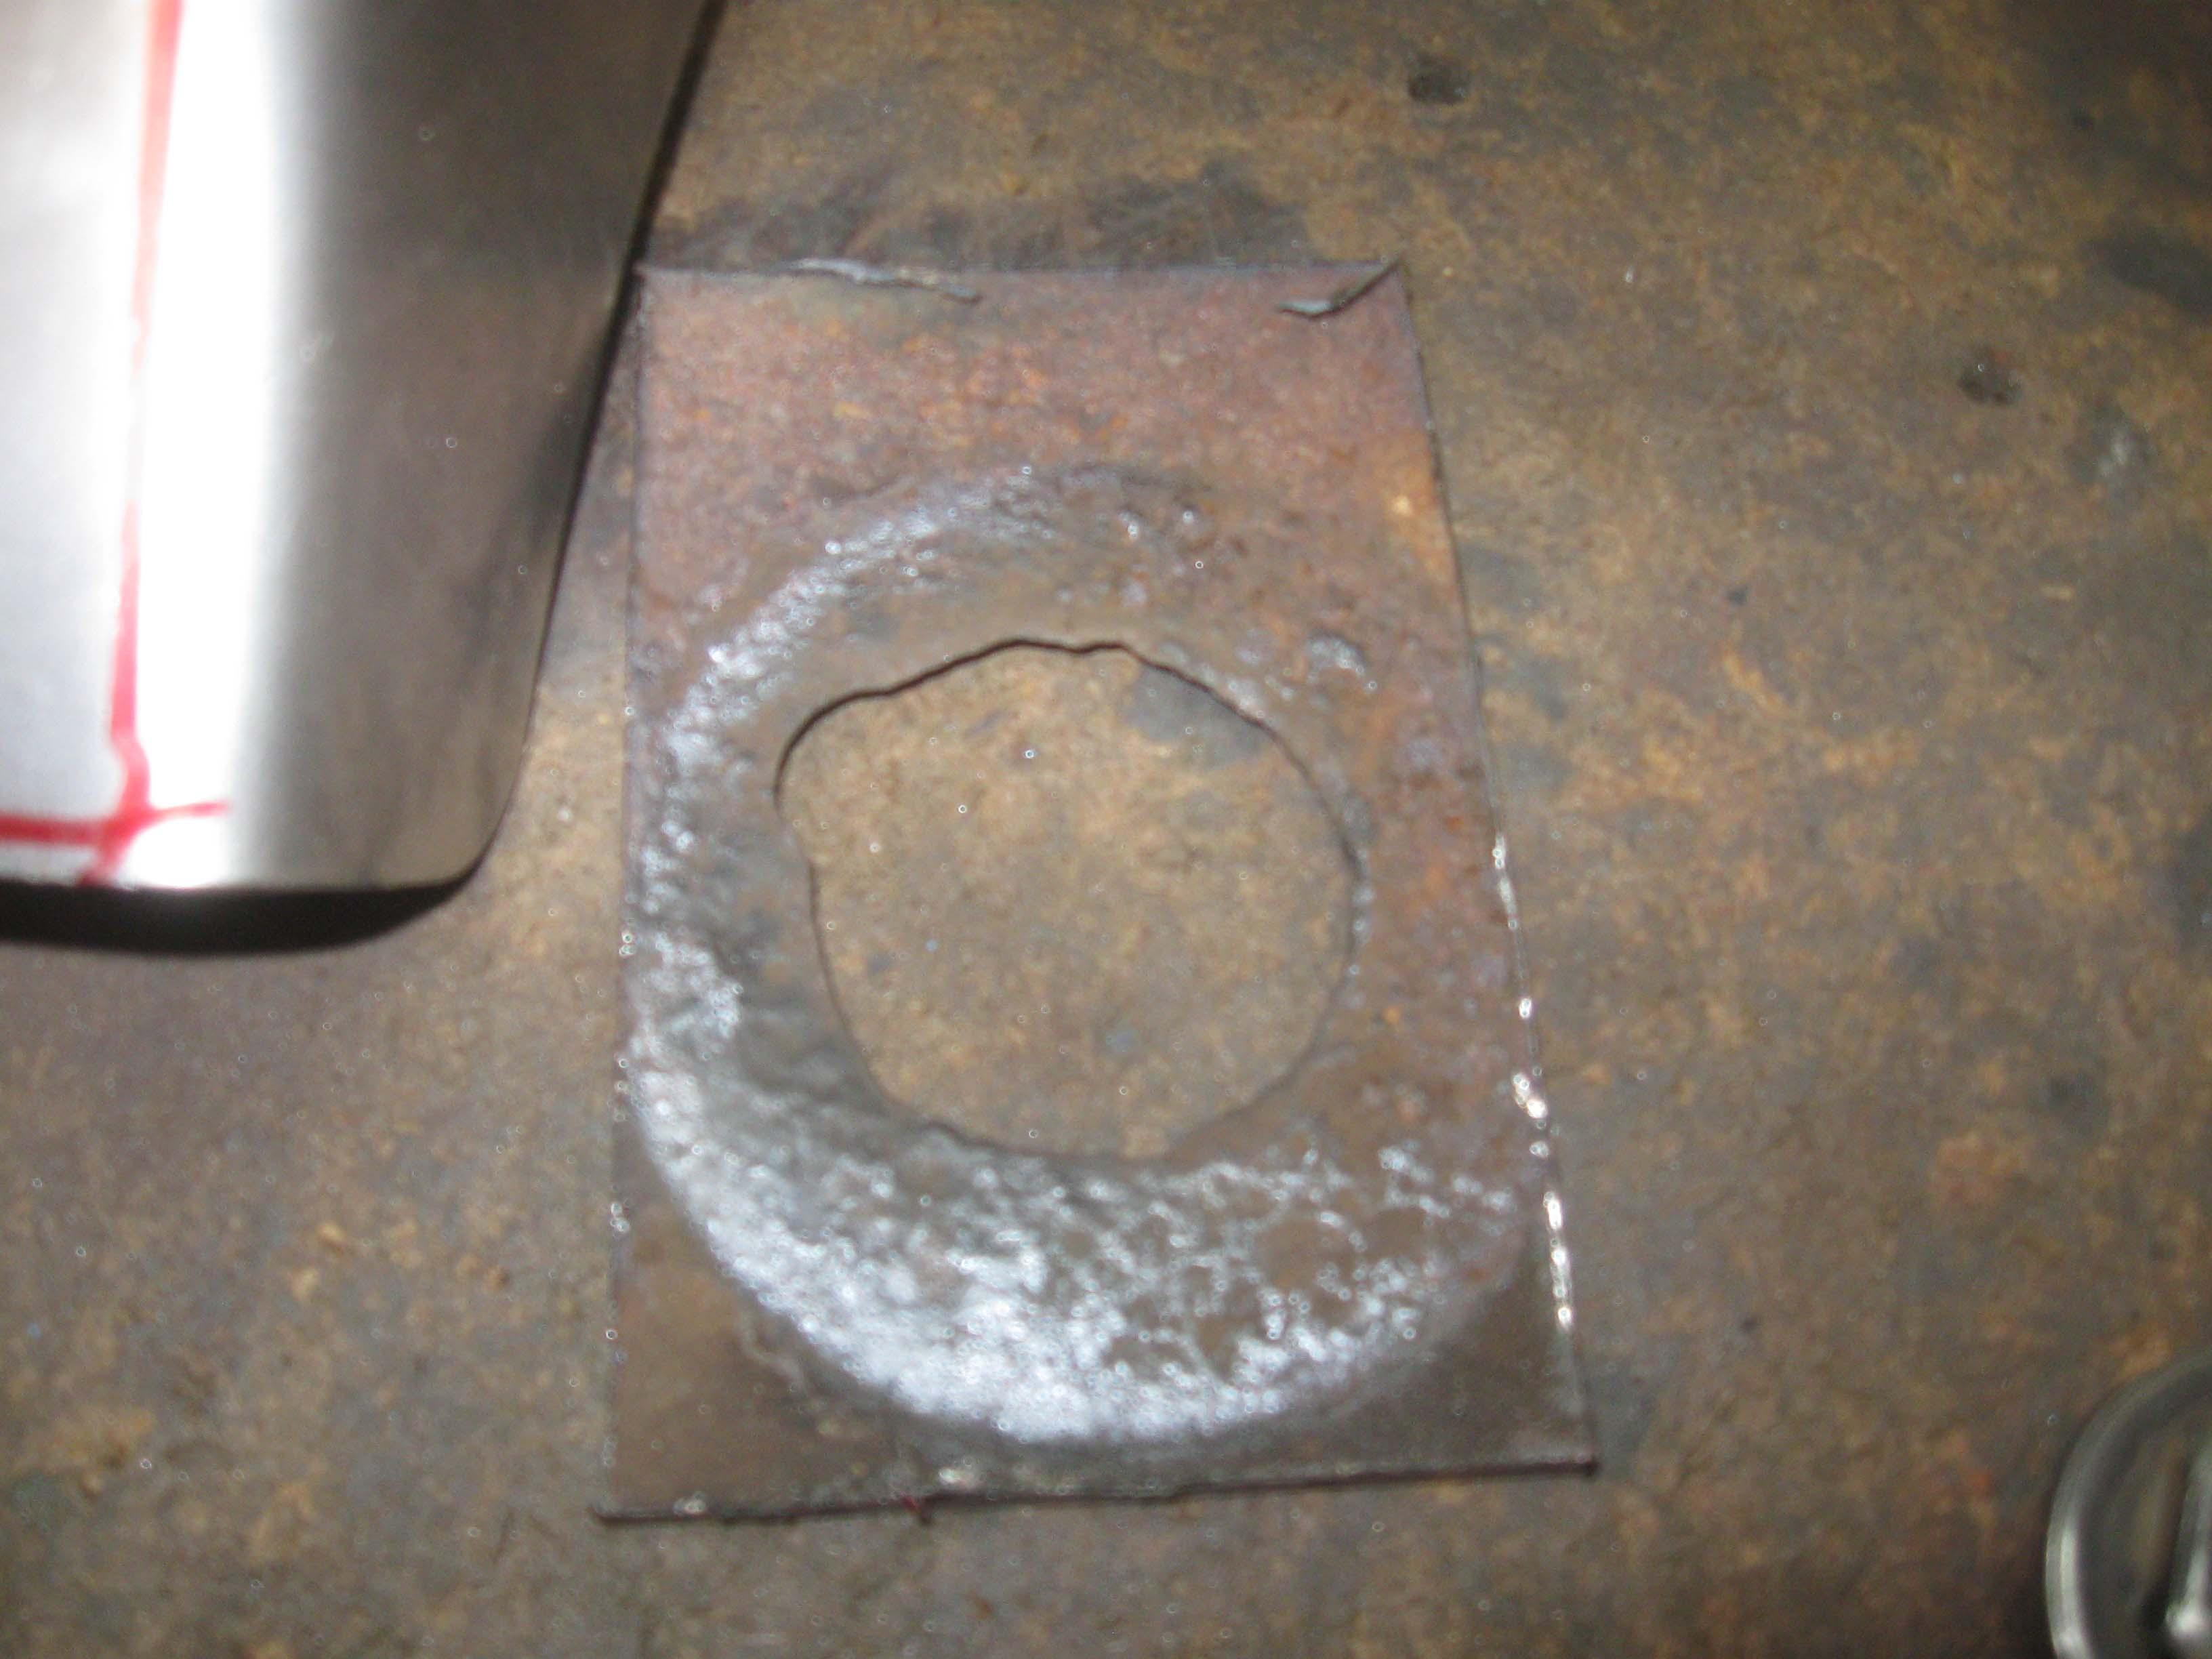
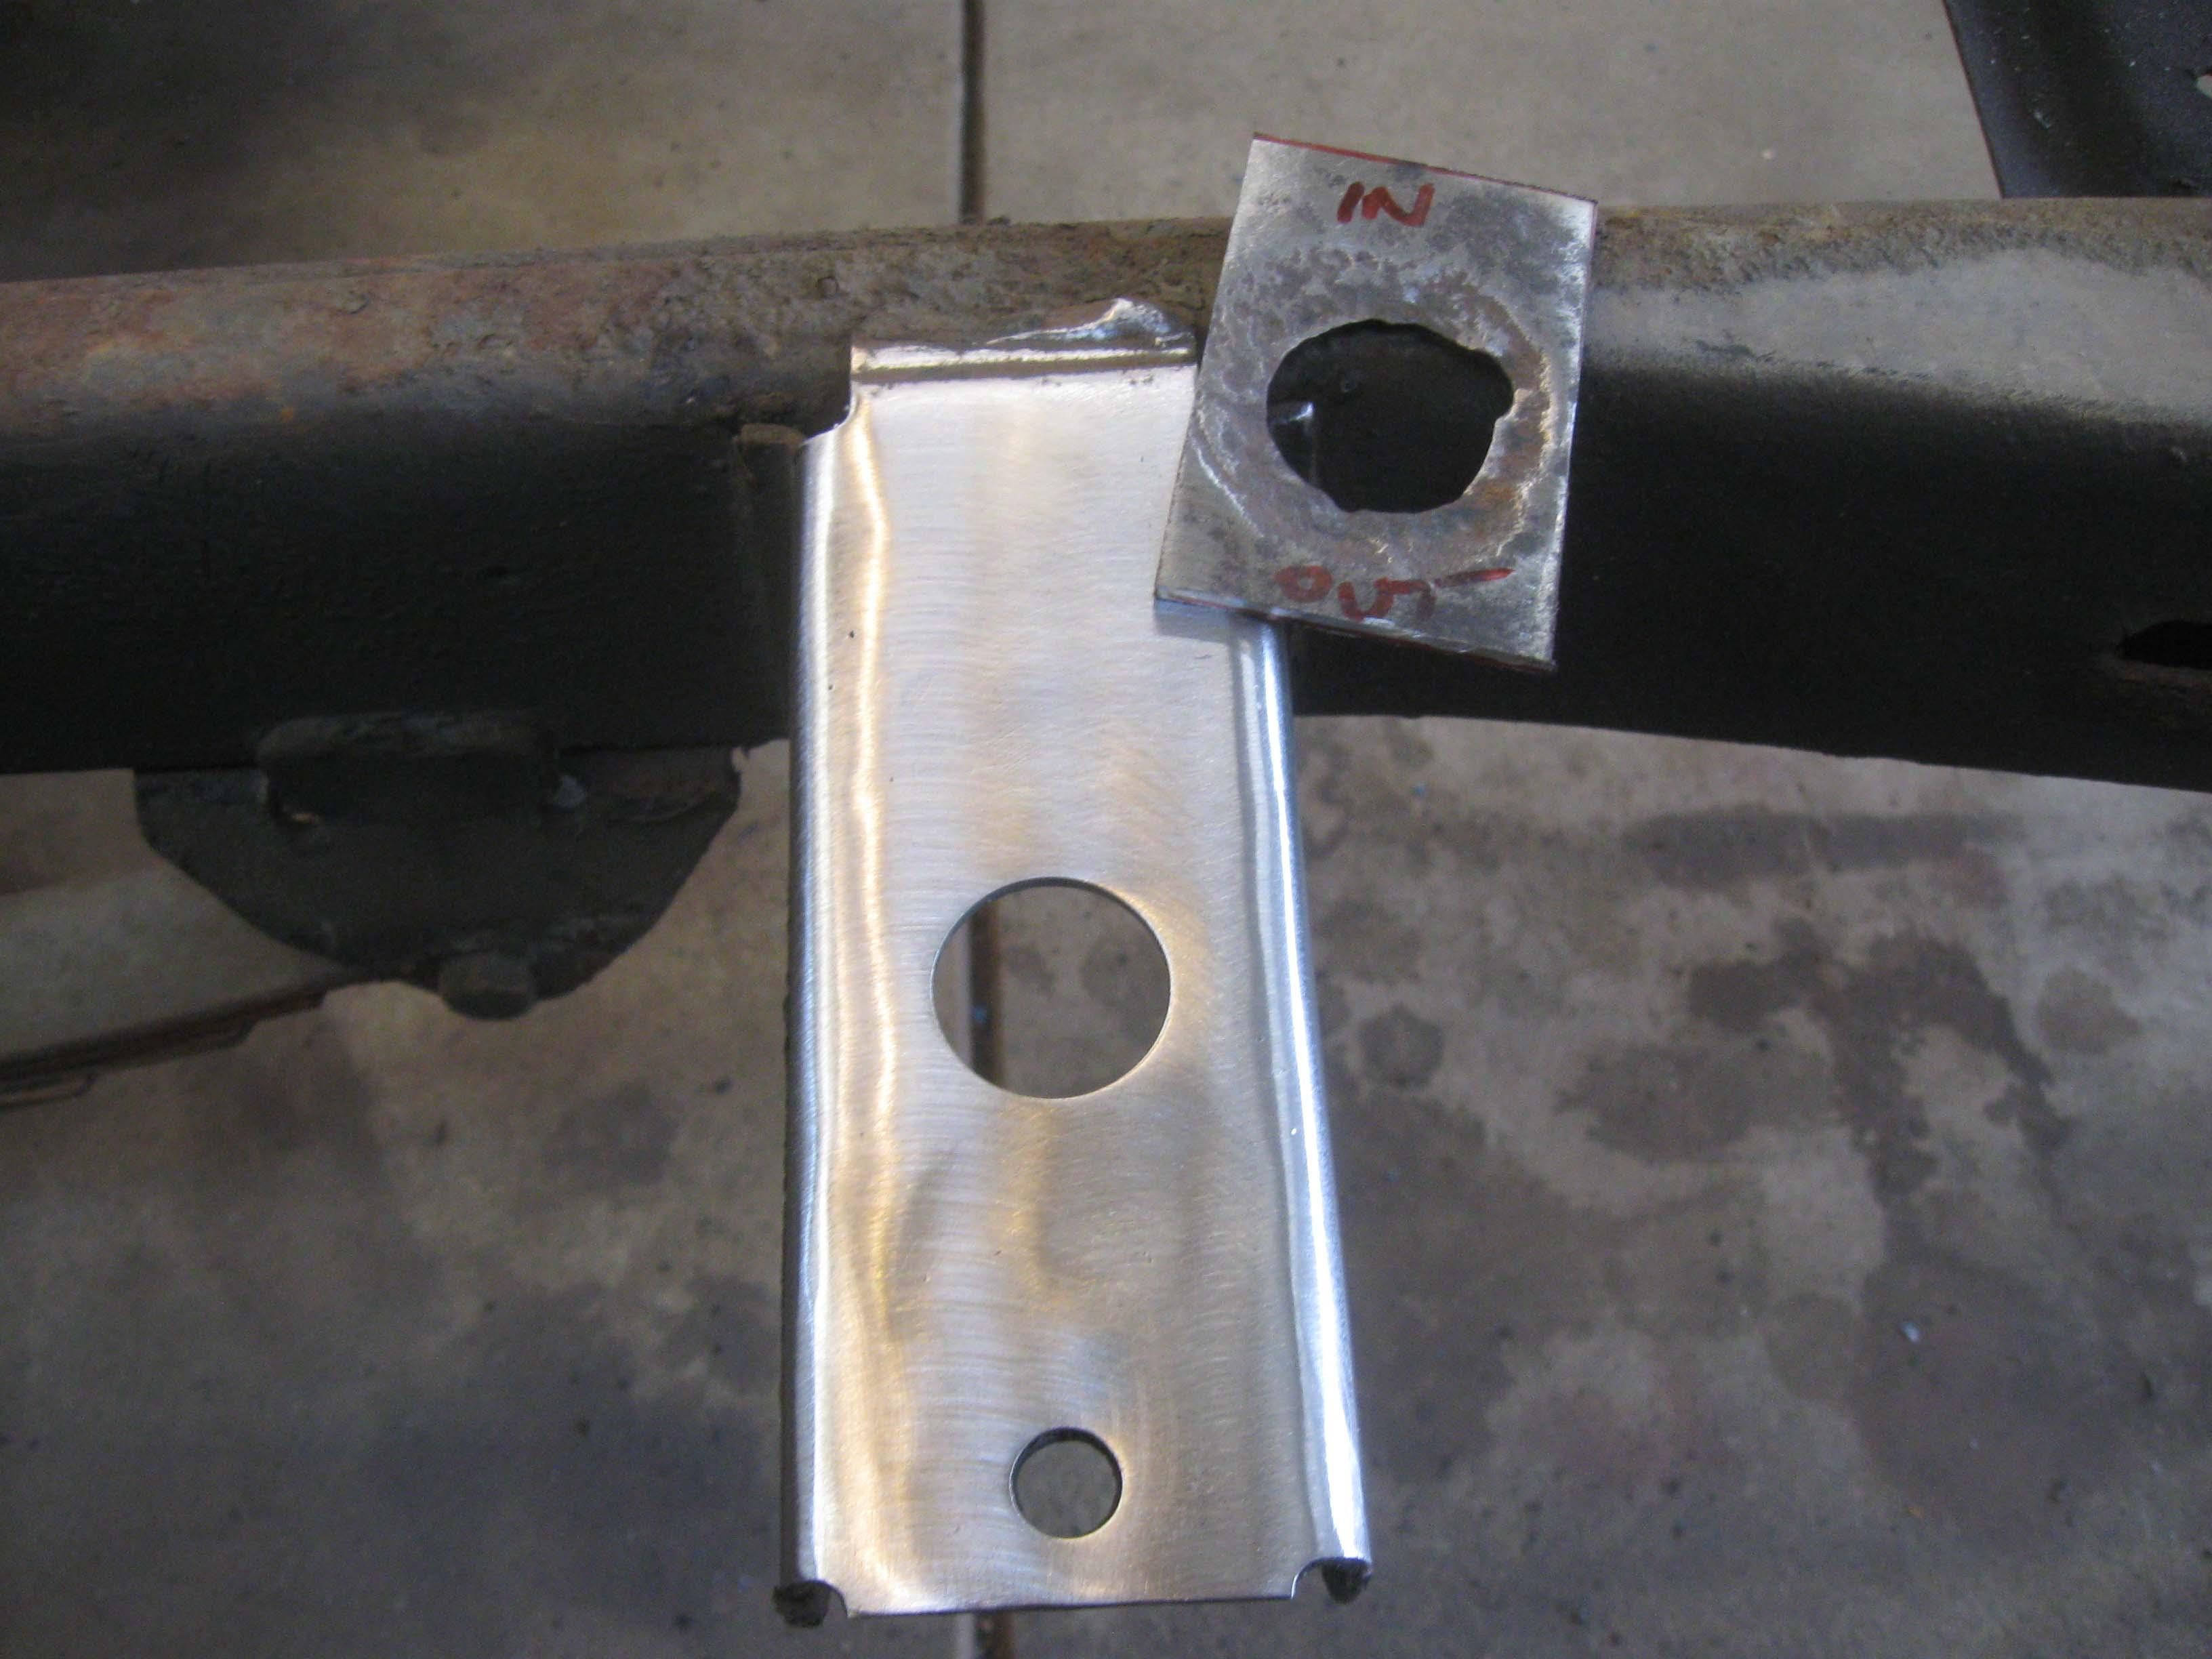
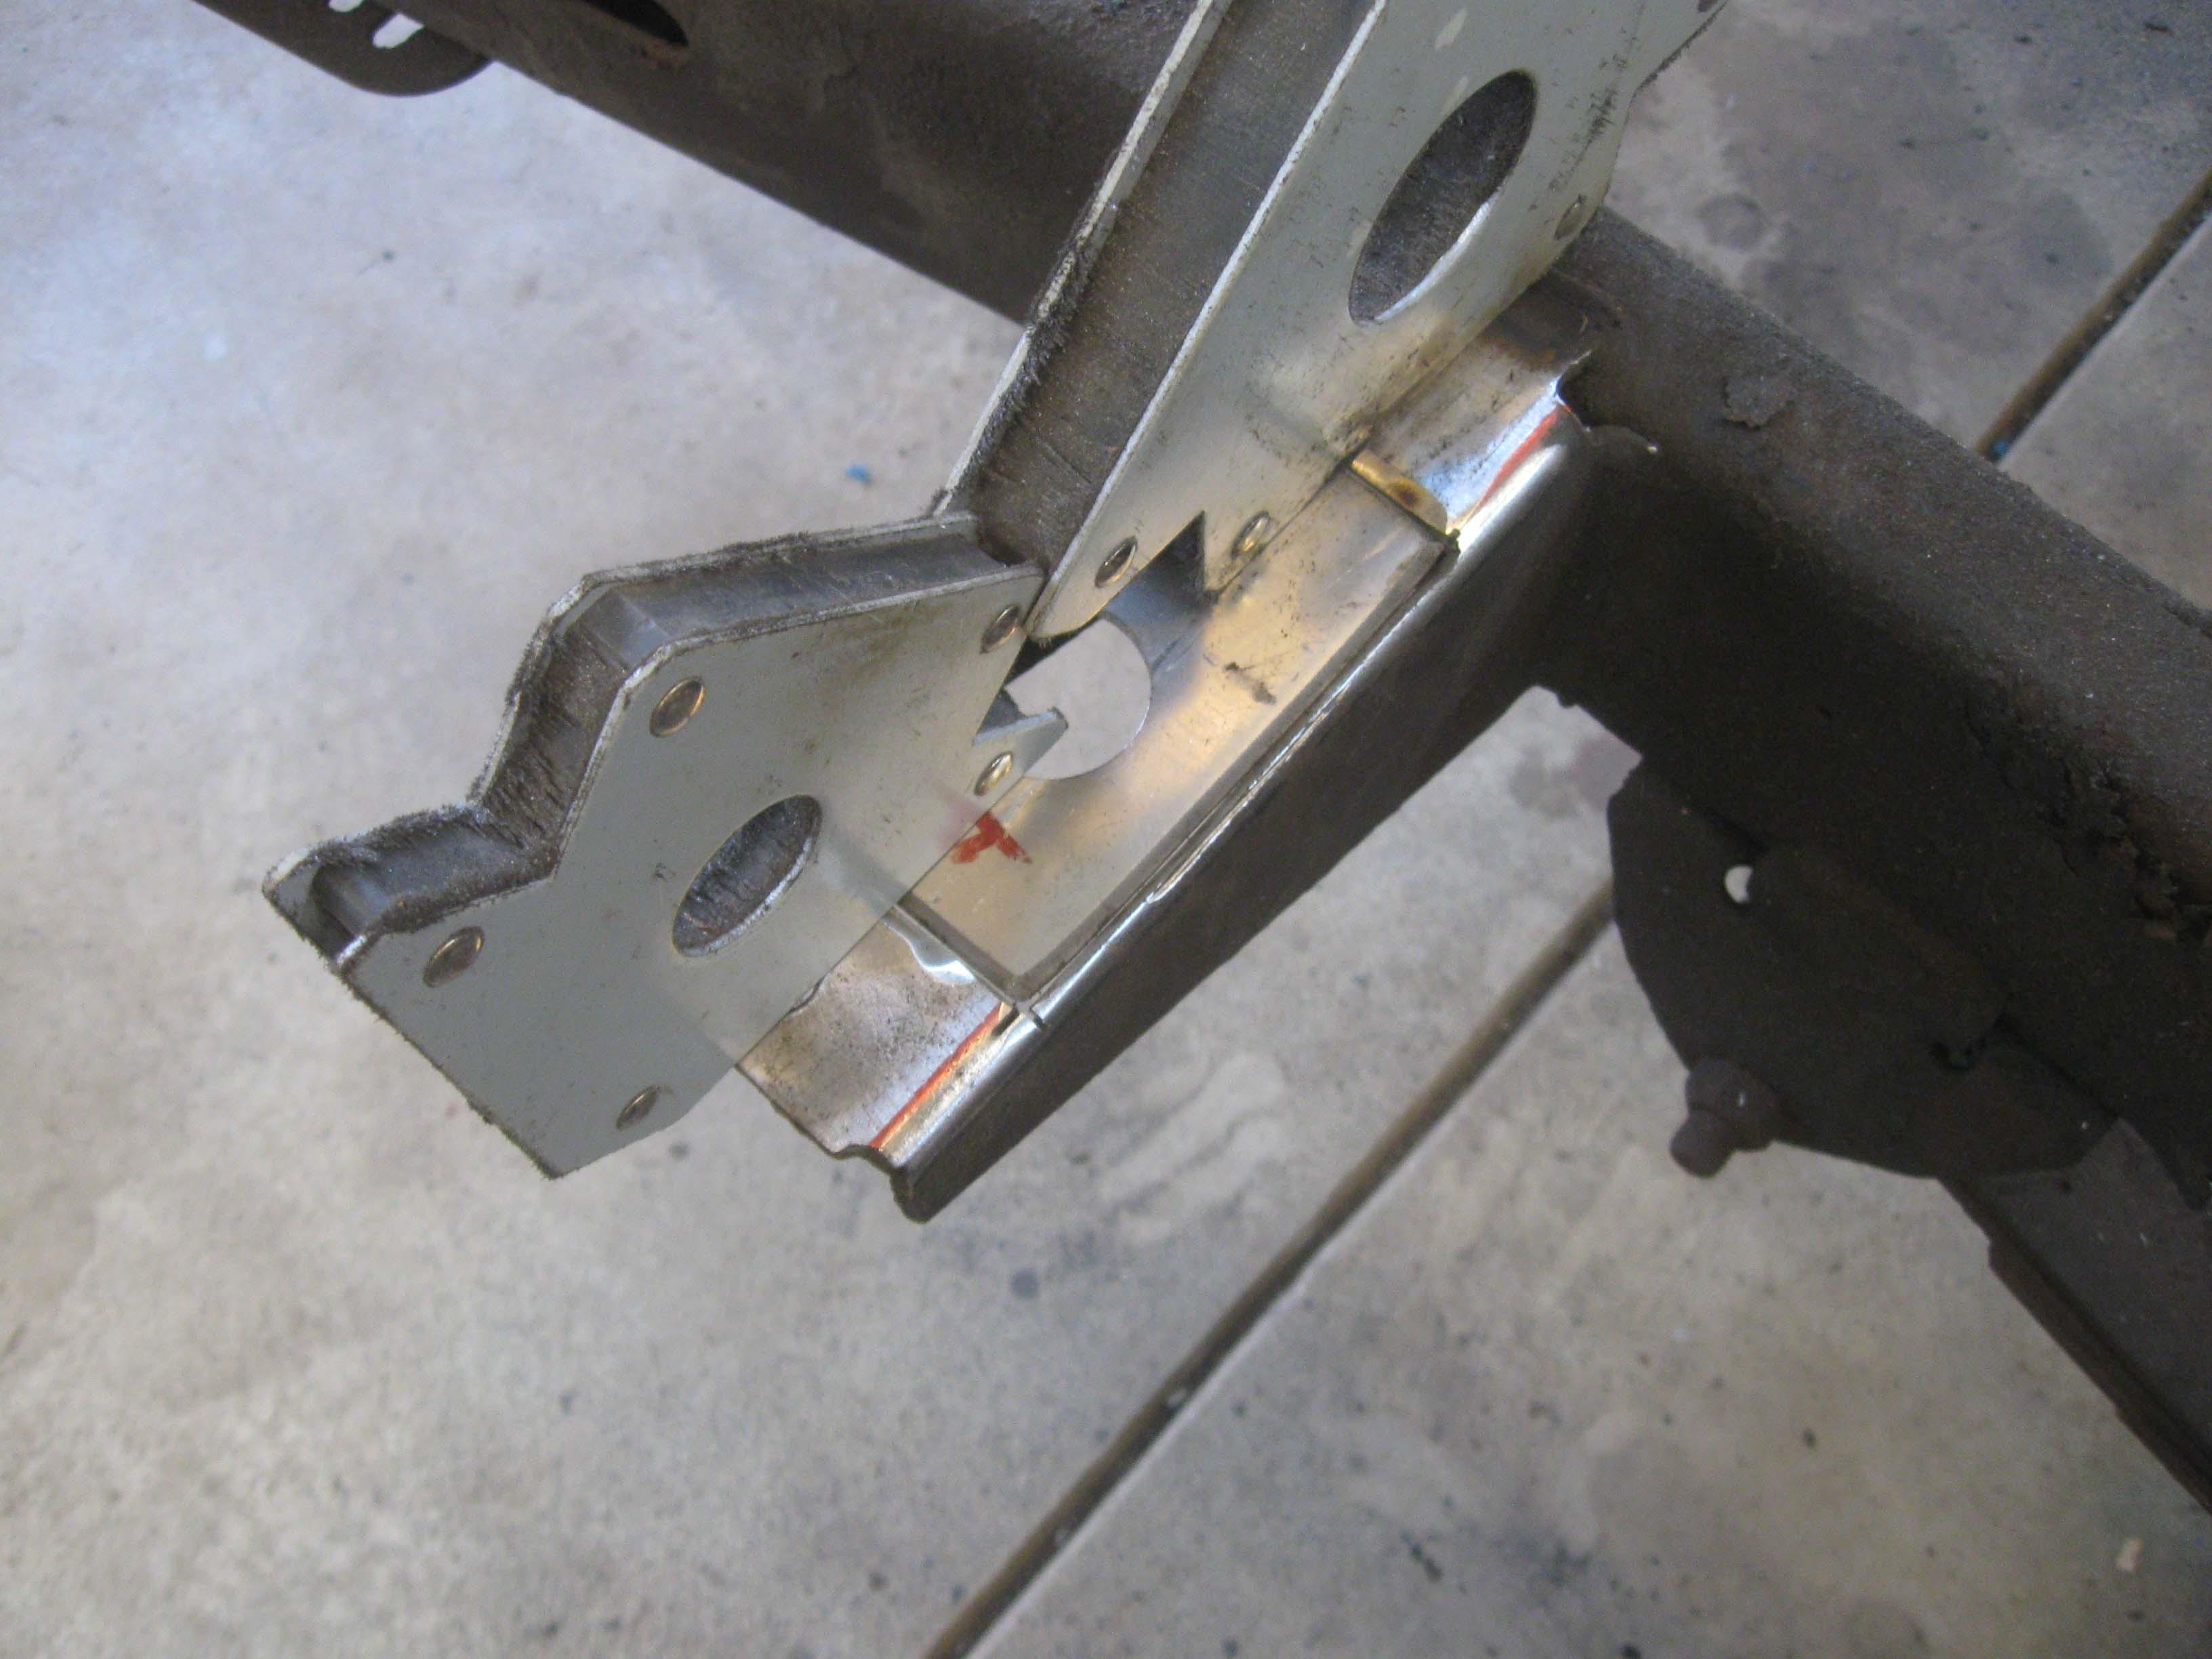
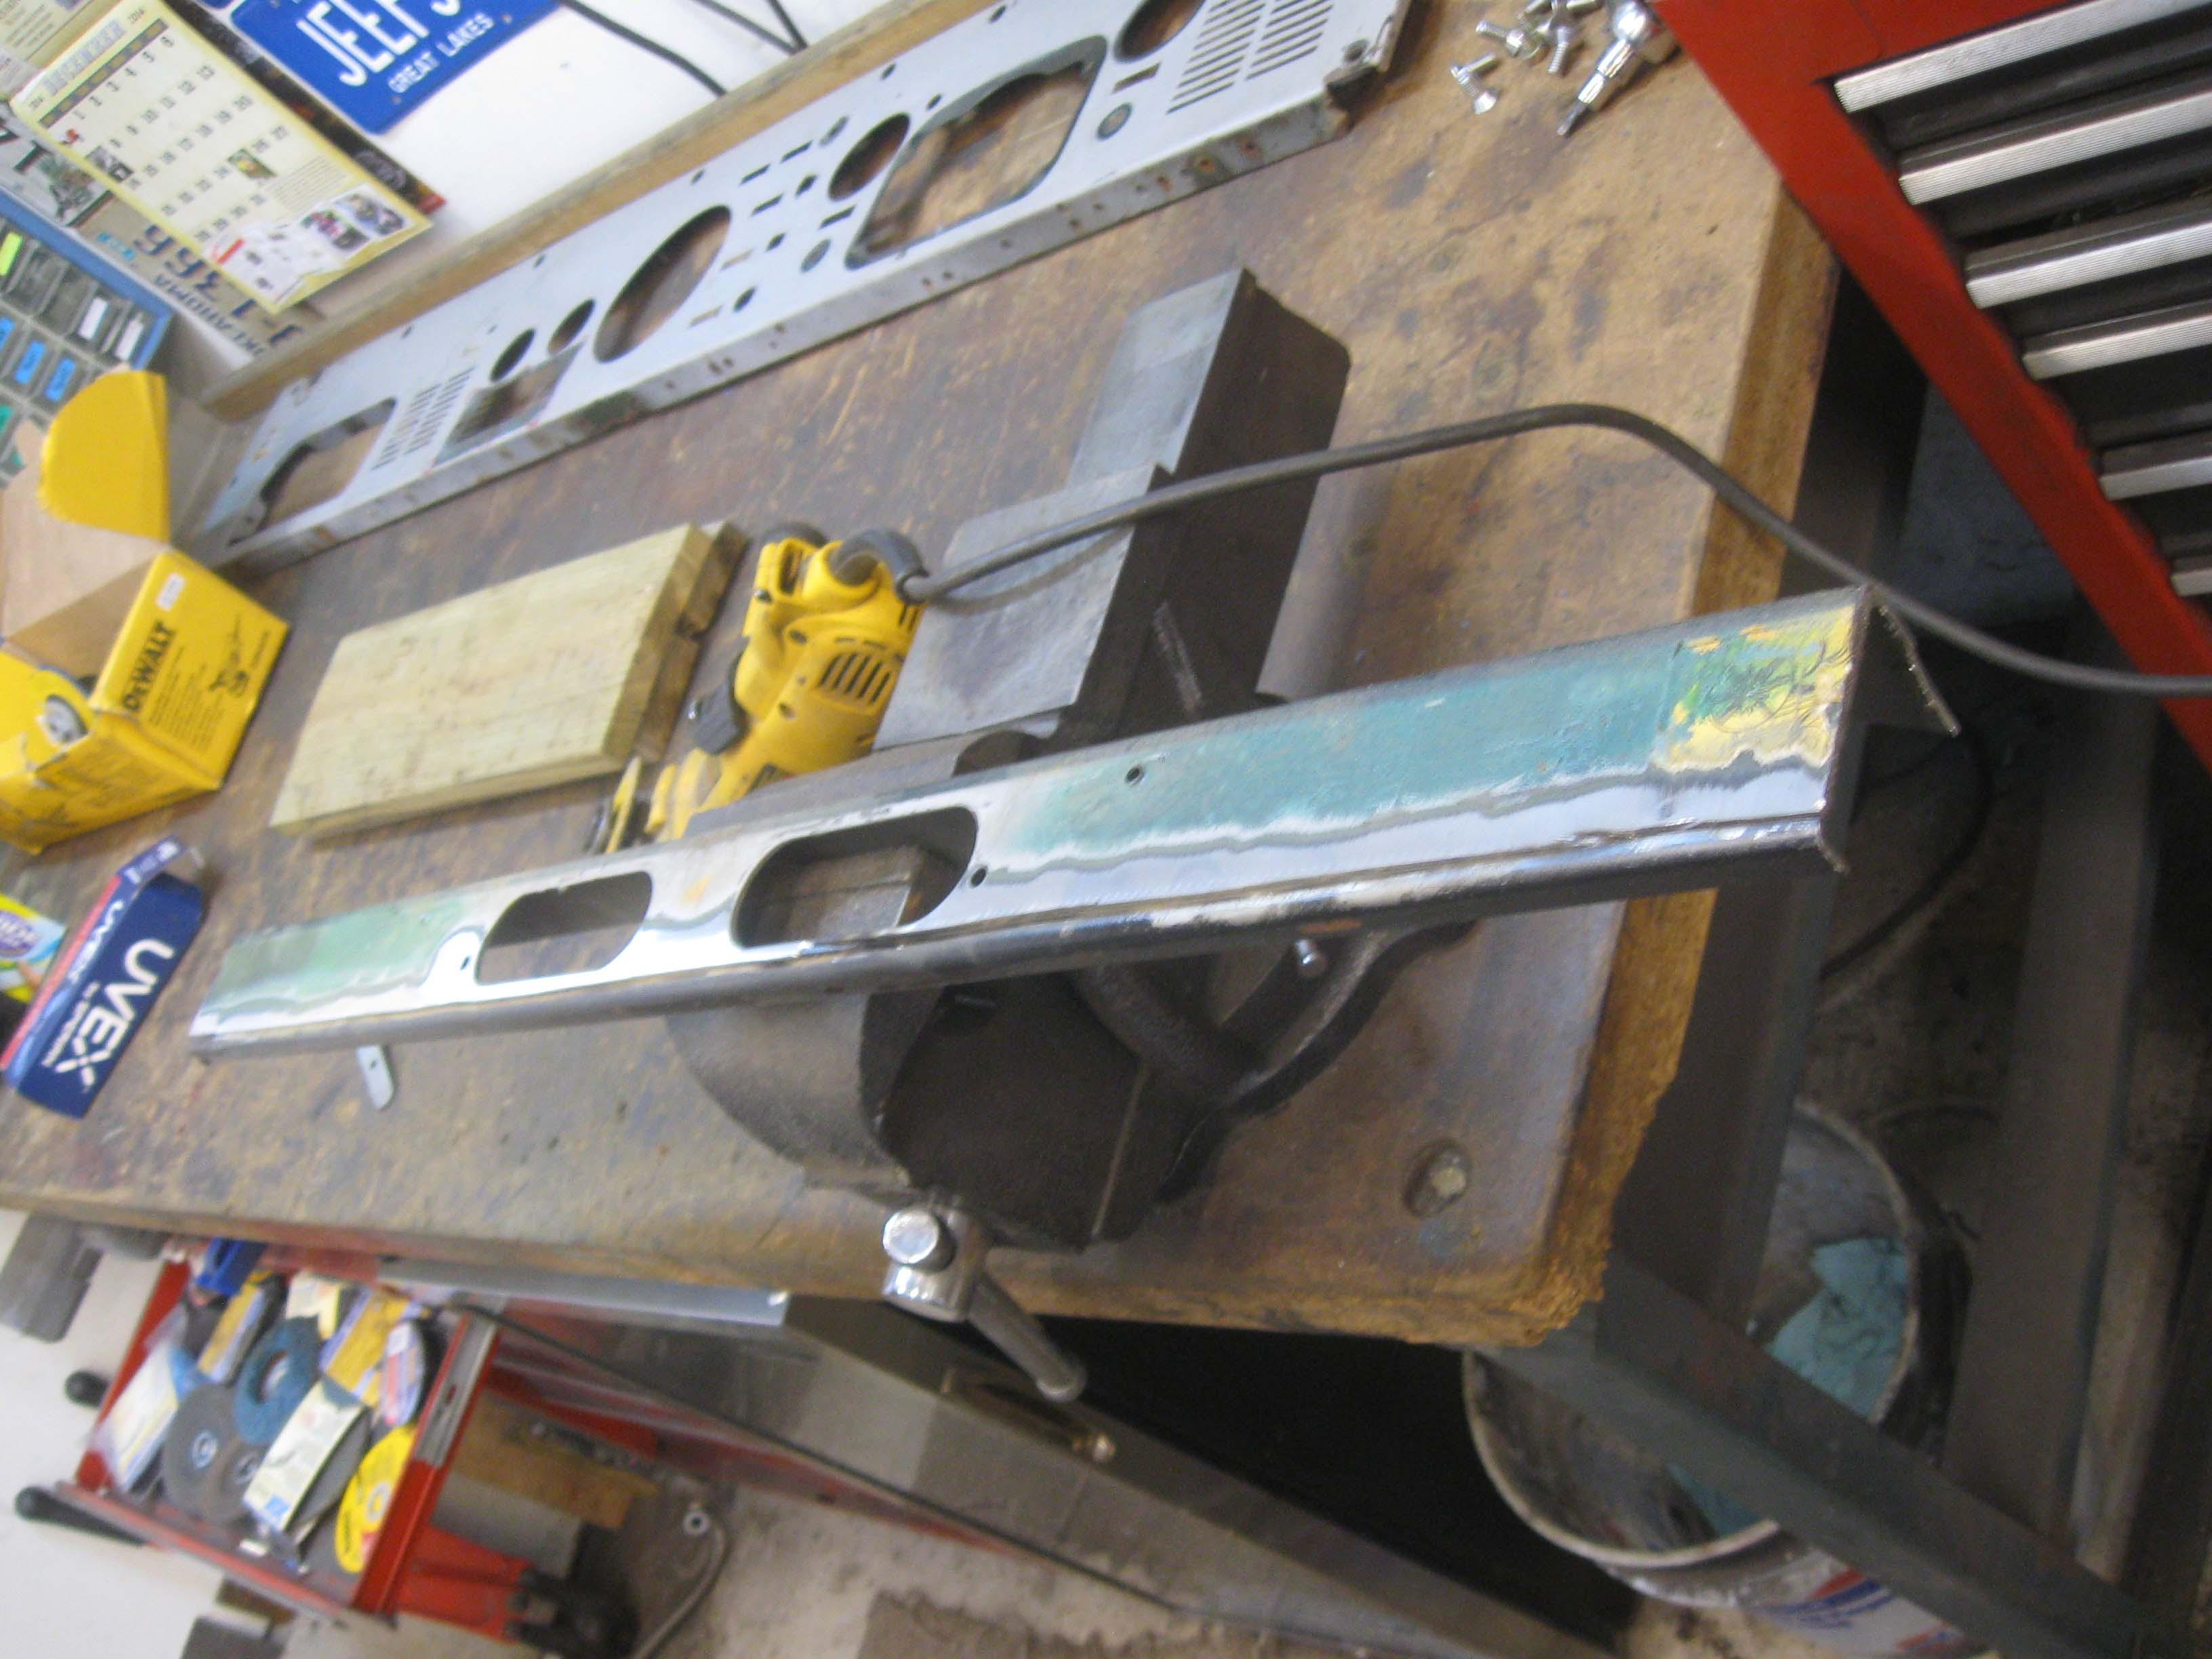
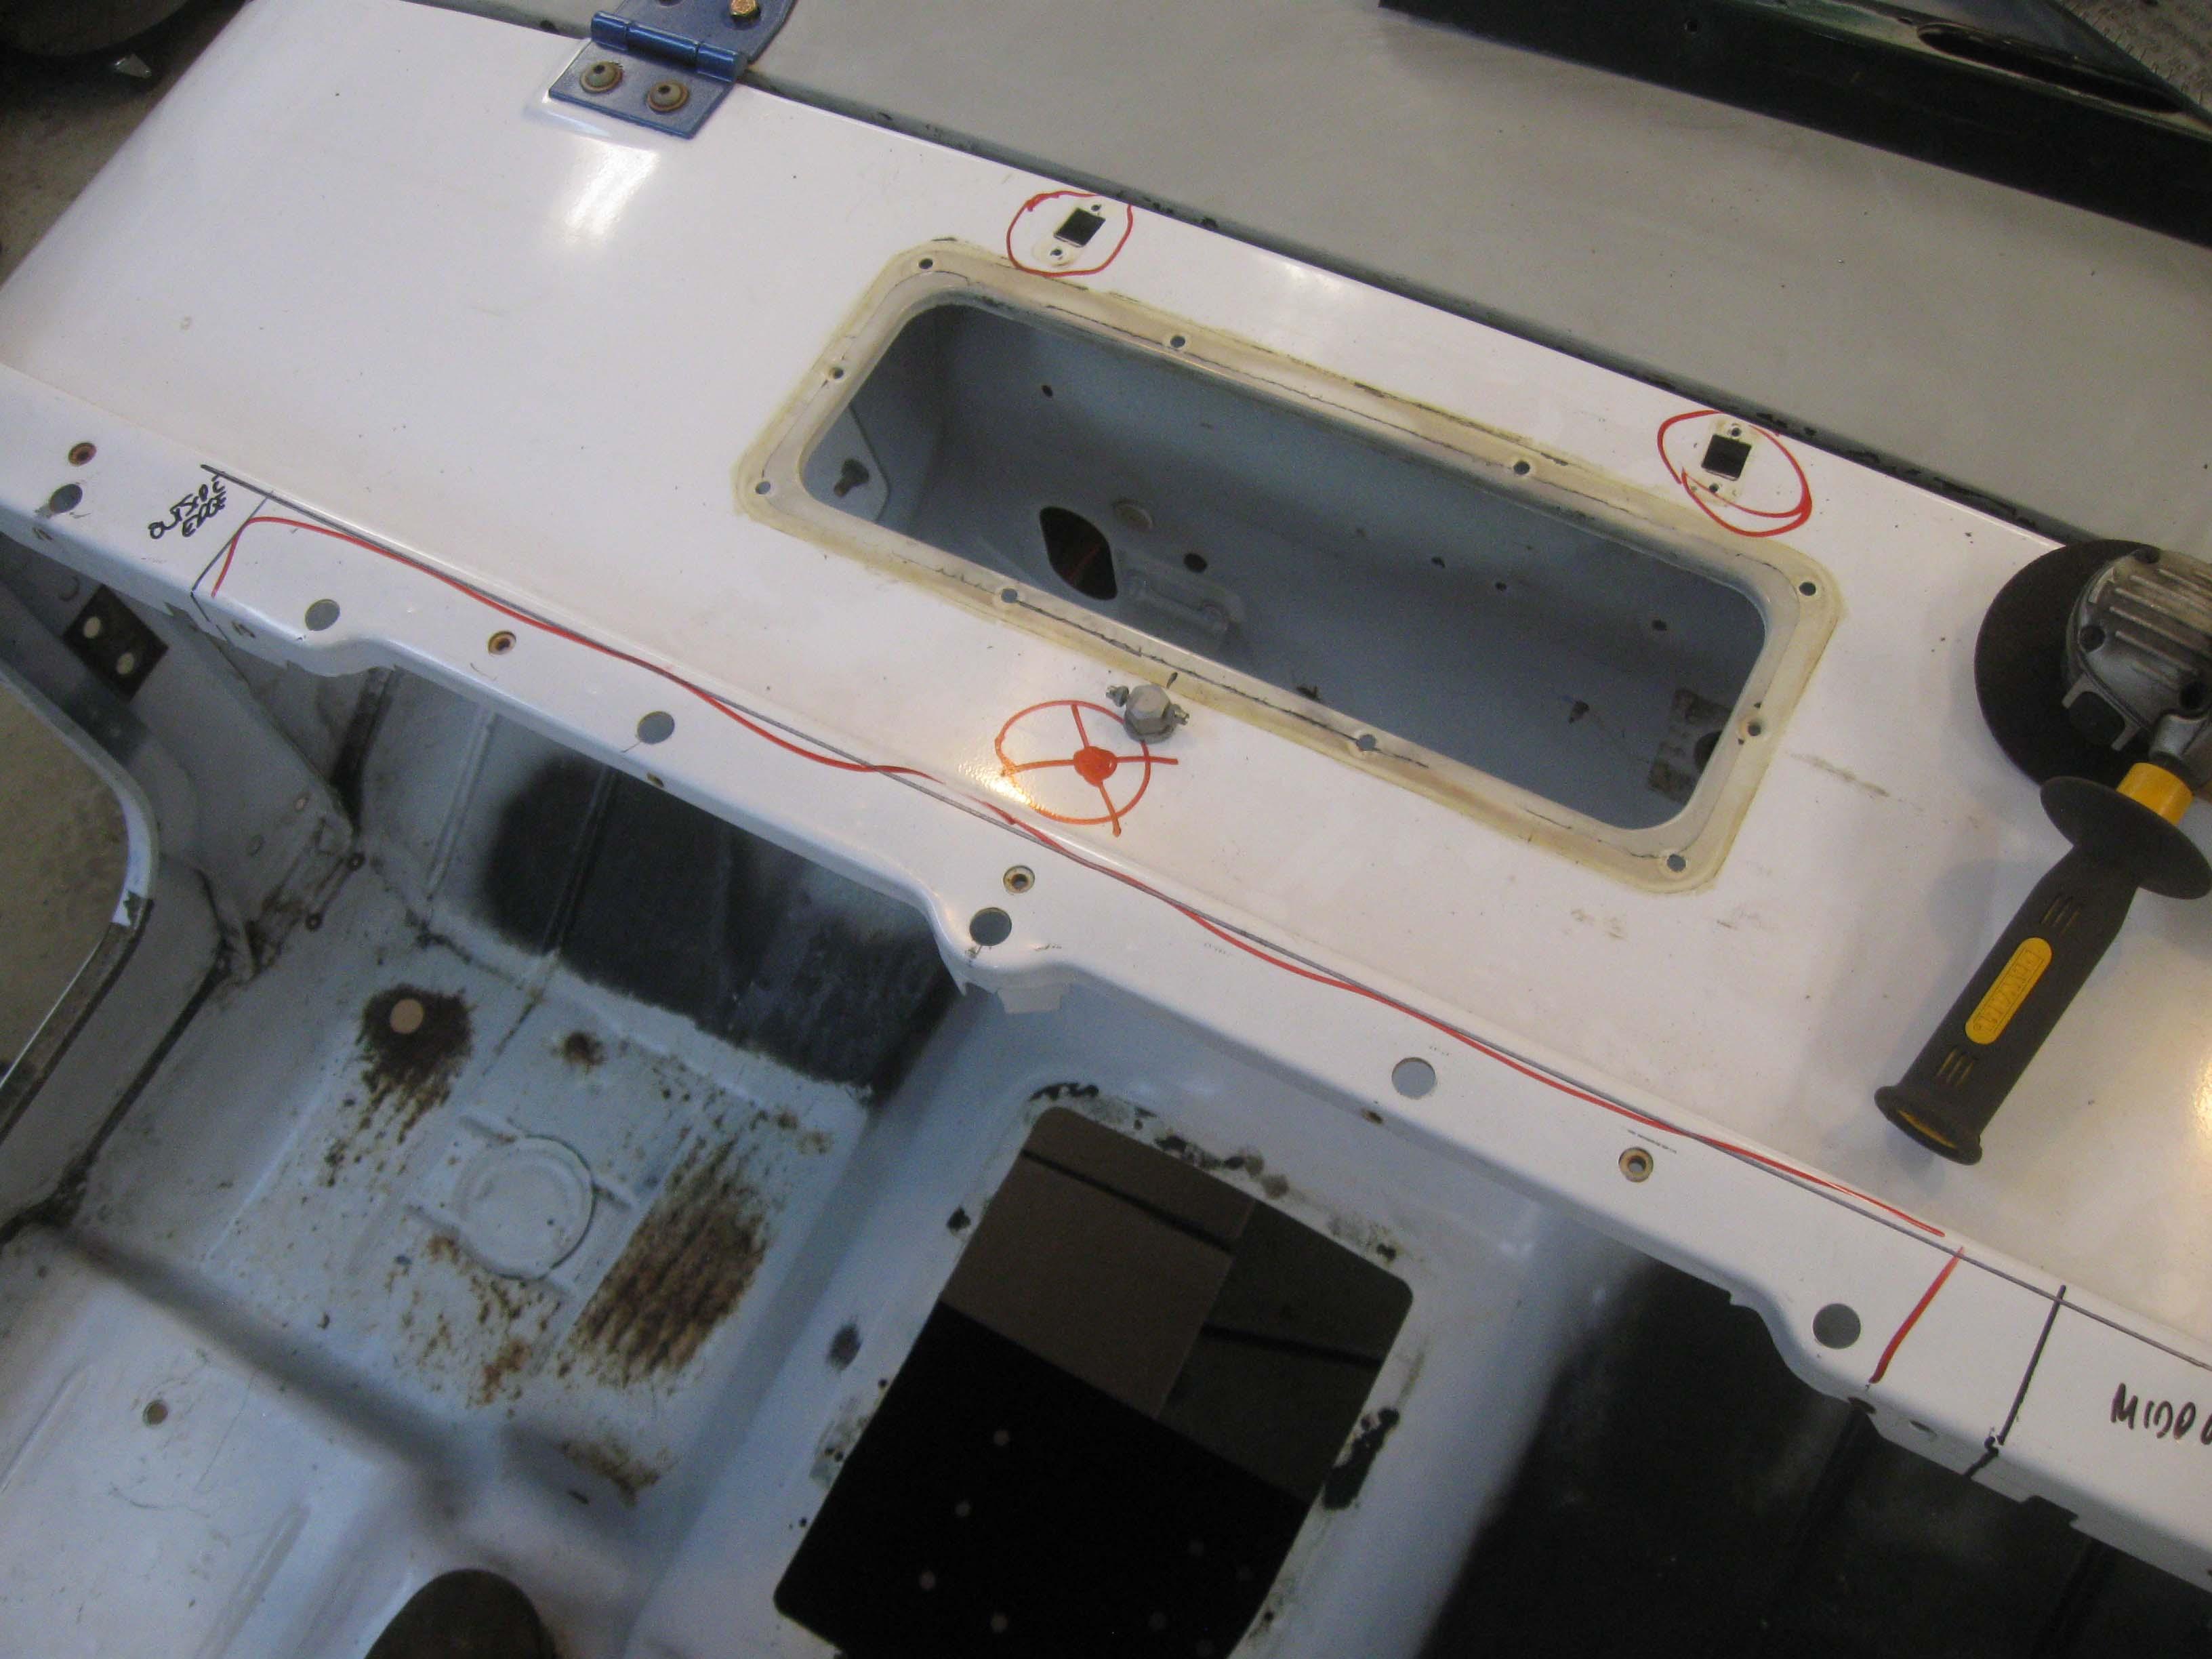
After that, measuring up the hole to be cut for the filler
IMG_6890-1.jpg

IMG_6891-1.jpg


cb

Excellent idea! I'm going to have to use that.

 
it is the little things that you keep from the previous rig that helps you in the next one... I keep many parts as templates :)

cb
 
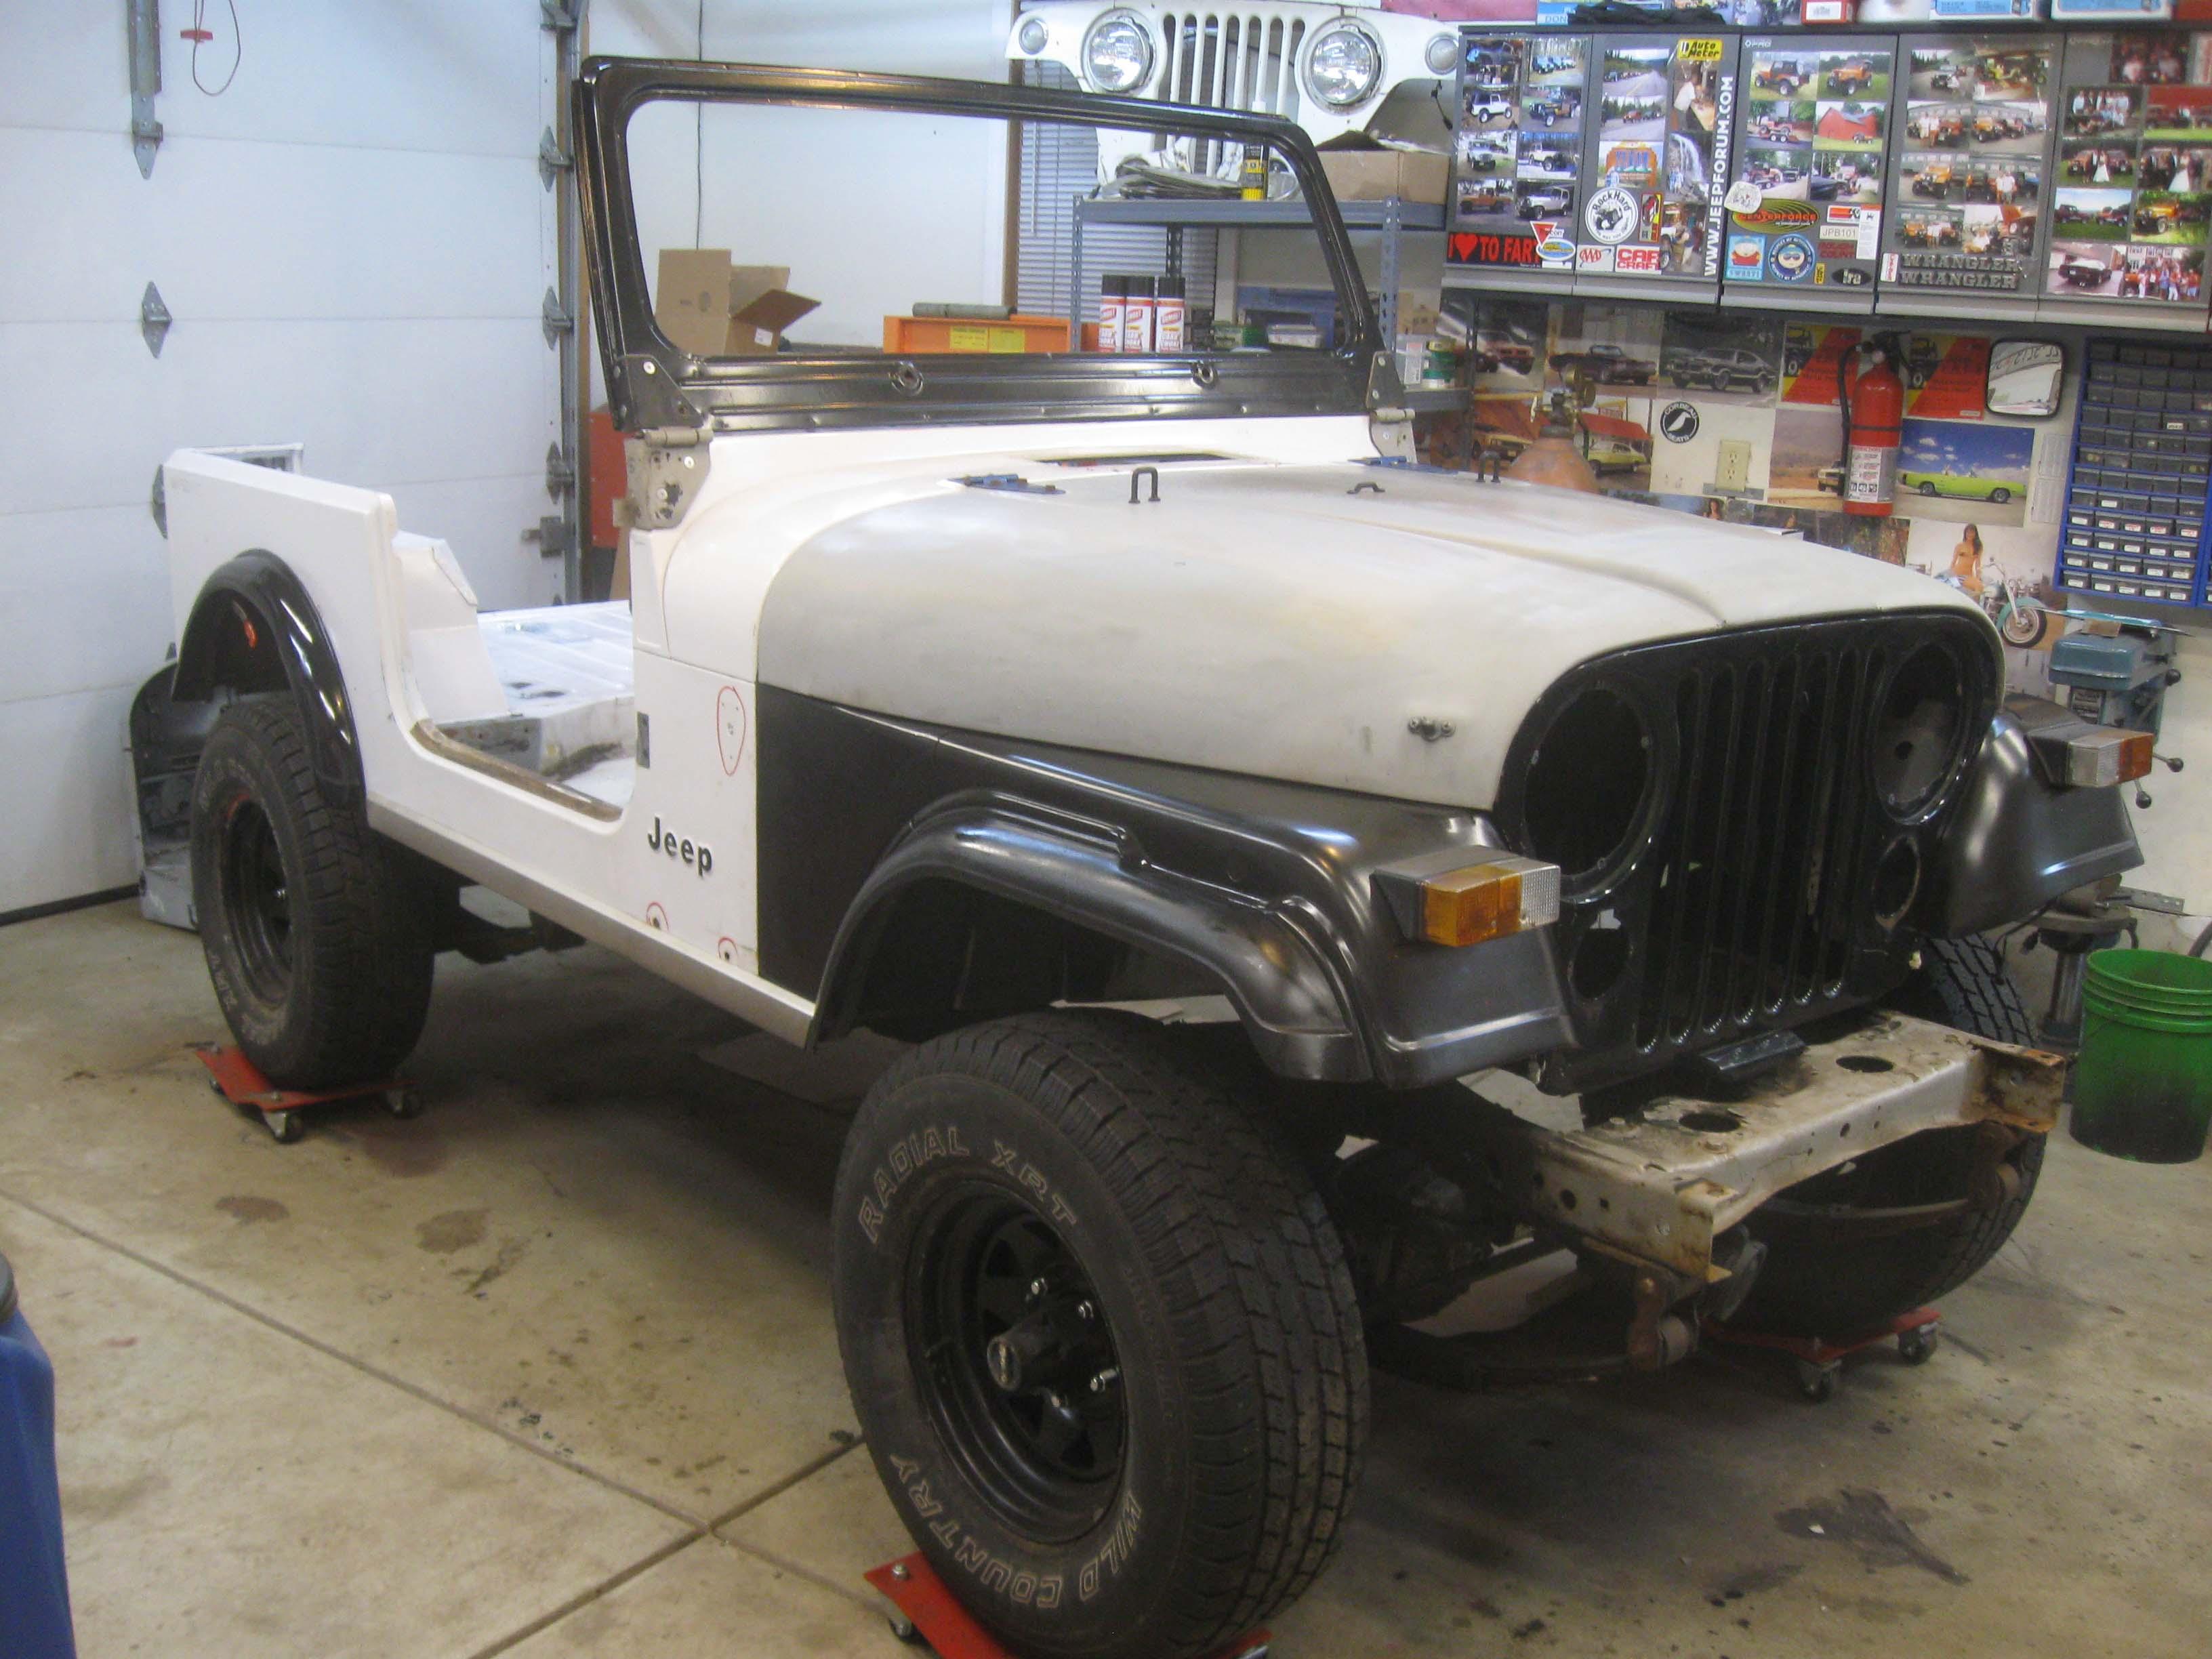
So, it has been a few days... got an hour here and a couple there late night to work on the rig... about 9 hours total, which sounds nice, but broken up time really only lets you do one small task and then it is time to go in. It is what is though, it is what I have these days and I will take it.

So, what did I do in 9 hours:

This:

IMG_6940-1.jpg


Here is the breakdown:

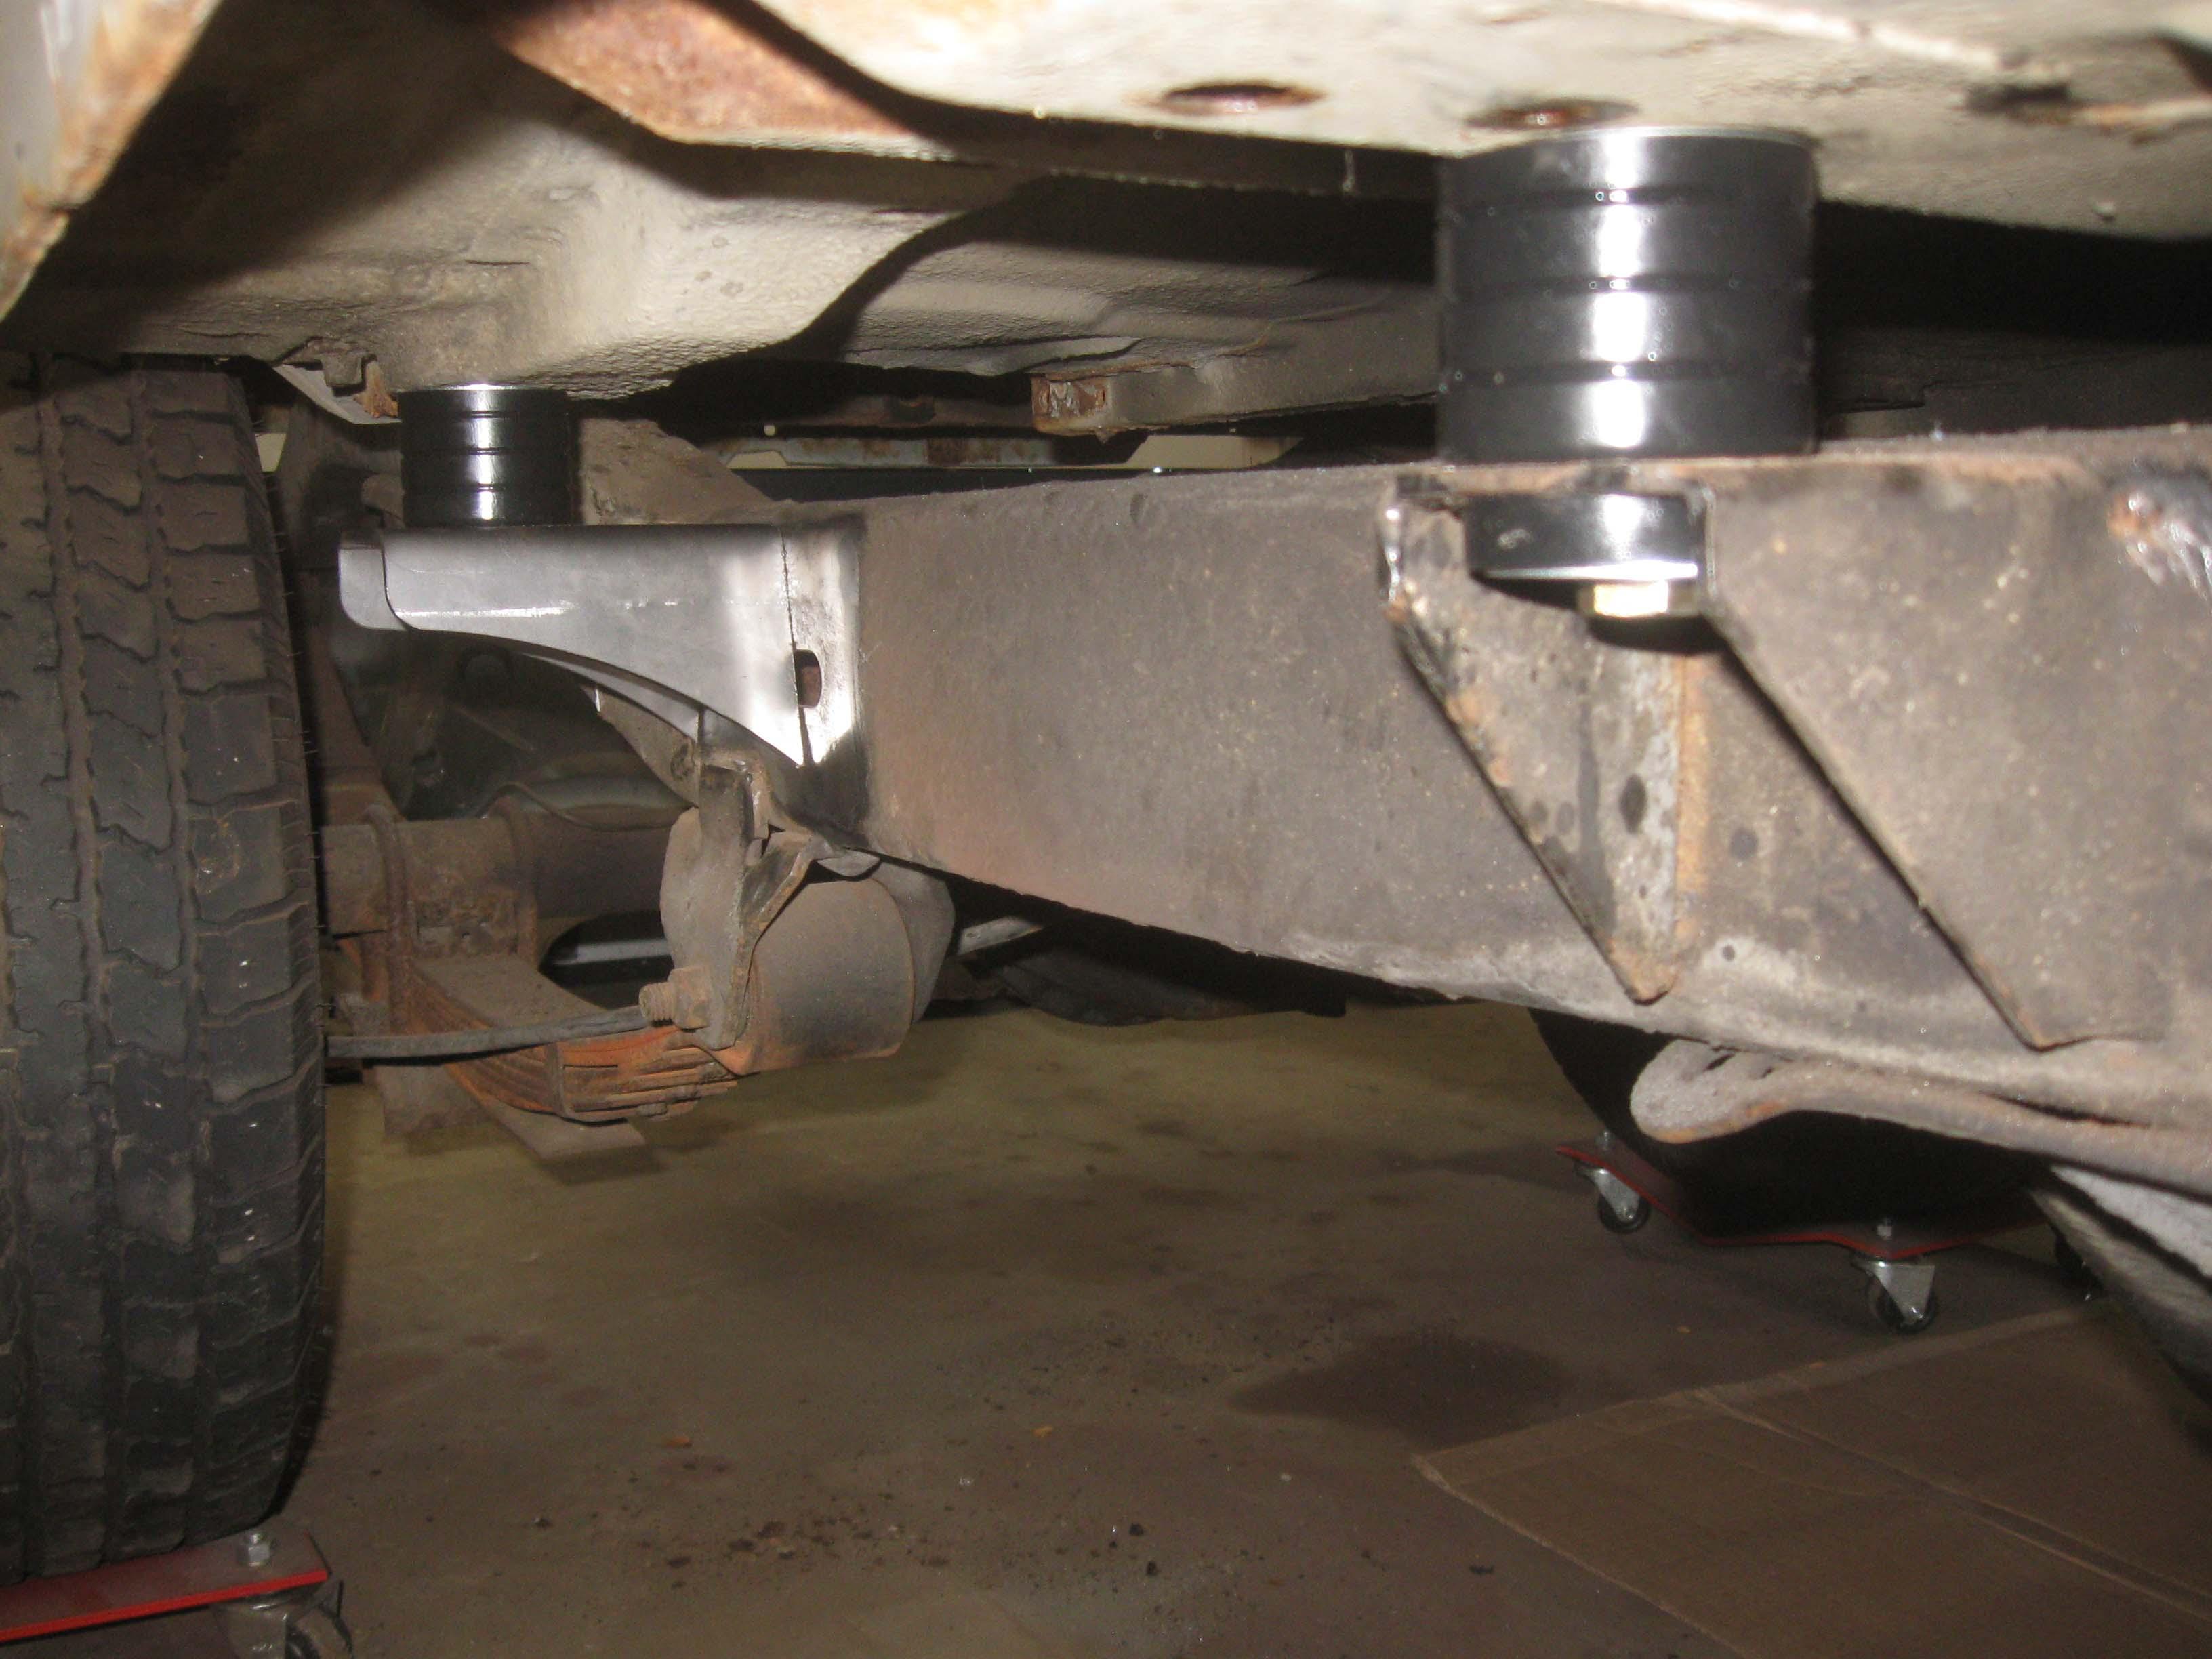
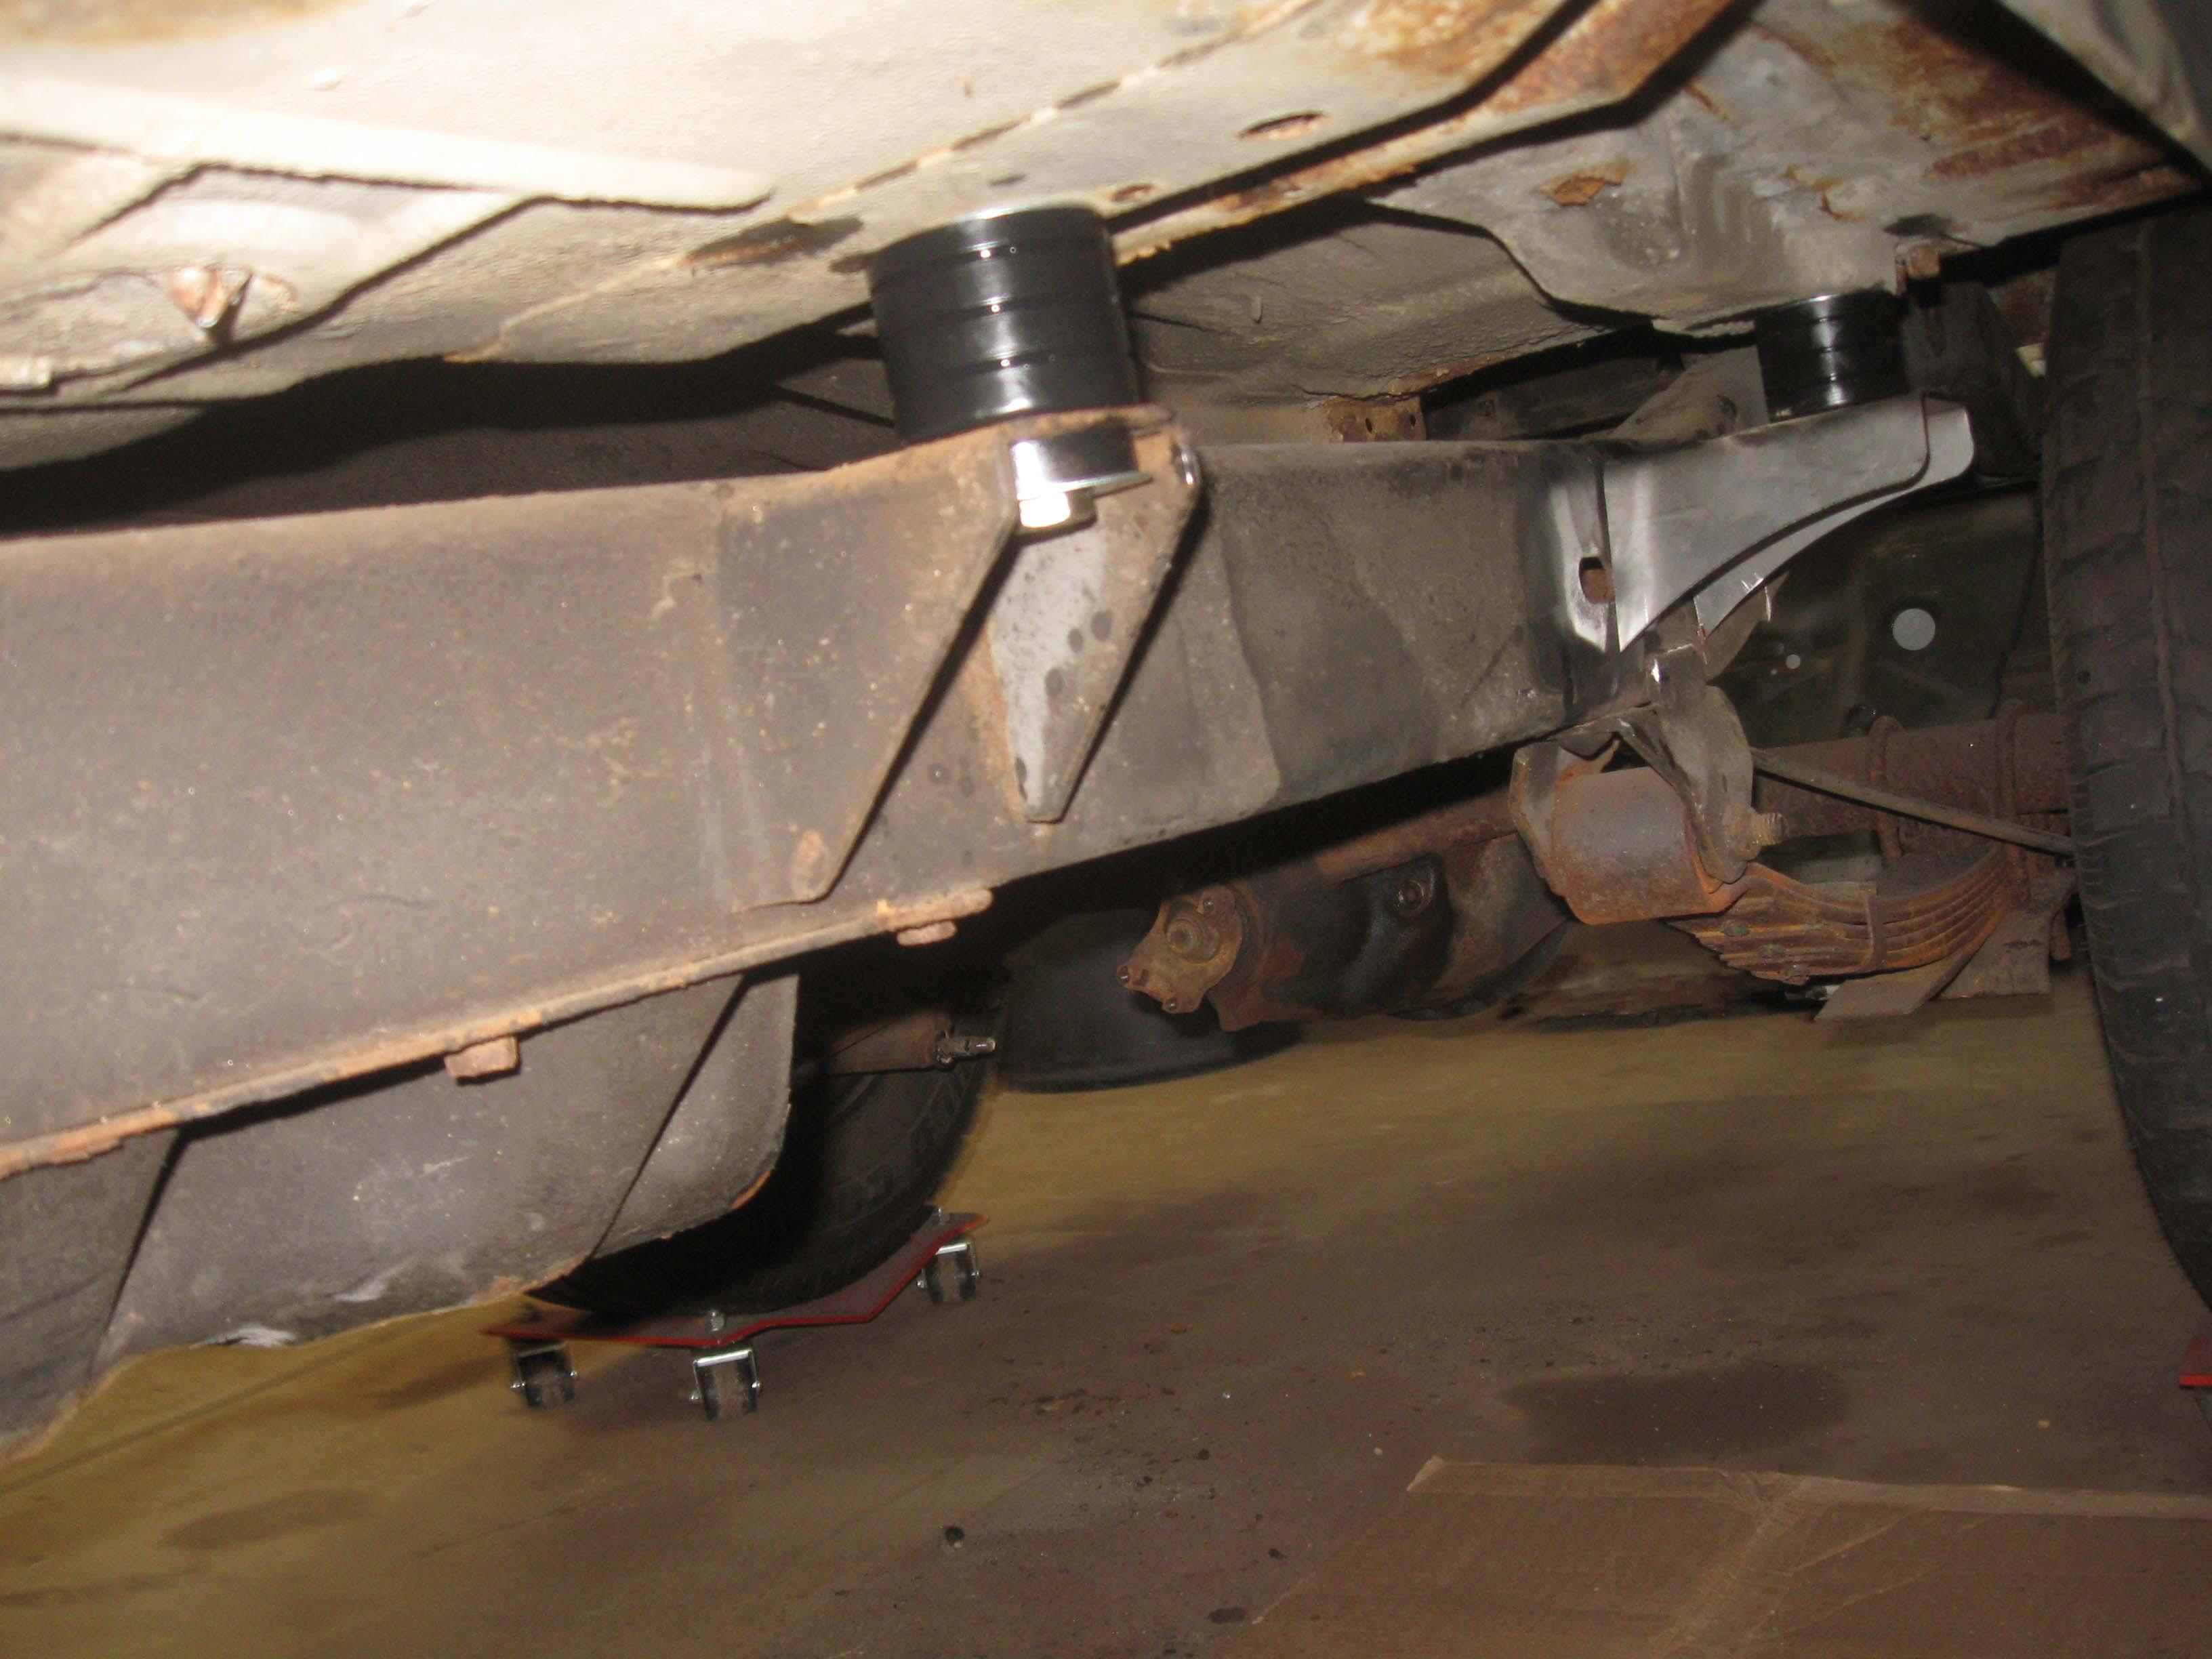
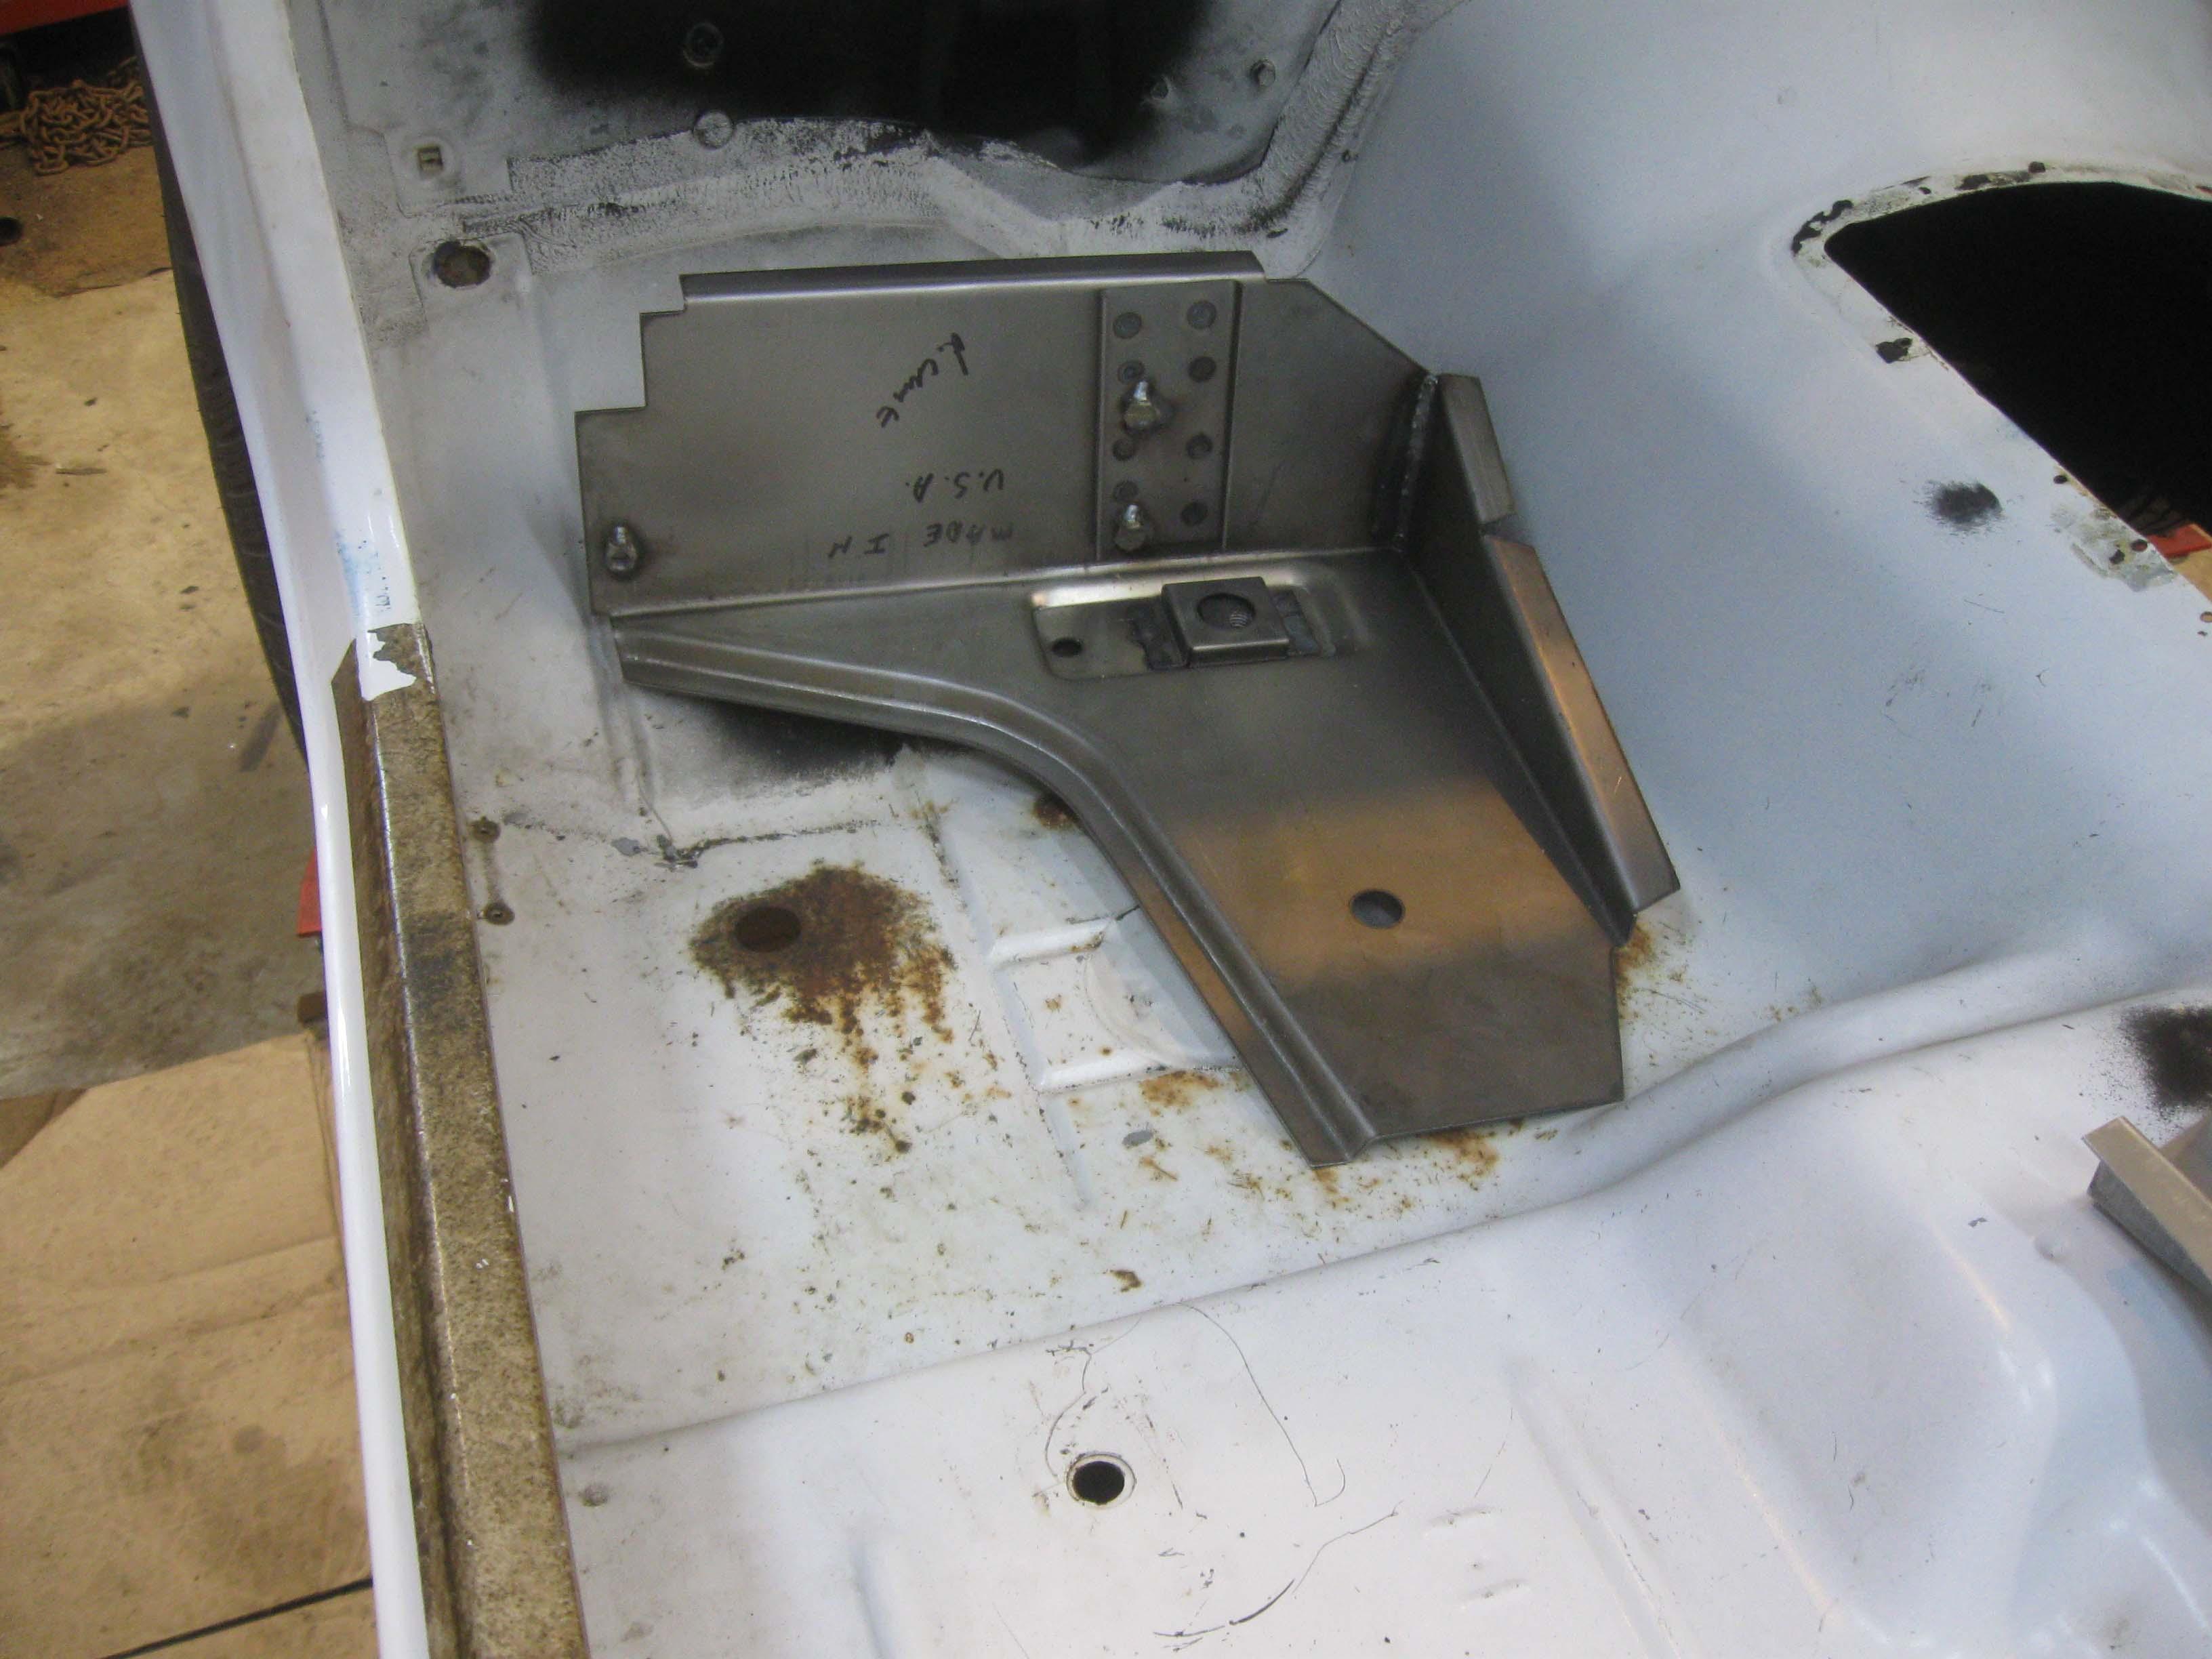
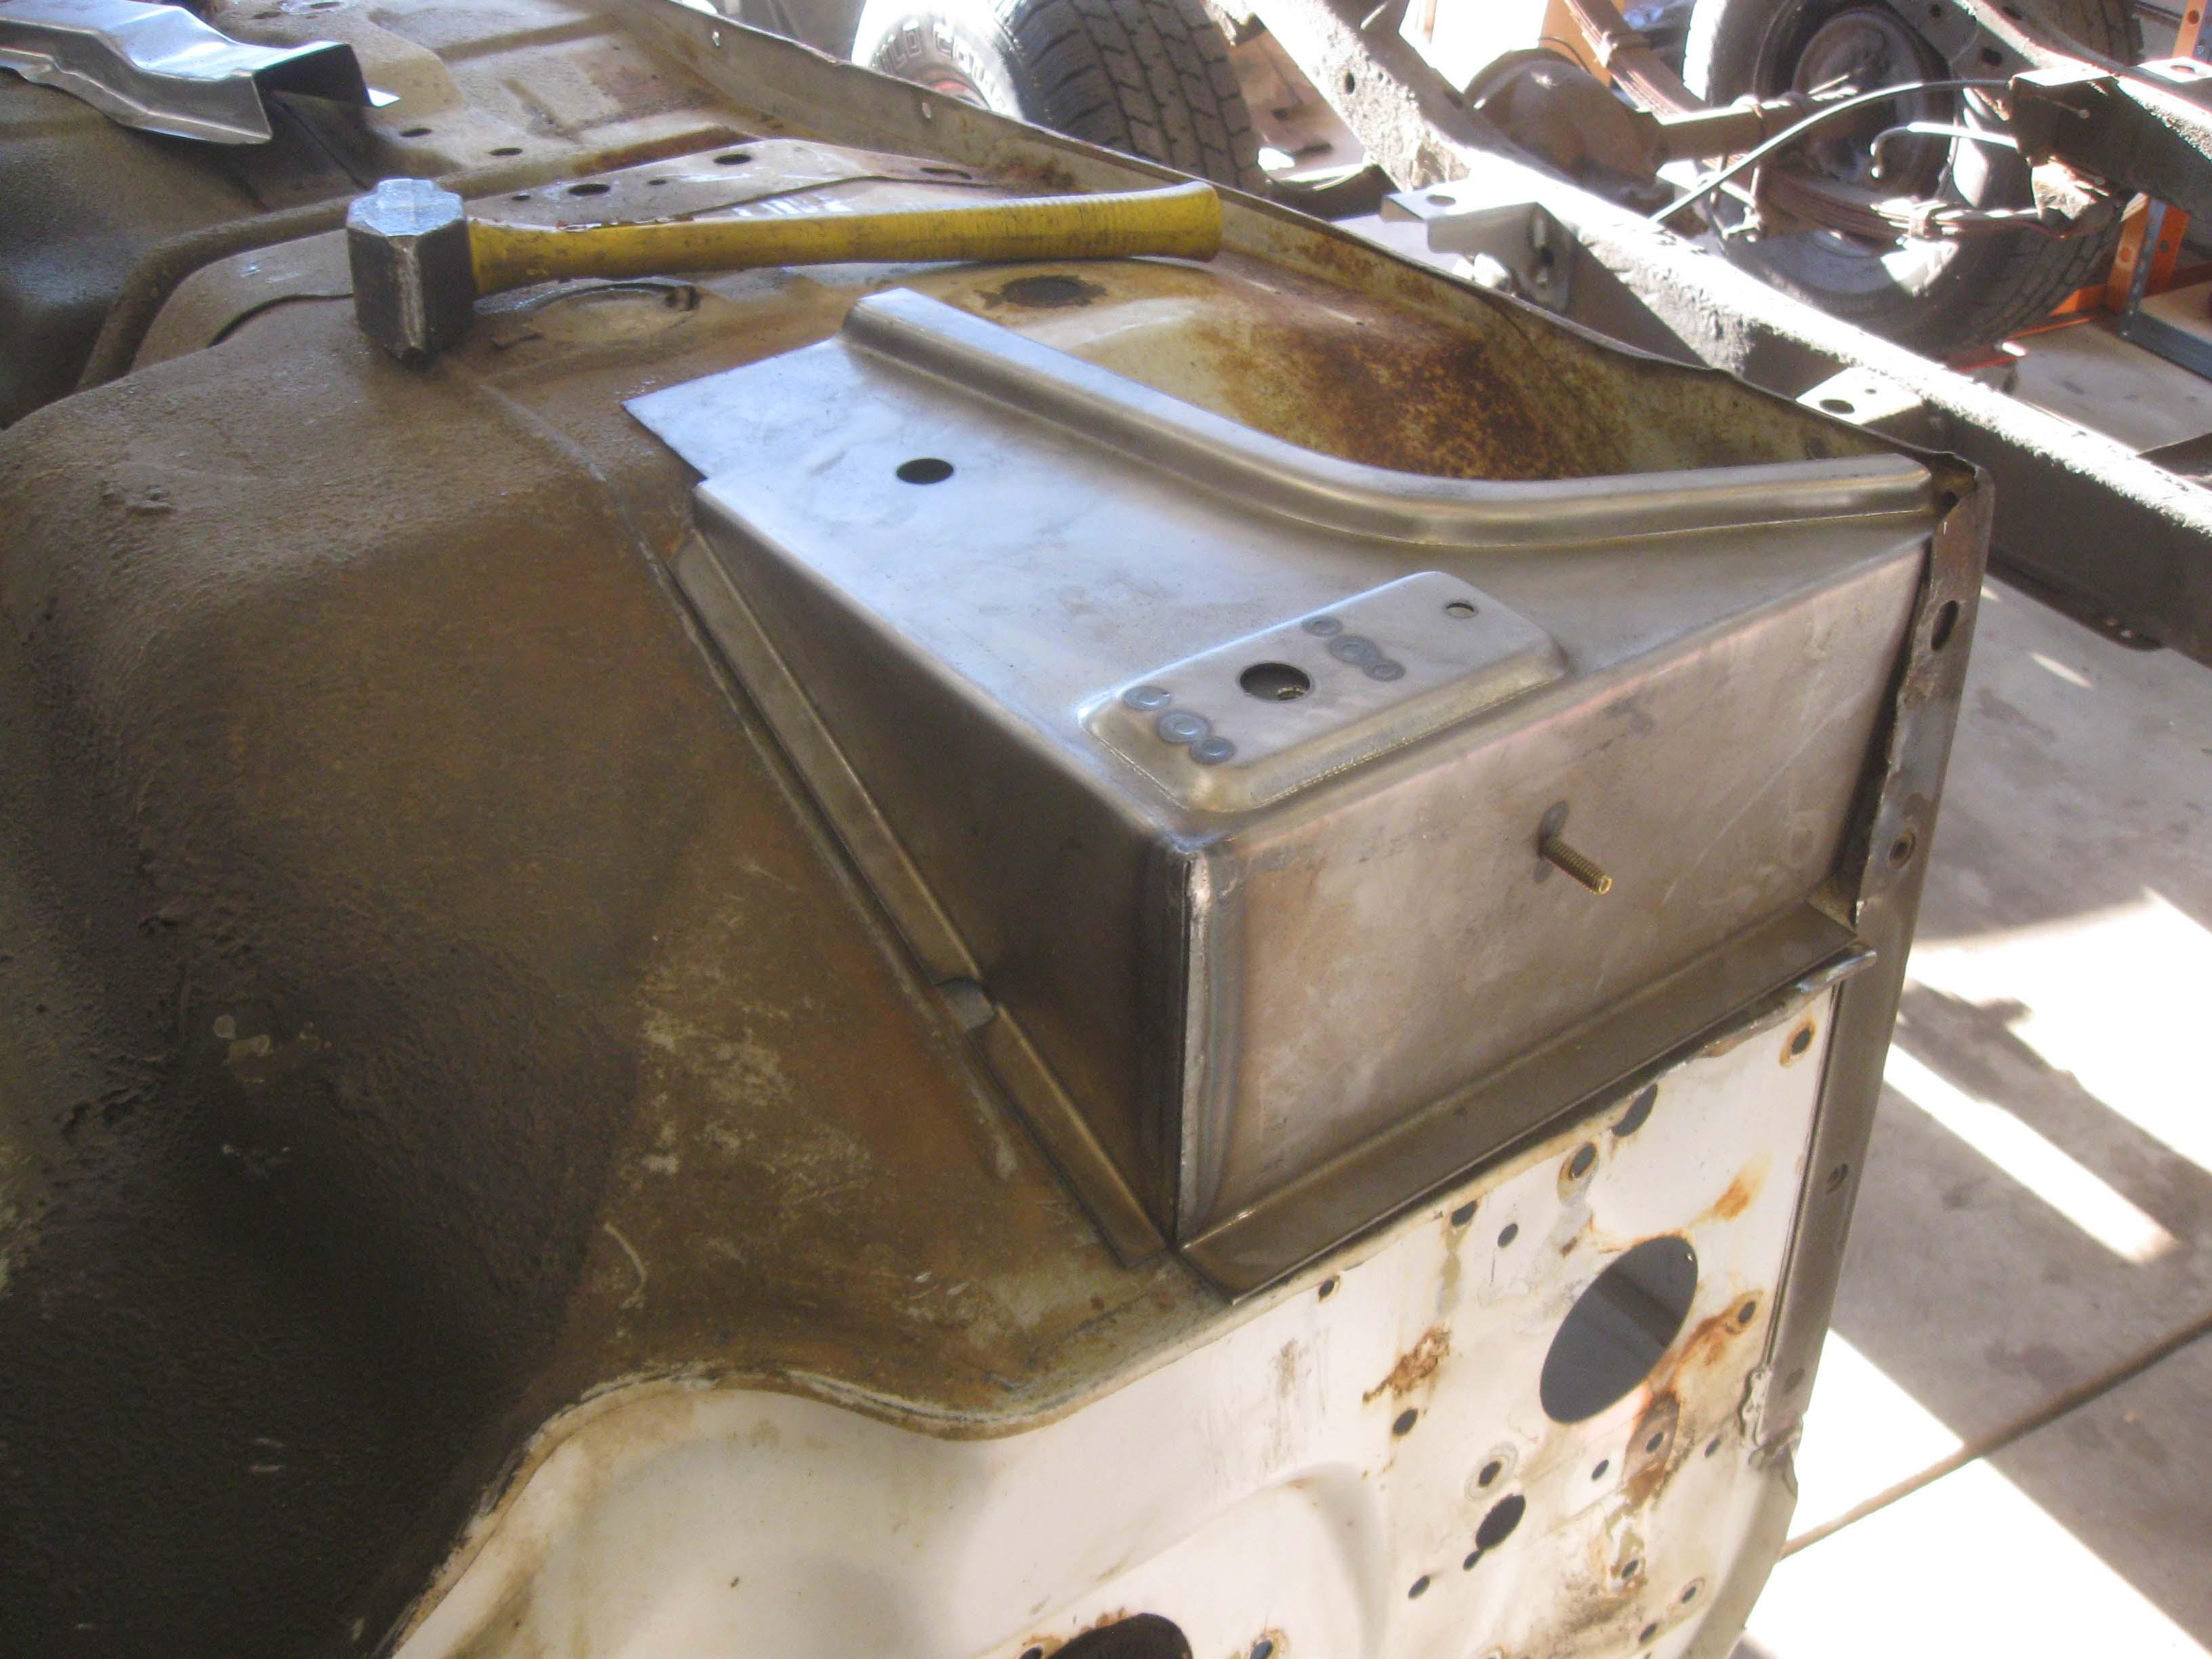
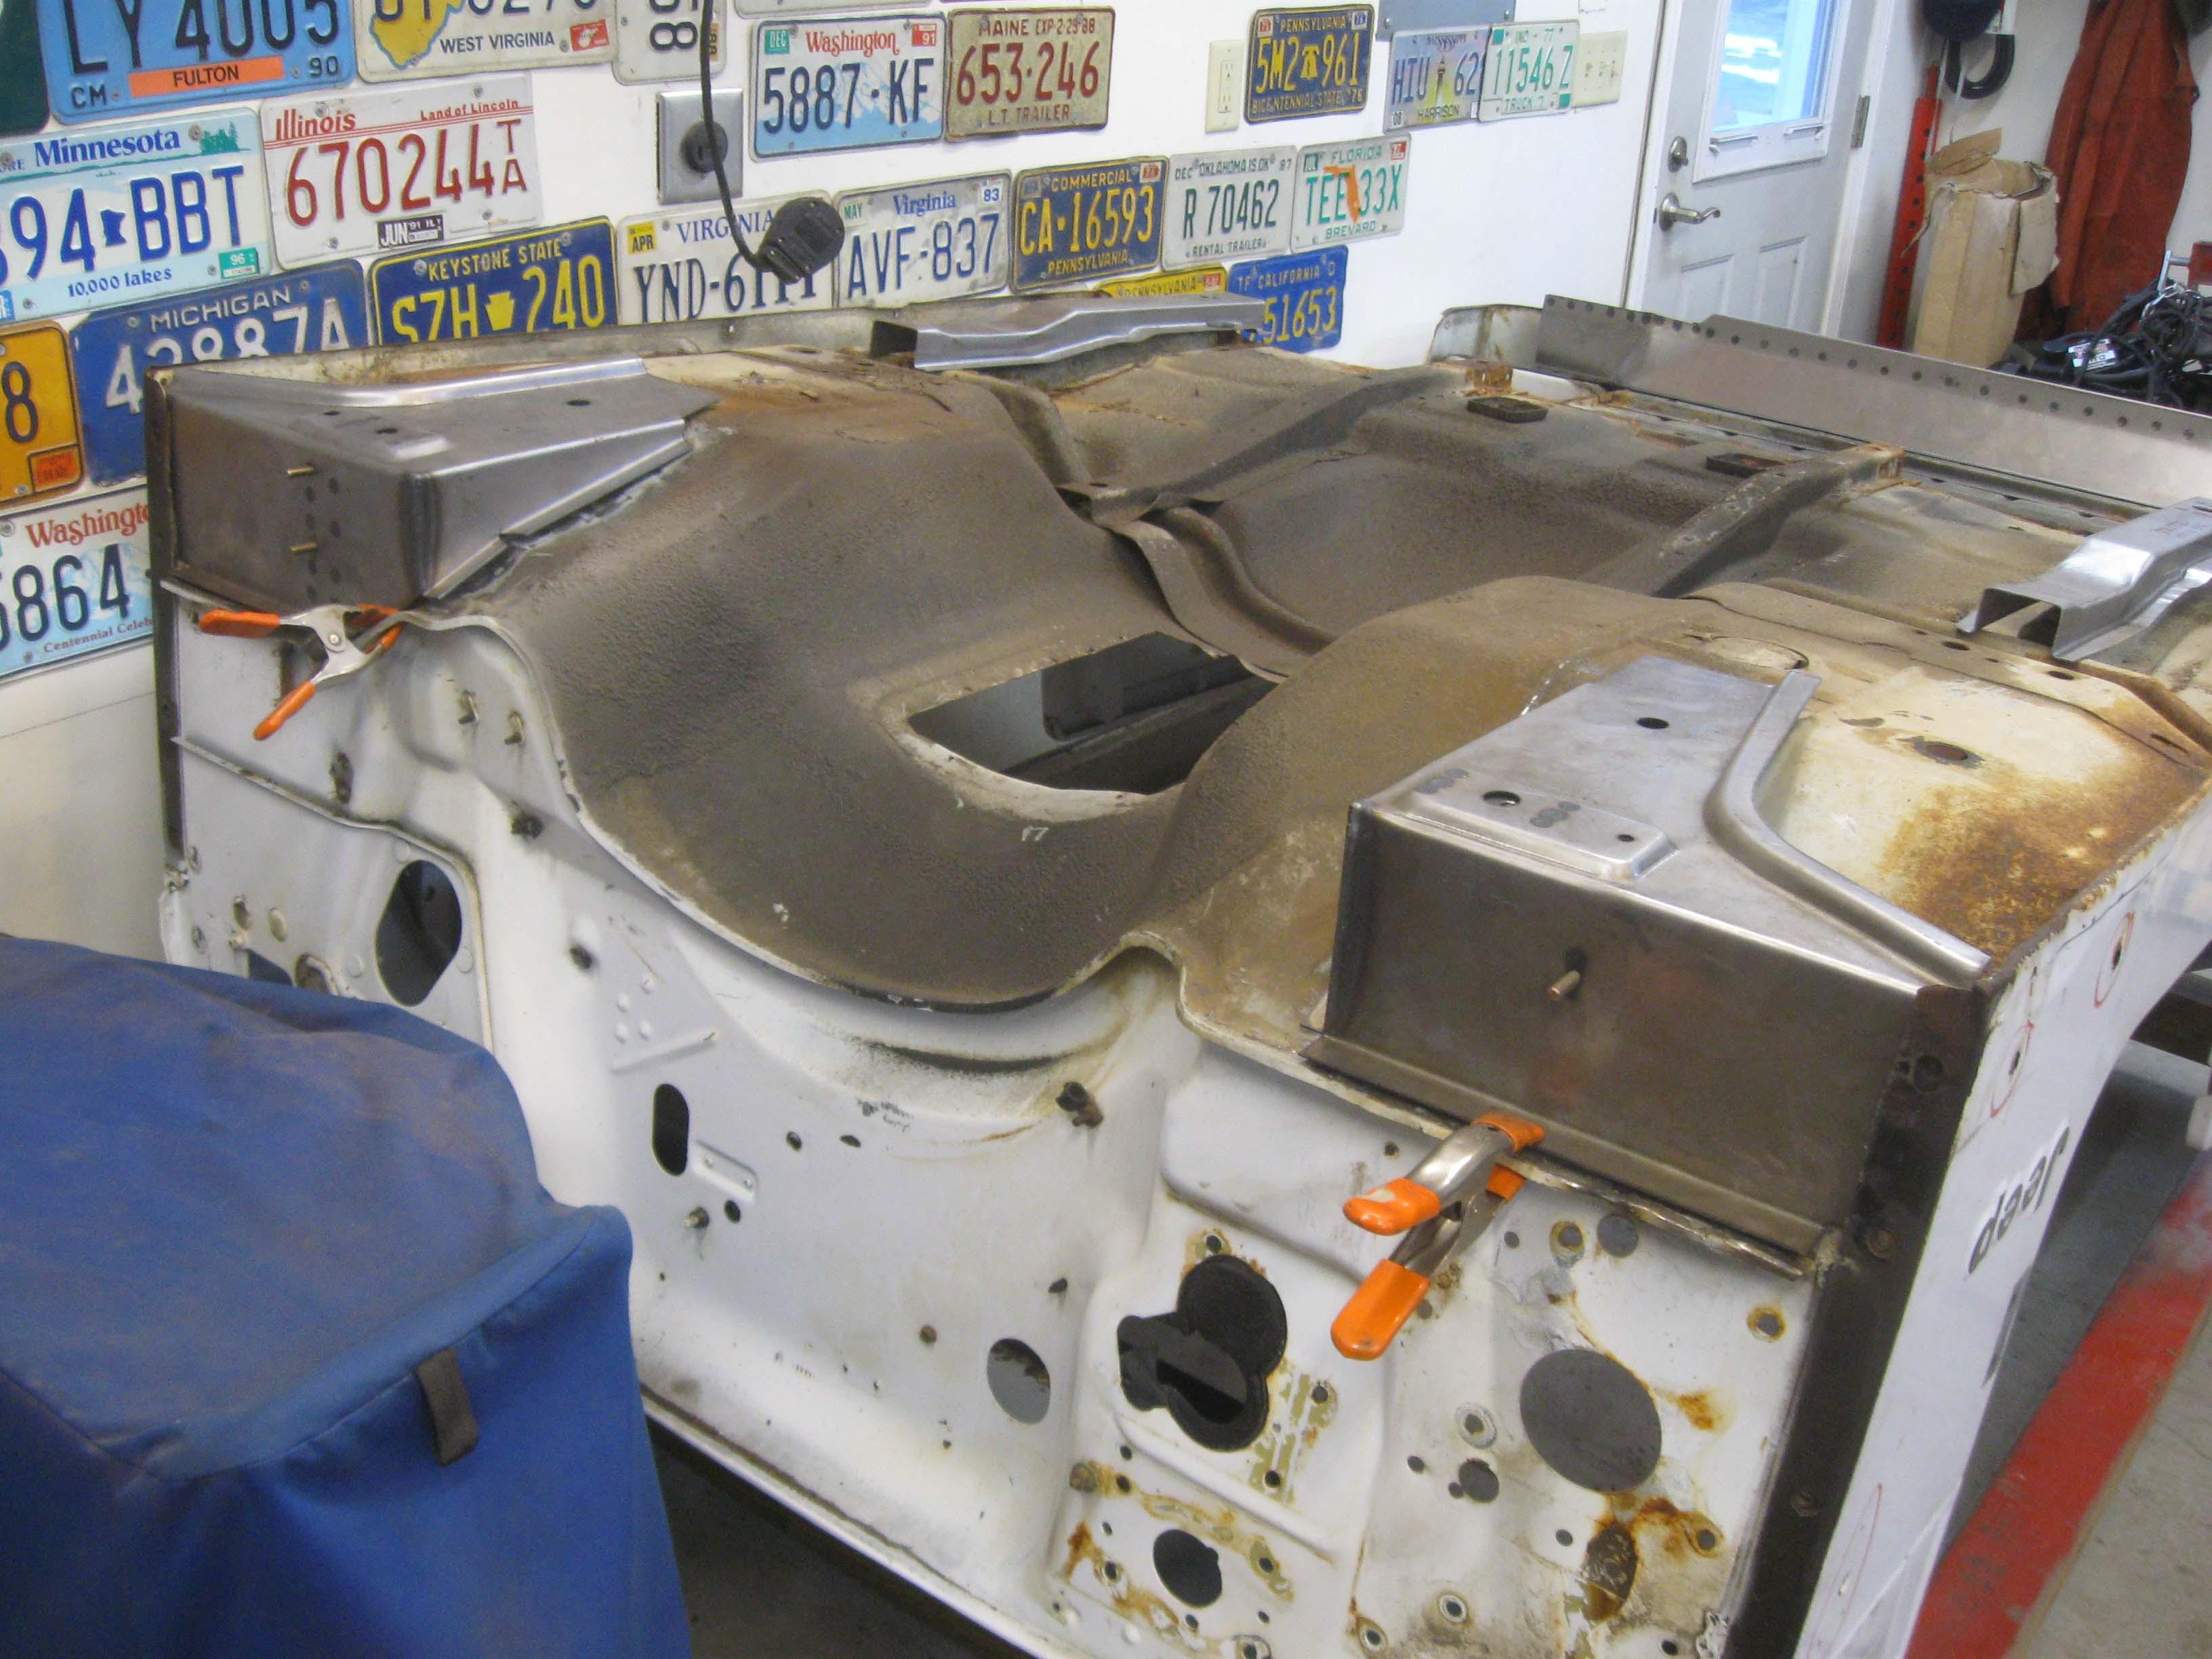
1) Body mounts cut down more and fit and the hardware was put in place
IMG_6908-1.jpg

IMG_6909-1.jpg


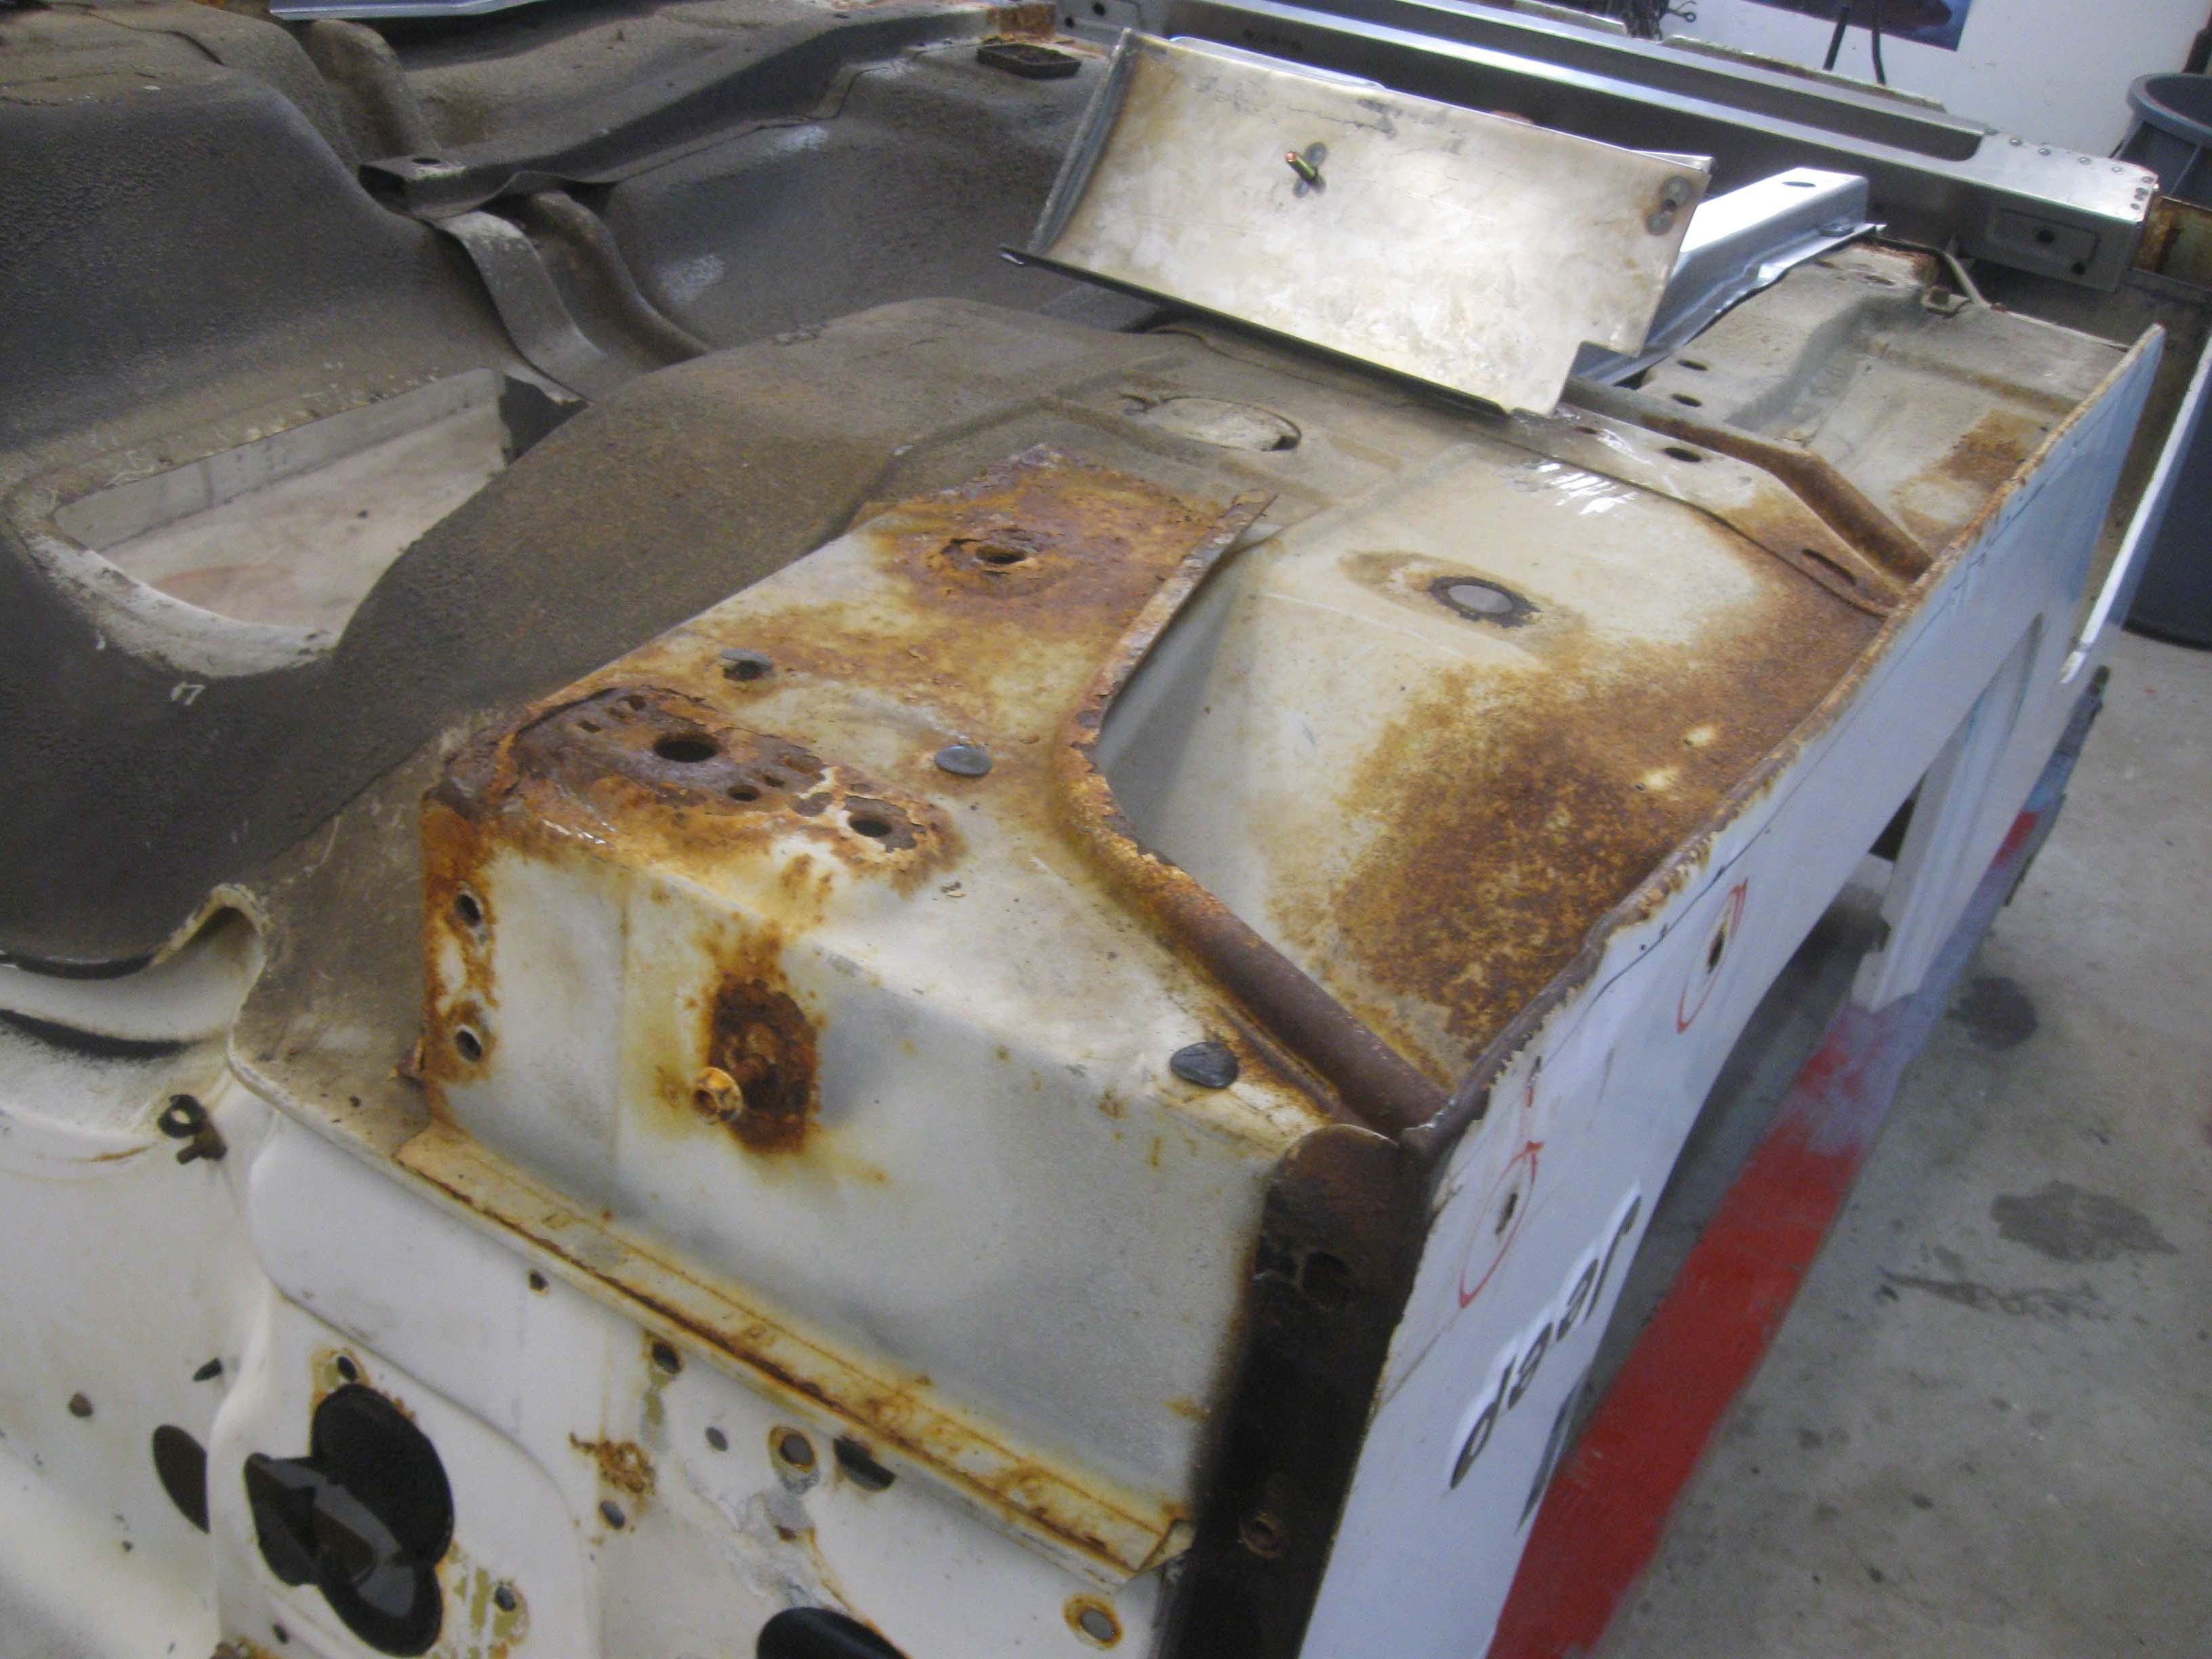
2) Rear was cut for the gas tank opening on the right or “correct” side
- I kept the old piece to put on the other side to fill in.
IMG_6912-1.jpg


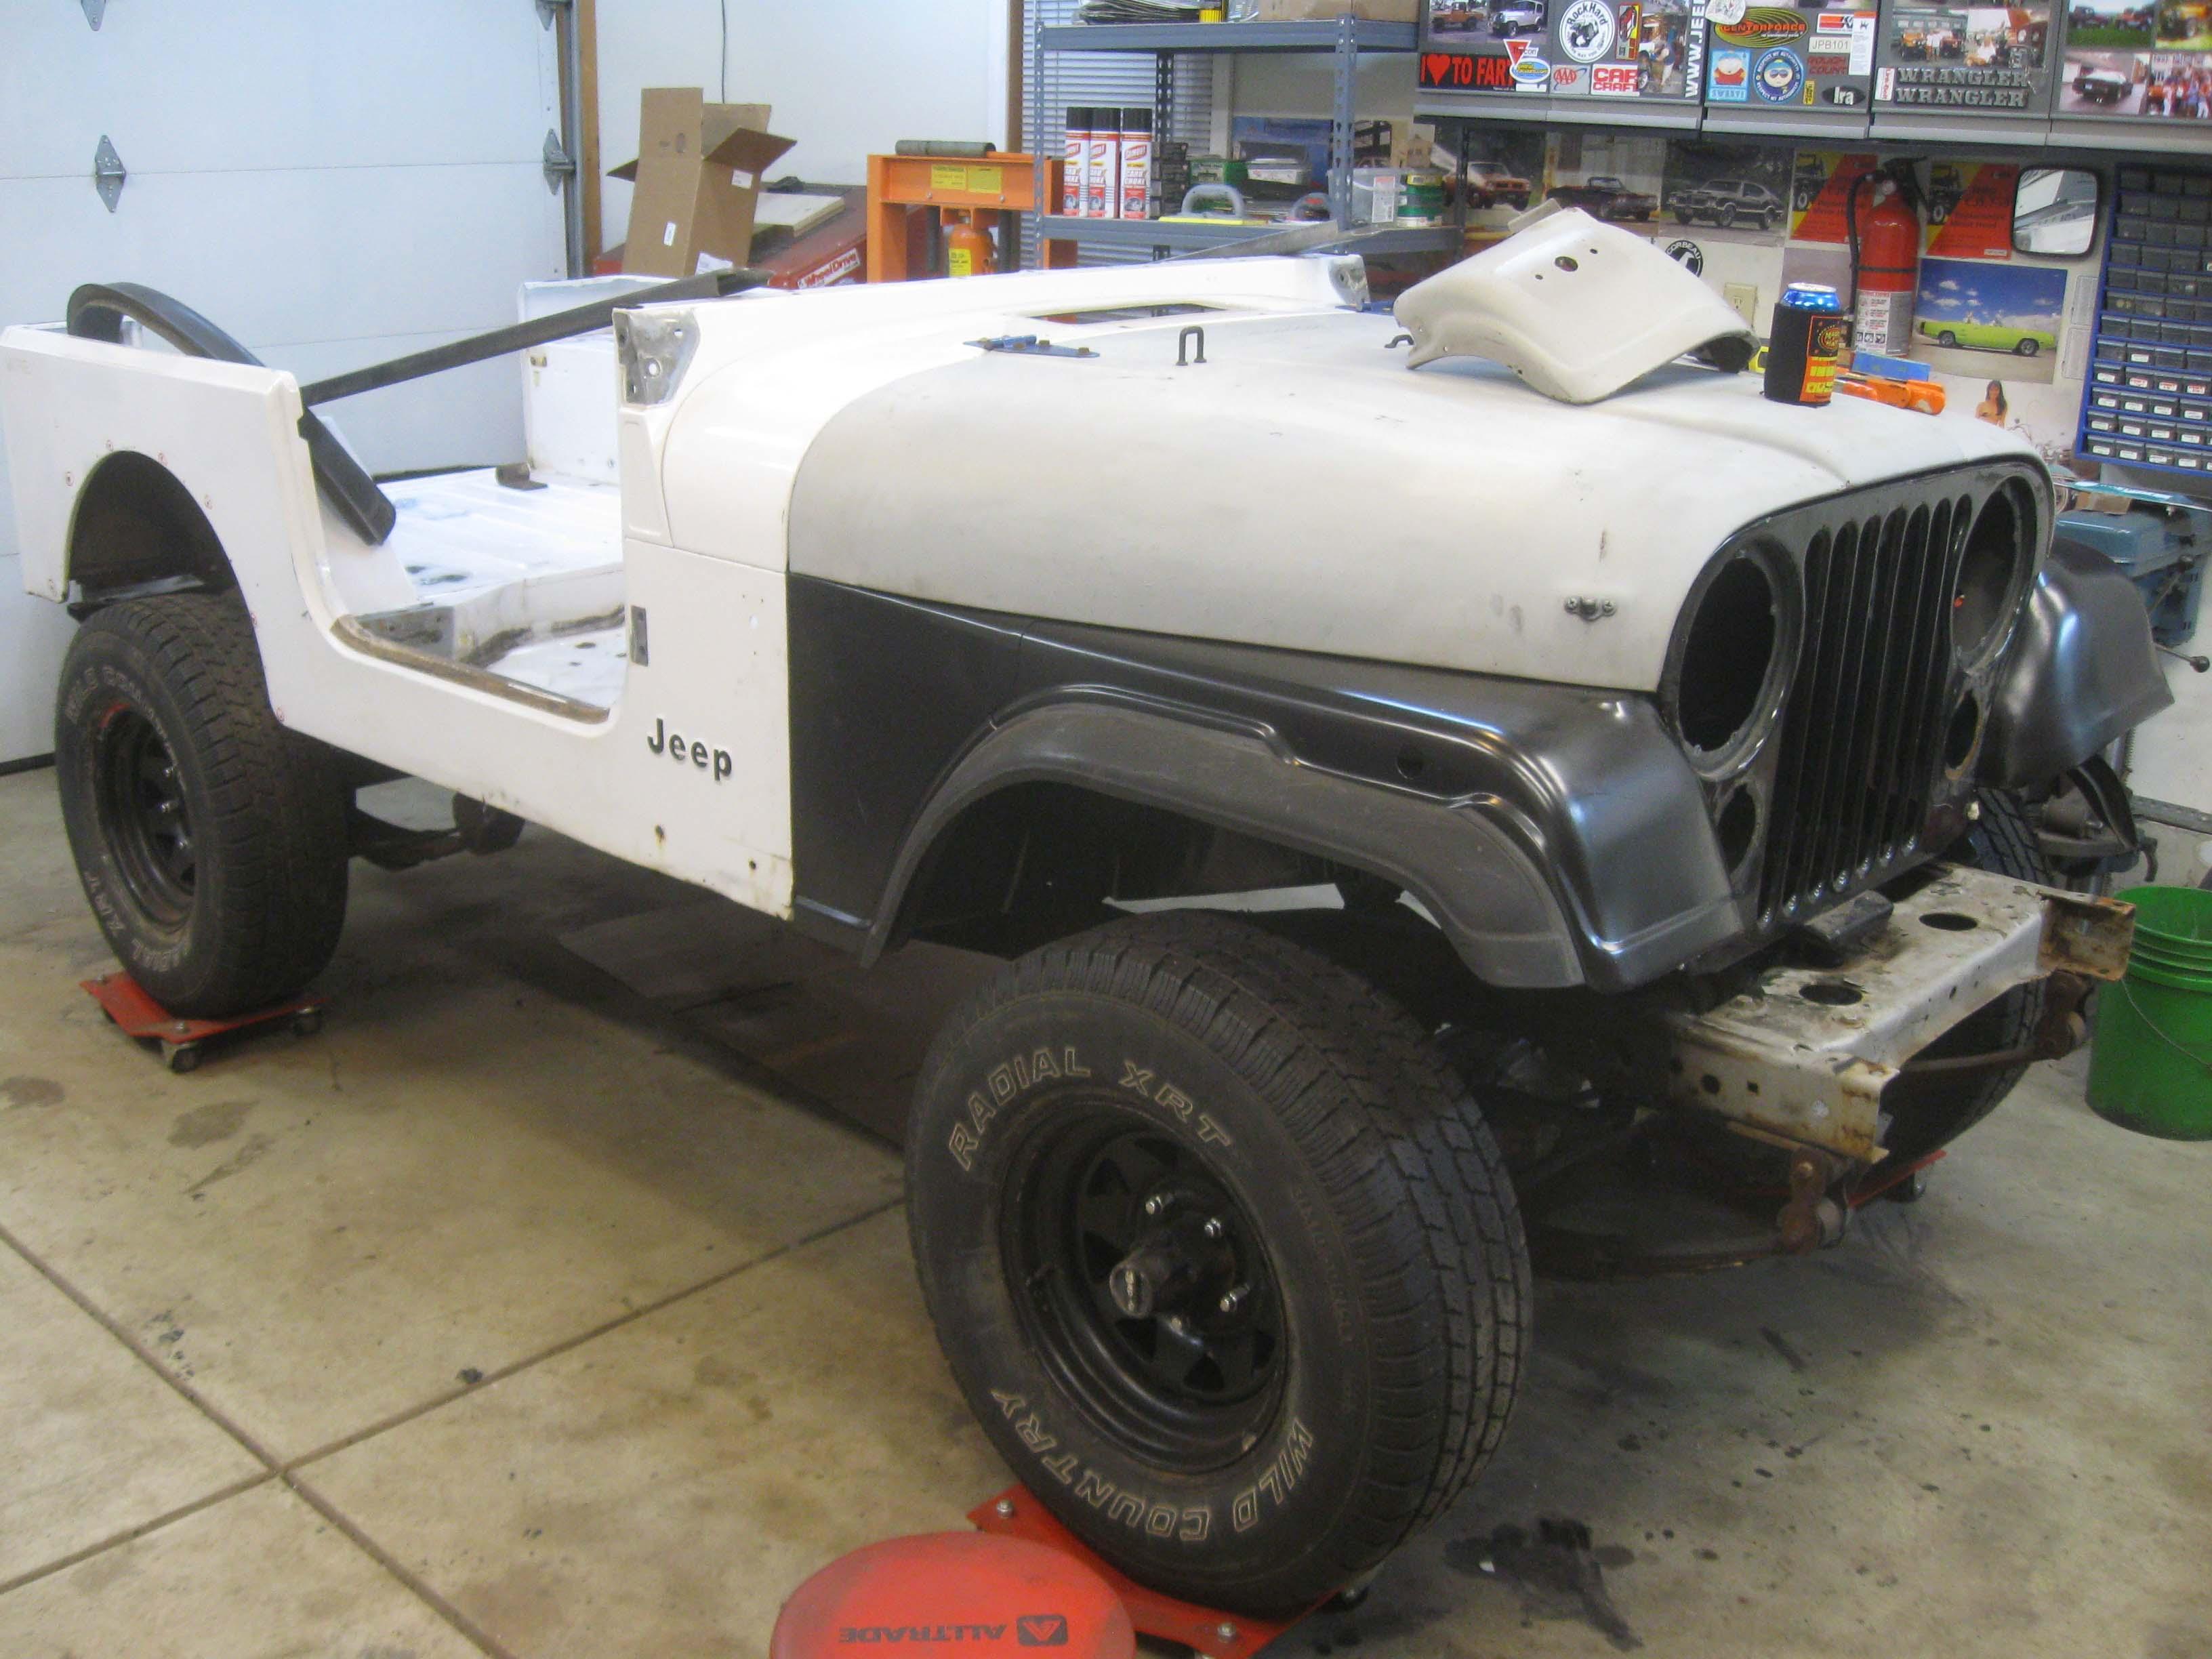
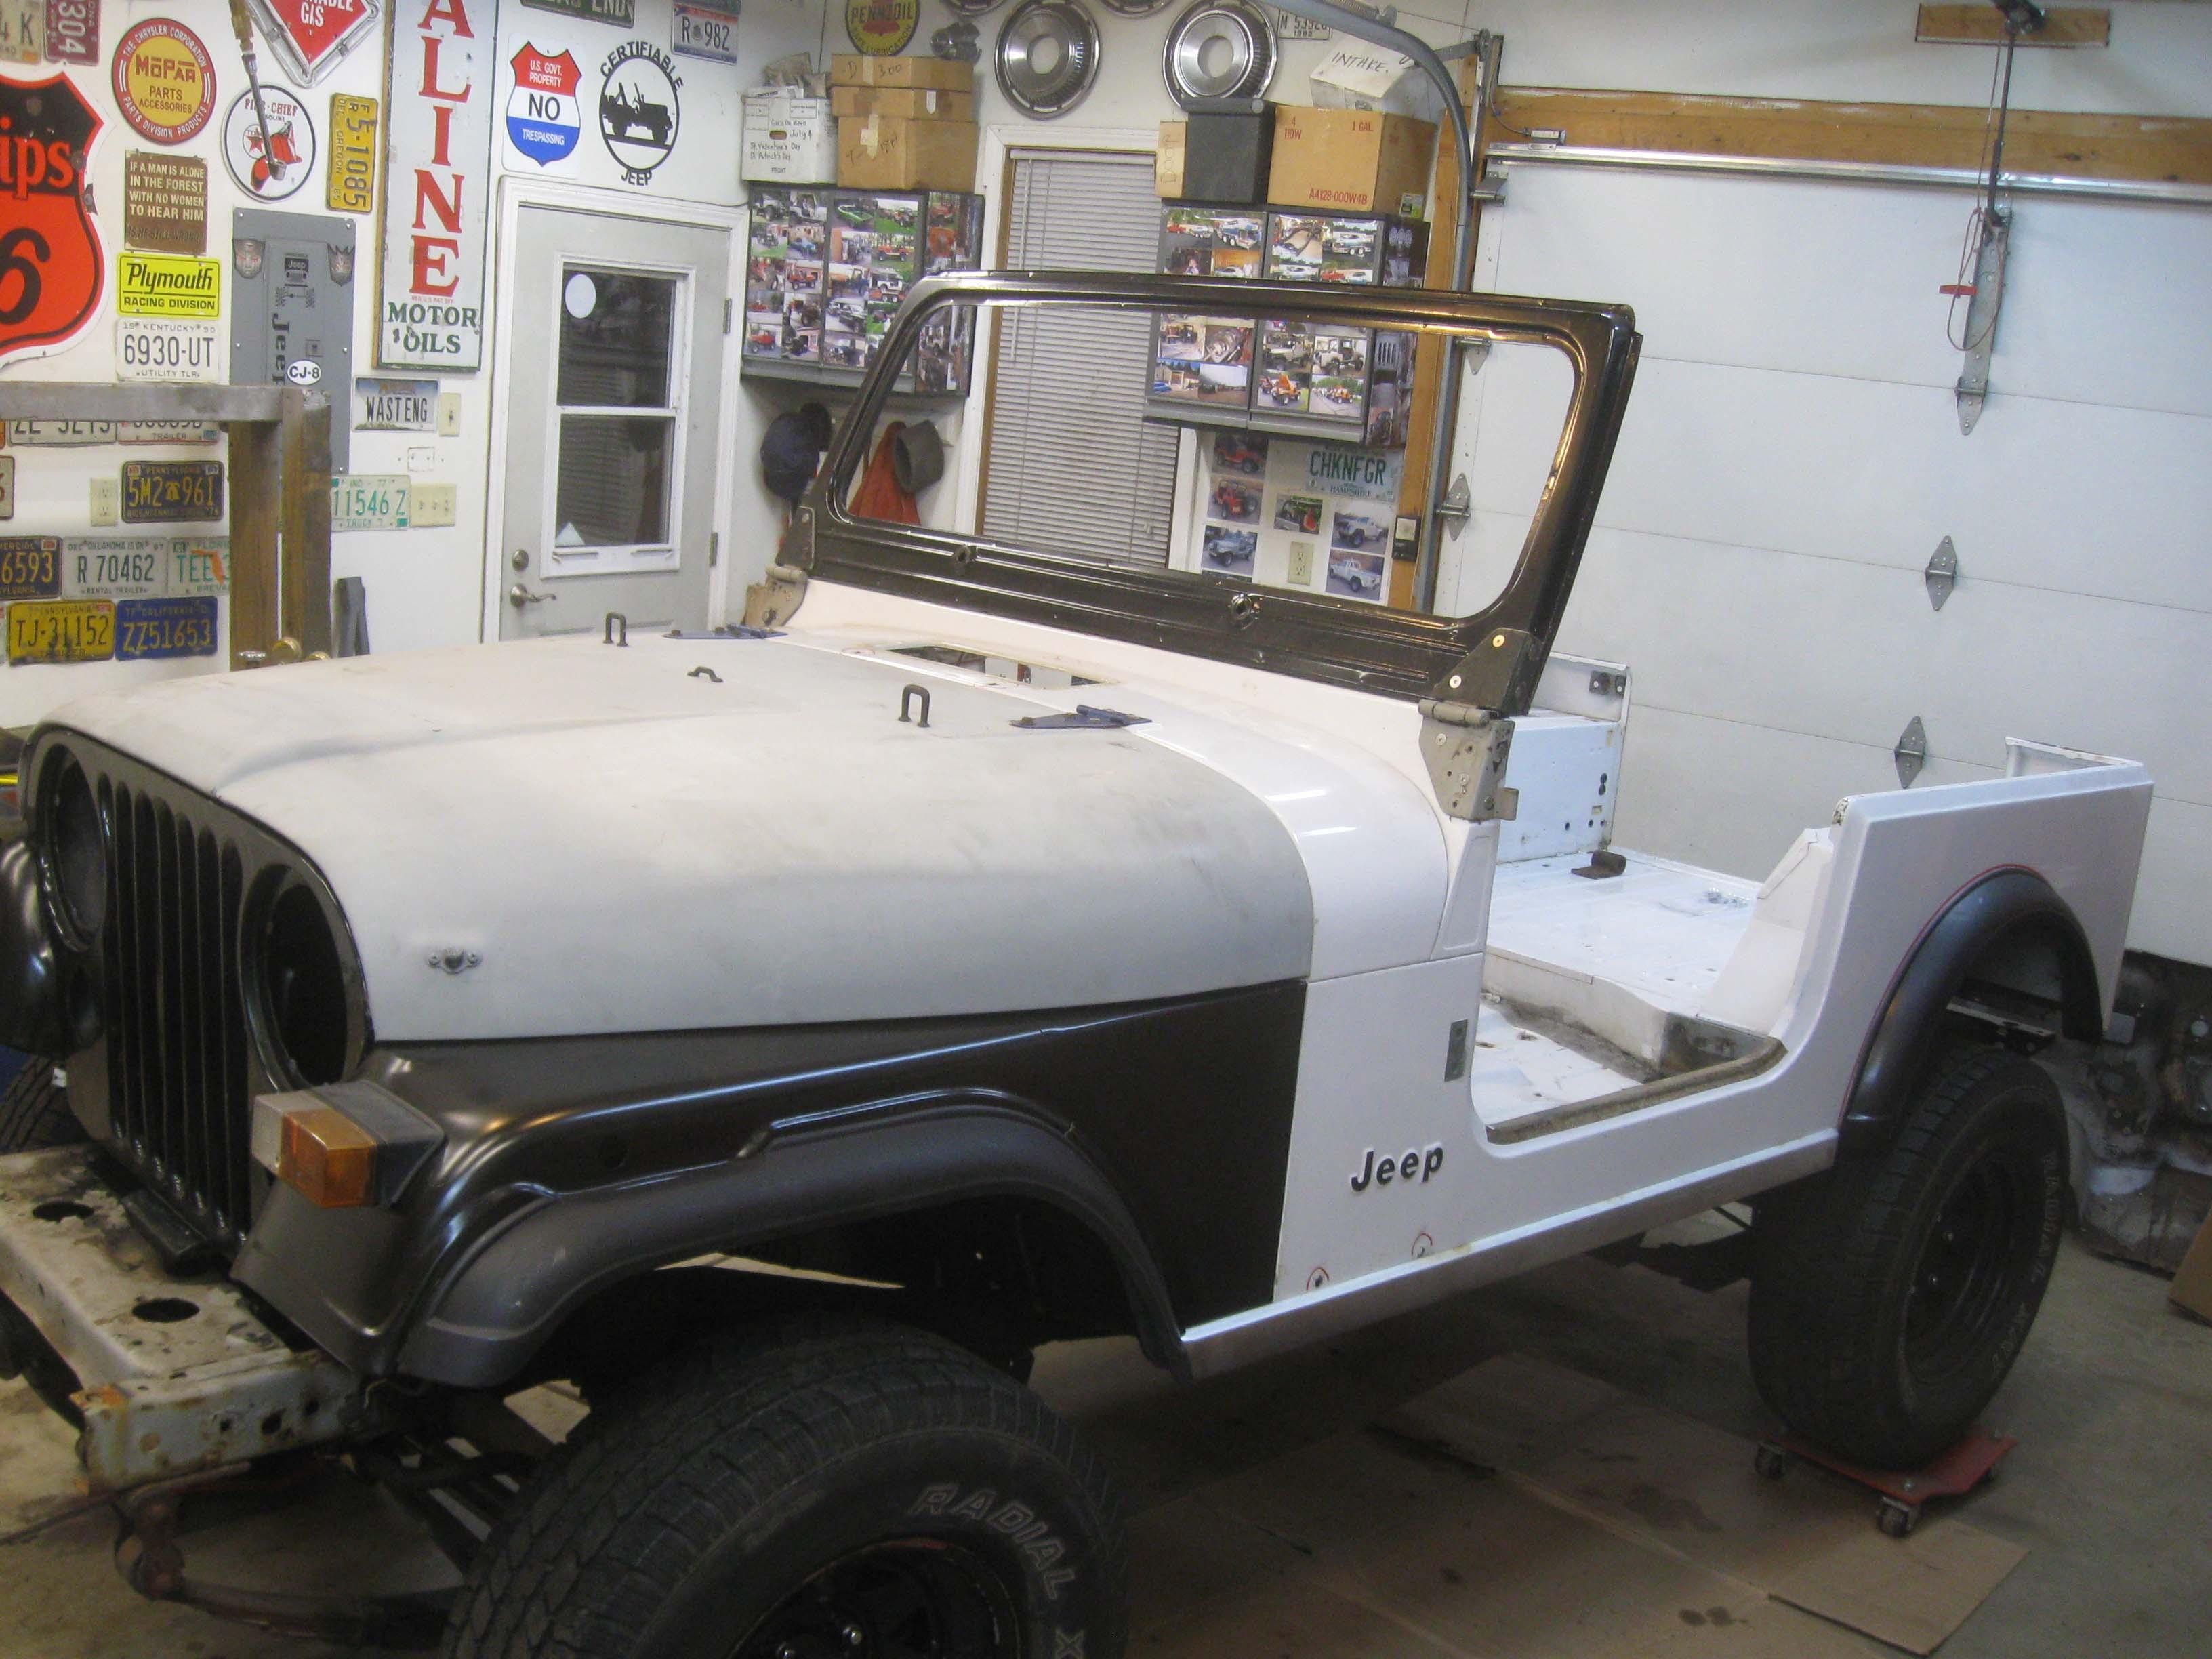
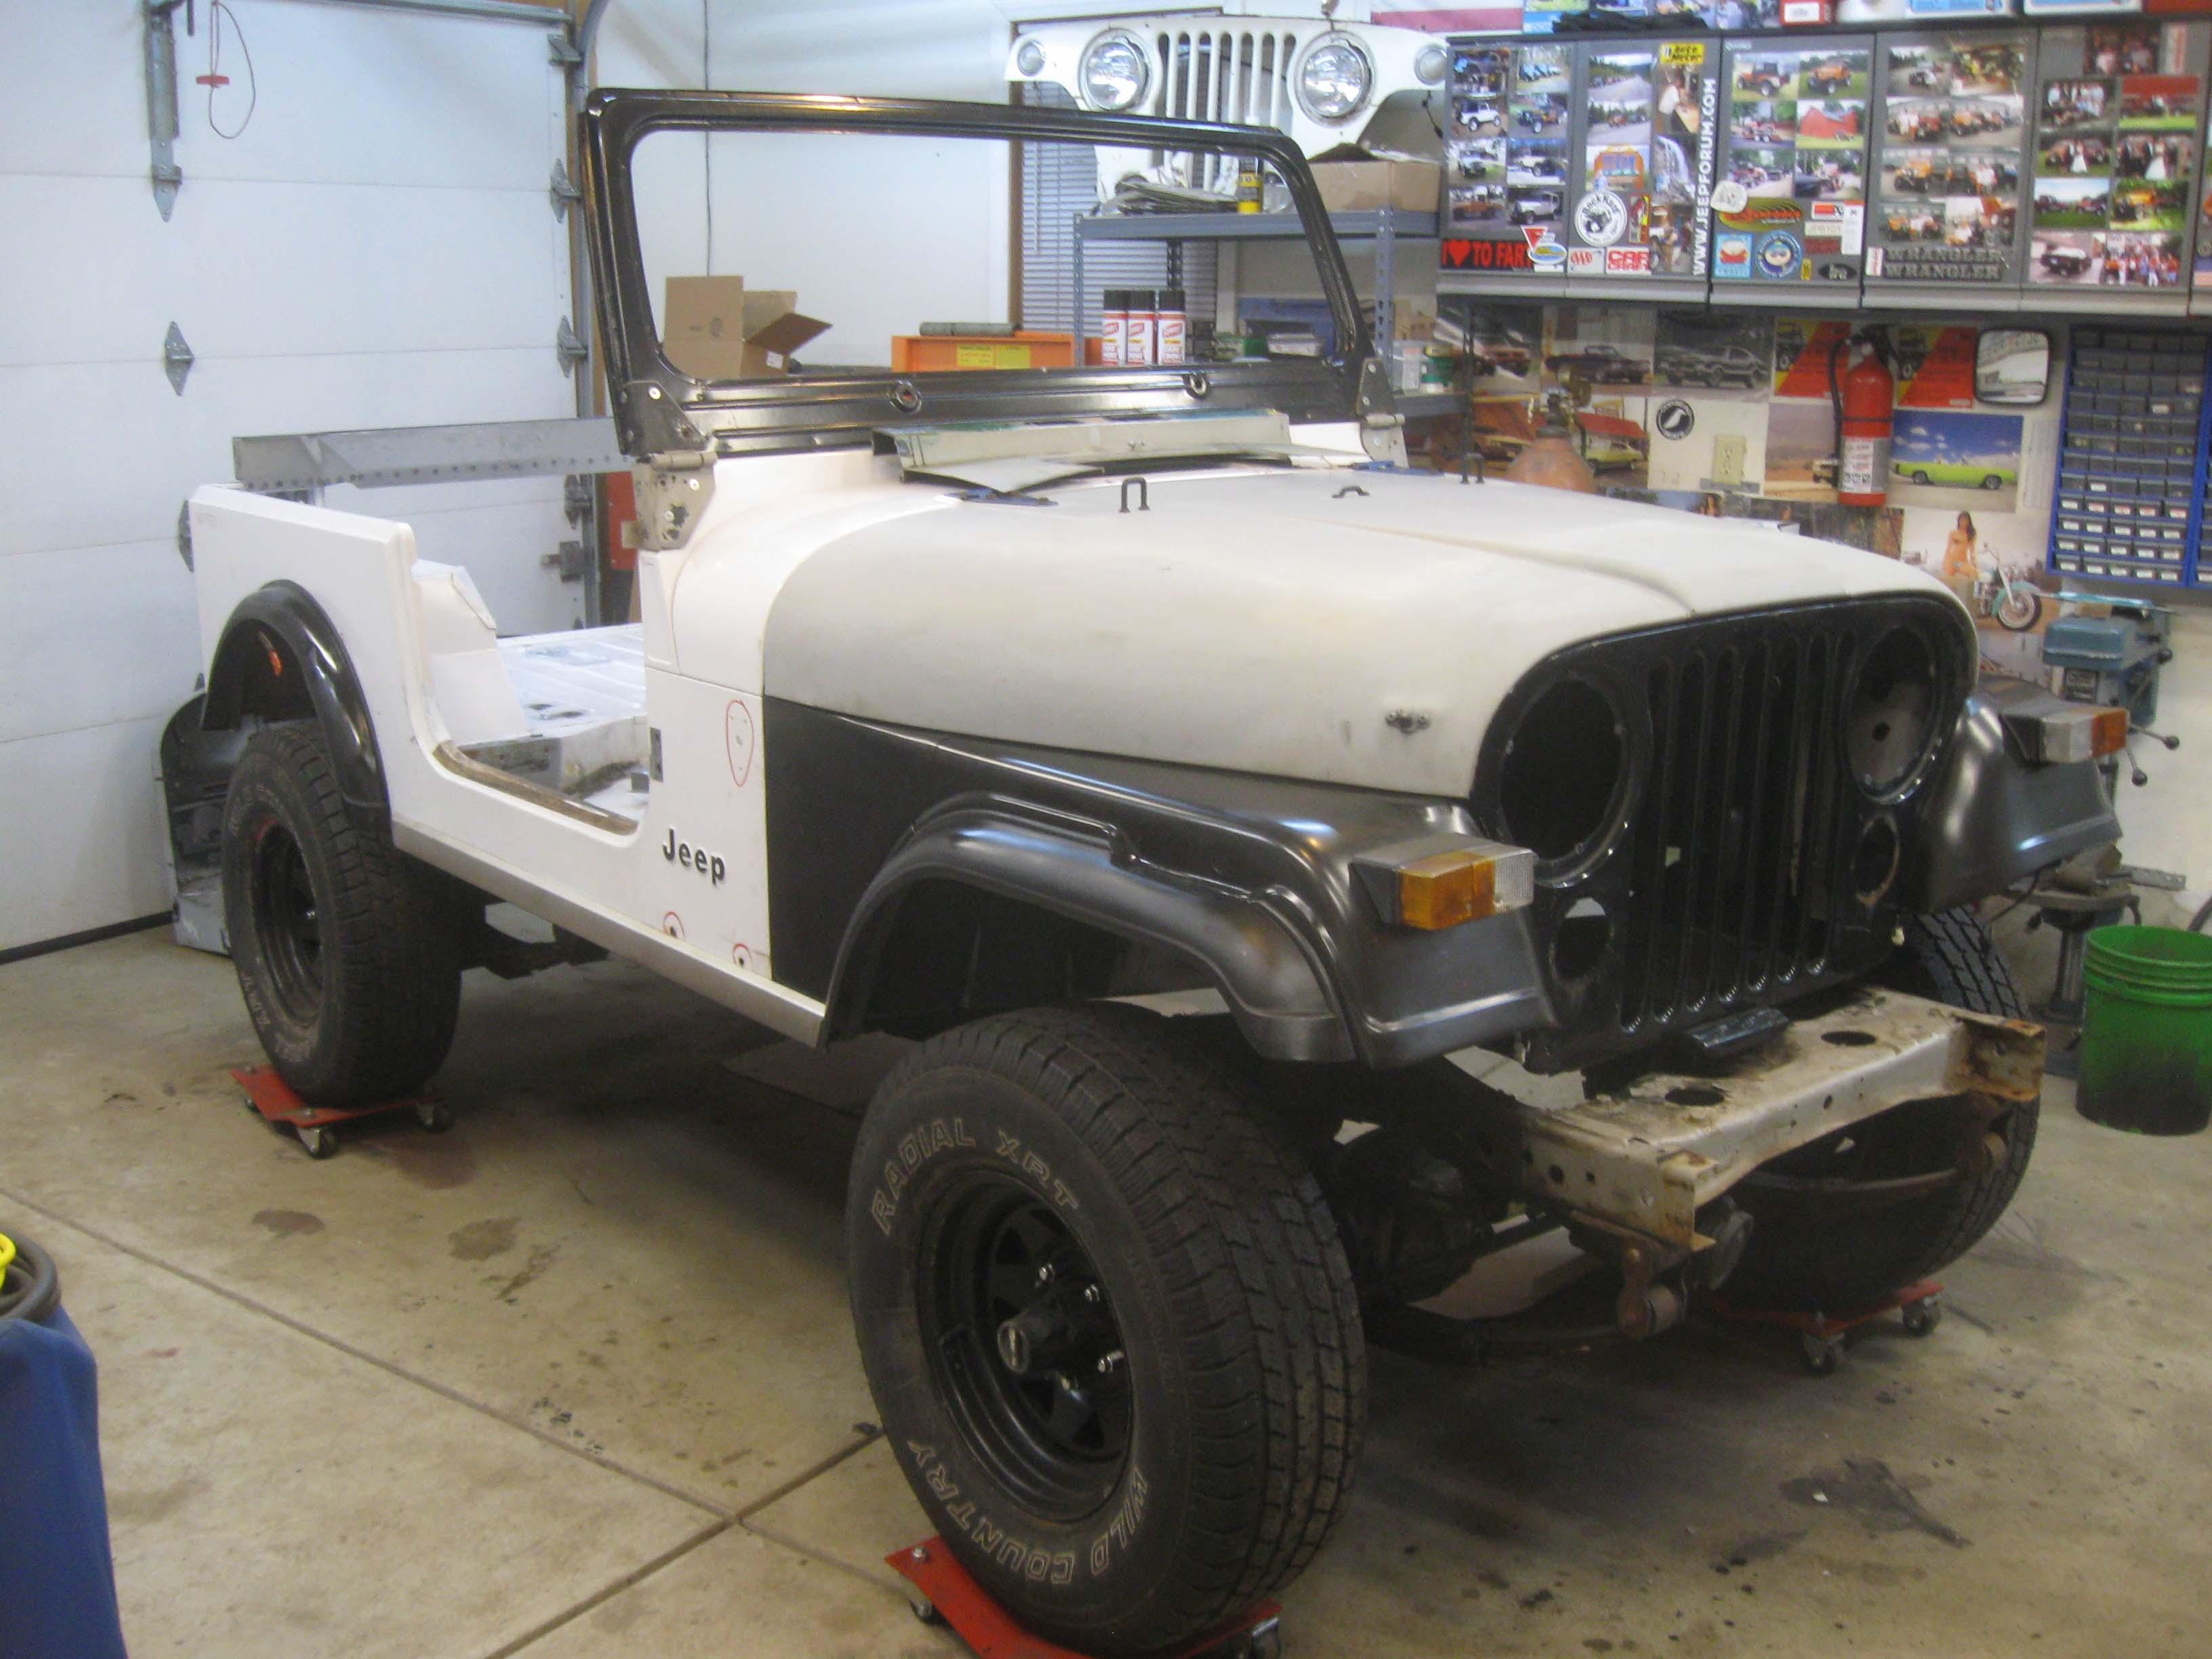
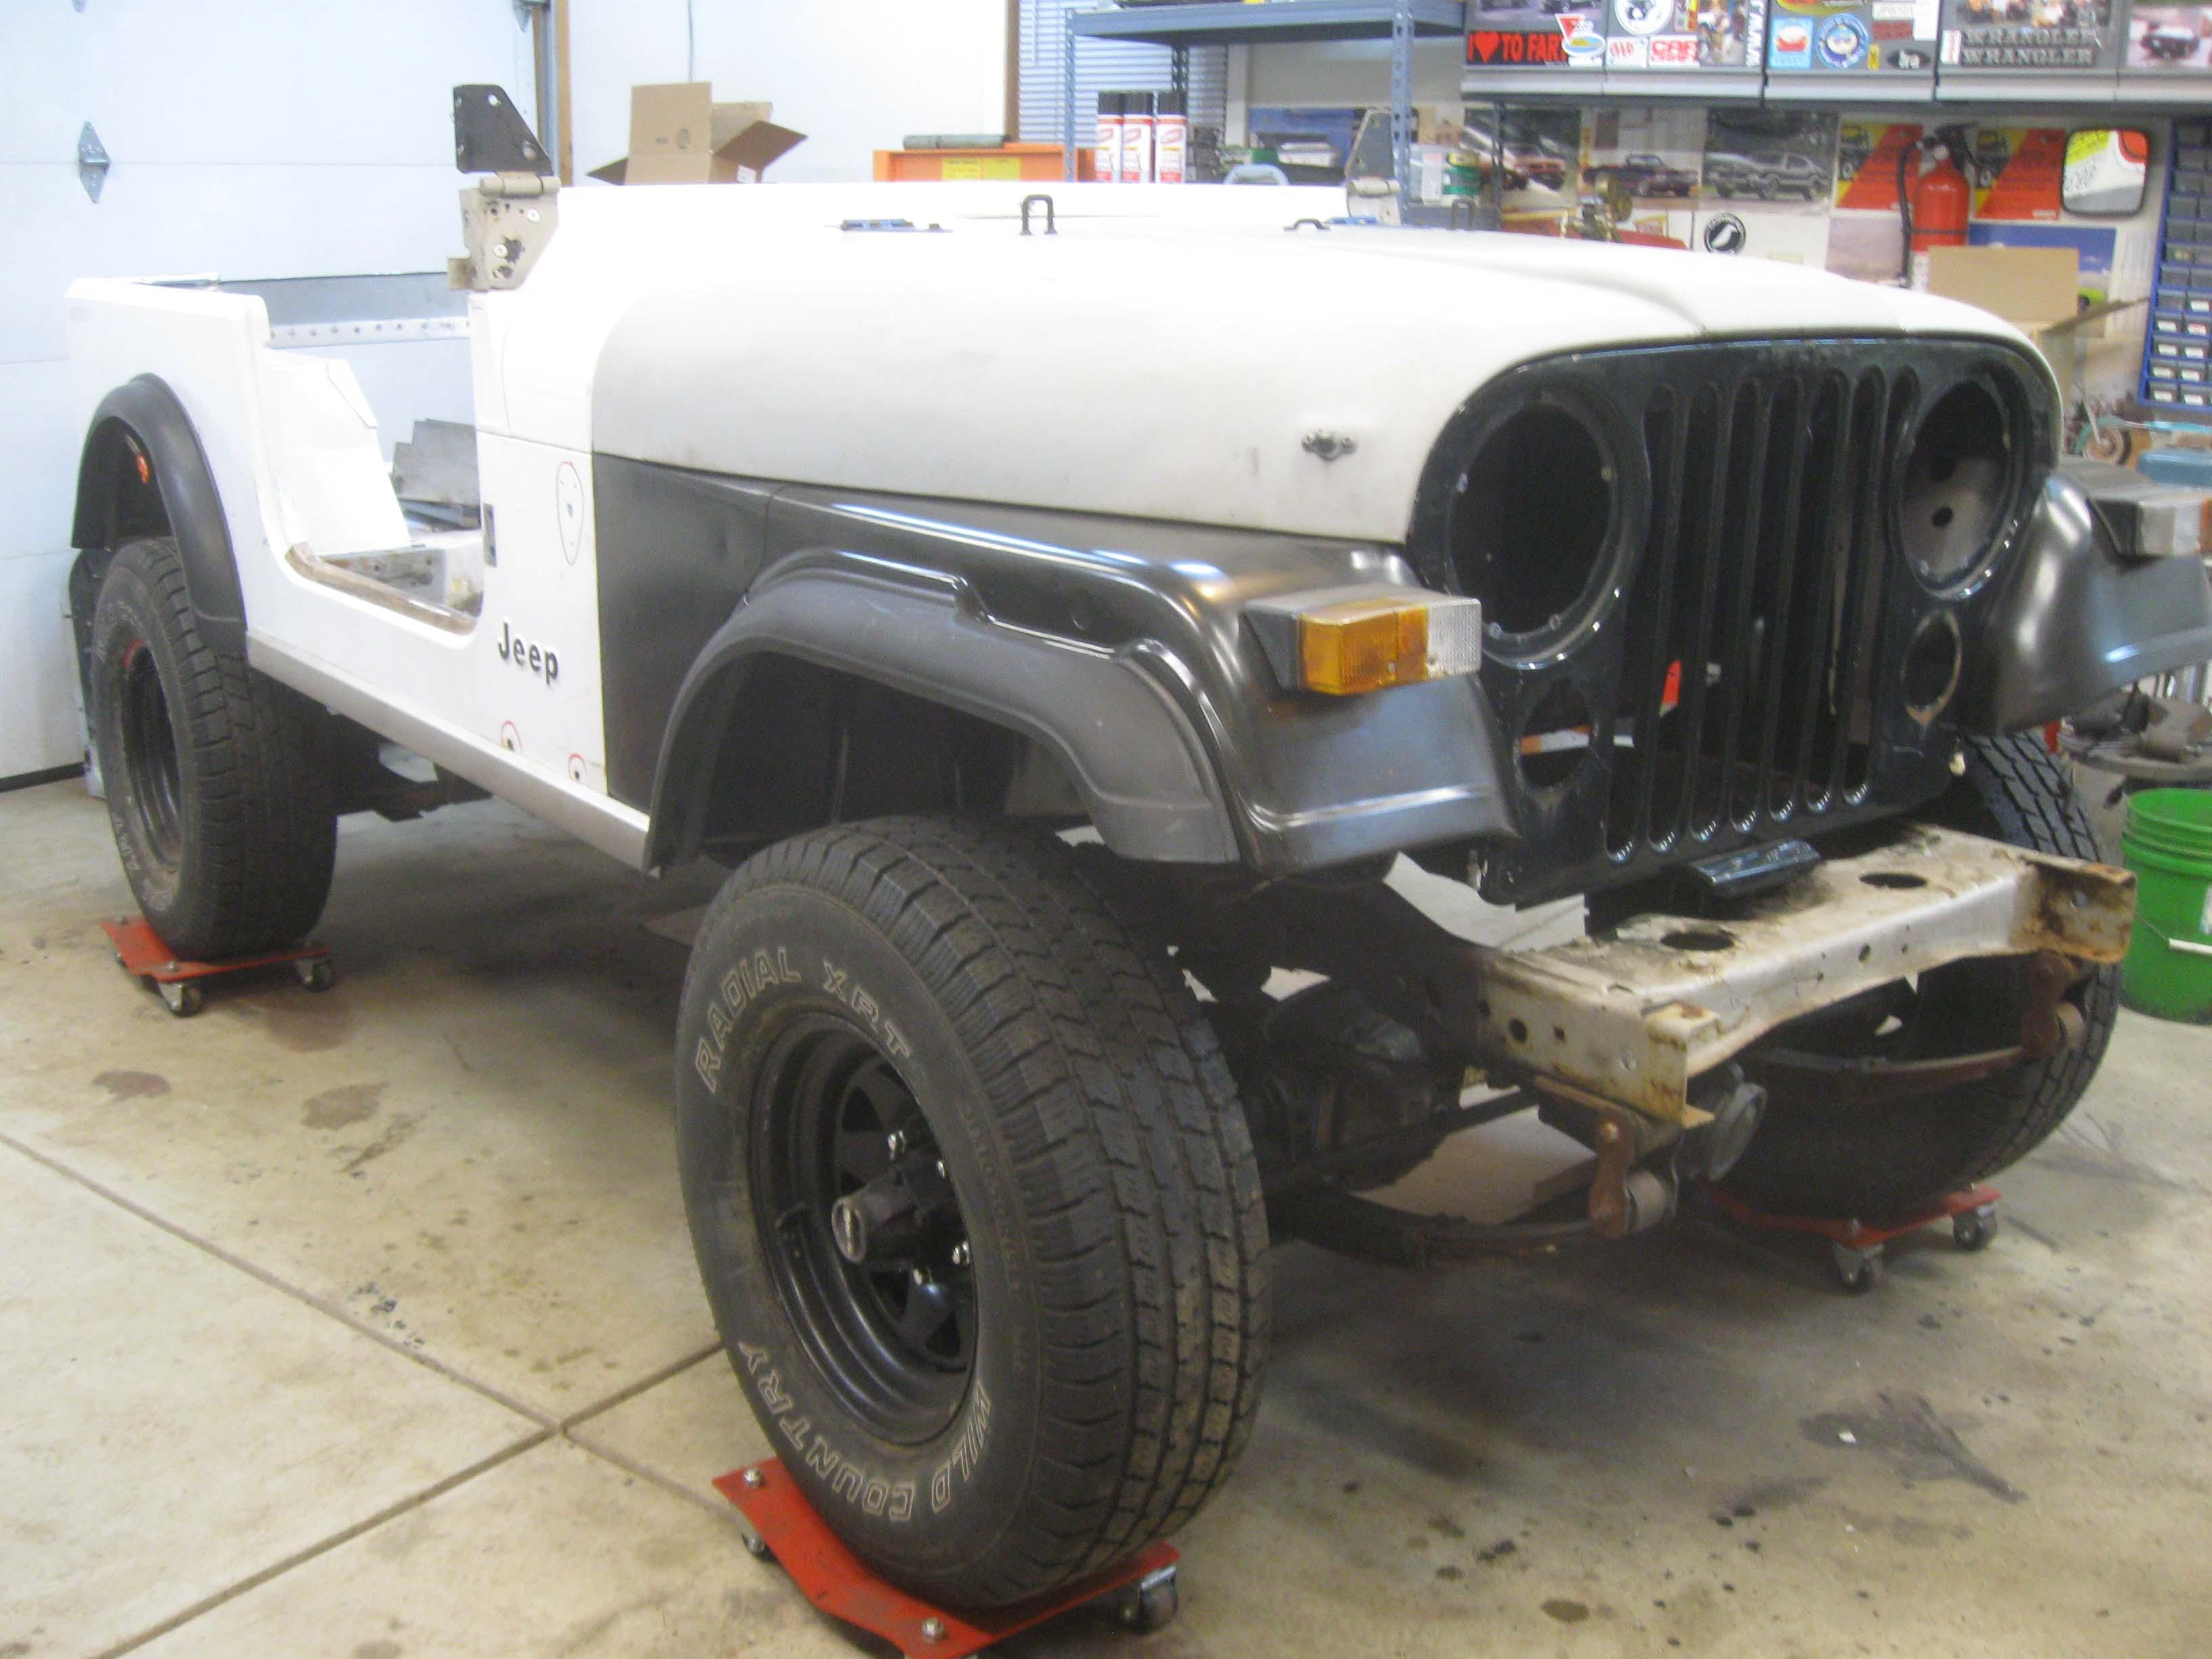
3) Fenders were put on in anticipation of cutting fender flares and the front light holes
4) Hood was put on to make sure the fenders line up as was the front grille
5) Fender flares were fit on the front and cleaned
IMG_6925-1.jpg


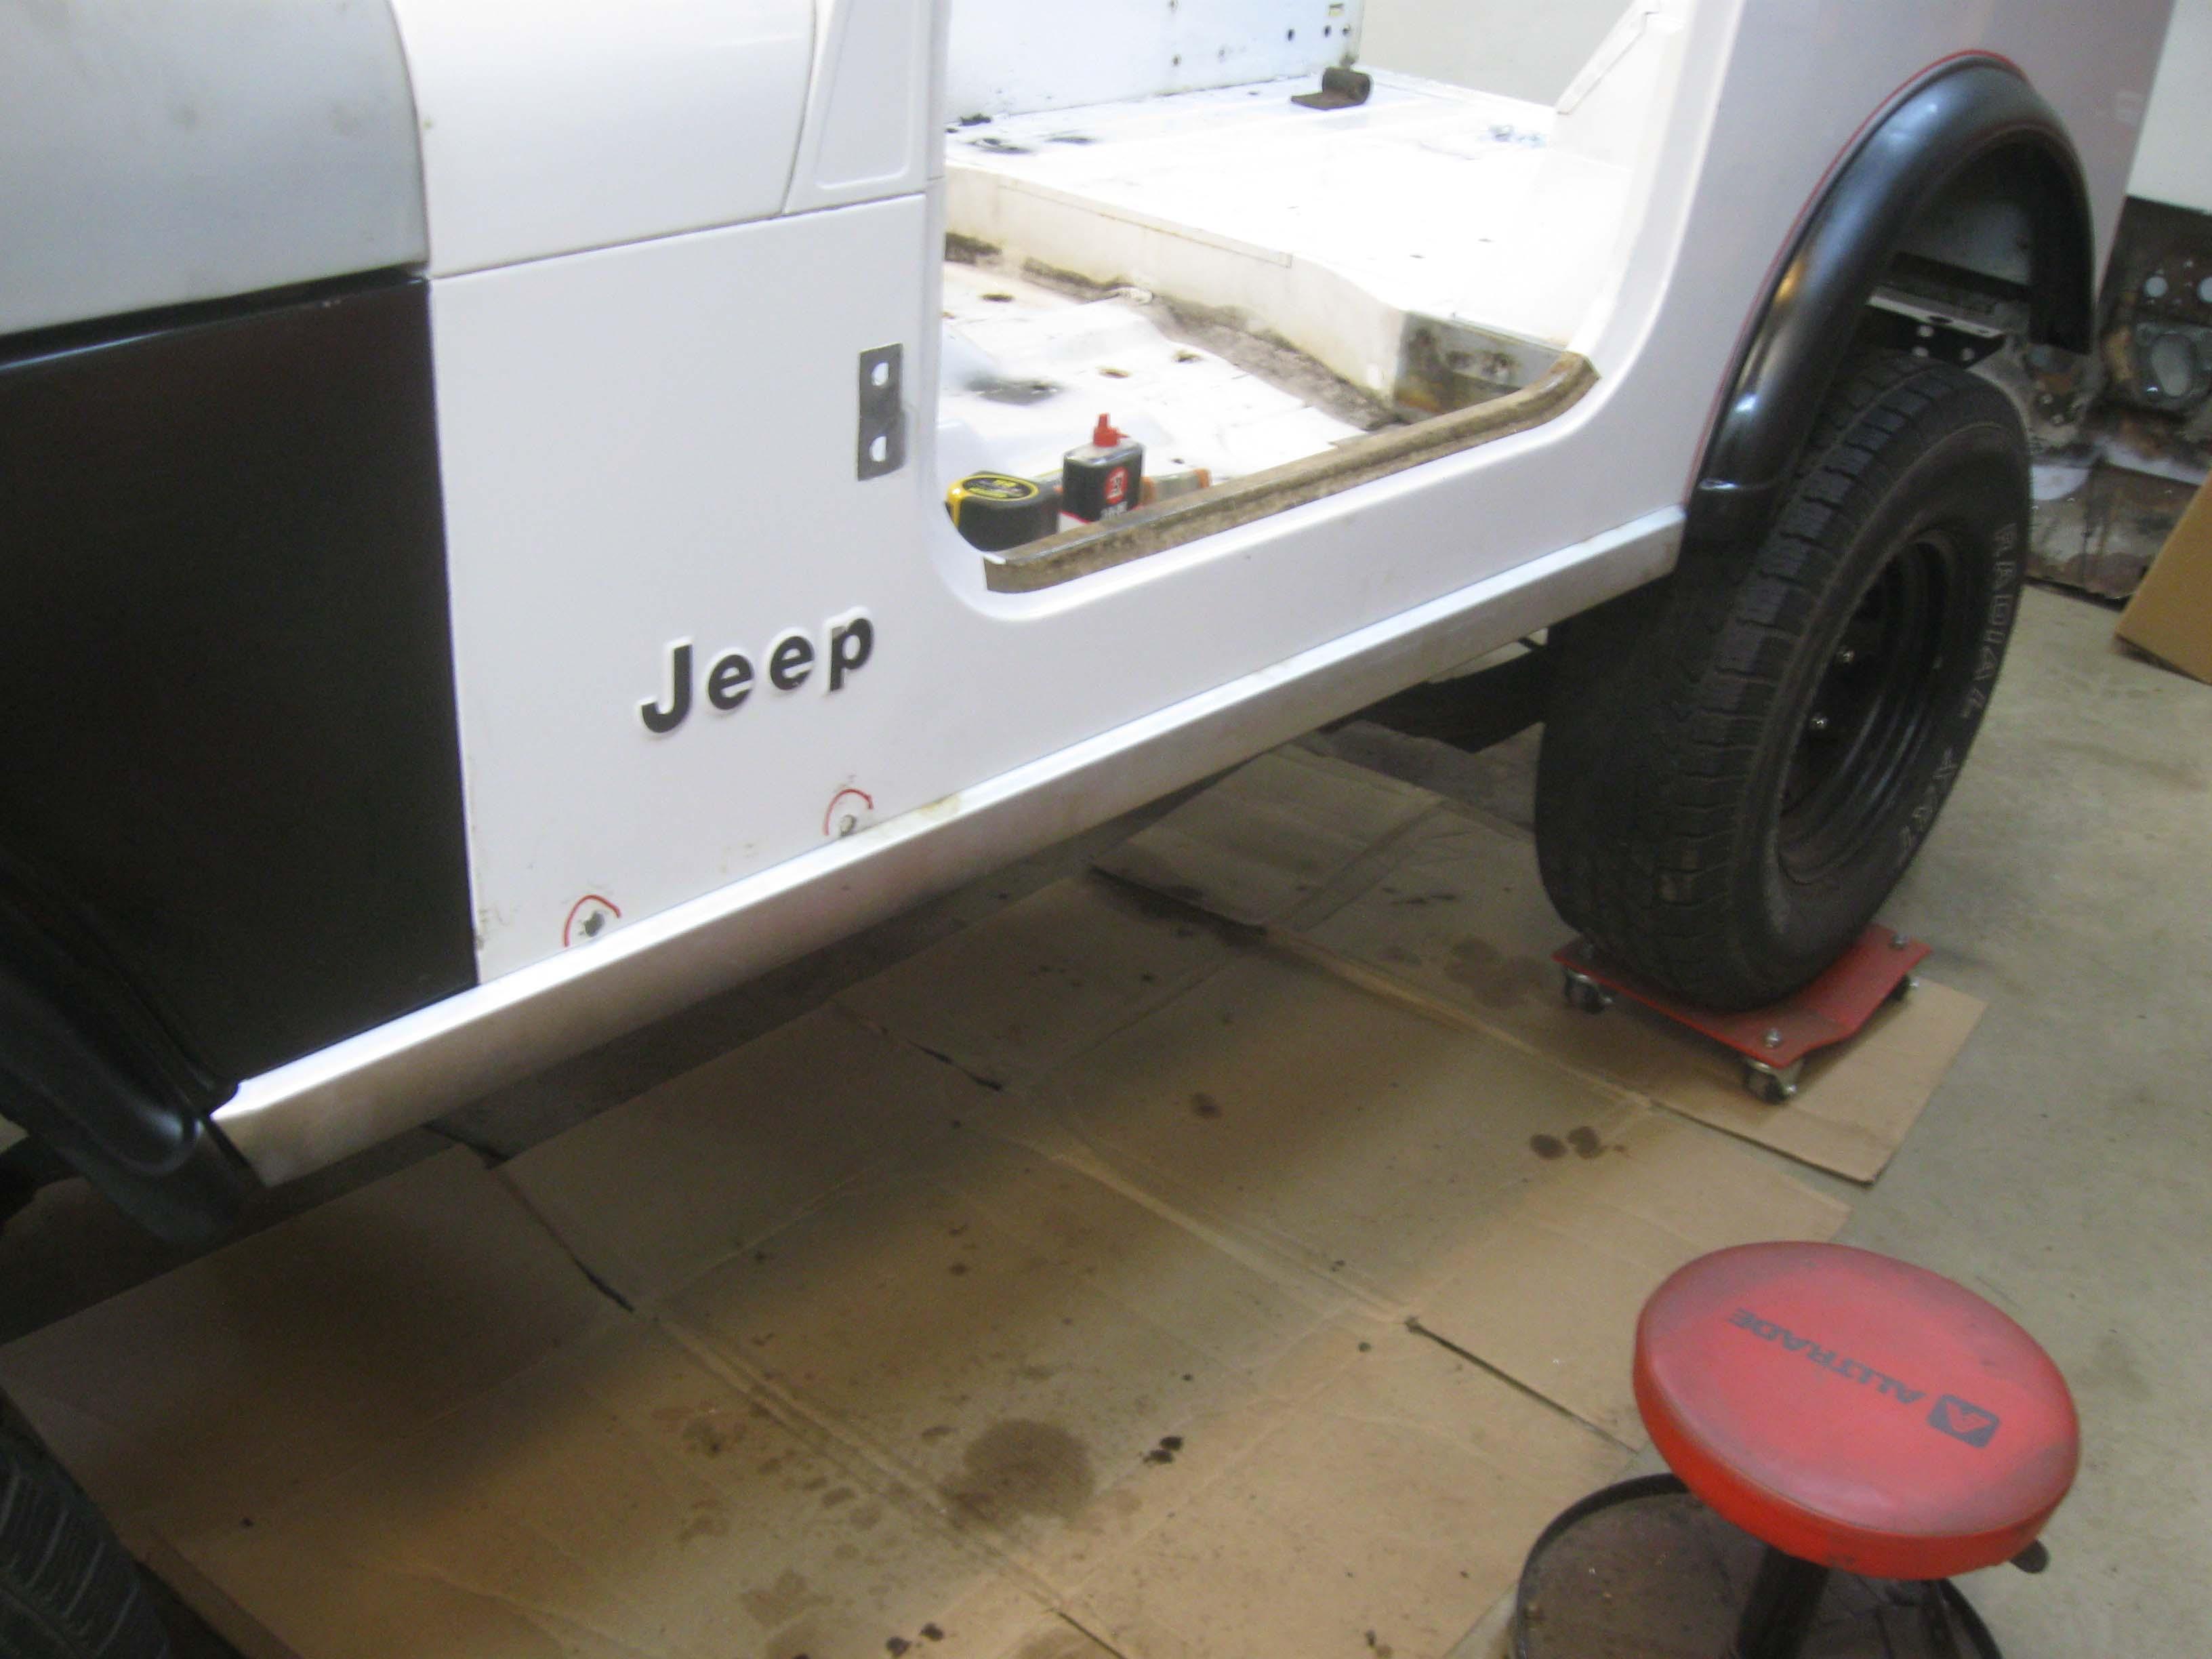
6) Mocked up trim piece on the sides – was waiting for new hardware
IMG_6930-1.jpg


... more on the next thread, too many pictures for one thread.

cb
 
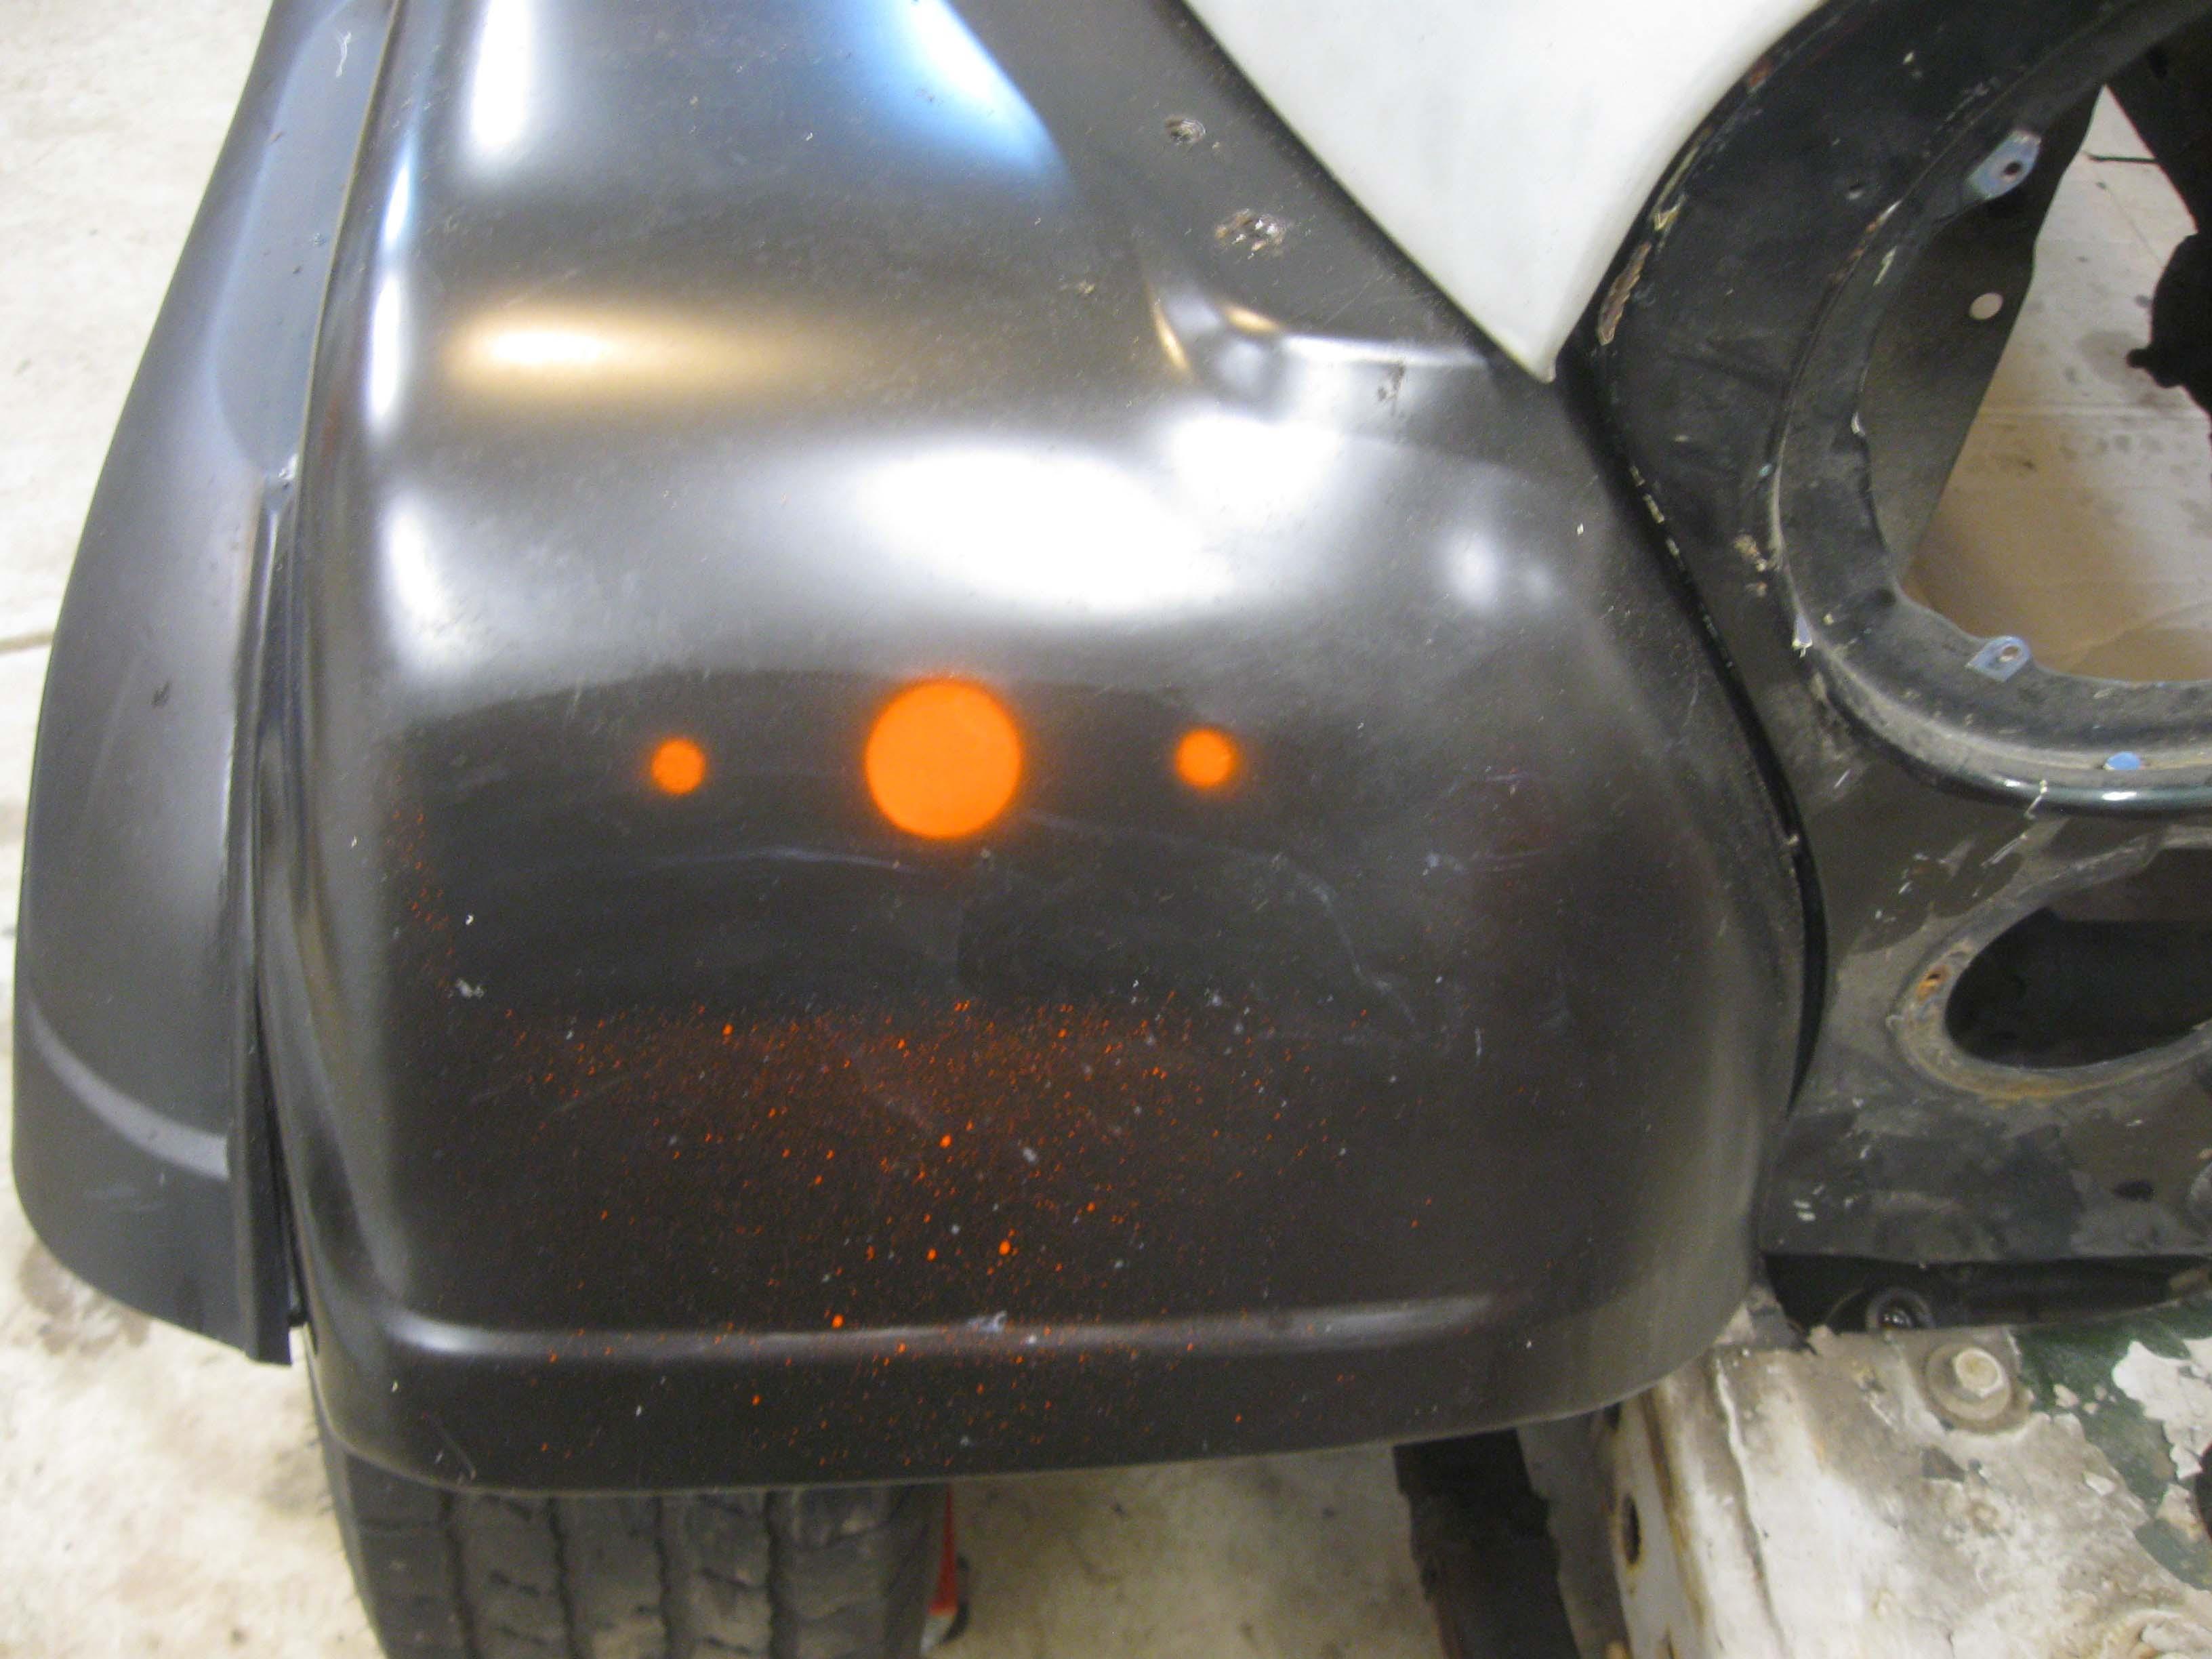
7) Old front fenders were cut down and prepared for transference onto new fenders
IMG_6932-1.jpg

IMG_6934-1.jpg


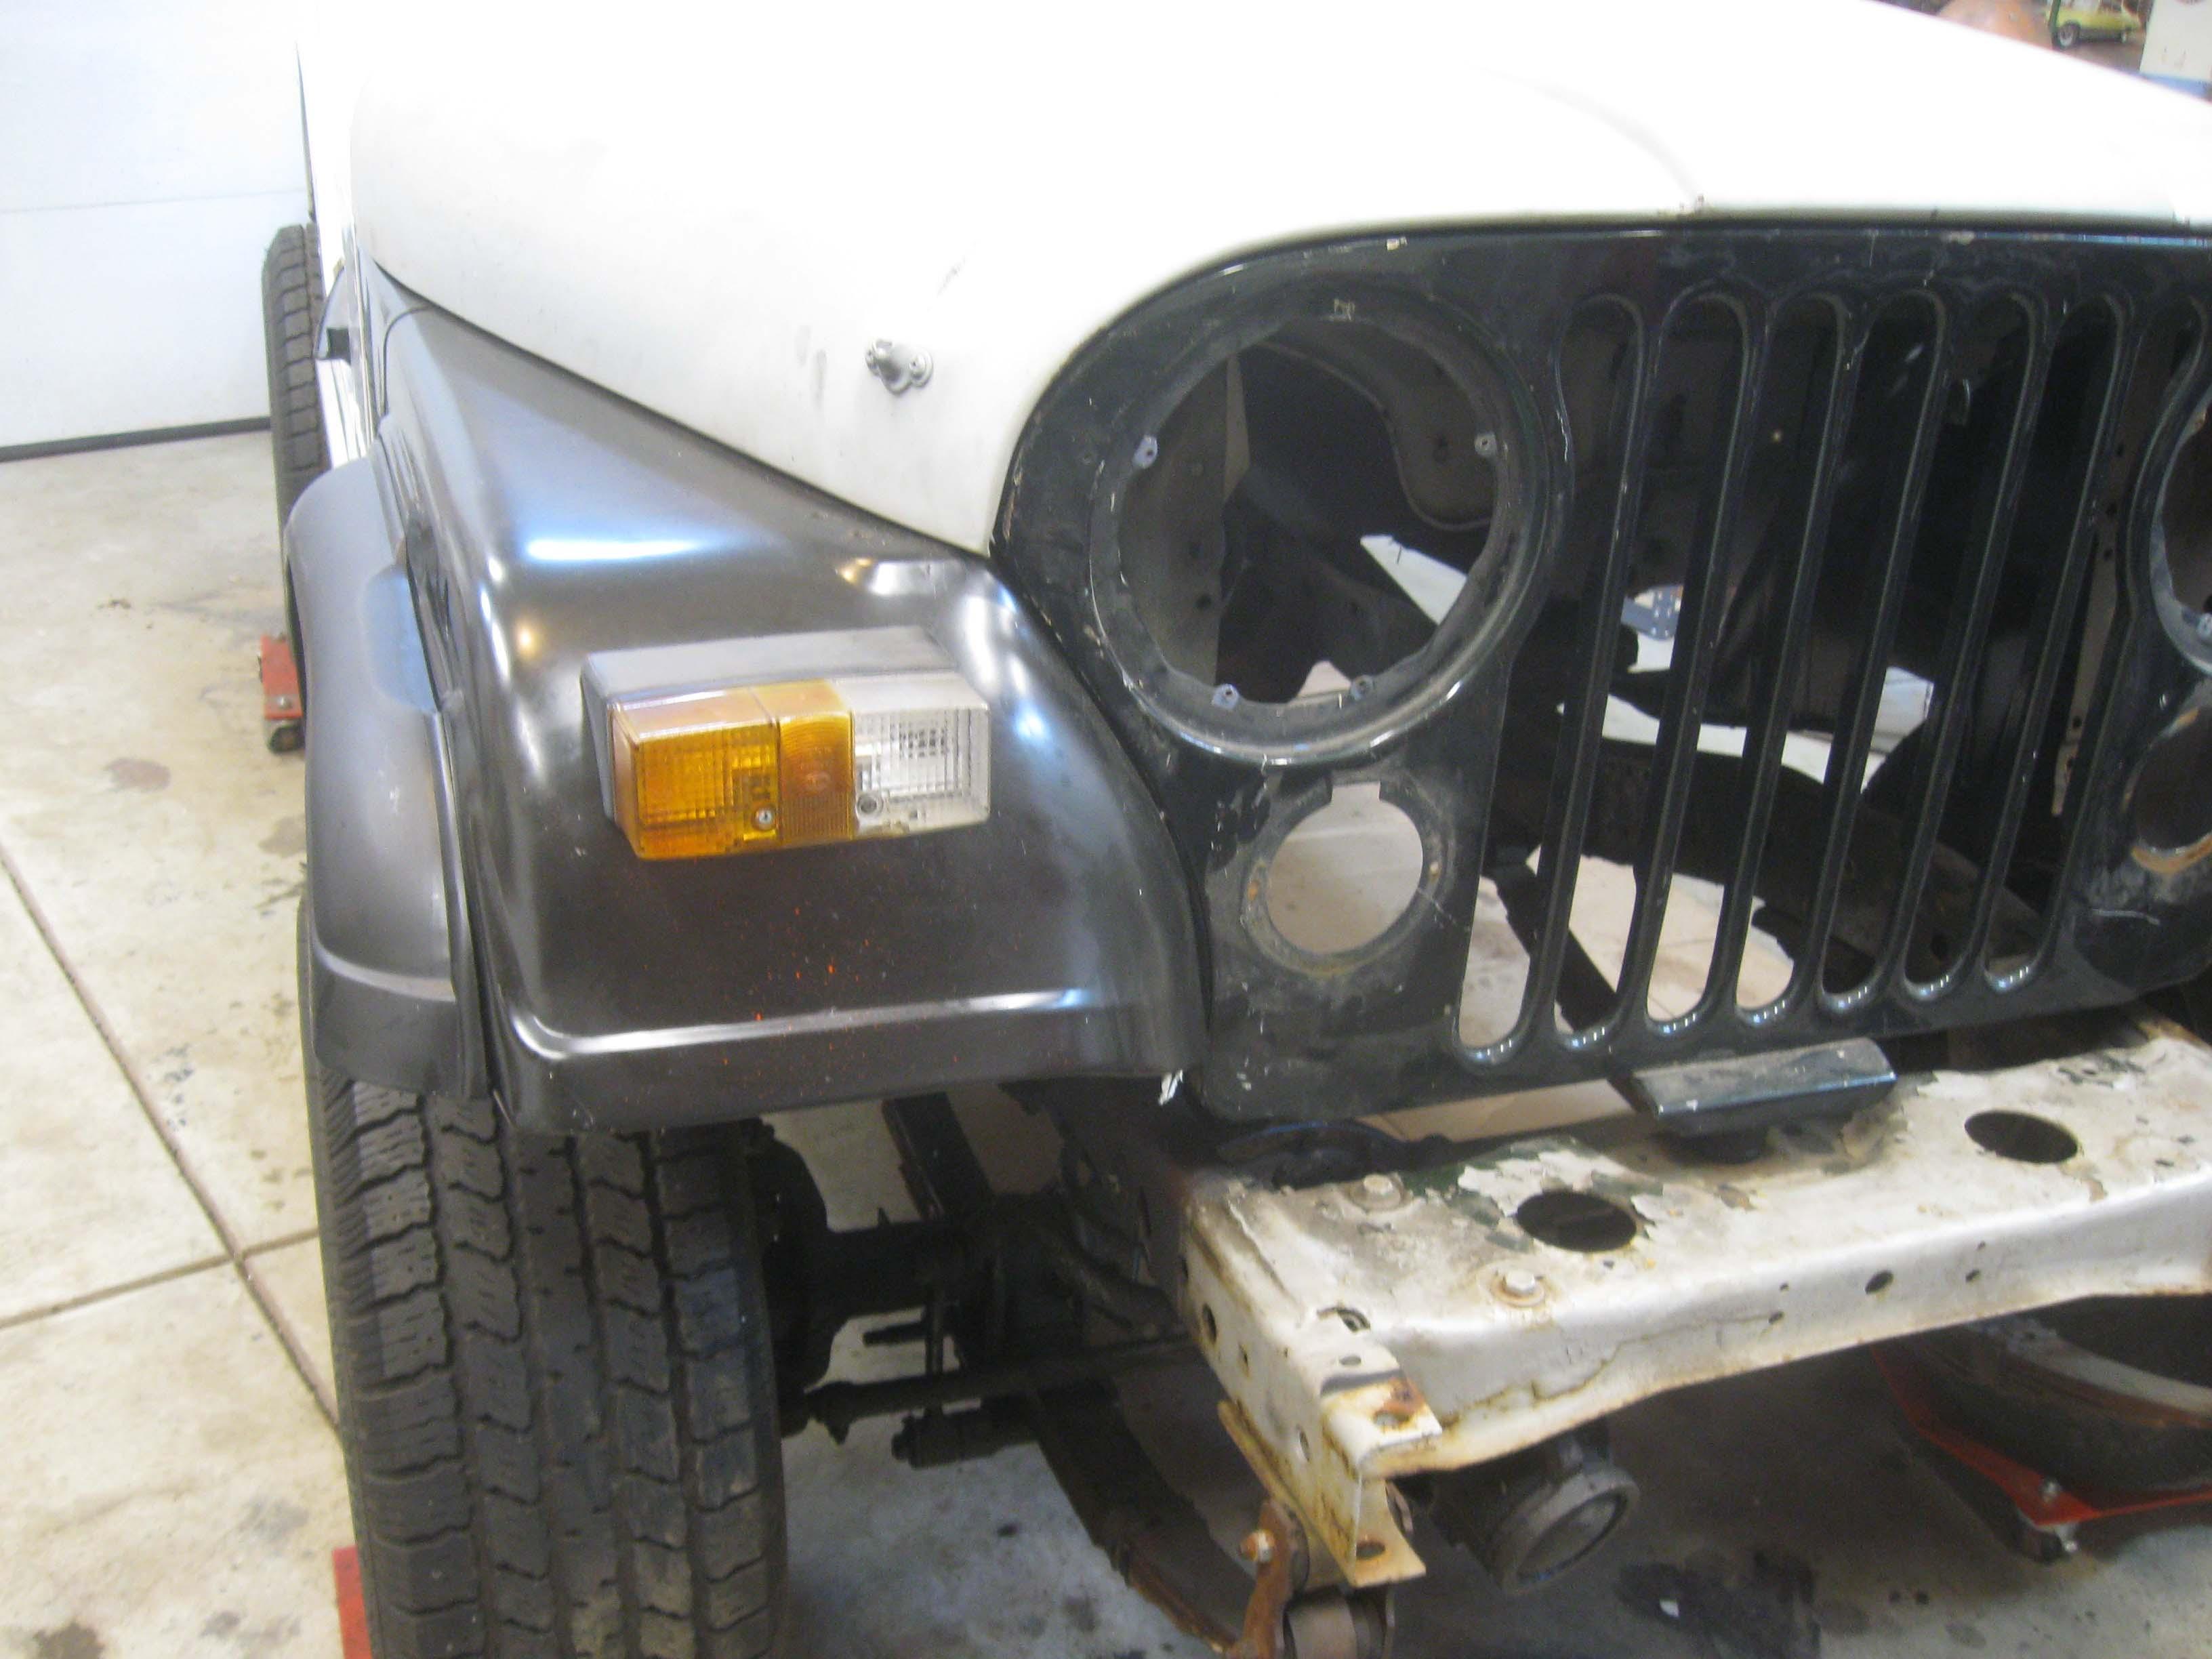
8) Front lights were put in place
- I kept the old fenders and cut them to transfer the pattern.
IMG_6935-1.jpg


9) Windshield hinges were cleaned and de-rusted on the back and windshield was put in place for fitment
IMG_6939-1.jpg


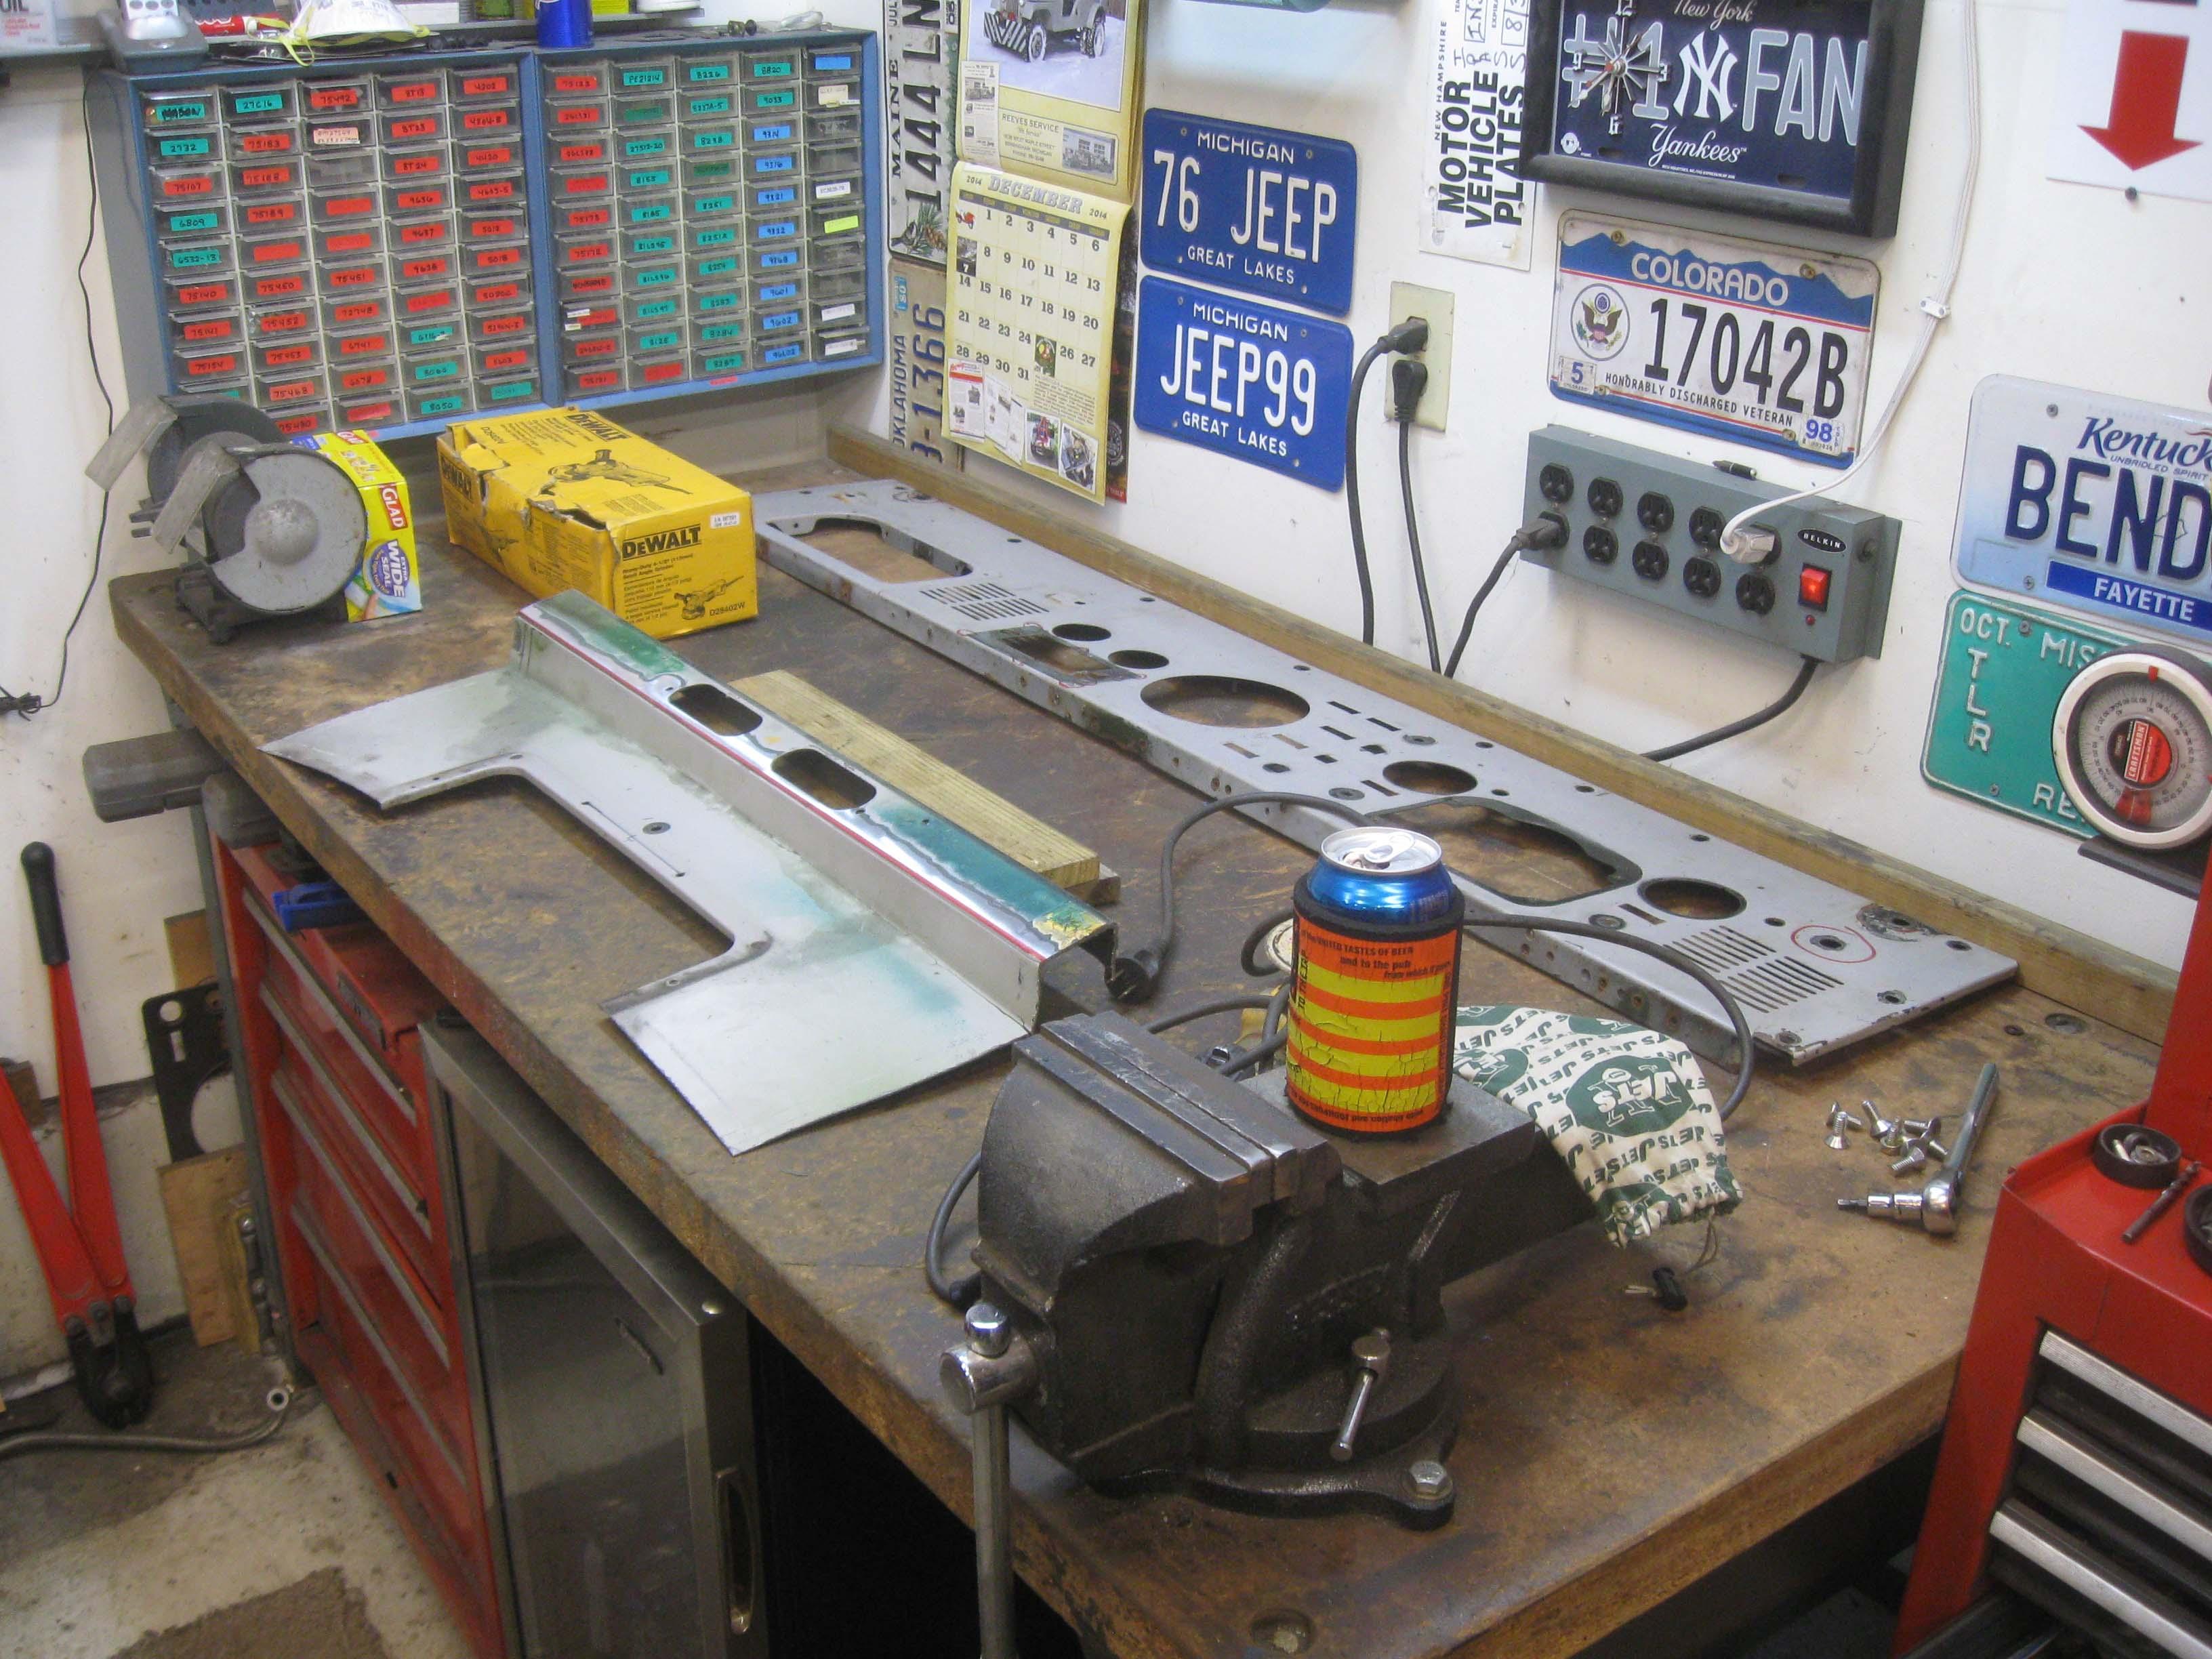
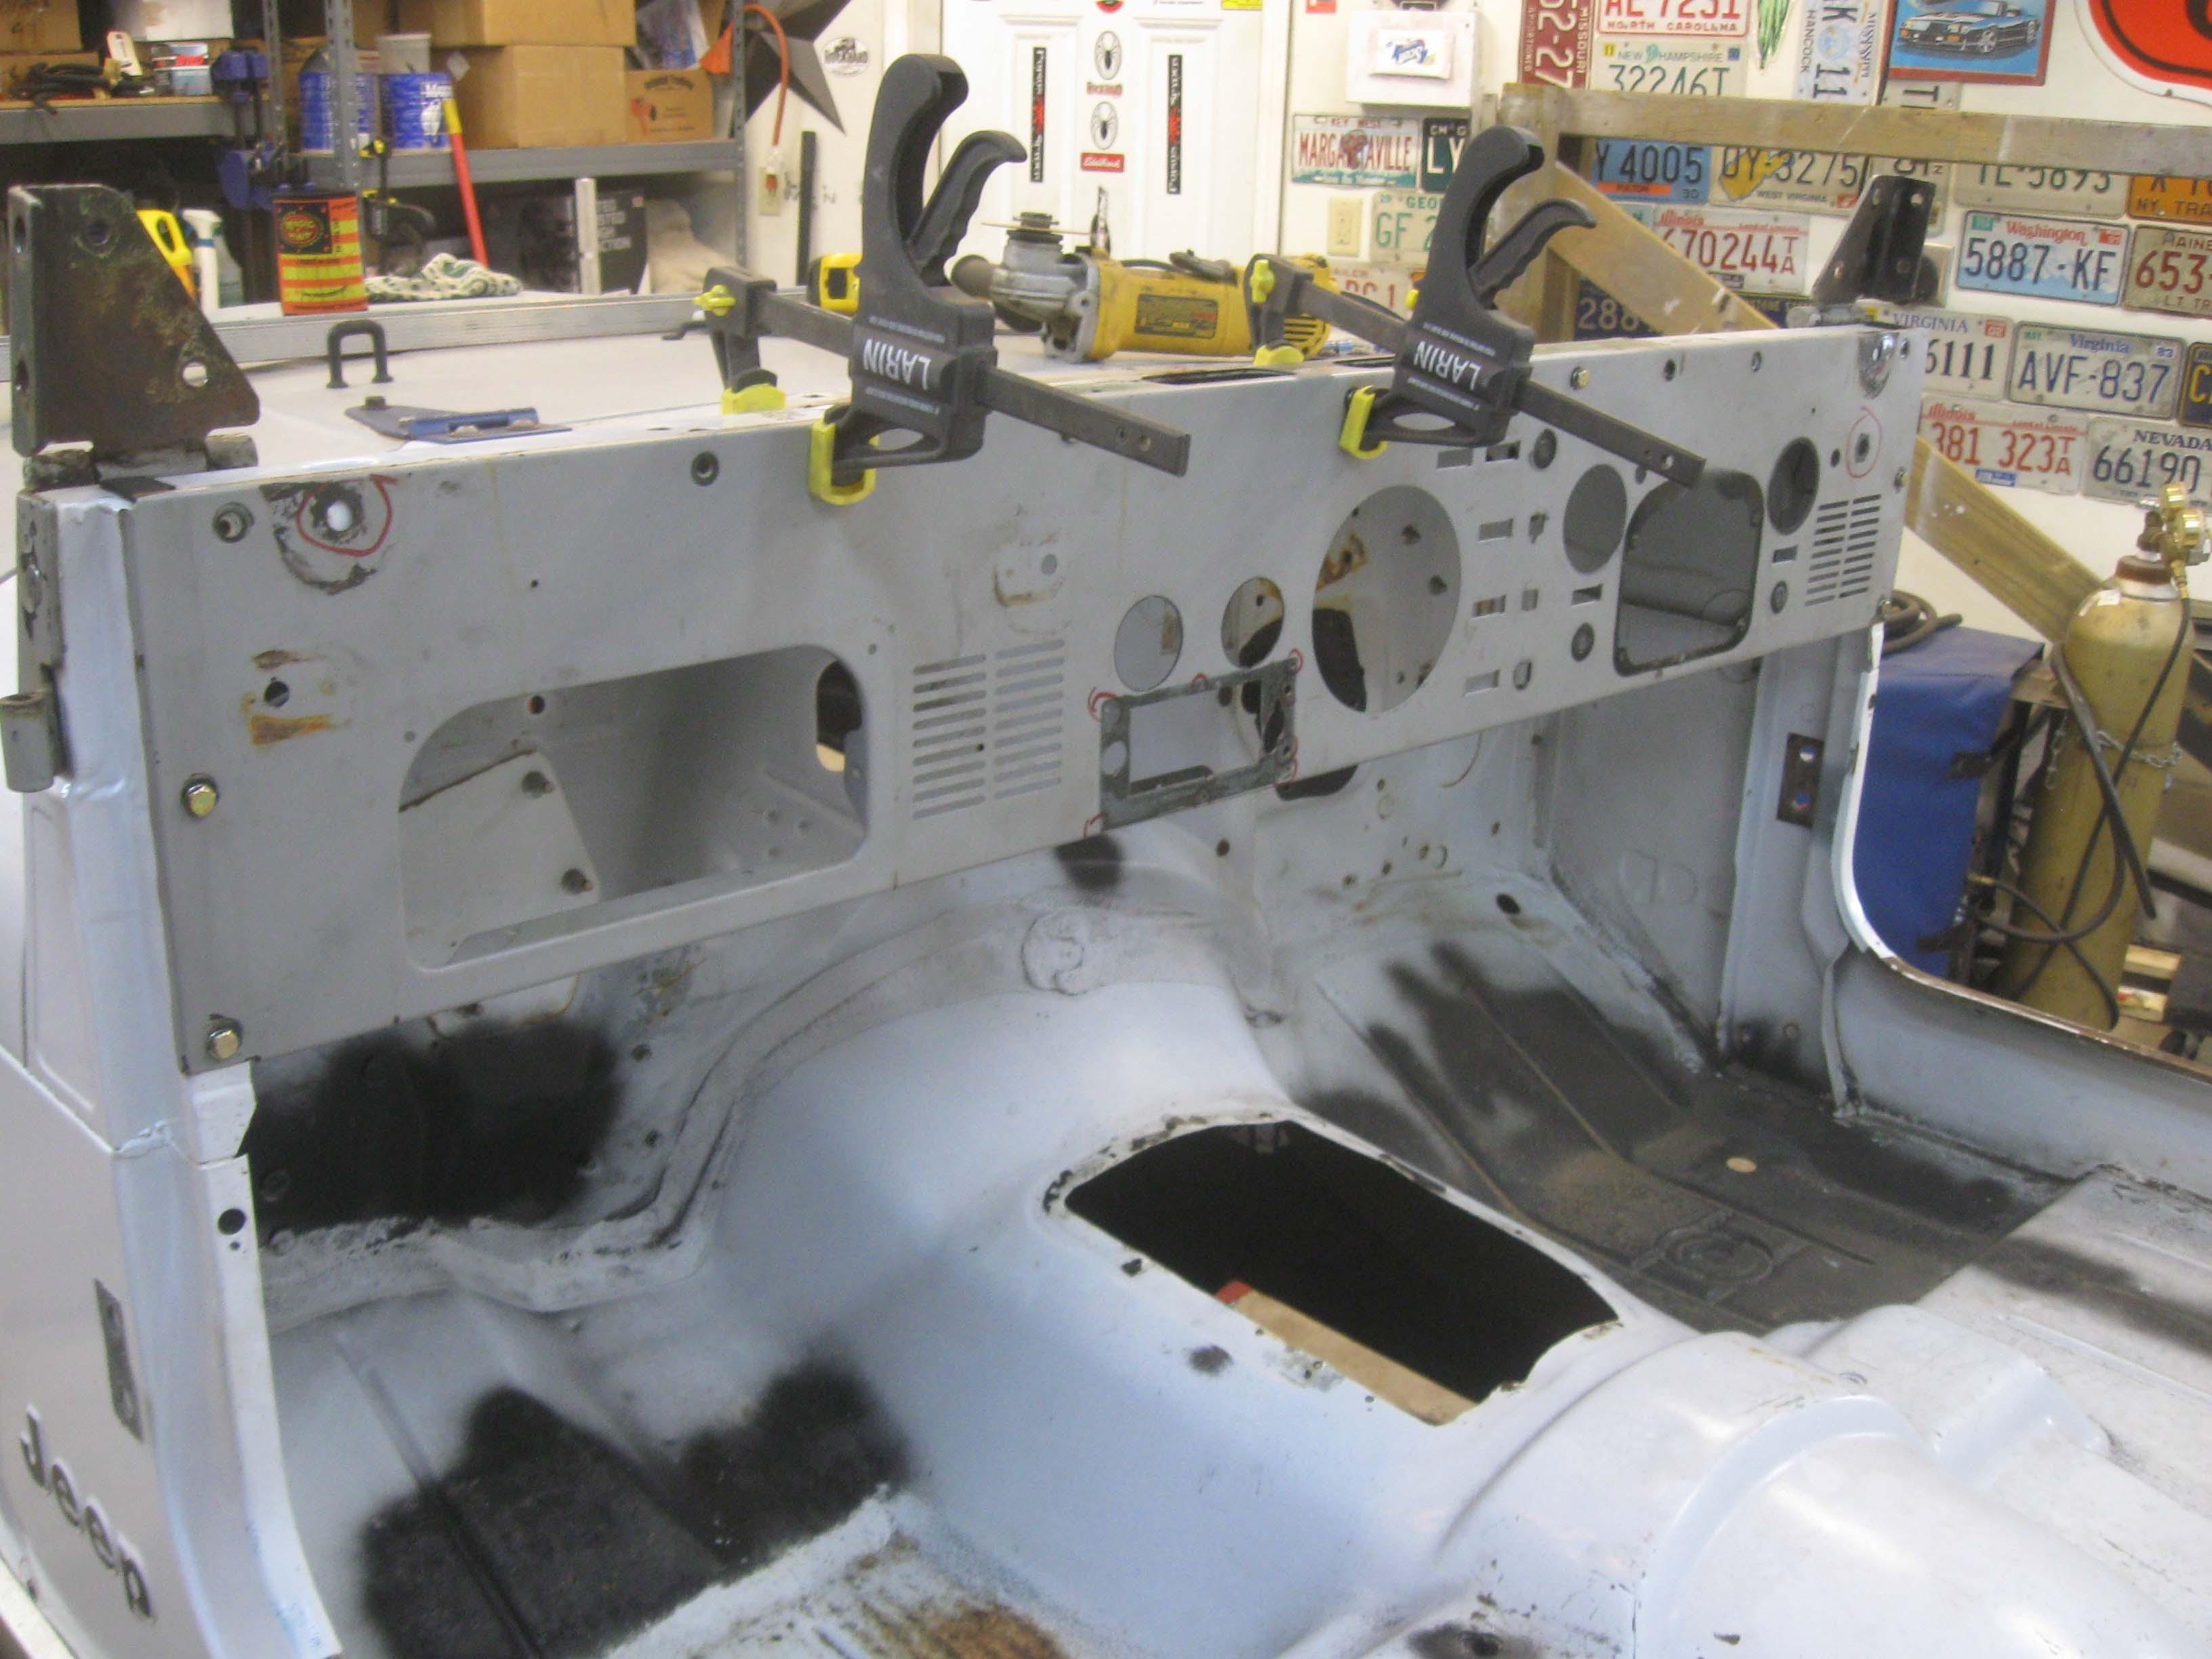
10) Found the dash panel and that will be stripped down so we can fit that in place and cut and weld the heater stuff.
IMG_6941-1.jpg


That is it for the week... weekend is sketchy, lots going on, we will see what we can get done.

cb
 
Some may question the order that I am doing things in... bottom line is that I ordered replacement parts for the rear under tub and the front tub mounts and they aren't in.
I can't do much of tub repair until then and I want to mock it all up, so it is a bit backwards, but all in all, it works out in the end.
Also, I don't want to take the frame apart from the axles yet to fix it because then it will be all nice and purdy and I won't want to cut/weld above it.
So, I am taking some of the easier steps and getting them done now.

Only bummer is the tailgate section I can really do yet, as I have to replace the whole rear section with a CJ one and the way they are formed from Original CJ to Original YJ to replacement panel Classic Enterprise will differ and I won't take any chances.

cb
 
:popcorn: It looks like that YJ had already been converted to RHD with fresh holes and patch-panels. Are you still planning on swapping the firewalls? If so, could I ask that you PLEASE document that process carefully as I still have to do the same thing? :popcorn:
 
From what I have seen so far in the comparison process is that the YJ is truly a LHD Jeep with a whole lot of plates and other bits welded to it to make it a RHD Jeep. Extra holes were cut, etc.

The issue with the original firewall was where the gas pedal mounted. There is a re-inforcing plate like "Dave the Sparky" took off his old one and put on his other firewall and mine has that, but the inside area under that plate is mostly rot. I don't know how extensive the damage is until I get into it. Also, since it was a LHD firewall originally on the YJ, the bulkhead connector is where it is on a LHD, not in the center, so I definitely have to do that.

Also, no provisions for a RHD heater setup, not sure what they ran in the YJ for a heater box, but it must have been aftermarket as nothing protruded through the firewall like an OEM setup.

UPDATE:

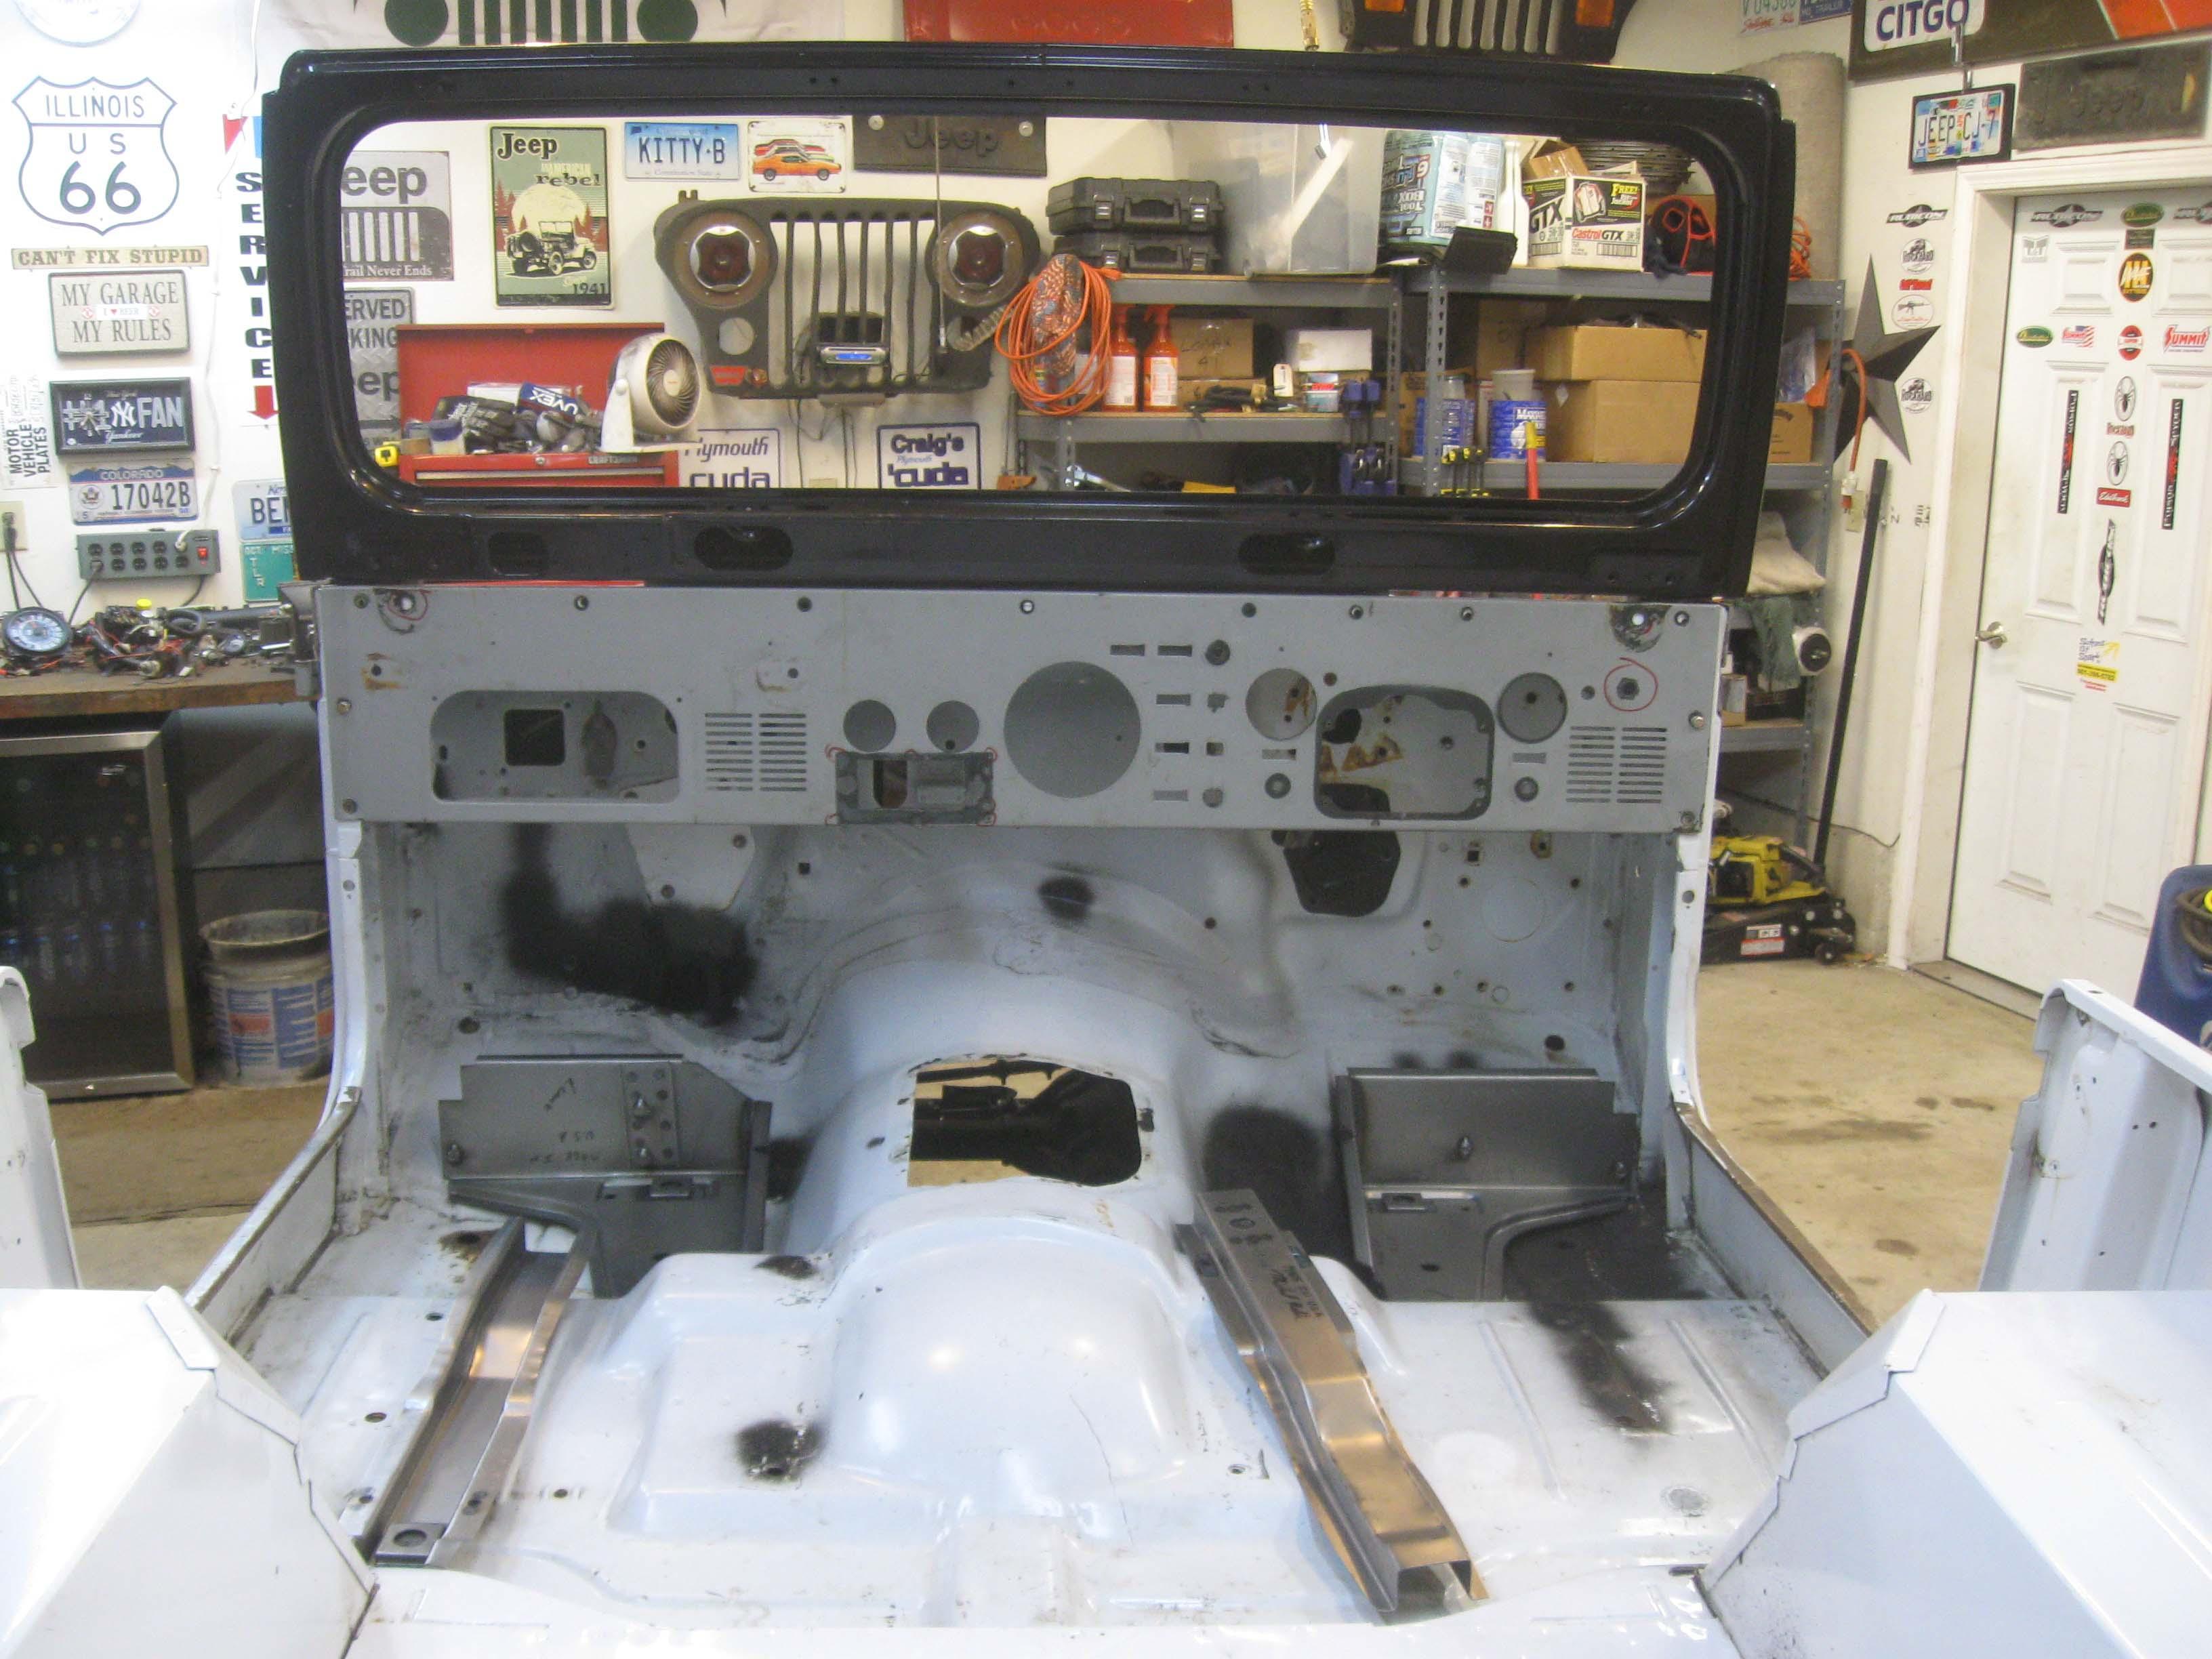
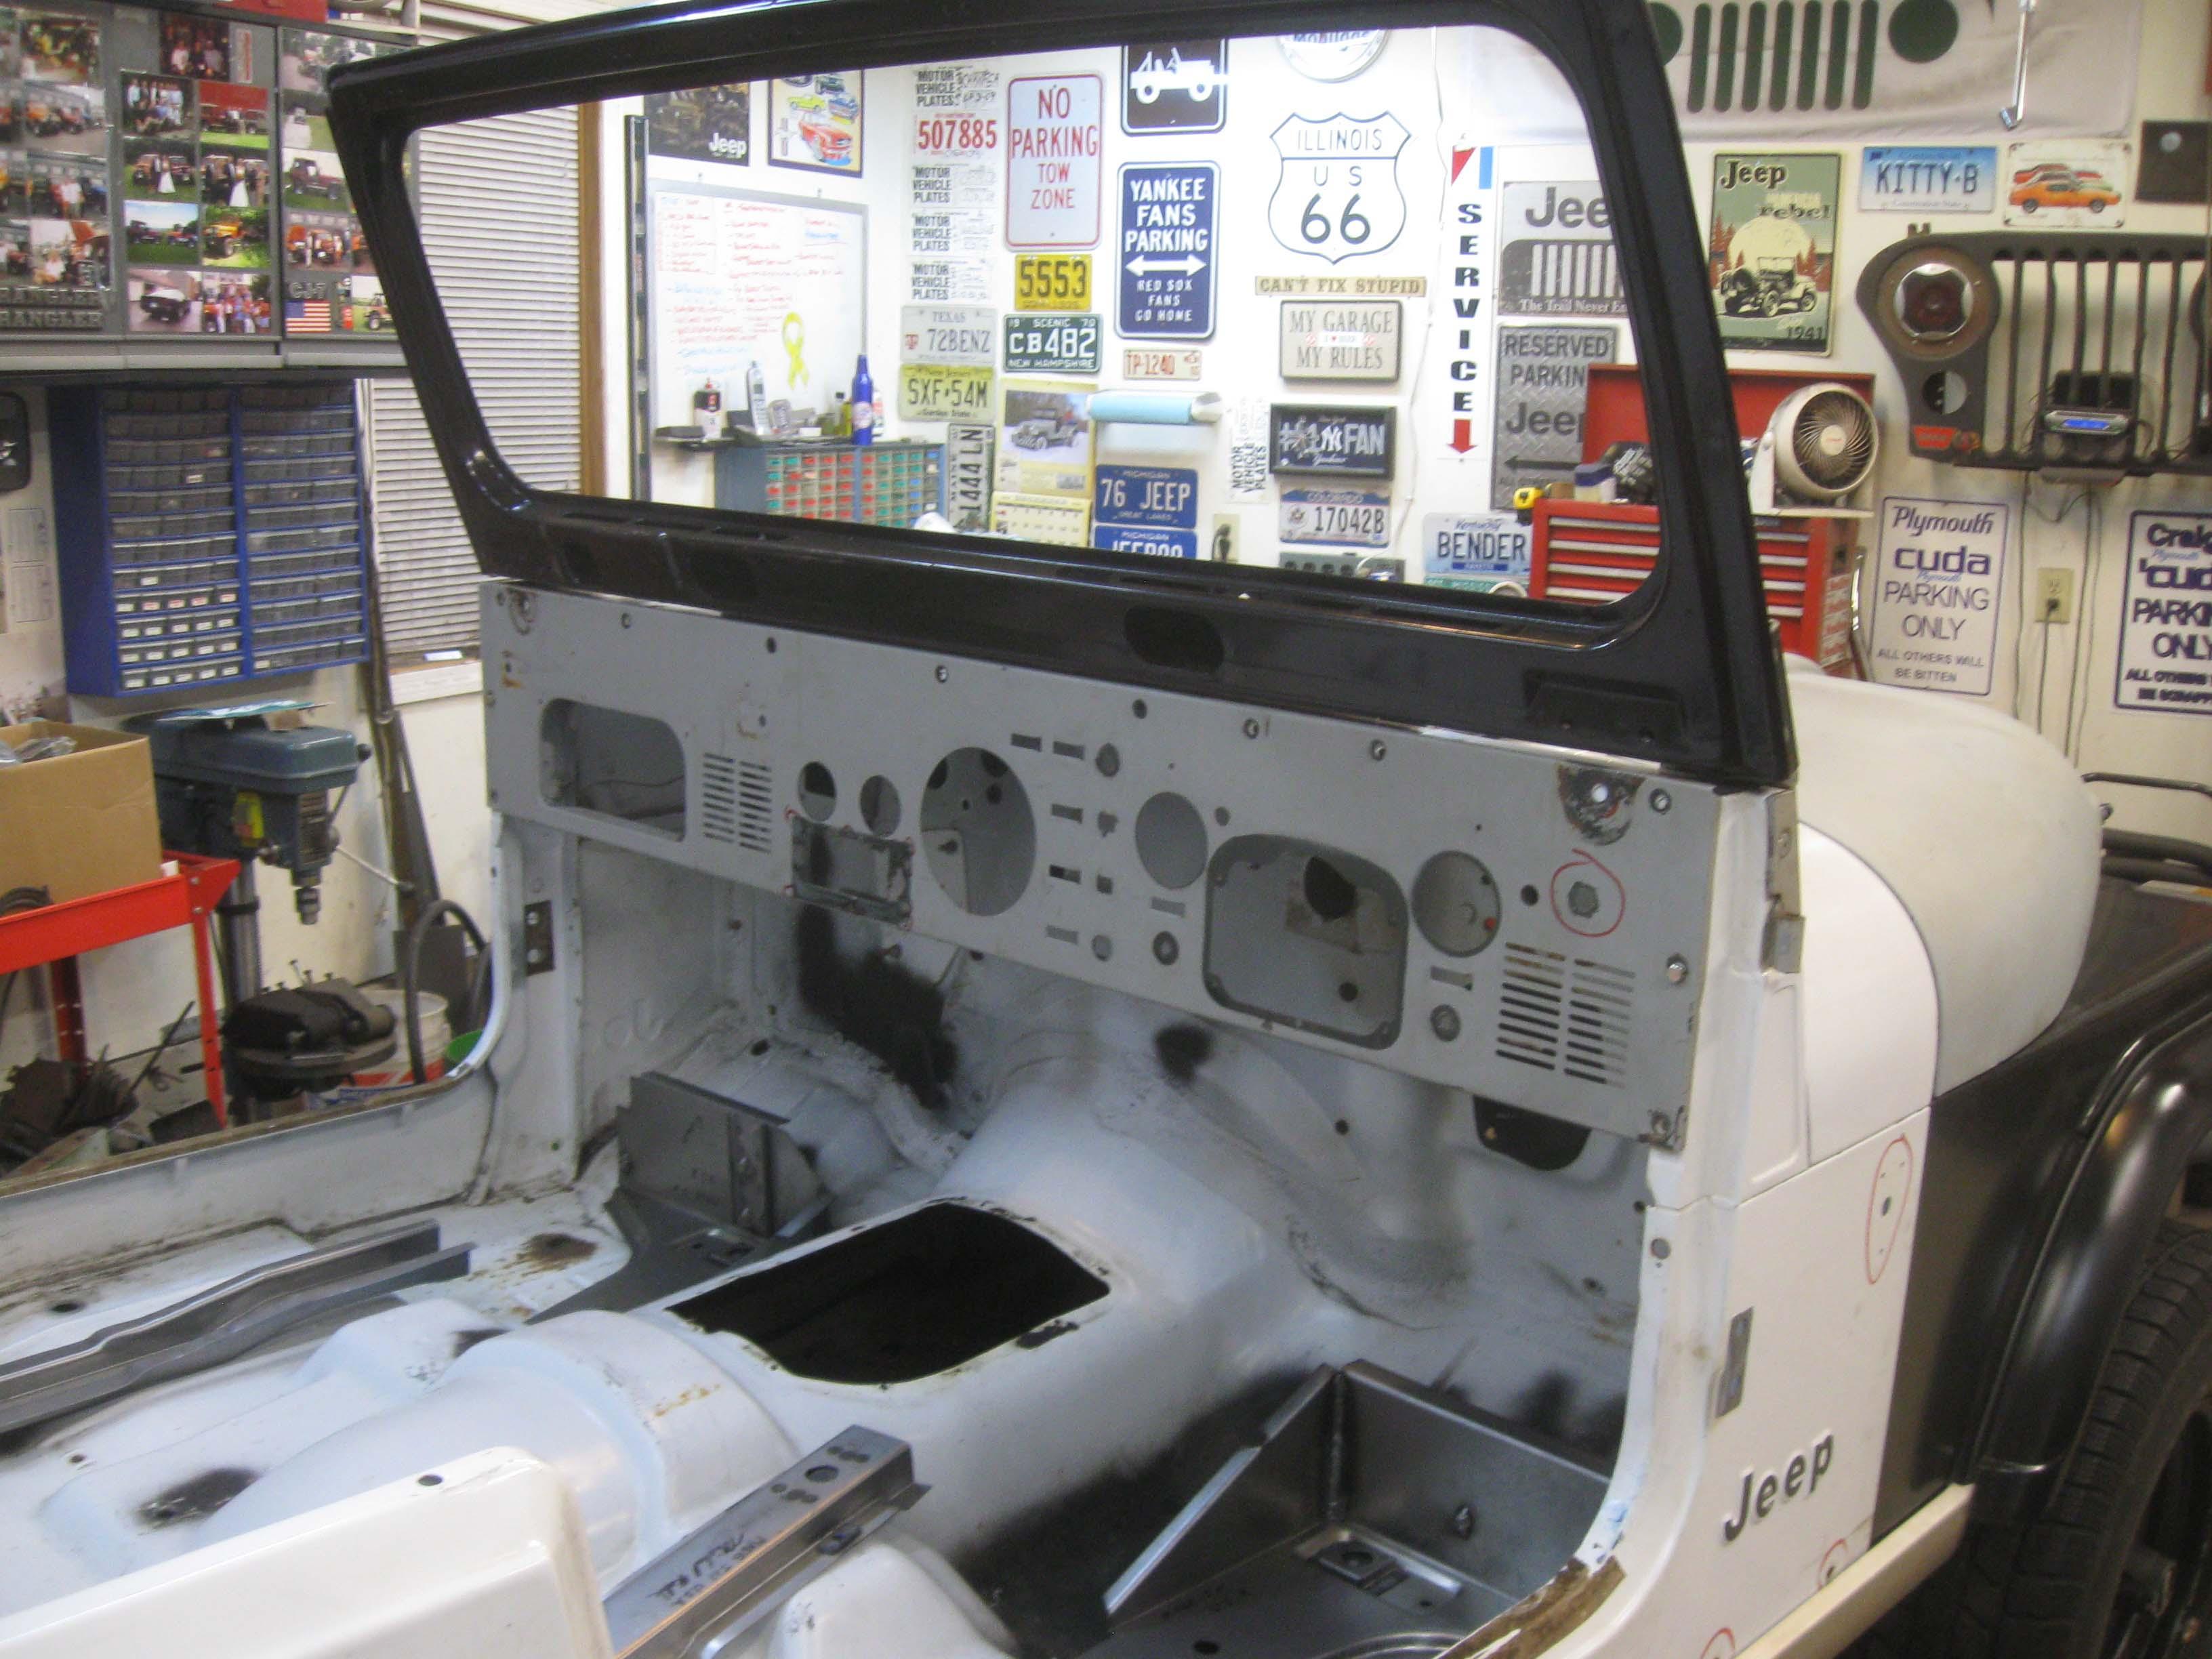
No pics yet as I did this last night, but after many hours of cursing and swearing, the dash panel is free of its components and mounted on the Jeep... it doesn't fit well, have to do some tweaking.

Also, all the classic enterprise parts came in which is good news. The bad news is I ordered "CJ" replacement parts and the tub is YJ. Most of them cross over, but the rear piece concerns me. I will show the issues next time when I get the pics off the camera.

cb
 
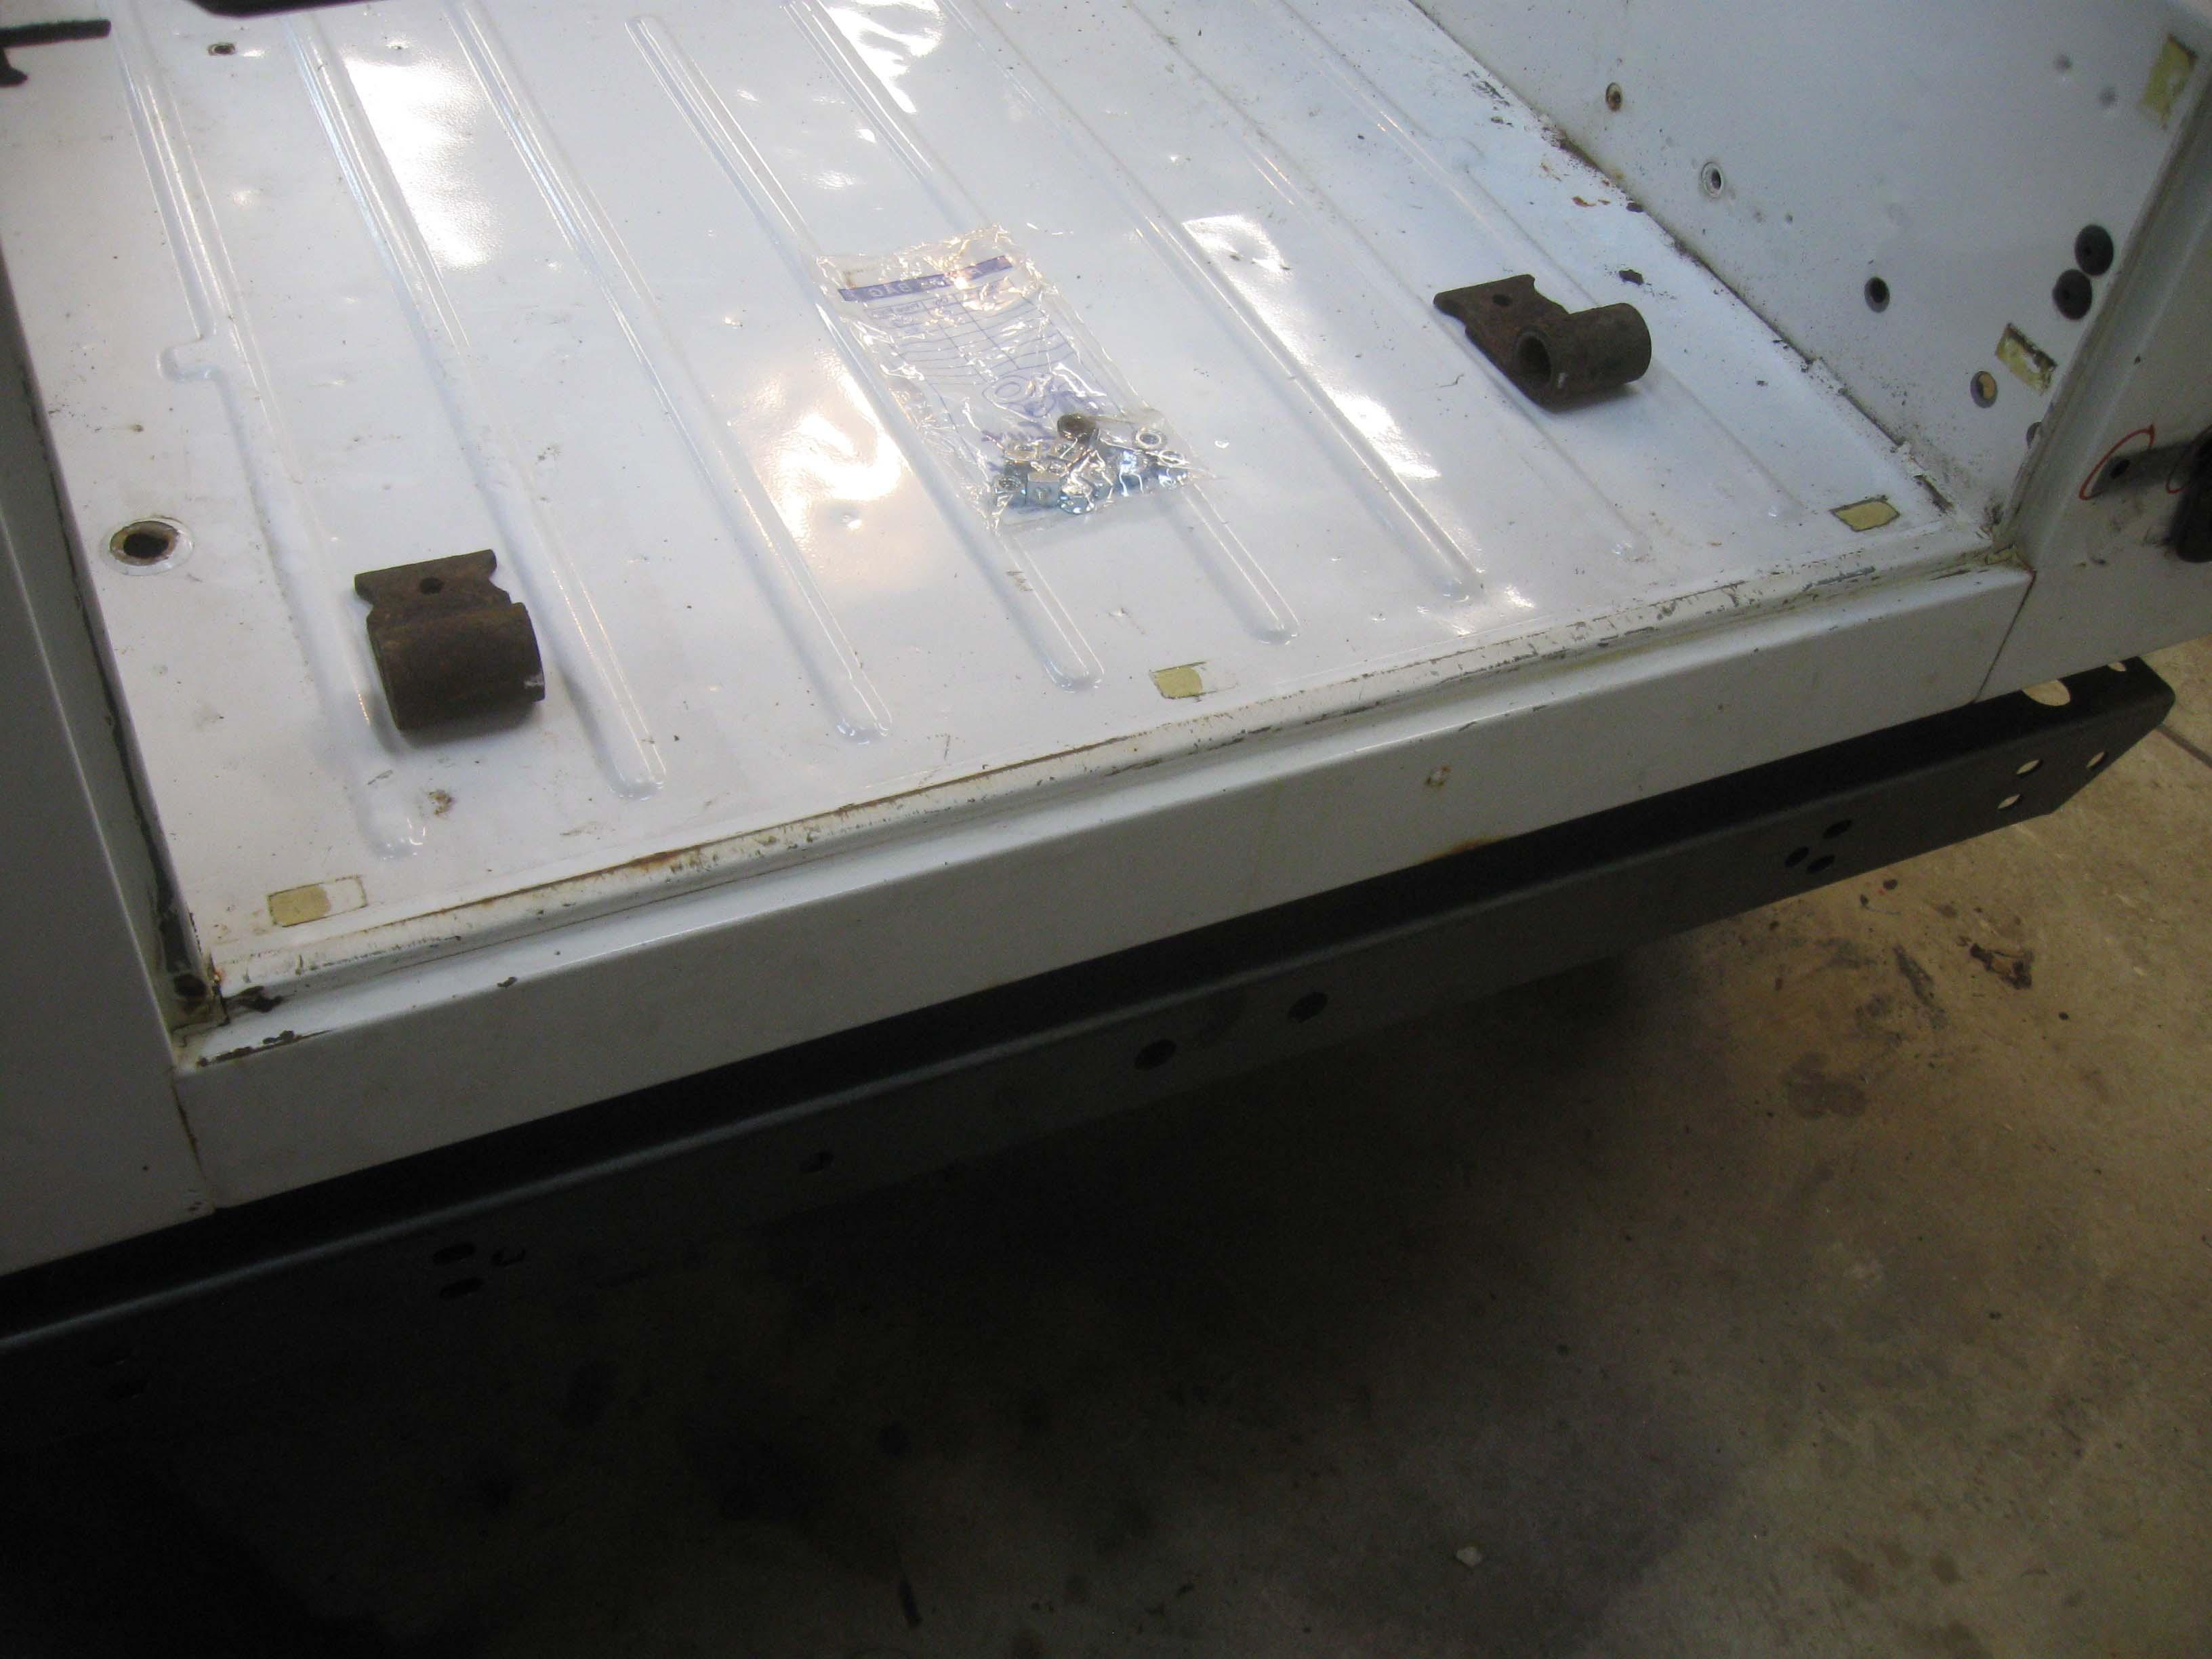
Classic Enterprise Replacement parts showed up this weekend.

IMG_6943-1.jpg

IMG_6944-1.jpg

IMG_6945-1.jpg

IMG_6946-1.jpg

IMG_6951-1.jpg


The biggest issue is I said was premature in ordering replacement parts and I ordered the CJ replacement but this is a YJ body.
It will fit the CJ new rear cross member and that is good, but the lack of "lip" on it, might have an issue when I remove the YJ
one and fit the CJ one, I might need to fab up the last 2 inches of the bed... we will see when I get there, nothing I can worry about now.

cb
IMG_6953-1.jpg

IMG_6954-1.jpg
 
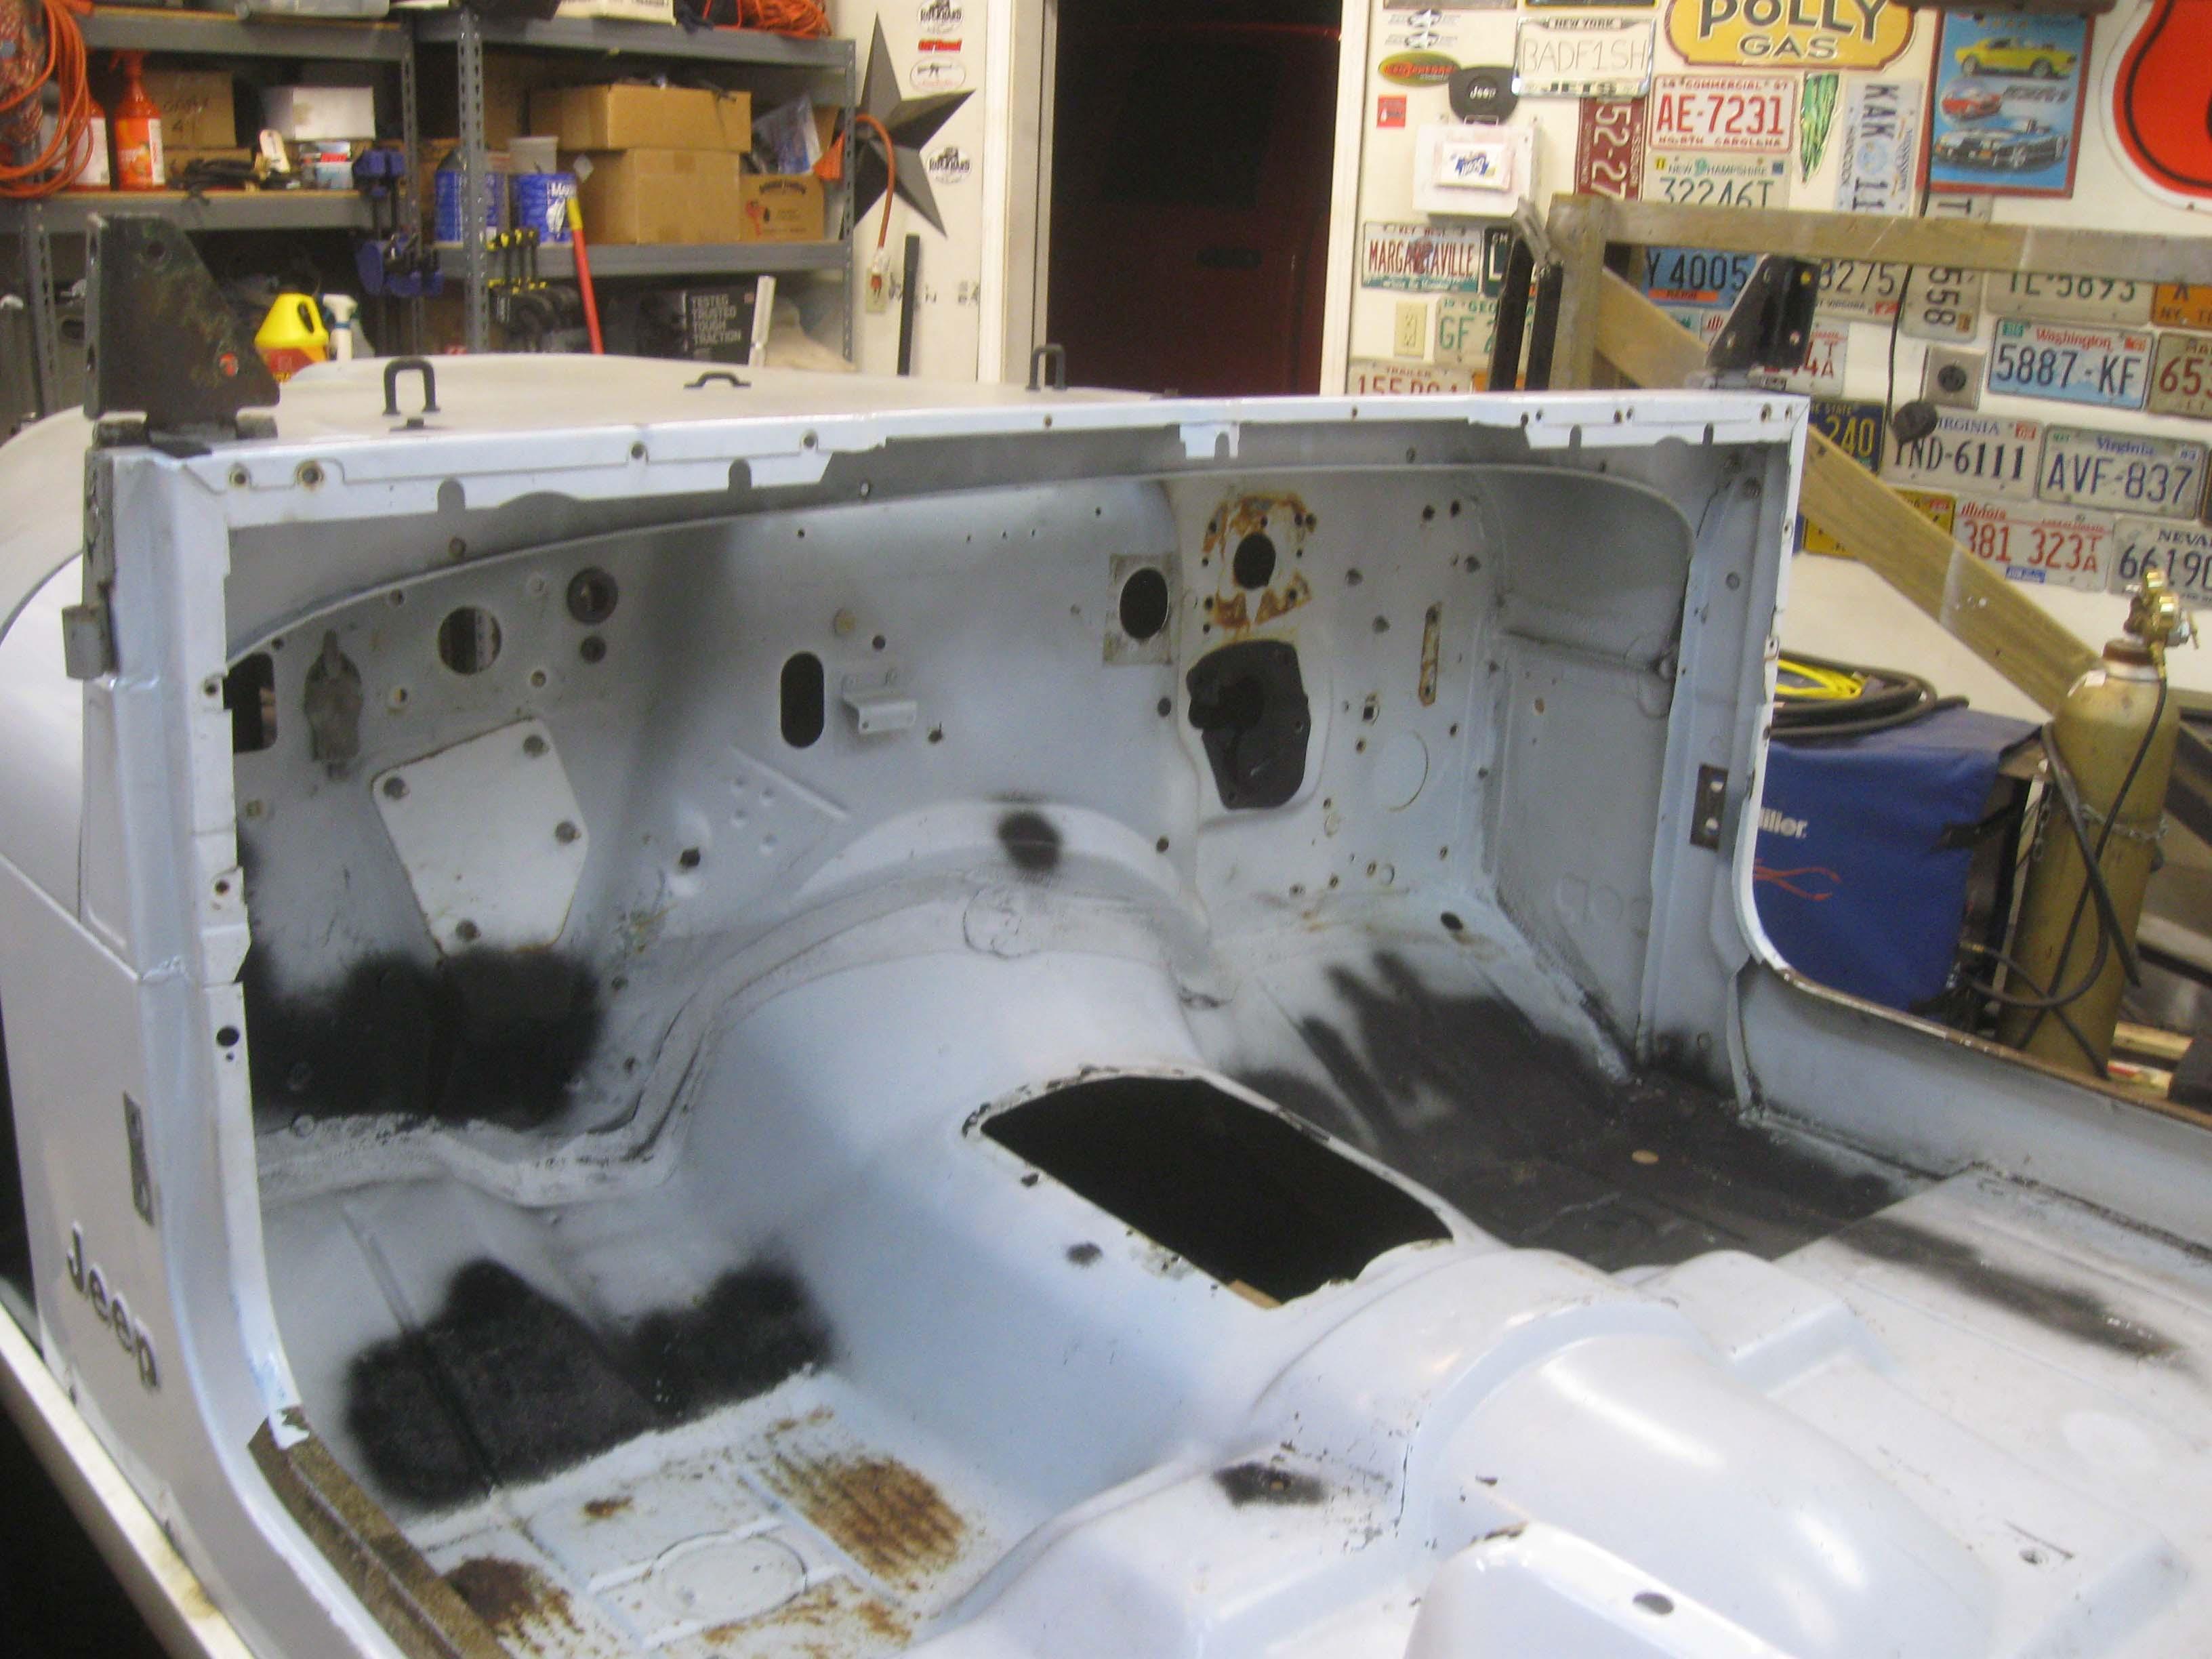
Moved onto the dash... it is stripped now and mounted and there is work to be done.

IMG_6956-1.jpg

IMG_6958-1.jpg

IMG_6962-1.jpg


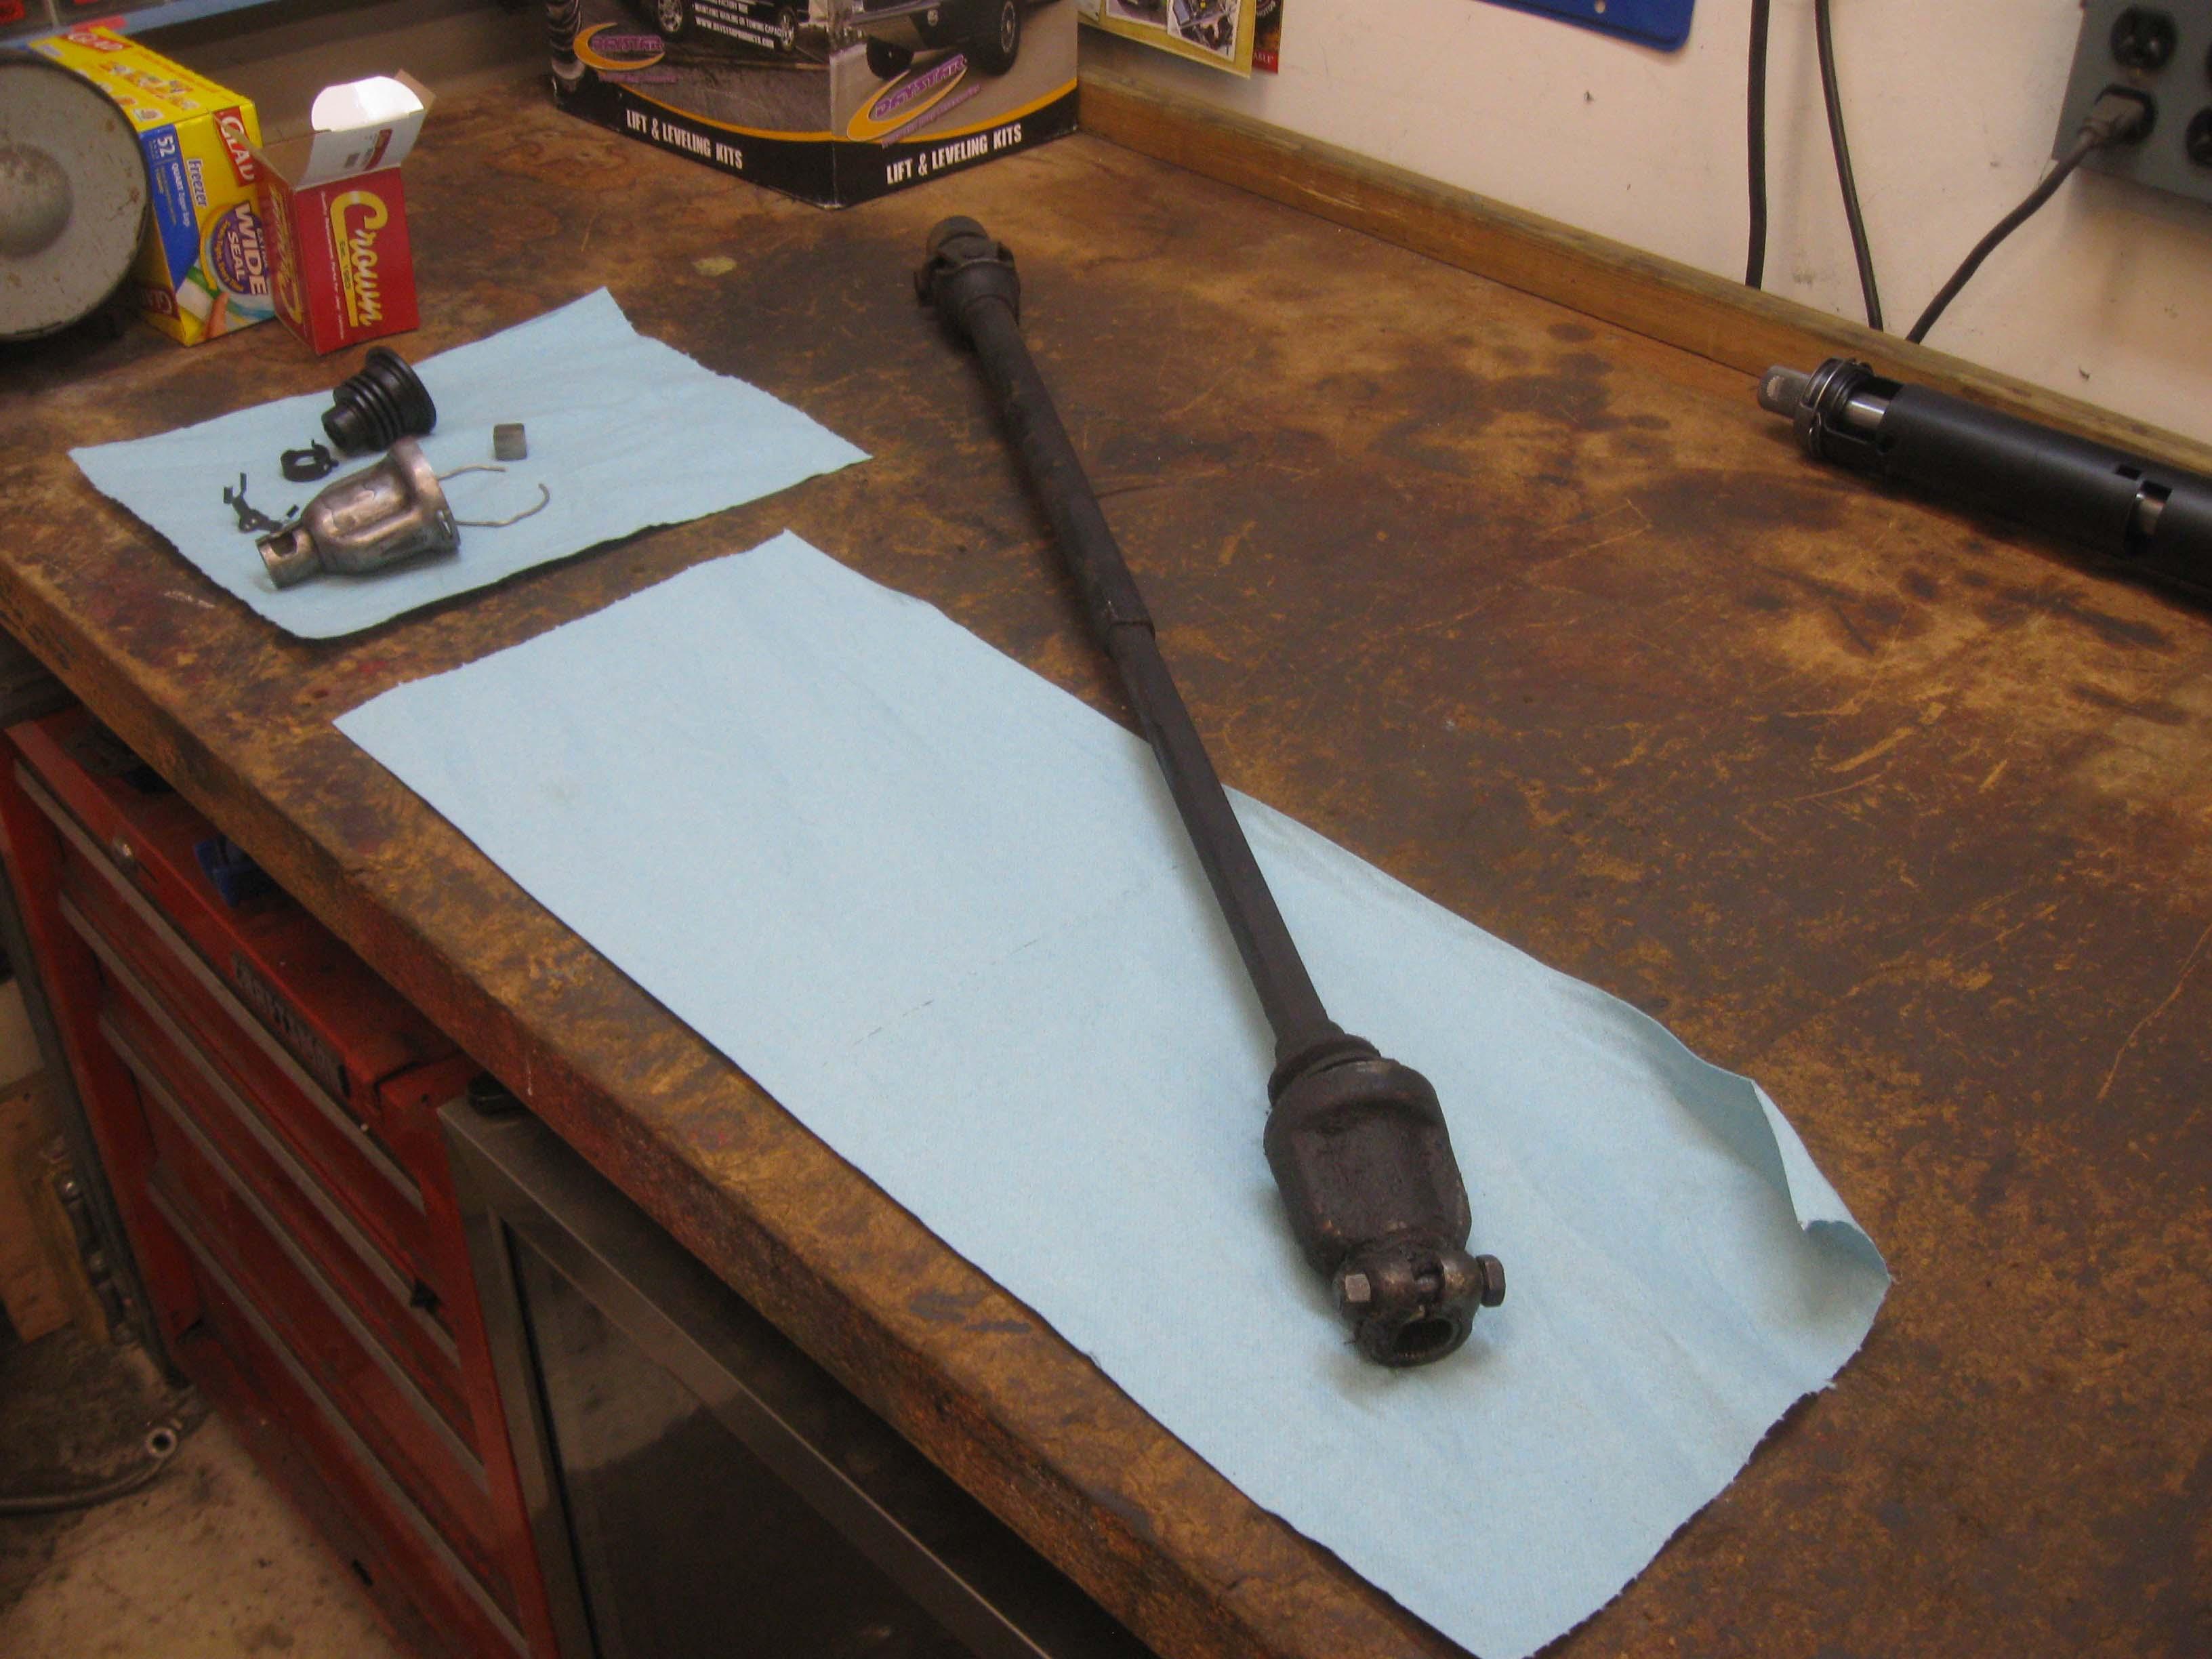
Steering column and shaft work.

IMG_6964-1.jpg

IMG_6965-1.jpg


And finally she looks the same sitting there

IMG_6963-1.jpg


cb
 
Probably one of the lamest updates to date.
Work has been a bear this week, put in close to 60 and dealing with weather and stacking wood, etc.
EXCUSES, EXCUSES, EXCUSES, EXCUSES, EXCUSES, I have plenty of them.

I got the squirter installed where it belongs, I will cover up the YJ spray holes during body work time.
IMG_6976-1.jpg


Funny how many tools it takes to do it though.
IMG_6975-1.jpg


Removed the windshield and dash panel to make way to do the heater surgery this weekend

IMG_6980-1.jpg

IMG_6981-1.jpg


Finally, measure the cut and removed the paint and am ready to roll.
I plan on laying it all out tonight as I am running out of time and getting up early and tackling

IMG_6979-1.jpg


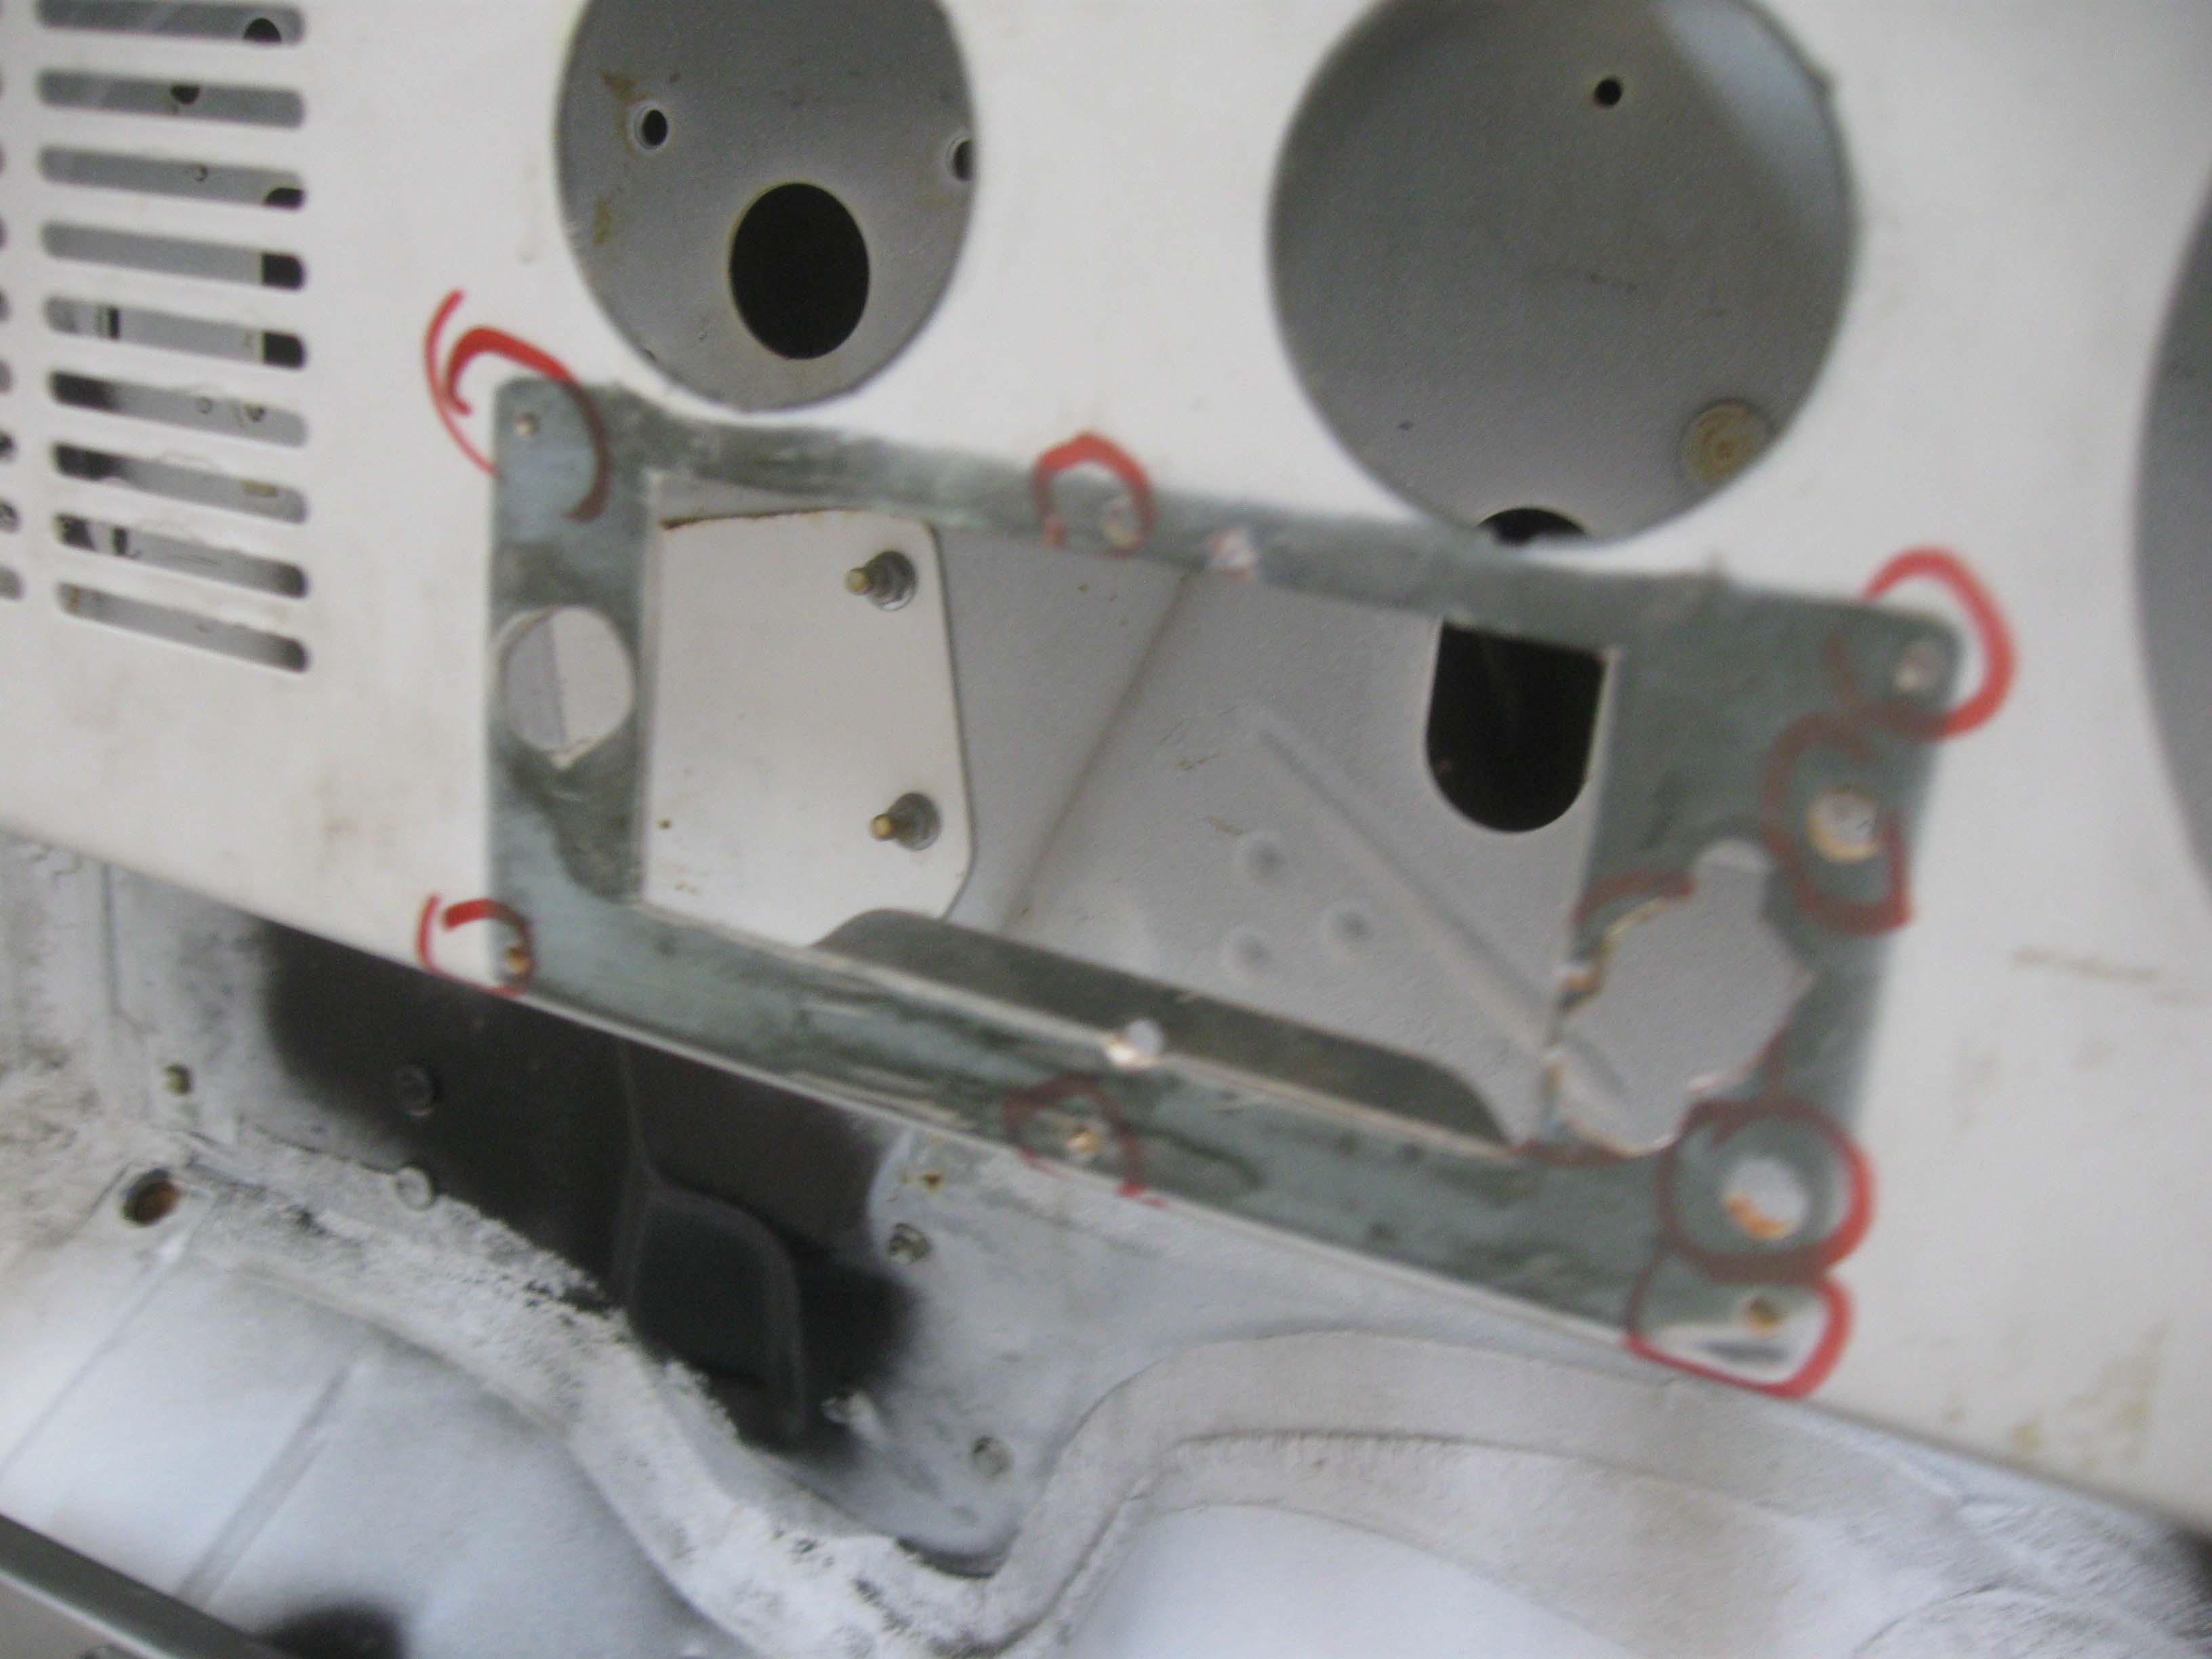
1) Heater section in dash
2) Tack in the body mounts
3) Get YJ fuel hole filled in and tacked
4) Remove fender flares
5) Remove bonnet and front fenders and grille
6) By Sunday, flip the tub onto the dolly upside down for some major underbody surgery
7) Weld up the tacked in body mounts


and if time, repair body mounts before dismembering the frame from the axles for the frame work, after attaching/tacking the rear cross member for keeping the rear rails straight.

cb

PS> I also got some parts in and sold a few things, so the cost isn't rising anymore, which is a good thing :)
 
1) Heater section in dash
2) Tack in the body mounts
3) Get YJ fuel hole filled in and tacked
4) Remove fender flares
5) Remove bonnet and front fenders and grille
6) By Sunday, flip the tub onto the dolly upside down for some major under body surgery
7) Weld up the tacked in body mounts
#7 was about the only thing I wasn't able to accomplish. I think this update is a bit better than the last lame one.

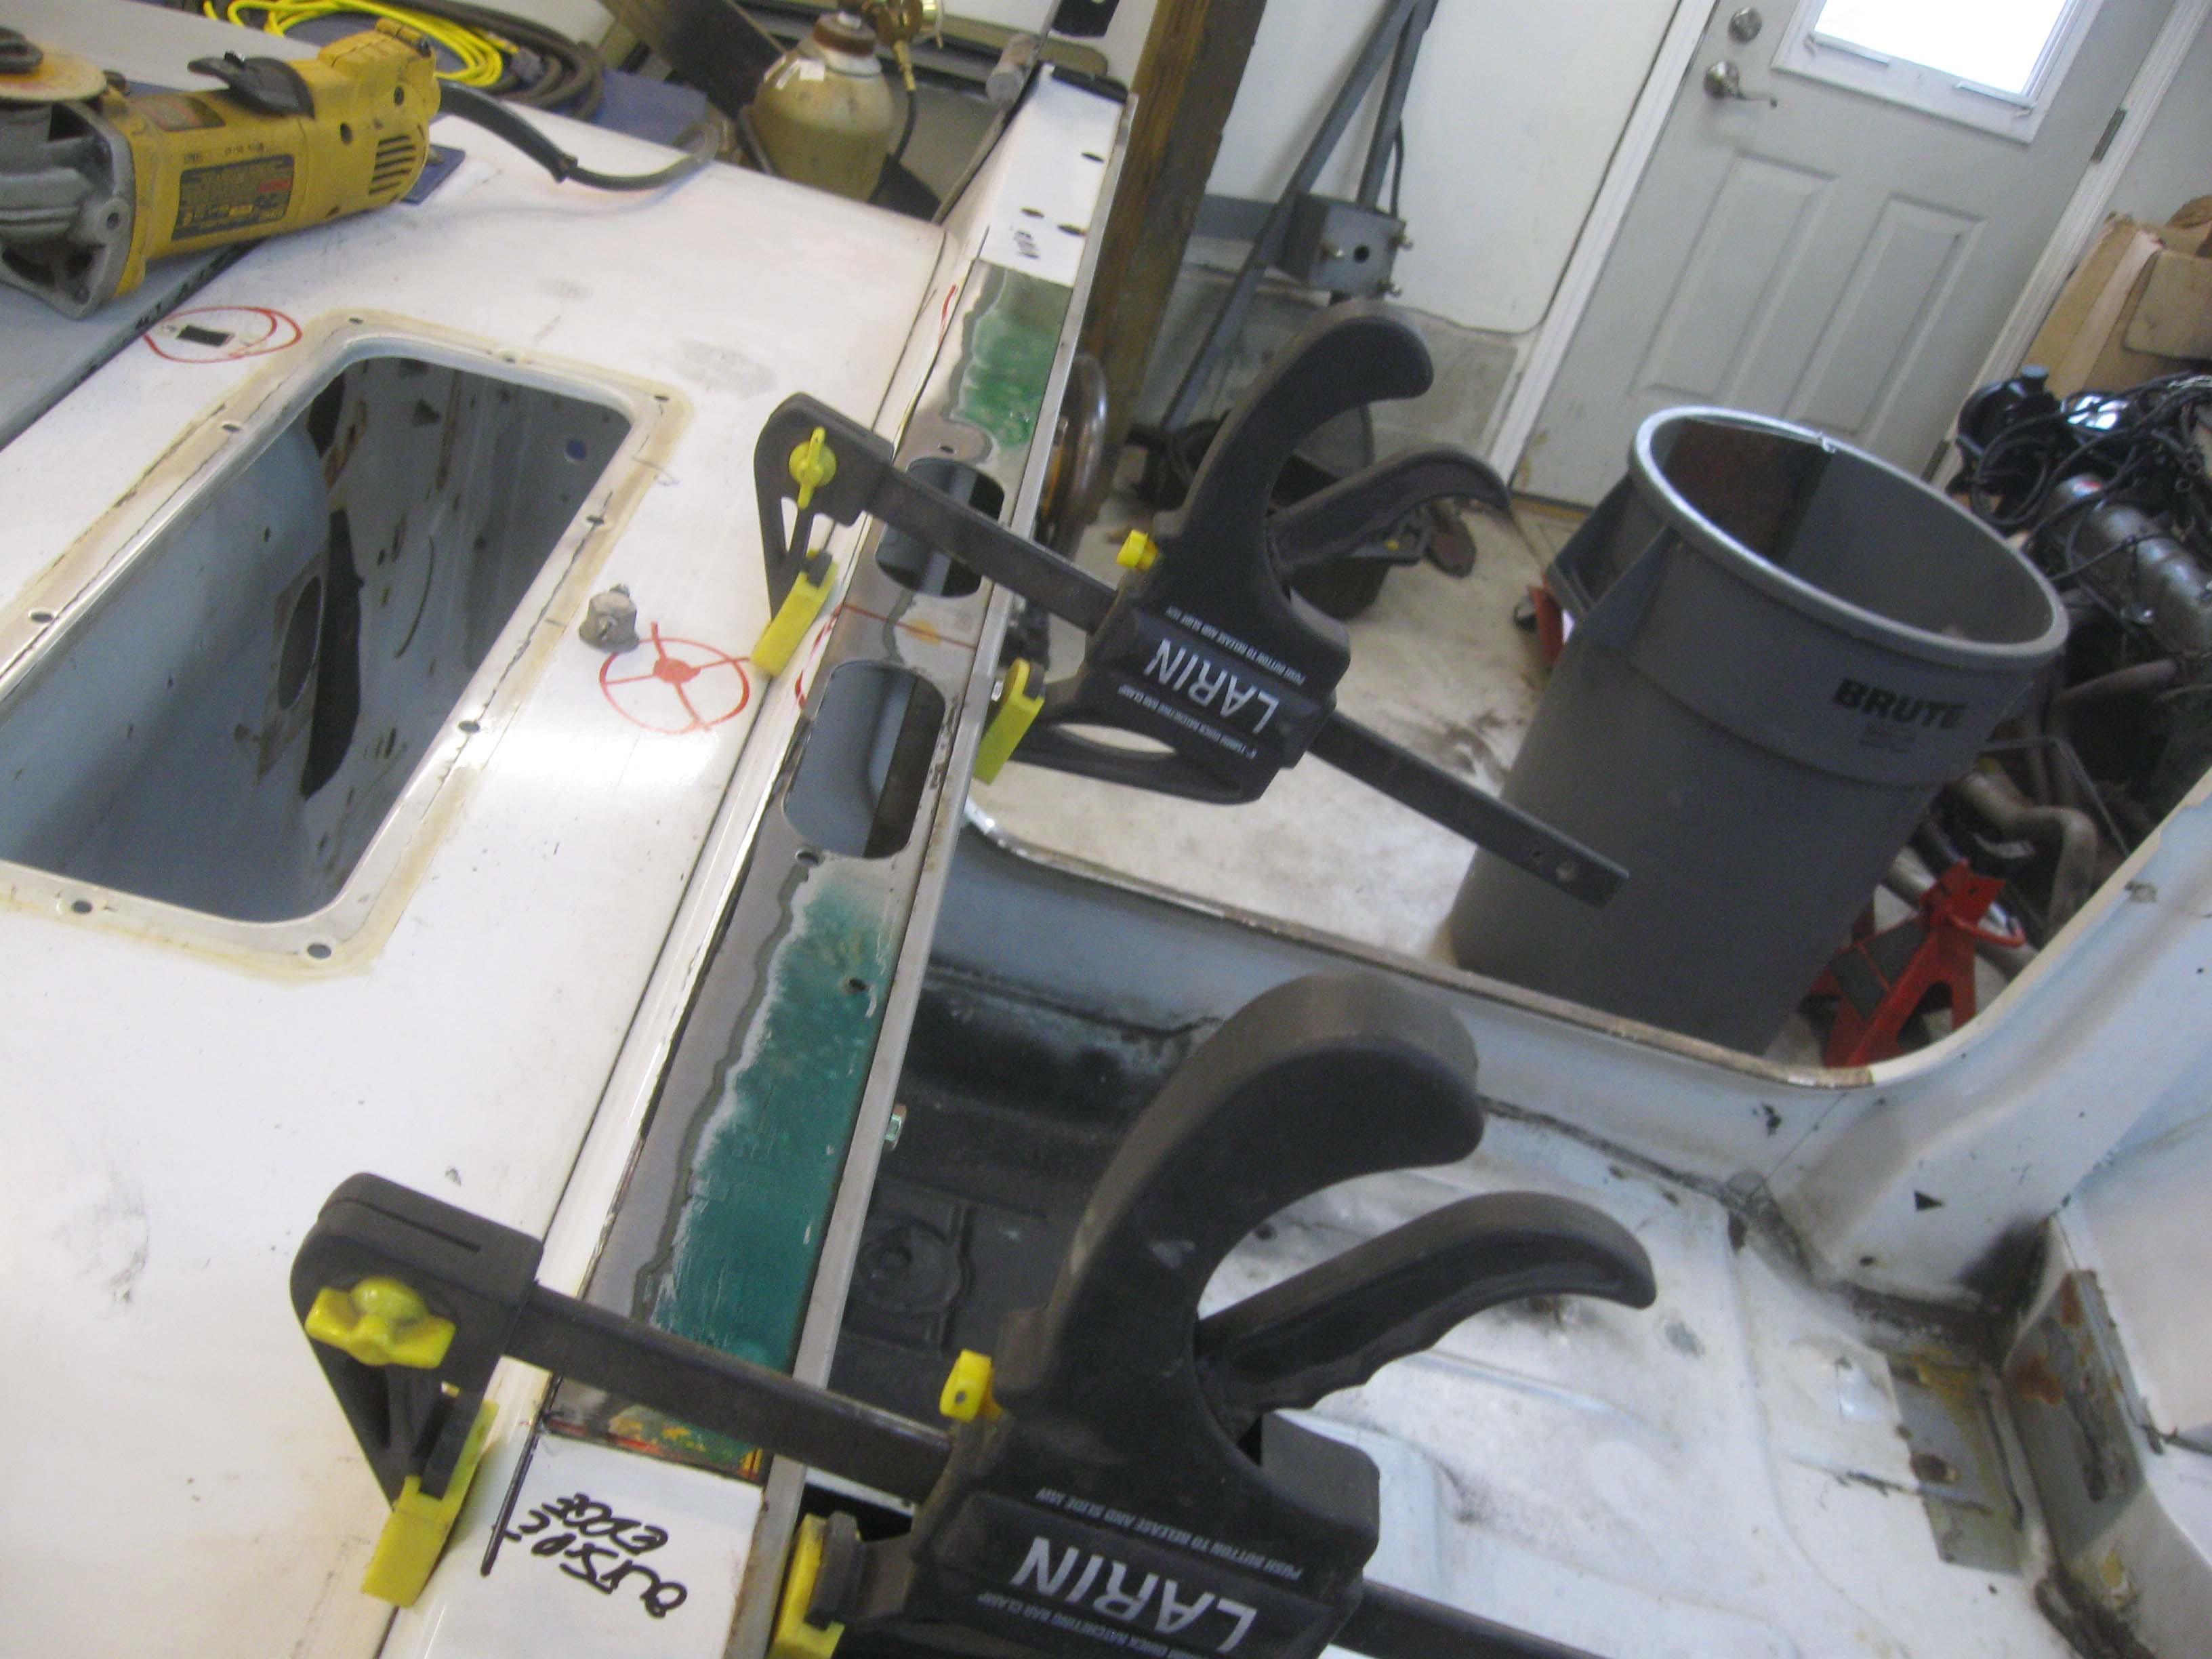
Heater section replacement

IMG_6984-1.jpg

IMG_6985-1.jpg

IMG_6986-1.jpg

IMG_6987-1.jpg


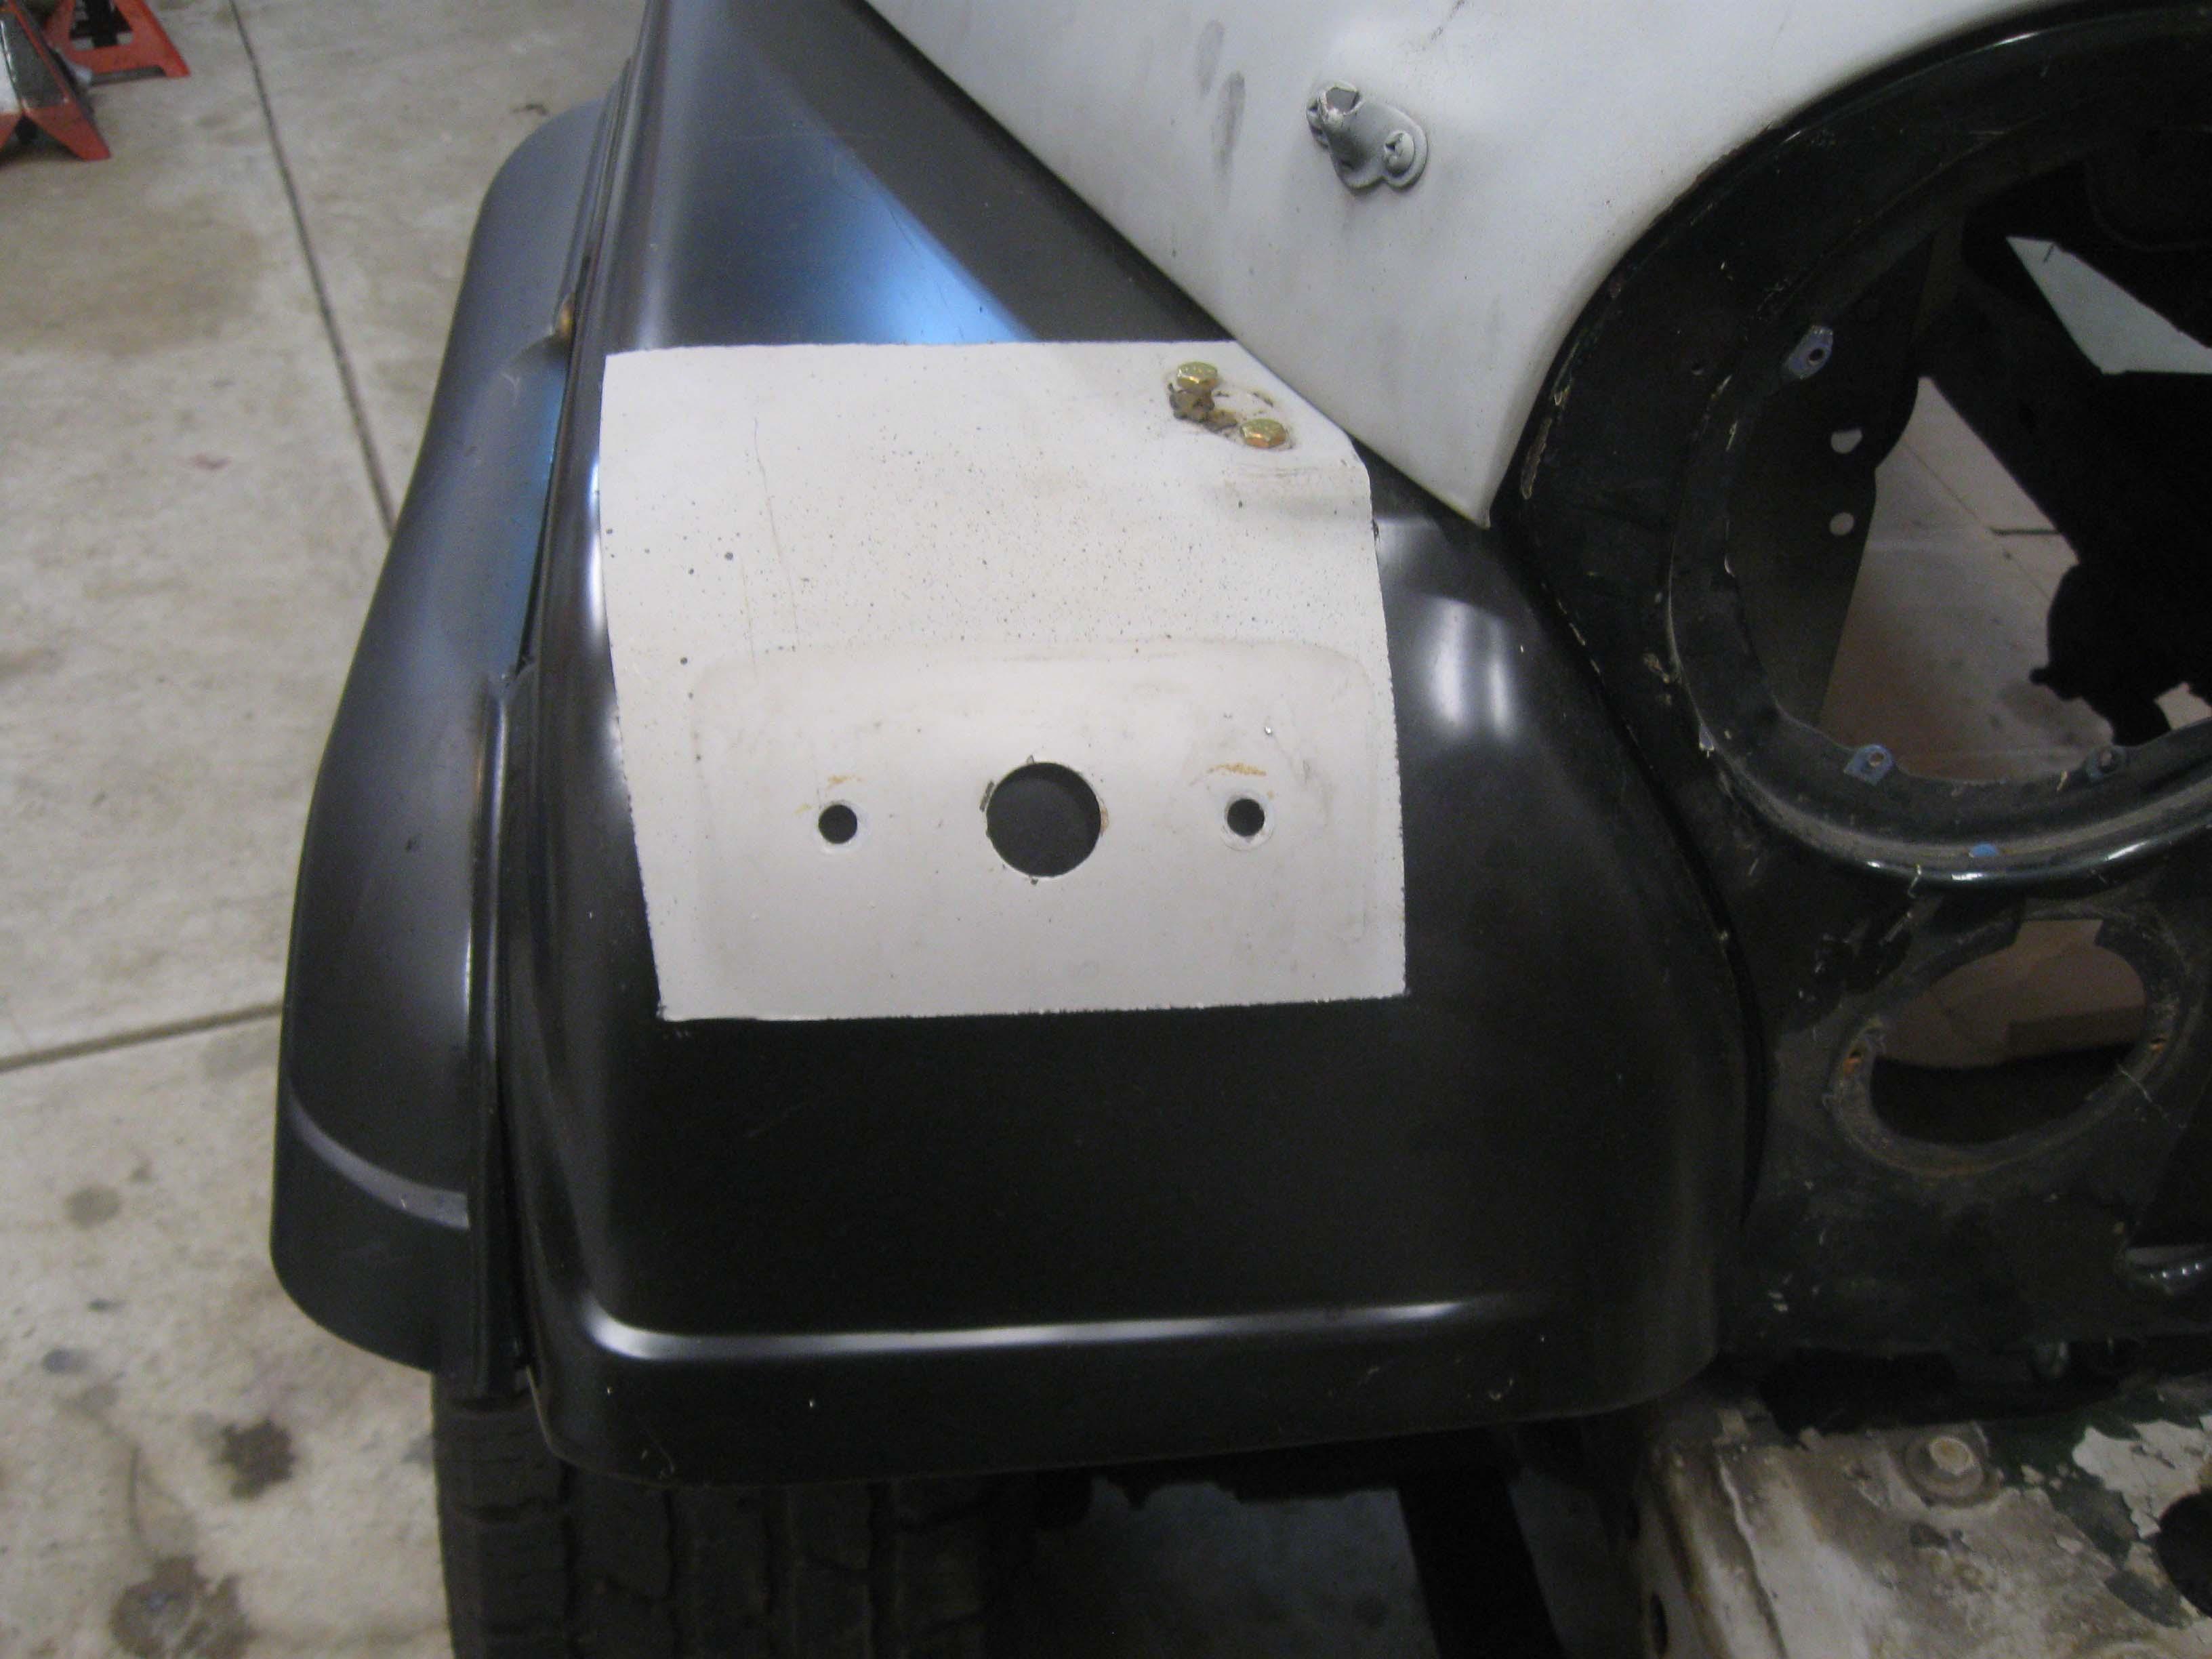
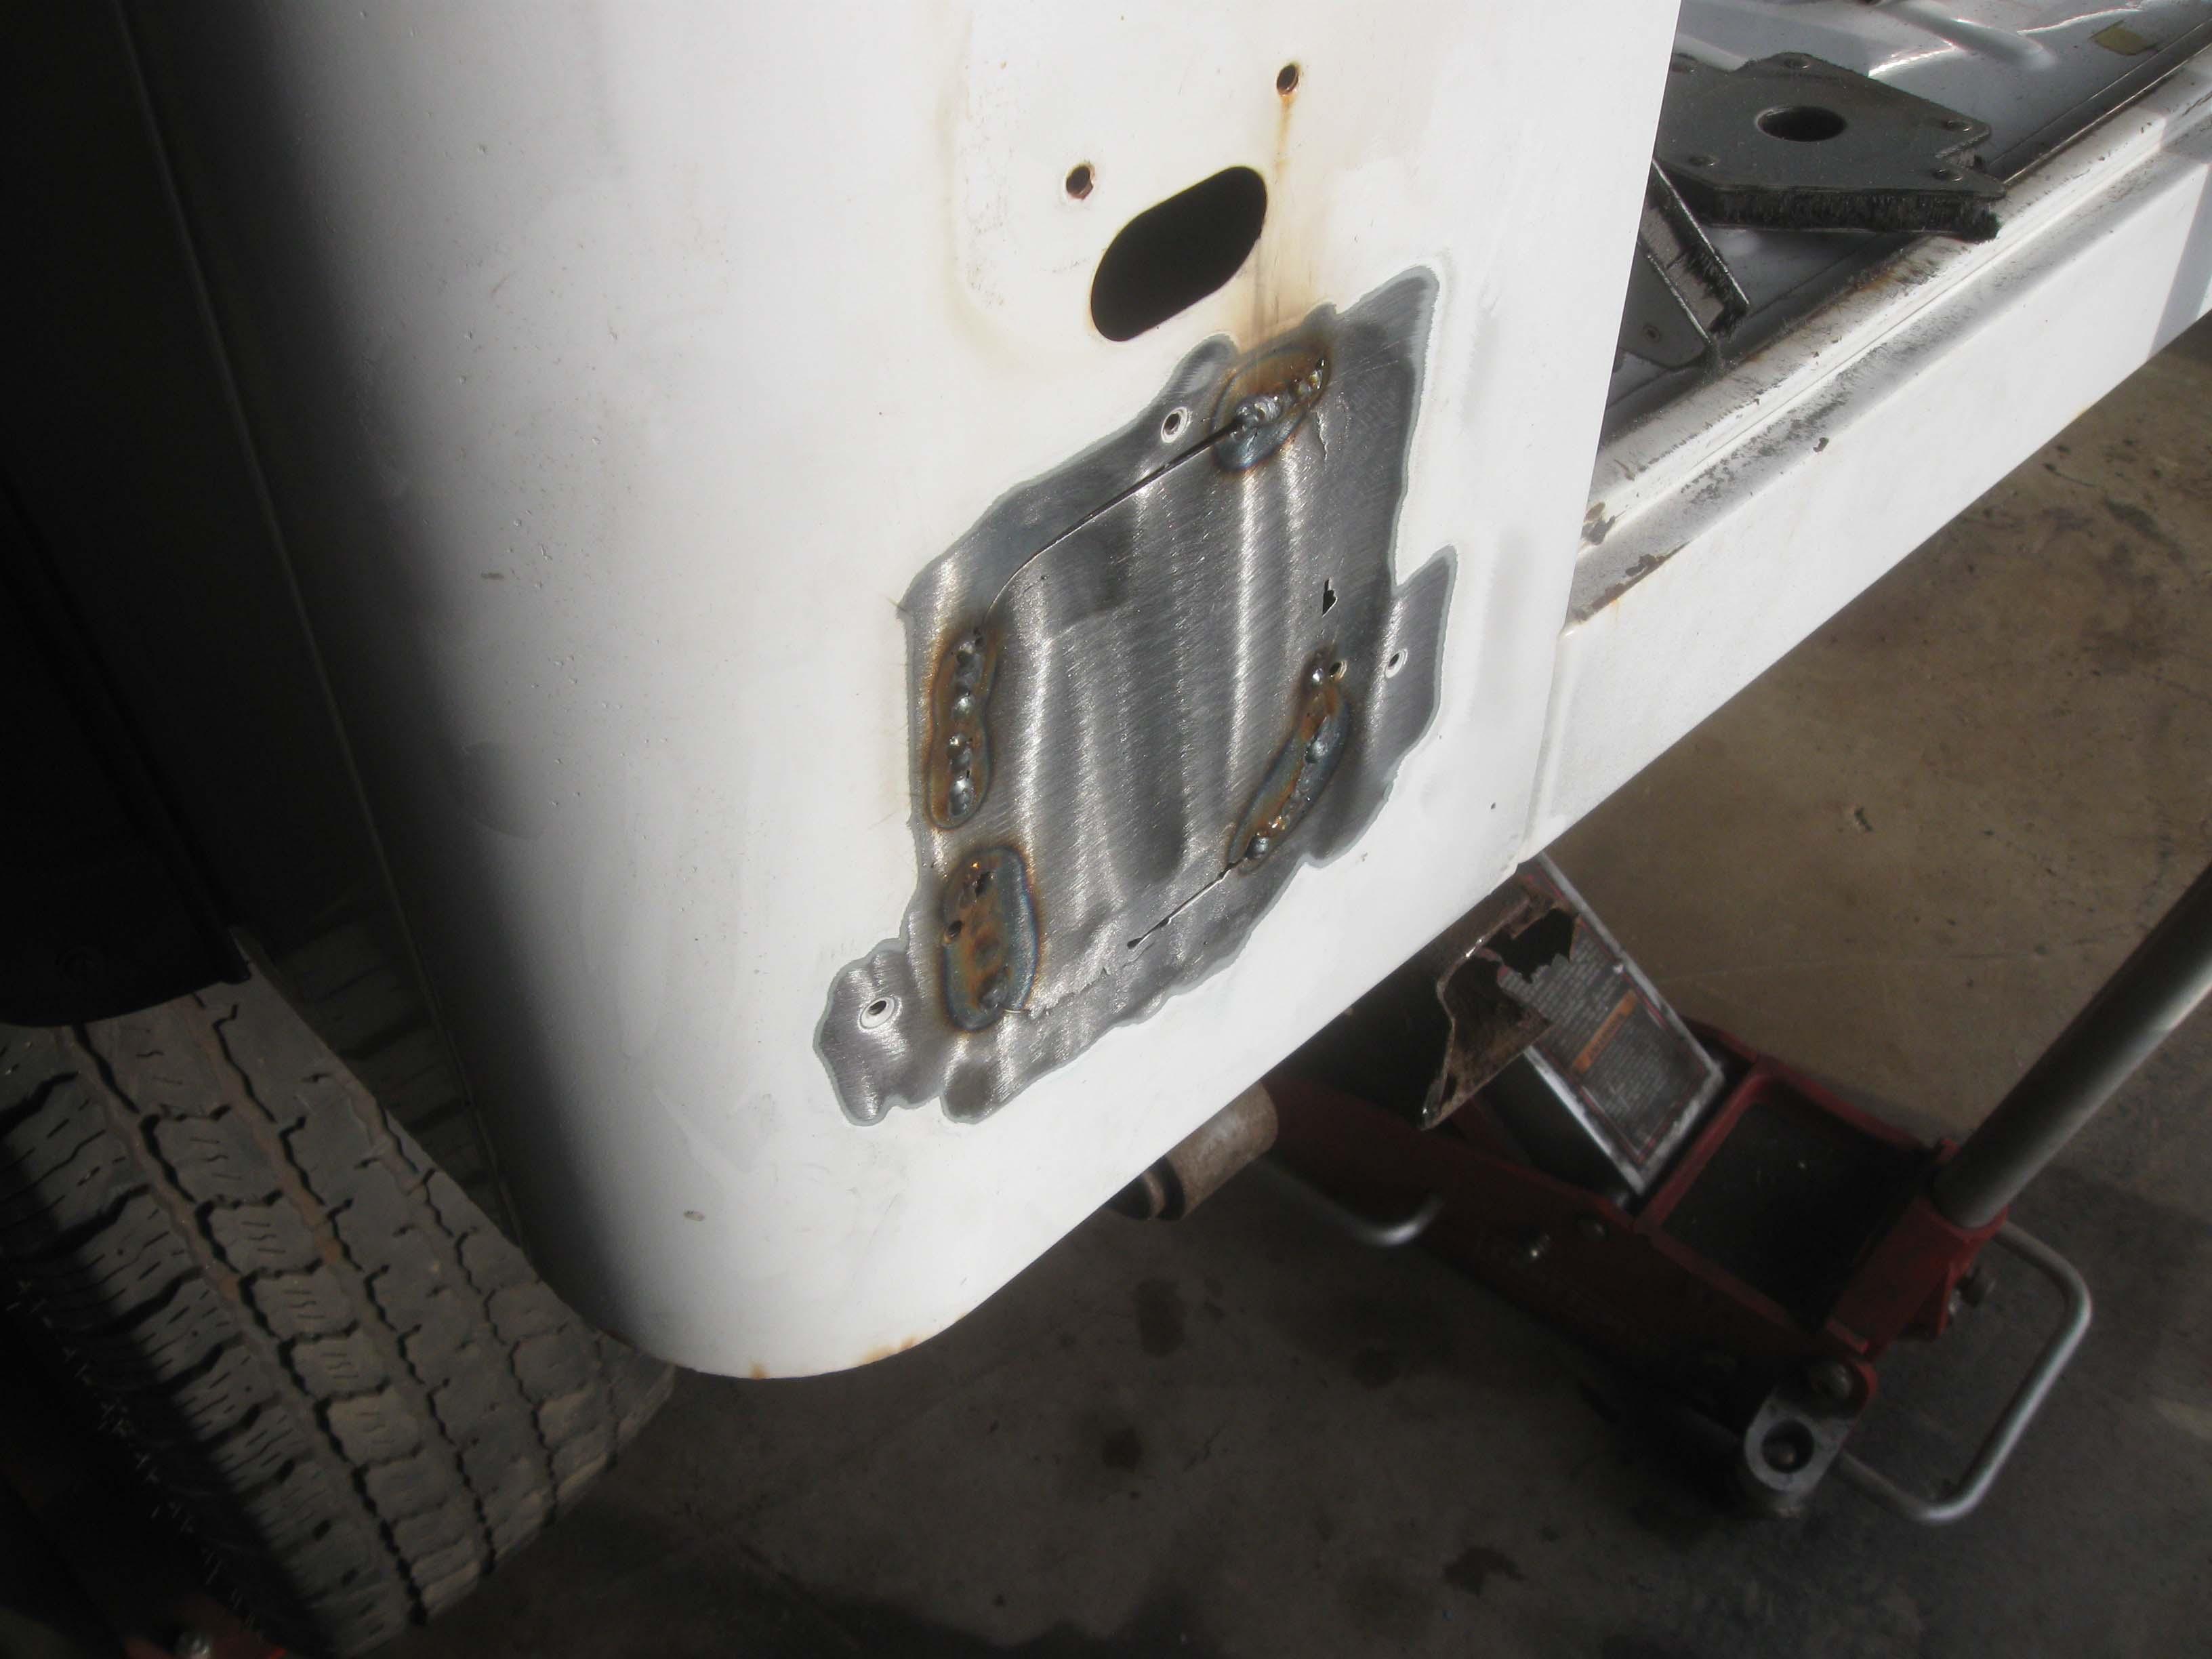
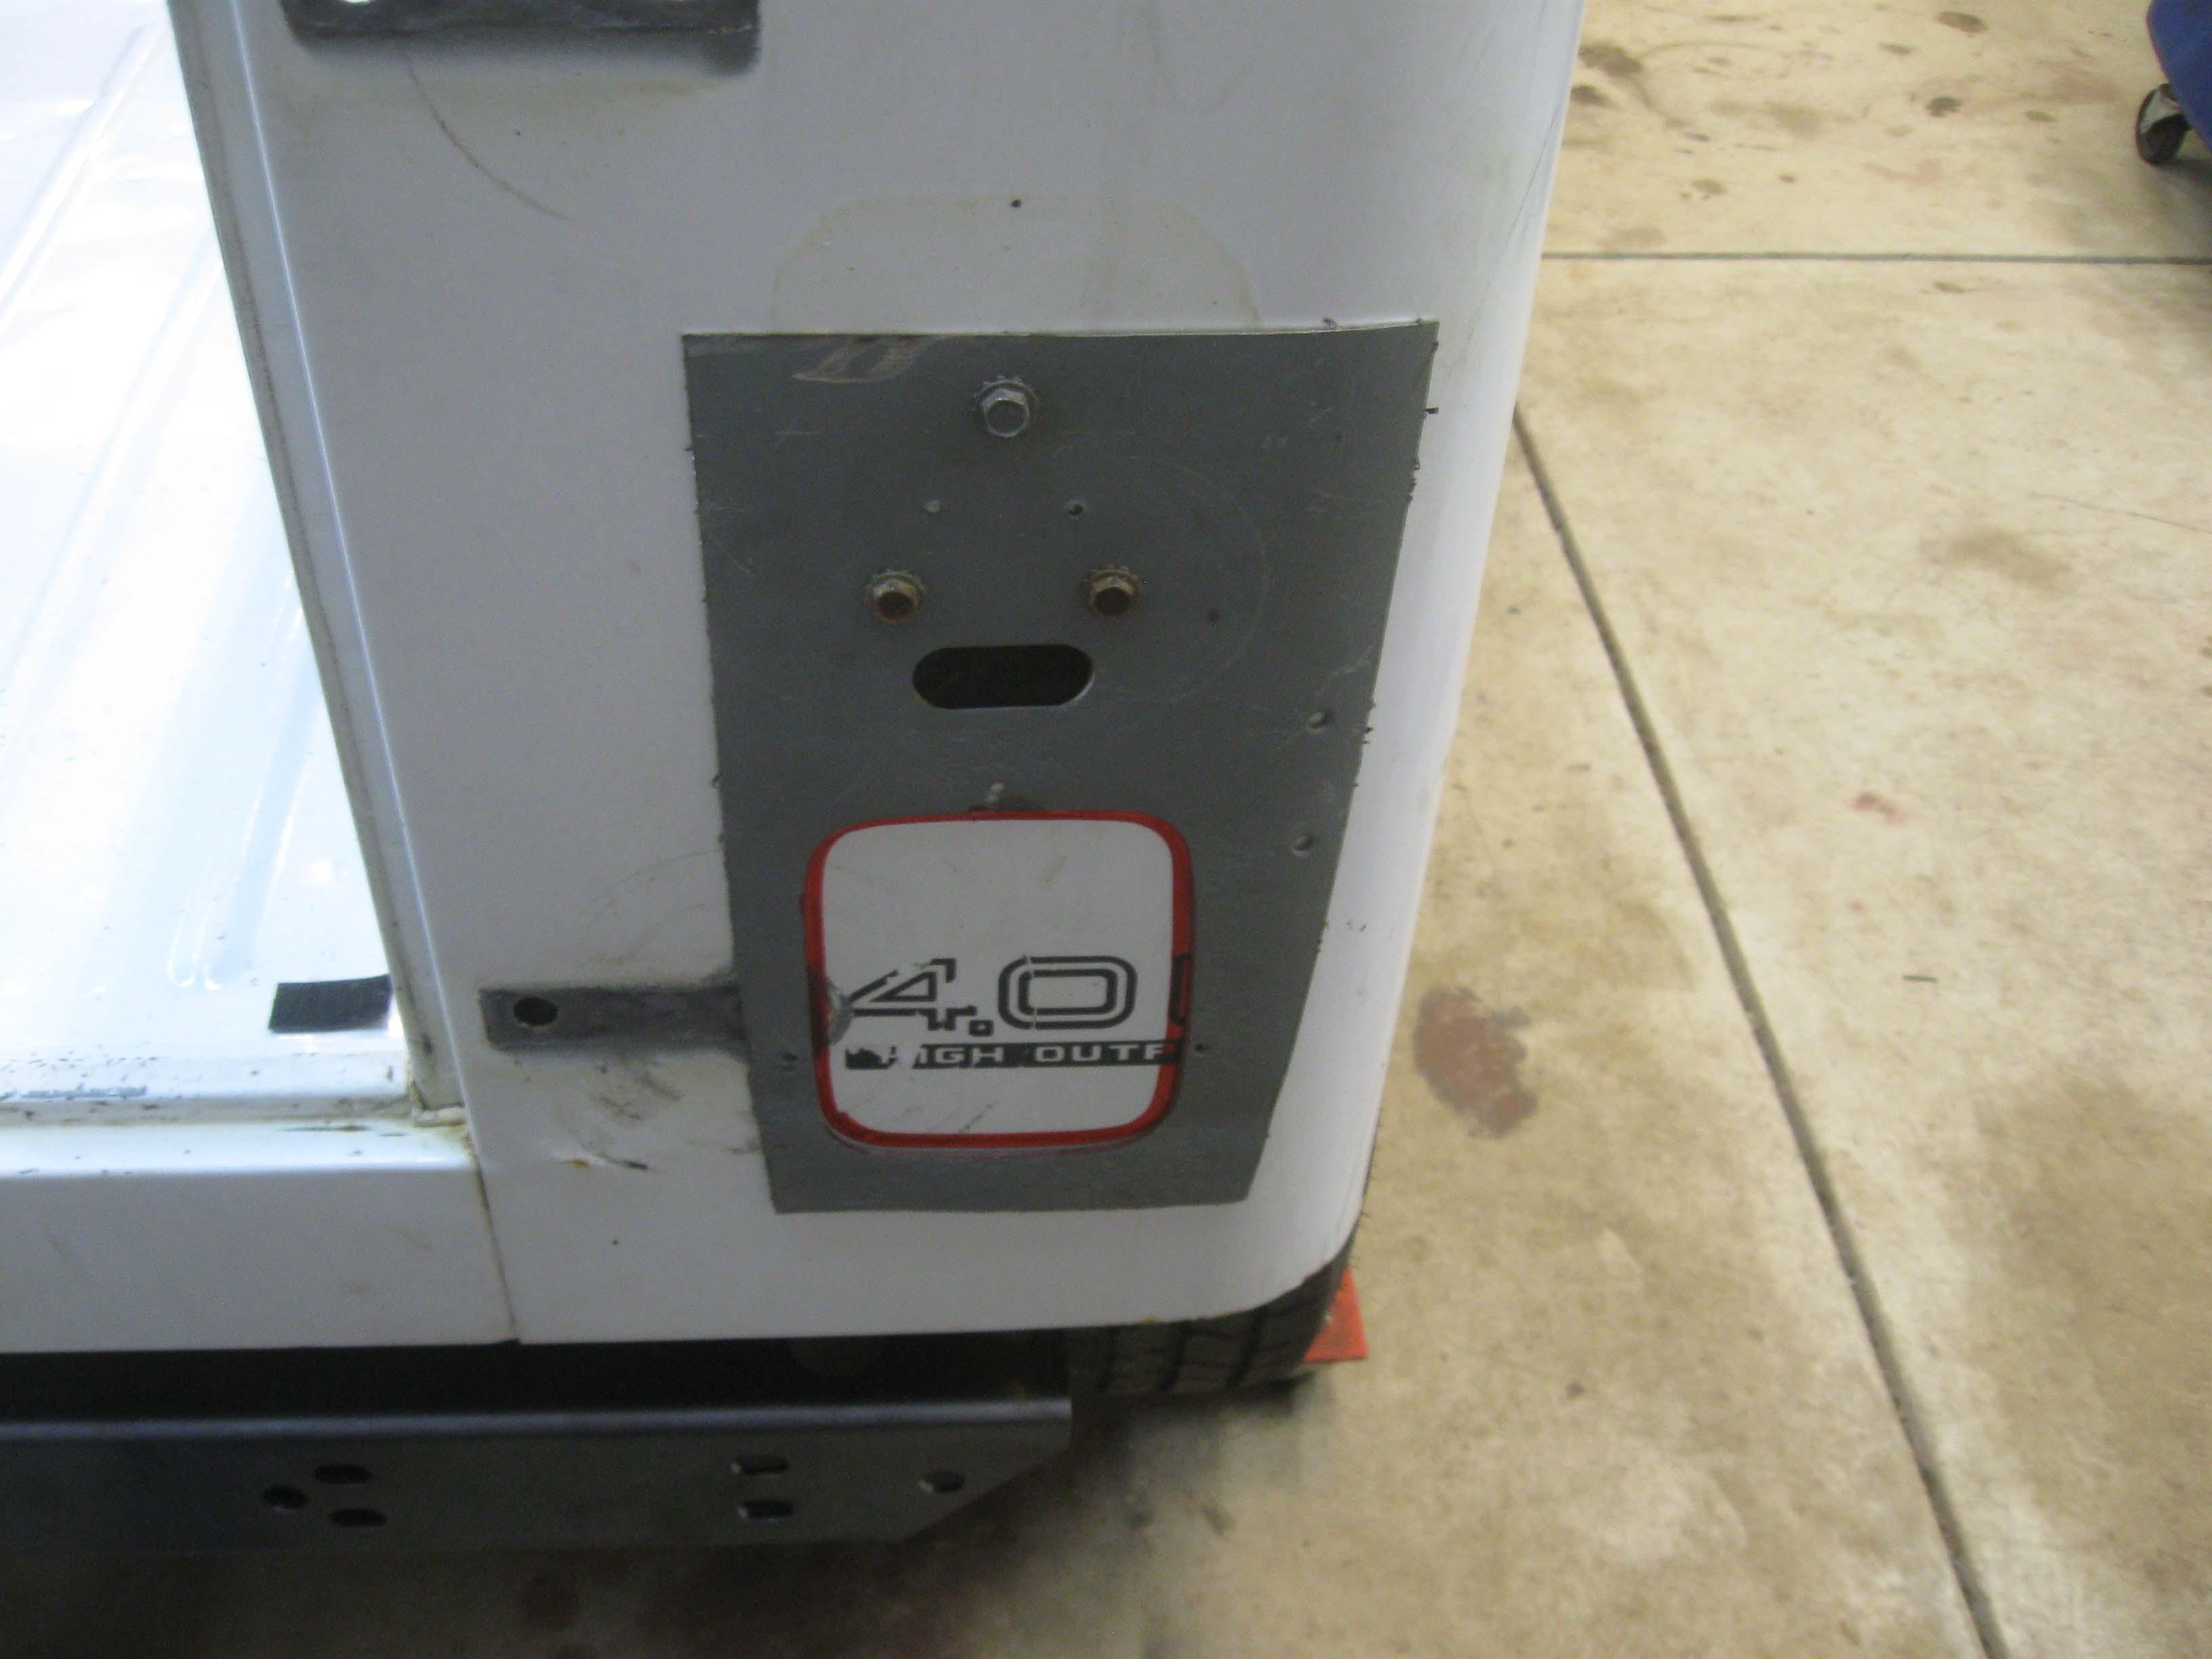
Fill in the YJ filler on the "wrong" side
IMG_6988-1.jpg


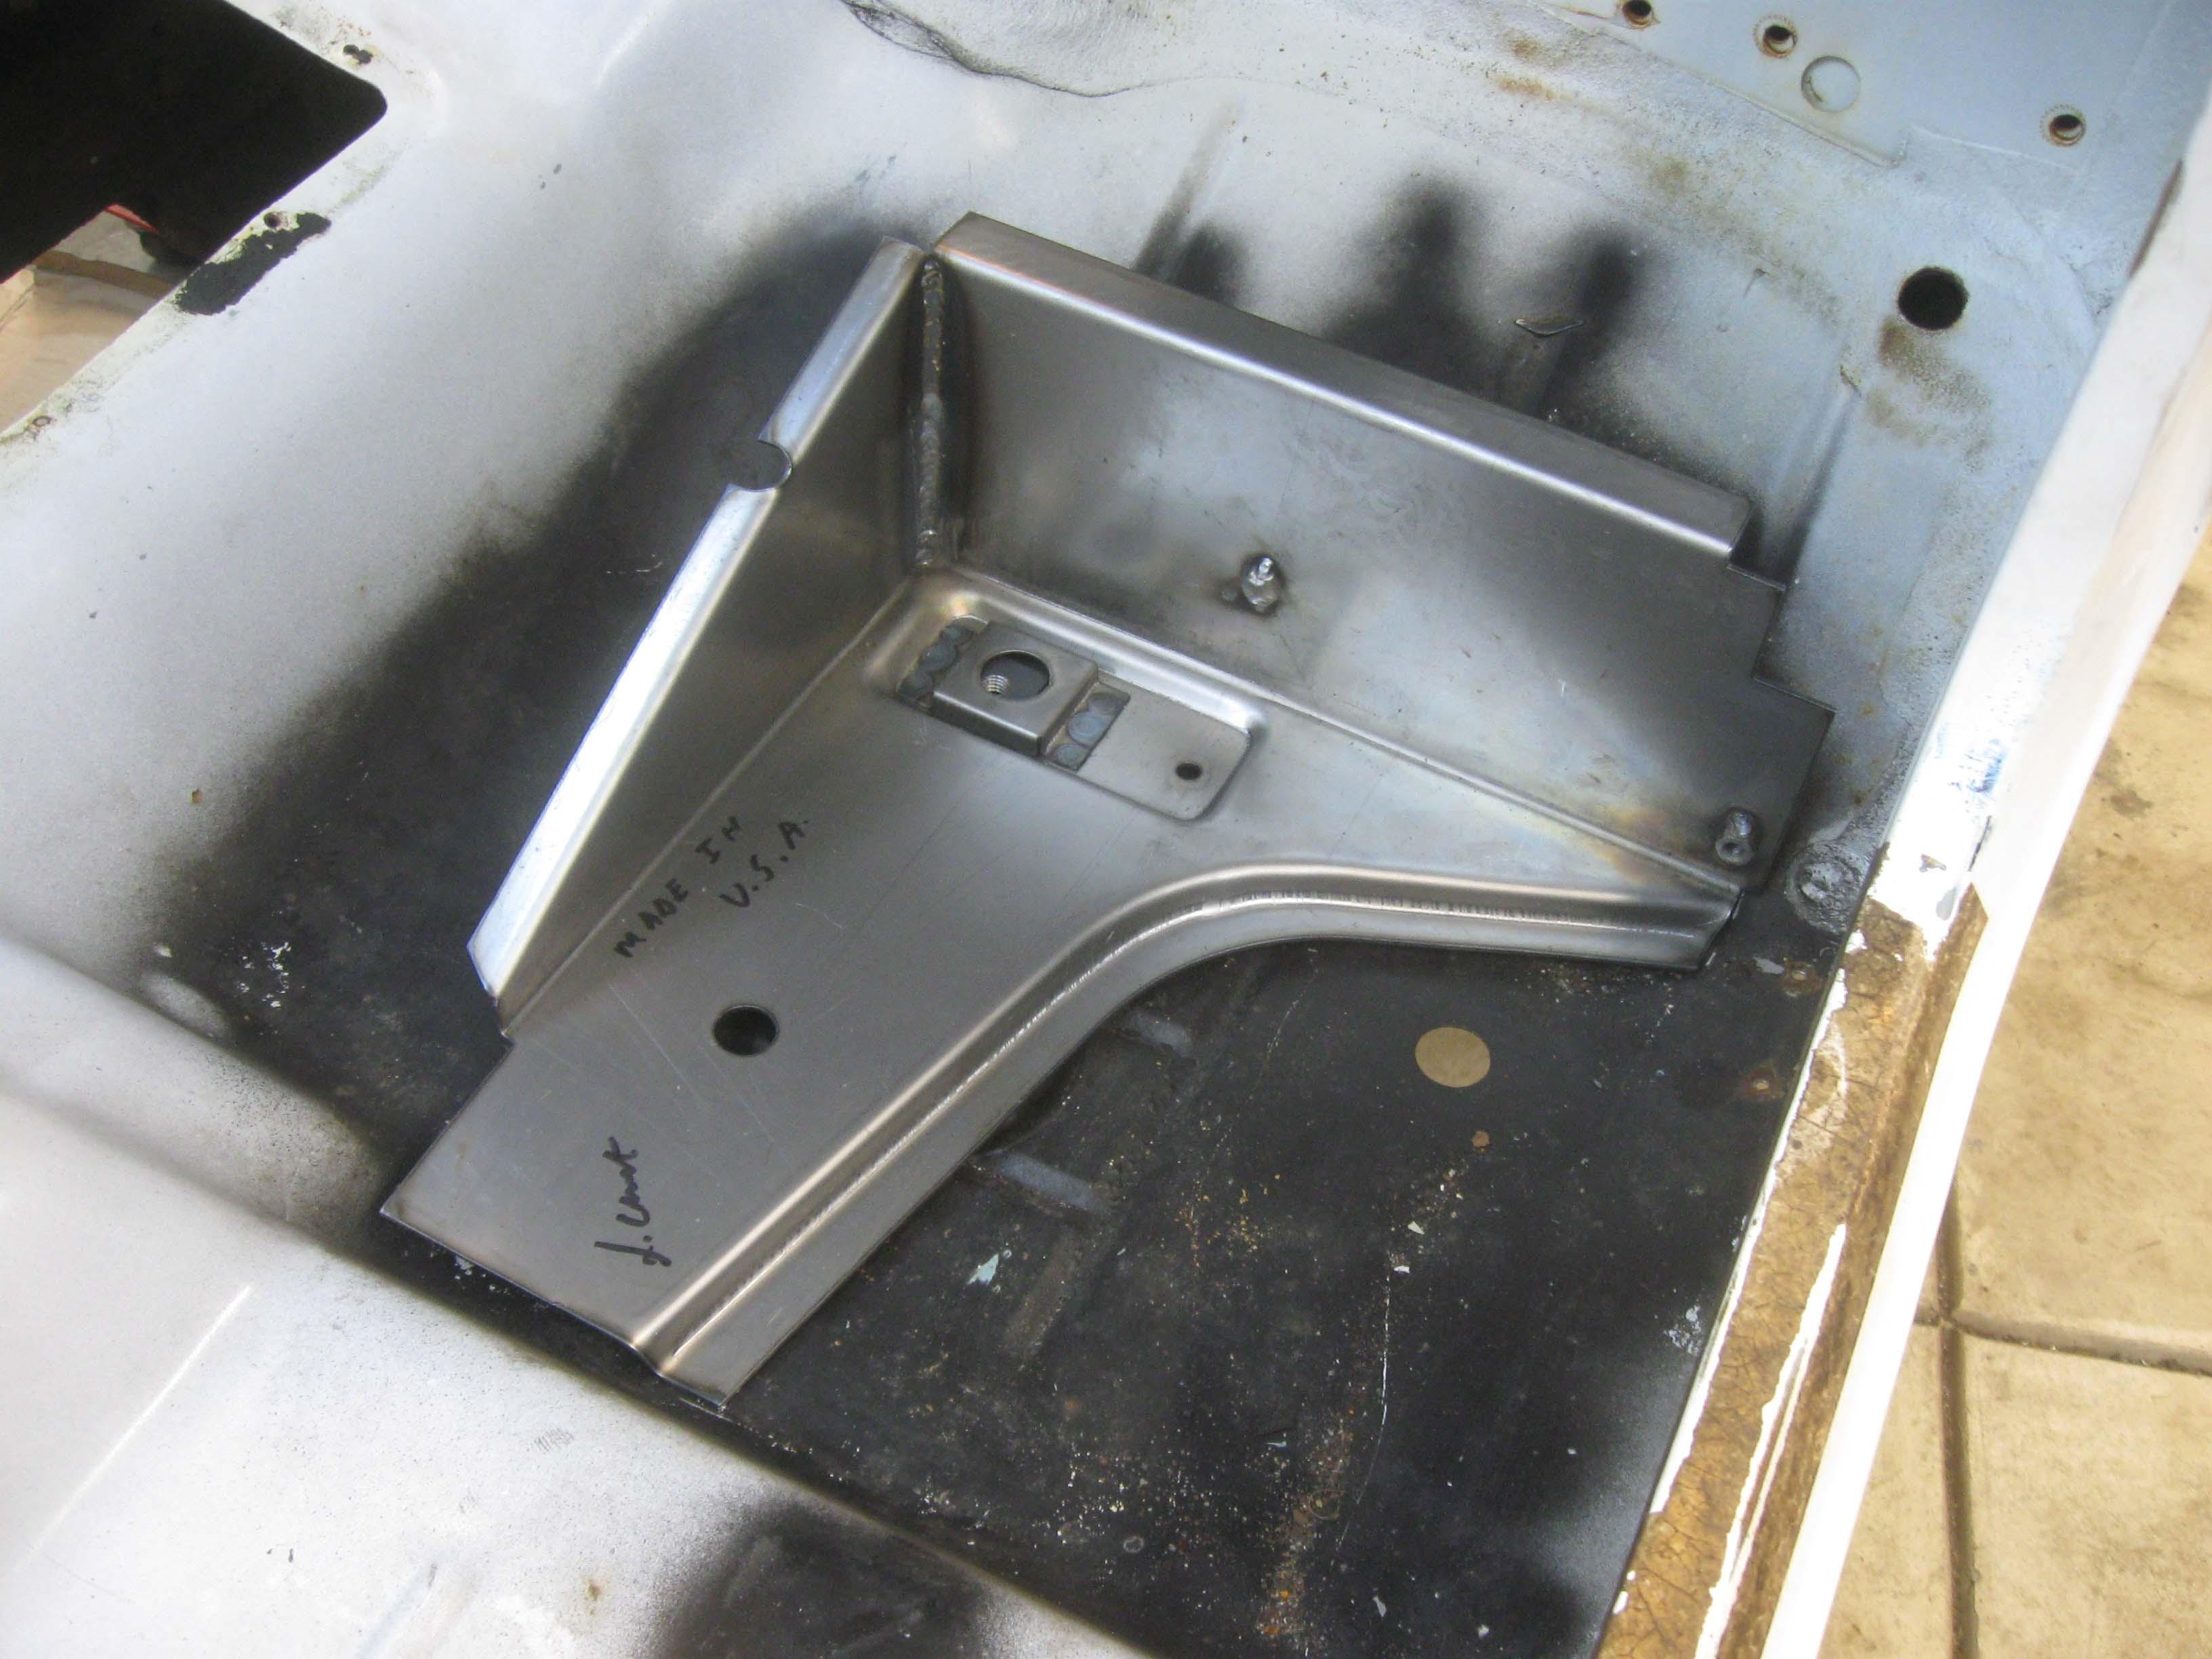
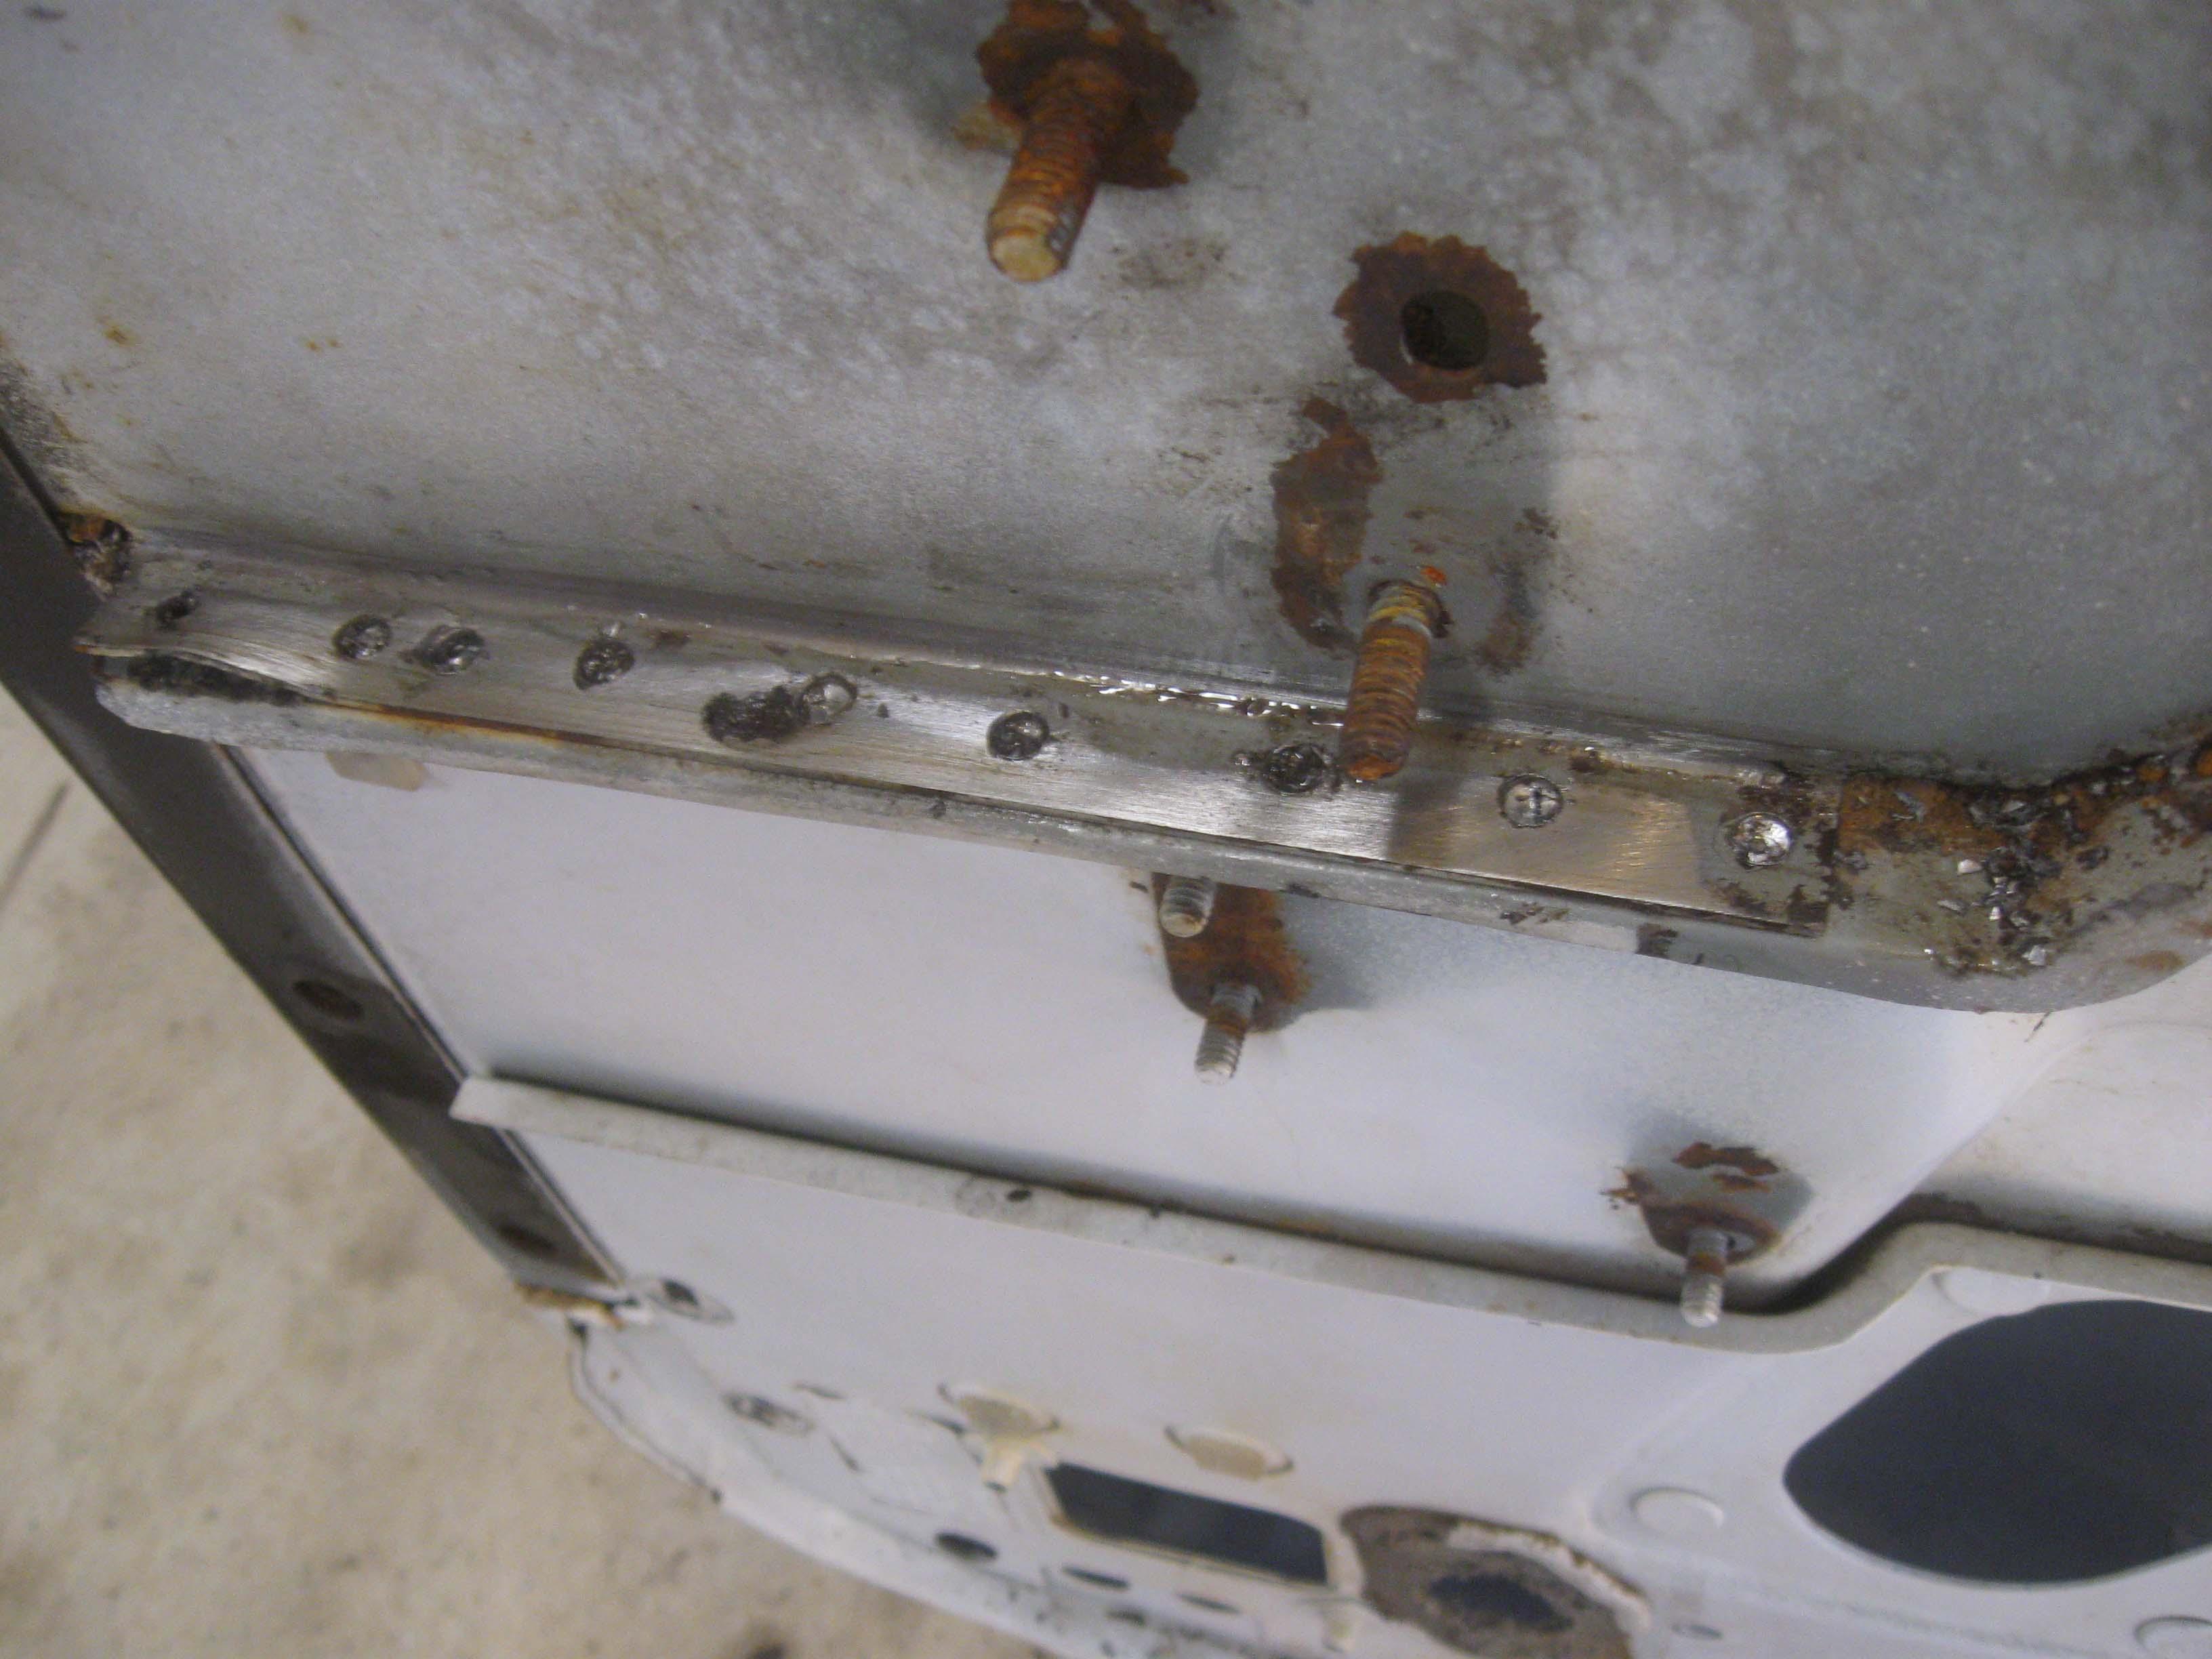
Body mounts are welded tight for the new replacement/relocated one.
IMG_6989-1.jpg


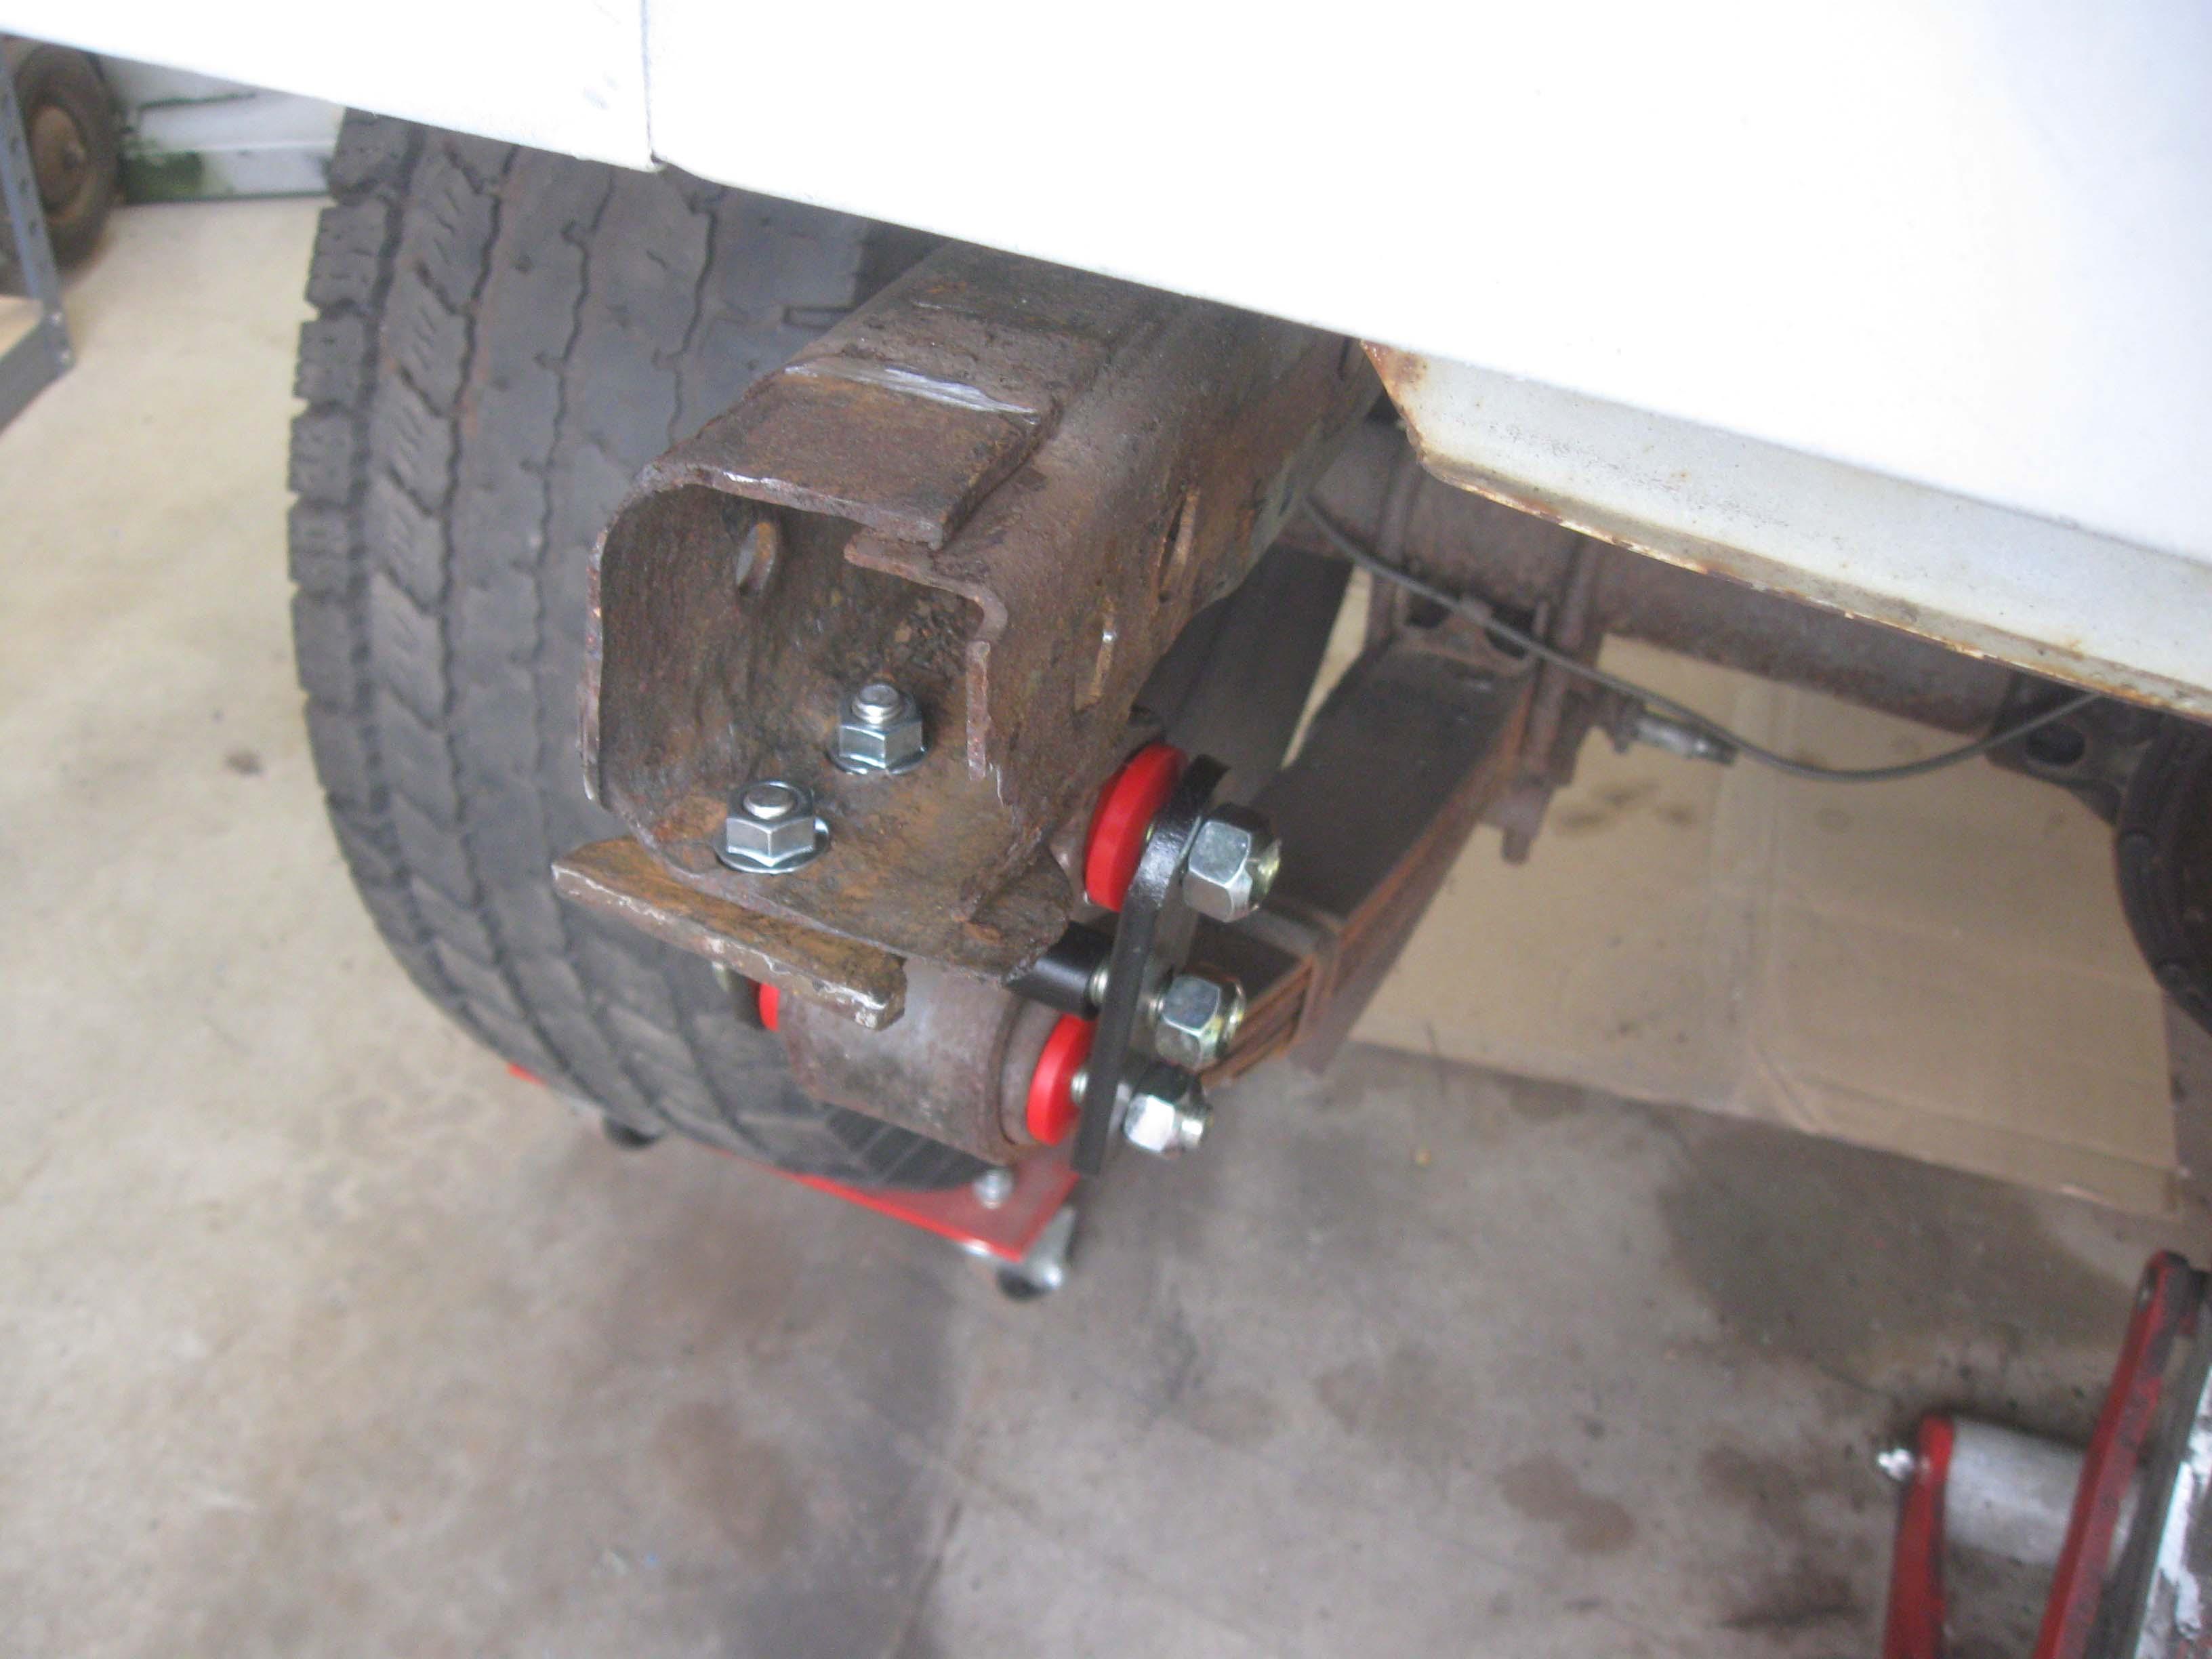
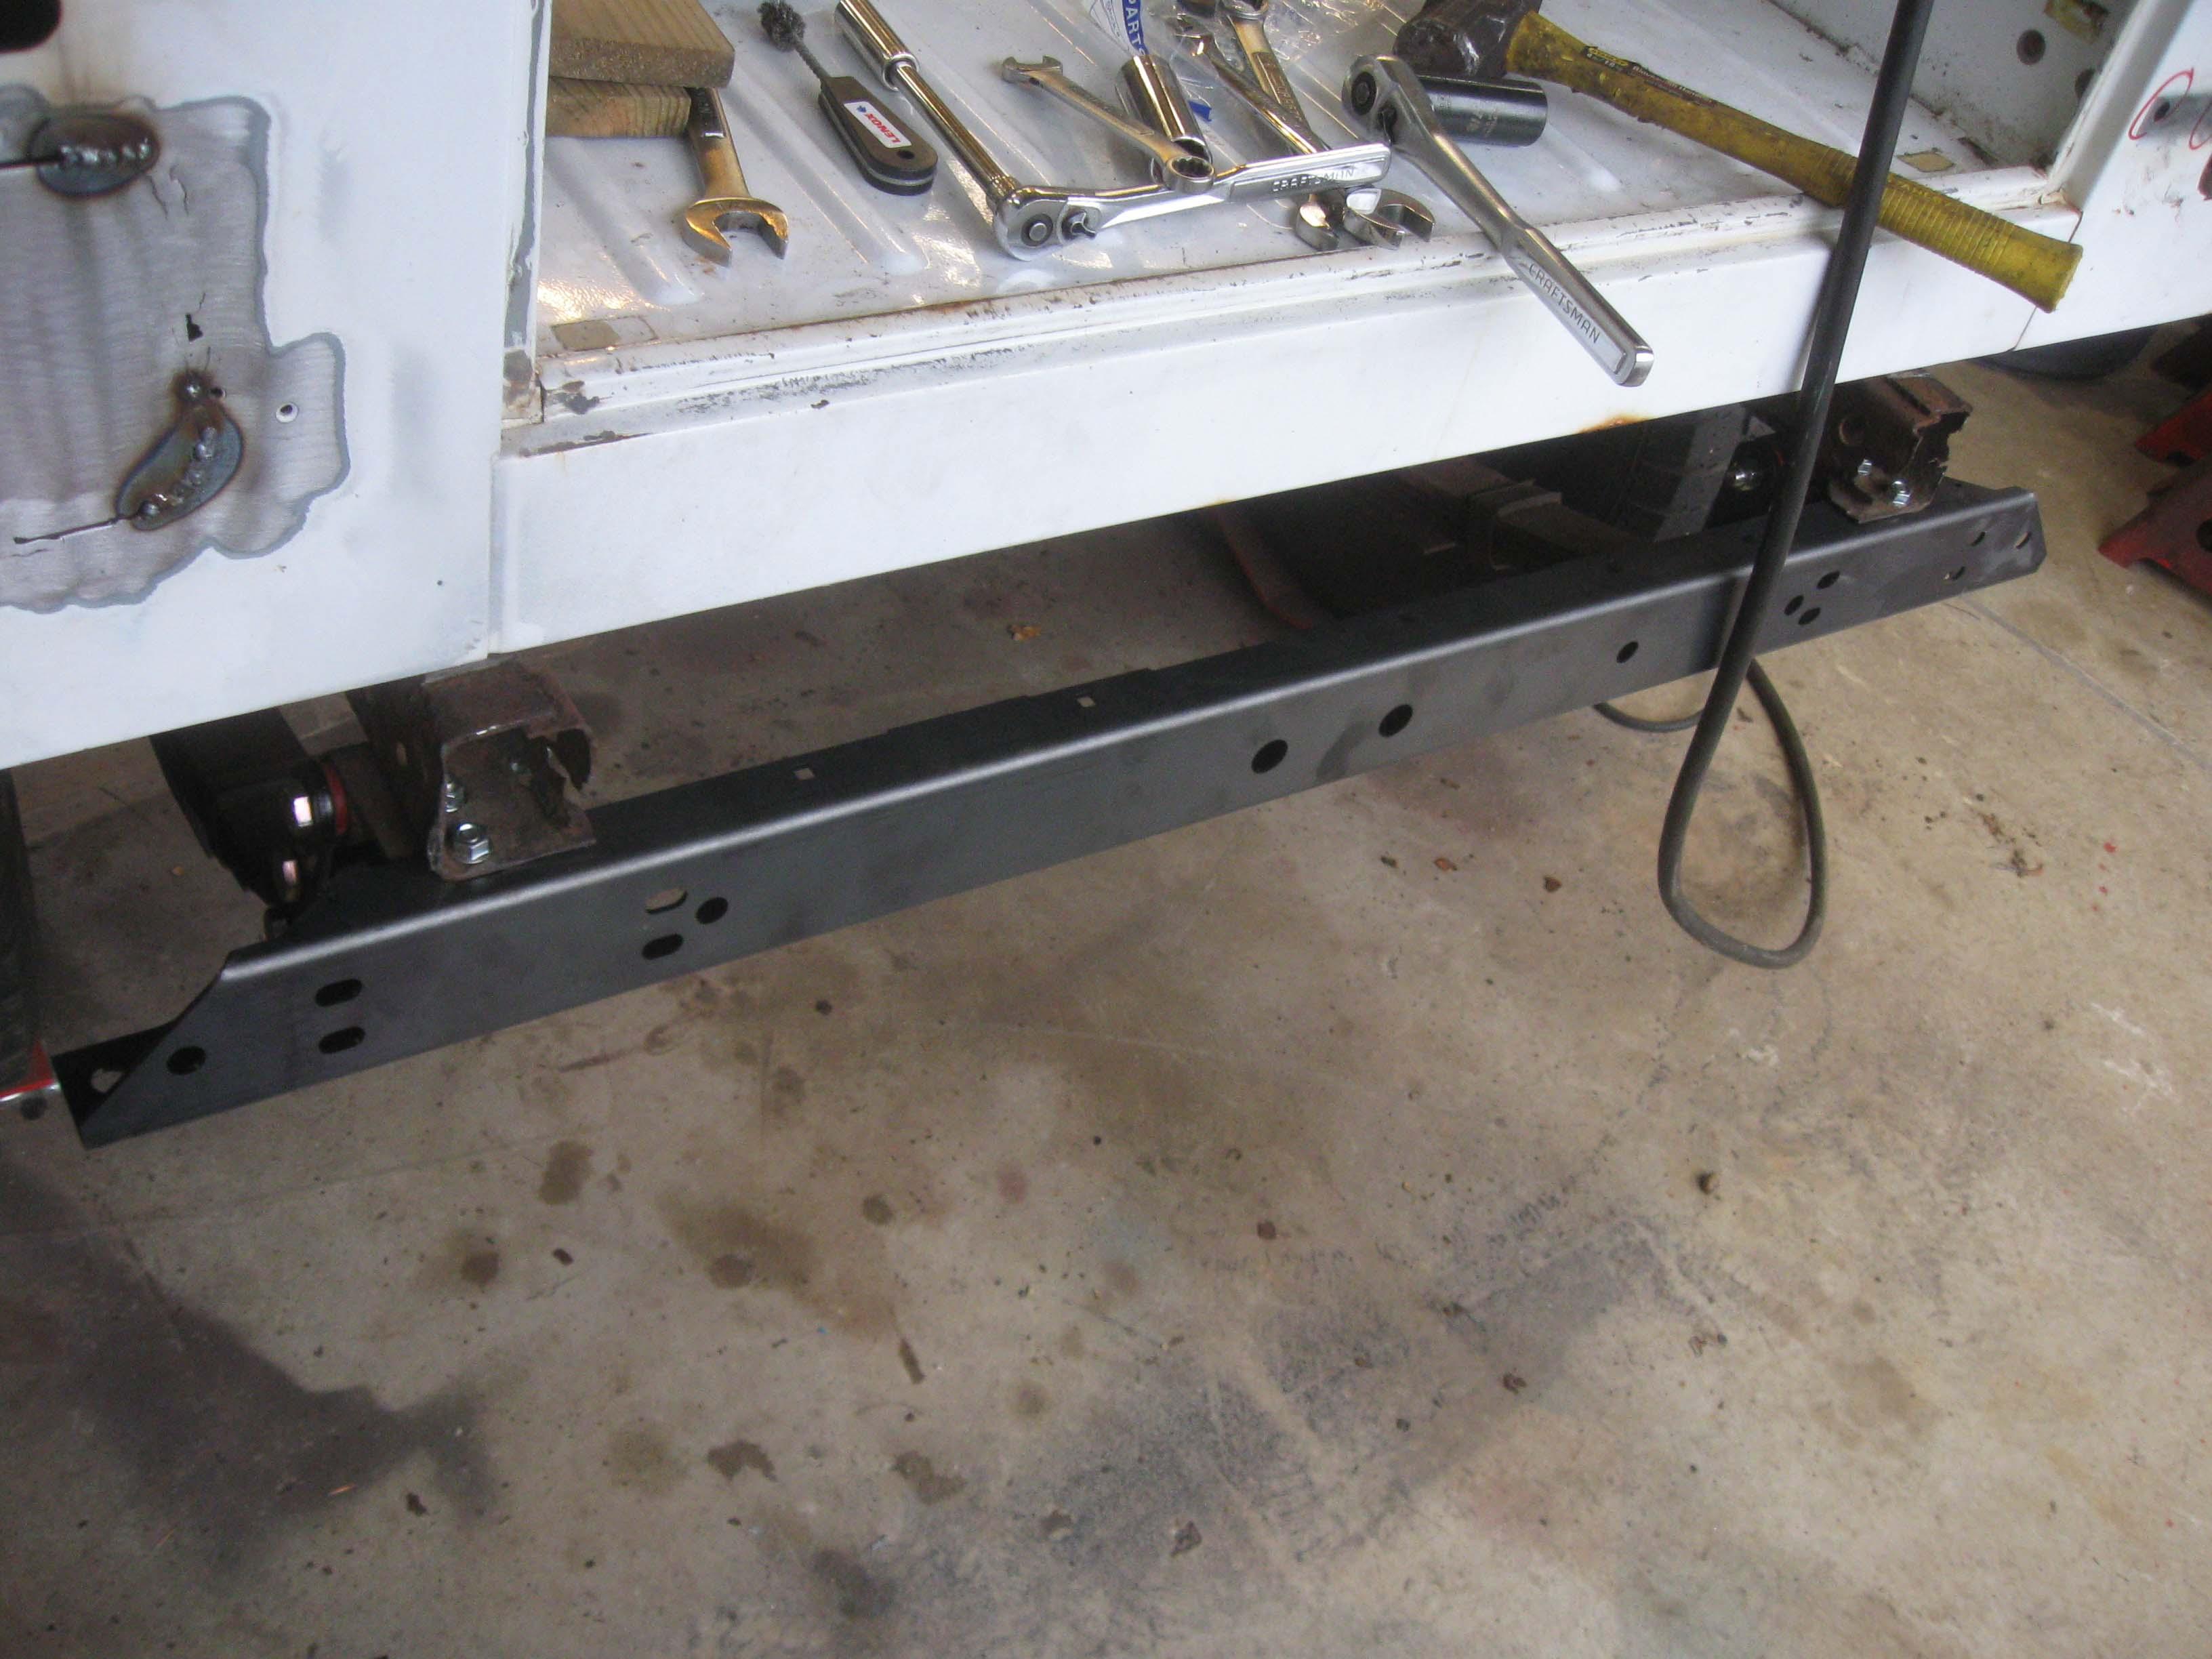
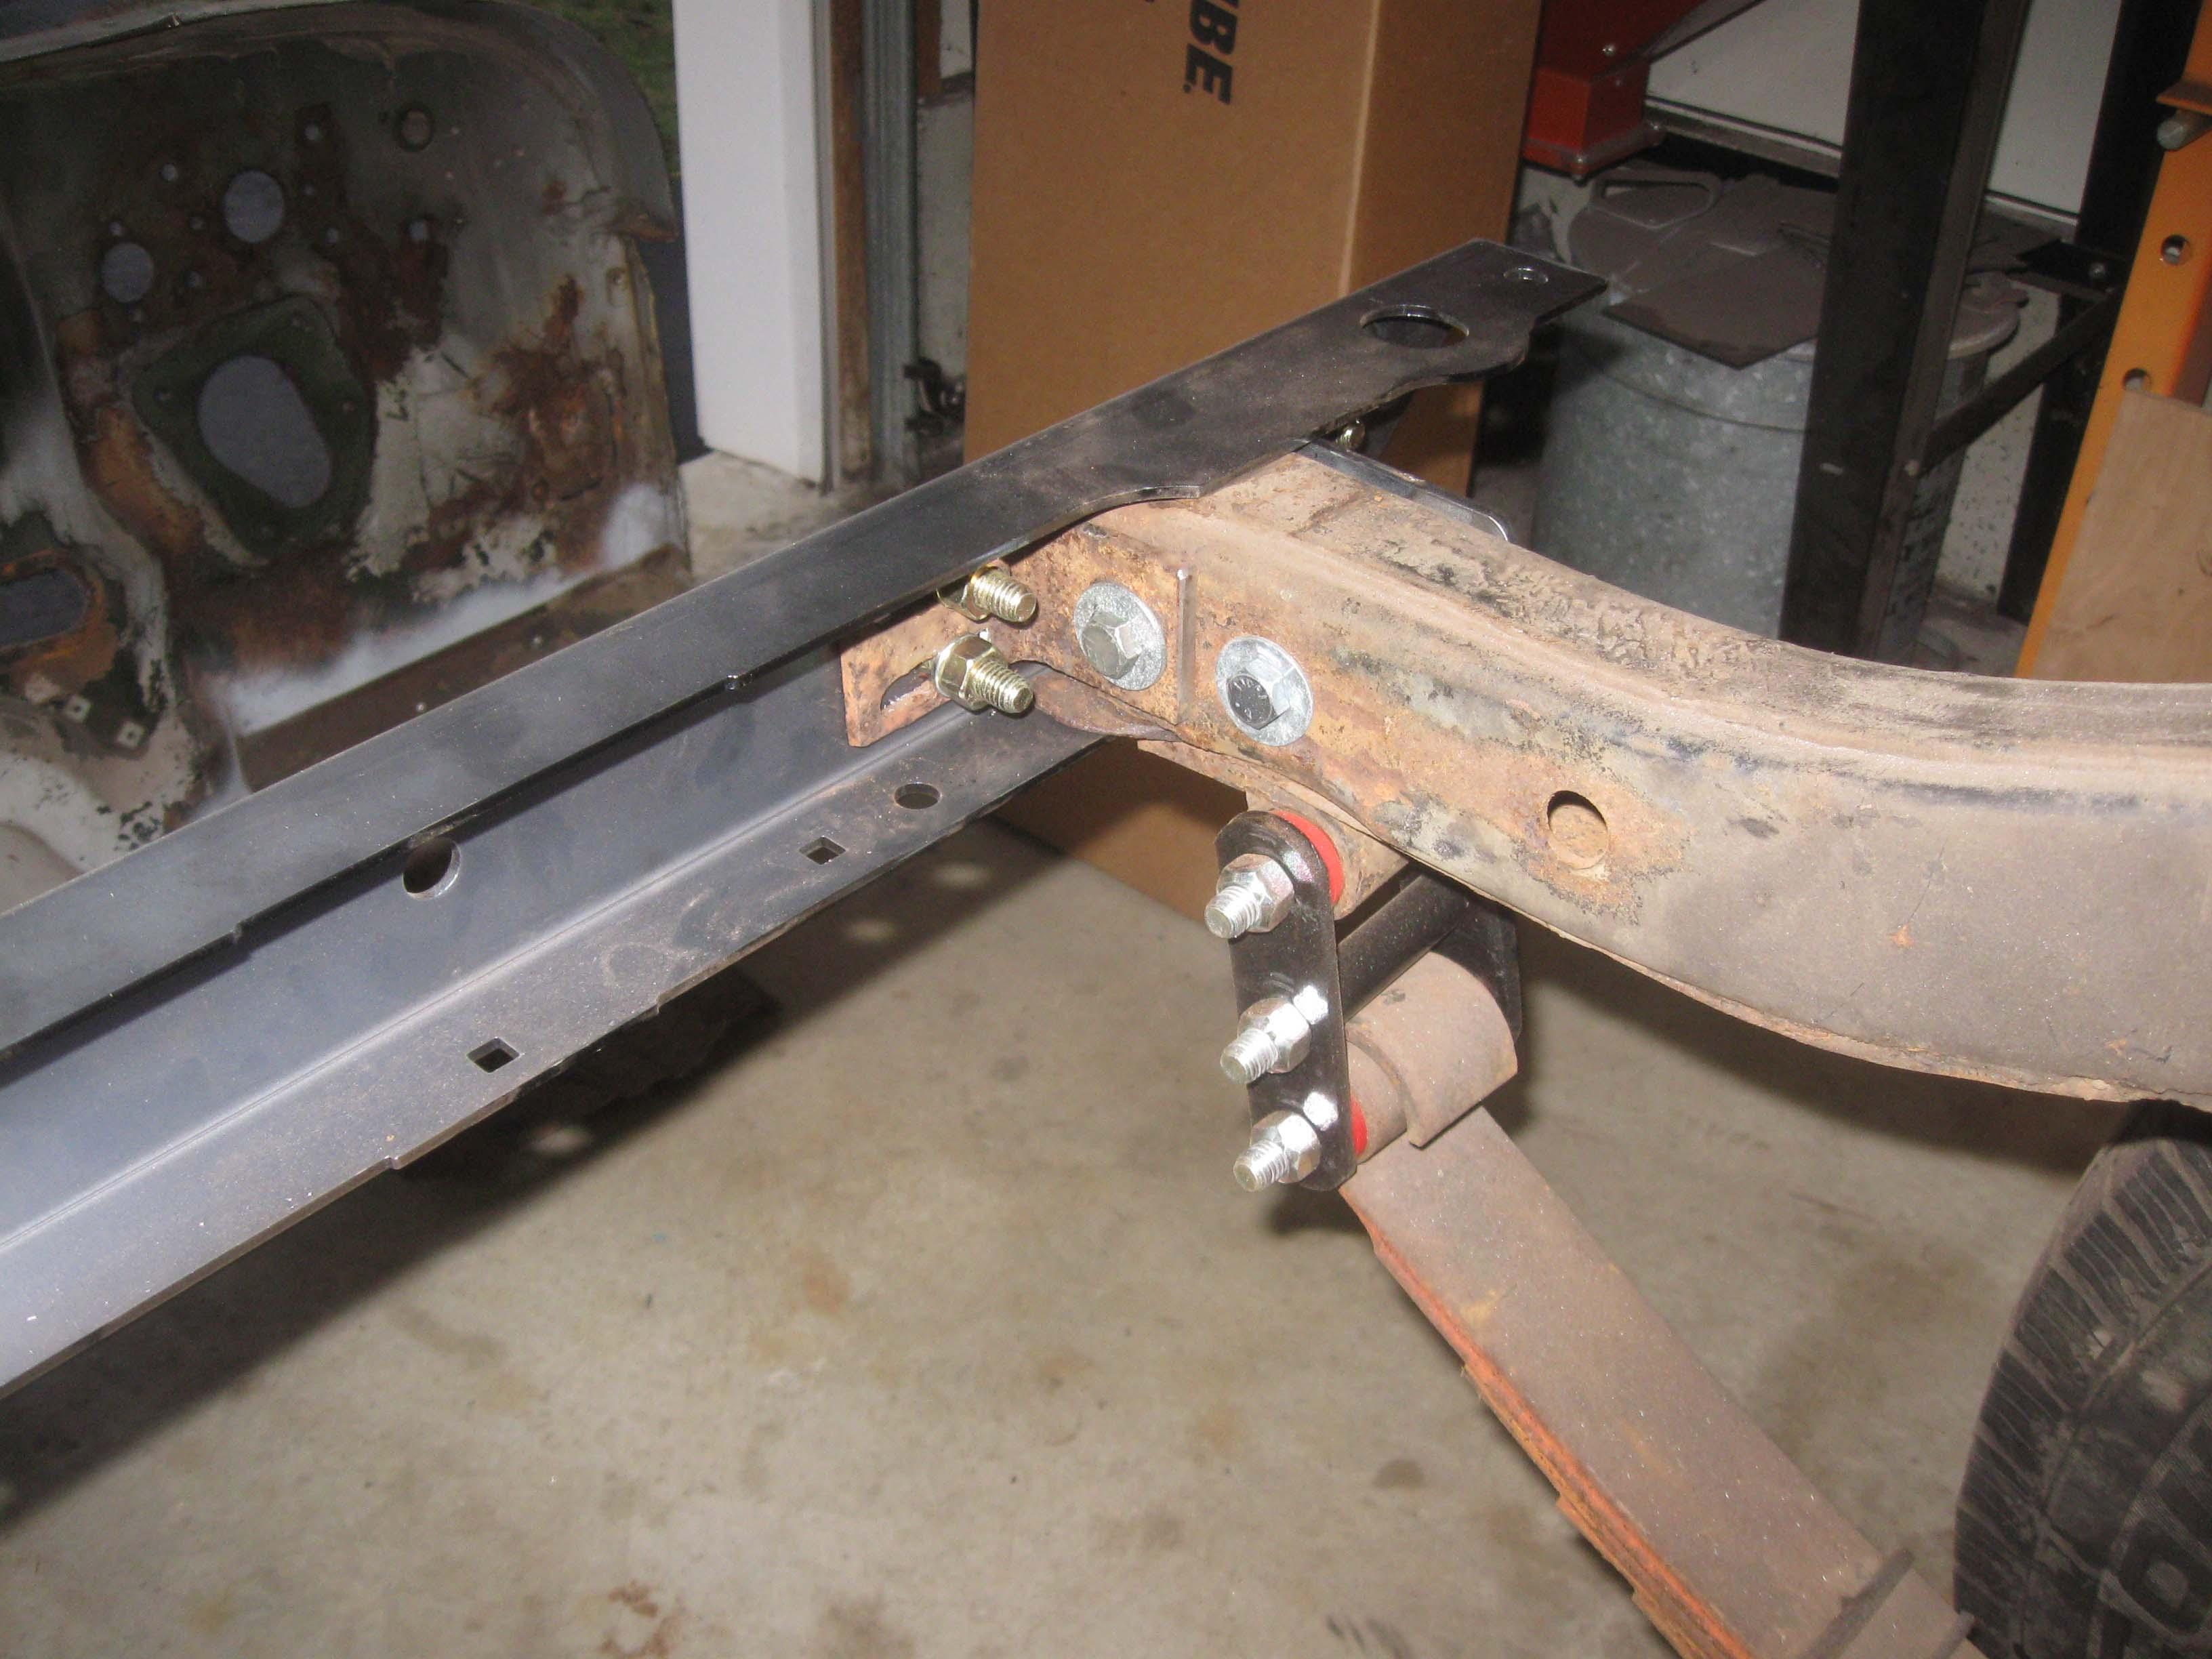
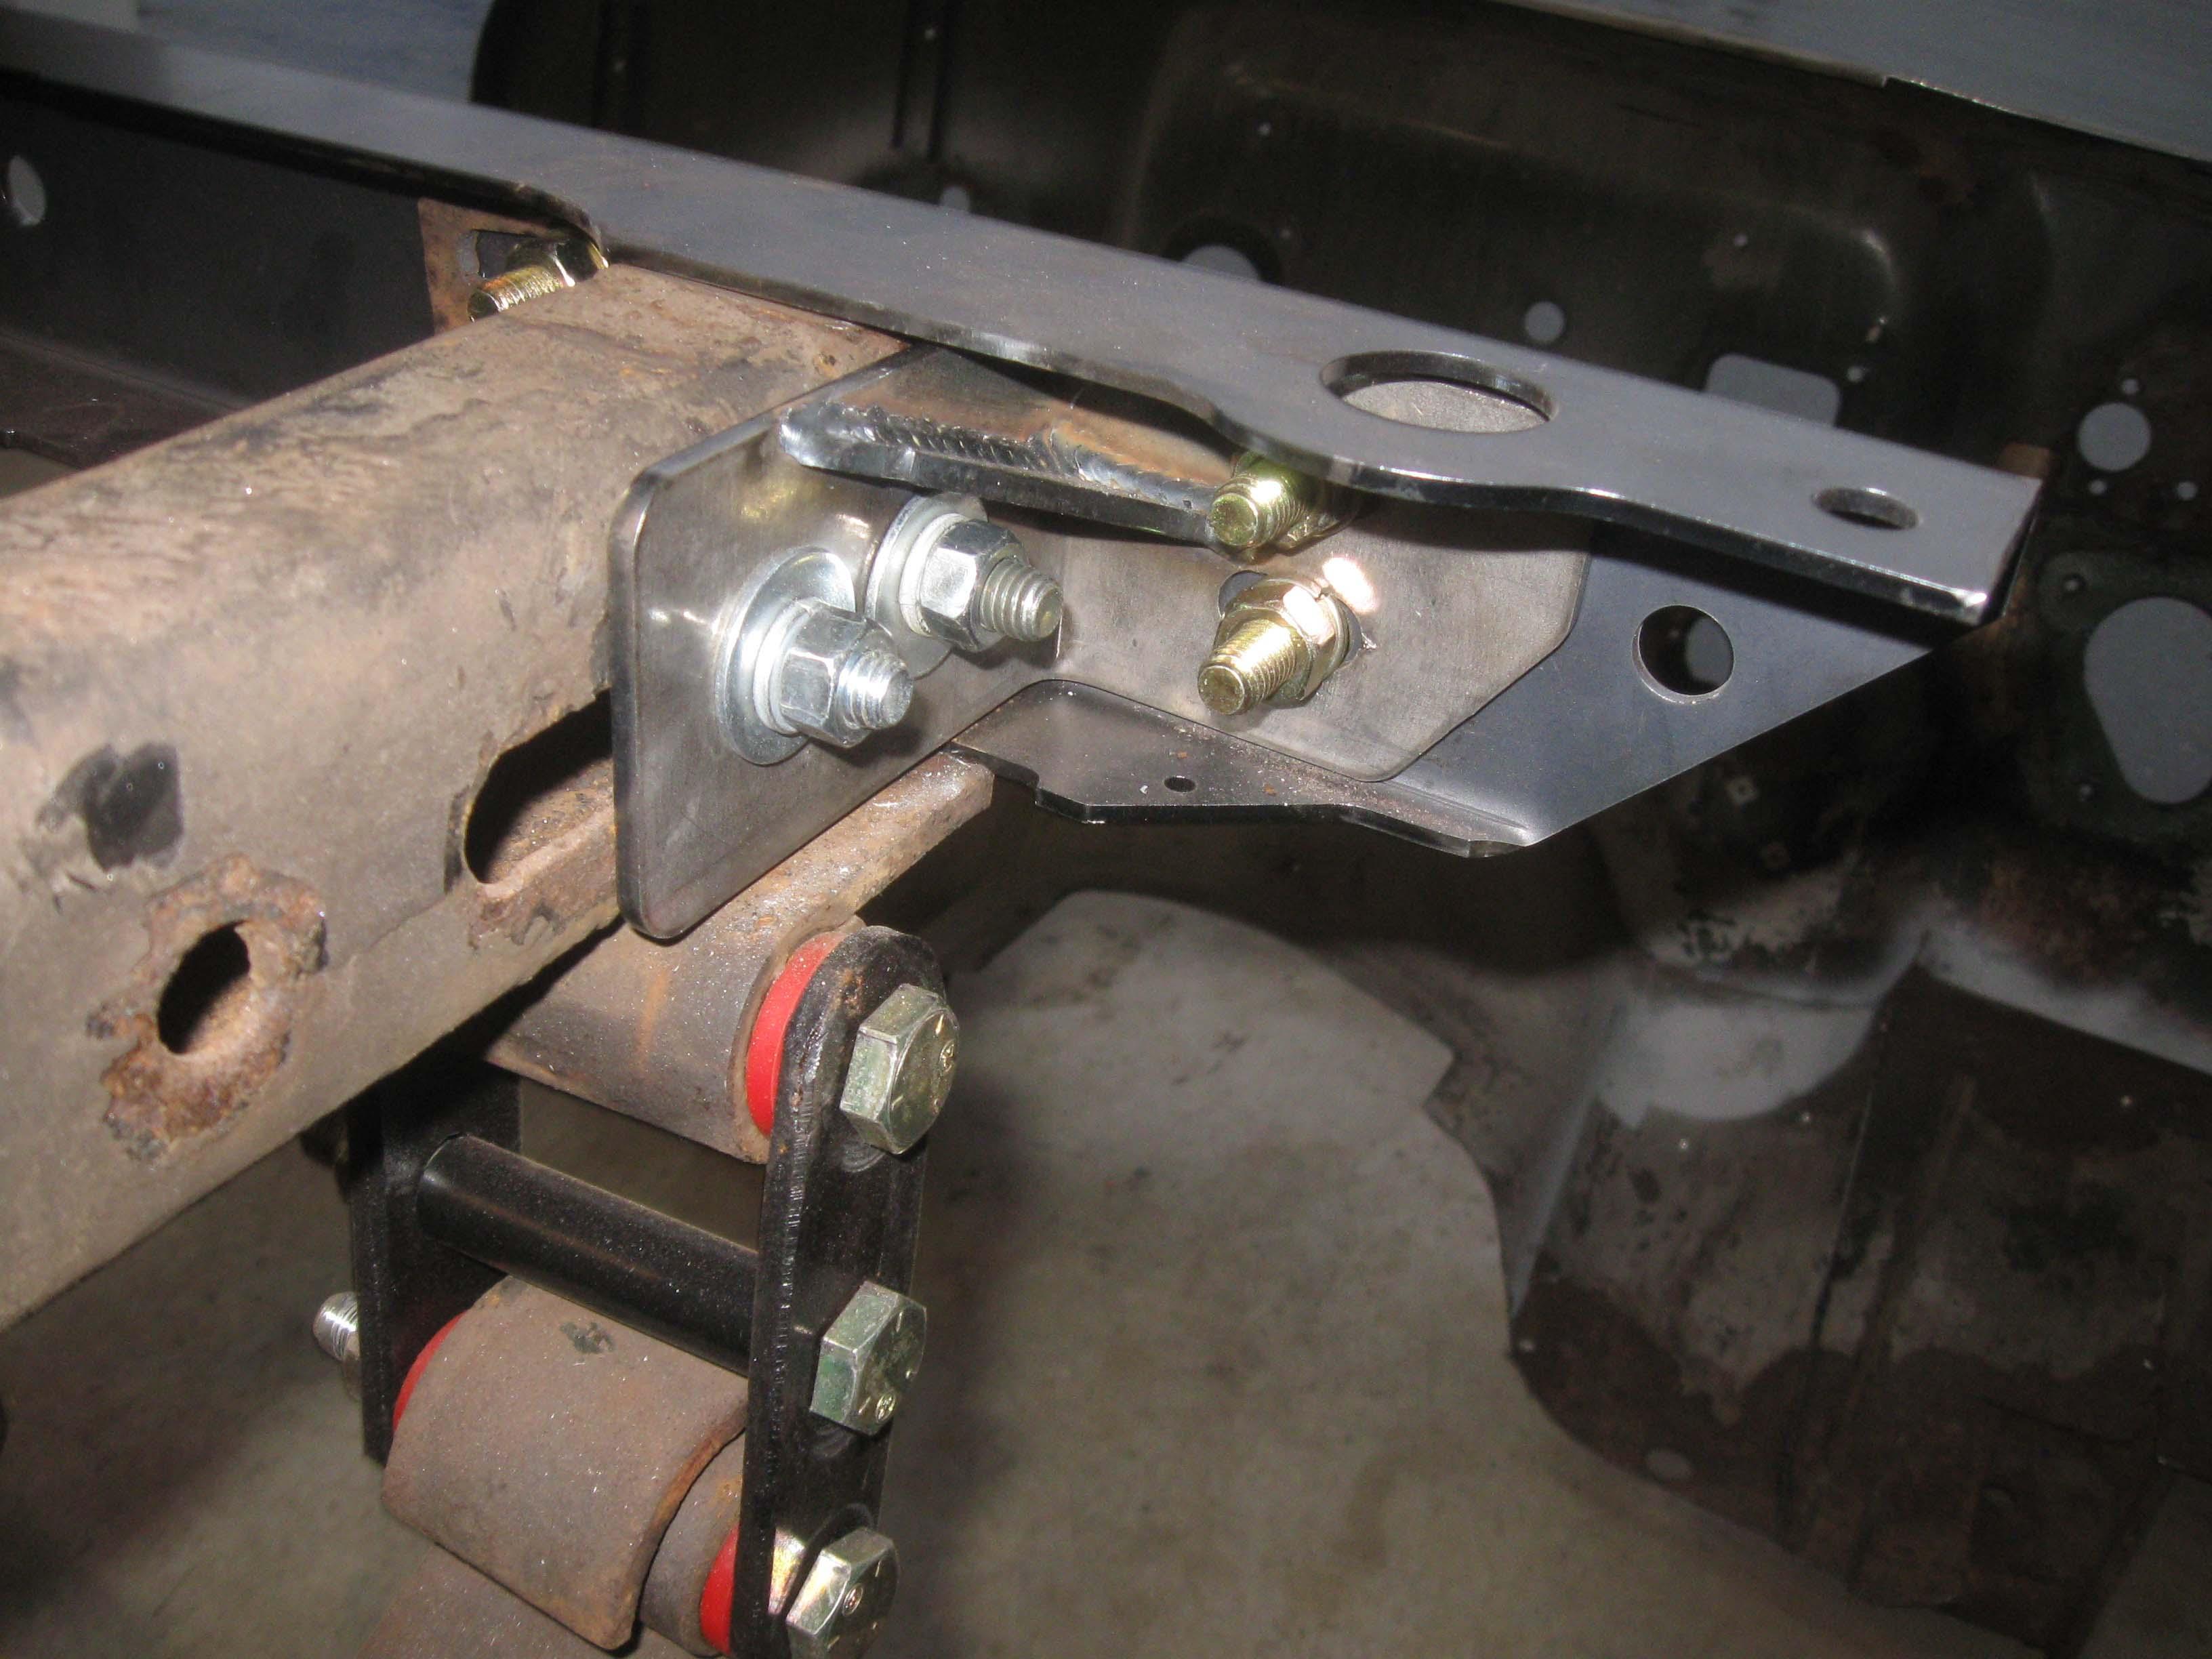
Rear frame bolts / rear shackles work (yes, the rear frame cross member is upside down in one of the picture, but was used for spacing to make sure the shackles would fit correctly, before the nuts were tacked in place... and then permanently secured, then tapped to make sure bolts would fit.)
IMG_6992-1.jpg

IMG_6994-1.jpg

IMG_6995-1.jpg


to be continued...
 

Attachments

  • IMG_6984.jpg
    IMG_6984.jpg
    447.7 KB · Views: 96
IMG_6996.jpg

IMG_6998-1.jpg


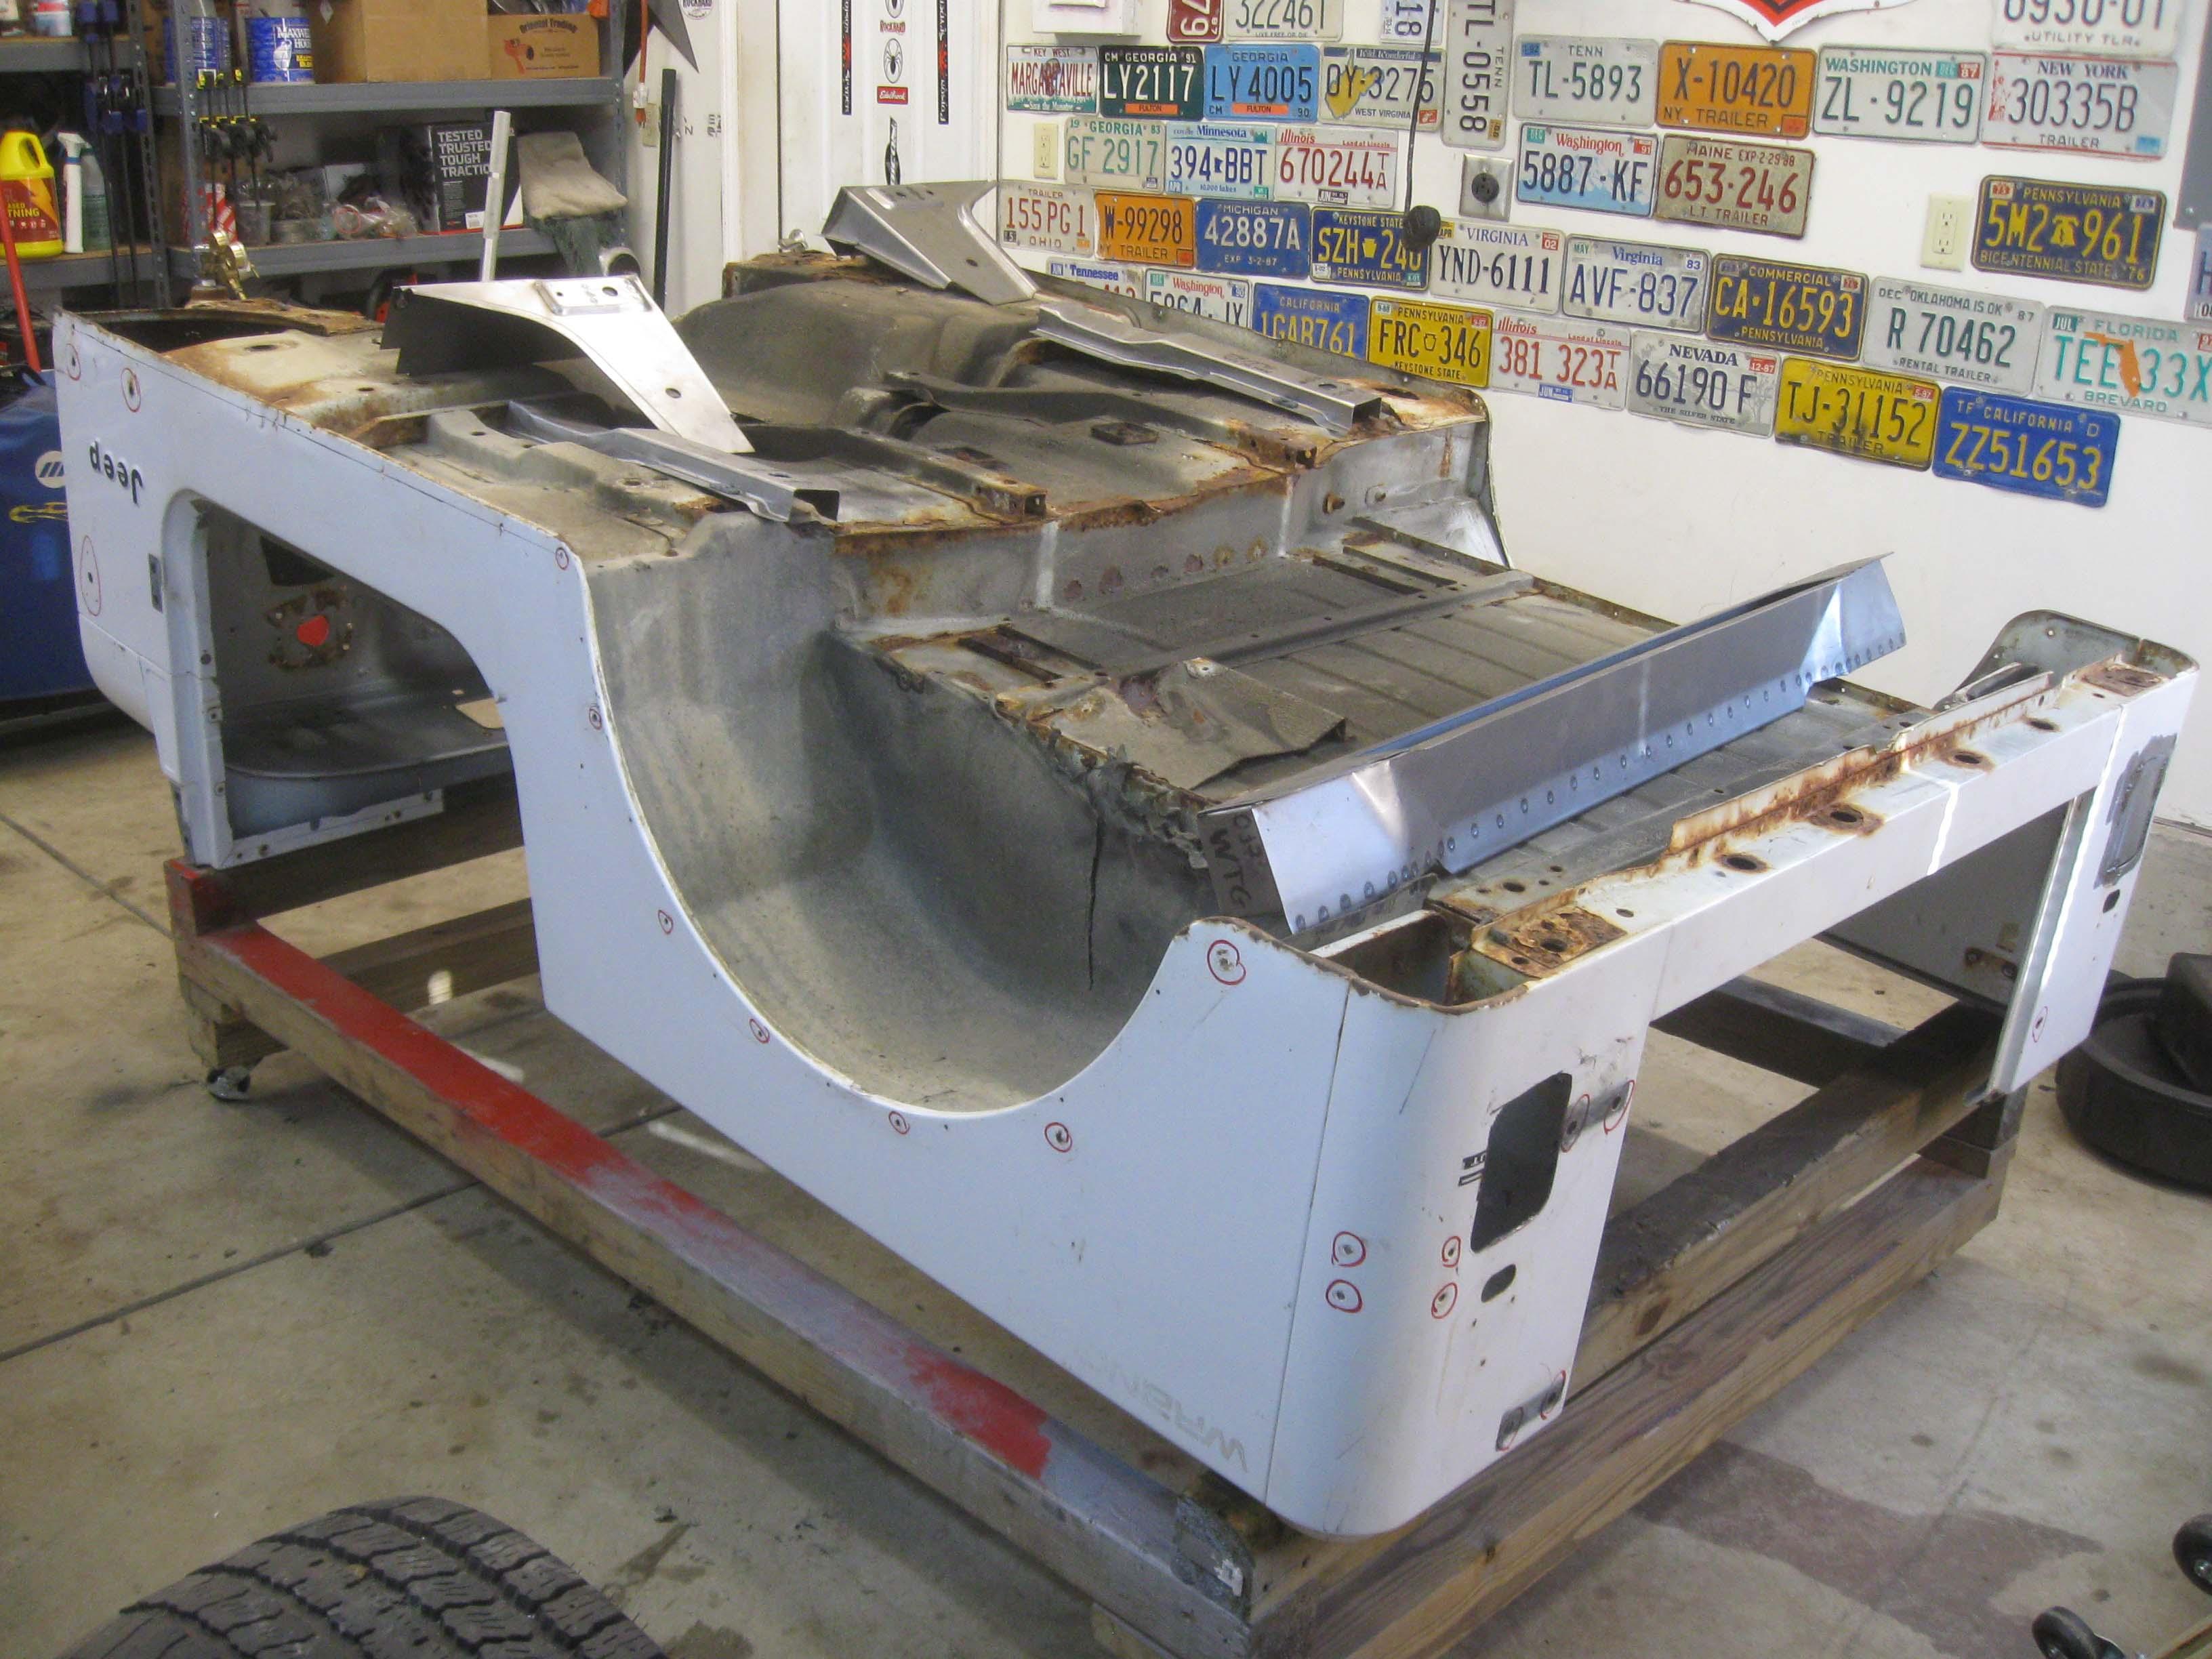
Body separation and work on the underside:
IMG_7010-1.jpg

IMG_7011-1.jpg

IMG_7012-1.jpg


Spot welds are a PITA!
IMG_7013-1.jpg


More fitting is required
IMG_7014-1.jpg


Frame will be addressed this week.
IMG_7016-1.jpg


Work bench is mostly cleaned off
IMG_7017-1.jpg


It was a good weekend in the garage, it has been a while since I got to do 8 hours in 2 days.
I obviously would love to do 8 hours a day, but it is what it is.

cb
 
It was body mount work today... right up until I ran out of cutting discs, they never came in over the weekend like I had hoped.
Other parts too were delayed I think because of the holiday rush on shipping.

Ground down and cleaned up all he mounts to see the metal.
It was thin in a lot of cases.

IMG_7045-1.jpg

IMG_7047-1.jpg

IMG_7048-1.jpg

IMG_7049-1.jpg

IMG_7051-1.jpg

IMG_7058-1.jpg

Make sure to bevel those edges for good penetration!
IMG_7059-1.jpg

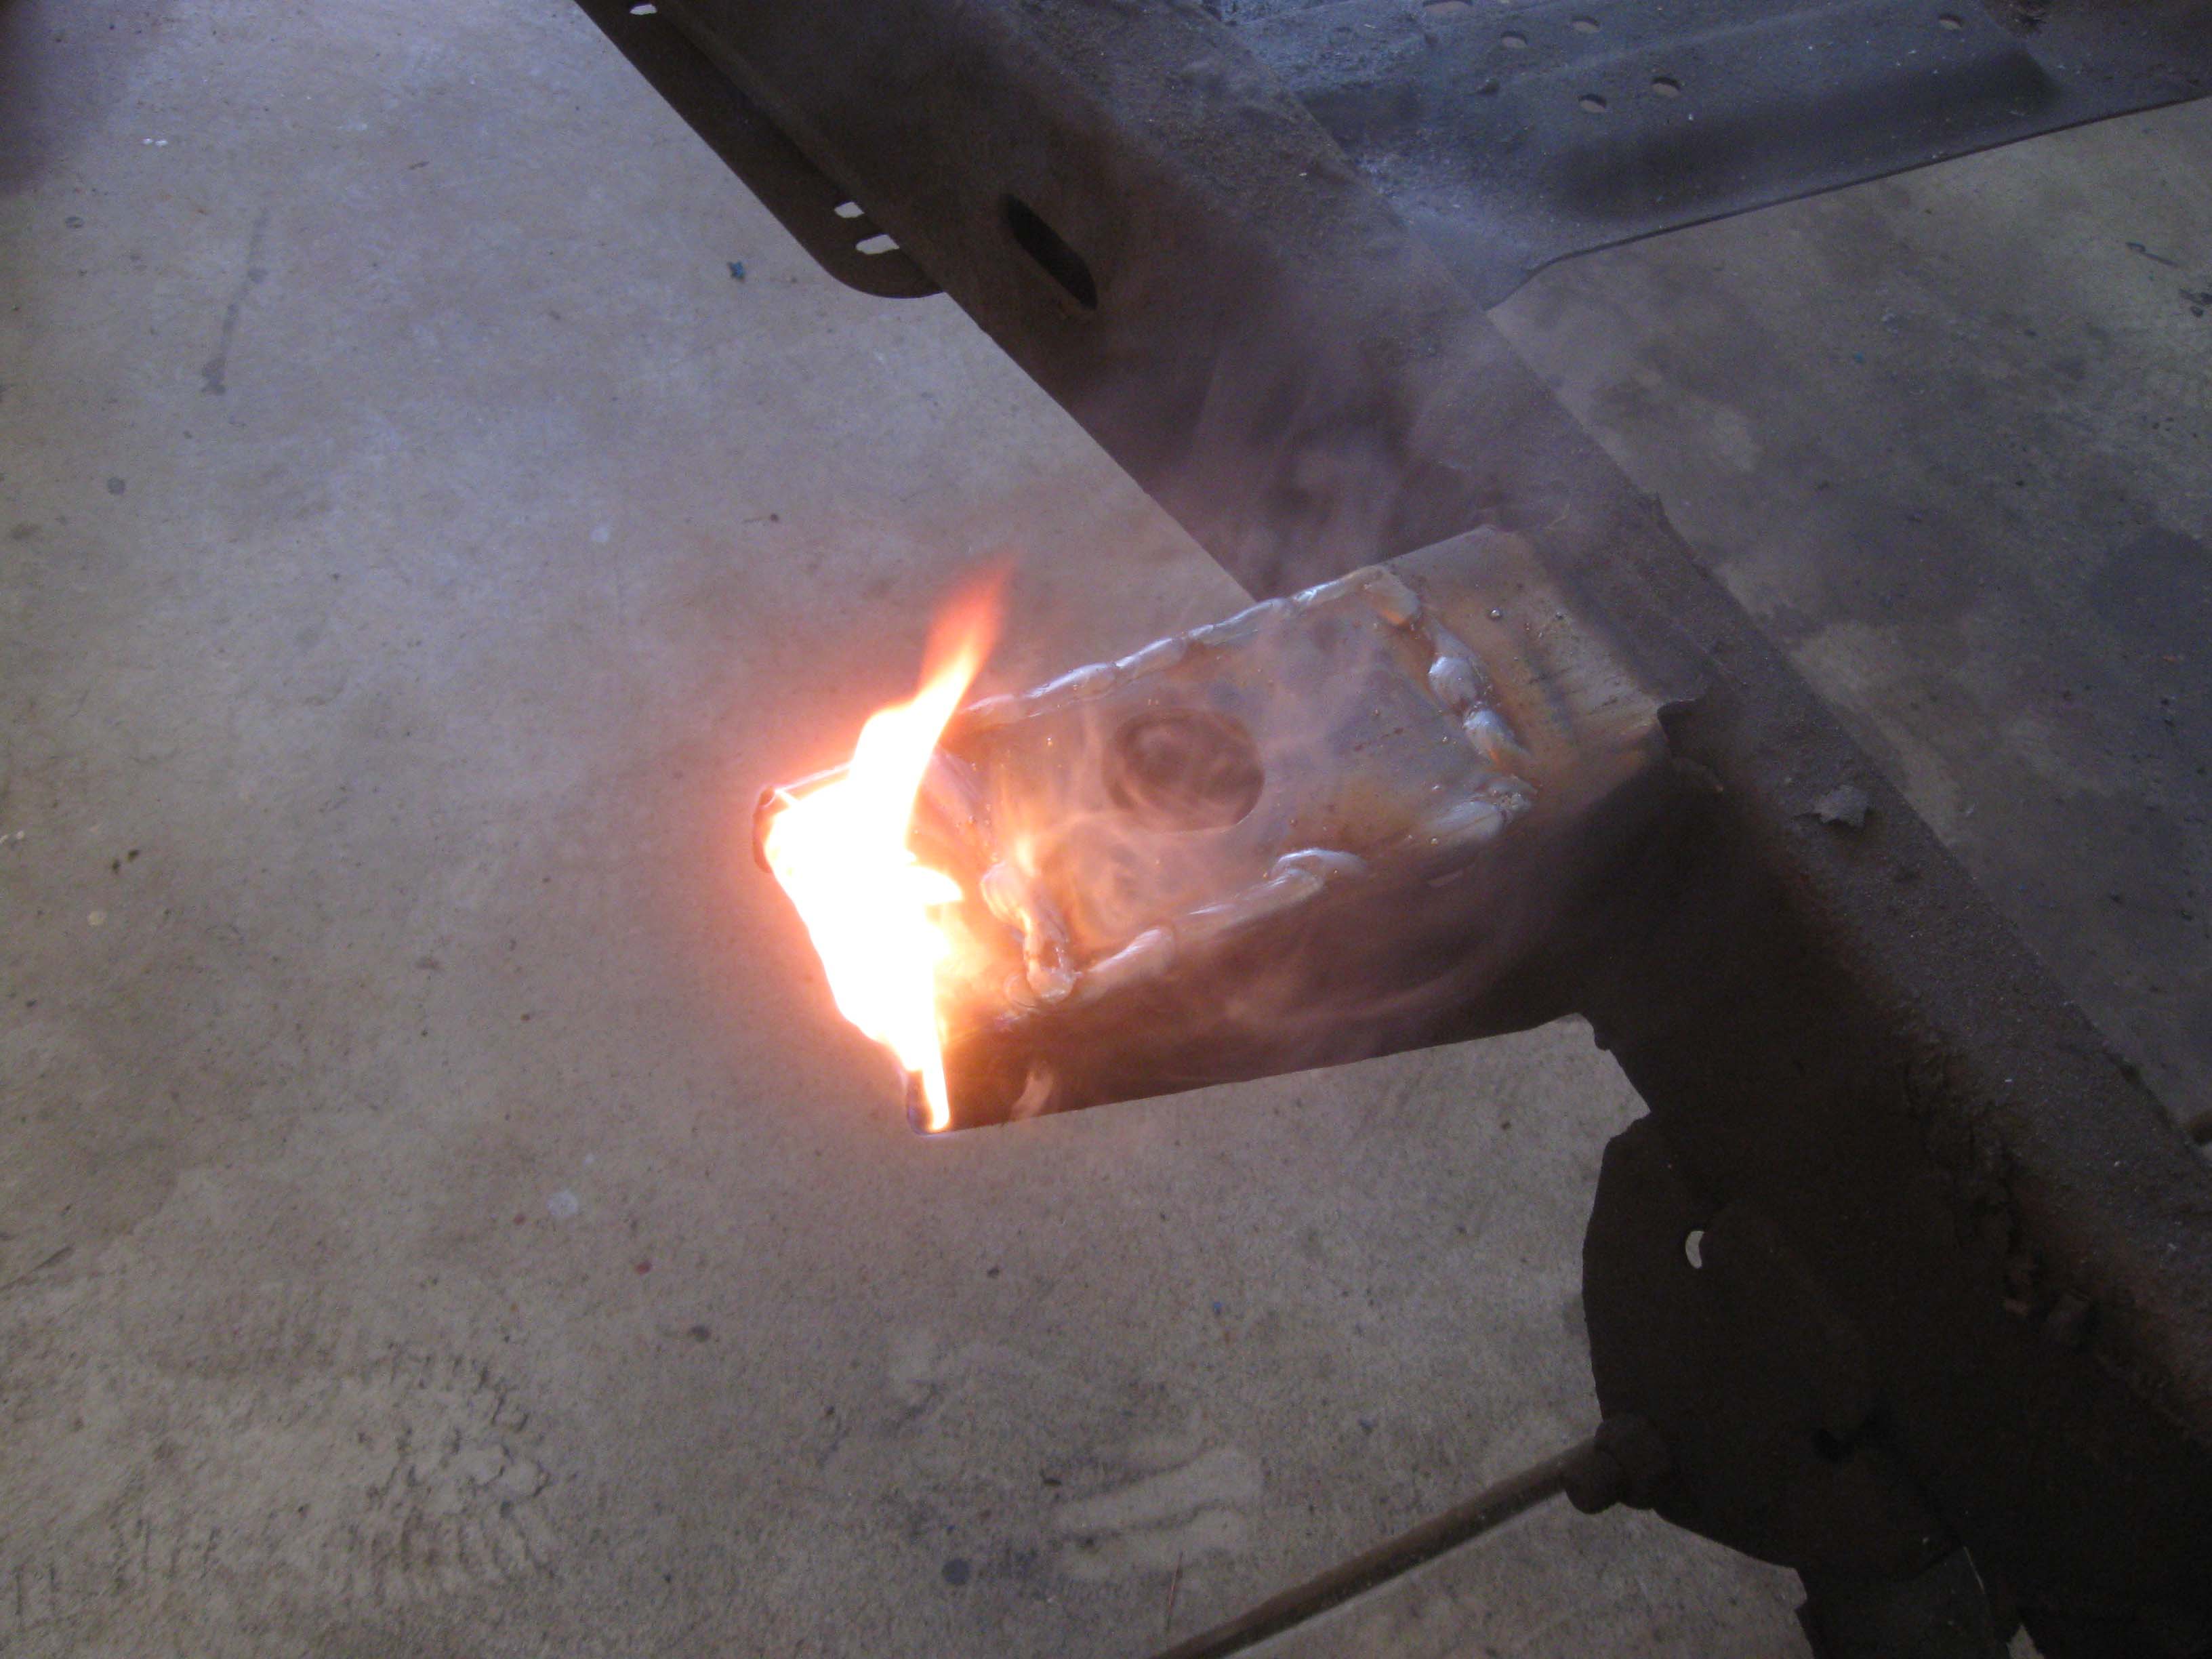
Make sure there is no oil sludge under what you are doing, it was SMOKIN!
IMG_7060.jpg


Barely got through the cut and this is all I had left.
IMG_7055-1.jpg


Final look... both fronts are fixed and replaced and the relocated ones are welded on top now.
IMG_7062-1.jpg


I hope to get back to it after the holidays, it is hard knowing what needs to be done and no time to do it.

cb
 
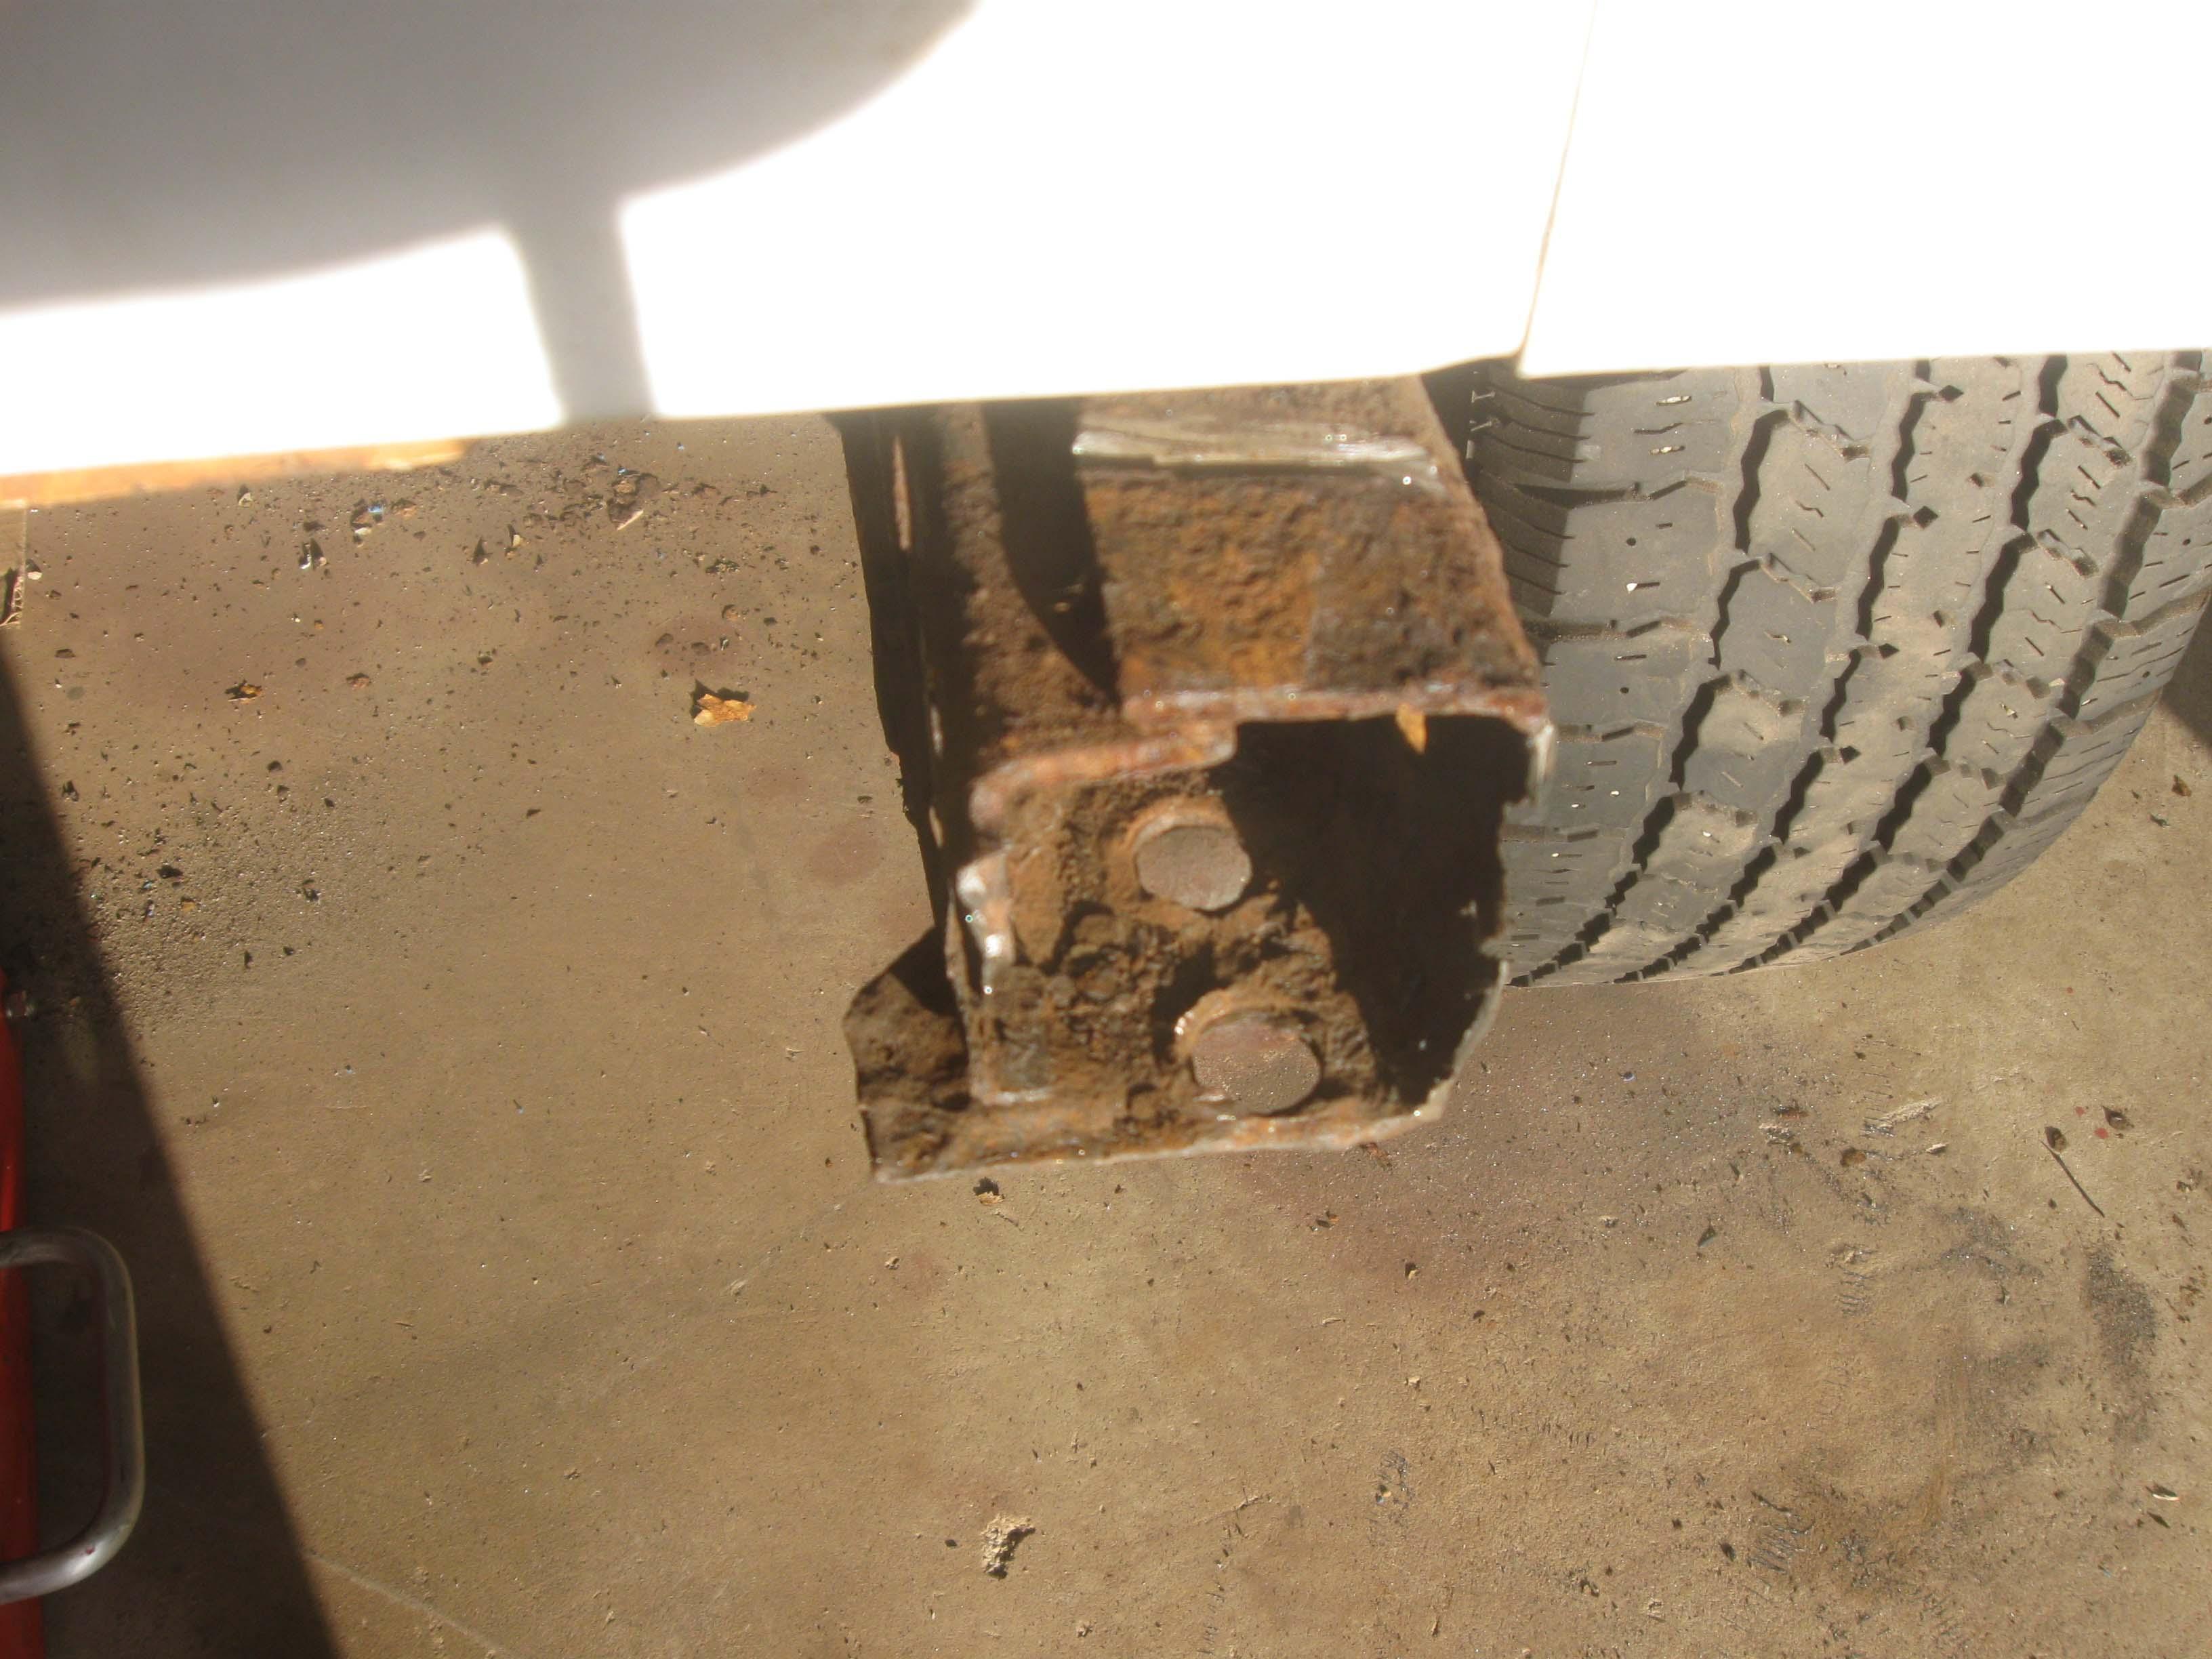
The real bummer was the front.

IMG_7063-1.jpg


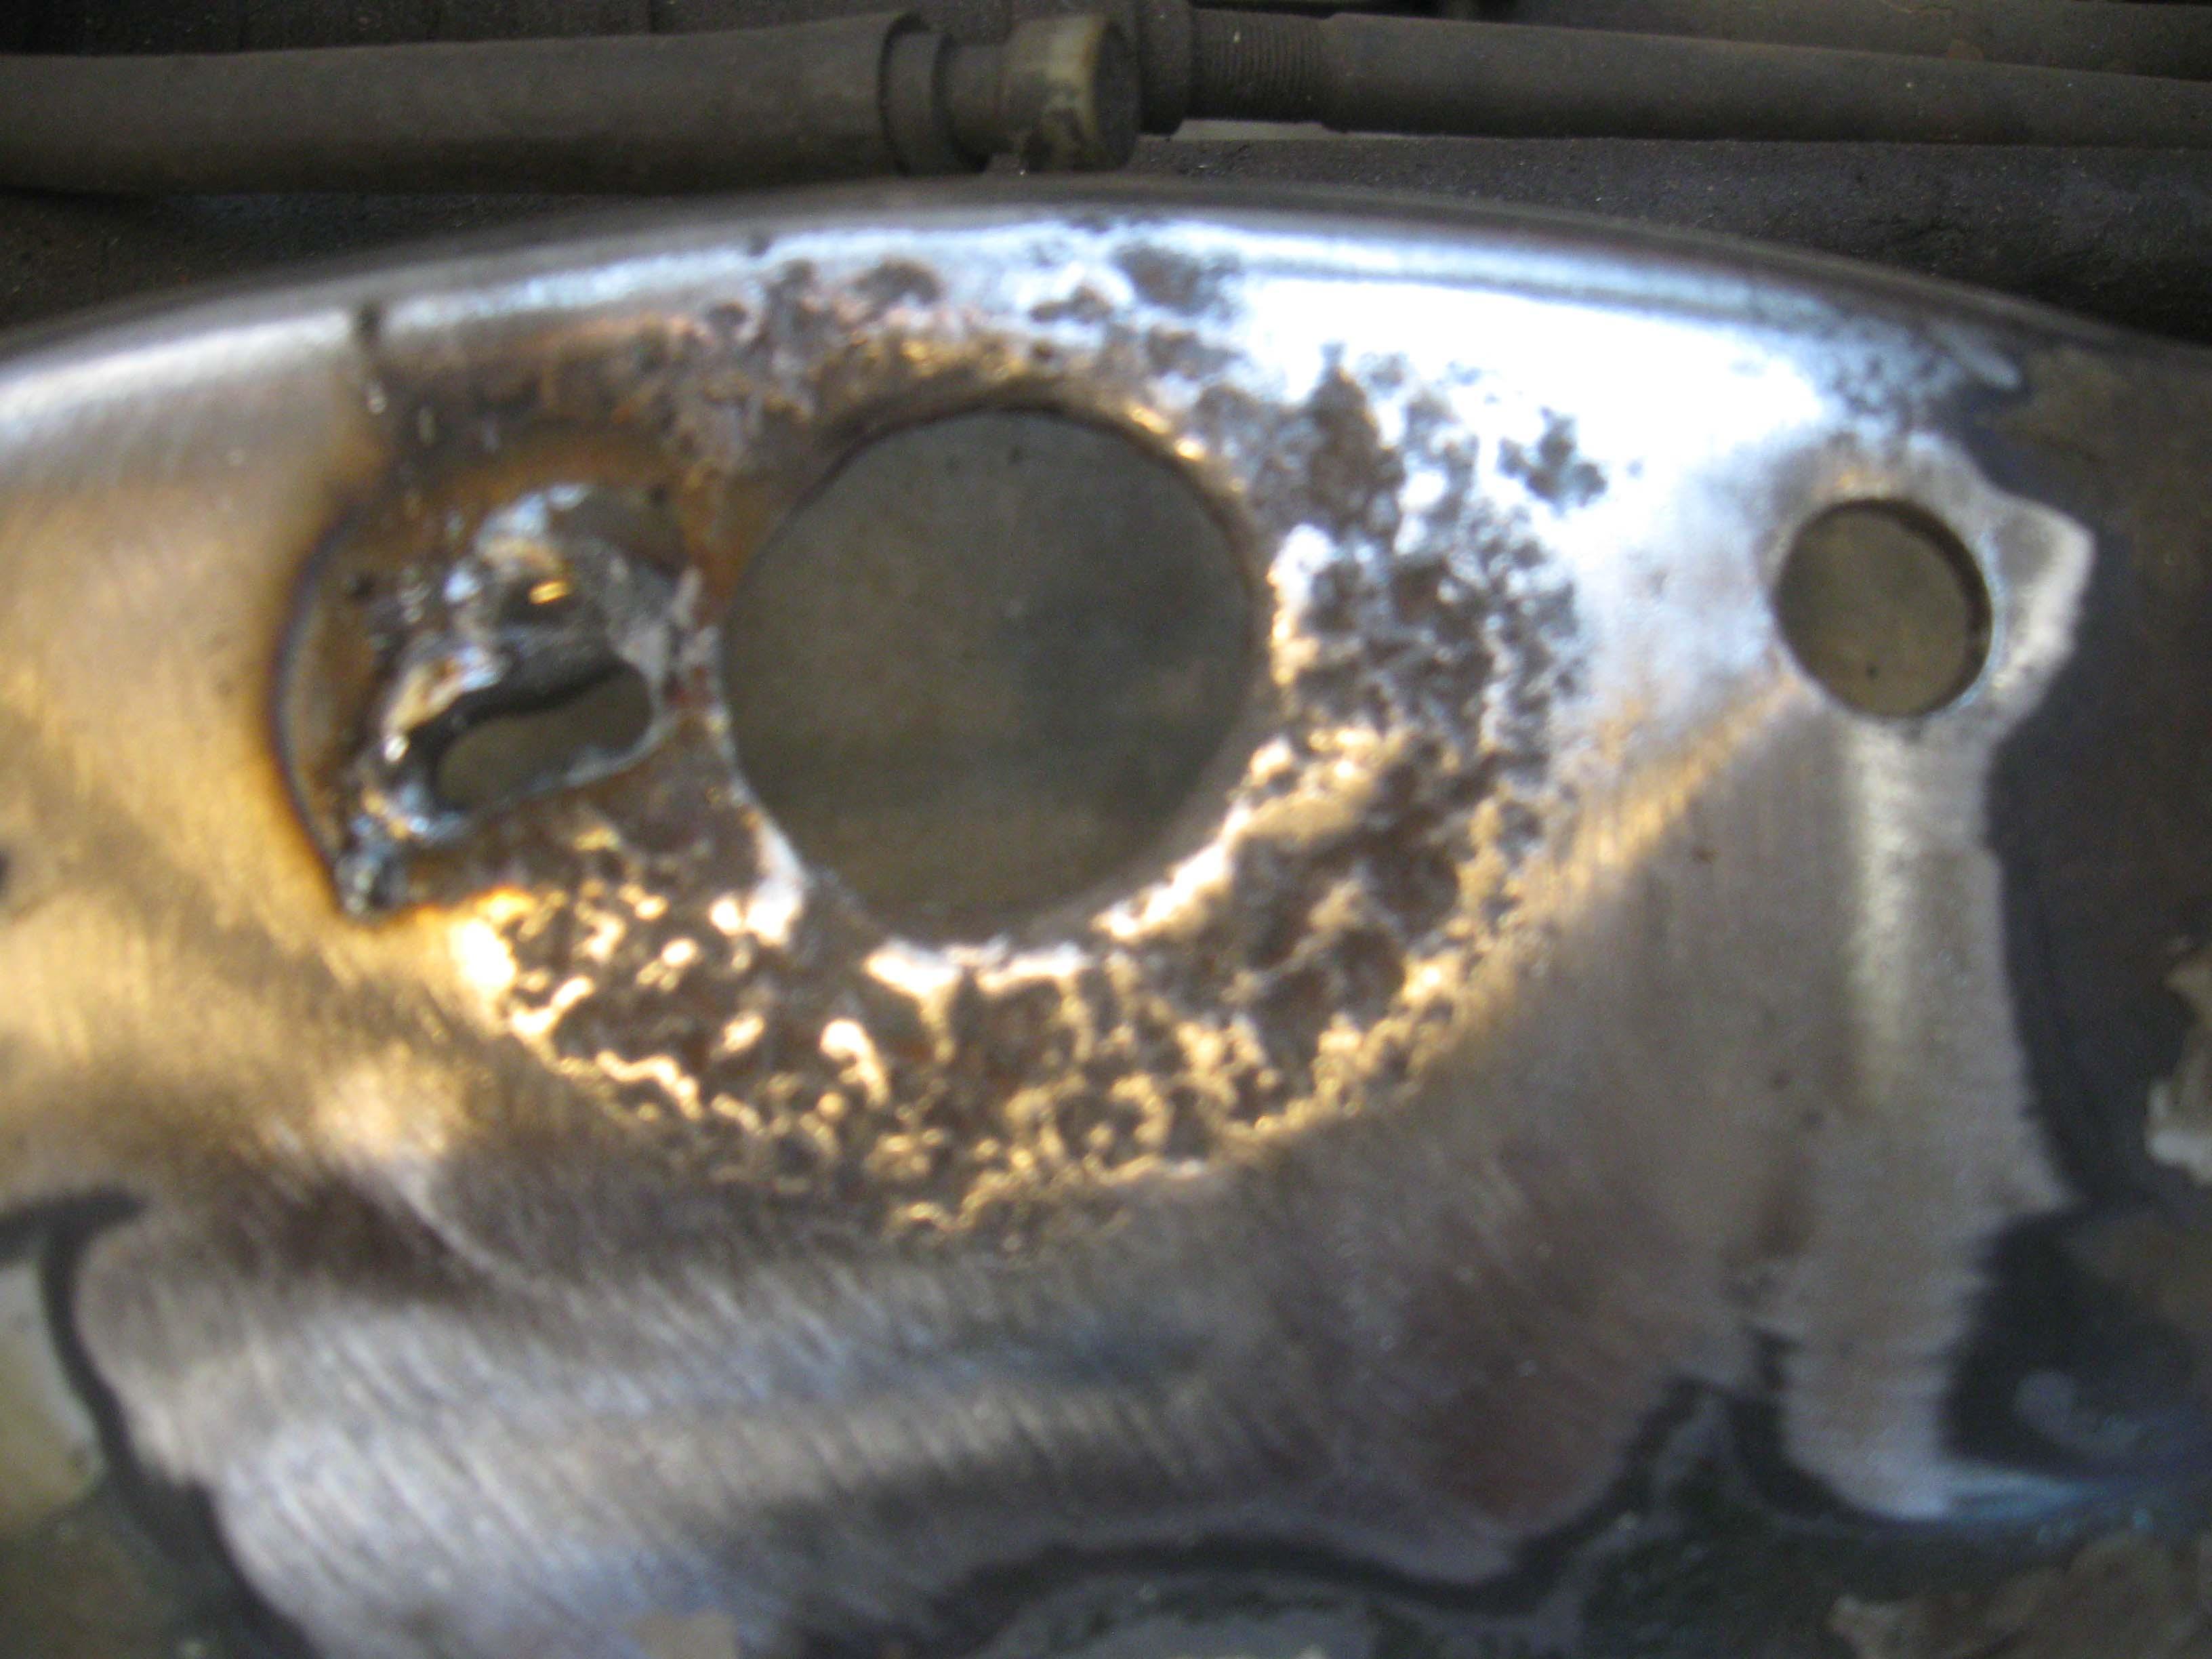
I just tried to add a little weld to the craters to see if it would hold and it blew out... the metal is very thin unfortunately.

Next up is the repair of the remaining 5 mounts with the metal shown... more to come!
IMG_7064-1.jpg


cb
 
Got a few hours here and there this week and the story of the week was the body mounts.
All 11 body mounts received some sort of attention/treatment.
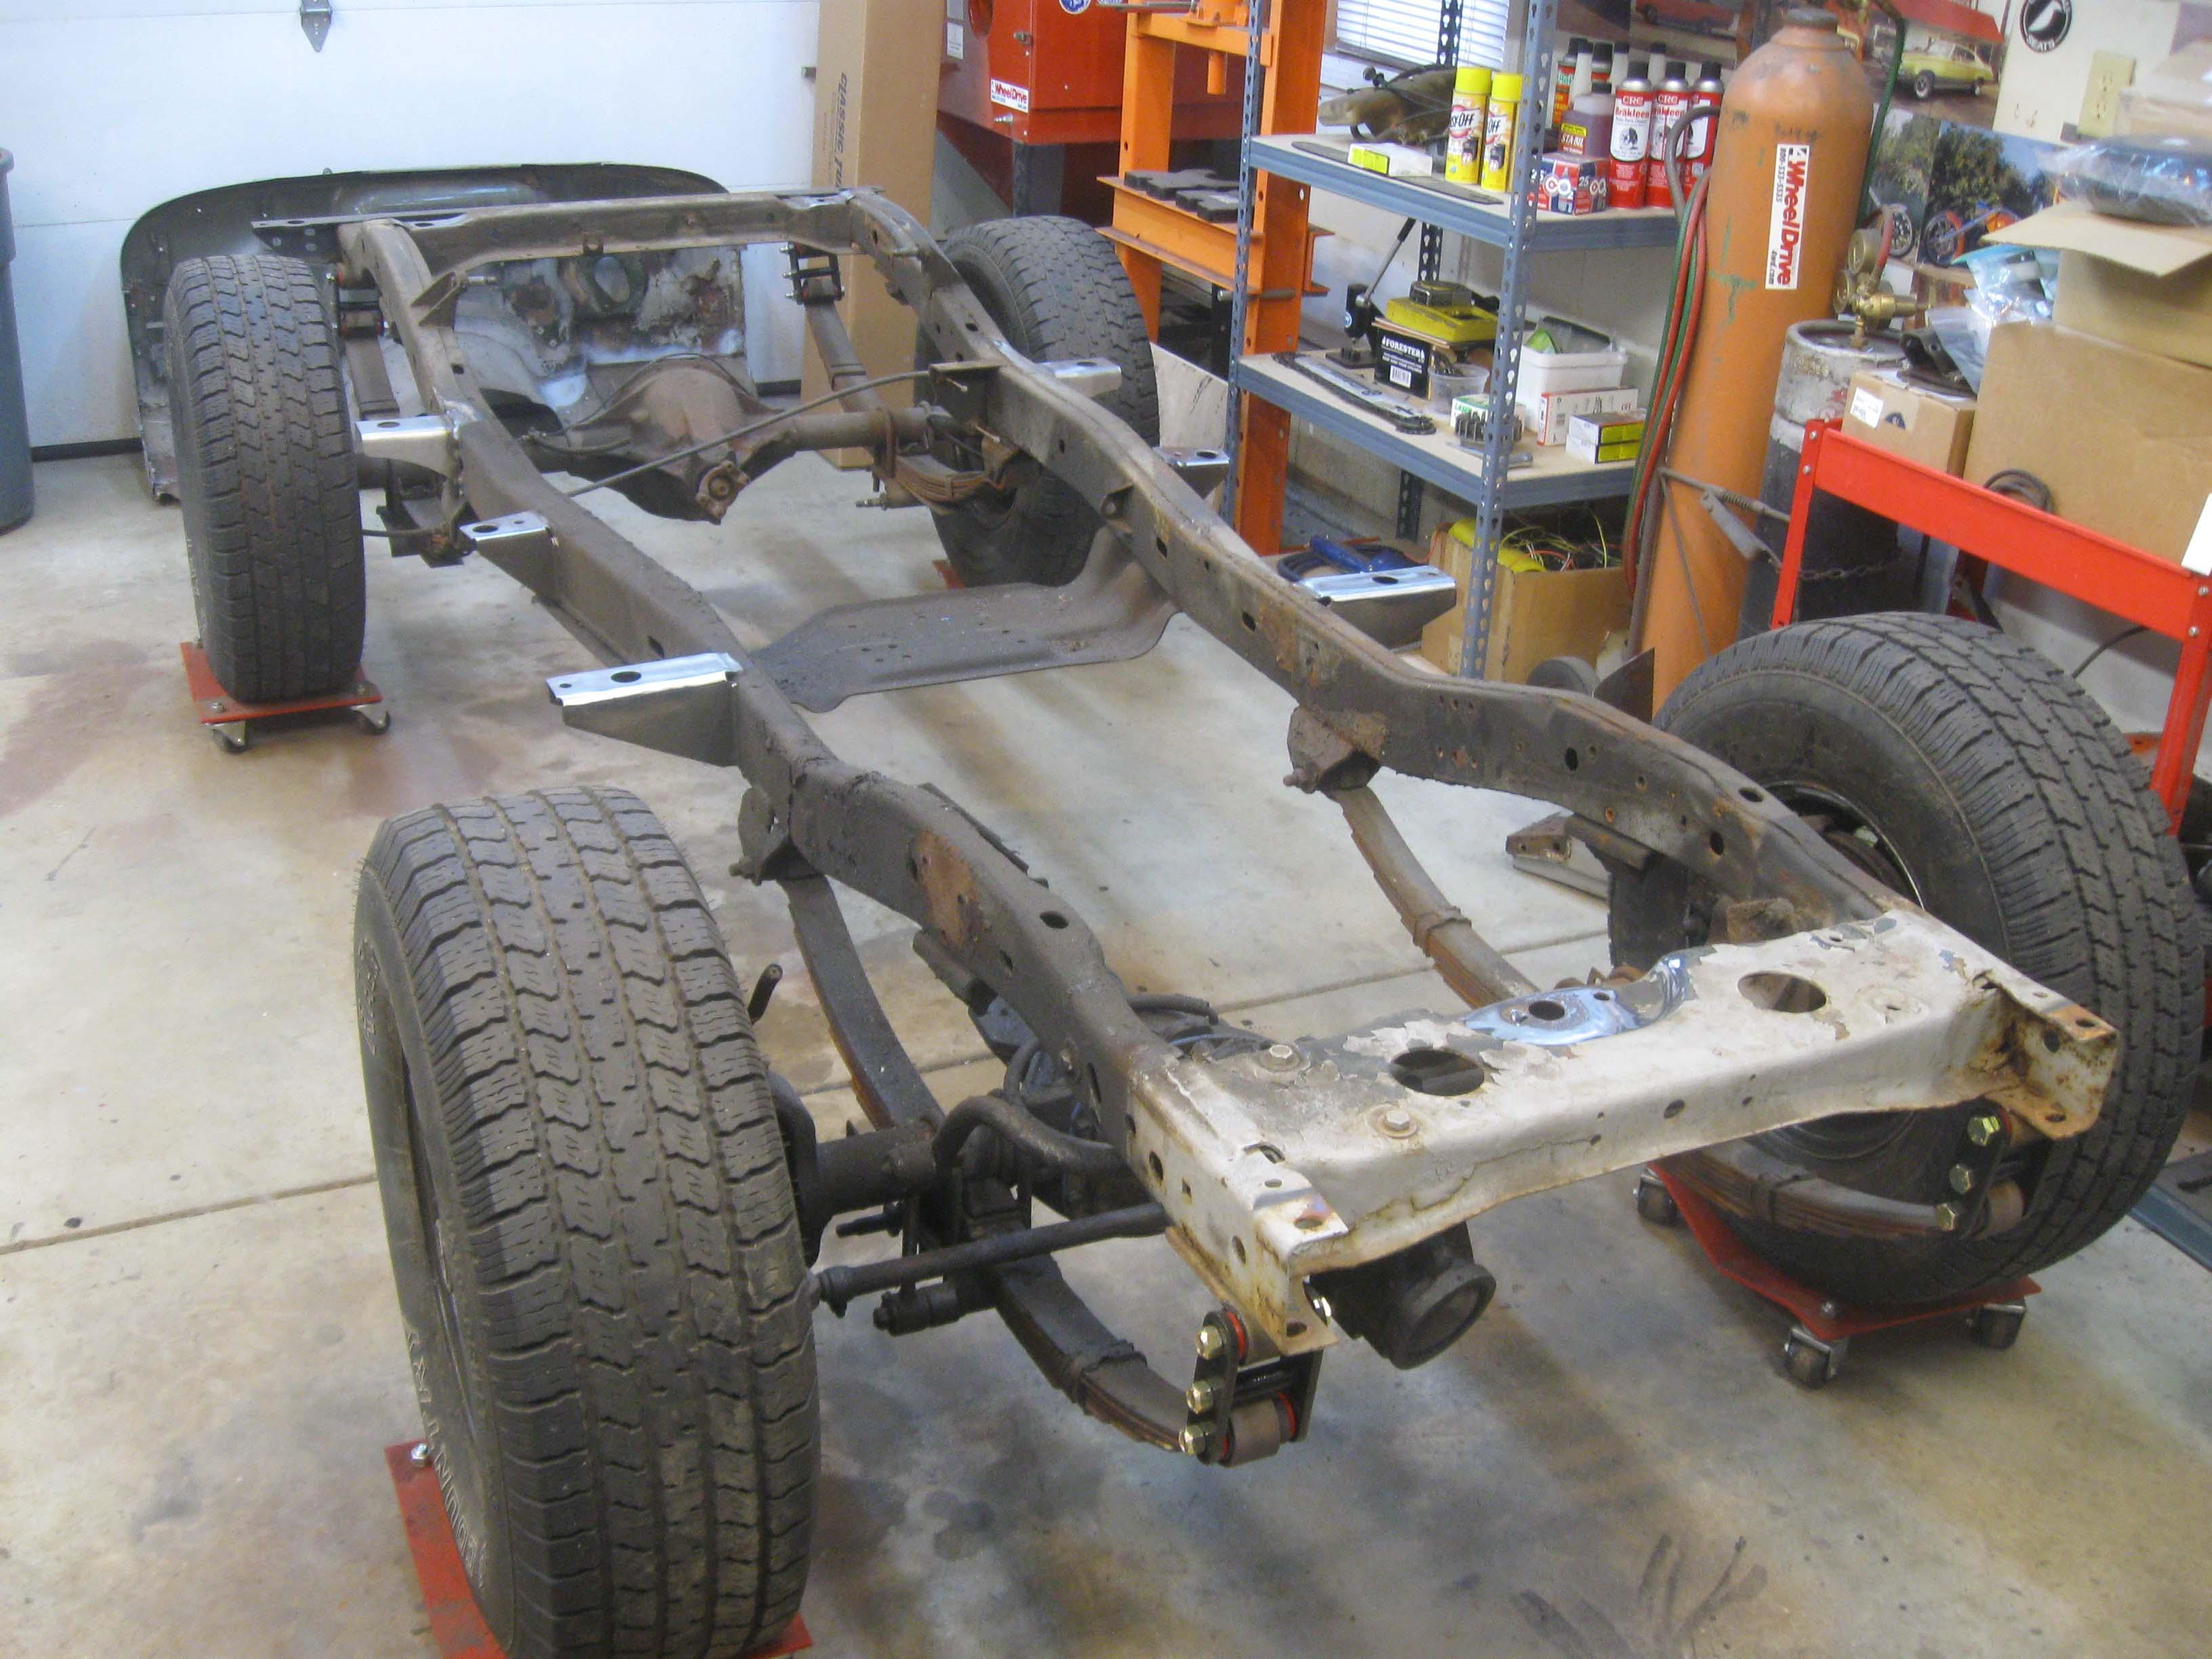
Front was redone
IMG_7089-1.jpg


Rear was fixed
IMG_7120-1.jpg


Sides updated
IMG_7082-1.jpg

IMG_7084-1.jpg


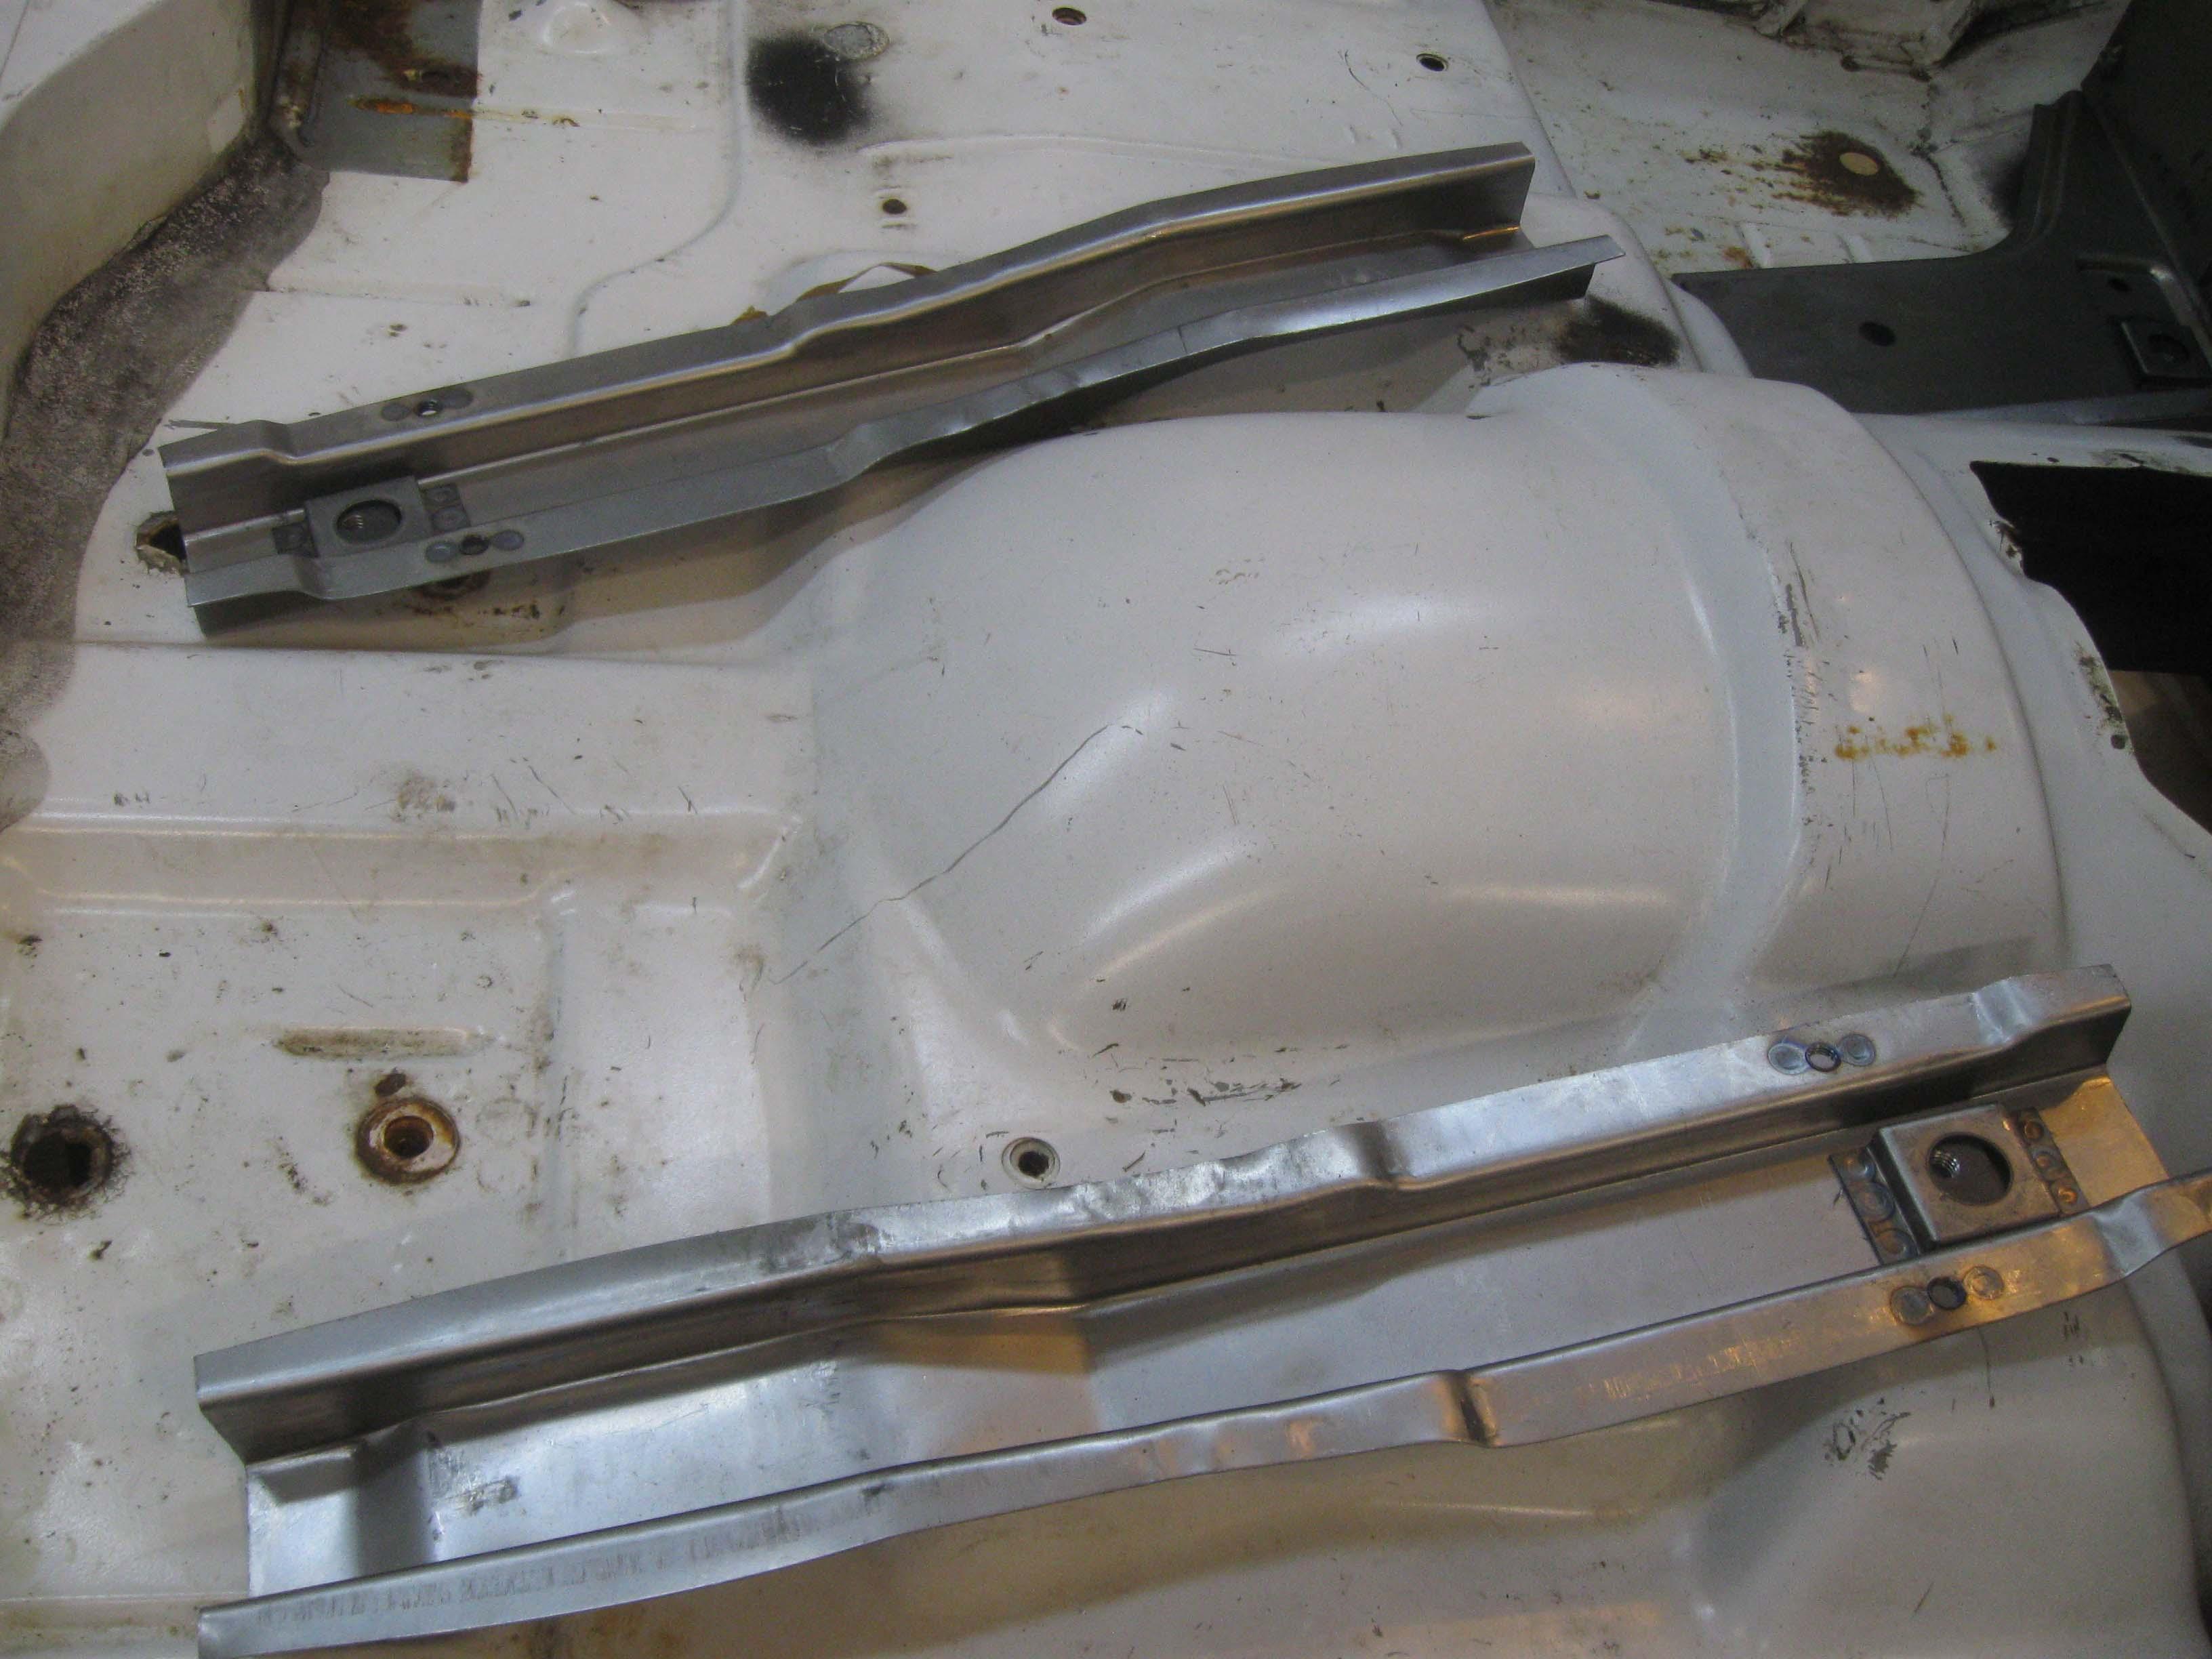
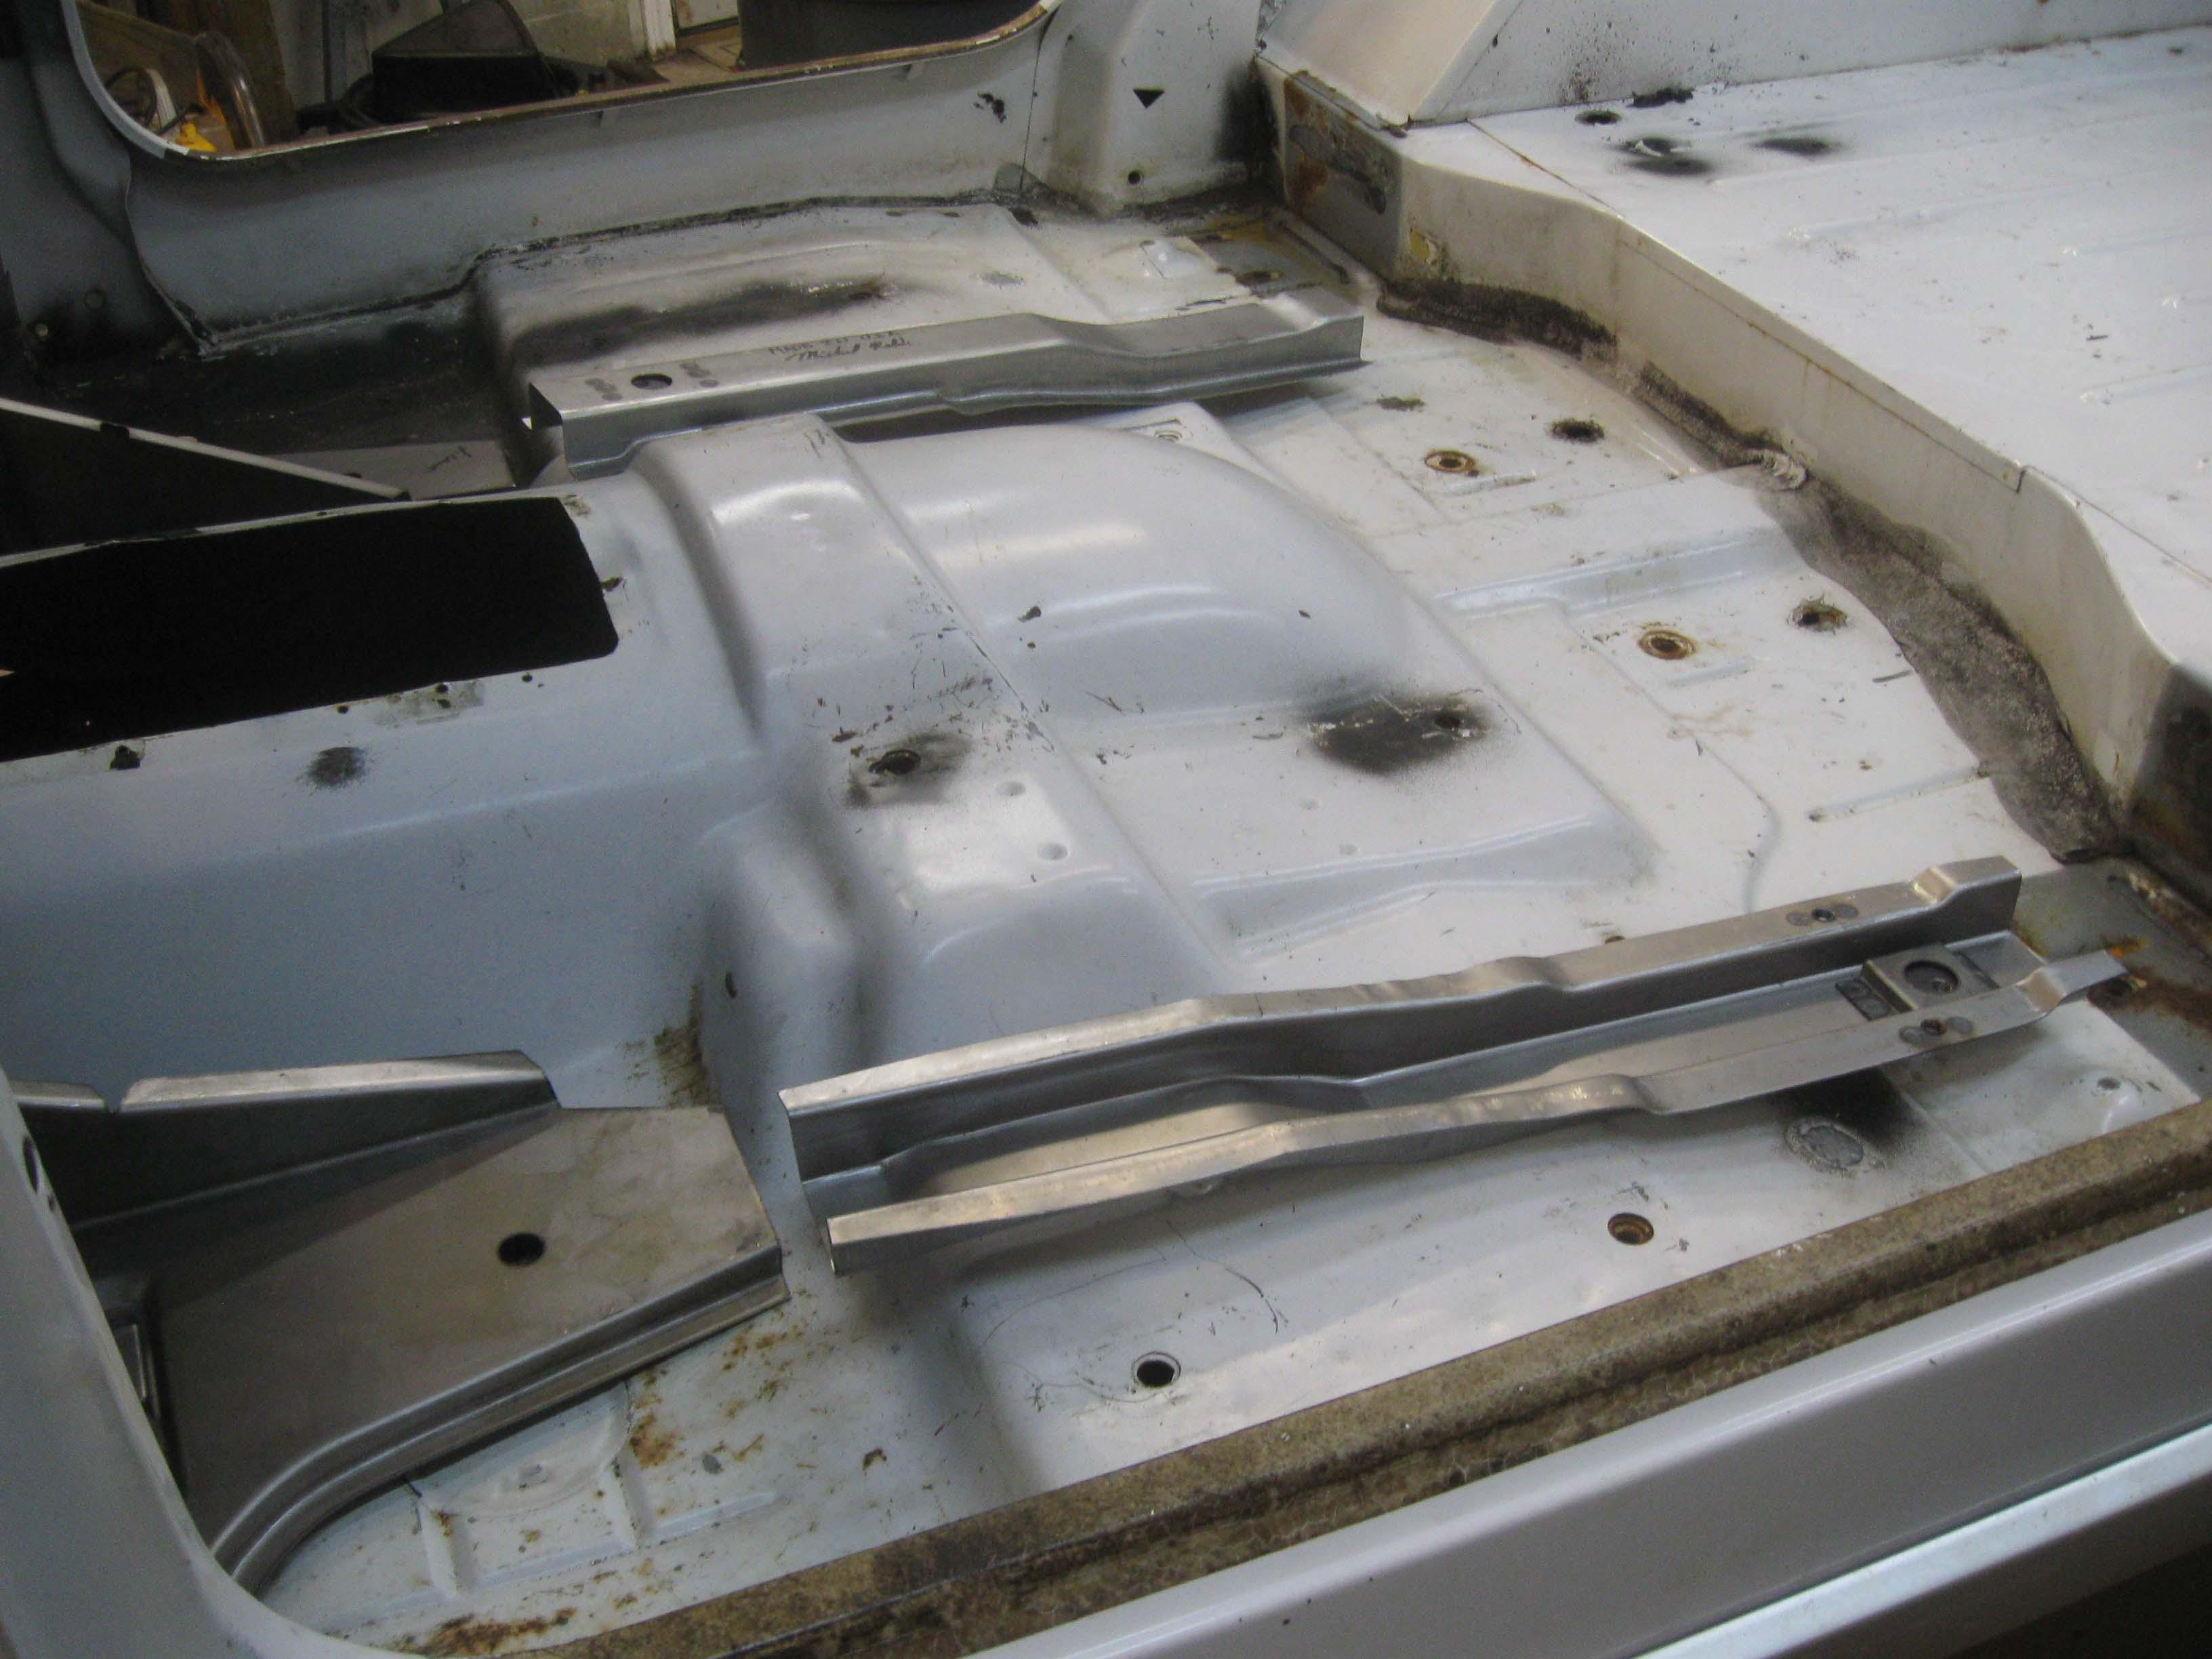
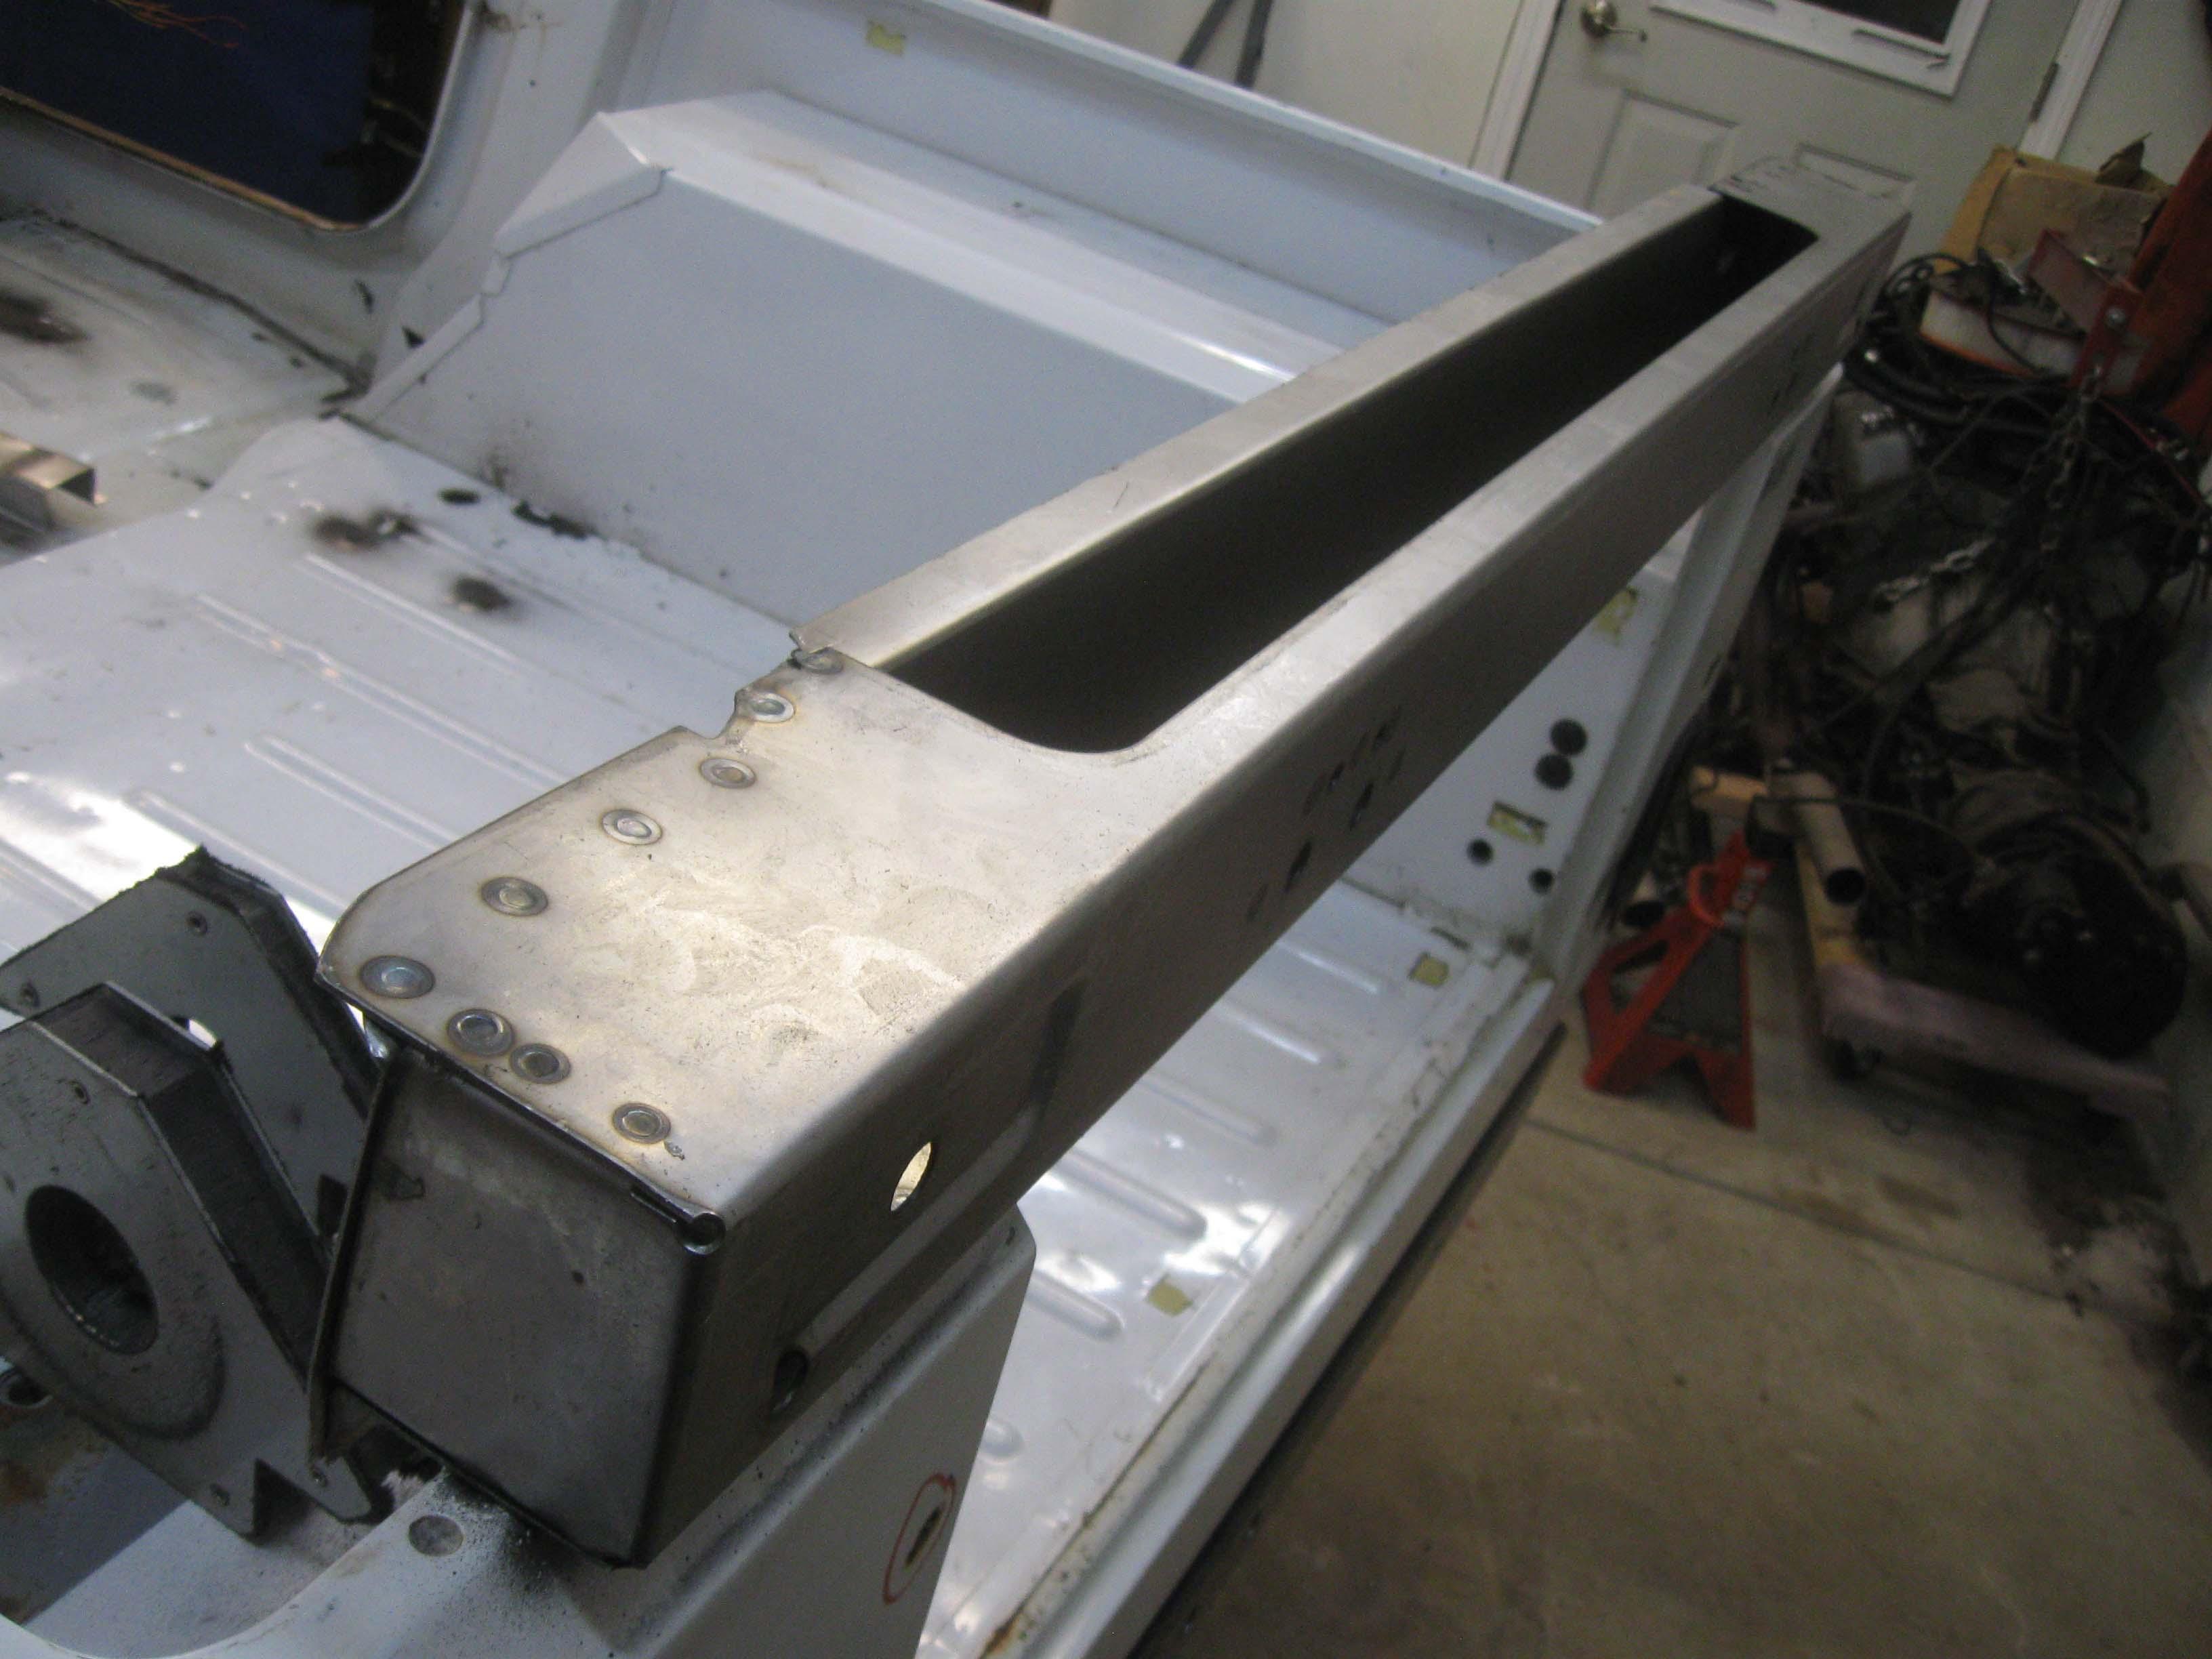
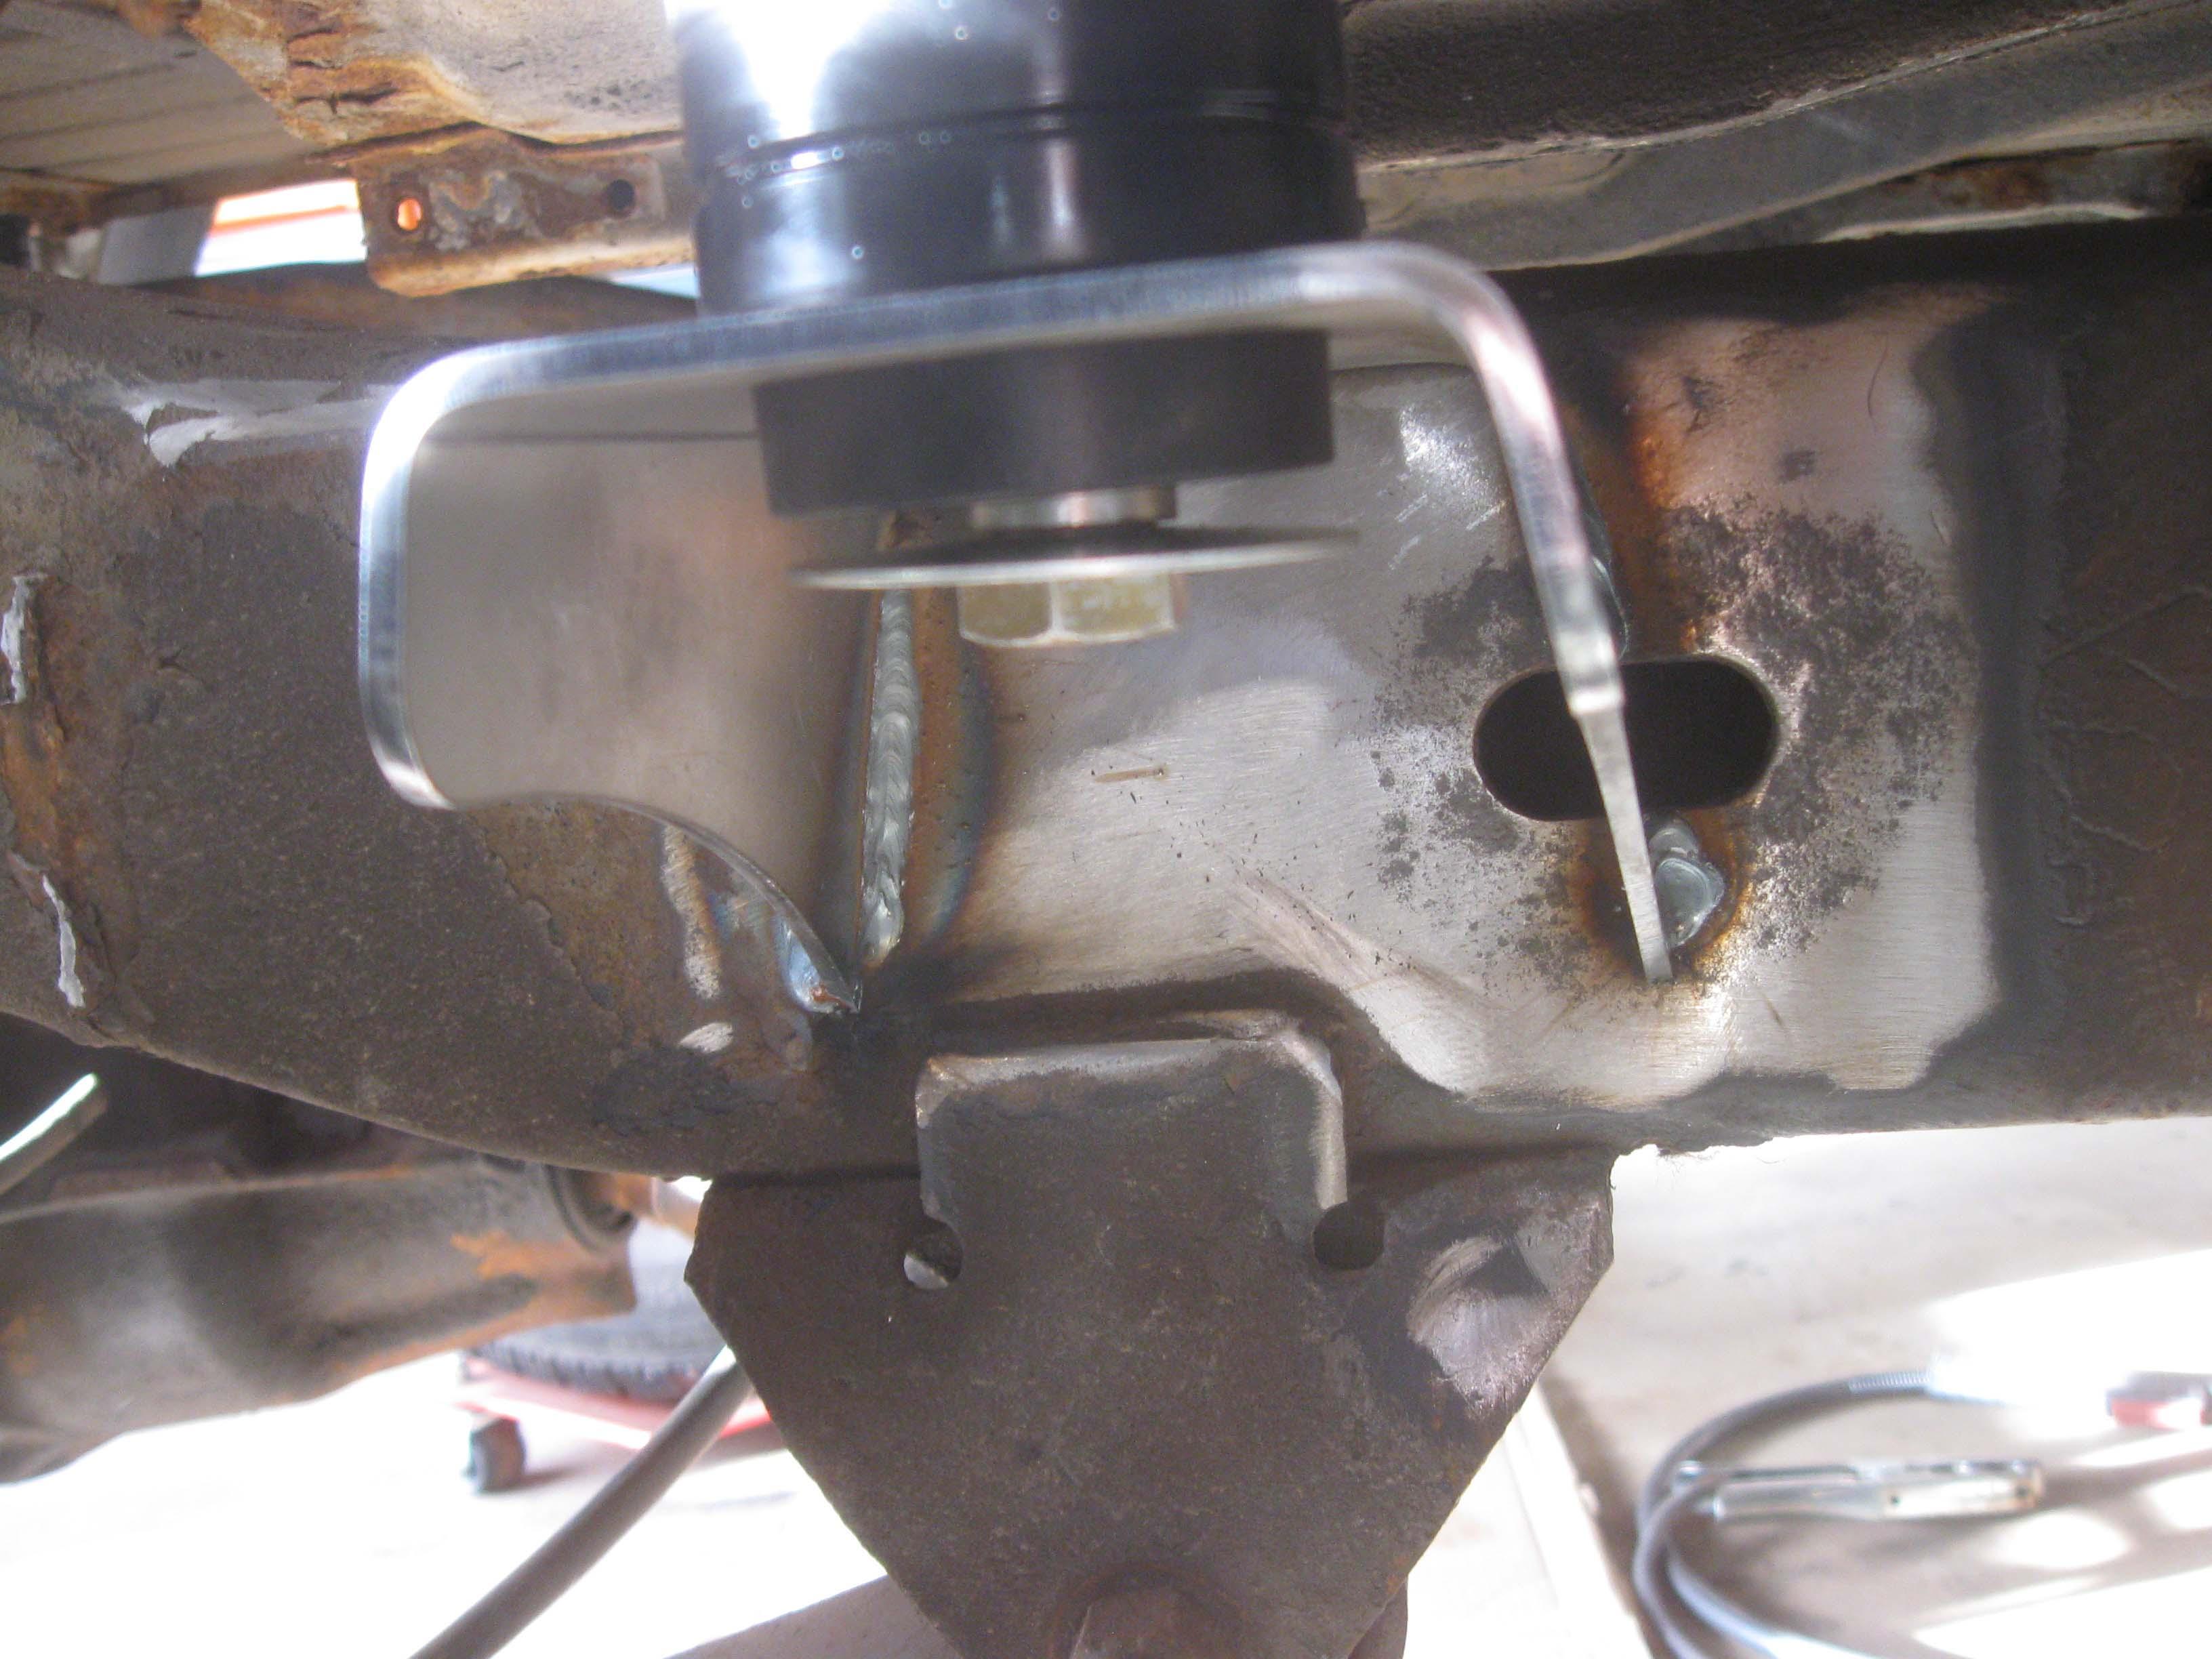
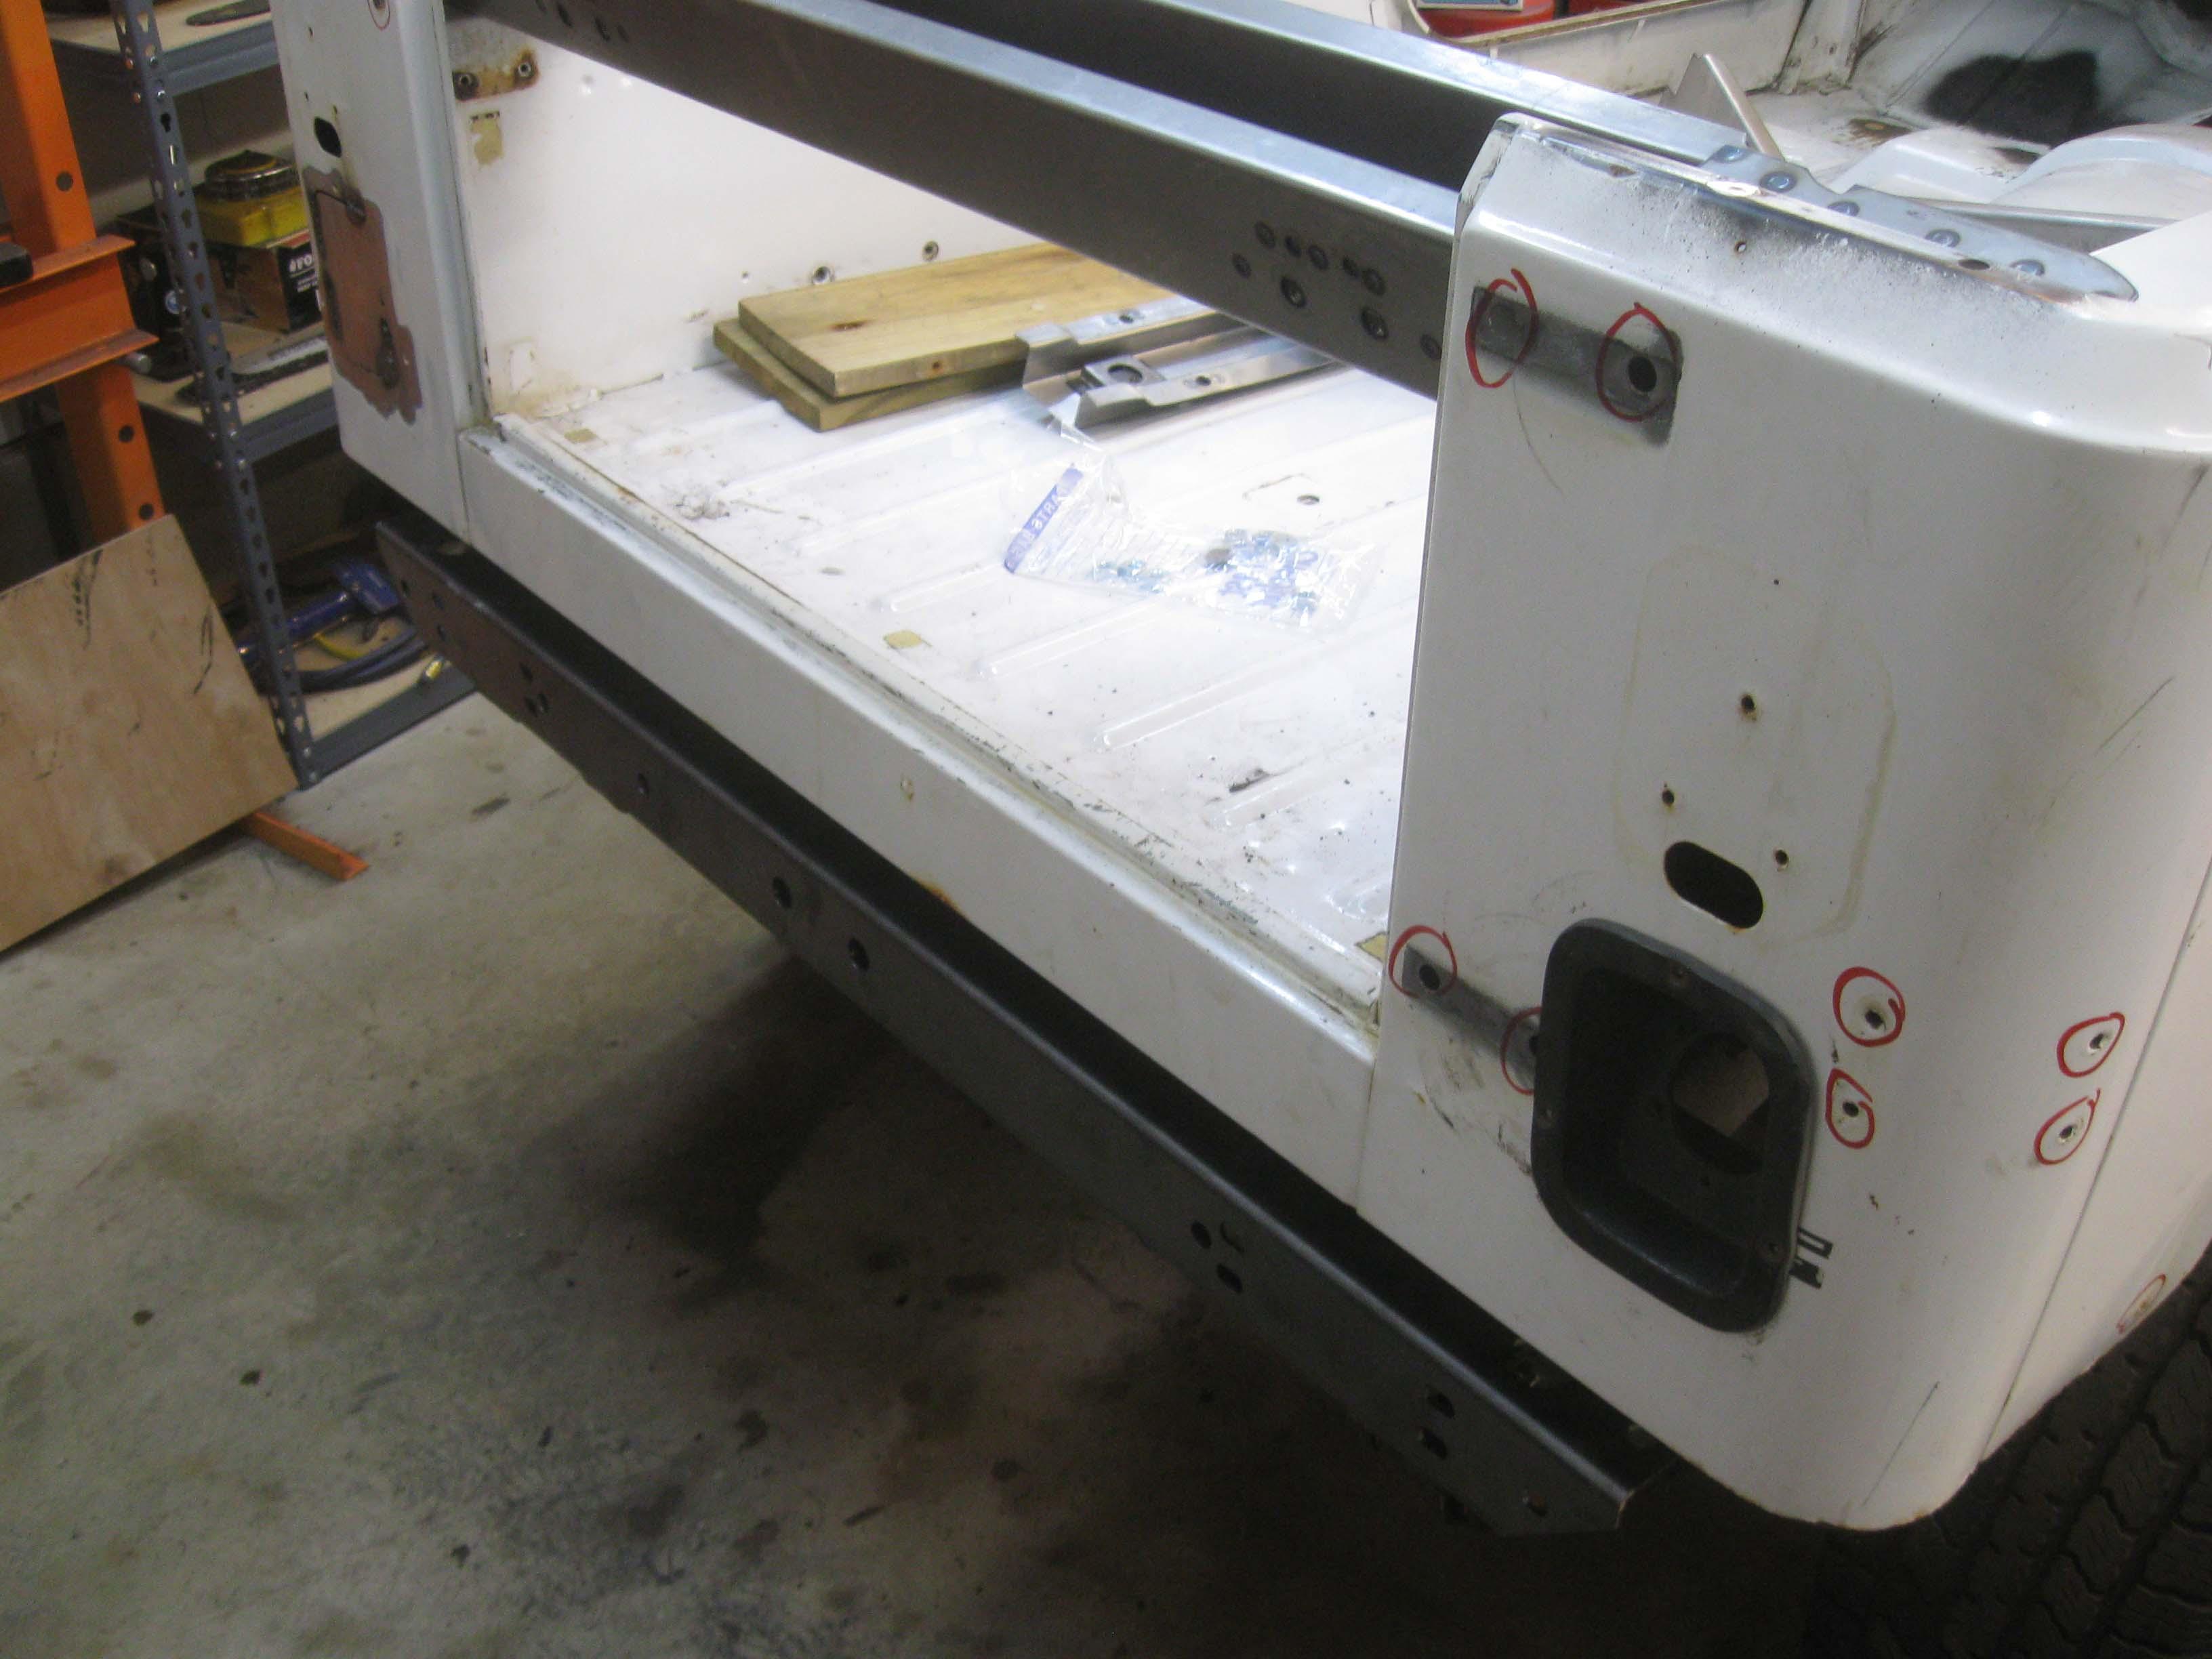
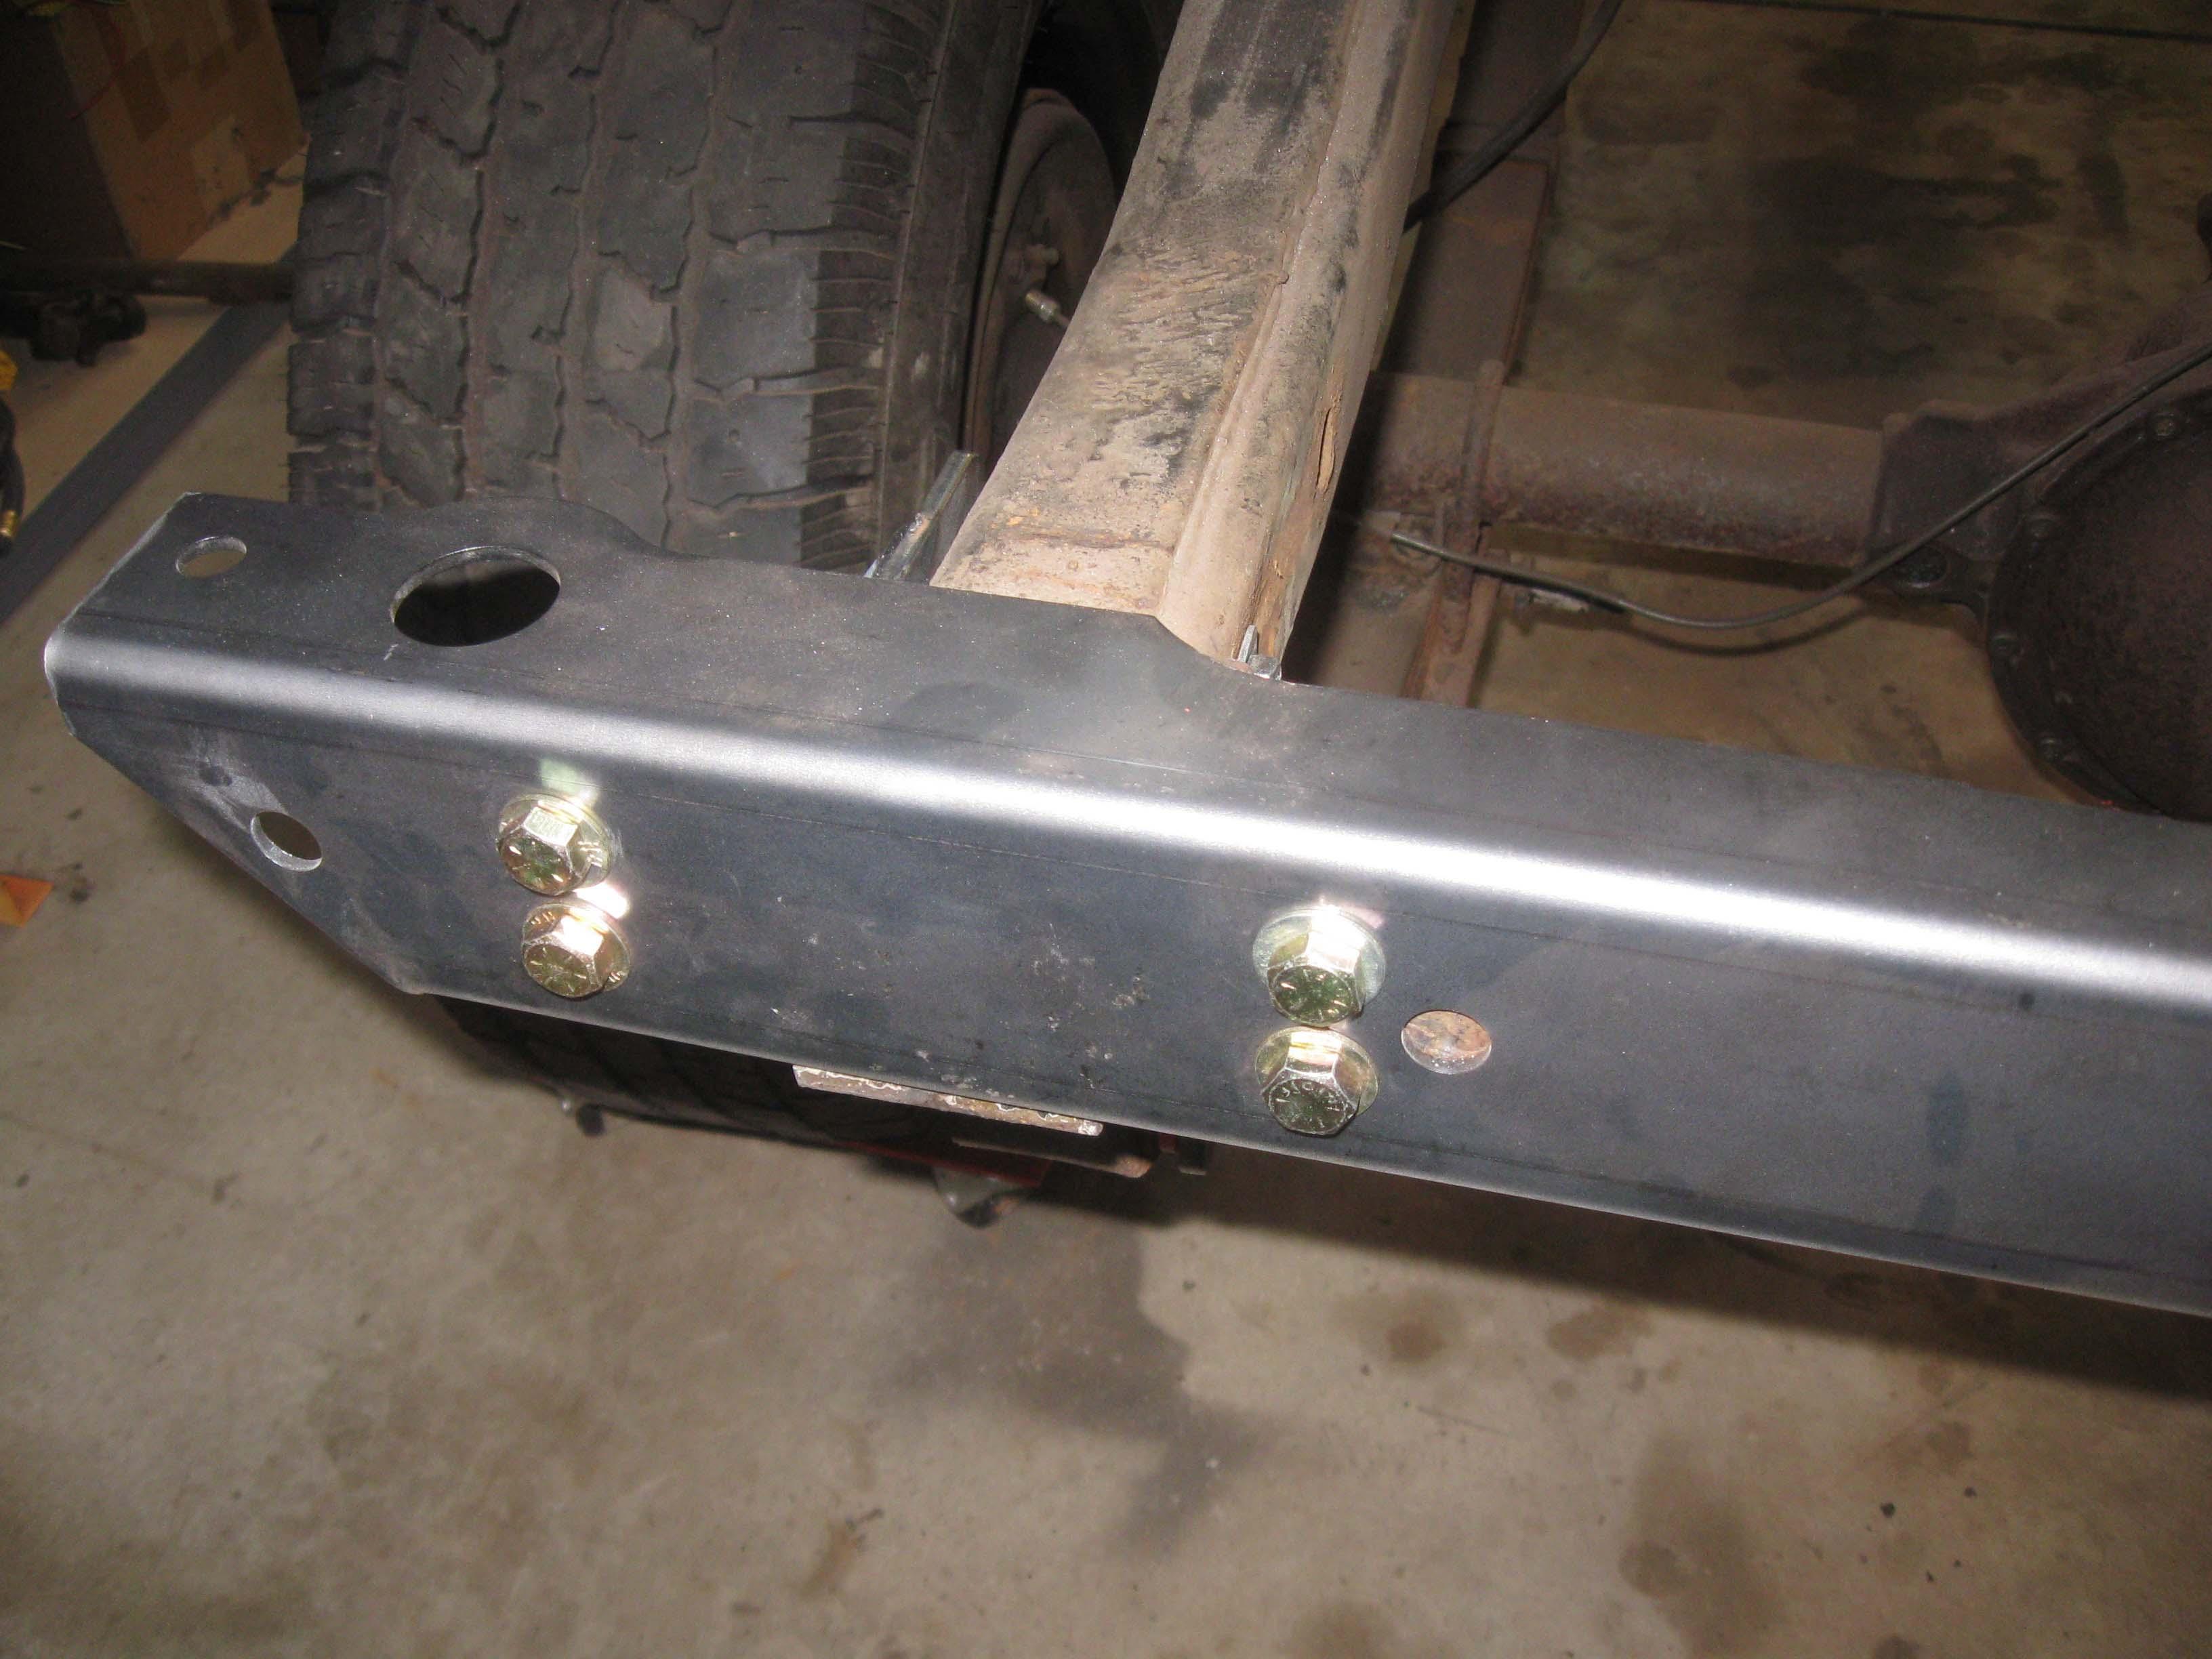
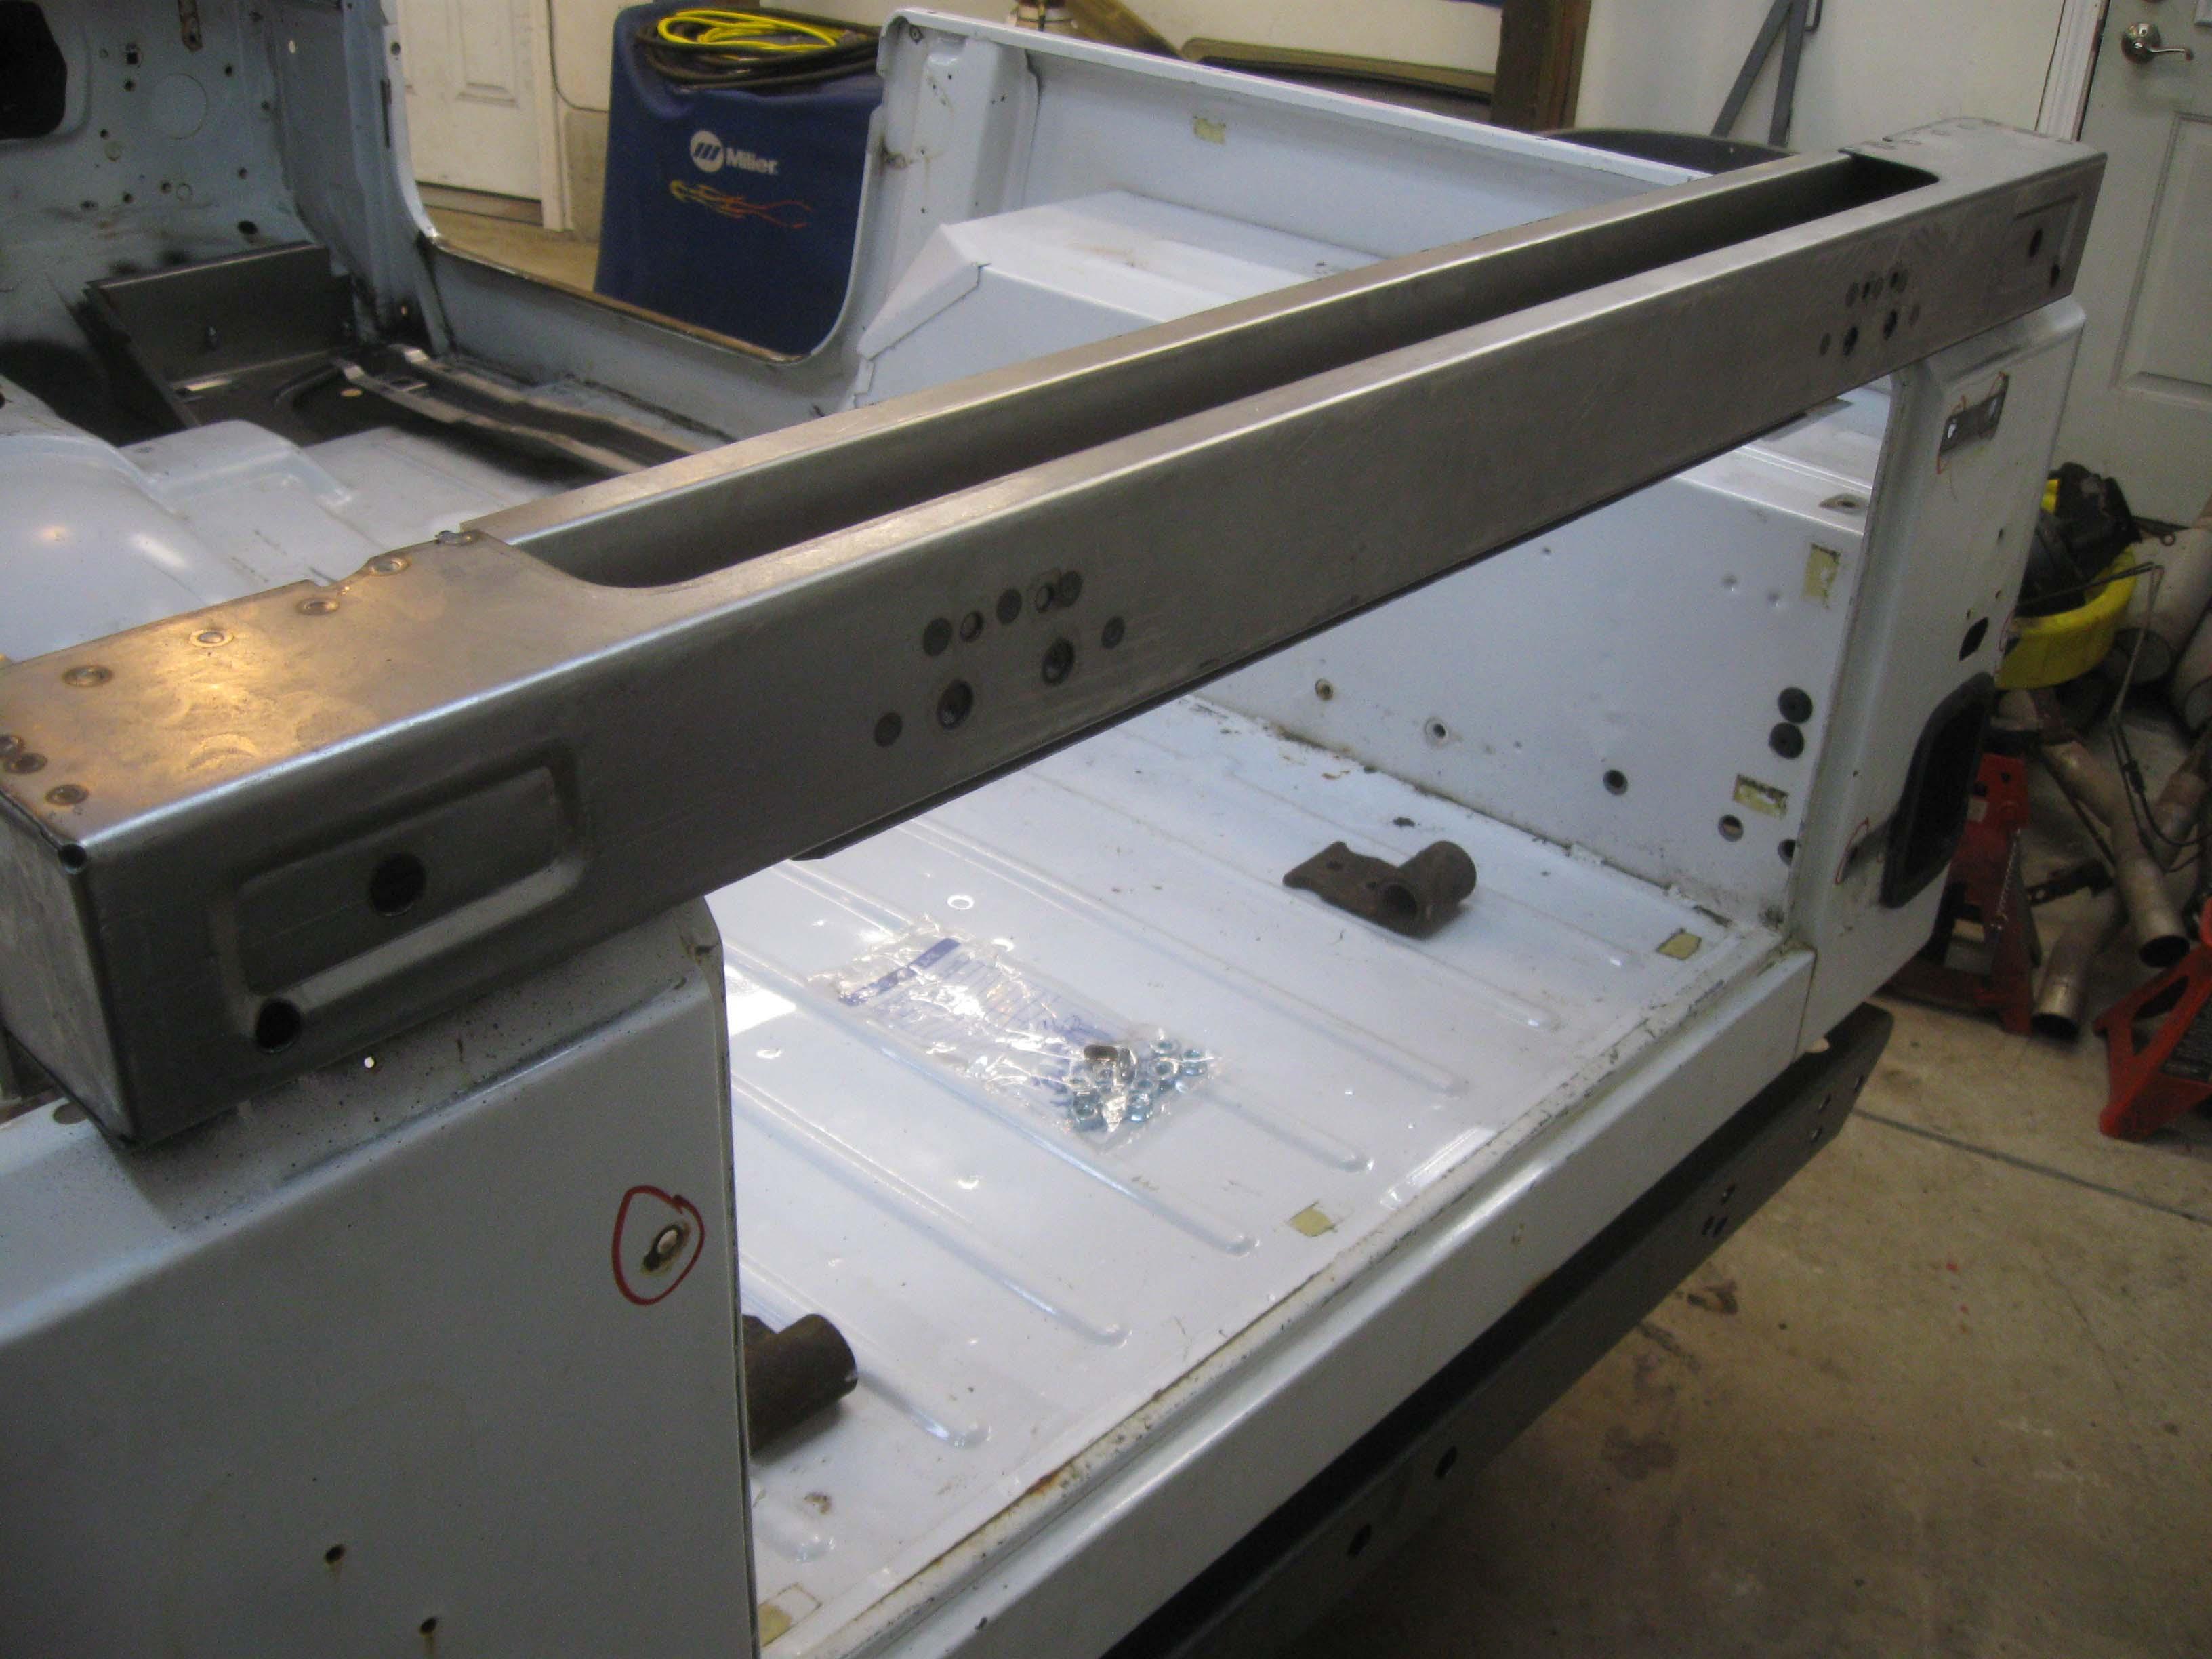
Rear Crossmember finished... I took the new outers and put them in place and then took the existing outers and modified them to fit inside for more strength

IMG_7076-1.jpg

IMG_7077-1.jpg

IMG_7078-1.jpg


The design of the outers were unique... they are built well, just took a few weeks to get them... JCR Offroad made them.

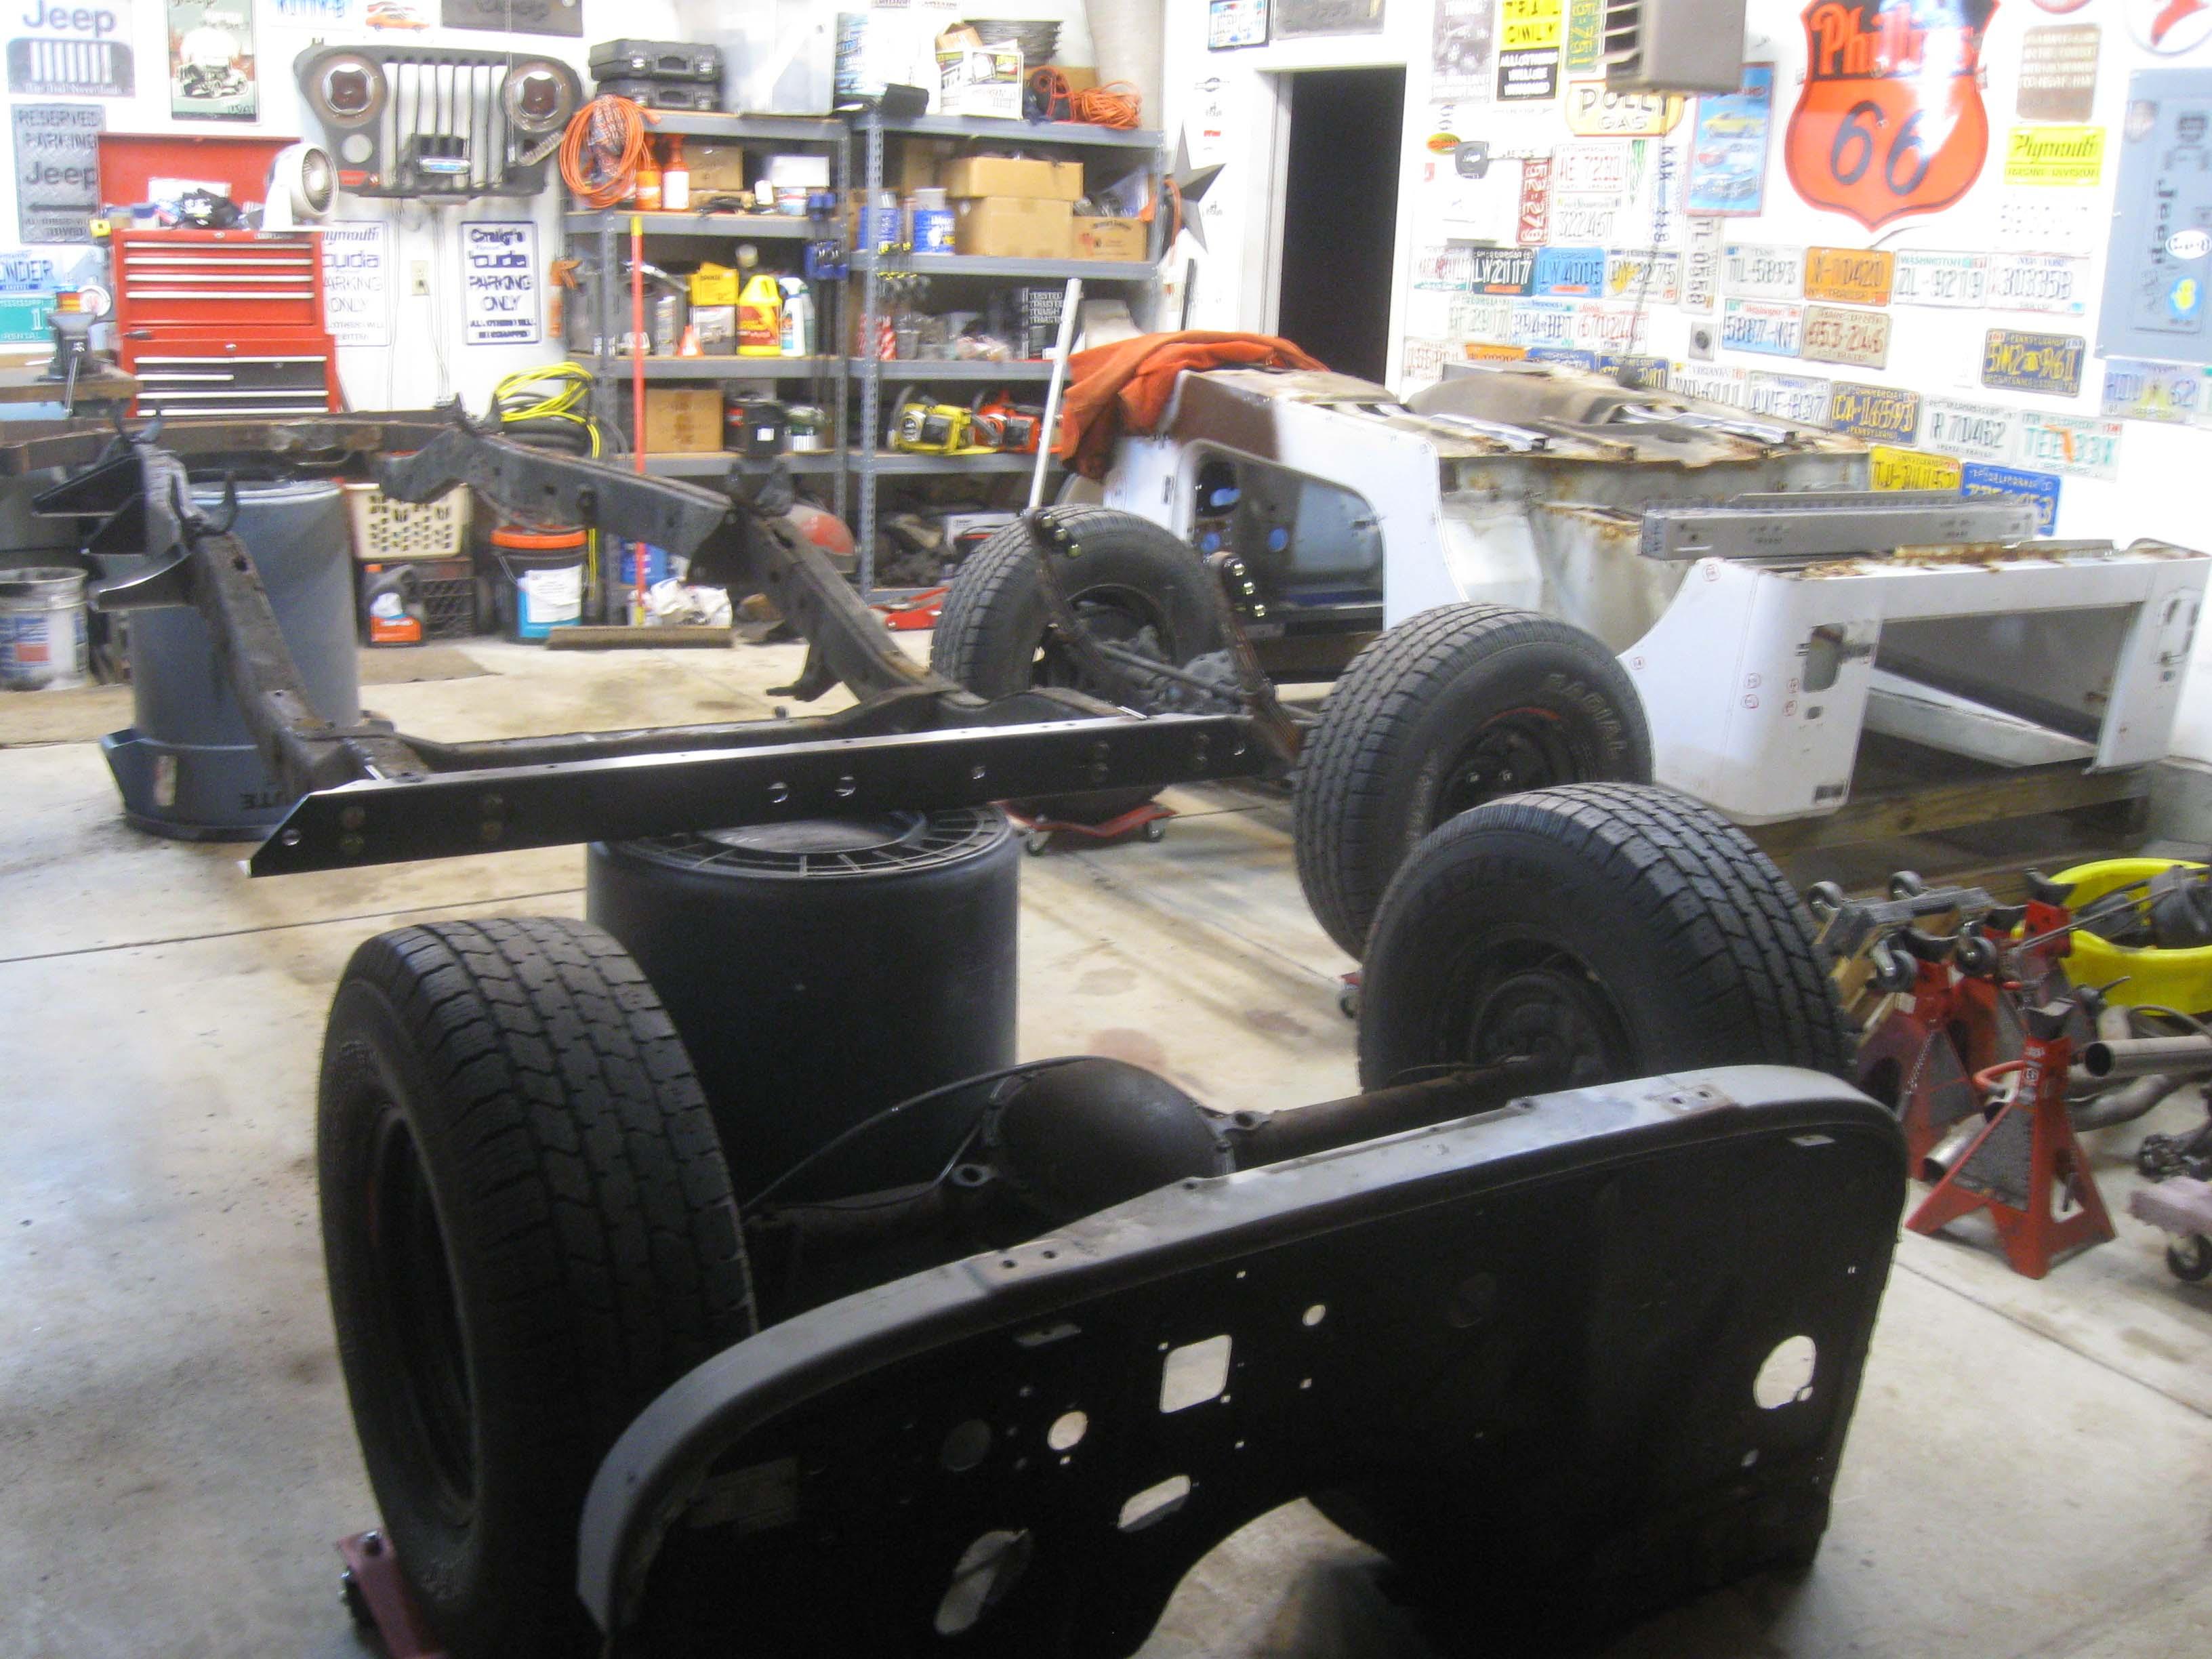
As it sits now:
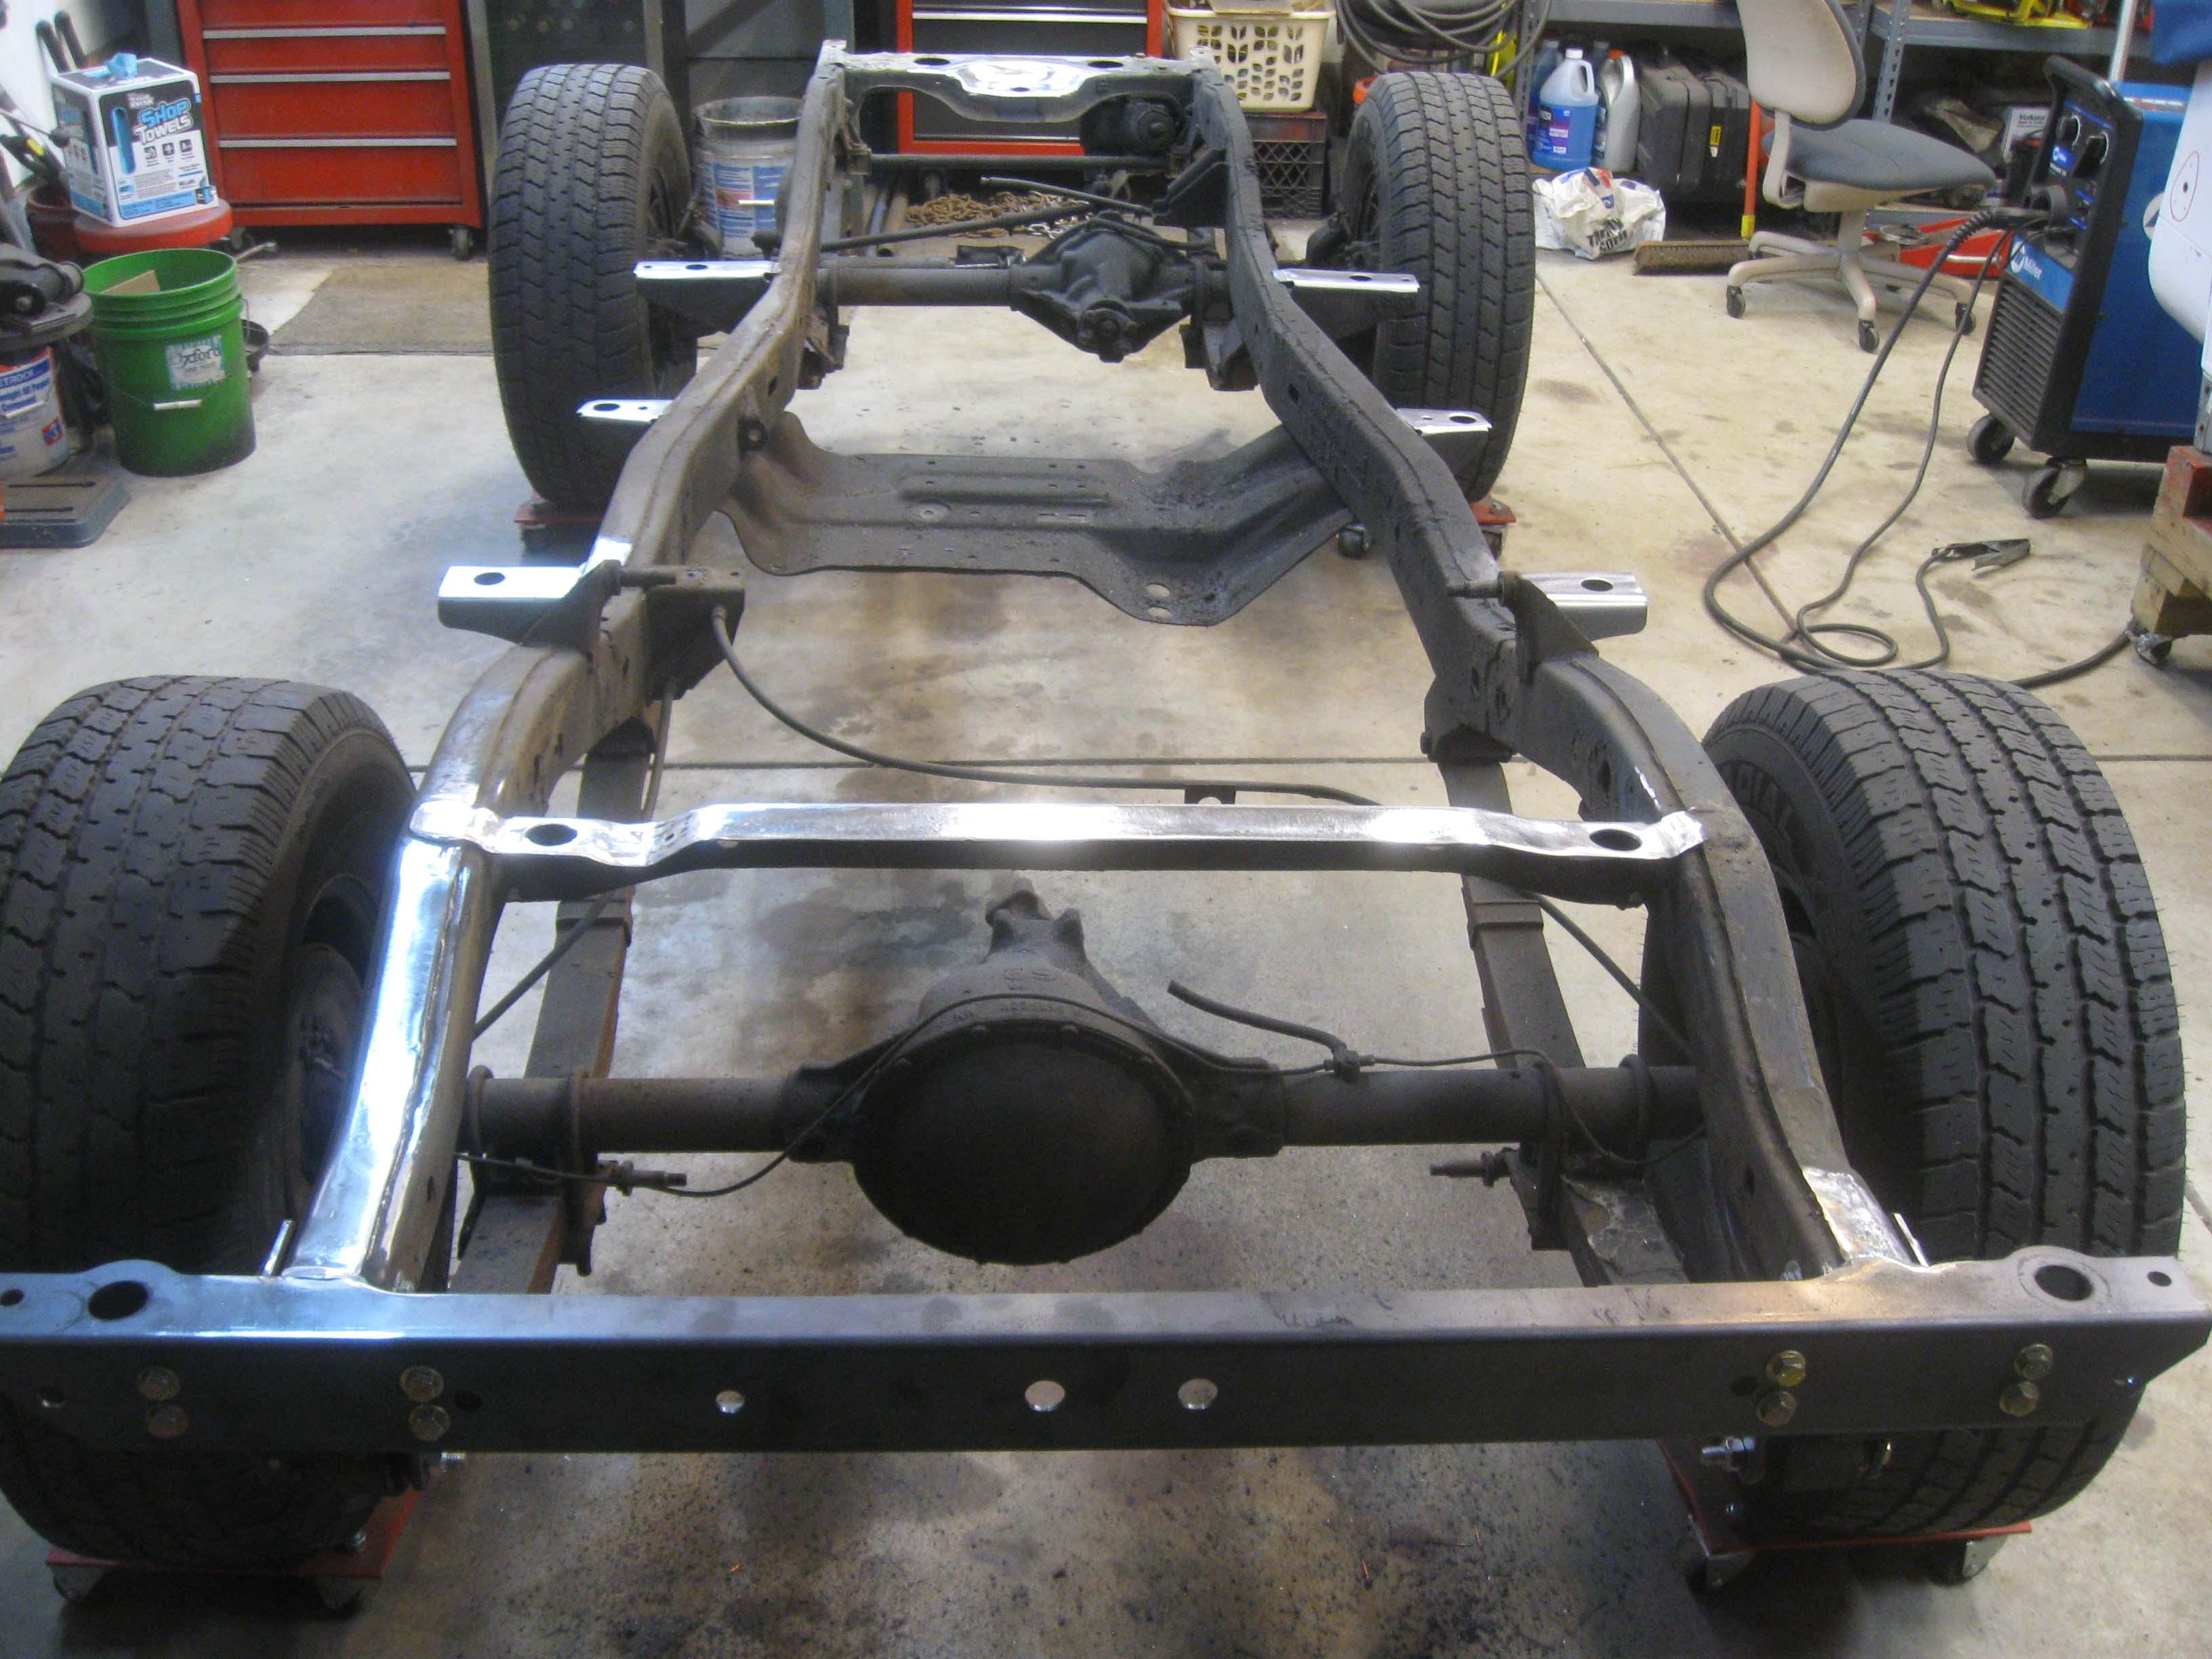
IMG_7122-1.jpg

IMG_7123-1.jpg


Plan for the evening... get the axles off, the frame flipped over and bare frame some tomorrow I can work on fixing the 2 sections of pinholes and any broken bolts that happen today.
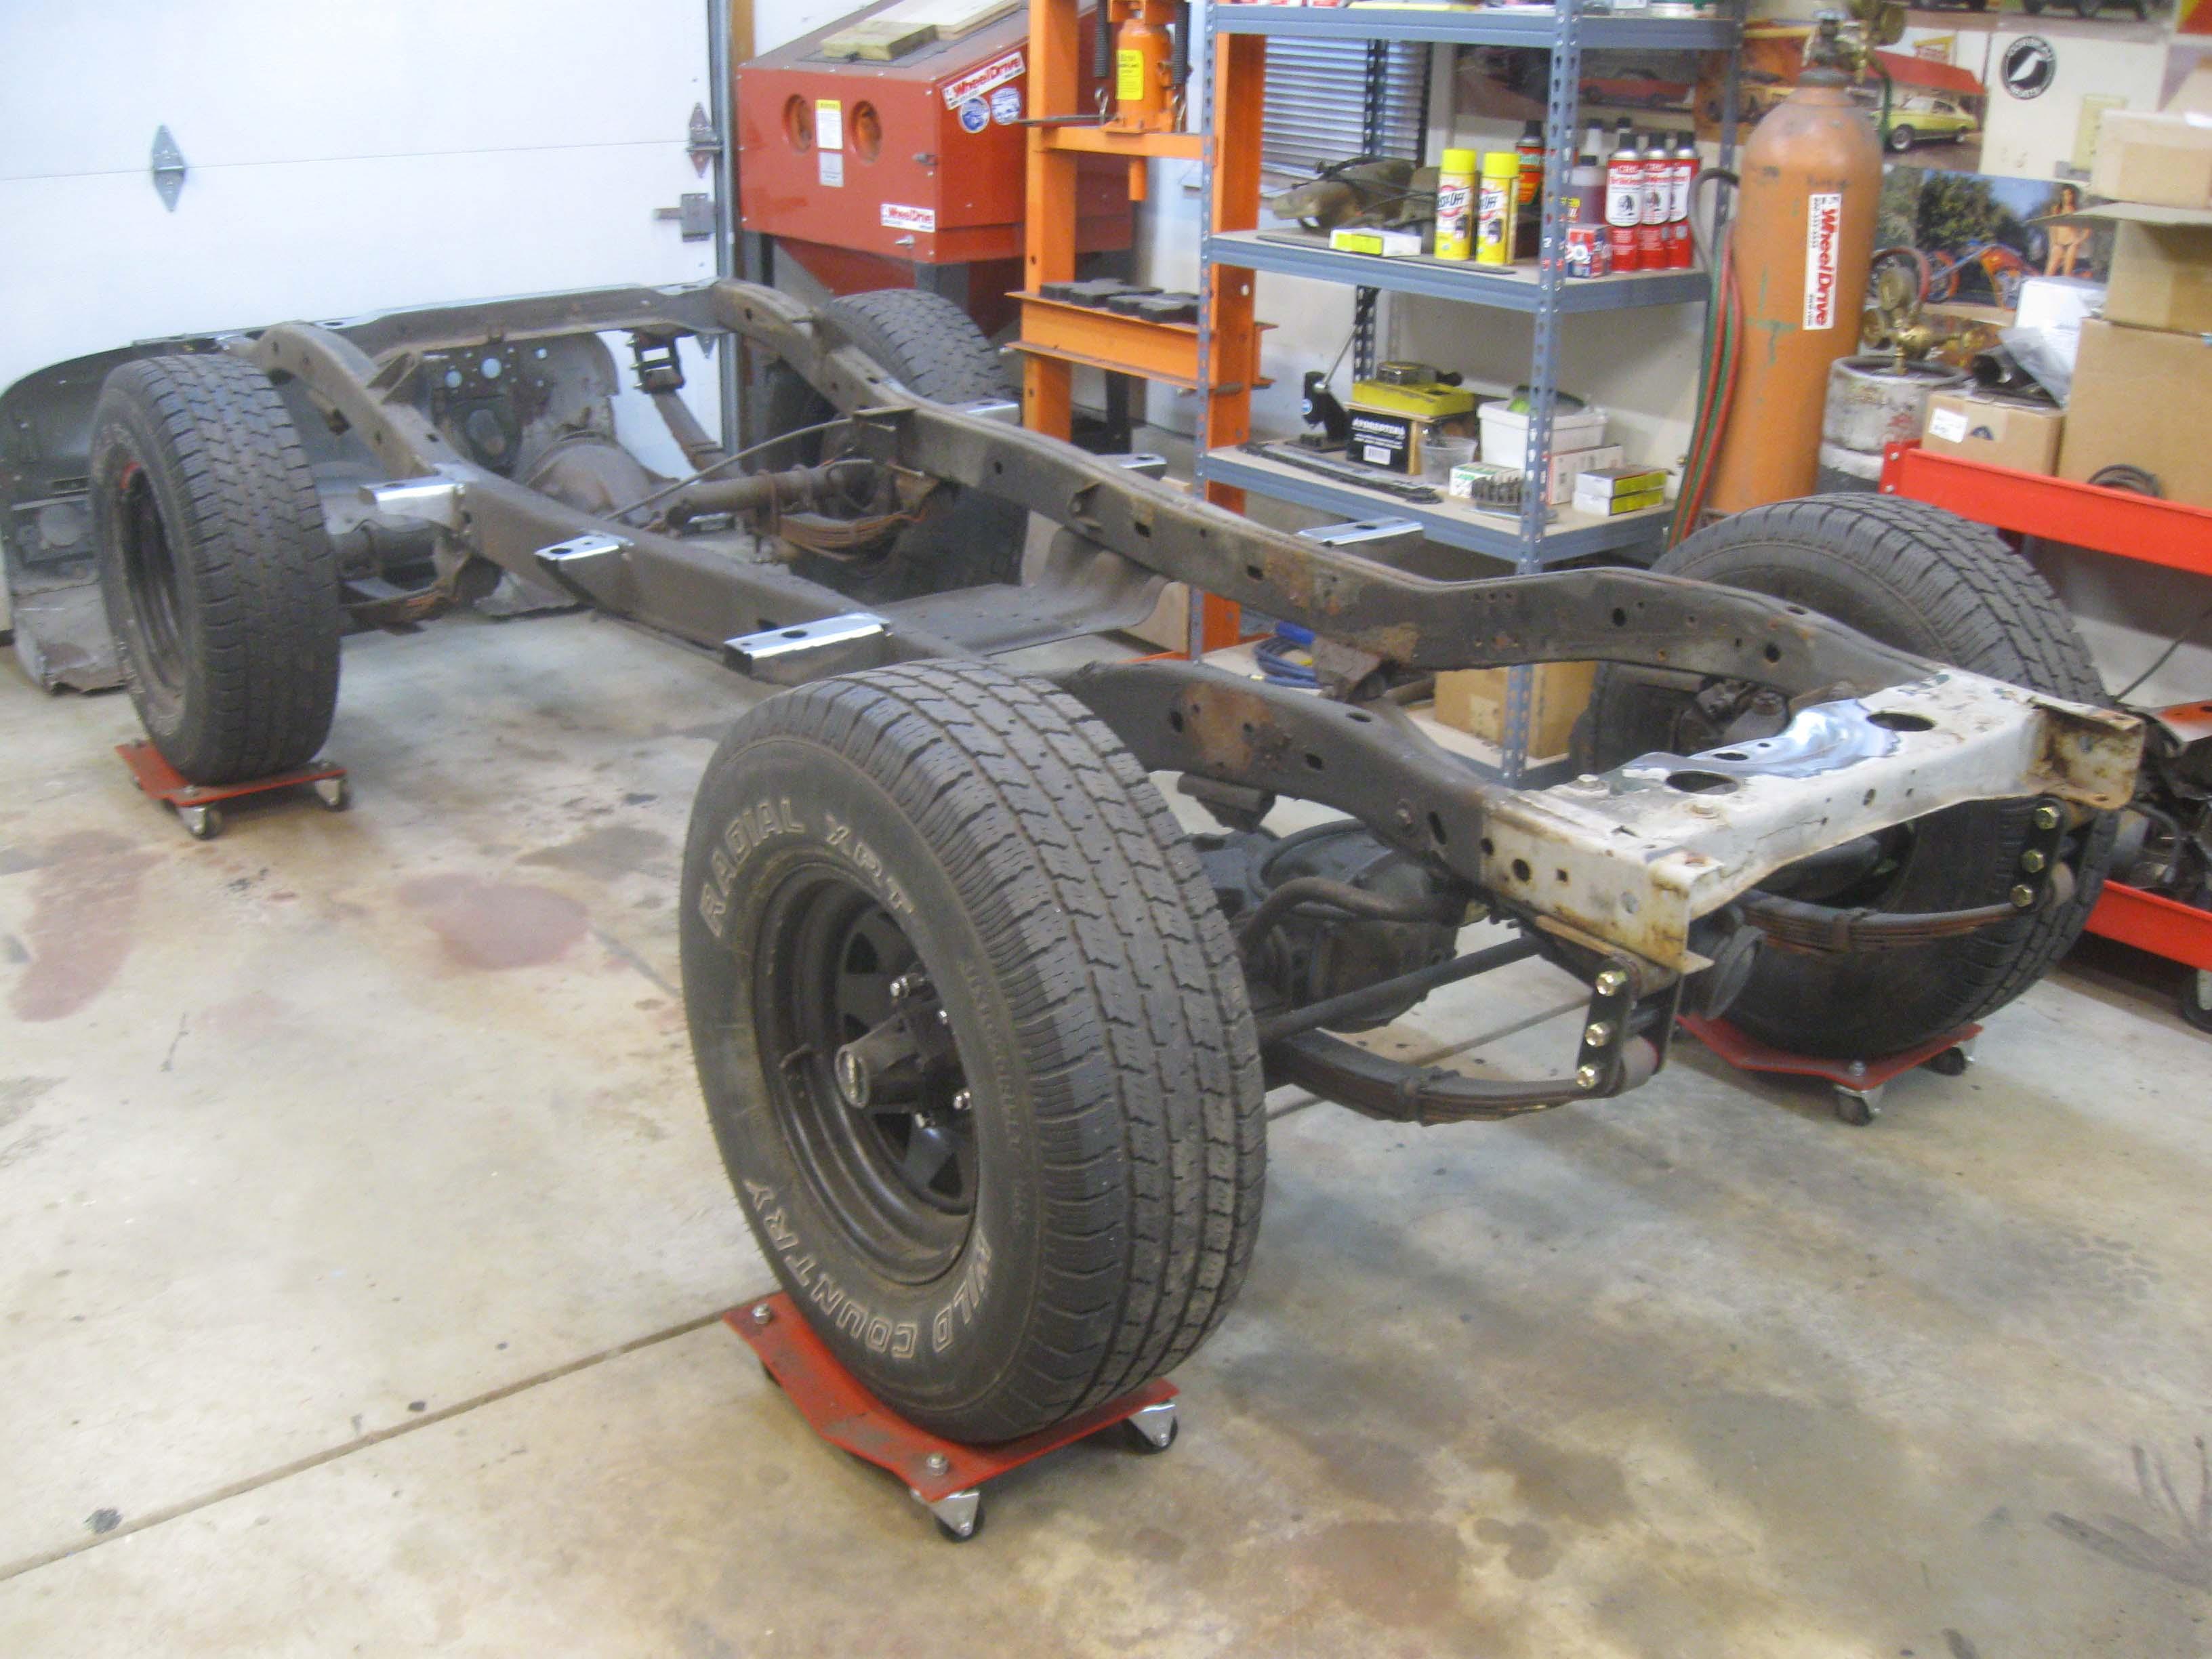
Then strip her, paint her, get her ready for reassembly.

cb
 
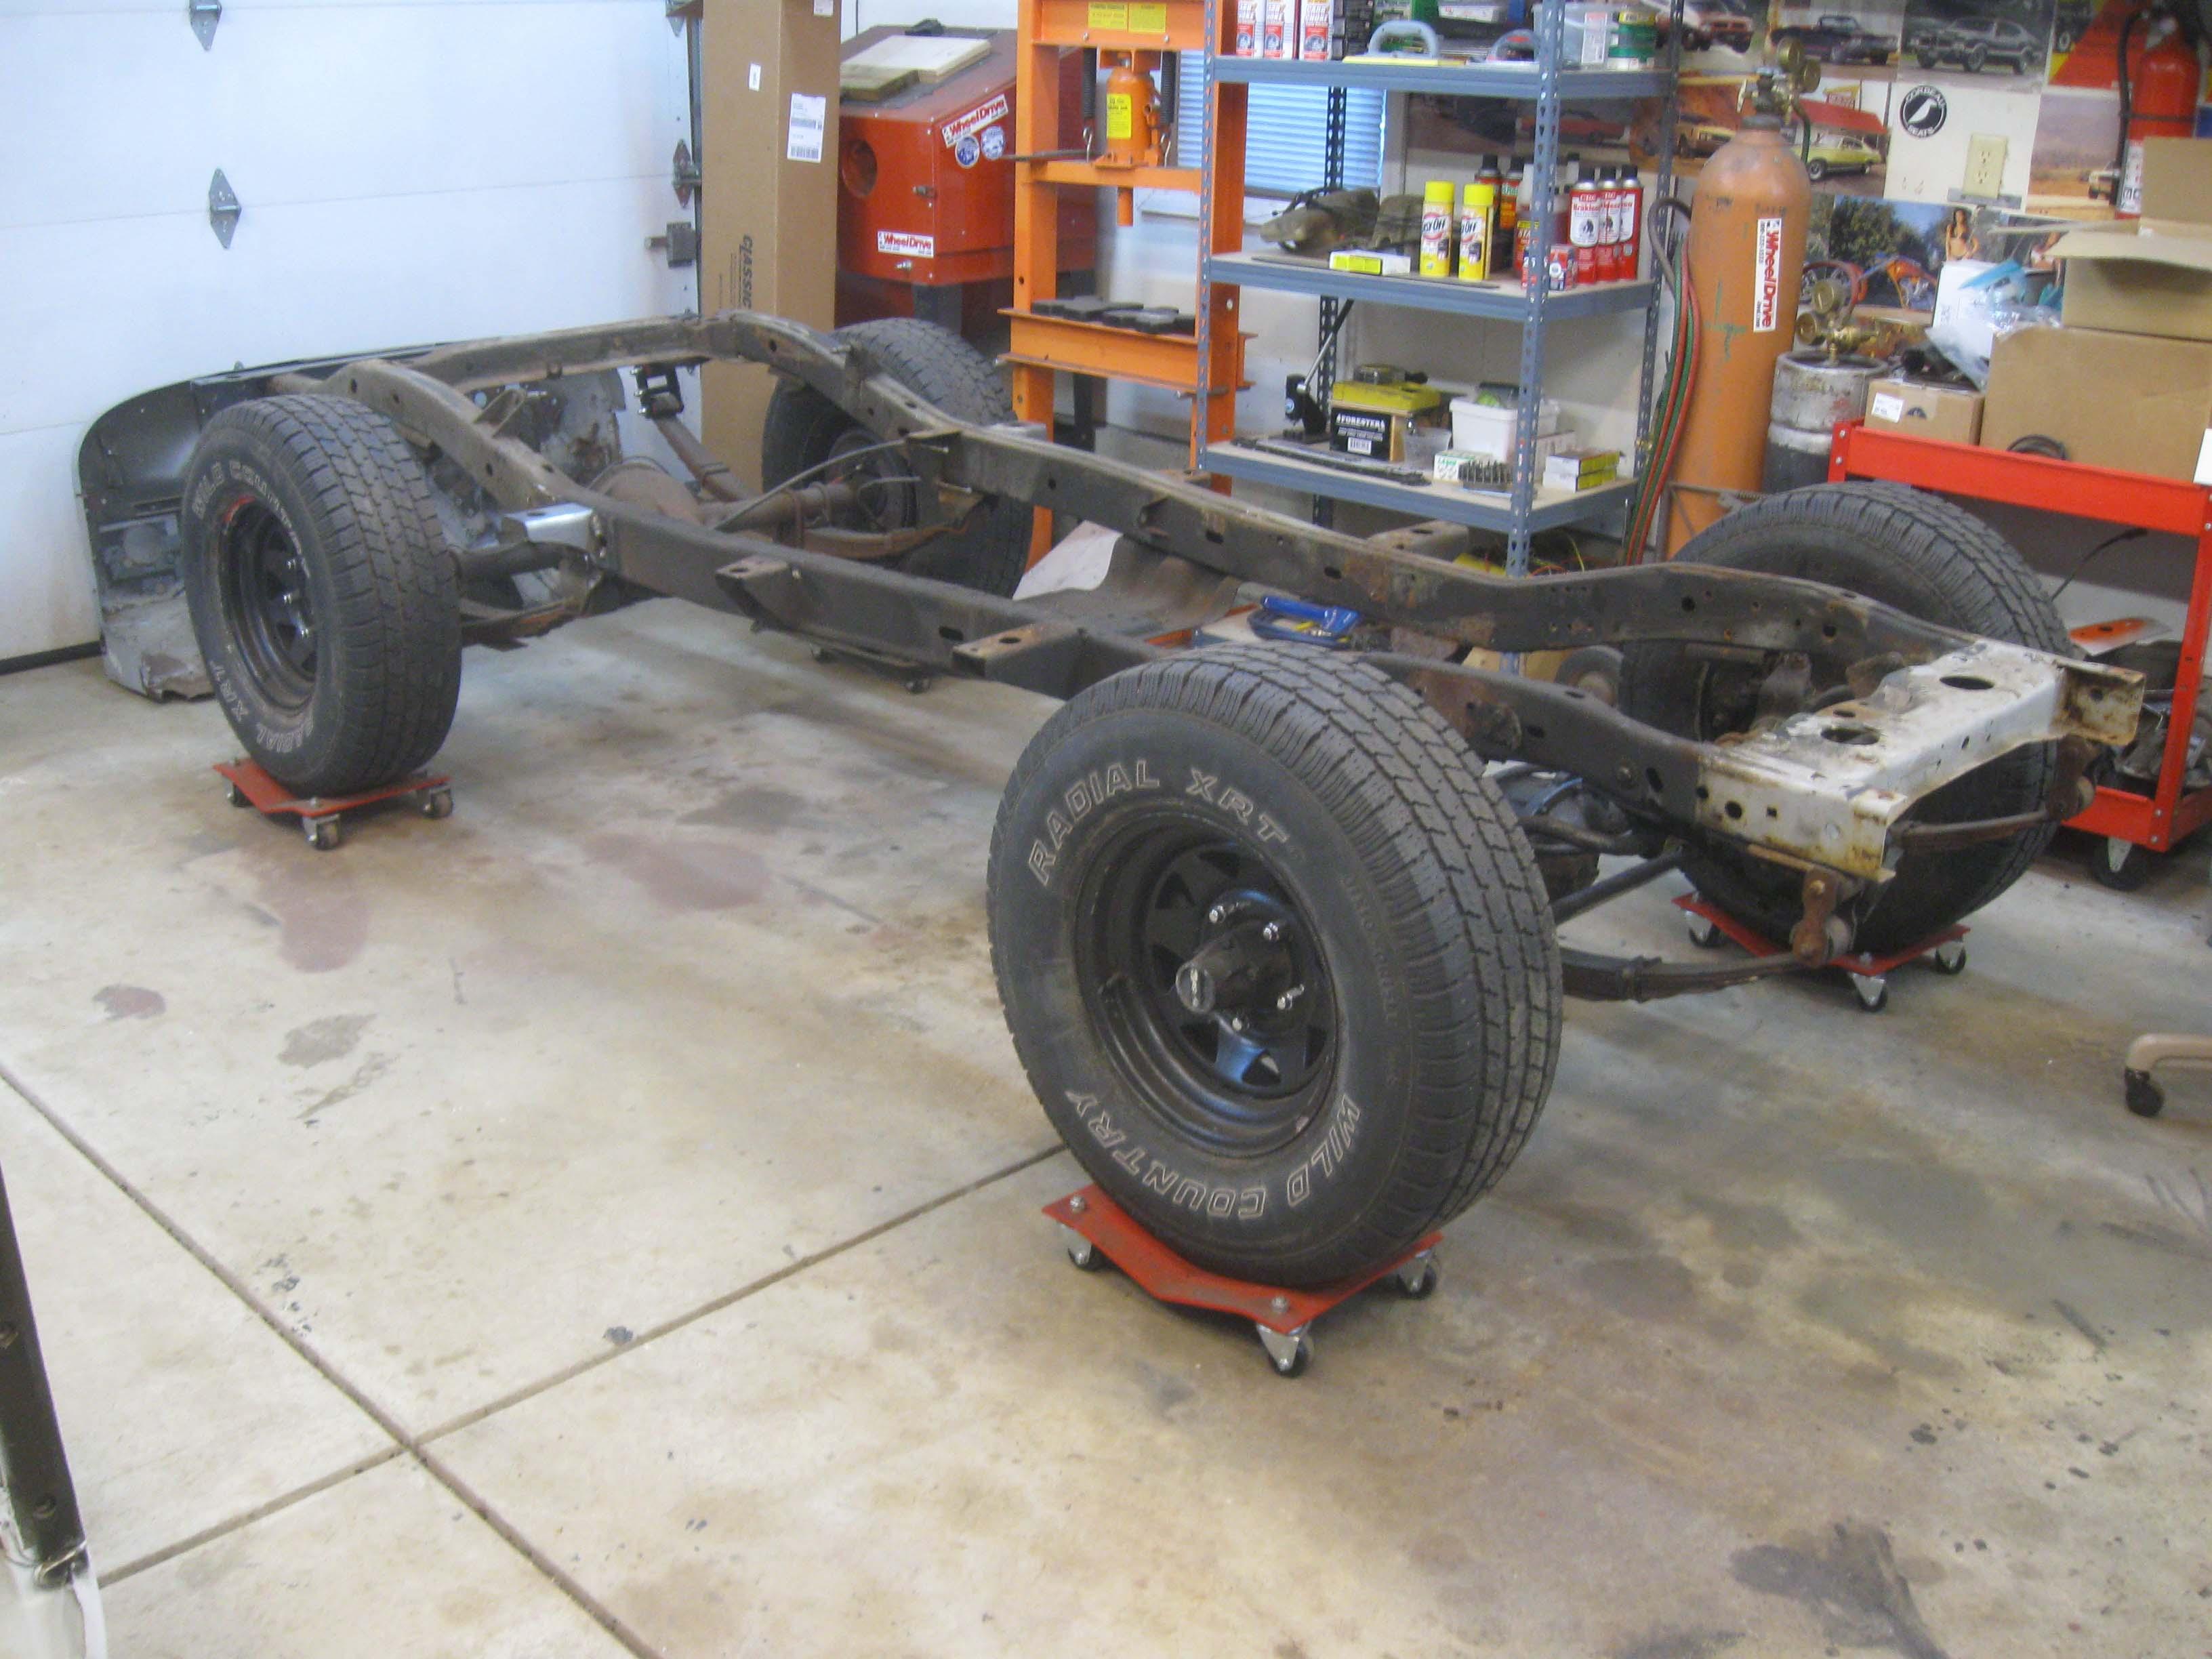
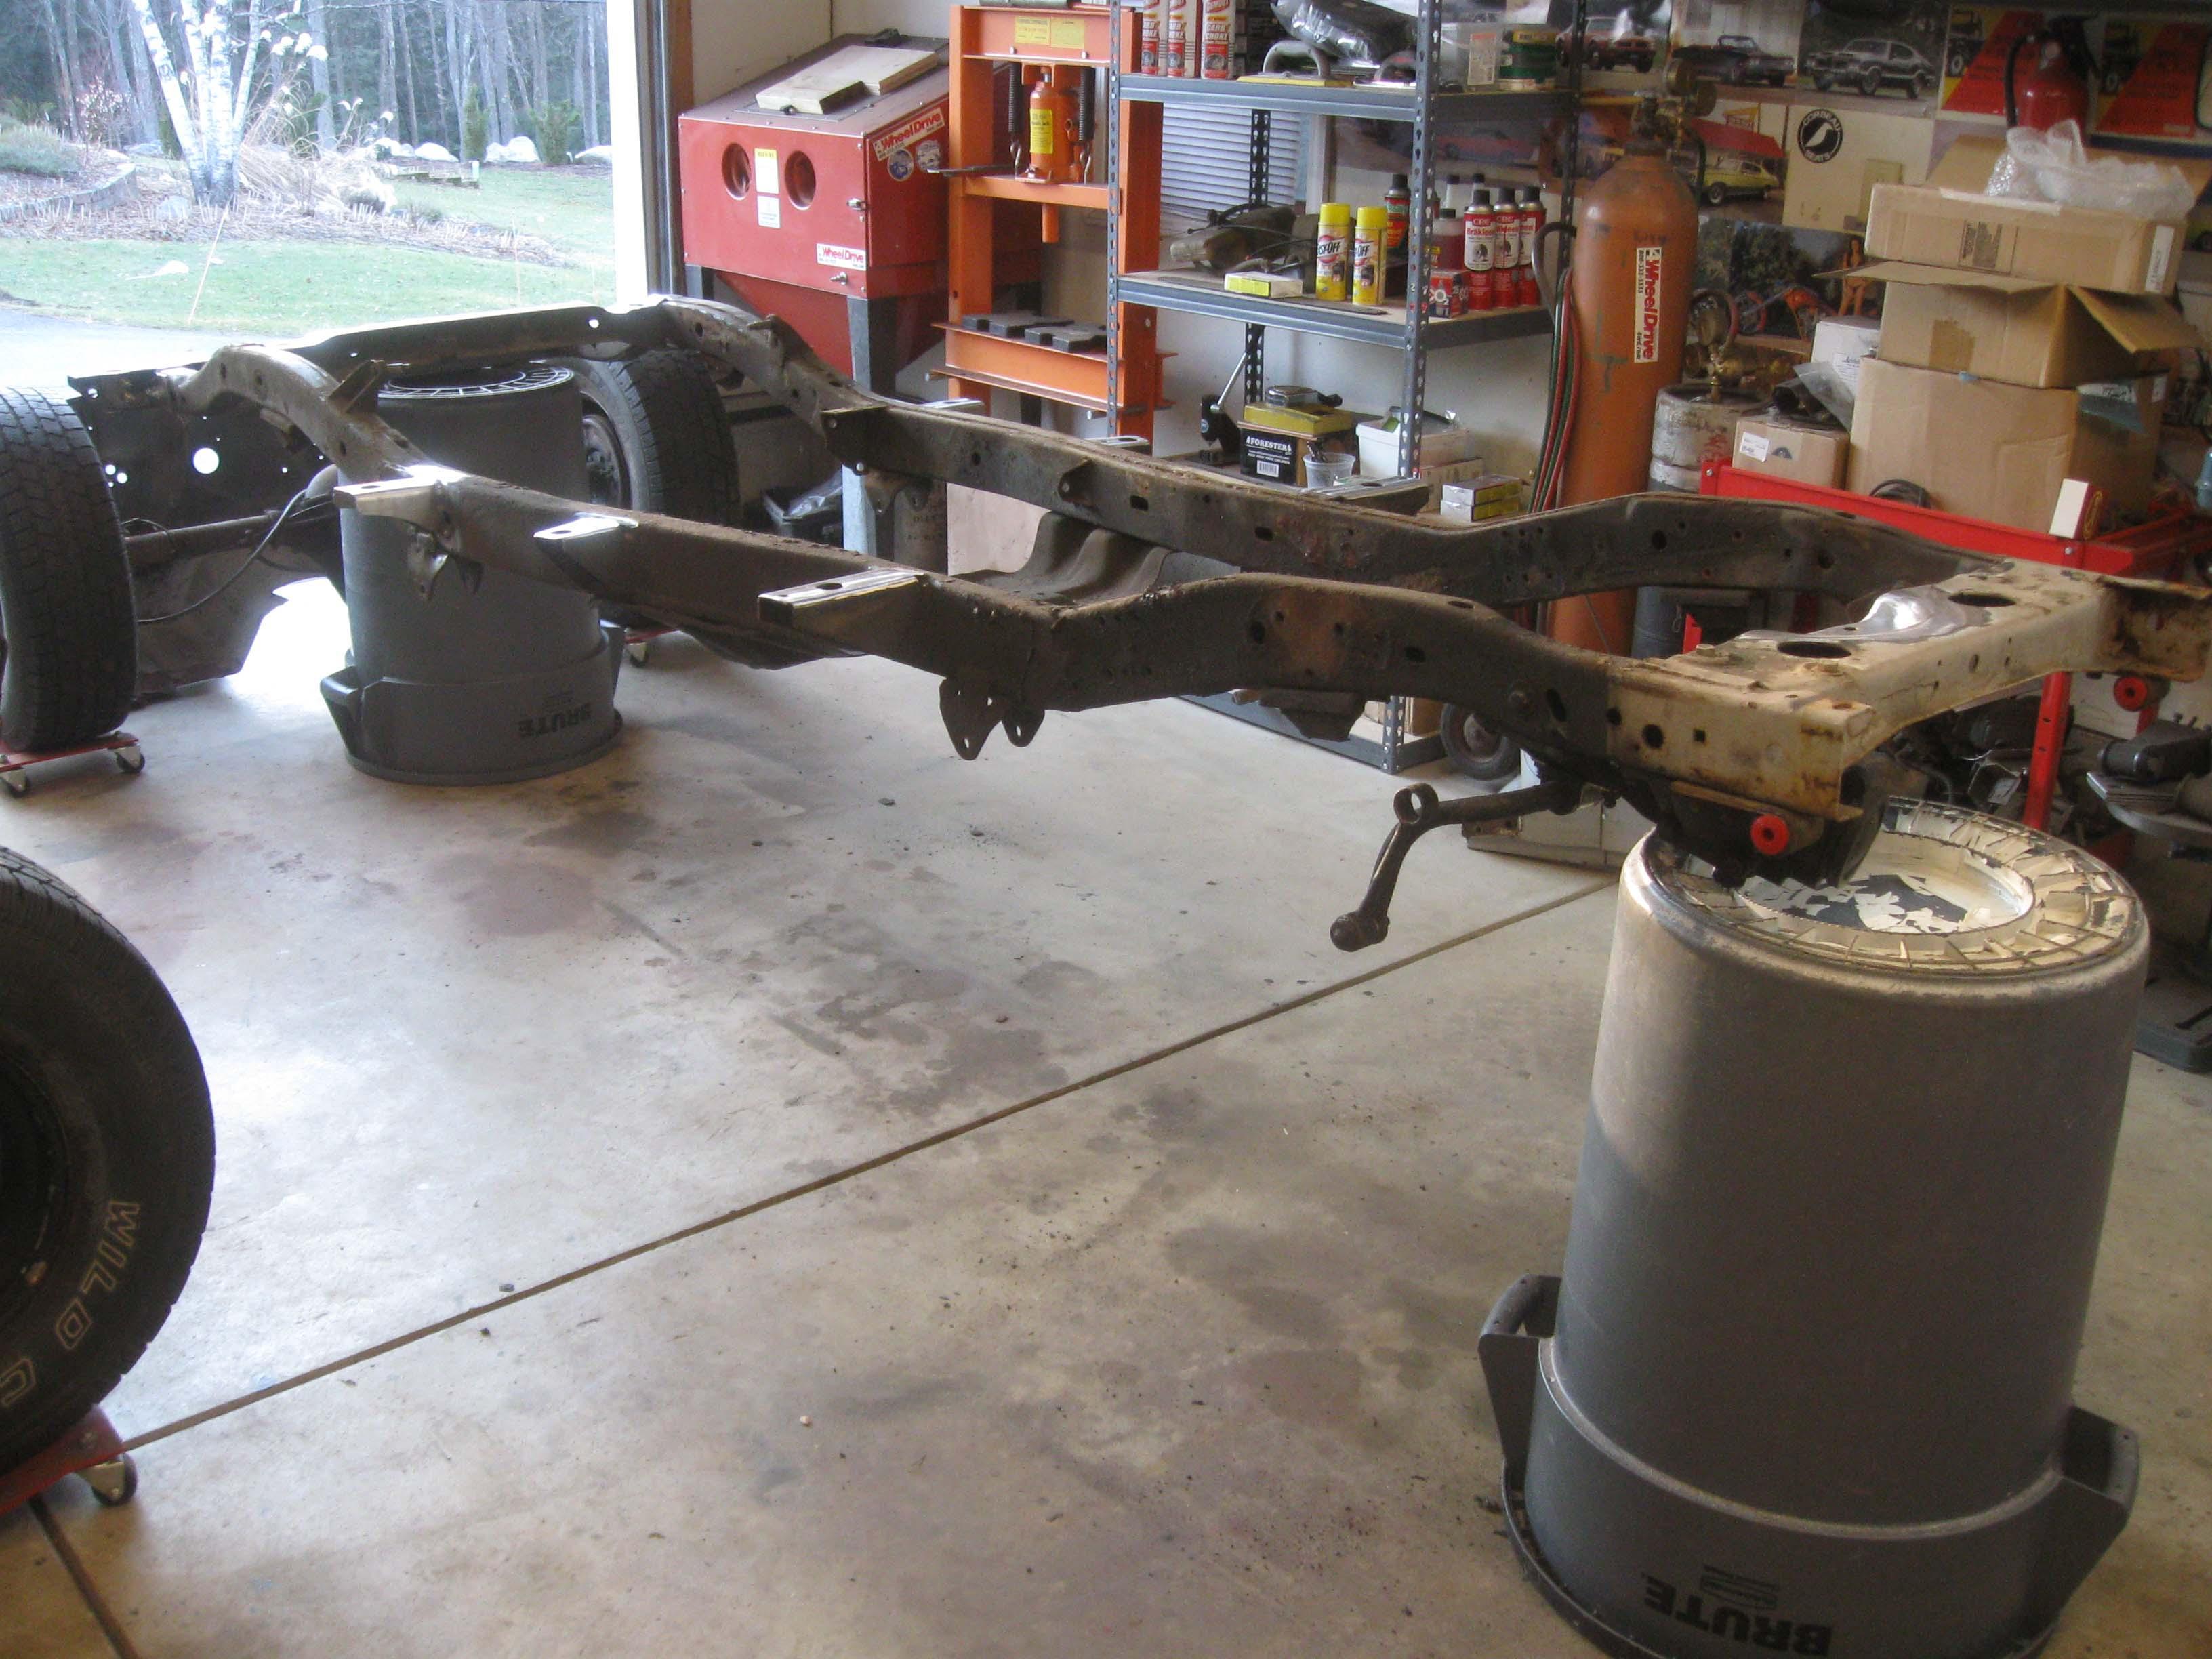
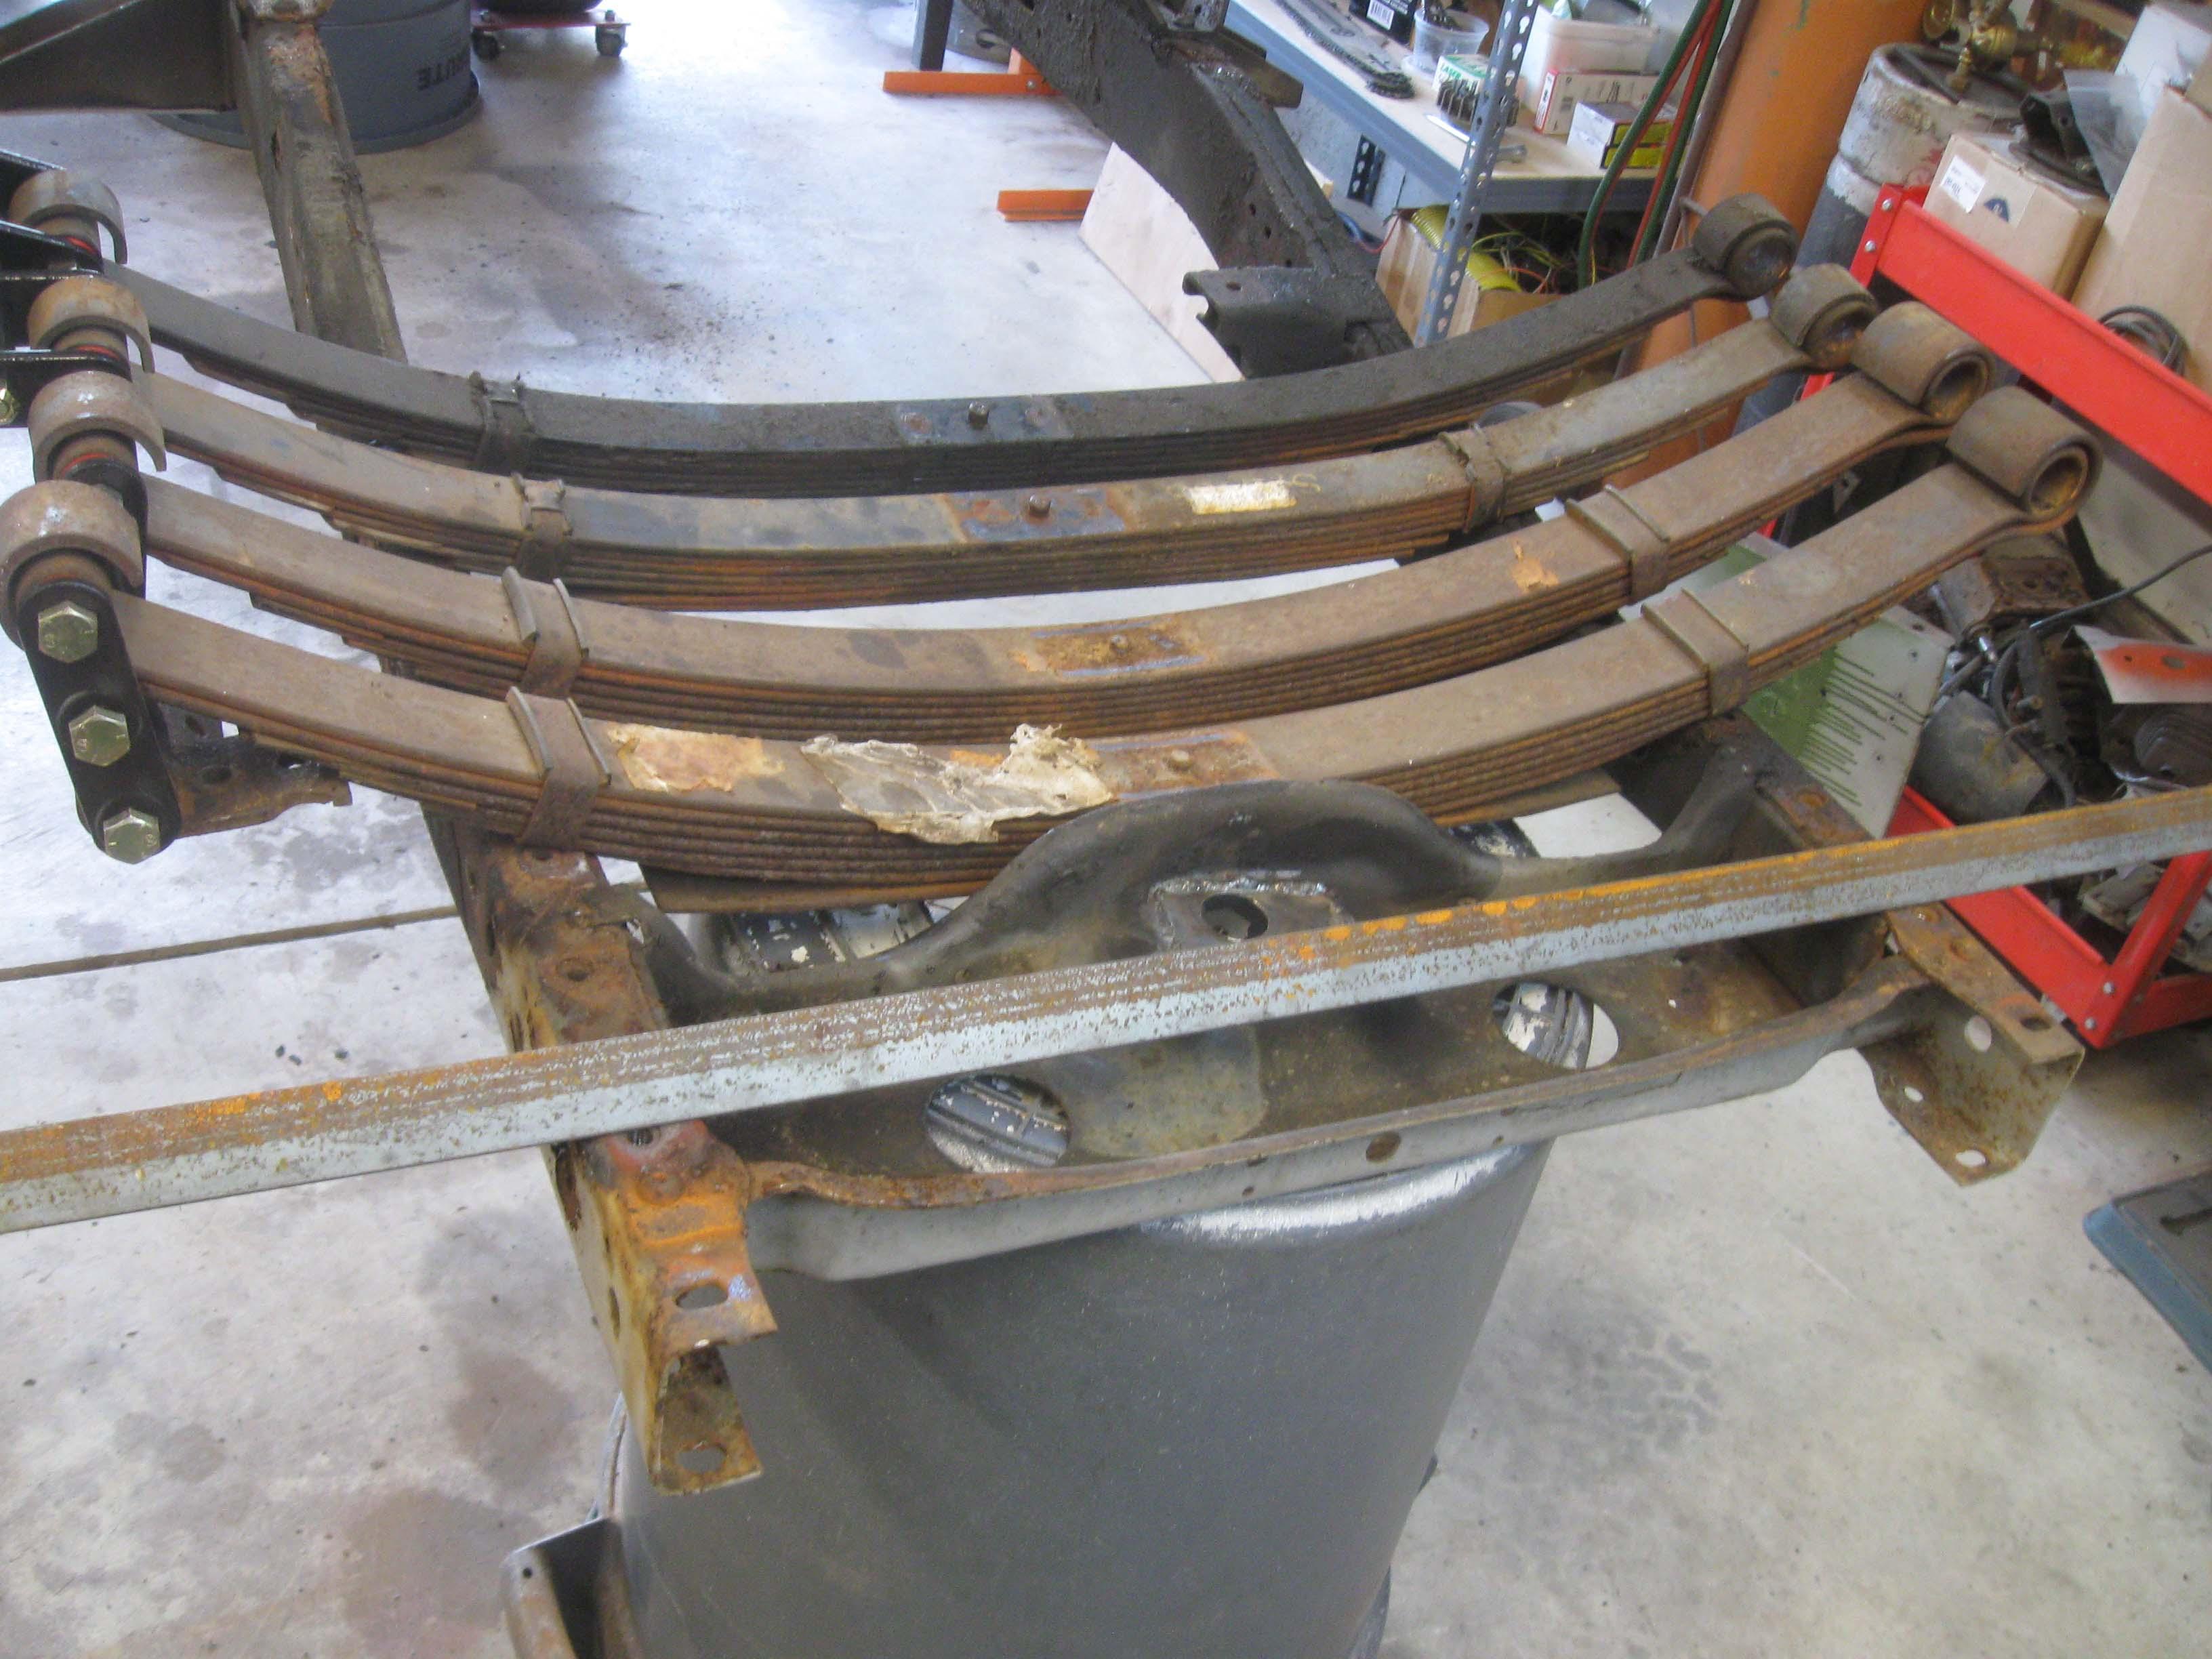
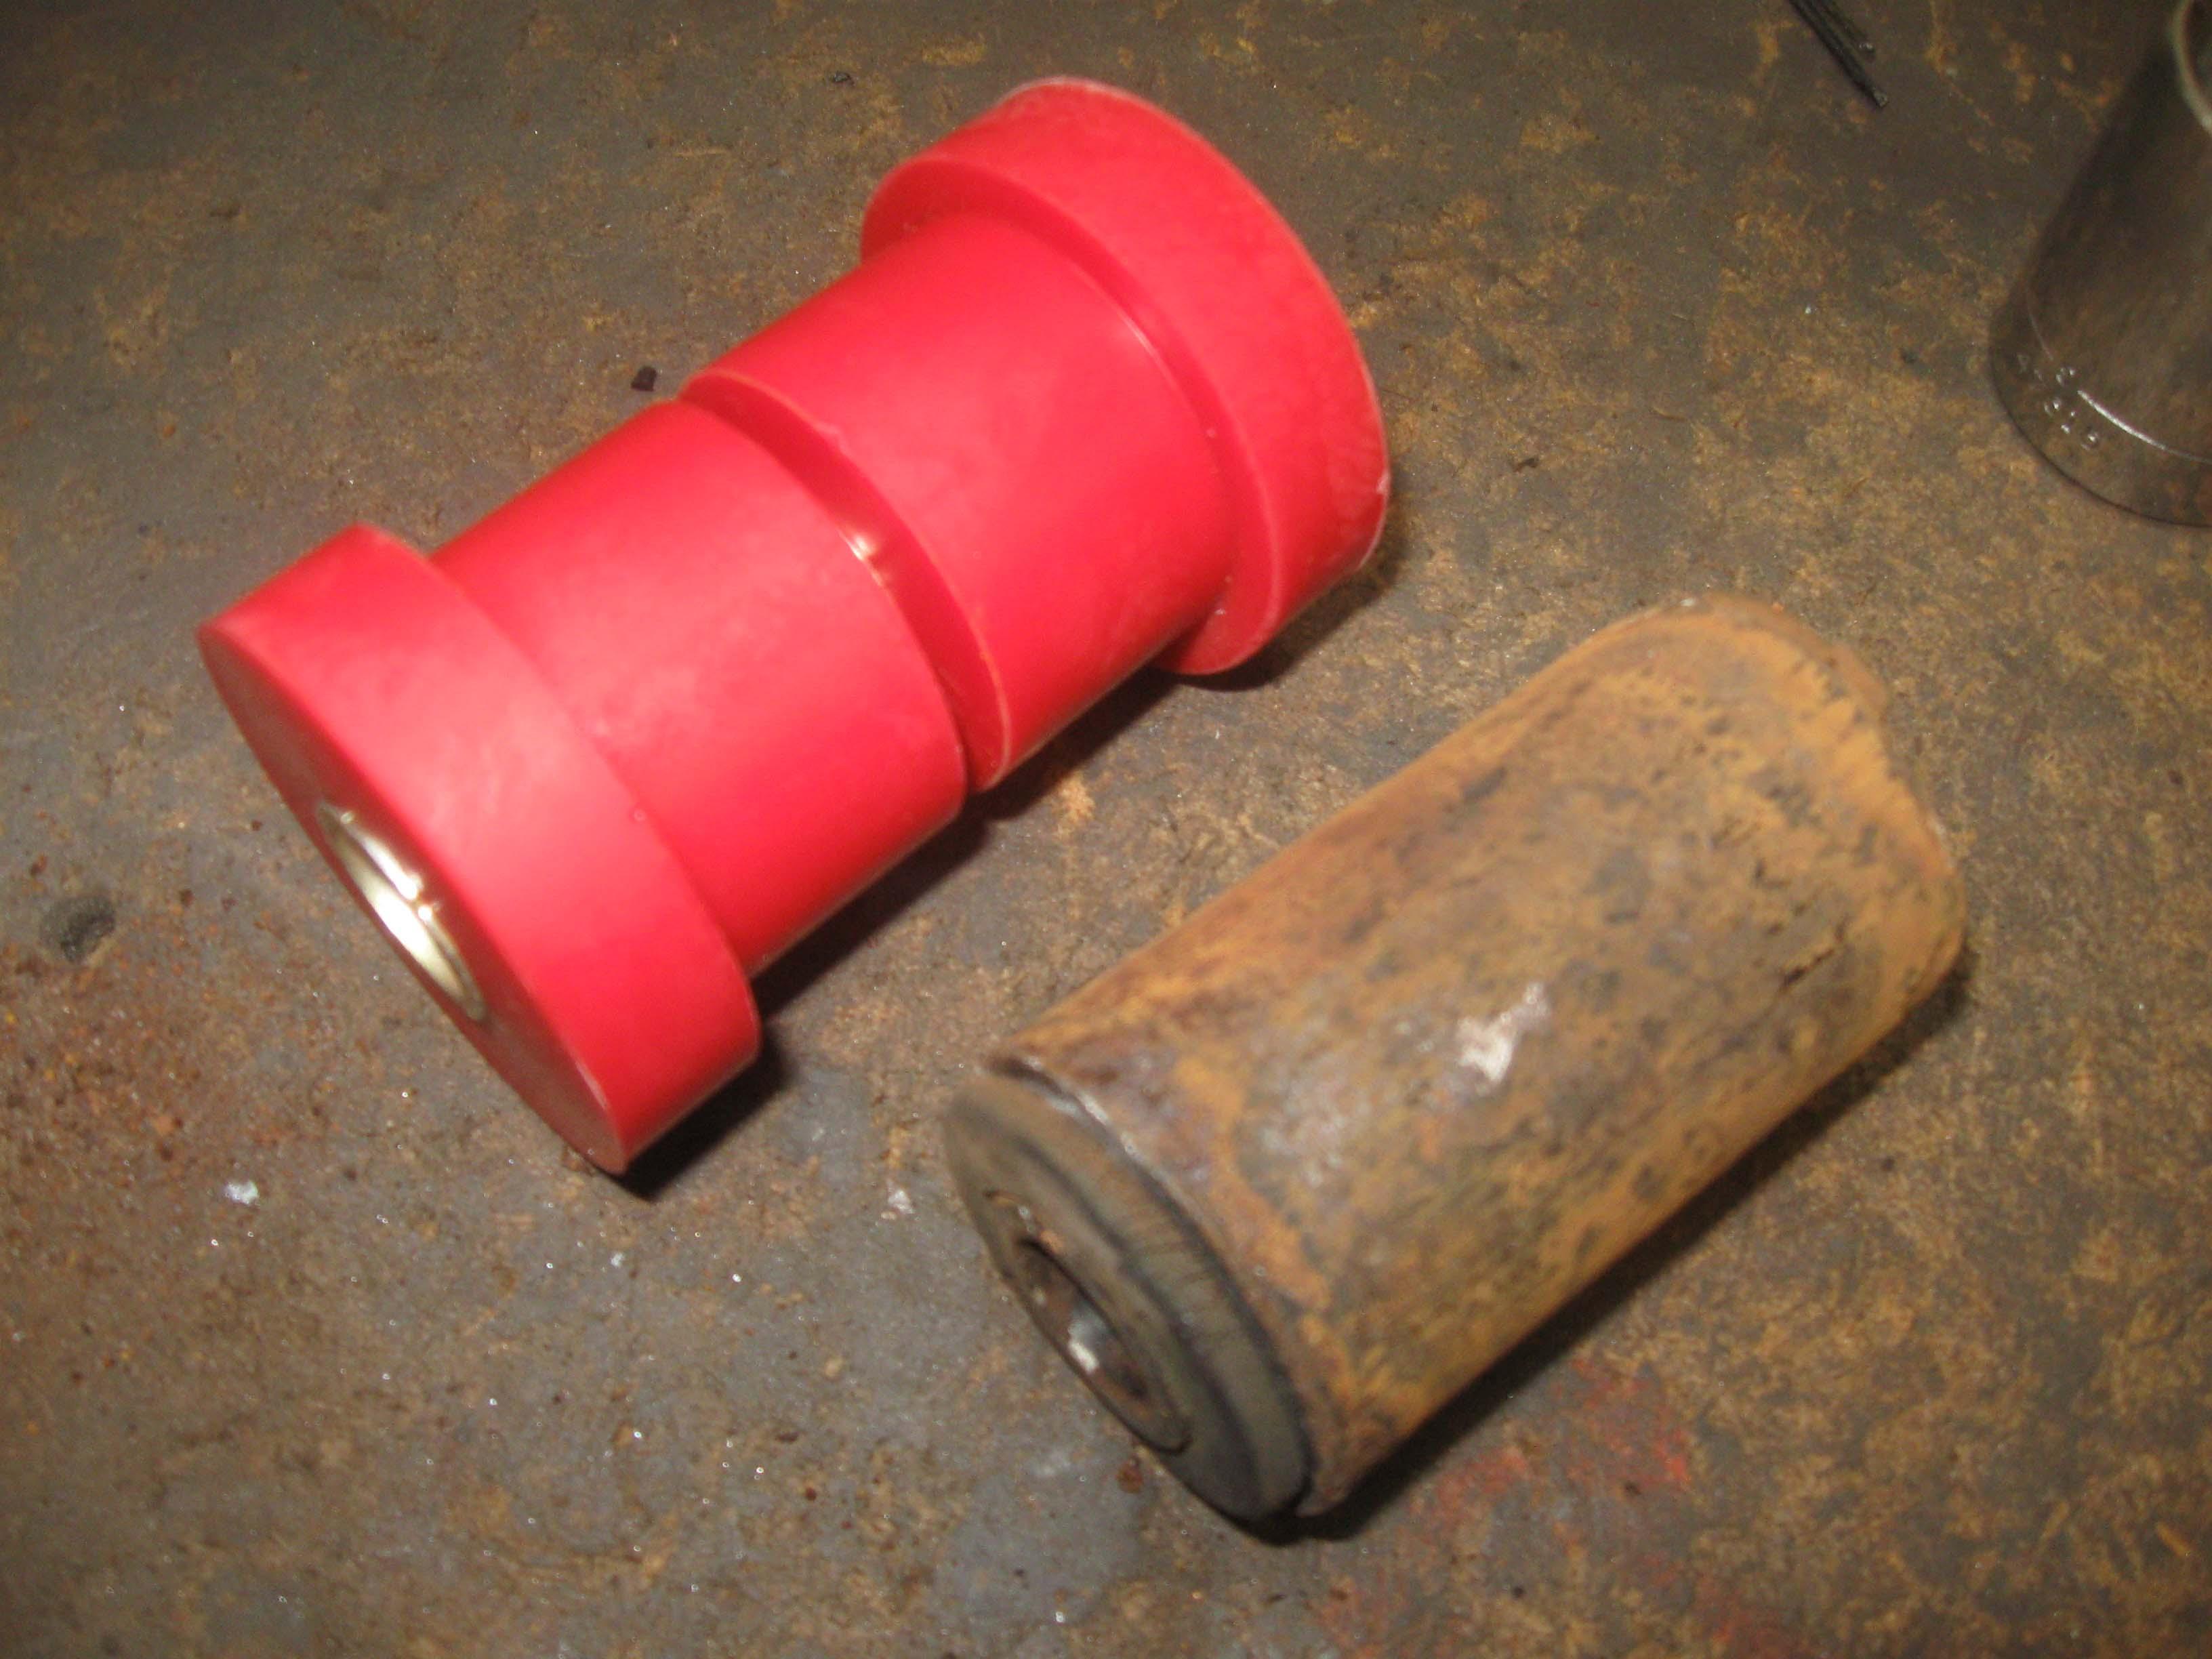
I got the axle assemblies off, removed the leaf springs, pushed out the main spring eye bushings (which were a major PITA!) and I flipped the frame.
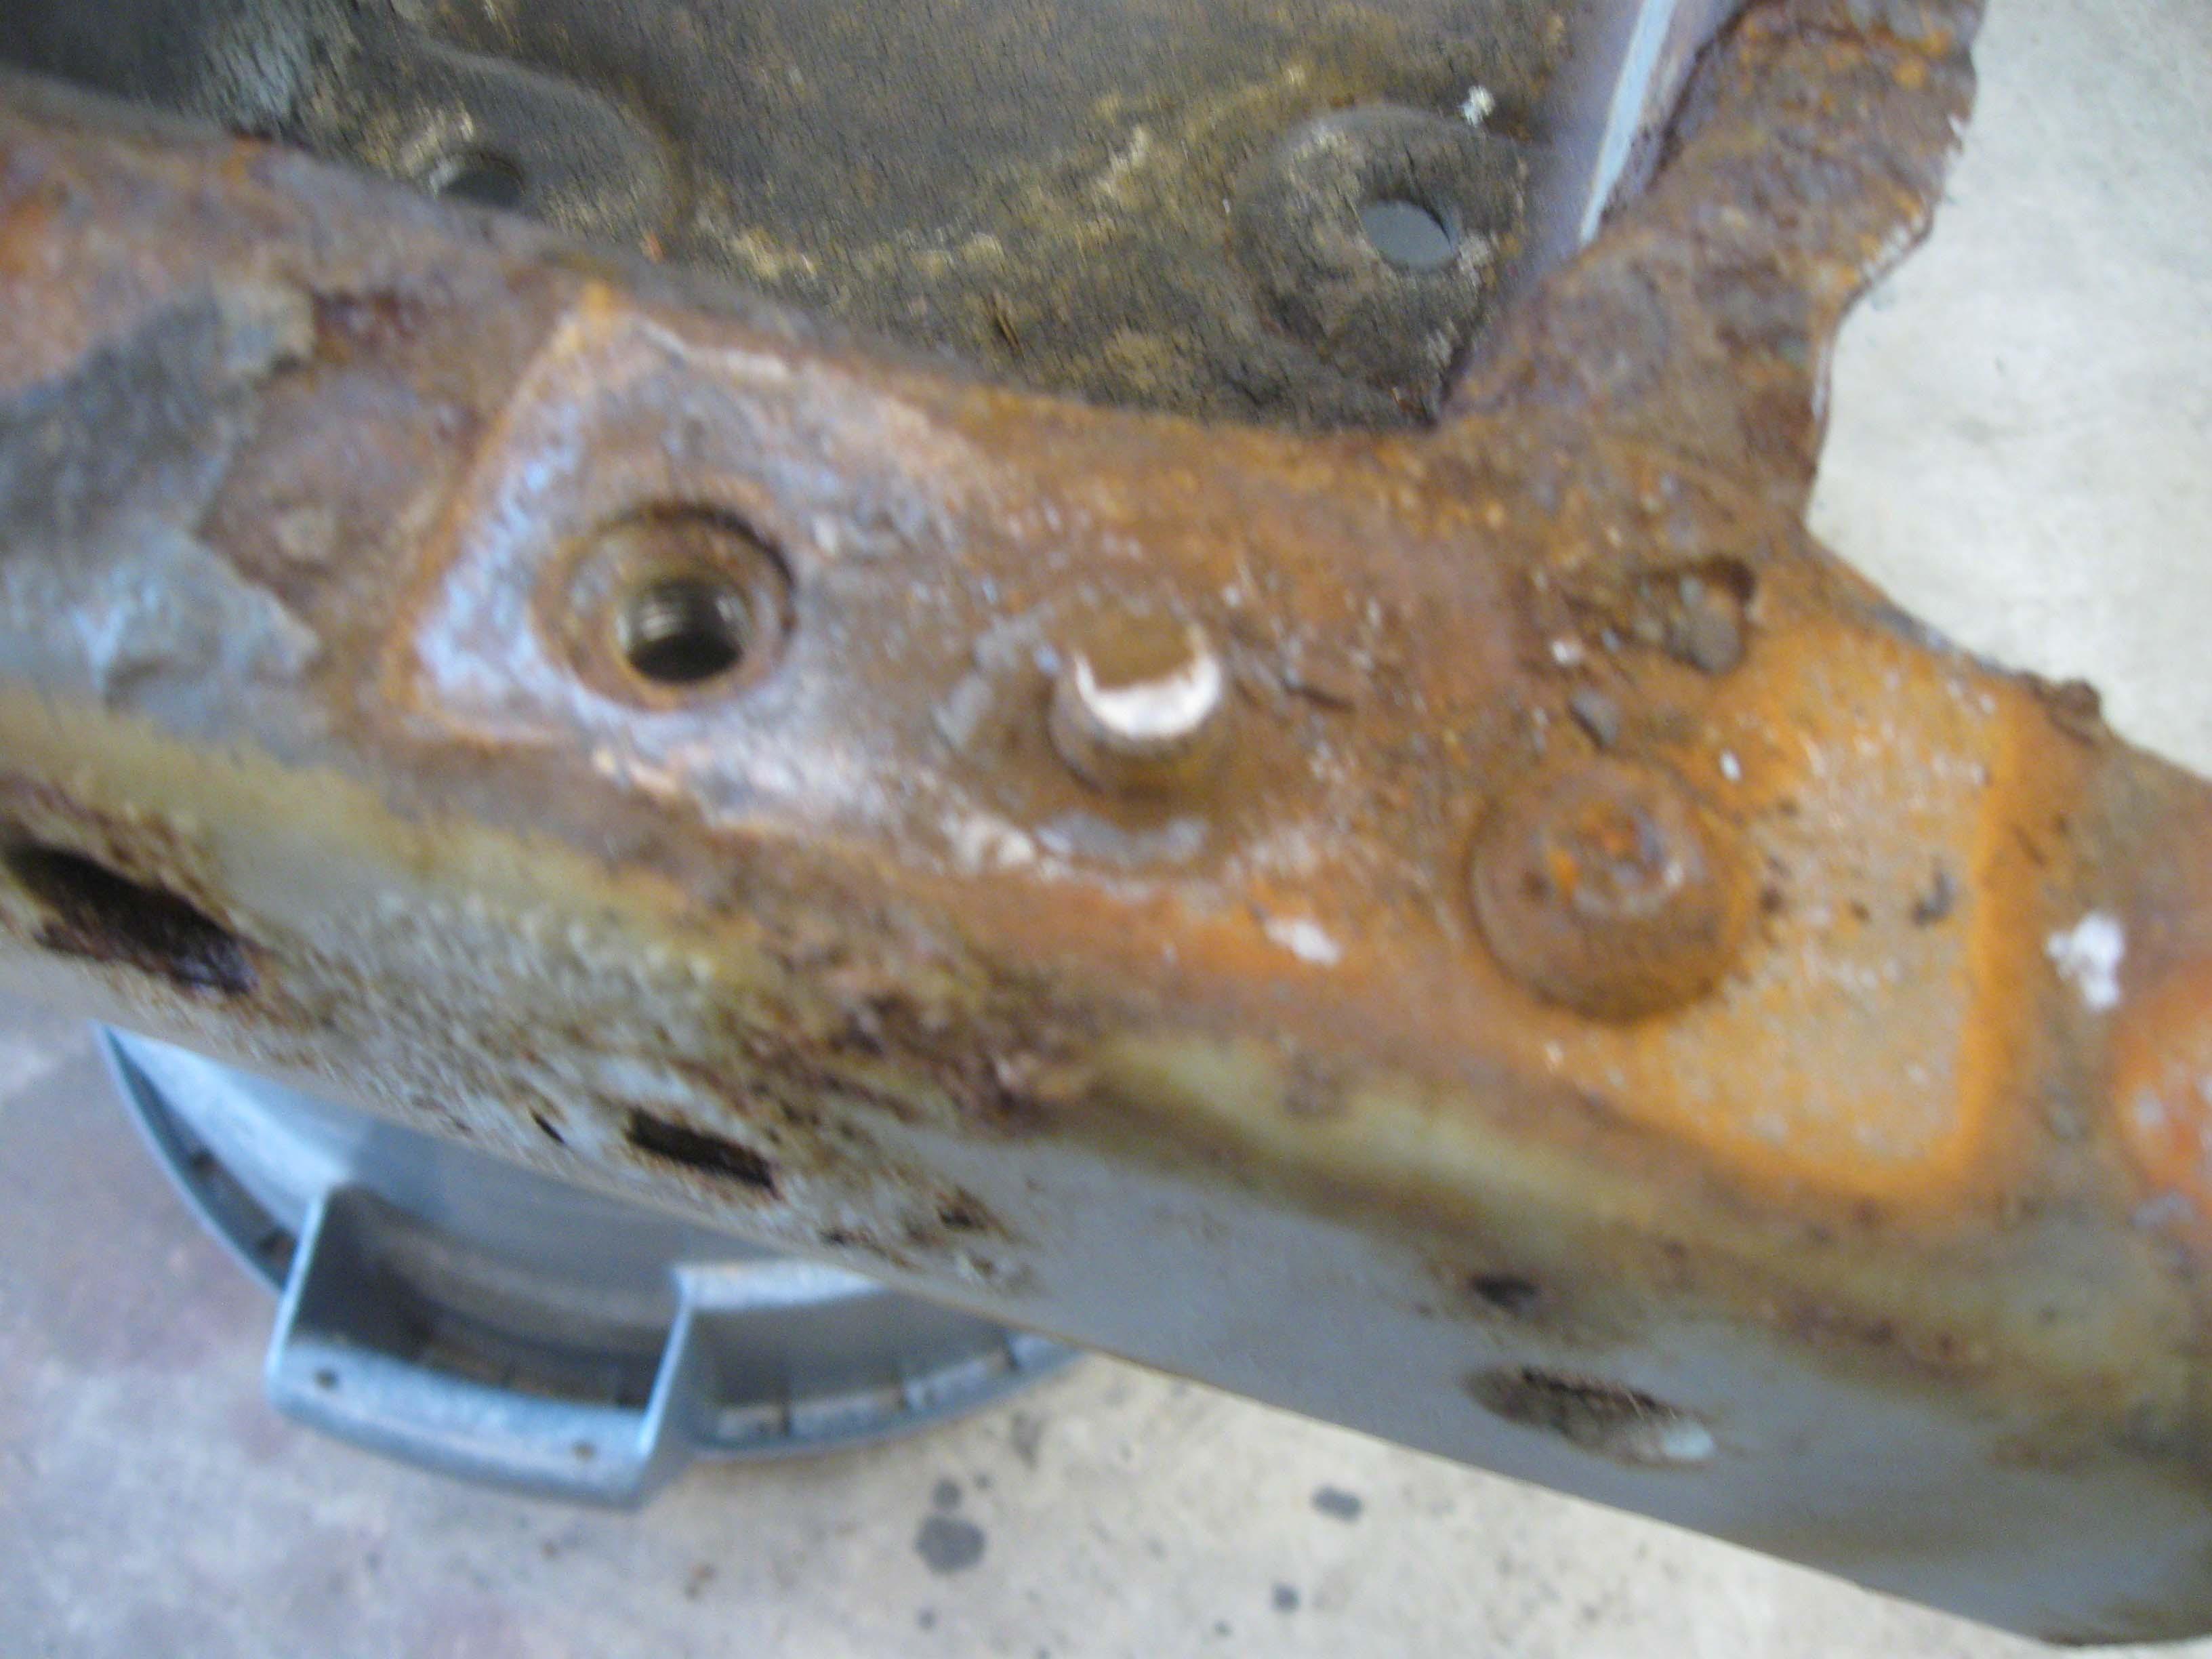
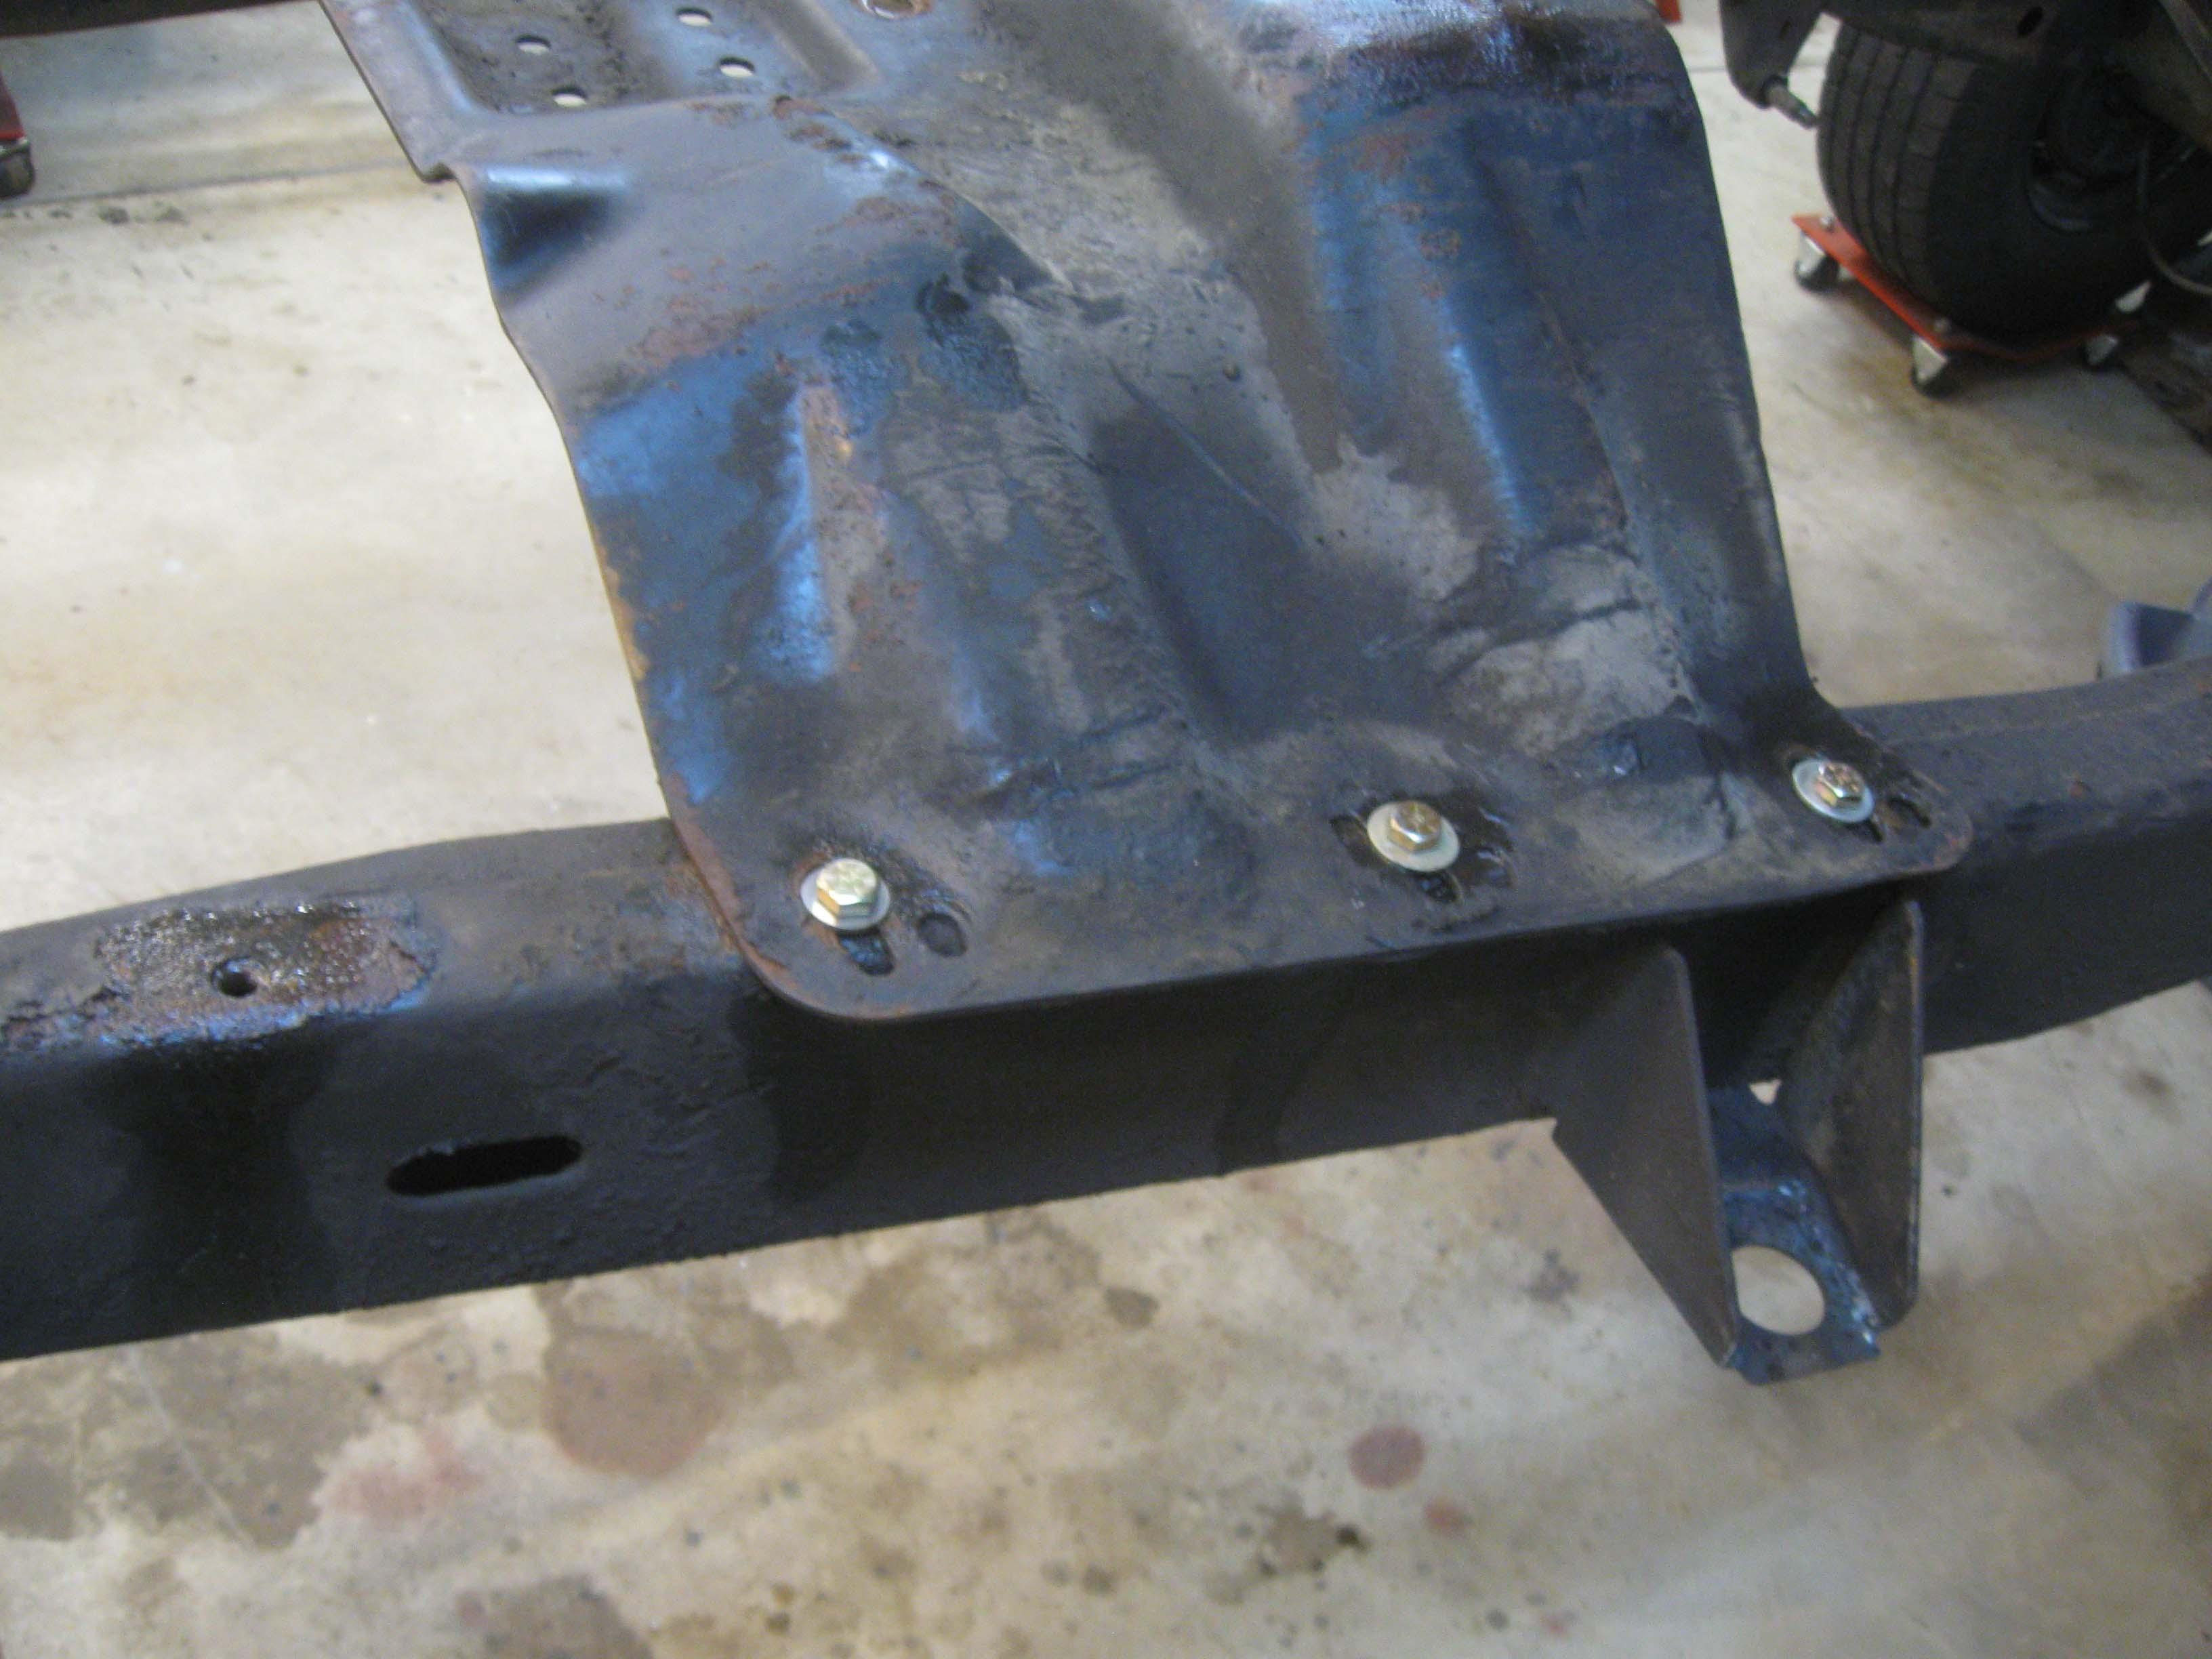
I dealt with 8 broken off bolts in the frame, one in the body, addressed the transfer case/transmission pan and got it to have 6 bolts instead of 2.5-ish and then started to cut out the cancer to repair the frame.

It was a ton of work to do, but looks like I have done very little. You have to love New England Jeeps (well, overseas as well I guess has the same rust and thing metal issues)

axles are off:
IMG_7135-1.jpg


Broken bolts
IMG_7141-1.jpg


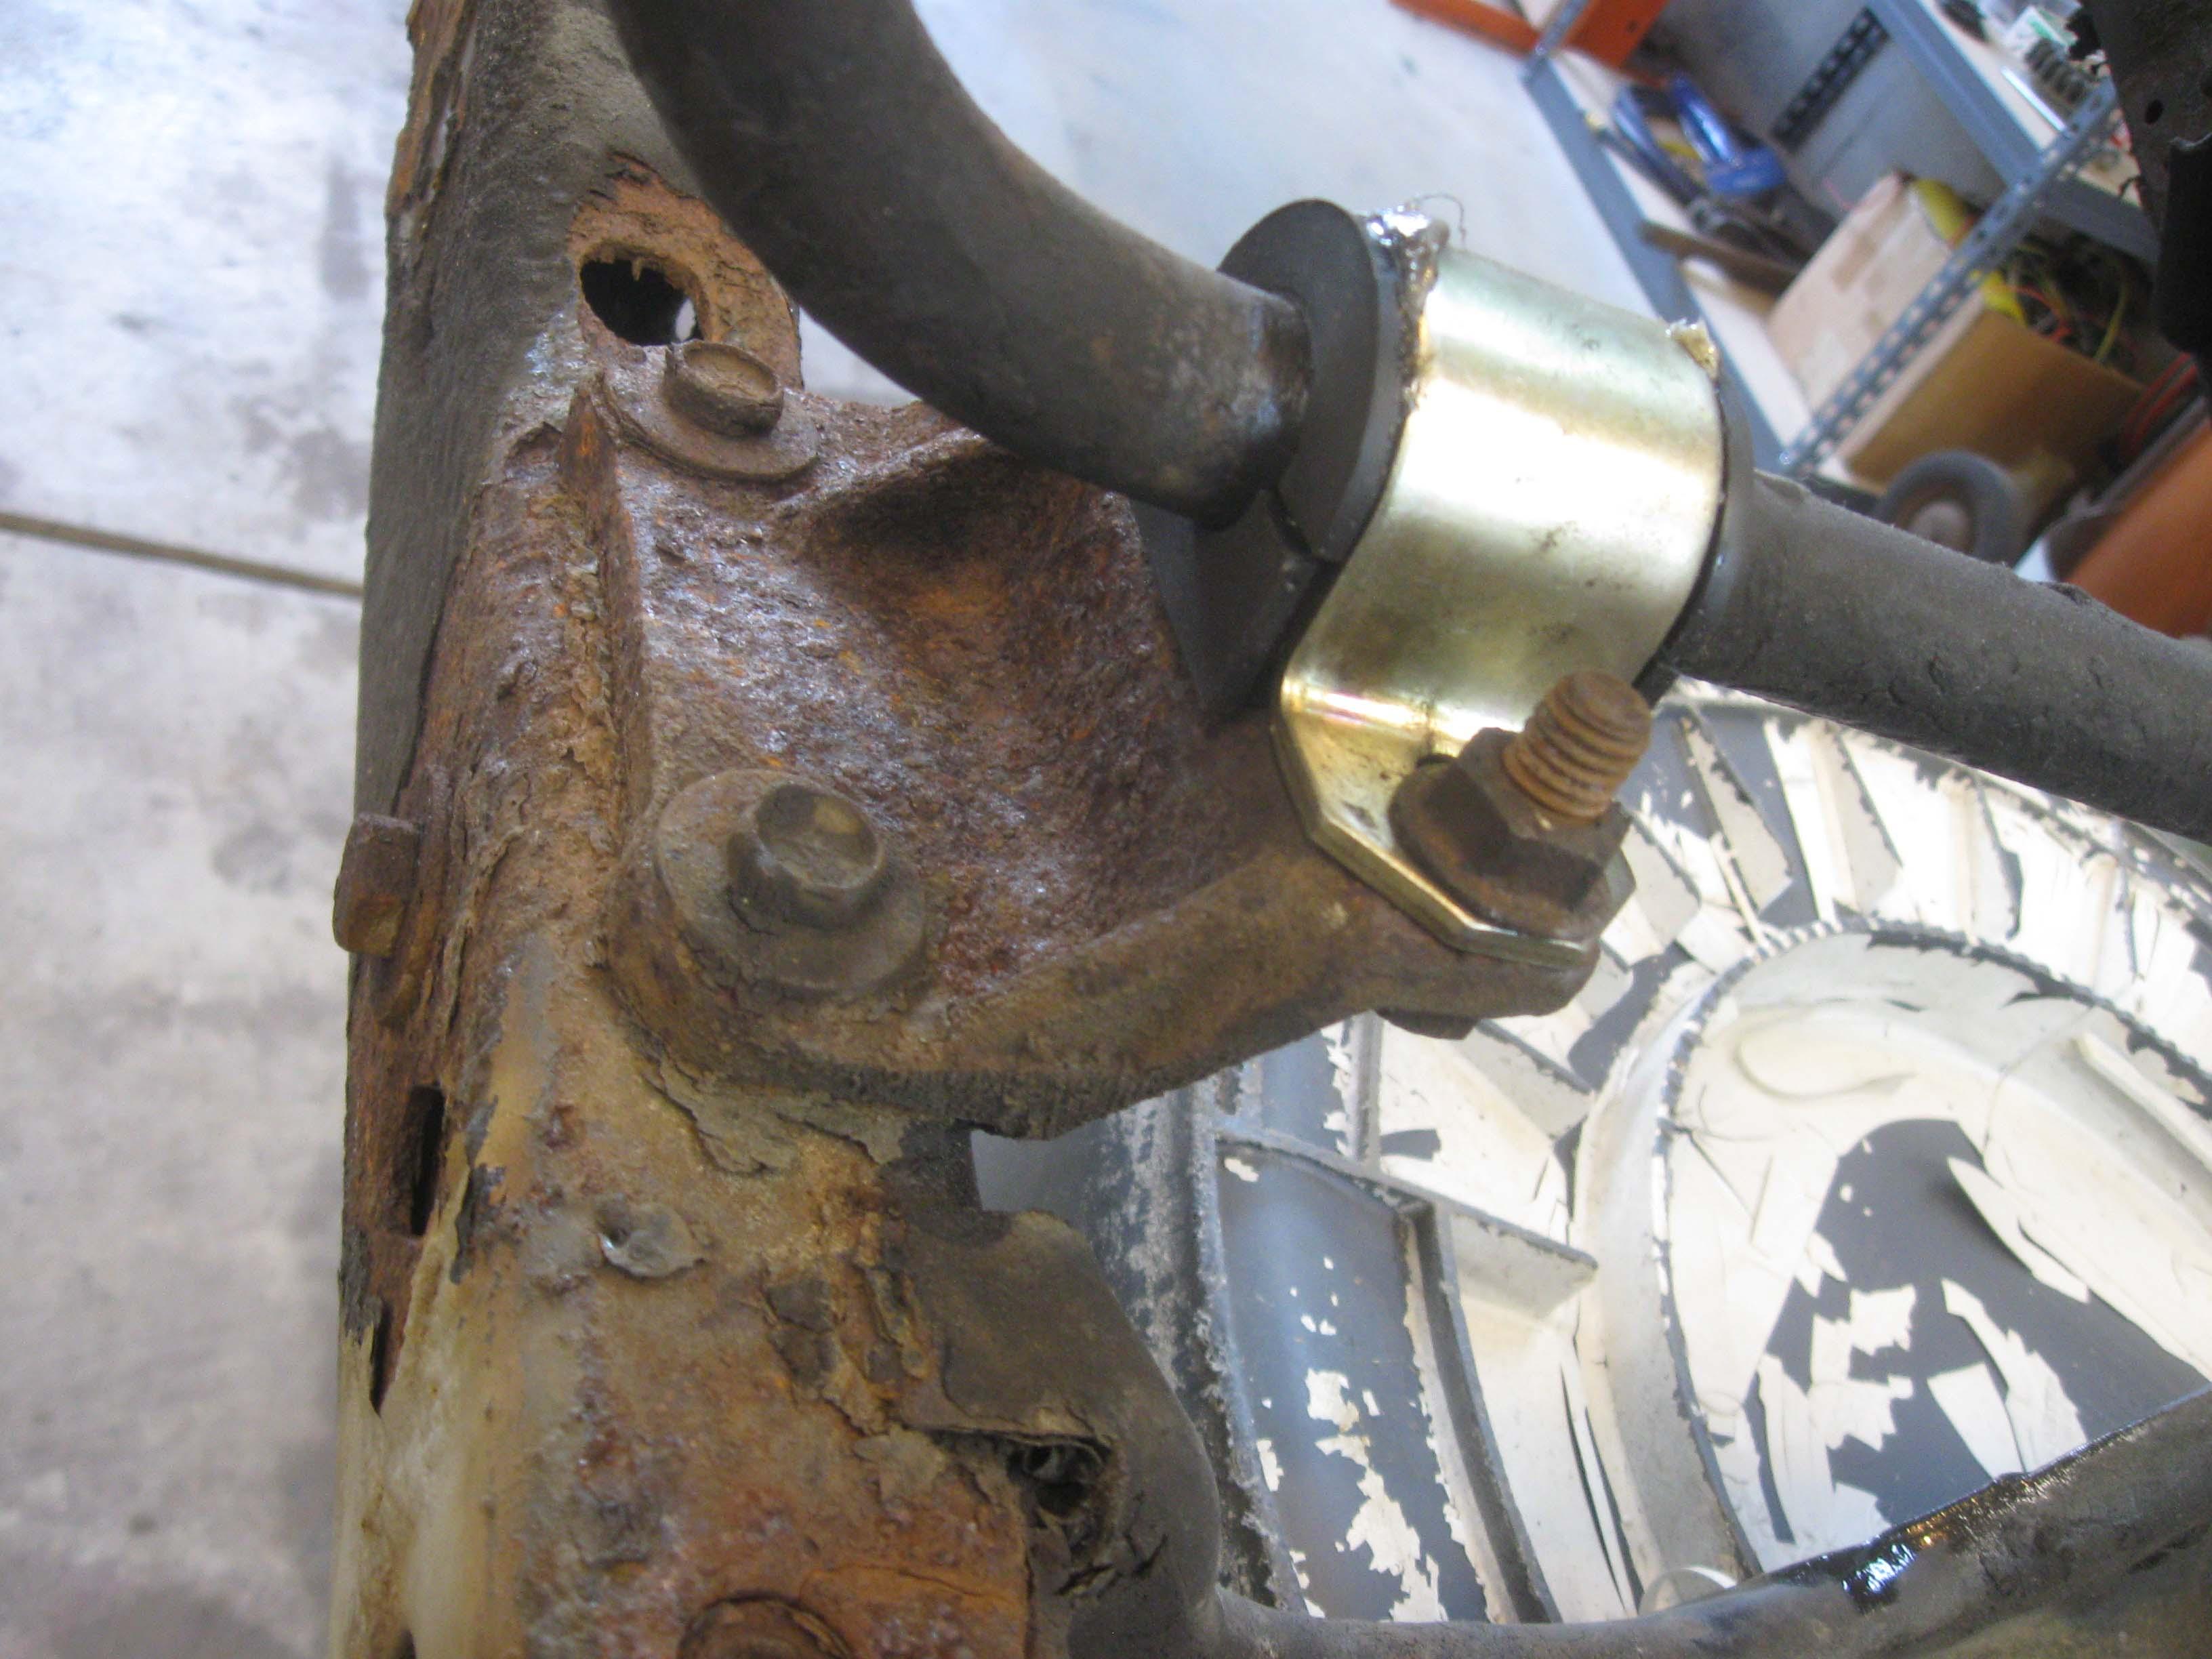
Trying to get the sway bar mount off
IMG_7142-1.jpg


End of a very long day, but making progress
IMG_7154-1.jpg


All 4 spring eye bushing are out
IMG_7159-1.jpg


Comparison of the 2
IMG_7147-1.jpg


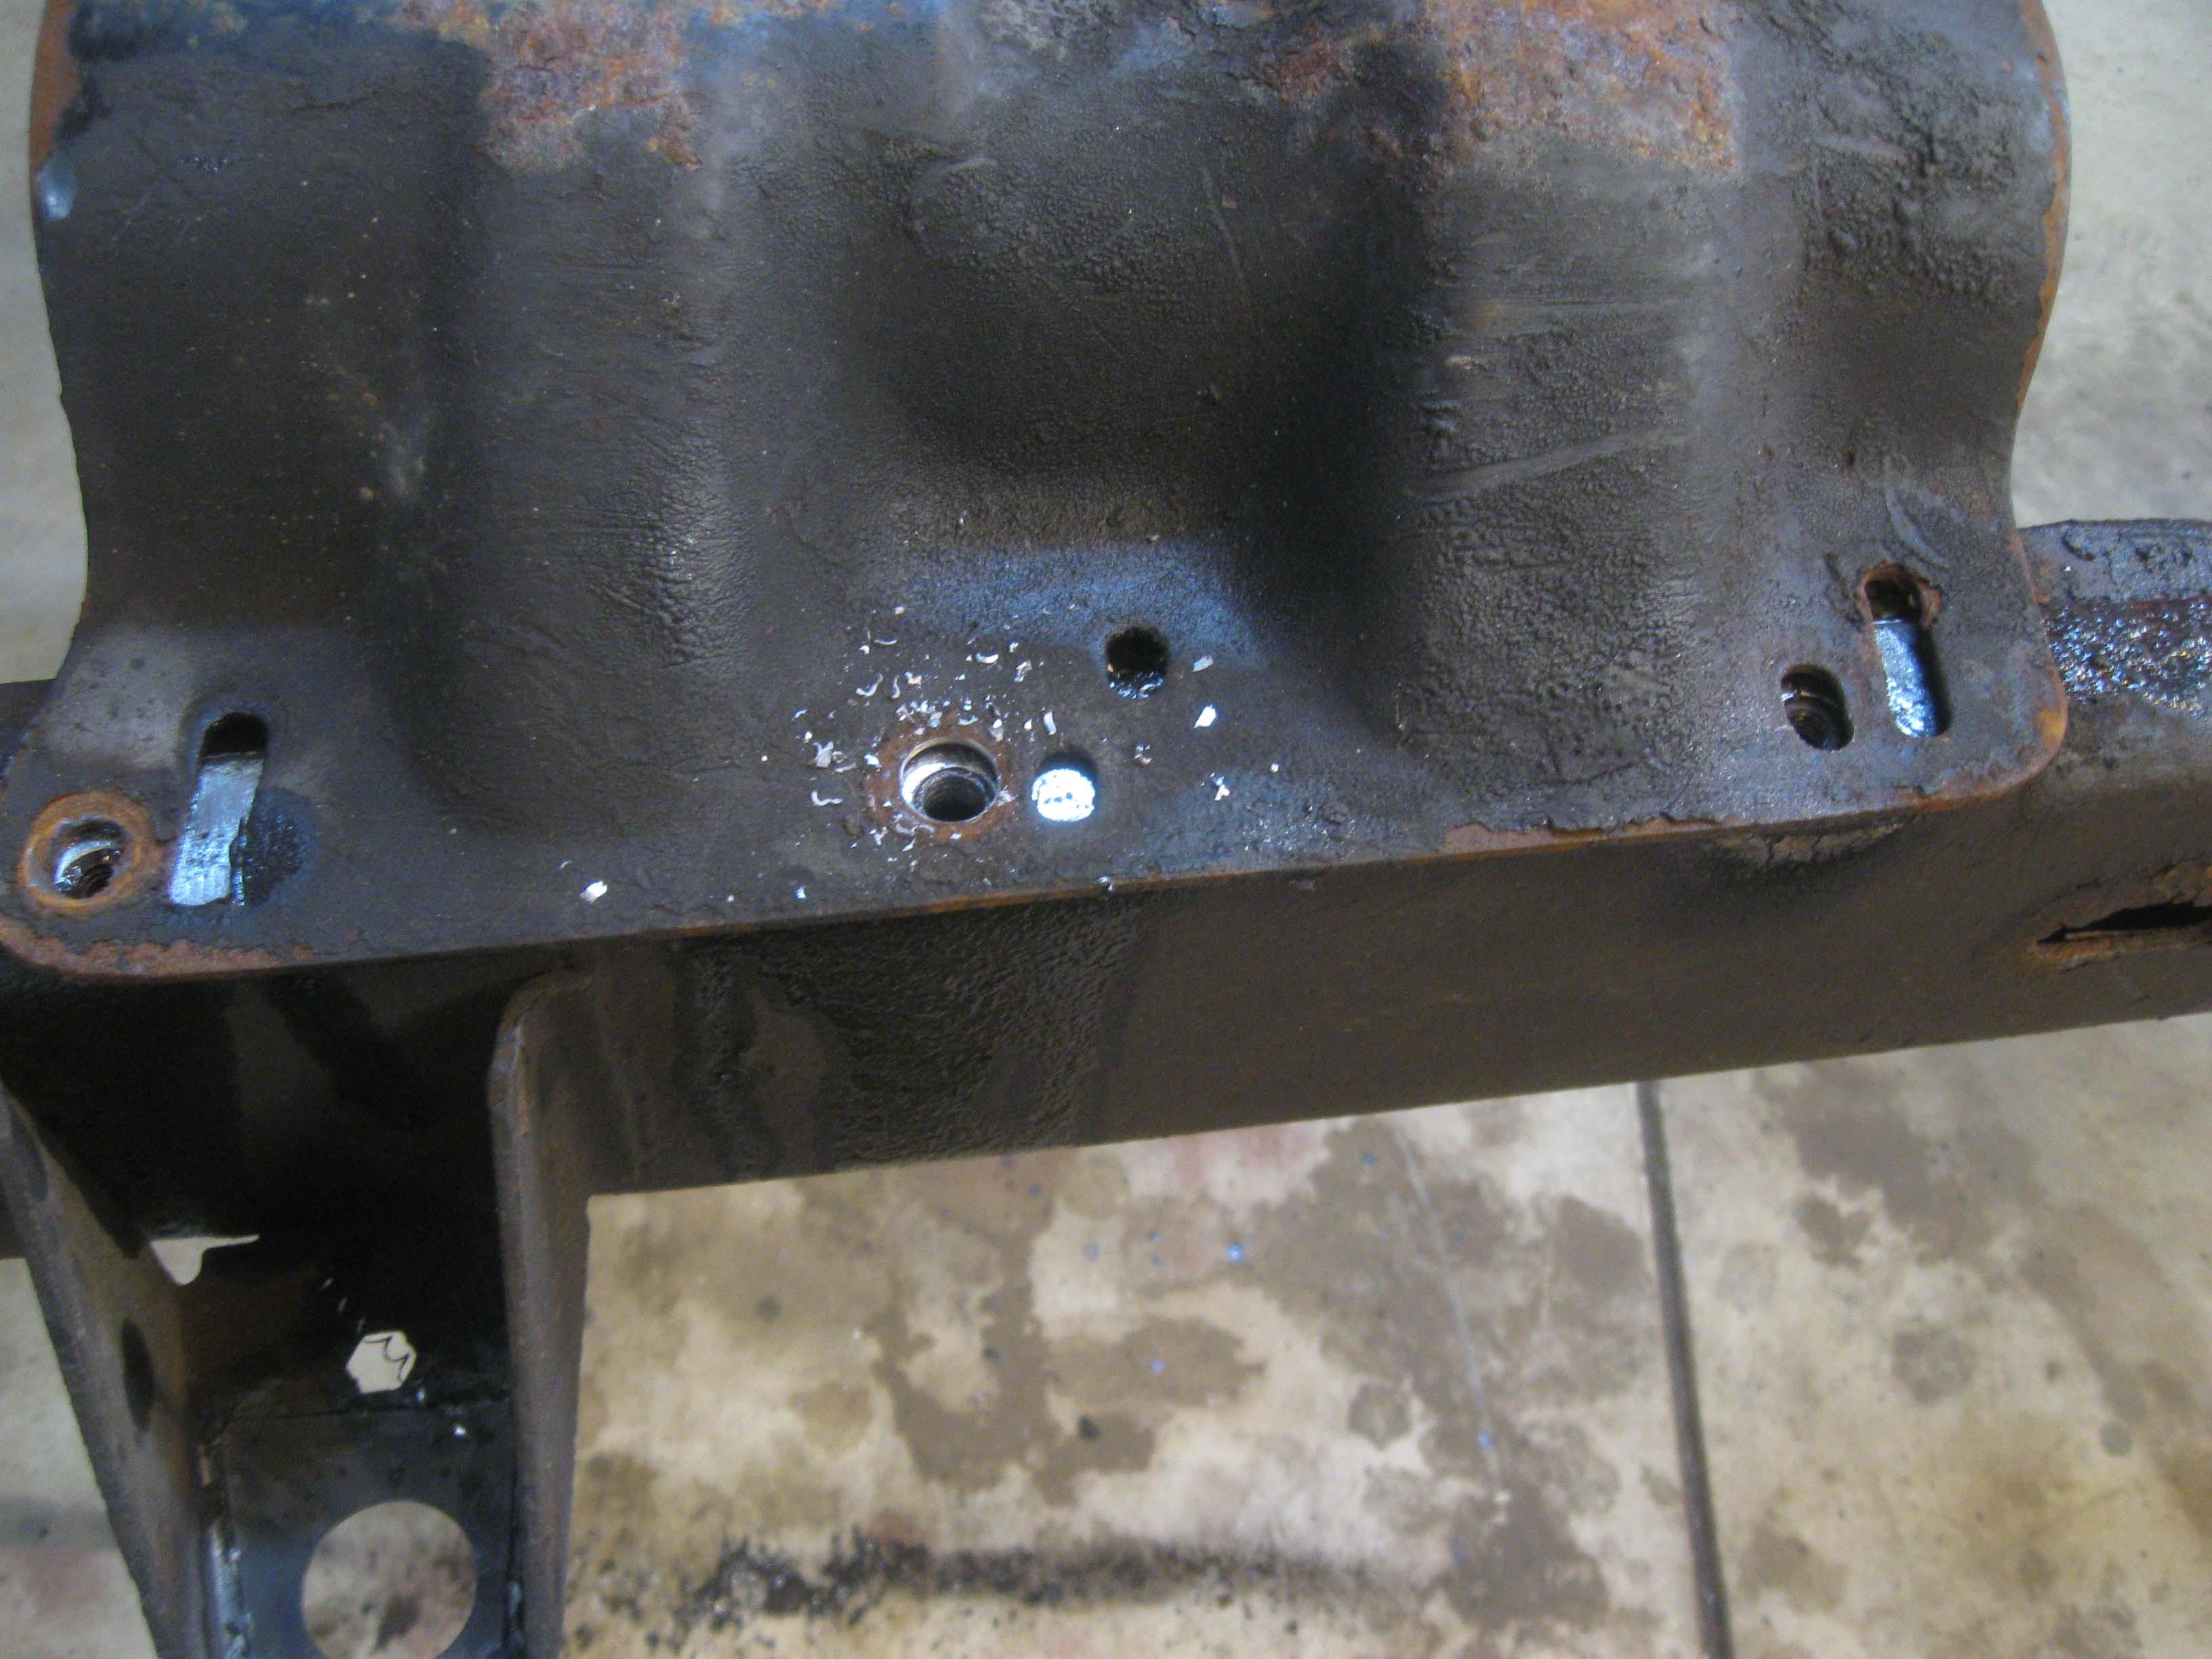
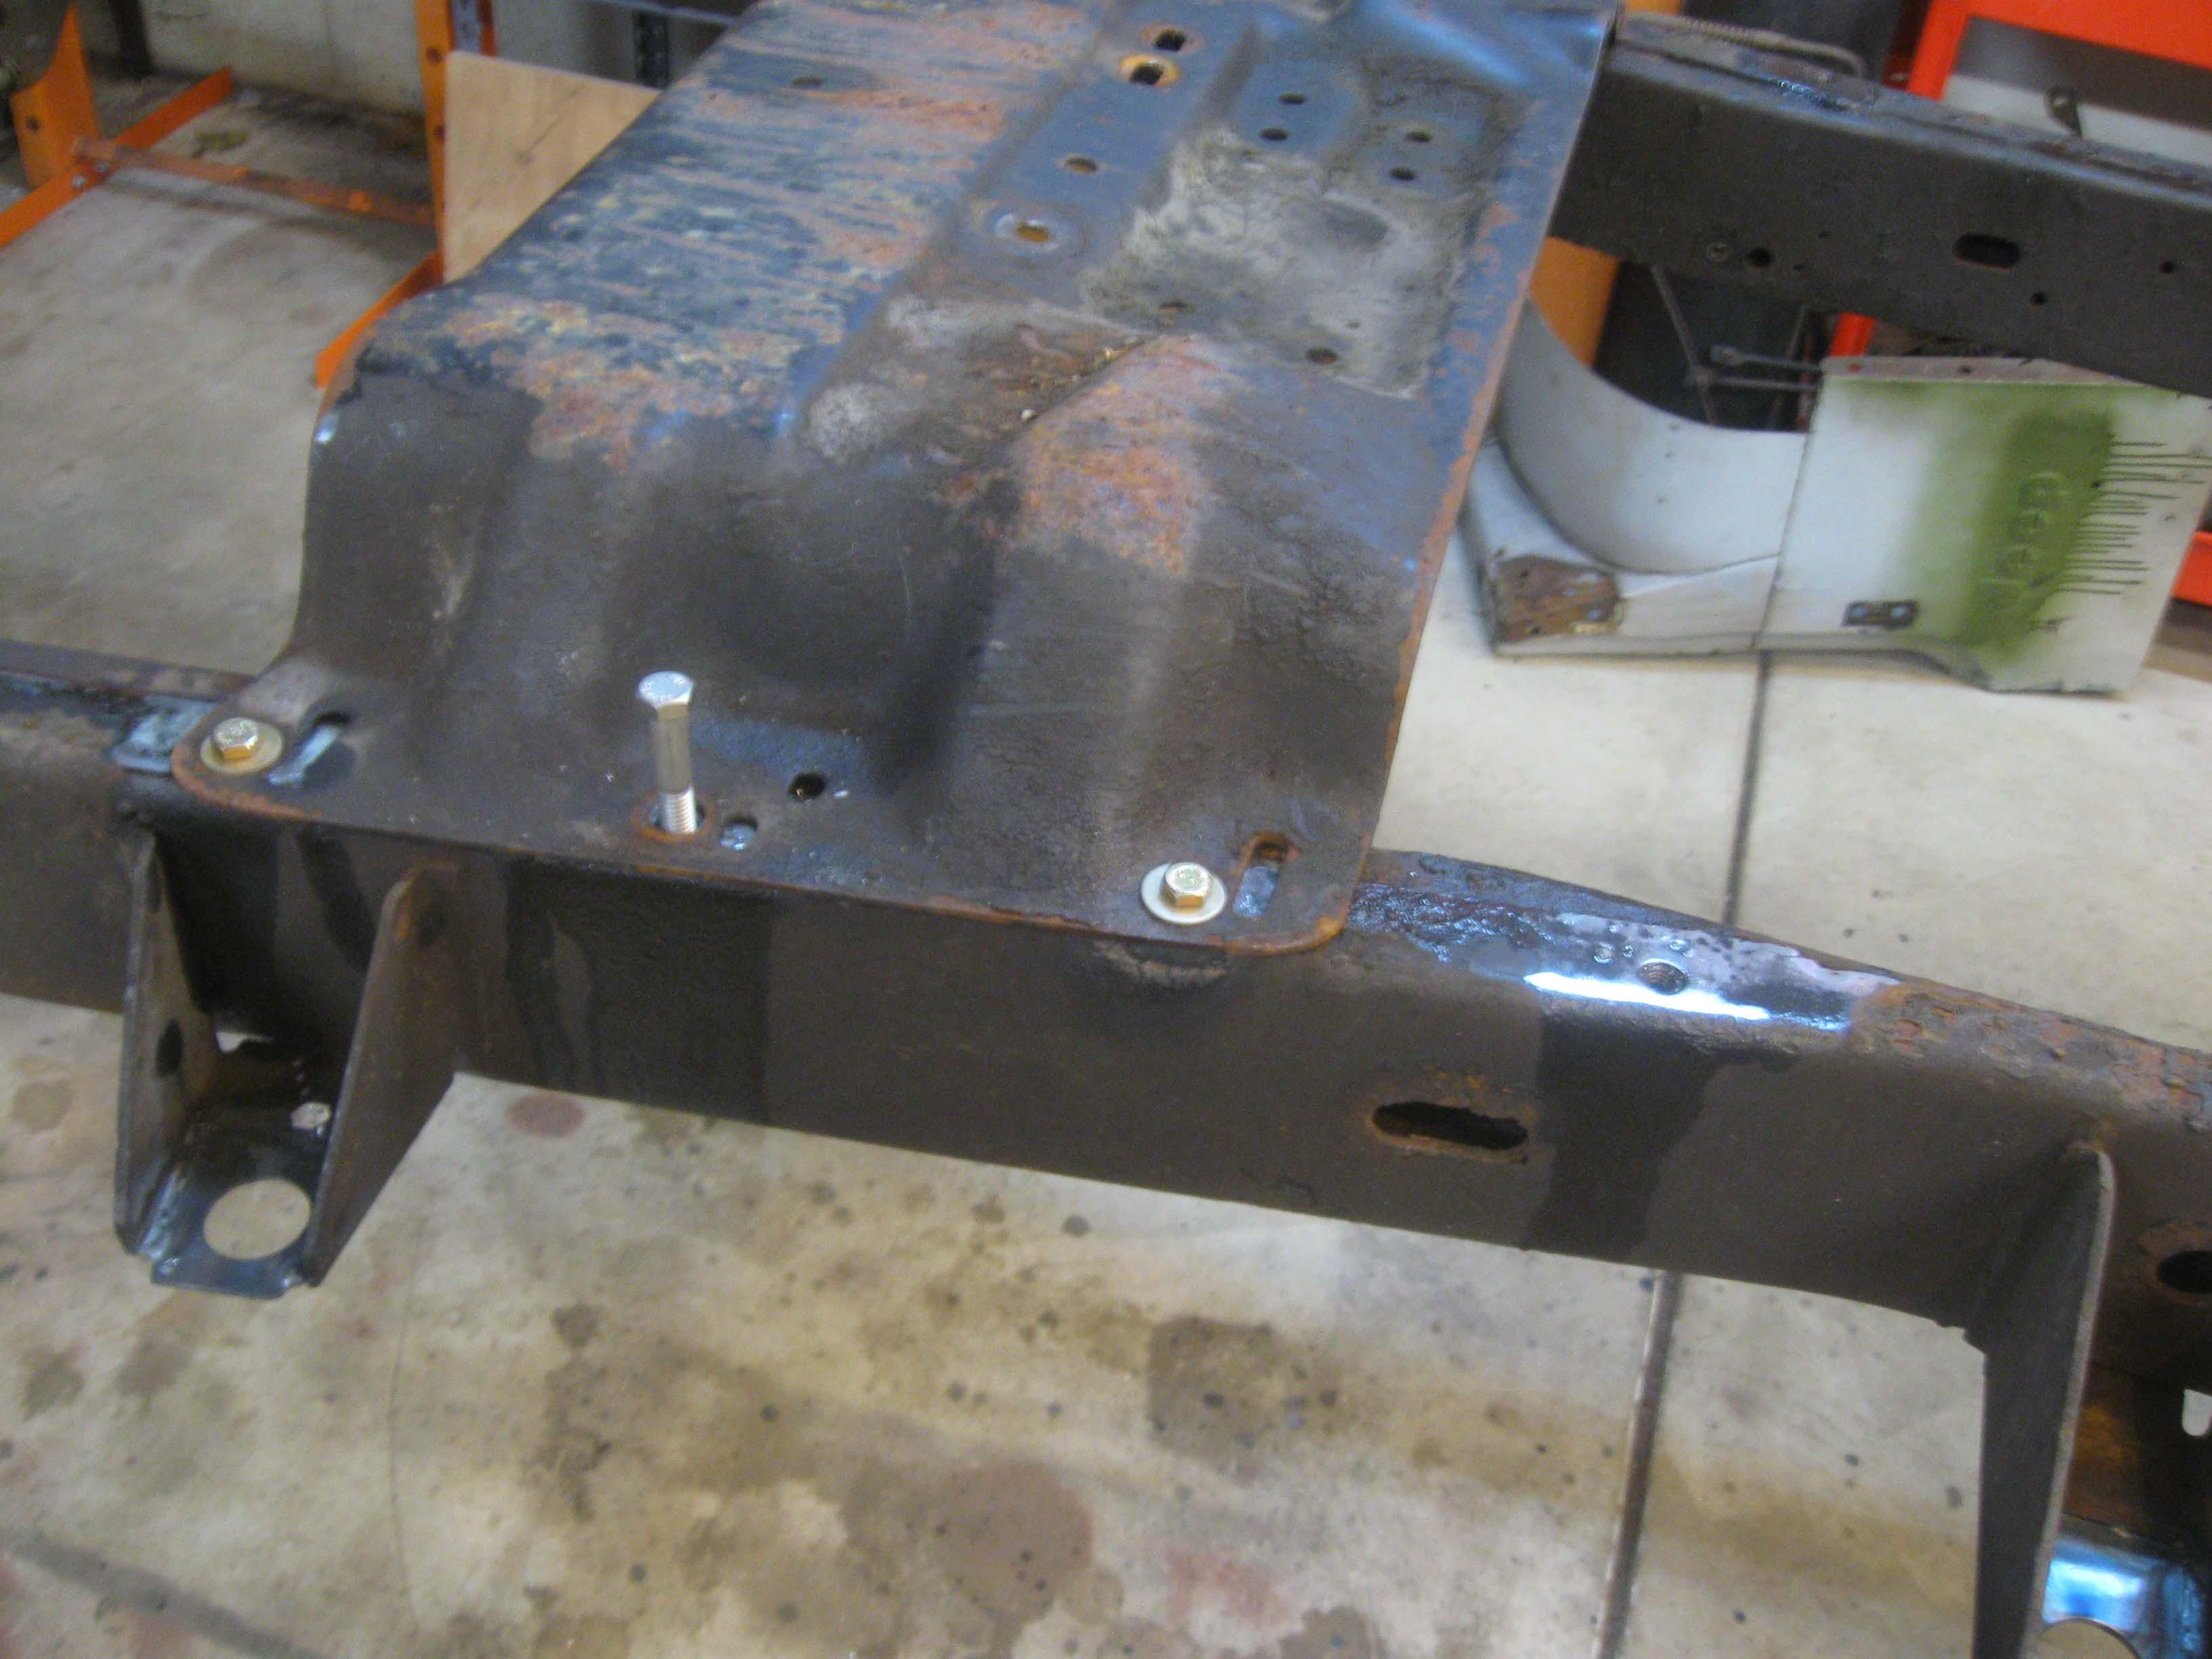
Transmission cross-member modification and 6 bolts fitting nicely after new drilling and enlarging of other holes.
IMG_7167-1.jpg

IMG_7169-1.jpg

IMG_7170-1.jpg


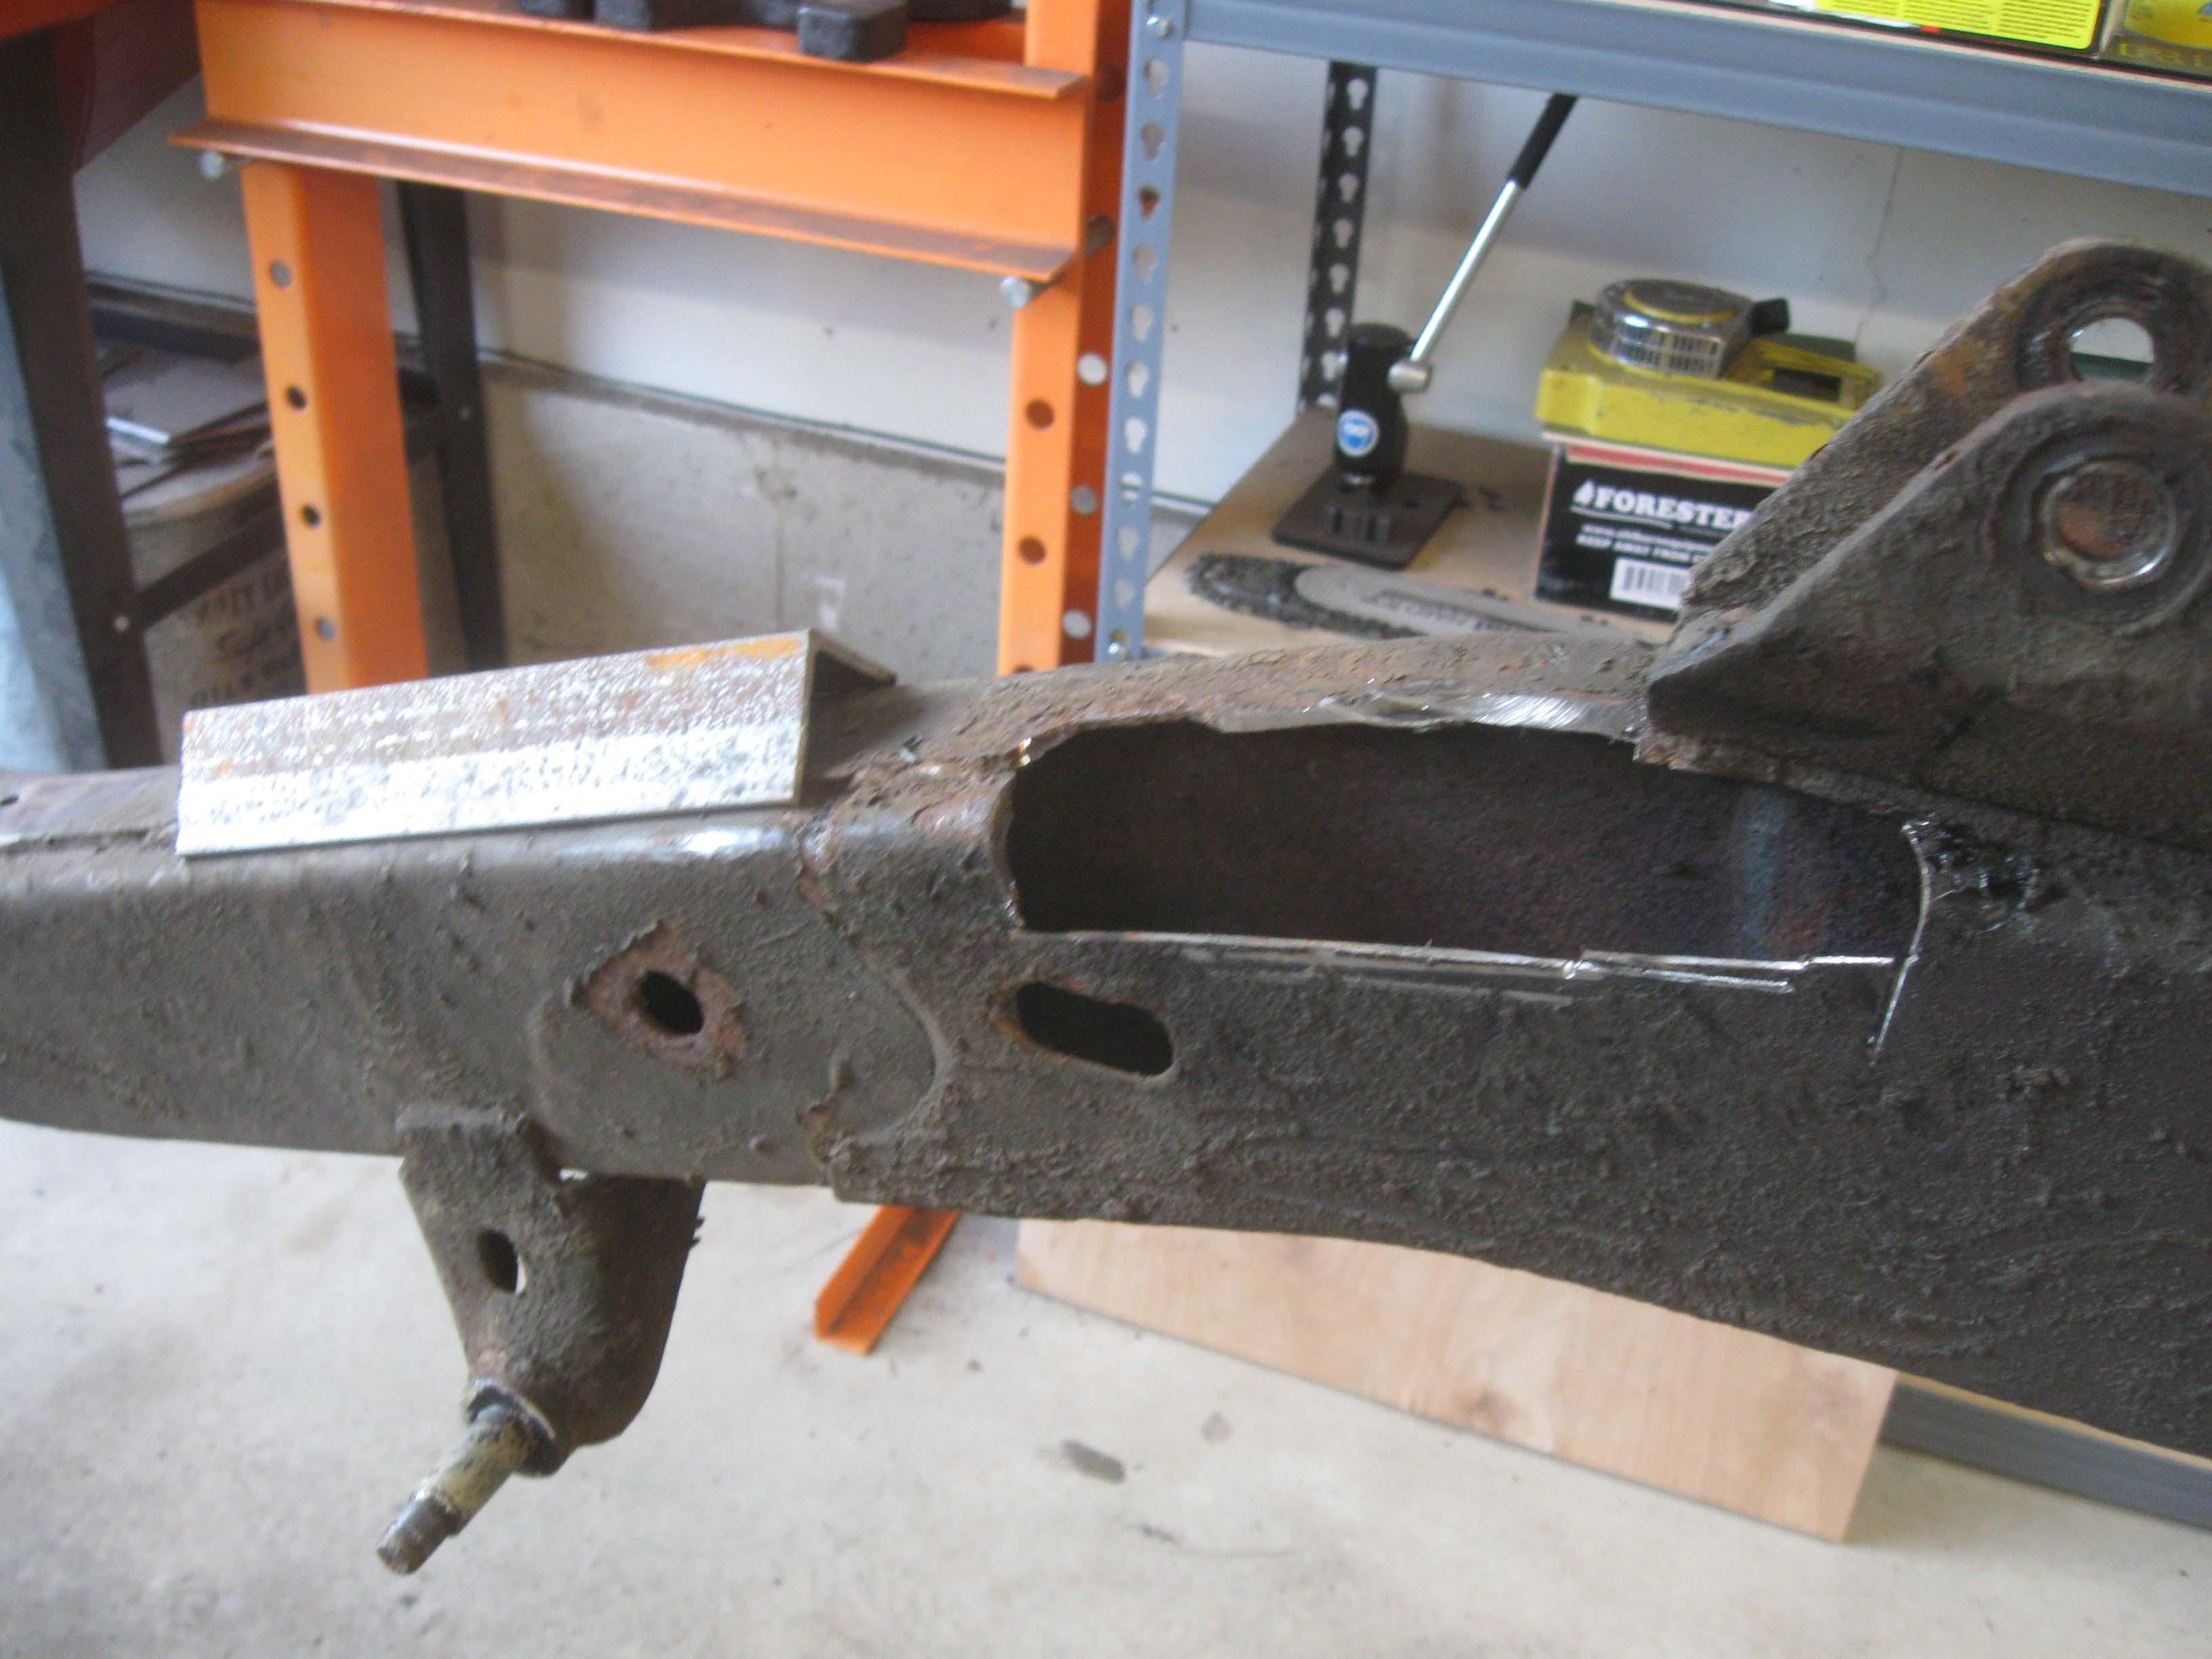
Cancer has been cut out.
IMG_7163-1.jpg


cb

PS> I am trying to find someone to sandblast the frame, trans cross member, leaf springs, front bumper and grille guard, bumperettes, hood and some other misc parts as I have so much to get done and not enough time to do all that.
 
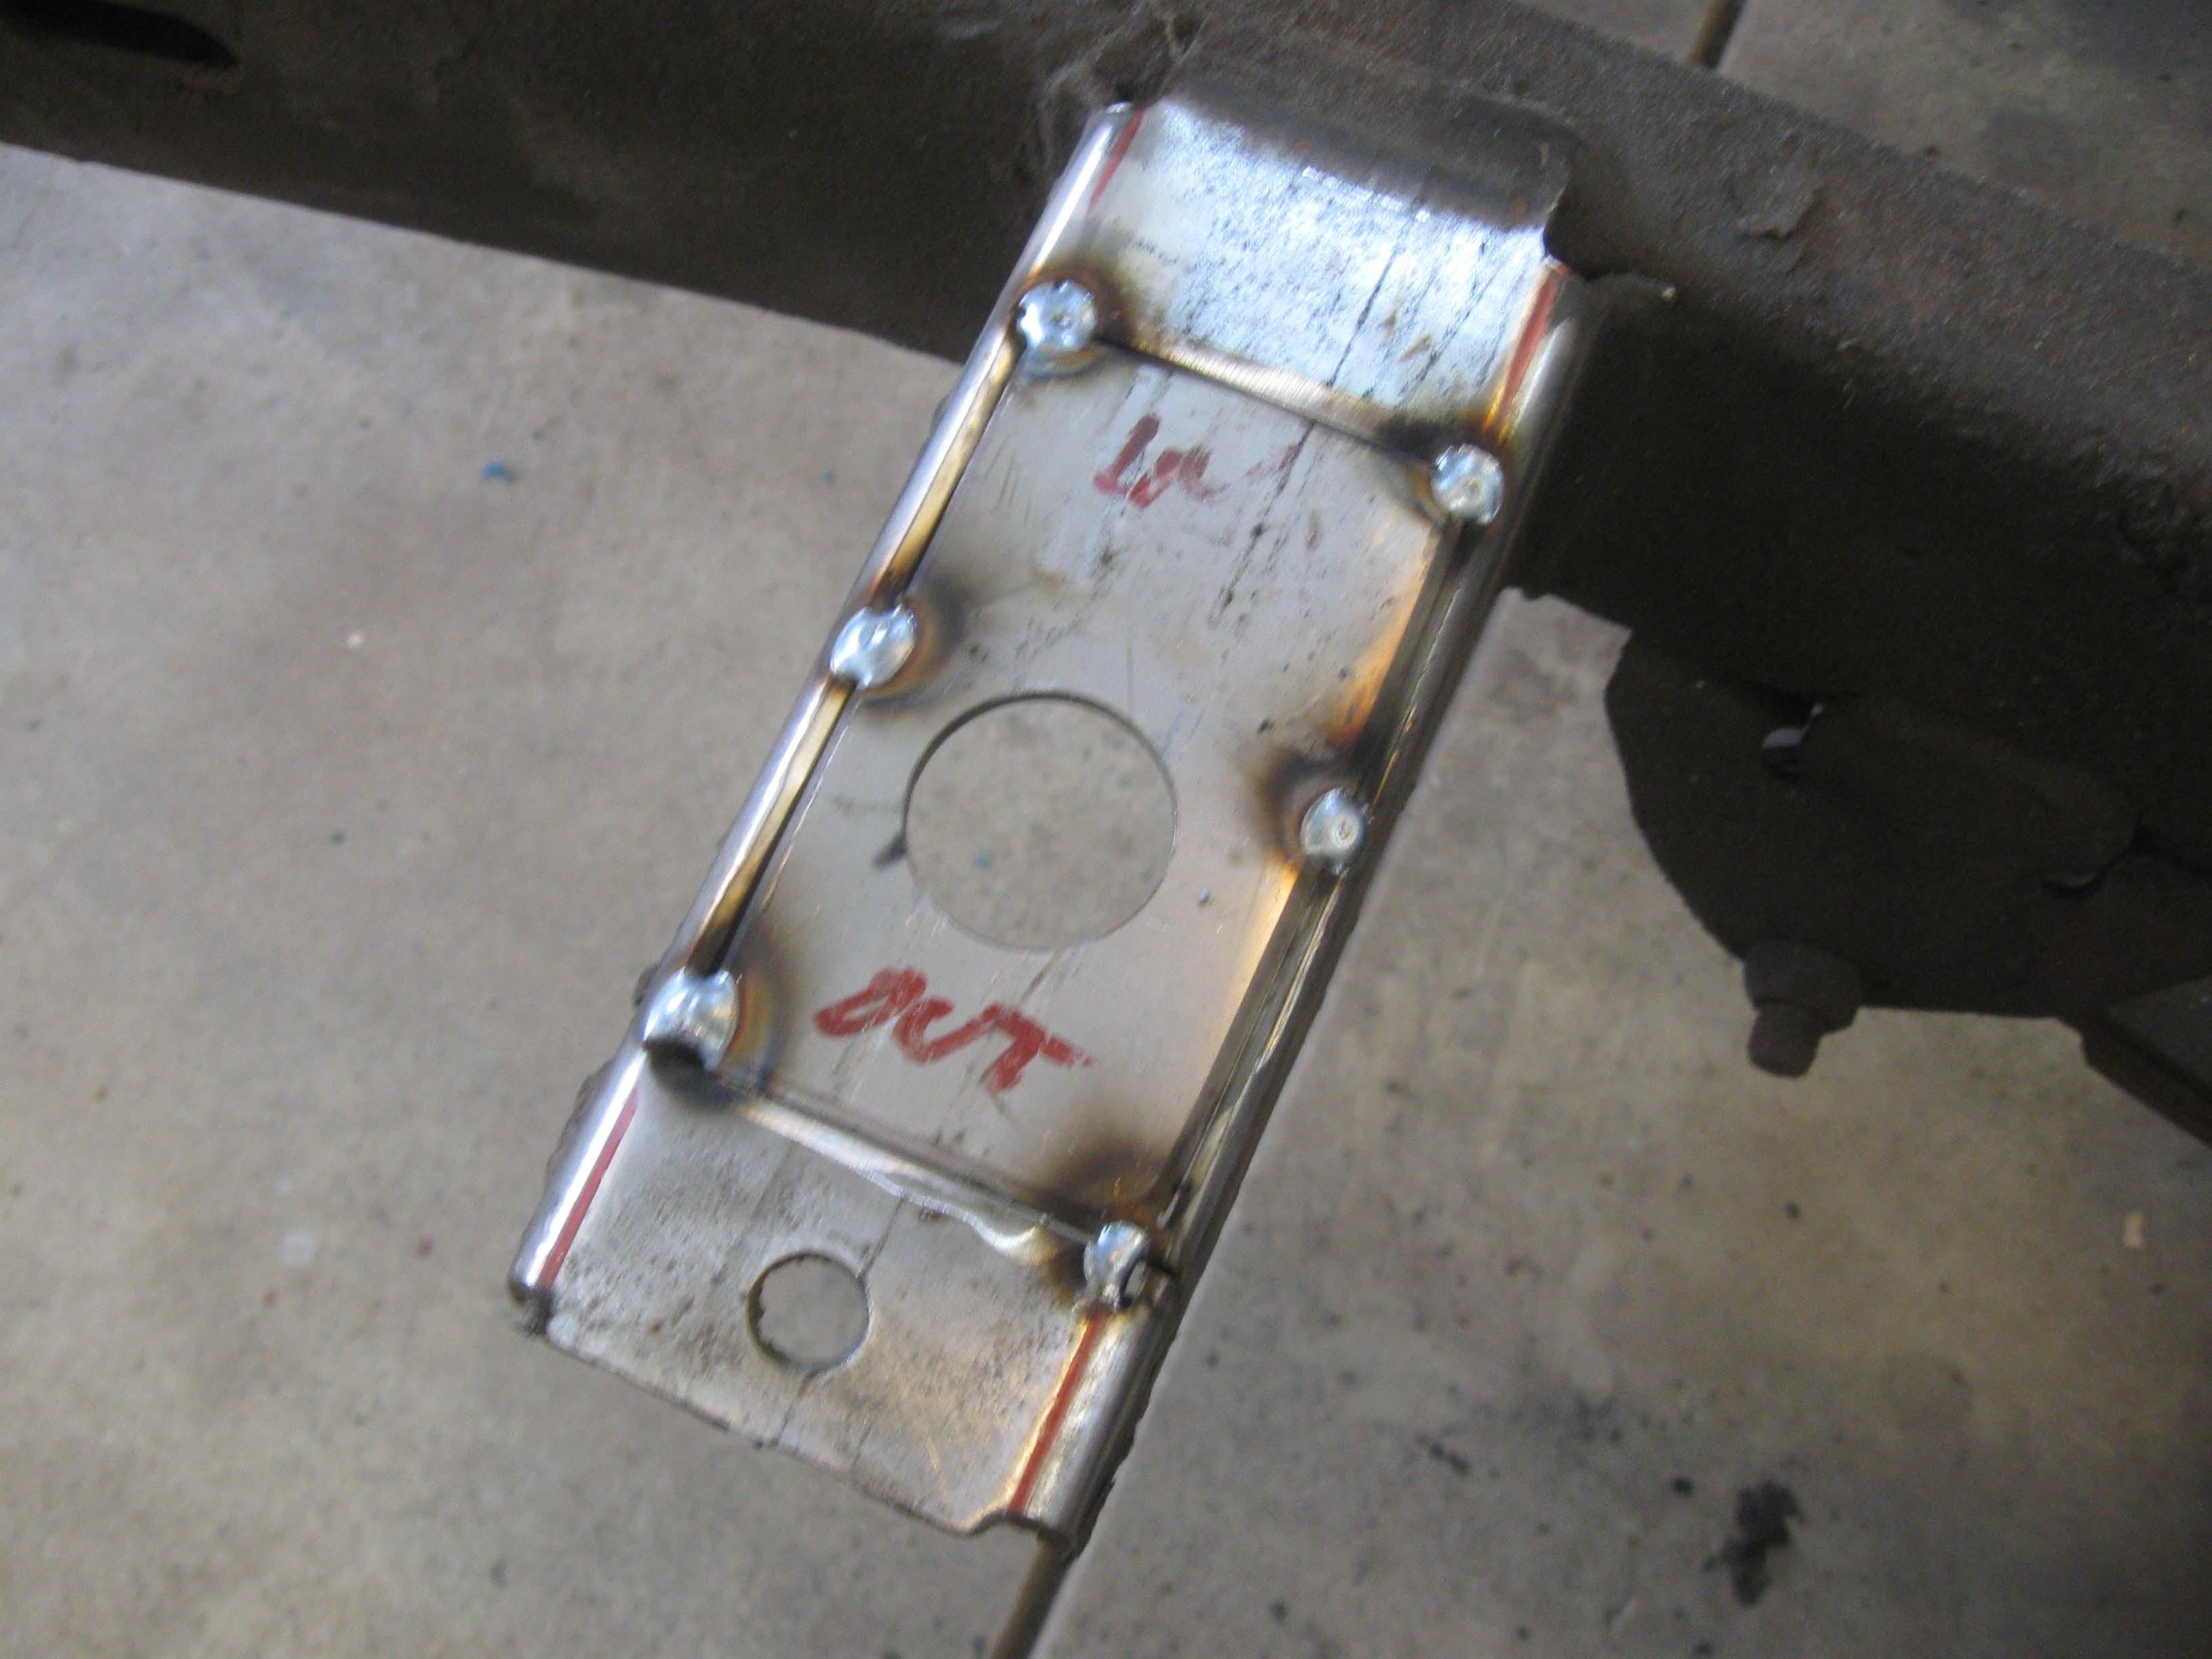
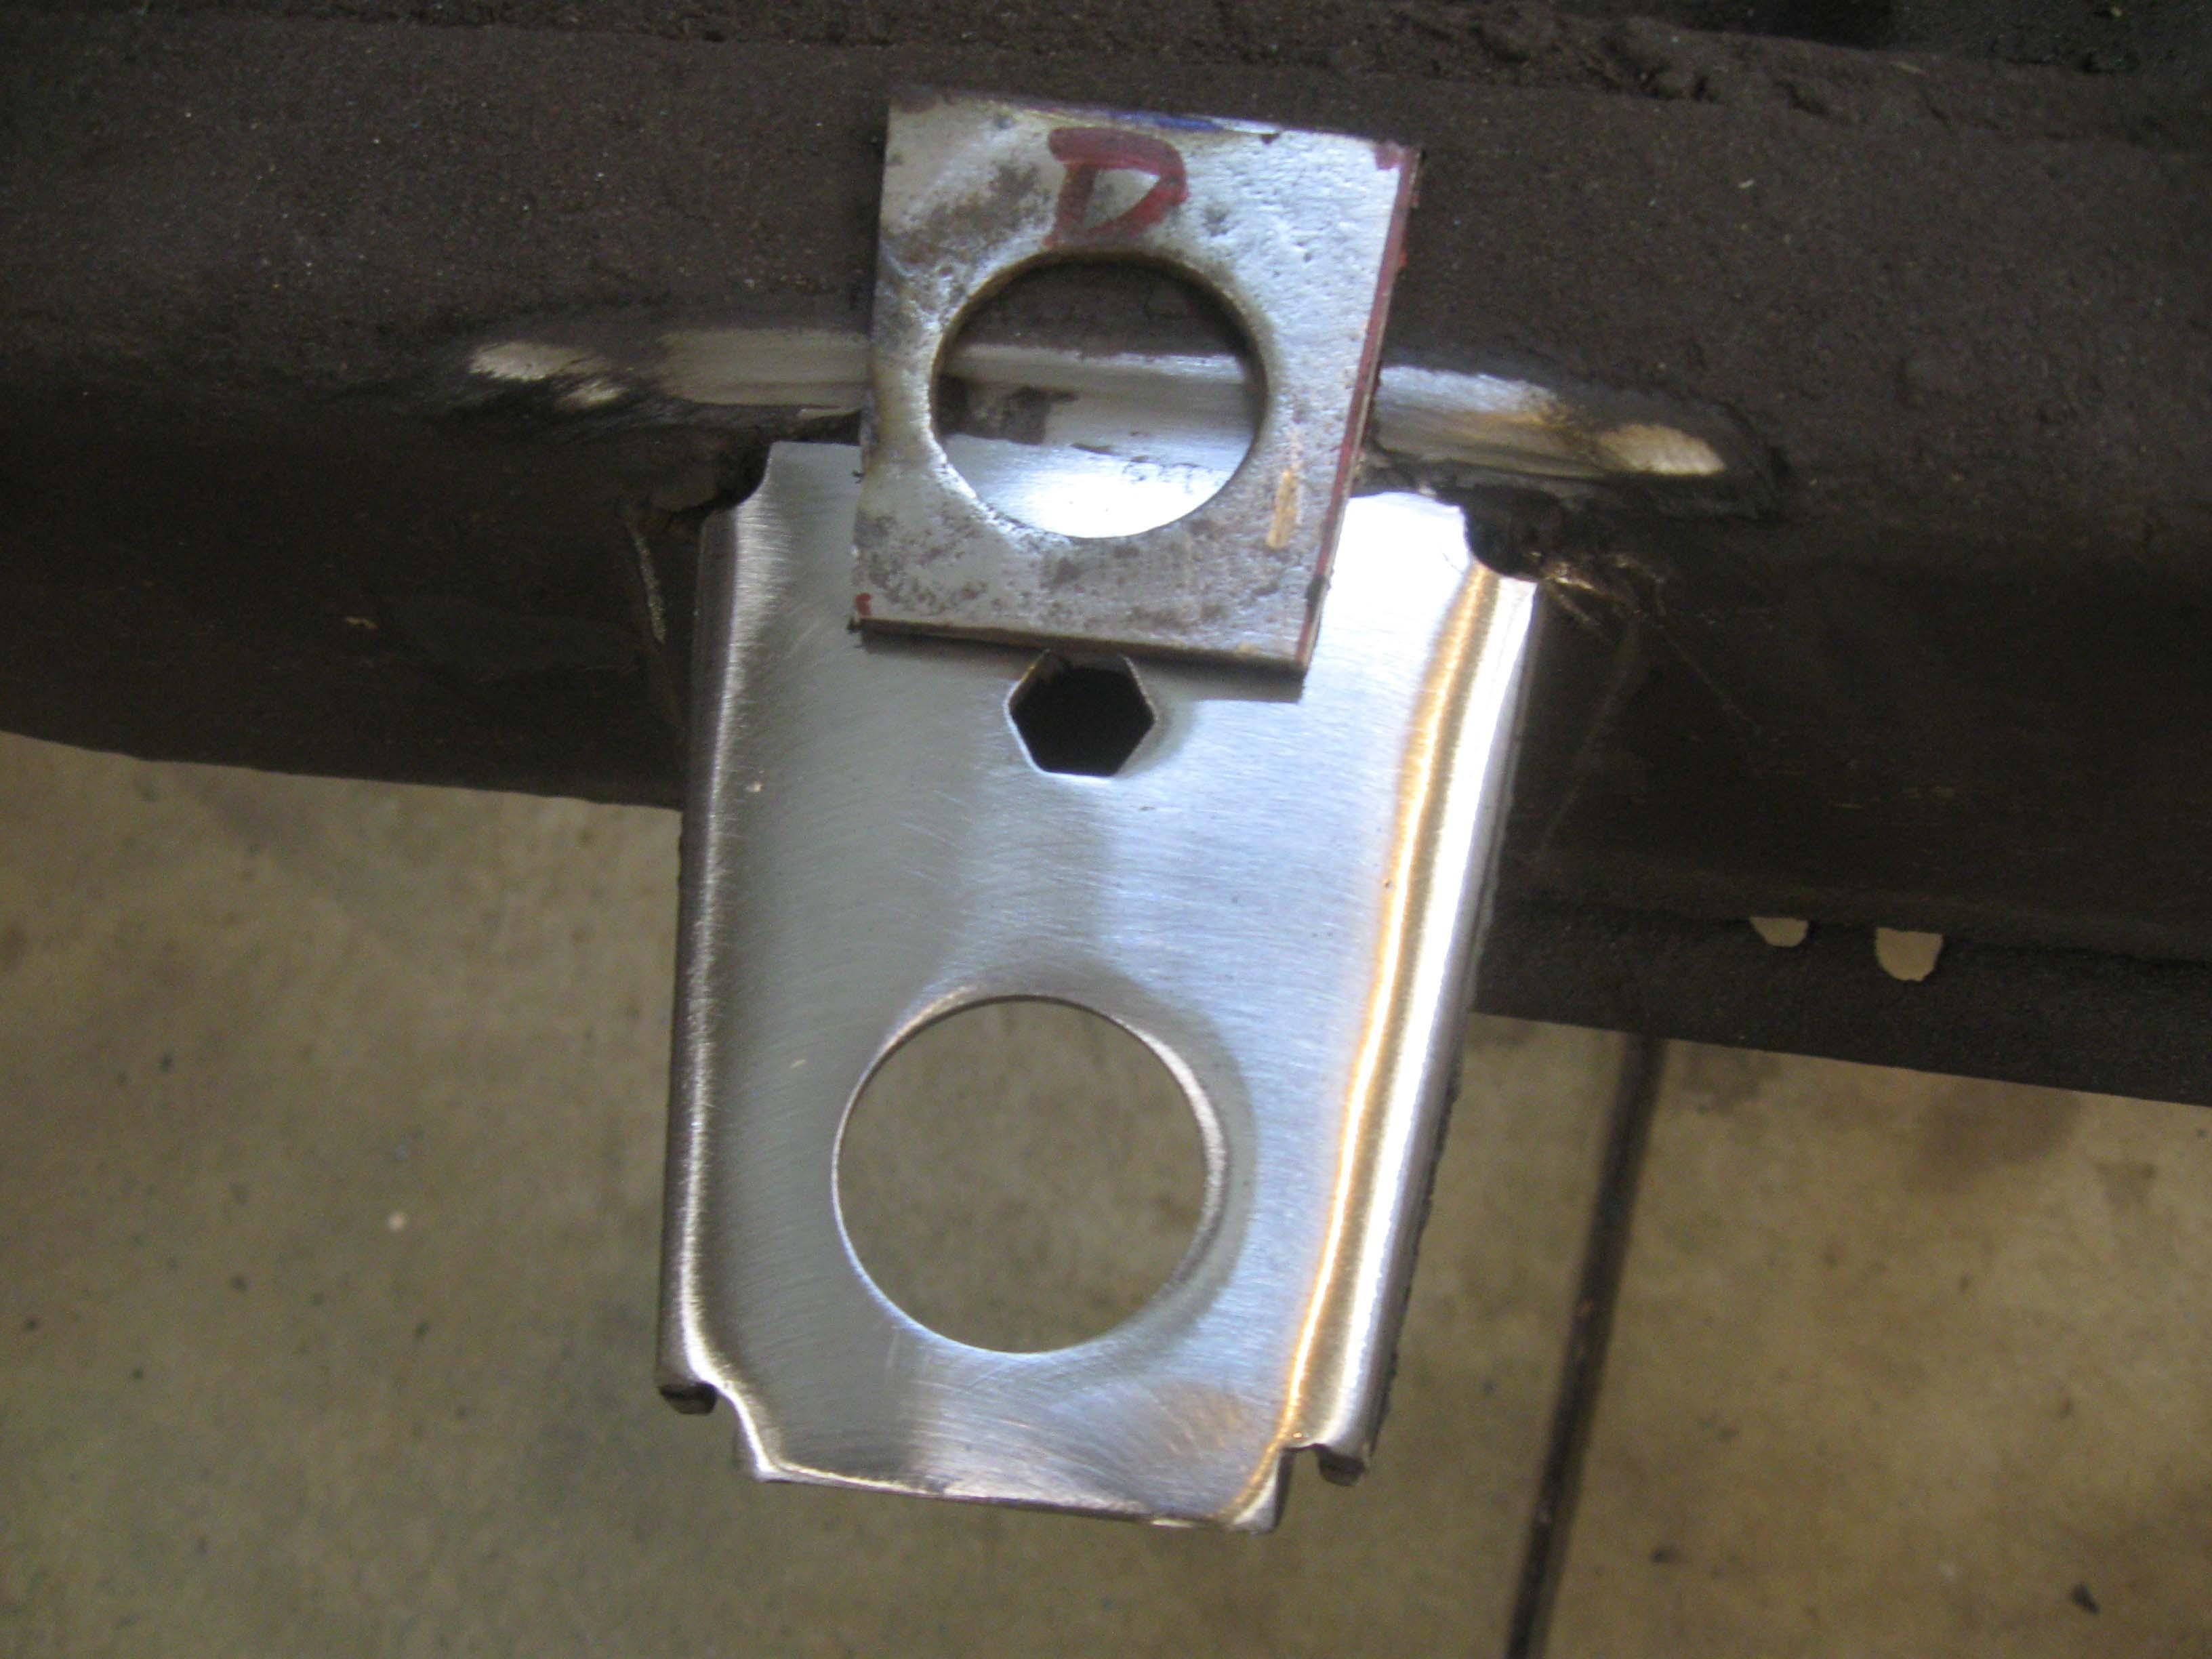
The interesting part of the whole thing was with the transmission/transfer case mounting. There was a monster AMC 360 in this thing. There were only provisions for 5 bolts holes in the cross-member itself and one was snapped off of the 5. They never made provisions to have 6 (I am more of a 6 bolt guy myself) As for the rest, 3 were the proper size 3/8" bolt holes, but only 2 were 3/8" and one was I think 5/16" or metric, but was so worn, it just spun in the bolt hole, I had to pry it out and use vice grips. The other one had a different bolt head size. When I tried to get a bolt down the hole, it was not of a size that I had, so I drilled it out and tapped it ofr 7/16" thus the different color bolt in the pictures.

I can't believe with the original bolts, 2.5 of them held this in place. It was not safe by a long shot and downright scary. Now it will have 6 bolts, 5 will be 3/8" and one will be 7/16" as I had no choice, but all in all, these are the decisions where you have to take the time to "do it right" vs. "get it done". It always takes longer to do it the right way, but it is the correct thing to do.

cb
 
Enjoying this build and looking forward to how this unique Jeep turns out. Keep up the good work!
 
Enjoying this build and looking forward to how this unique Jeep turns out. Keep up the good work!

Stay tuned, I will update the website and thread Friday night probably... I got the green light to work all day on Thursday holiday I have from work.
I am working an angle to get the frame sandblasted.

Was up the last 2 night cutting and welding the bad frame section... the other side needs work too, but is not as far reaching. I have a little more time tonight to work on it before I have to load it up potentially tomorrow to get it blasted. I don't have much choice, I would like to do it int he reverse order, but the guy is available, he had no other work and it is a good deal.

I hope to get the frame, springs, spring plates, trans/case skid, gas tank skid, front bumper and rear bumperettes blasted.
Sunday is supposed to be like 50, which is shocking, so I intend to paint it on that day and then I can reassemble the frame into a roller and stab the guts back into it.

Body work can begin after that.

Again, this was supposed to be a "tub swap" that turned into much much more.

cb
 
Back
Top