• Notice for iPhone users: DO NOT use the image size reduction option when uploading photos to the forum. This causes portrait images to post as landscape. We have added a warning to the image insert pop-up as well.

The beginning.. the end.... and a fresh start

I've made good progress with the motor and will have some updated pics soon. I was right on the edge of starting to take the front end off when my buddy informed me he may have to move out of his warehouse. I was planning on keeping the motor there until it sold and some other misc stuff. So for now I had to slow down to wait and see if he has to move soon or not.

Anyway I'll roll the mota out this weekend and take some updated pics.

On a side note I went to the mini turkey rod run here in Daytona this past weekend and saw a bunch of neat rods, trucks, and a few Jeeps. I saw a Corvette C6 in Atomic Ornage, a Chevelle, and a Camero. So it was nice to see the color on a few different cars. I feel even better with my desicion vs the Mango Tango.

:woot:
 
Last edited:
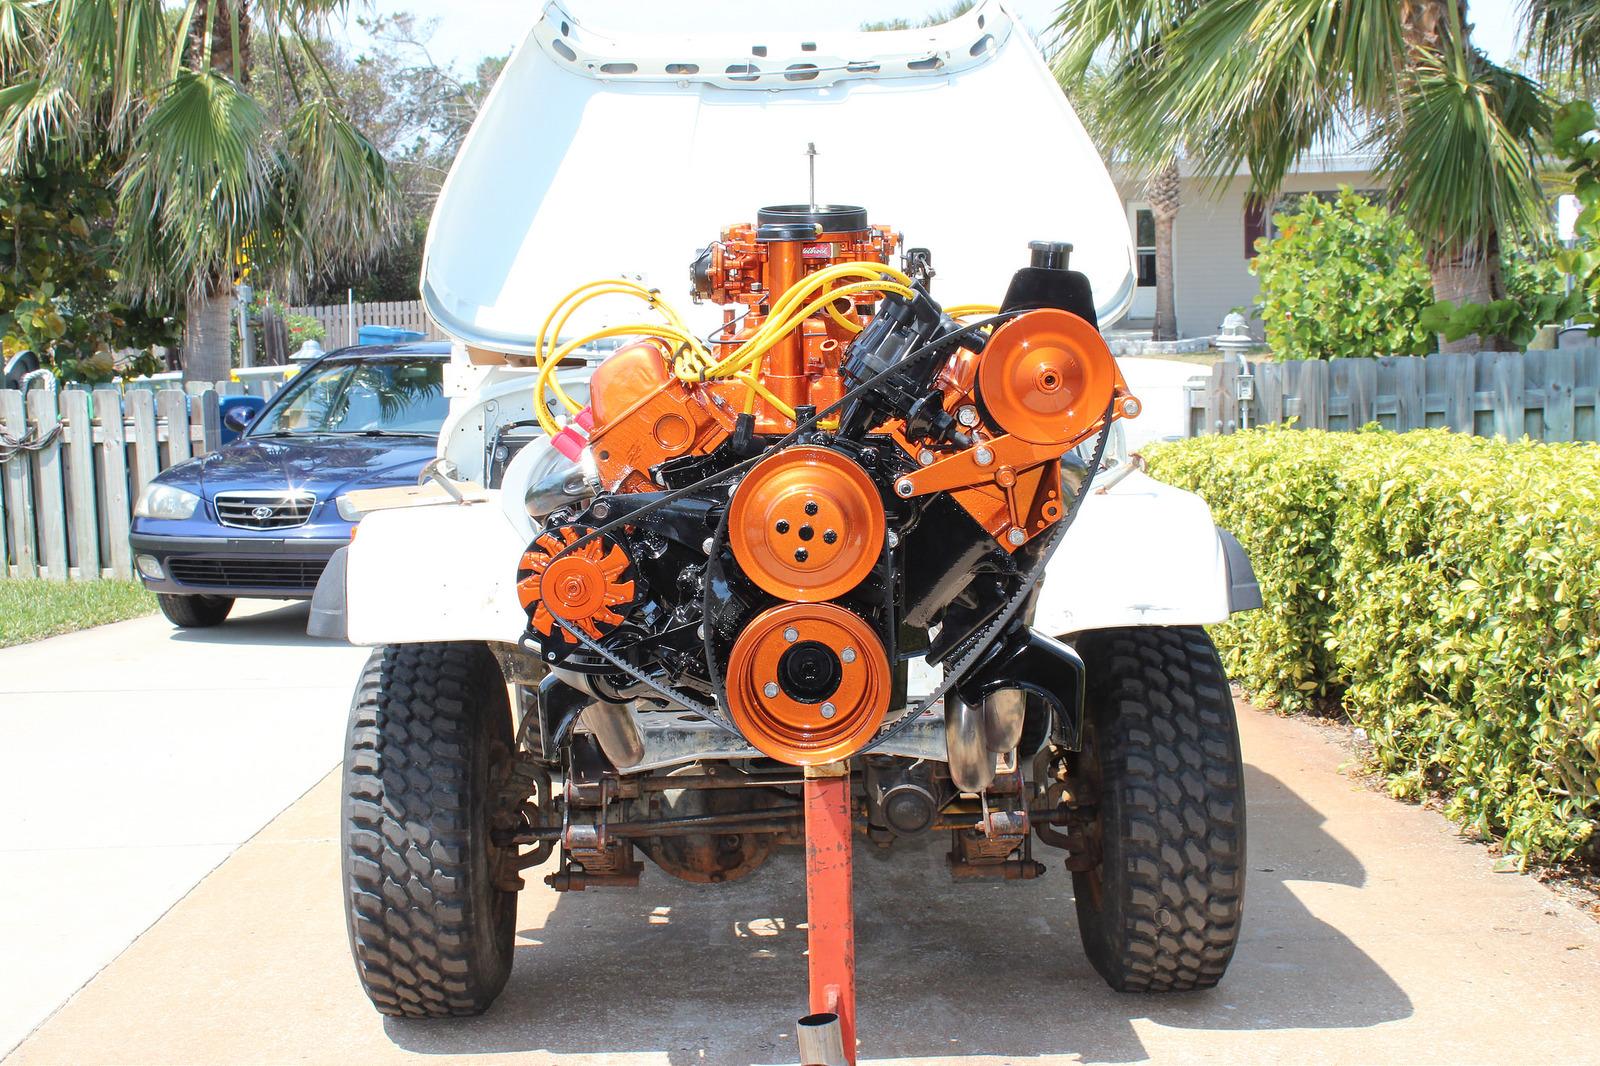
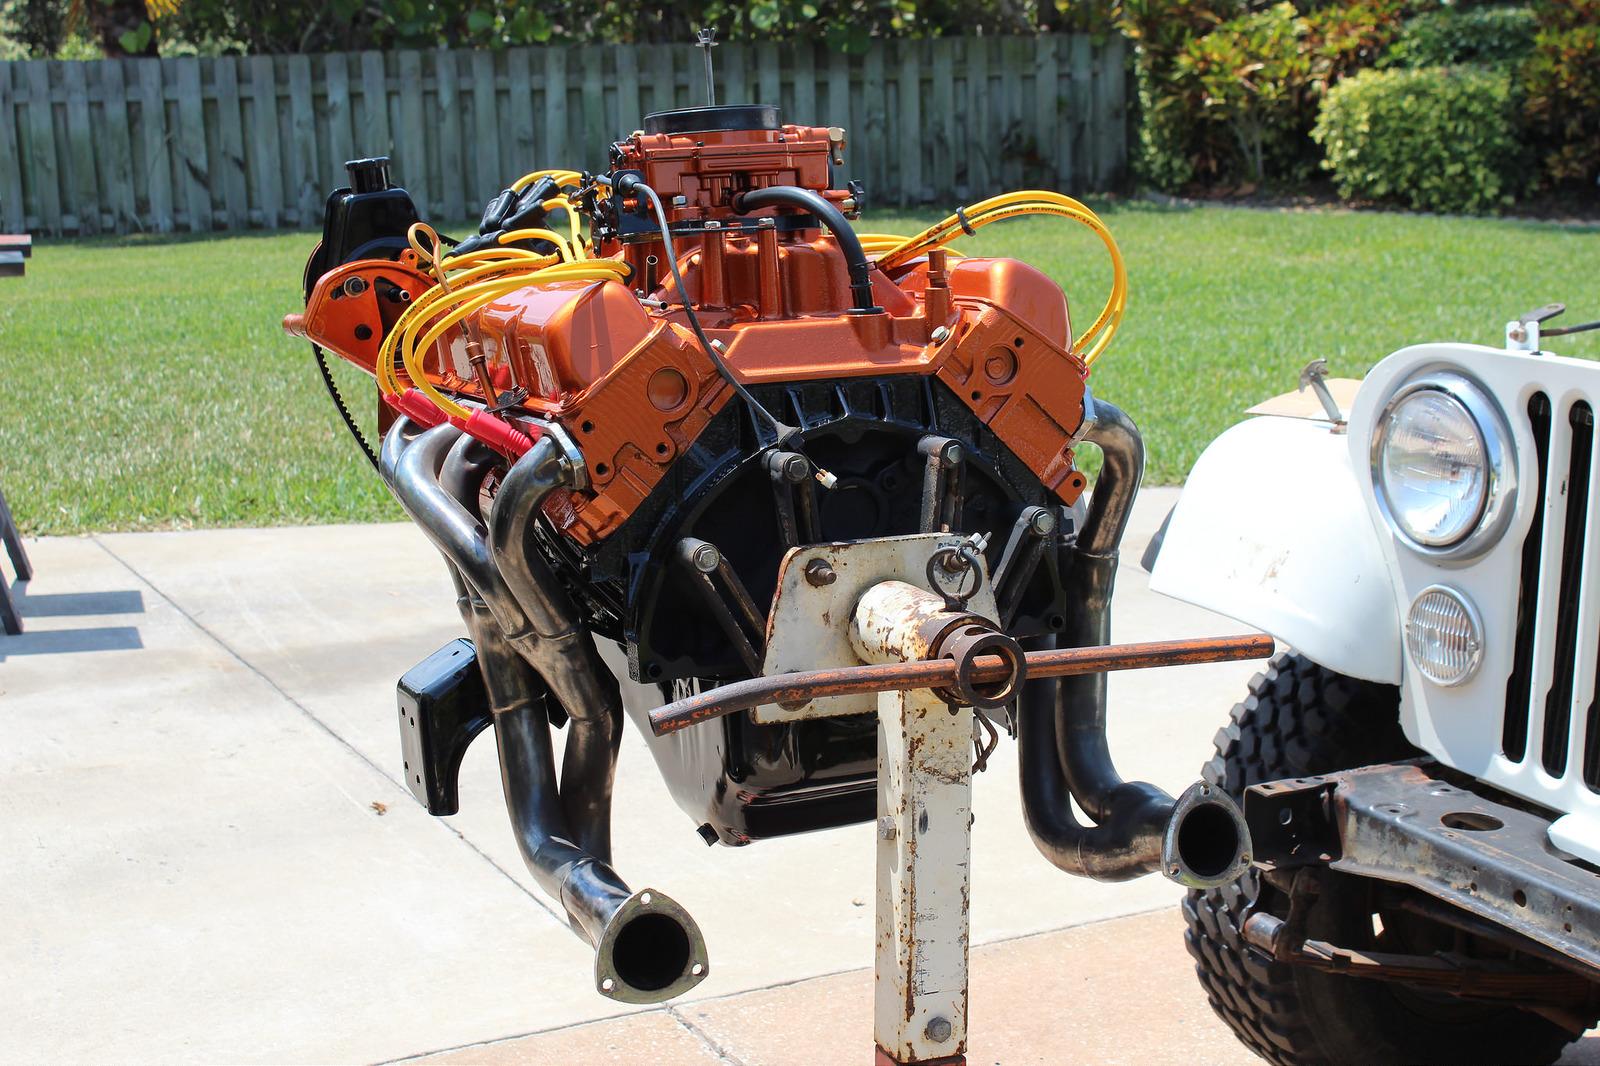
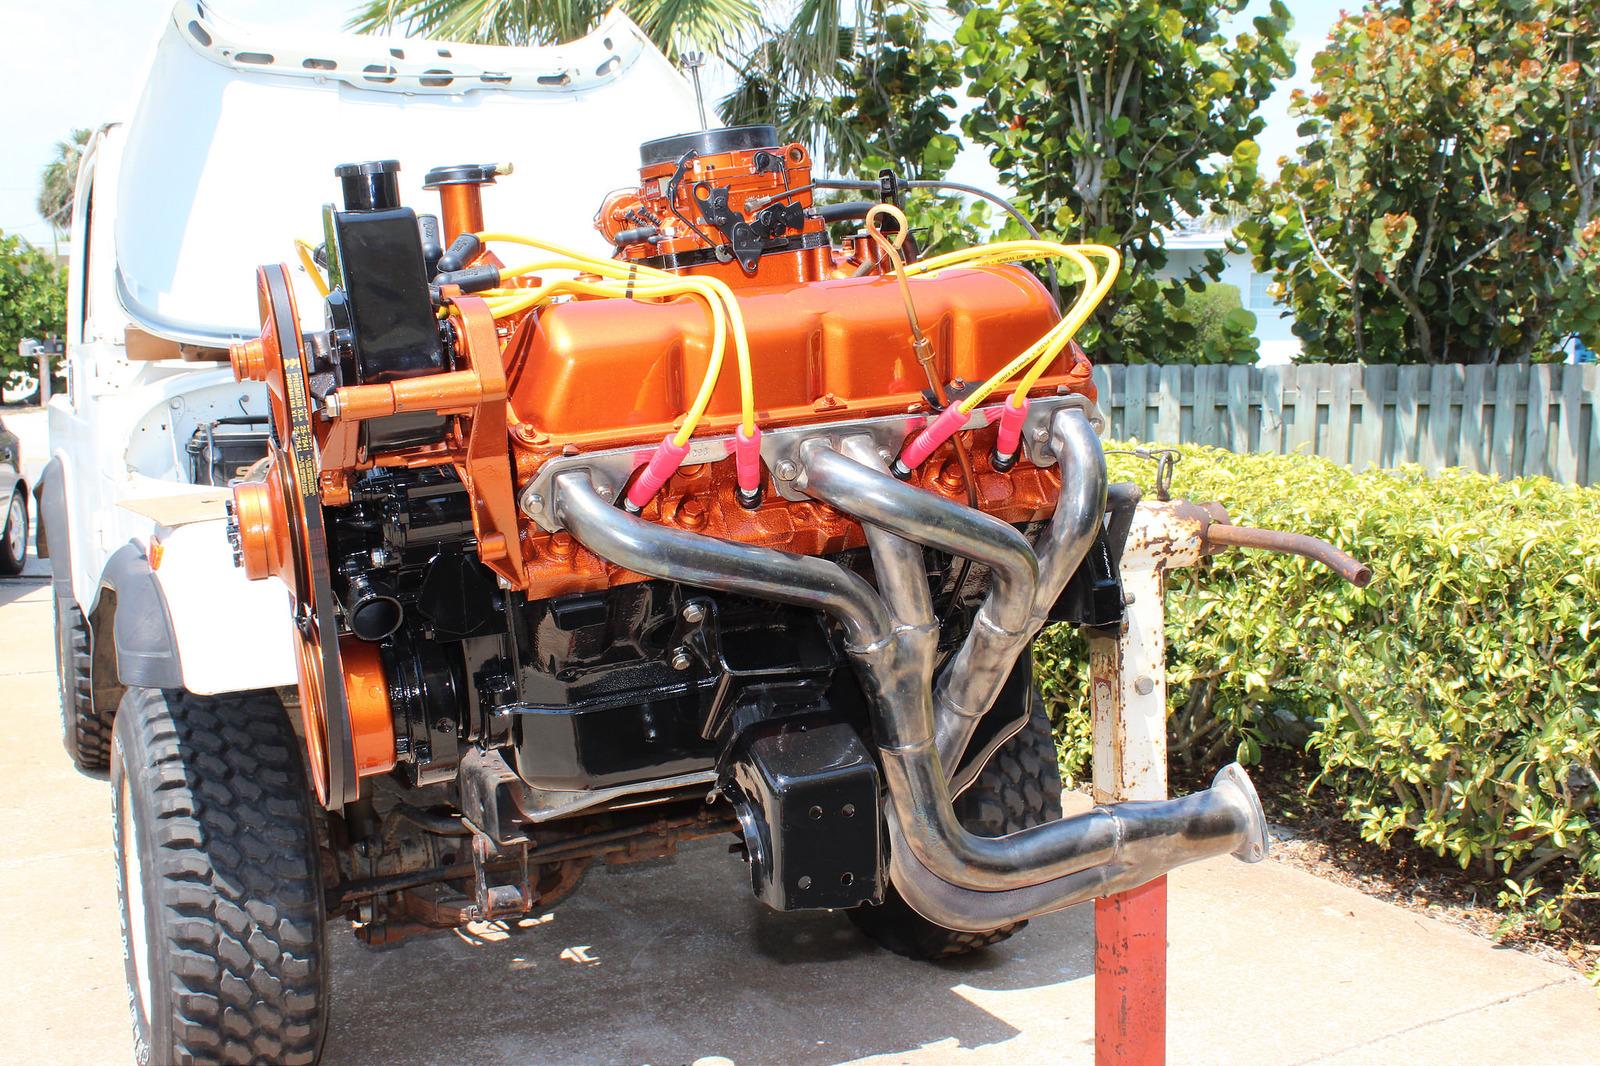
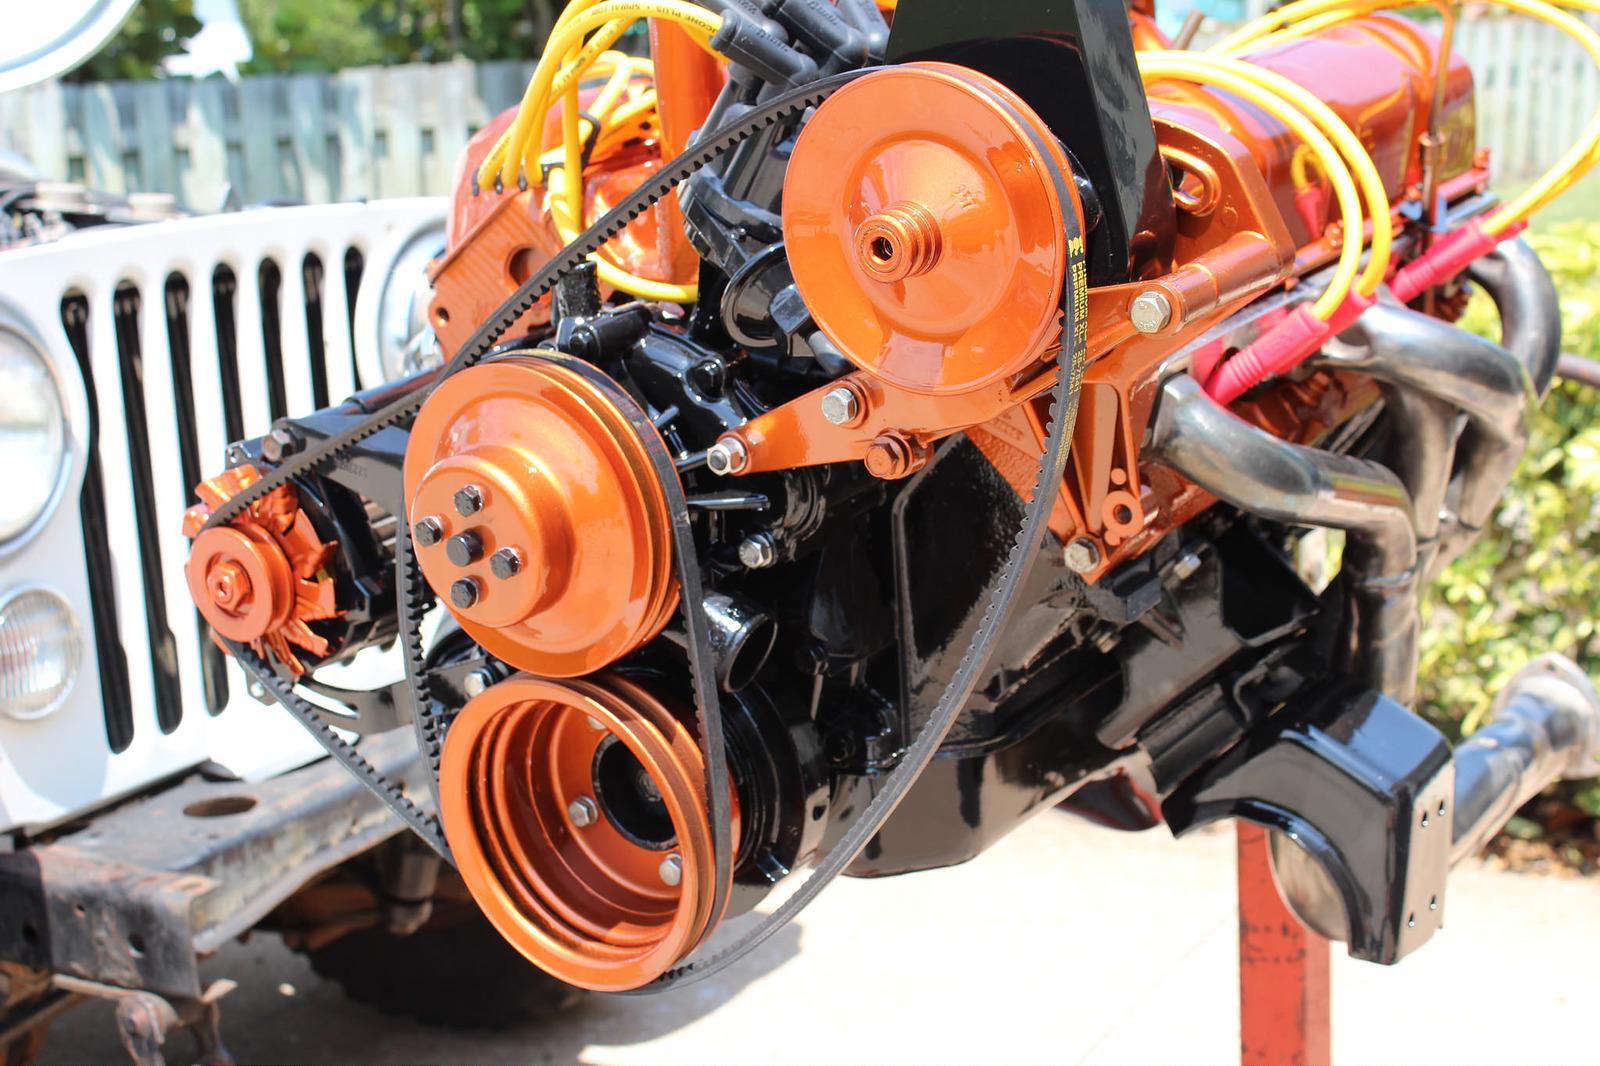
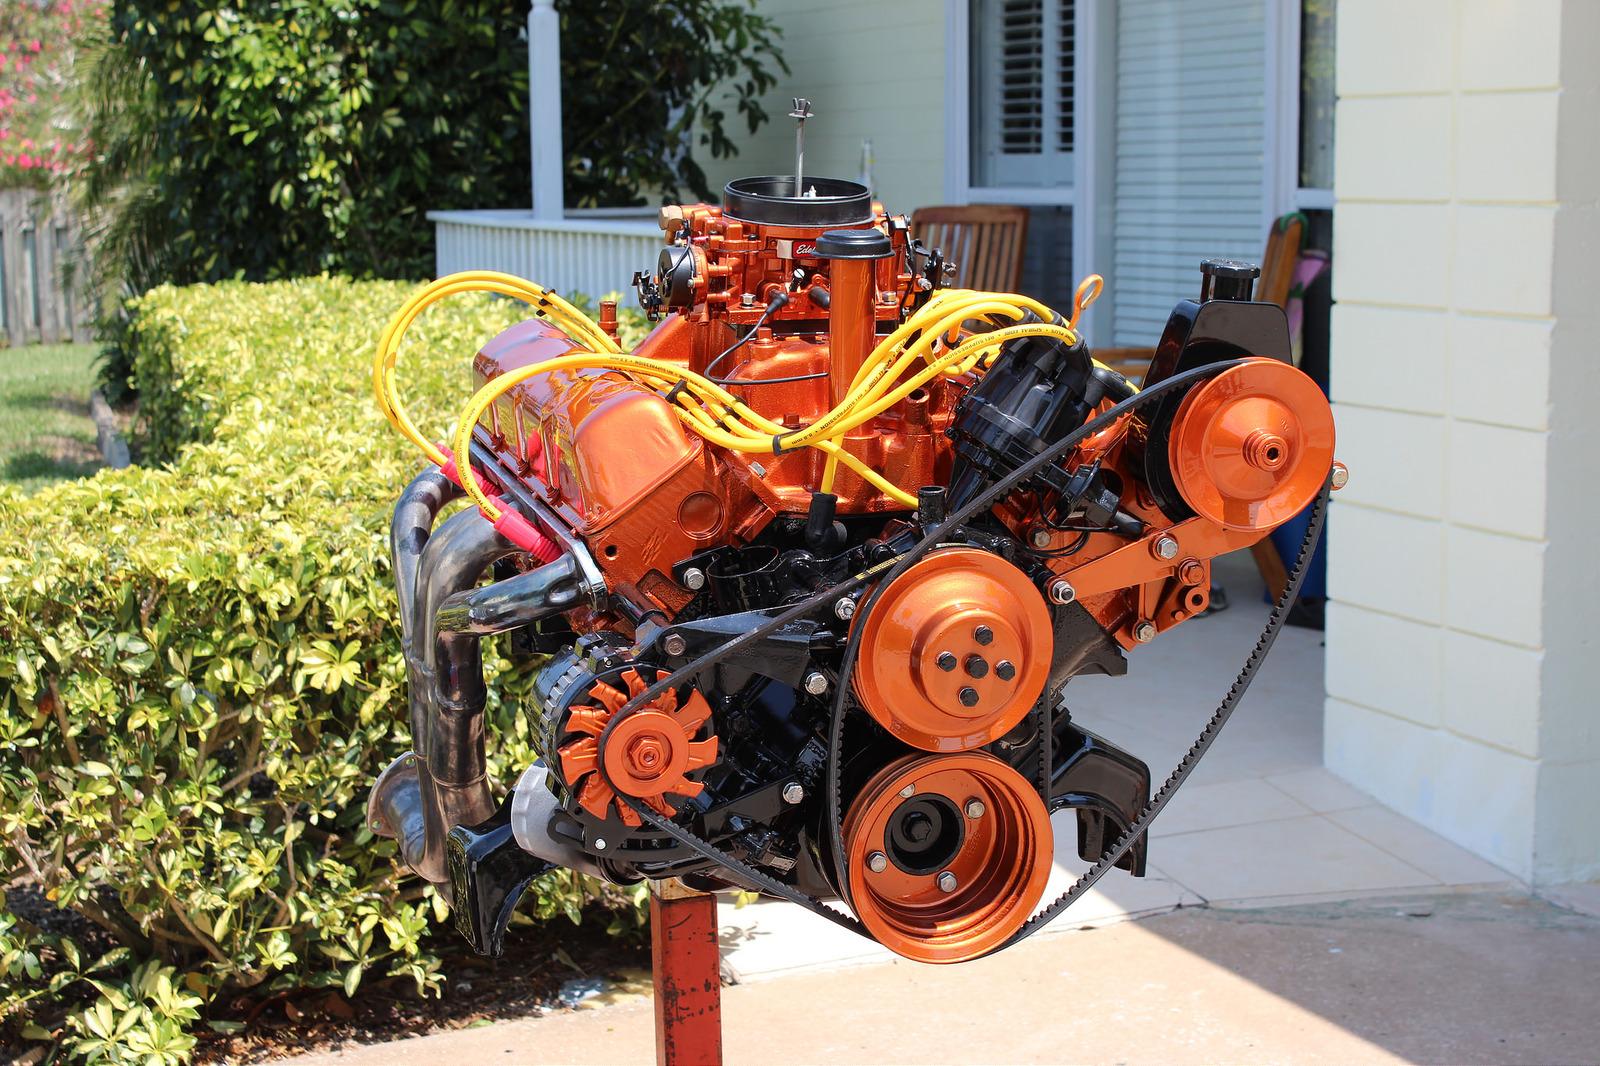
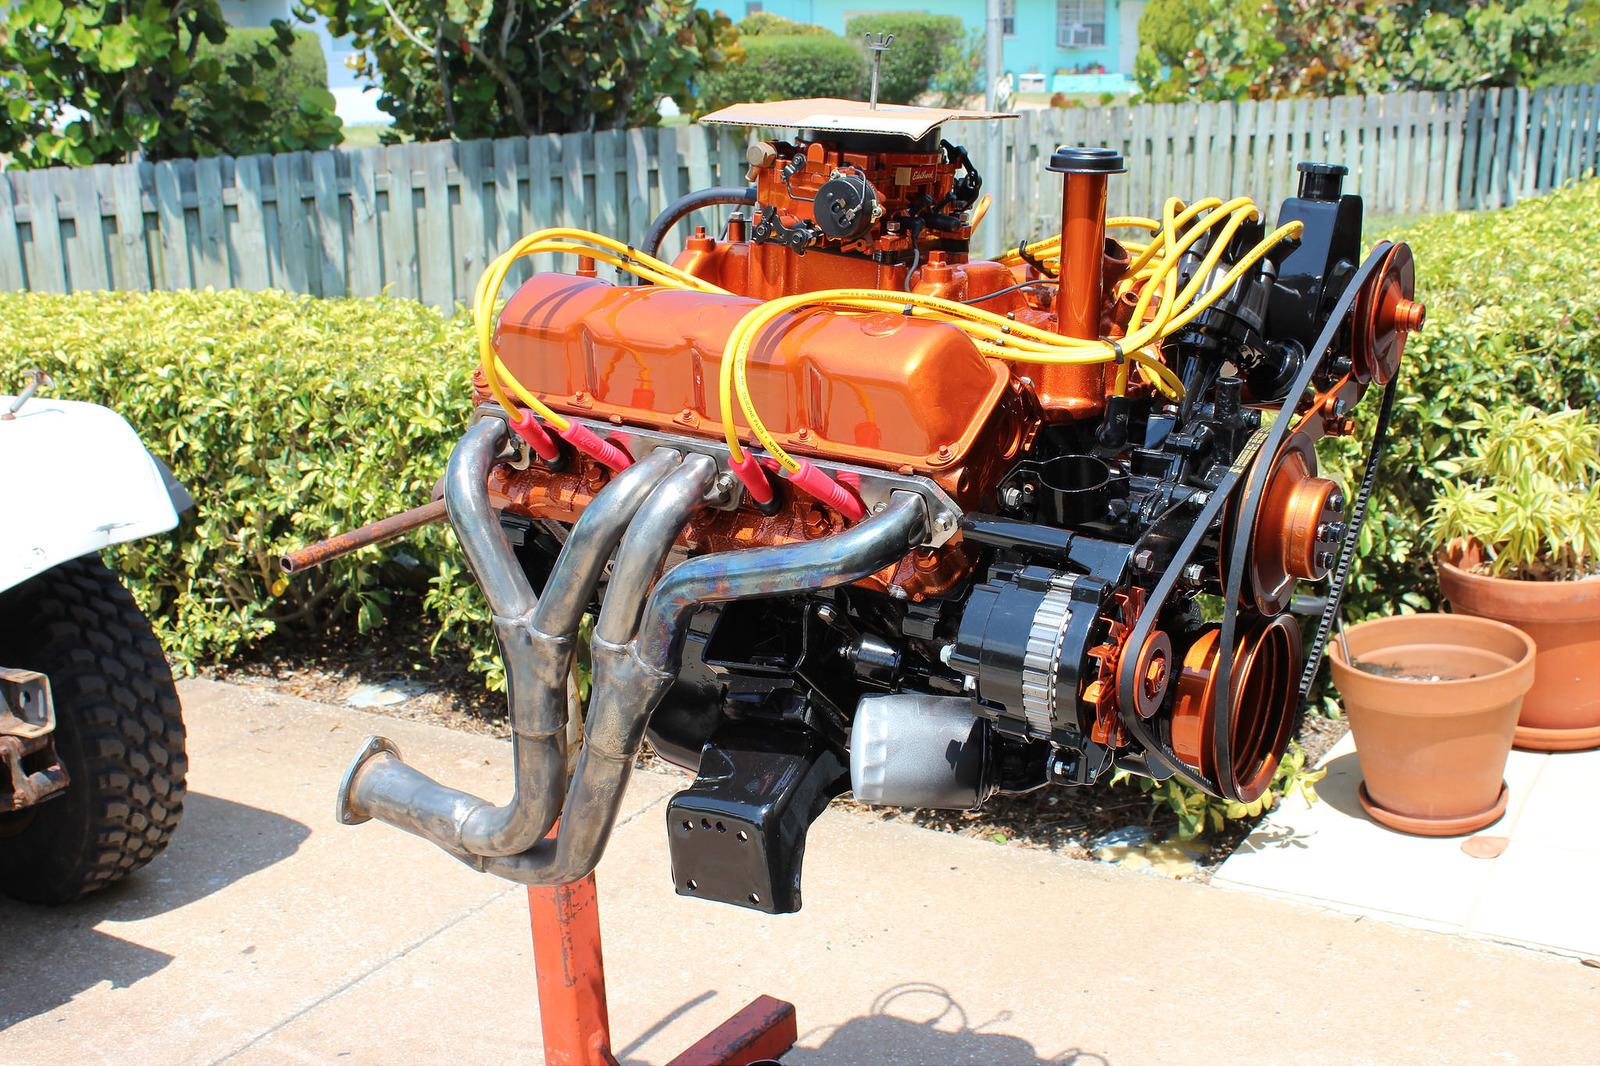
Ok, here are the latest pics. I was going to paint a few things yellow this weekend to add on but didn't have the time. I've found an air cleaner I like and will be getting that soon. I'm going to paint the oil cap, dip stick, and Accel coil yellow. the same Jeep yellow as in the stripes. I'm at the point now that I'm trying to sell a few items and convert the funds into things I want.

The Alternator is a 140 amp that came powdercoated black so that saved me some time. I rebuilt the power steering pump and then painted it too. I still have to chase down a few SS bolts for the accy's. Little by little she's moving along. Some may notice the flat black on the engine is now gloss black. I discovered real quick the flat shows every fingerprint. I think it looks better shiny anyway.

New Accel cap and 8.8 wires. I painted the distributor base black too. The Doug Thorley headers took some work to clean them up. I bought them used, and they look like they were used alot.

32047999672_01b12e2930_h-1.jpg


32196465435_baee20d4e5_h-1.jpg


32048005602_79d976a4bf_h-1.jpg


32196468005_b179294fc4_h-1.jpg


31821008900_ac04fd828d_h-1.jpg


31354978334_0983864835_h-1.jpg
 
Last edited:
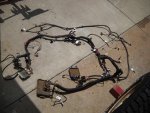
I have a buyer for the motor so I spent this past weekend getting it ready to pull. It was so nice working on a rust free jeep. Every nut and bolt came out with ease. The wire harness wires, connectors, and loom are like the day they were made. Of course there is a nice coat of California mud on everything but it acts like a preservative. Even the exhaust manifold nuts came right off. Which by the way was the source of the exhaust leak. Also discovered there is no rear main leak. It was the SR4 that was dripping. That took care of two items that I noted as possible issues. This is a great running motor and will perform well for its new owner.

Pullin it out.jpgpullin it out 2.jpgwire harness.jpgdads helper.jpg
 
Last edited:
I'm going to deloom the harness and section out what I need. It's a California emissions system harness which contains a few extra ecm's for stuff I wont need. That will be interesting.
 
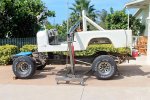
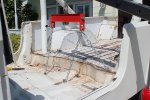
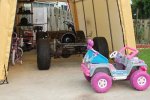
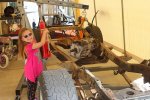
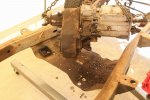
I've been widdling away at a few other projects along with the Jeep but this weekend I made headway. Now that the body is off I can start accomplishing work on the frame. Taking stuff apart has been without effort. Every bolt and nut comes right off. I think the California mud was a rust preventative. Yesterday I split the frame and tub. Today I removed the exhaust and shocks. Each day I'll do a little before the temp hits 100.
body off 4.jpgbody off 1.jpgbody off 2.jpgbody off 3.jpg
 
Last edited:
The plan now is to strip the frame down and take it for sandblasting along with the springs. I'll clean the axles and other parts as I go and then reassemble. It's SOOO nice to not have to fix rust. Just clean it all up, paint it, and put it back together.

Same with the tub, once I get the chassis done I'll take the frame over to Orlando and have it media blasted. The tub has no rust but does have some dents and bumps from the farm. Lots of holes drilled throughout the tub for whatever they were doing on the farm with it. I'll have to weld those in too.
 
Last edited:
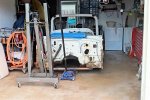
The engine hoist on the tub is a BRILLIANT idea. You're working completely by yourself as well, I presume? I've been wondering how I'm going to get my tub on/off by myself, was thinking I'd lift one end at a time and have the wife slip in some saw horses but your idea rocks the dolomite.
 
Only way to fly... been using a hoist either engine hoist or one attached to a beam for years... so much better than actual lifting.

cb
 
Yeah was also toying w/ the notion of running a 2x6 down the length of the ceiling and getting a chain block and tackle since the tub technically isn't overwhelmingly heavy and the beam would distribute the weight. But I have the engine hoist immediately available.
 
I do have help available but the hoist made quick work of it by myself. All 4 castors on the hoist swival too. That made it very easy to move the combo around and reposition into the garage. I have to pick up a couple more small furniture dollies for the tube to sit on. That makes it super easy to push around in the garage.

The tub will stay put in the garage until the chassis is complete. Then they will swap locations. I have a set of cheap engine stands that I'll be making a rotisserie out of through the sand blast and paint phase of the frame. Then I'll mount the tub to them.

The heat and humidity has been brutal this past week and I like the heat. It's just really hard to work with sweat pouring out of every inch of my body. So a few hours in the early am is all I care to do for now as long as the no-see-ums or mosquitos aren't eating me alive.
 
Last edited:
AMEN to that... last night trying to get u-joints in the drive shaft and then a yoke off the Dana 300 I was basically completely soaked in a t-shirt and shorts.... the humidity up here is INSANE... and I hate the heat. I mean I tried to keep up with the sweat by replacing it with beer, but I ran out ;)

cb
 
Yeah I know what you mean. I've noticed the more beer I drink the more I sweat.
 
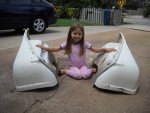
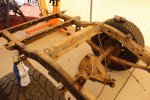
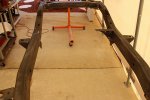
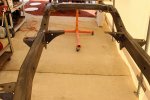
I've managed to get a little more work done on the frame. I couldn't have done it without my little helper. She was so happy she could help Dad.frame 1.jpg
 
Fresh crud from the ranch. I'll be swapping in my T176. The SR5 looks to have been rebuilt or replaced. I'll clean up, reseal, and swap the t-case over to my trans. At 39k miles it probably only needs a cleaning but since it's out...
frame 3.jpg

The rear crossmember has seen better days so instead of messing with it I cut it off. That allowed me to clean and treat inside the rear frame rails. I have a heavy duty rear crossmember coming from Chiefwaho to replace it. frame 2.jpg
 
Last edited:
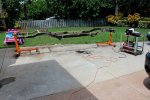
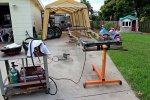
That's my el cheapo rotissieri but it works well. I can rotate the frame to vertical by myself and completely rotate it with help. I found that just rotating it to vertical is all I need to work all sides of the frame.
During disassembly I found a small crack at a previous weld repair. So I ground it down and rewelded the repair and cleaned up the mess a little.
frame 8.jpg
frame 7.jpg

After wire wheeling the whole frame it looks much better but it's still going to get sand blasted Monday. Also removed the bump stop mount for the diff that was attached to the frame by the shock mount. With a 4" lift going on I don't think I'll be flexing the springs that much with Florida flat land driving.
frame 4.jpg

Also welded on the exhaust hanger/parking brake cable mount from my old frame. I'll be running dual exhaust and will only use that as an attach point for the hangers.
Before:
frame 5.jpg
After:
frame 6.jpg
 
Last edited:
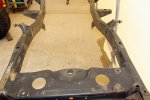
I didn't have time to take pics today but I spent several hours yesterday cleaning all the dried up California mud out of the frame. I used a laundry duct cleaning brush, my shop vac, screwdrivers, fingers, and a lot of head shaking. Just incredible how much dirt and pebbles came out of the frame.
This morning I received my undercaoting applicator from Eastwood. I'll take some pics this week and show it off. I filled it with a soap/water solution and sprayed the inside of the frame rails. Then hit it with the hose.... MORE dirt and rocks. When I finally get it all cleaned out I'm going to spray the inside of the frame with black rustoleum, or maybe an epoxy primer I have, or a corrosion preventative compound??
 
I plan on flat towing my frame (rolling chassis at that point) to the local car wash and blasting everything out w/ the want. For the Eastwood, did you not get the frame coating kit w/ the hose that goes on the spray can? That's what I'm going to use.
 
This is the set up I have. I like this because I can spray different coatings through the gun thick or thin. This should work really good for spraying up through the side posts behind each seat that the seat belts bolt to.
http://www.eastwood.com/undercoating-gun-and2-hoses-bottle.html

I skipped the coating they have as I have several choices available. But then I thought I was overdoing it a bit so a good cleaning and a nice thick coat of oil based rustoleum should be sufficient.
 
Yep that's the fancy version. Get your frame cleaned out real good and poke that hose through all the holes in the frame and spray away. Wipe off what pours and drips out of everywhere, let it dry, then coat the outside w/ whatever you're going to. Good plan on the side posts behind the seat. Might do well underneath the tub inside the supports as well.
 
Back
Top