• Notice for iPhone users: DO NOT use the image size reduction option when uploading photos to the forum. This causes portrait images to post as landscape. We have added a warning to the image insert pop-up as well.

The "Once in a while" 1983 Scrambler Laredo Build

I have no regrets about my TDK frame. Good choice! The only issue seems to be the body mounts at the front crossmember for the fuel tank: several of us have found them to be about 1/4" too low.

I found the same thing and posted a question about it in another forum. It is wierd since everything else lines up so perfectly, even the gap between the fuel sending unit and bottom of body is the same as mine was stock.
 
Painting the Chassis

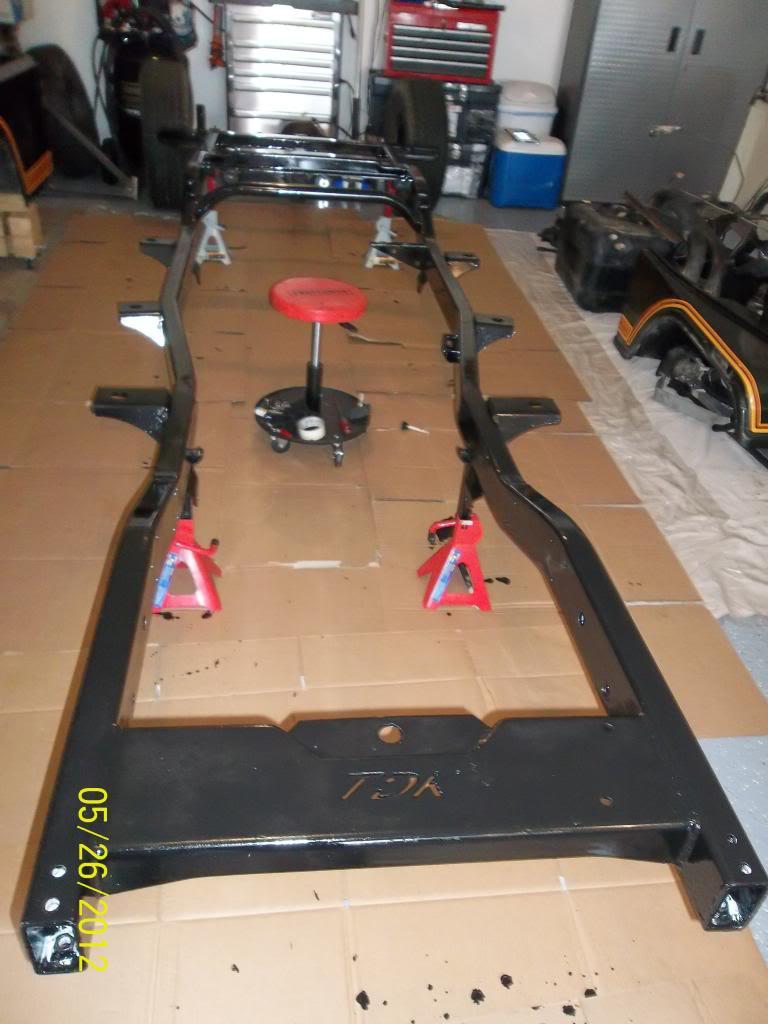
So I don't have any pictures of me hauling the Frame down to the bottom of my driveway in my HOA community and degreasing/etching it(the neighbors were pleased with that little maneuver) but I do have pictures of it back in the garage after applying 2 coats of POR-15. First, I used their "Marine Clean" to degrease the entire frame, and all future pieces to be painted, then I used the "Metal Ready/Prep&Ready" to etch the metal. The prep process worked very well and the galvanizing that once had a slick feel felt like a fine grit sand paper after the Metal Ready. The POR stuck right to it and dried rock solid, love this stuff.
100_05211-1.jpg


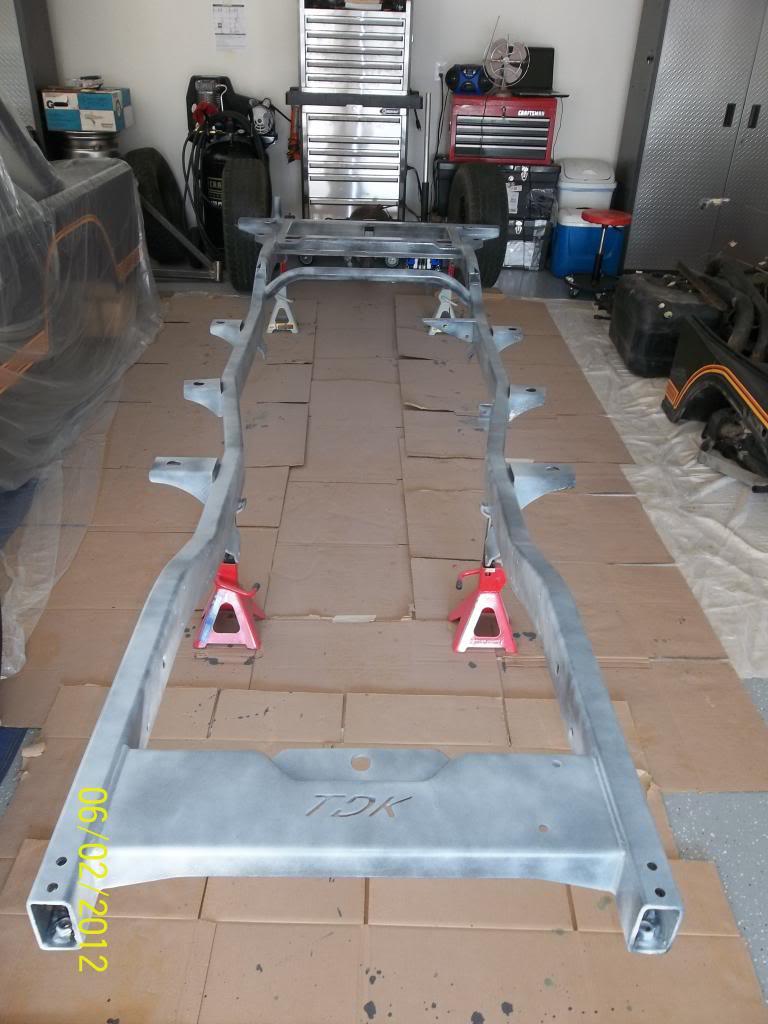
After the POR-15 dried for several hours, but not longer than 12 hrs, I applied a "dusting" (per the instructions) of POR-15's self-etching primer.

100_05221-1.jpg


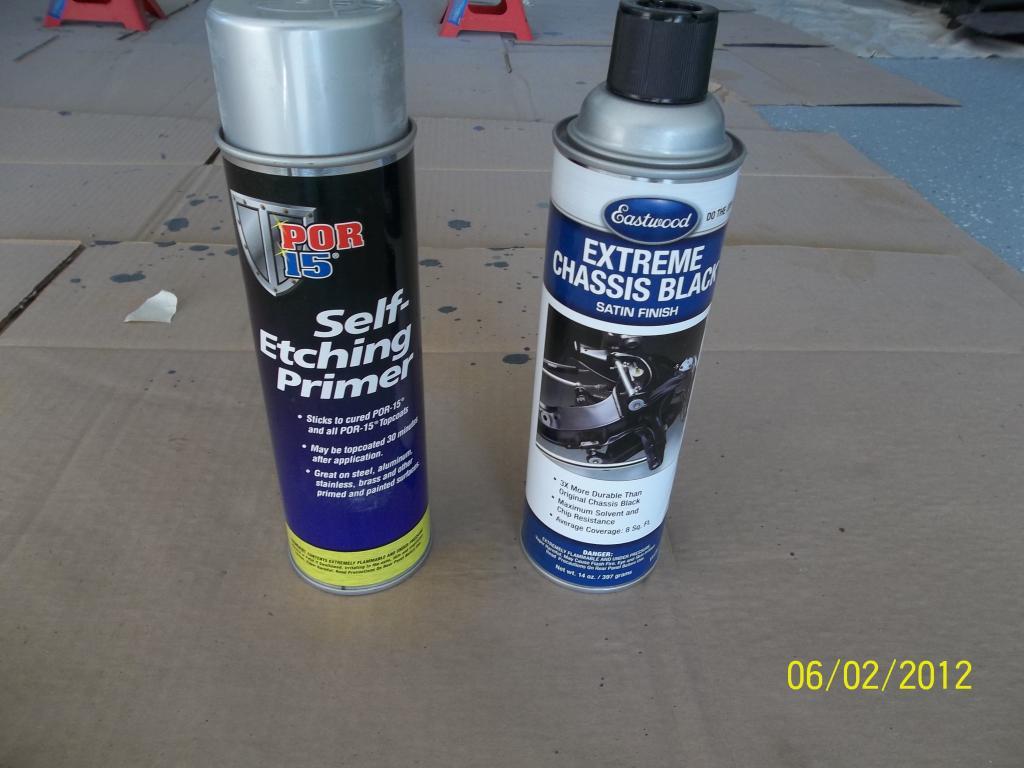
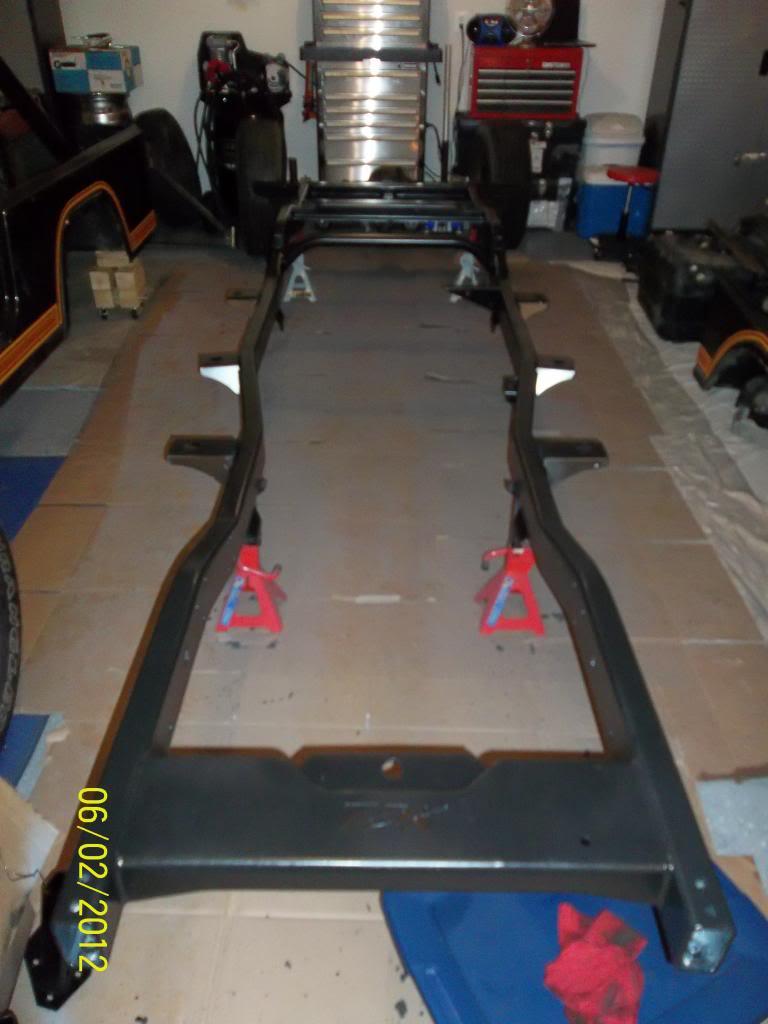
Then 2 top coats of Eastwoods/POR's Chassis Black as a top coat. Also, not applied yet in this picture is the Eastwood's Internal Frame coating which I sprayed inside the entire frame after masking all the holes off.
100_0523-1.jpg


100_05241-1.jpg


Here are some of the other parts that I am doing the POR/Primer/Chassis Black process to. For any old parts I blasted them, as well as my cheap media kit will do, and wire-wheeled all the rust/old paint and primer off. Then did the Marine Clean, Metal Ready, and POR.
100_0533-1.jpg
 
Man, you made me laugh with the HOA comment... It took me back over 10 years ago, when I did this...

http://certifiablejeep.com/images/frameprep/P1010004.jpg

It was a 10 car garage bay in my condo association... I got letters for weeks about it... the funny part is, 9 were haters, and 1 guys said the next time I did it, he wanted me to ring his doorbell to come down and watch... too funny.

cb
 
"Marine Clean"...? You hired R Lee Ermey to help and he what... ORDERED the frame to clean itself?? ;)
 
Man, you made me laugh with the HOA comment... It took me back over 10 years ago, when I did this...

http://certifiablejeep.com/images/frameprep/P1010004.jpg

It was a 10 car garage bay in my condo association... I got letters for weeks about it... the funny part is, 9 were haters, and 1 guys said the next time I did it, he wanted me to ring his doorbell to come down and watch... too funny.

cb

Nice! I figure they can deal with it, I hate HOA's. My Wife was quite nervous about someone citing us though. :rotfl:

"Marine Clean"...? You hired R Lee Ermey to help and he what... ORDERED the frame to clean itself??

Not quite, it just sounded like R Lee Ermey from from me swearing up and down the driveway trying to move the thing by myself. :crazy:
 
I parted 30 plus jeeps in my H.O.A ( GATED COMMUNITY ) but I fixed the neighbors a/c and heat ,water heaters and I have never gotten I letter , at least I don't think so ,( I don't read the mail )!!!!!!
 
I parted 30 plus jeeps in my H.O.A ( GATED COMMUNITY ) but I fixed the neighbors a/c and heat ,water heaters and I have never gotten I letter , at least I don't think so ,( I don't read the mail )!!!!!!

That's the ticket! Maybe I should ask my neighbors if they want one of their cars rebuilt!?!?!?
 
More painting and the Suspension

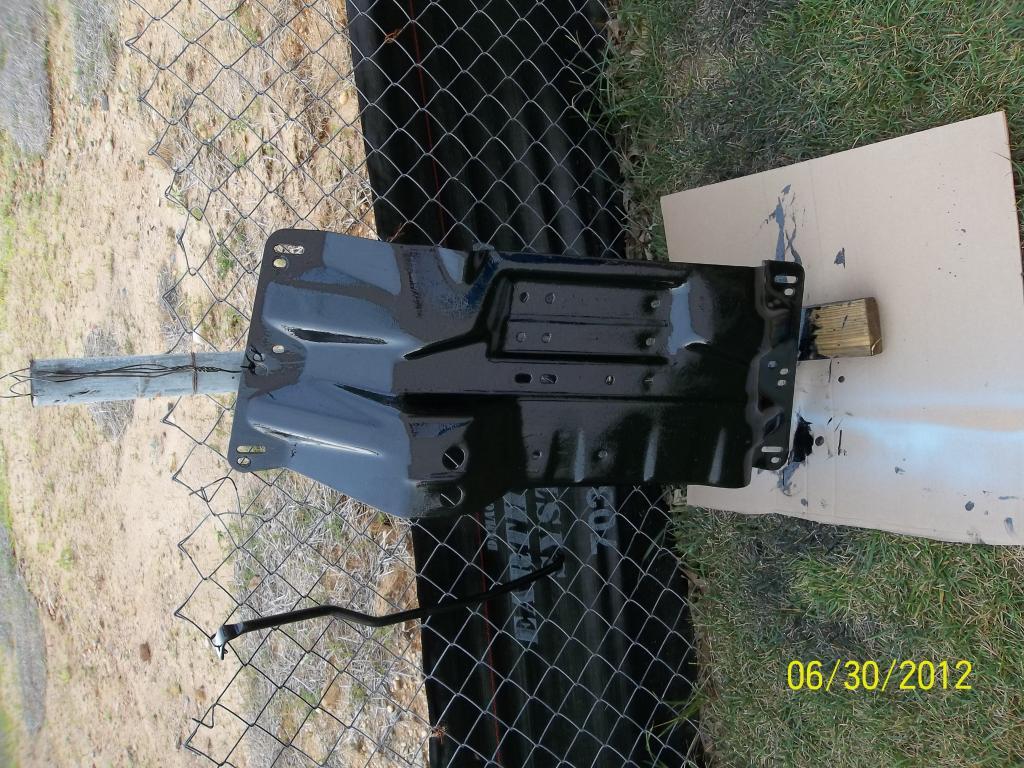
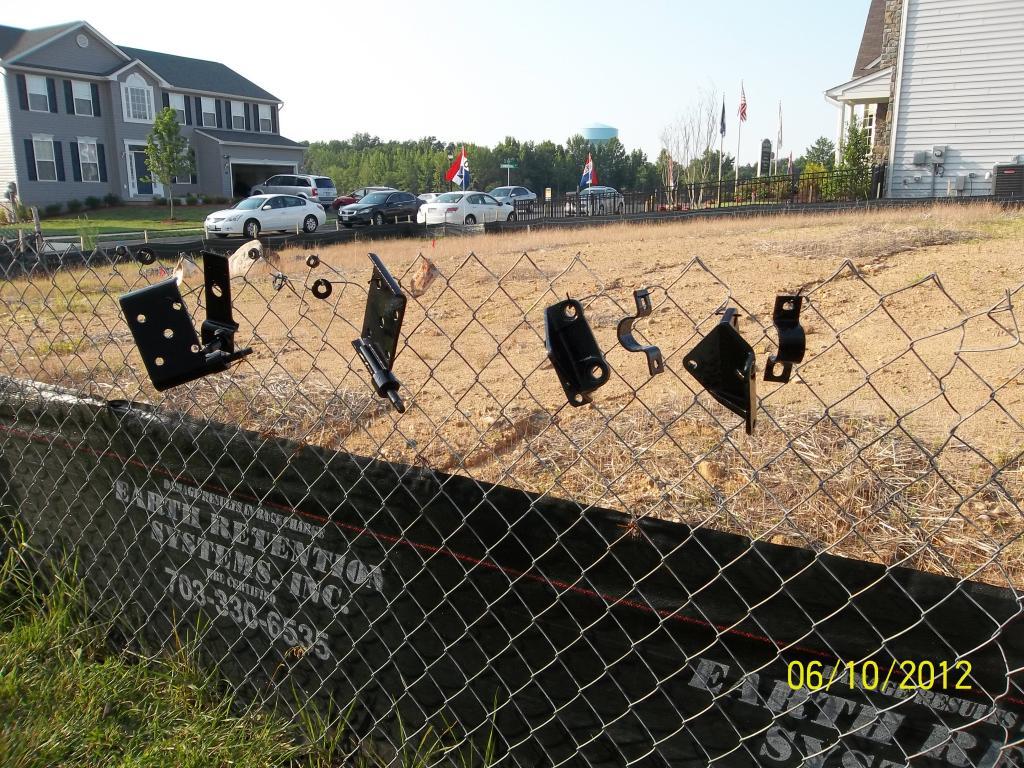
So my air compressor and die-grinder have been getting a workout "wire-wheeling" all of the stock re-usable parts. The POR-15 has been working really well also, anything that could be exposed to sunlight/UV was primed and top-coated with Chassis Black....the other stuff(skid plates) were just POR'd. Speeking of my HOA community, there is an empty lot between me and the model home, they really appreciate me using the silt barrier fence as a paint booth!!!
100_0529-1.jpg


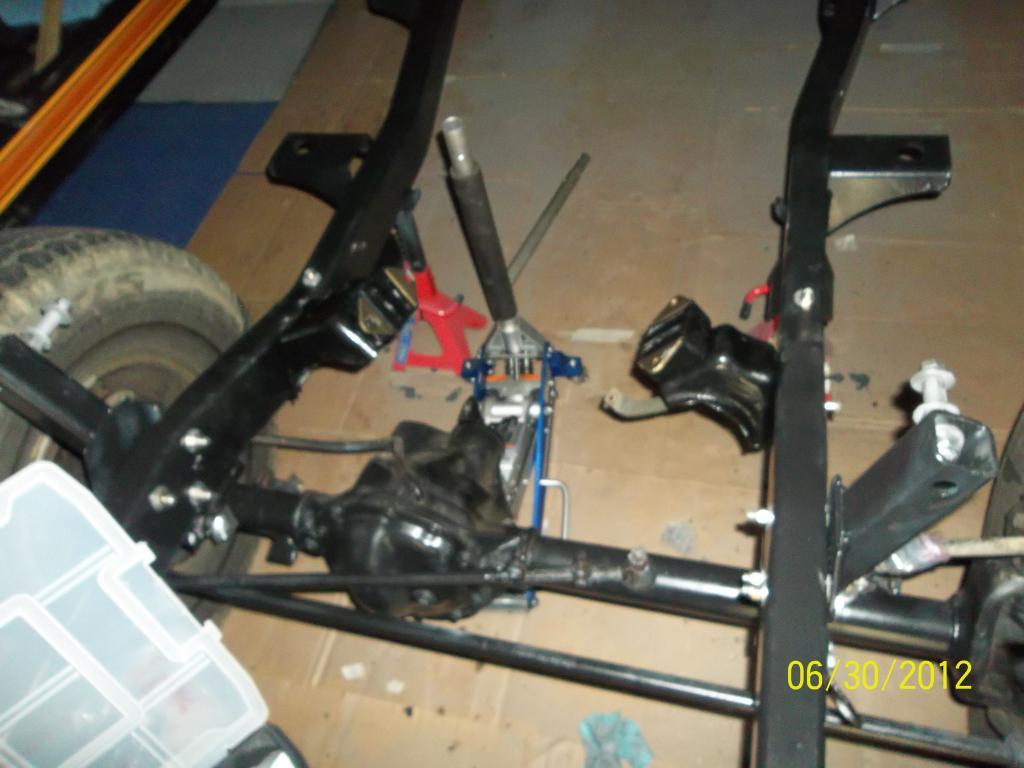
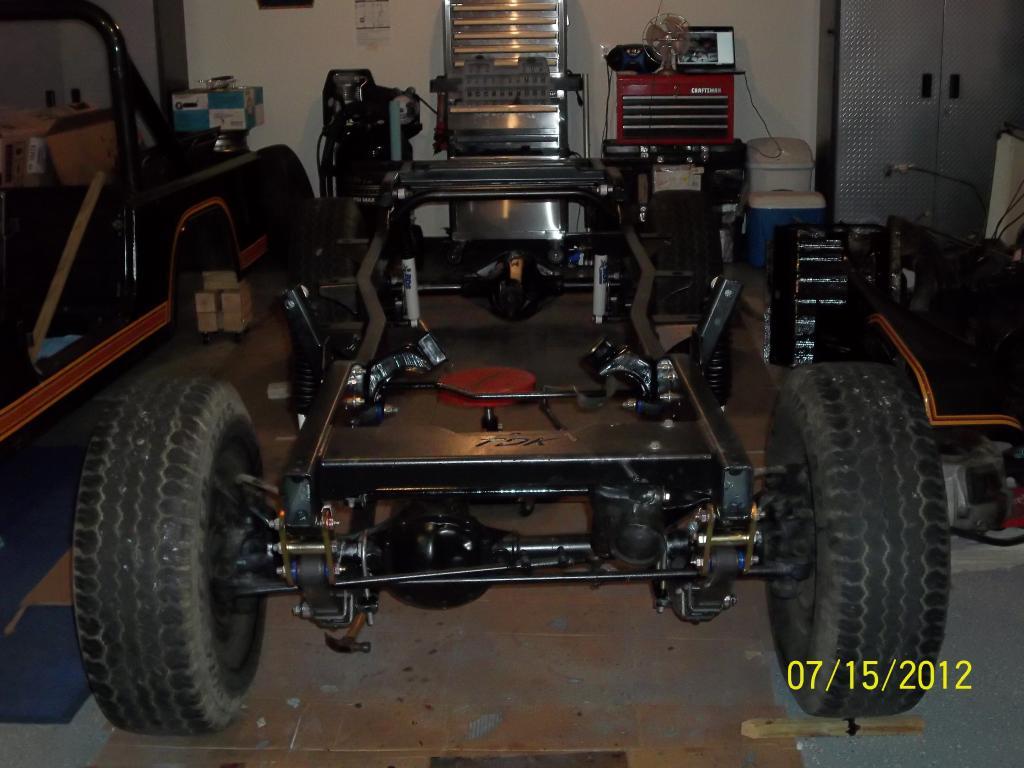
Here is the Chassis coming back together. This was a big turning point in the build for me, it feels great to stop de-constructing and begin rebuilding. I didn't POR the front and rear end. Just degreased and sanded them, primed and painted with Chassis Black. I kept the stock 2.73 gears and 2 piece rear axles in for now. They will be swapped out after I get the Jeep running and driving. That is part of my plan to expedite the build so I can finish before my Son arrives in February!
100_0531-1.jpg


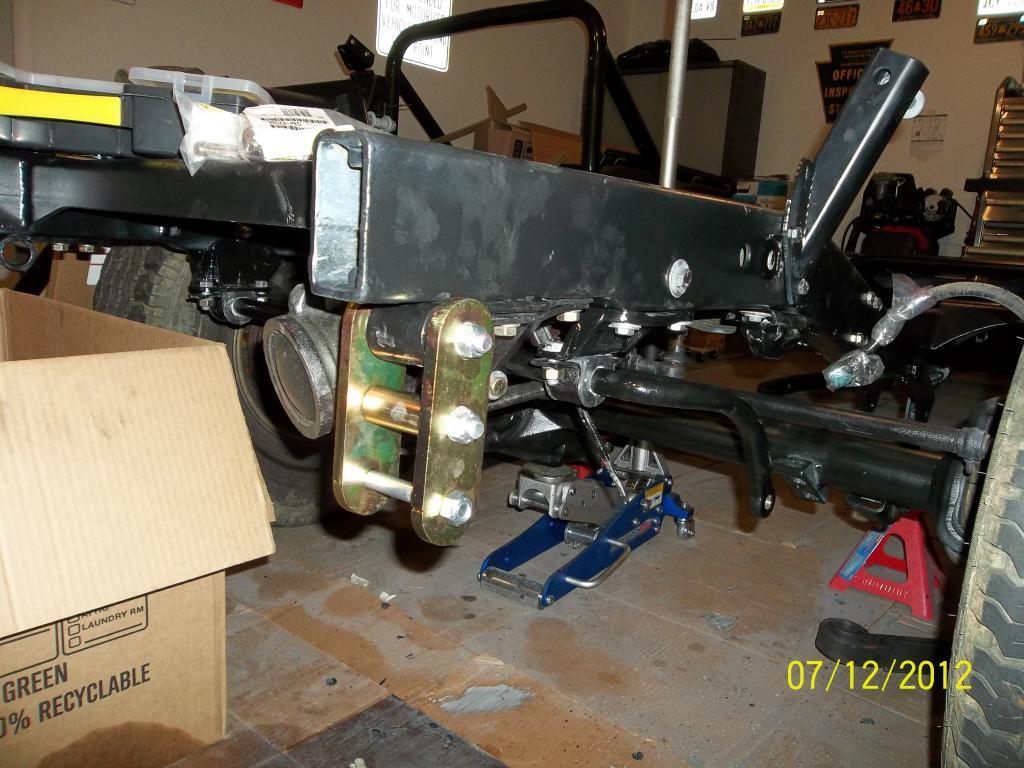
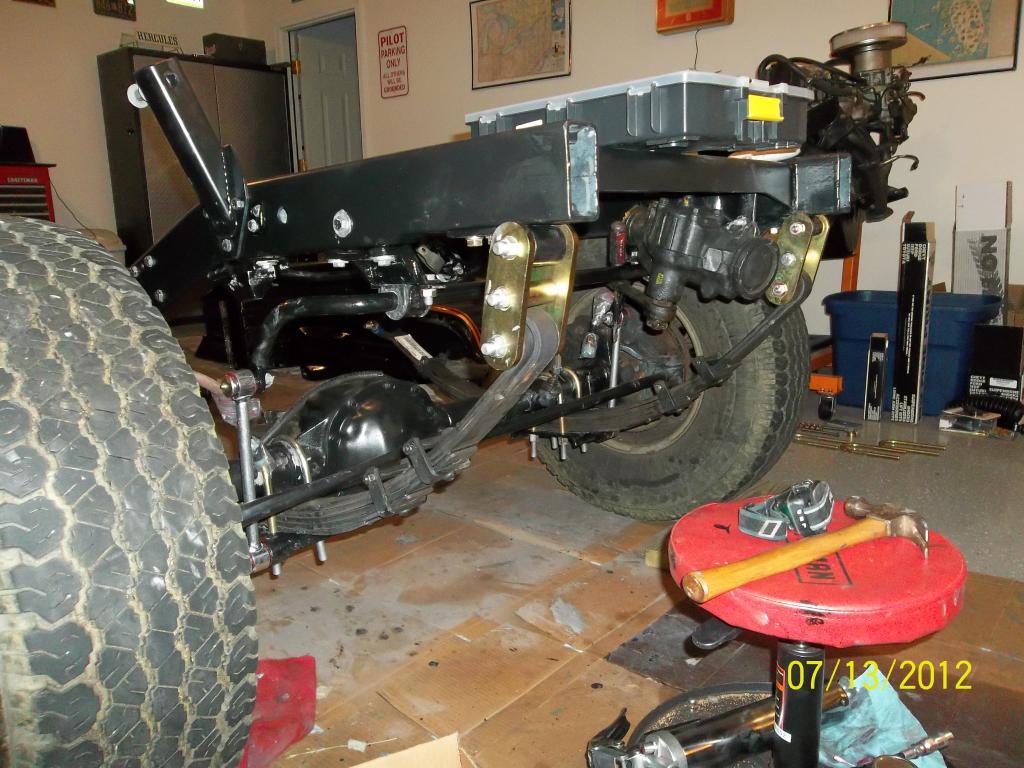
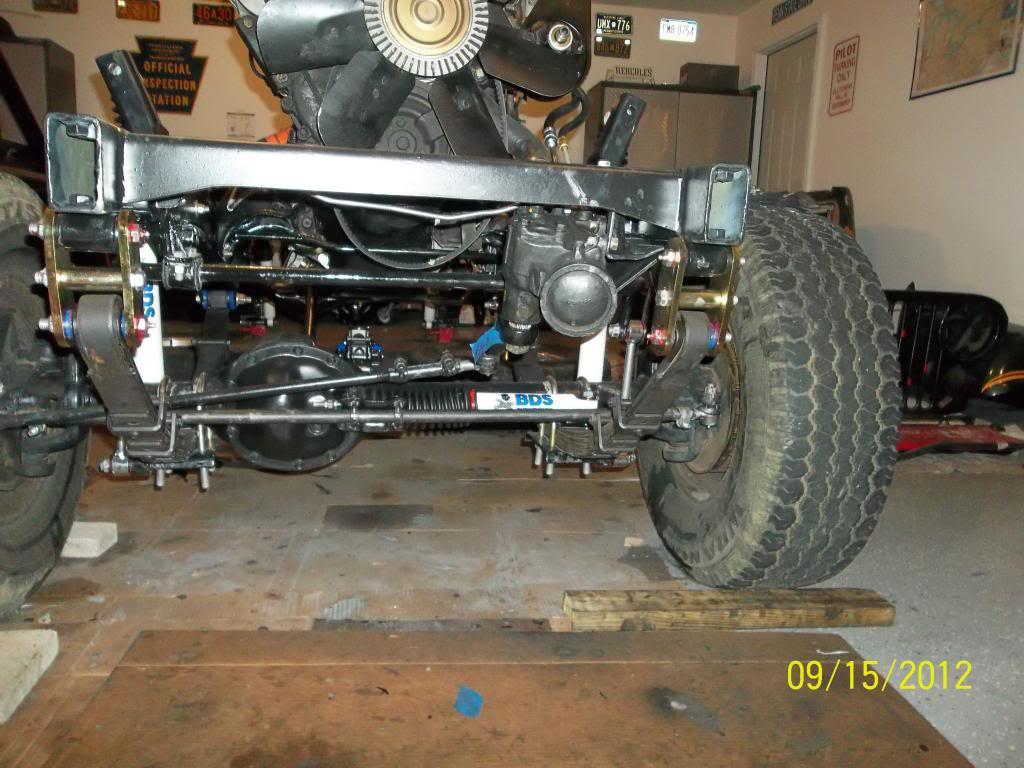
For the Suspension, I decided on a 4" lift from BDS. I ordered directly from their website which was very straight forward. Once you pick the suspension you can customize it and add accessories like a drop pitman arm, shocks(I went with the basics, FOX Racing is available), steering stabilizer, add-a leaf for the rear which I got and they recommend for CJ-8's. I decided against their shackles for no good reason other than I really liked the MORE shackles which were custom ordered to fit the BDS kit and it's military wrapped springs. They came with greasable bolts and were very beefy, great product.
100_0536-1.jpg


I hadn't yet installed the drop pitman in this picture, ended up having to go out and buy a puller. And the silver stuff everywhere is Anti-sieze, I am going a little overboard with that stuff. I am guess I am just rust-phobic at this point of the build. :rotfl:
100_0538-1.jpg


100_0541-1.jpg
 
Last edited:
Hey, this is a great thread. Really appreciate all the pics. I will be starting my build soon and this will really help me. PO already "coated" the undercarriage with an unidentified product but it looks like they did a pretty good job. However, no fuel lines, brake lines, or exhaust, also don't know the condition of the tank or sending unit. Will be adding a RE 4.5" lift and regearing (and 1 piece axles) at the same time. Lastly don't like what he did with the under side of the tub. Looks like they sprayed right over rust. Contemplating removing tub for better access to everything and sandblasting the the underside of the tub. Nervous about the wire harness though and being able to put it back. I'm mechanically inclined but this is my first jeep and auto mechanic knowledge is limited....but I'm learning alot and appreciate threads like this.
 
Hey, this is a great thread. Really appreciate all the pics. I will be starting my build soon and this will really help me. PO already "coated" the undercarriage with an unidentified product but it looks like they did a pretty good job. However, no fuel lines, brake lines, or exhaust, also don't know the condition of the tank or sending unit. Will be adding a RE 4.5" lift and regearing (and 1 piece axles) at the same time. Lastly don't like what he did with the under side of the tub. Looks like they sprayed right over rust. Contemplating removing tub for better access to everything and sandblasting the the underside of the tub. Nervous about the wire harness though and being able to put it back. I'm mechanically inclined but this is my first jeep and auto mechanic knowledge is limited....but I'm learning alot and appreciate threads like this.

Good luck with your build! I am replacing my wiring harness with a new one from Painless because my stock one was hacked up. The wiring is pretty straight forward on these Jeeps so if you take pictures of the removal you should have no problem reinstalling the stock one. I have over 700 photos of my build so if you need something for reference just shoot me a PM.
 
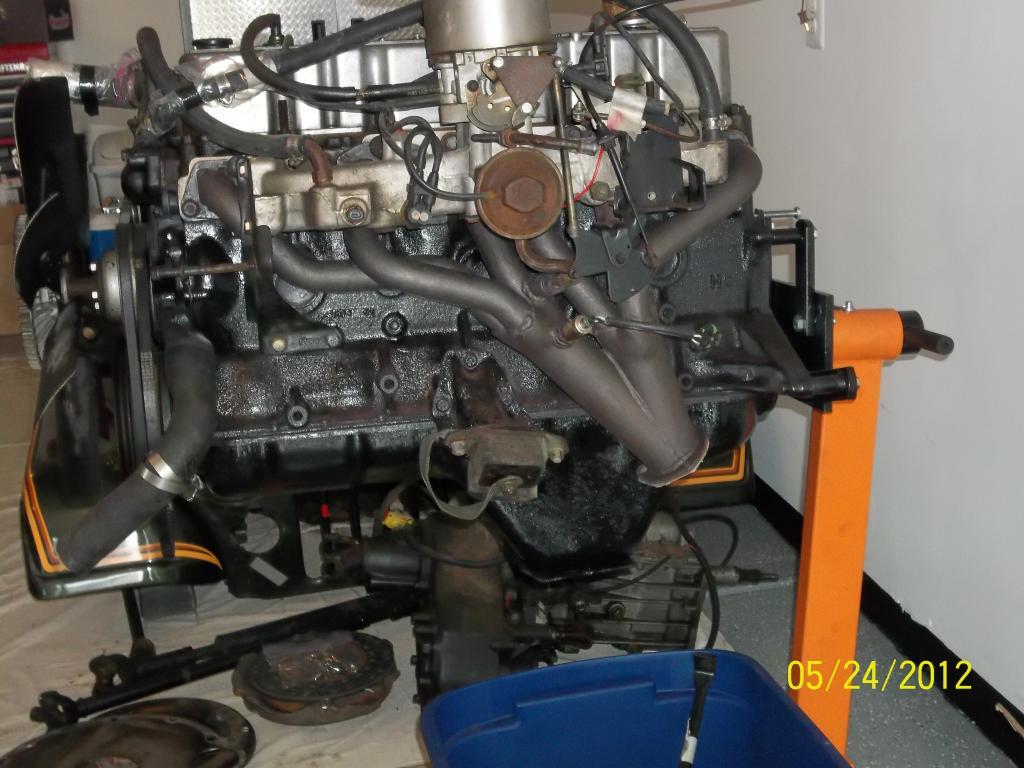
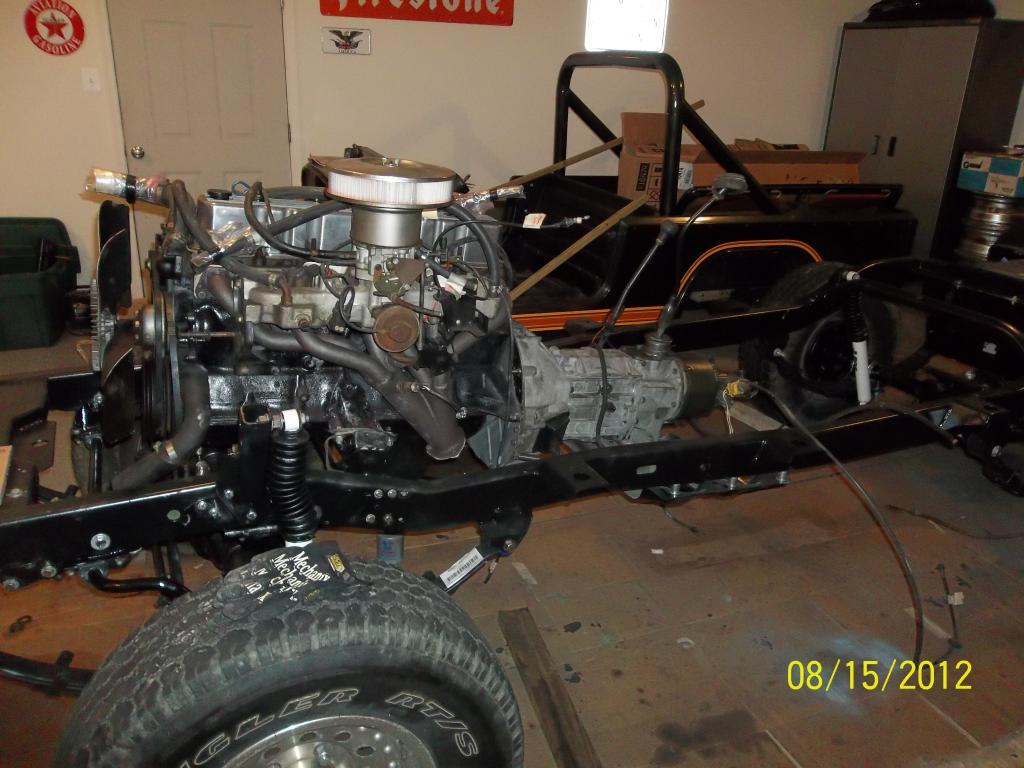
Man this summarized build thread seems to go a whole heck of a lot faster than the actual build did. :huh: While I had the engine and trans out I cleaned them up with degreaser and a pressure washer(for the trans/transfer case). The engine was in good shape and cleaned up sufficient enough for my purposes. I ended up throwing new plugs, plug wires, oil pan gasket, rear main seal, valve cover gasket, power steering pump, and all new hoses/vacuum lines on it. Both the oil pan gasket(rubber/metal kind) and valve cover gasket would have been a nightmare to reinstall if not for using some RTV to keep them in place while I cinched them up. I also put new seals on the transfer case outputs as well as the "pan gasket" underneath. There was a slight leak from under the Dana 300 before I started the resto. Then filled it back up with ATF and the T-5 back up with the recommended synchromesh oil.

Here is the engine on my trusty Harbor Freight engine stand.
100_0520-1.jpg


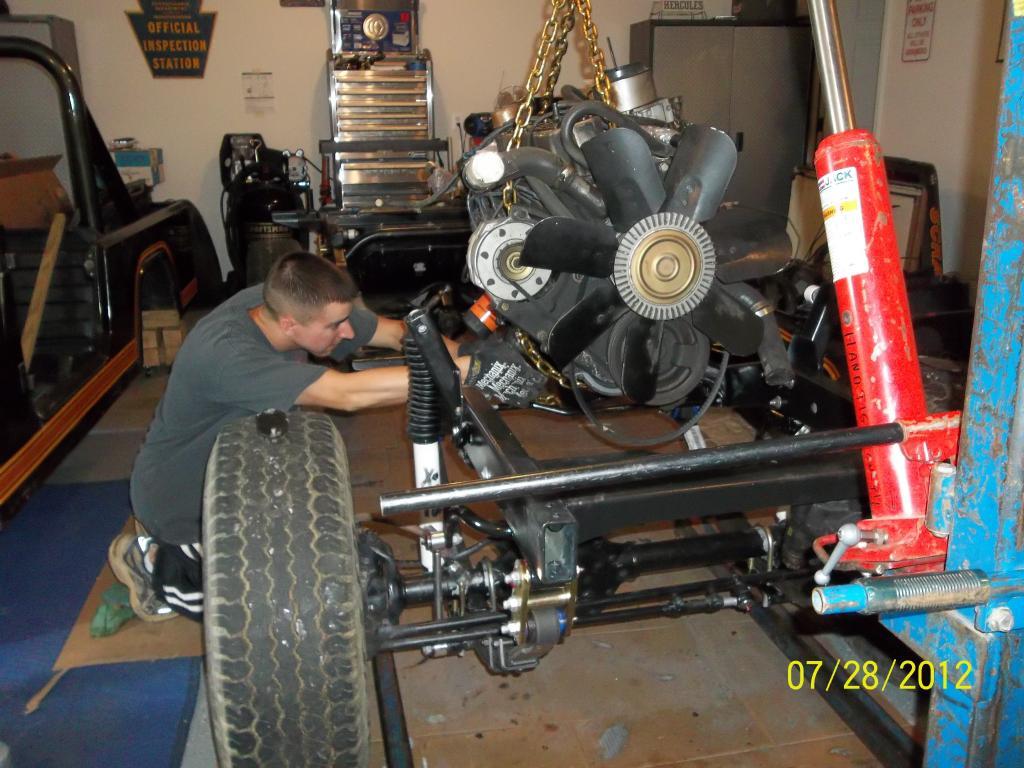
Me putting the engine back in using a rented 1 ton hoist from Sunbelt Rentals, only 70 bucks I think? And we were able to get it in my wifes Honda Civic for transport to/from :eek: Man I need a truck....better finish this rebuild!
100_0554-1.jpg


Thanks to JimsChopShop and the use of his Tranny Jack my Dad and I were able to mate the engine and trans back together with little to no swearing or throwing things around the garage :thumbsup: My Dad(who gave me the Jeep) has called me crazy for wanting to restore it but is always eager to drive the 4 hrs down to my house to help out.
100_0556-1.jpg


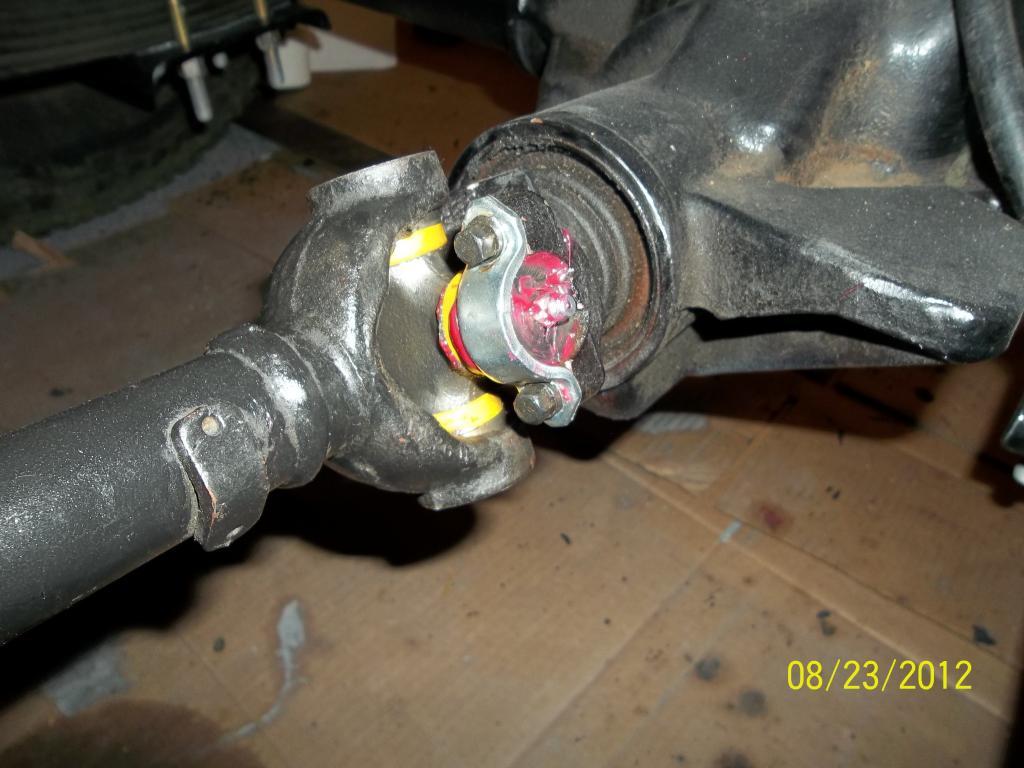
After the engine/trans were back in I put in the drive shafts along with some new Tom's Woods U-Joints purchased in a group order along with OneTon. If anyone wants to know how to install/uninstall u-joints without a shop vice or a press(the appropriate tools) please let me know. :shrug:
100_0563-1.jpg


By this point I couldn't stop imagining myself driving the Scrambler again and what a great feeling it was. In the back of my mind however was the large sums of money that were looming on my FISCAL CLIFF with regards to body work in particular. I get sent on a lot of trips for the Military so I have been stashing my per-diem in a slush fund that the wife has Ok'd.

 
Interesting/coincidental that you just posted your engine all cleaned up. As mentioned in post, my chassis and body are in pretty good shape but my engine looks pretty awful. Looks old and tired. Rusty and crusty. I was looking to clean it up the same way you did but wasn't sure if degreaser/engine brite/simple green and power wash would do the trick. Also concerned about getting water in any orifices even if I made an attempt to plug them. Using a power washer, I was thinking water can get anywhere? Did I understand correctly in that you did not use pw for engine. Just curious how bad your engine was prior because it looks great now. Could you possibly post a close up of your engine prior to cleaning? Thanks!
 
Interesting/coincidental that you just posted your engine all cleaned up. As mentioned in post, my chassis and body are in pretty good shape but my engine looks pretty awful. Looks old and tired. Rusty and crusty. I was looking to clean it up the same way you did but wasn't sure if degreaser/engine brite/simple green and power wash would do the trick. Also concerned about getting water in any orifices even if I made an attempt to plug them. Using a power washer, I was thinking water can get anywhere? Did I understand correctly in that you did not use pw for engine. Just curious how bad your engine was prior because it looks great now. Could you possibly post a close up of your engine prior to cleaning? Thanks!

Correct, I did not pressure wash it. I actually kept the manifolds and accessories attached to the engine while I cleaned it. The degreaser and a wire brush to scale off the old paint helped, then I primed with a high temp primer and painted it with some high temp paint. I was able to mask off anything I didn't want to be painted. On the exhaust header, which had surface rust I sanded lightly and cleaned off the loose rust then used Calyx manifold coating from www.Jeep4x4Center.com. It came out pretty good and was worth it to me to not have to take off the header.

If you need some help when your off let me know,

Will do! I should be able to get to it a little today but my Tires come in this afternoon. I will be working on it Tues/Wed a lot if you are interested. I will give you a call. :cheers:
 
There was a slight leak from under the Dana 300 before I started the resto. Then filled it back up with ATF and the T-5 back up with the recommended synchromesh oil.


I've never heard of putting ATF in a Dana 300. I know the T5 calls for AMC snakeoil so people run all kinds of stuff in the T5, but I've always run 75-90WT in the Tcase.....

Looking good on the rebuild!
 
I've never heard of putting ATF in a Dana 300. I know the T5 calls for AMC snakeoil so people run all kinds of stuff in the T5, but I've always run 75-90WT in the Tcase.....

Looking good on the rebuild!

You're the second person today I talked to about this, weird. I think I am going to go with your recommendation and go back to the standard gear oil in the Dana 300. It originally had ATF in it from the previous owner, my Dad, I doubt he ever serviced the transfer case himself. I had heard some people recommend it for use in colder climates, I guess that is how it got there. The Jeep was a Pennsylvania Scrambler all its previous life; that is the only time my Dad would have used the 4WD(in the snow).

Add an oil change for the transfer case to the LIST!
 
Chassis is prepped, on to the Body

Well, by this point the chassis was pretty much done. There were small things that I could fiddle with until I had to bite the financial bullet finish stripping the body to send it off to the blasters.
100_0581-1.jpg


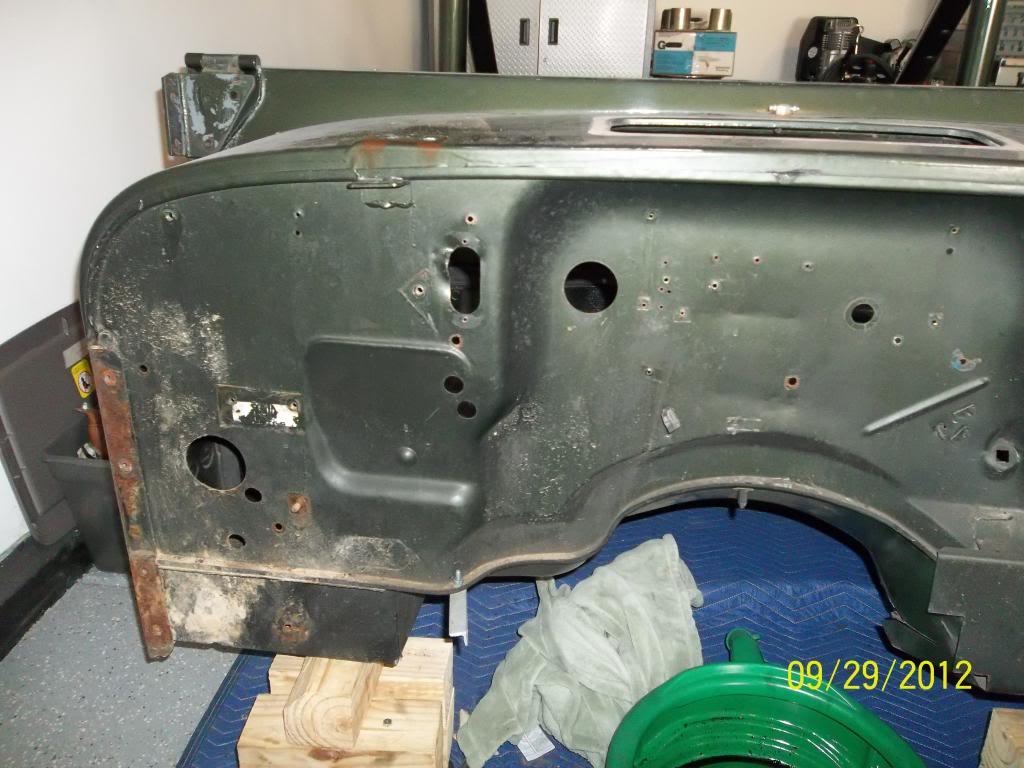
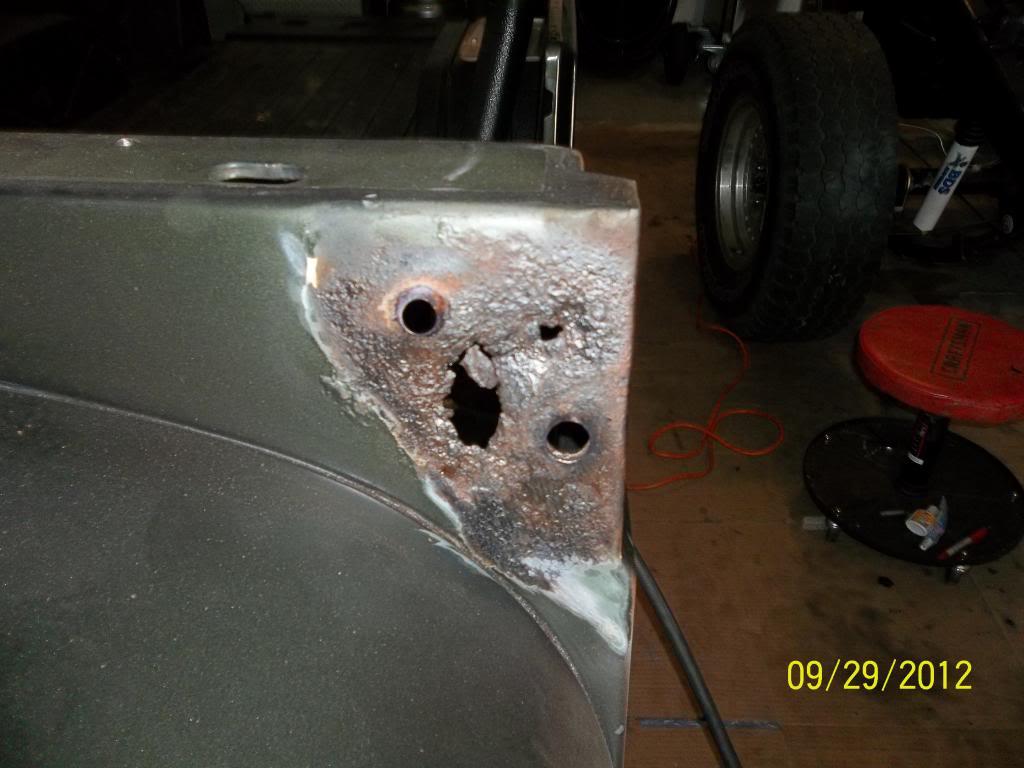
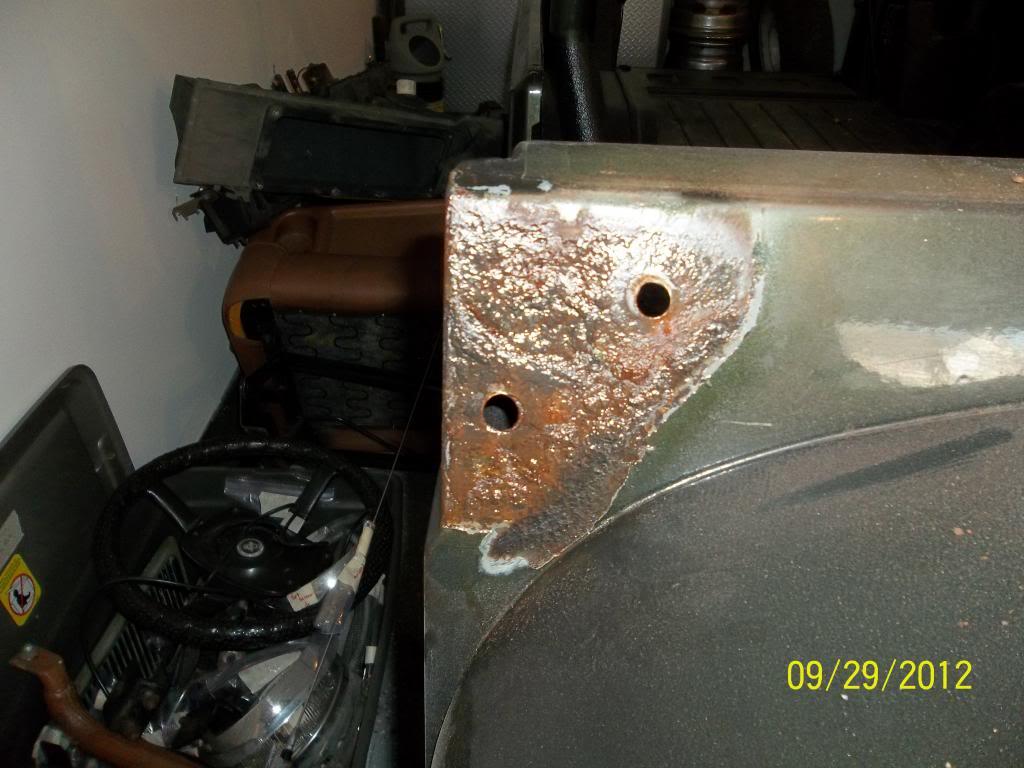
Upon stripping all the hinges off I discovered that not only did AMC not paint behind any hinge on the body, but when the last shop "restored" the Jeep they just left them in place and painted right over everything. :banghead: The windshield hinges on the body tub itself were by far the worst areas and are going to require metal work to fix. Everything else, thankfully, should be taken care of by the blasting/primer and a little body filler to smooth out the dimples before paint. The tub was in good shape otherwise, rust in the usual spots: between the fenders and firewall, underside had surface scale especially back by the gas tank from a previous leak at the sending unit. Luckily when it was restored previously they actually did take good care of the passenger compartment and the bed. Rust was fixed there, primed and bed-lined. So, I am going to leave that area alone.
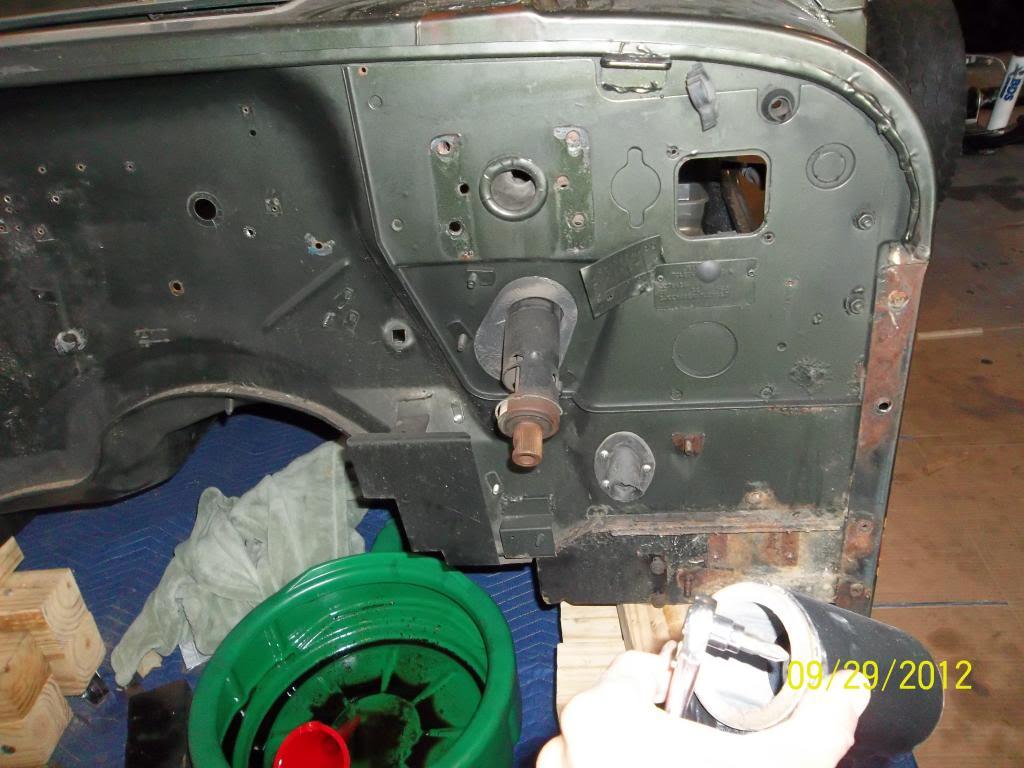
100_0584-1.jpg


100_0585-1.jpg


100_0598-1.jpg


100_0599-1.jpg
 
Body is ready to go

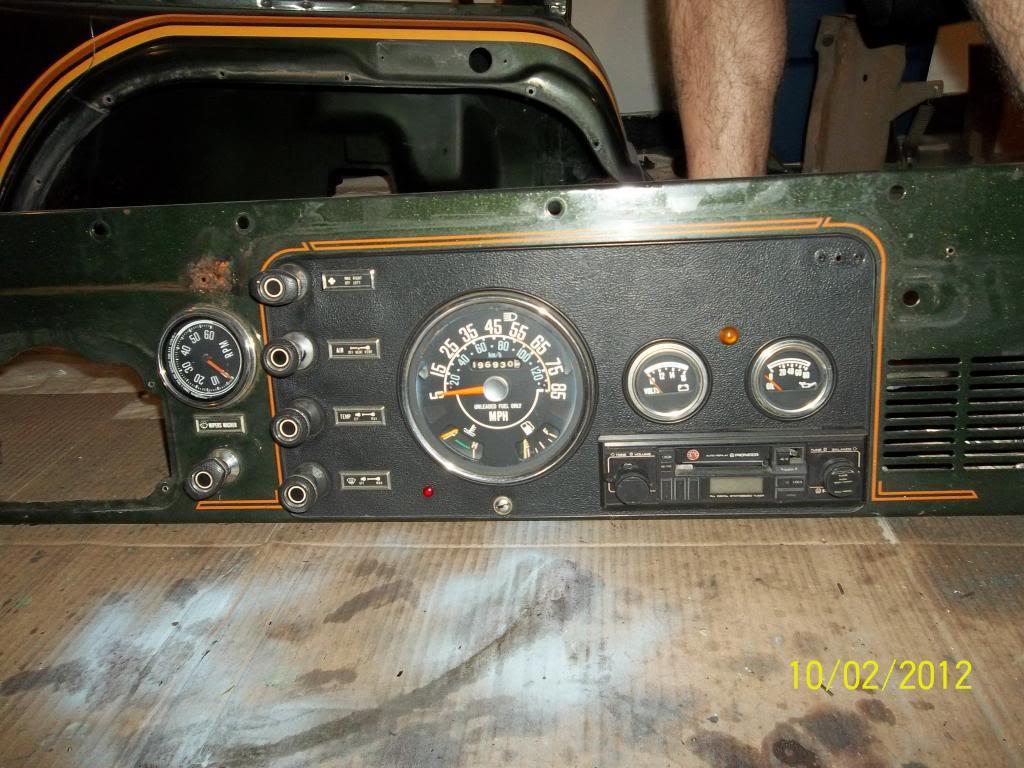
Here's some more pictures of the dash and tub before they were loaded up to go to American Stripping Company in Manassas for media blasting and epoxy primer.
100_06221-1.jpg


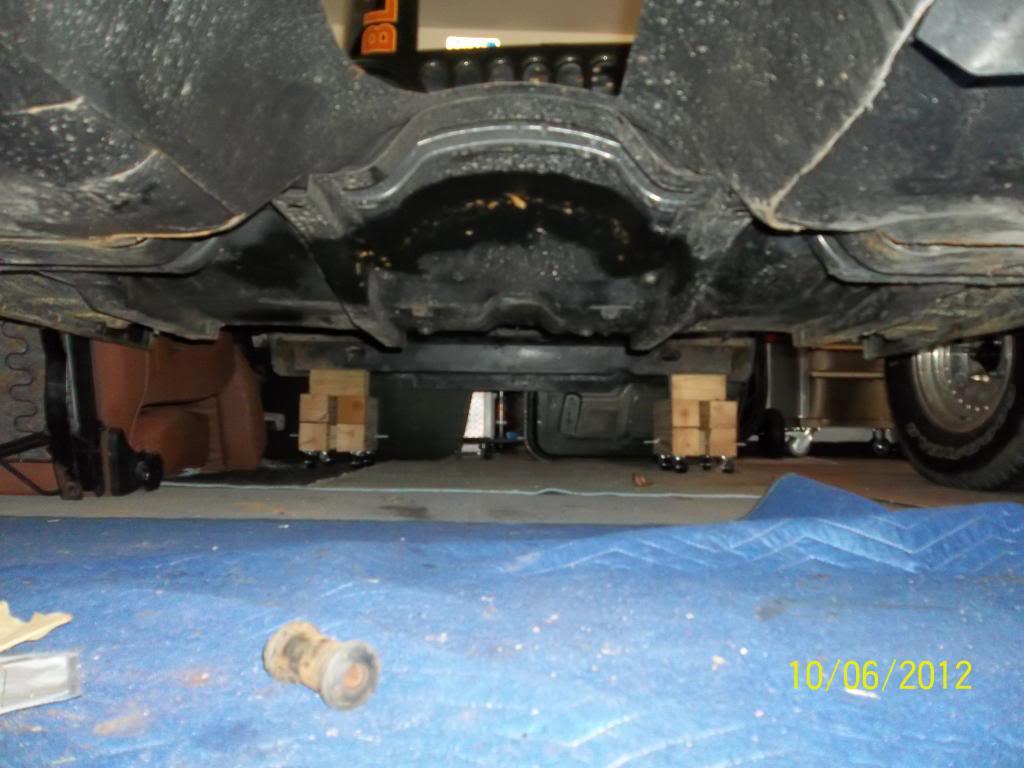
Another picture of the underside with not too bad of a rust issue. You can see if you look close that the previous shop never took the body off when they did a floor pan repair. Looks like they cut the pans out from the top, welded in a patch and left about 1 inch of scrap hanging down on the underside. The floor pans are very solid so I am going to have the body shop clean up the underside so rust doesn't have a place to start.
100_0655-2.jpg


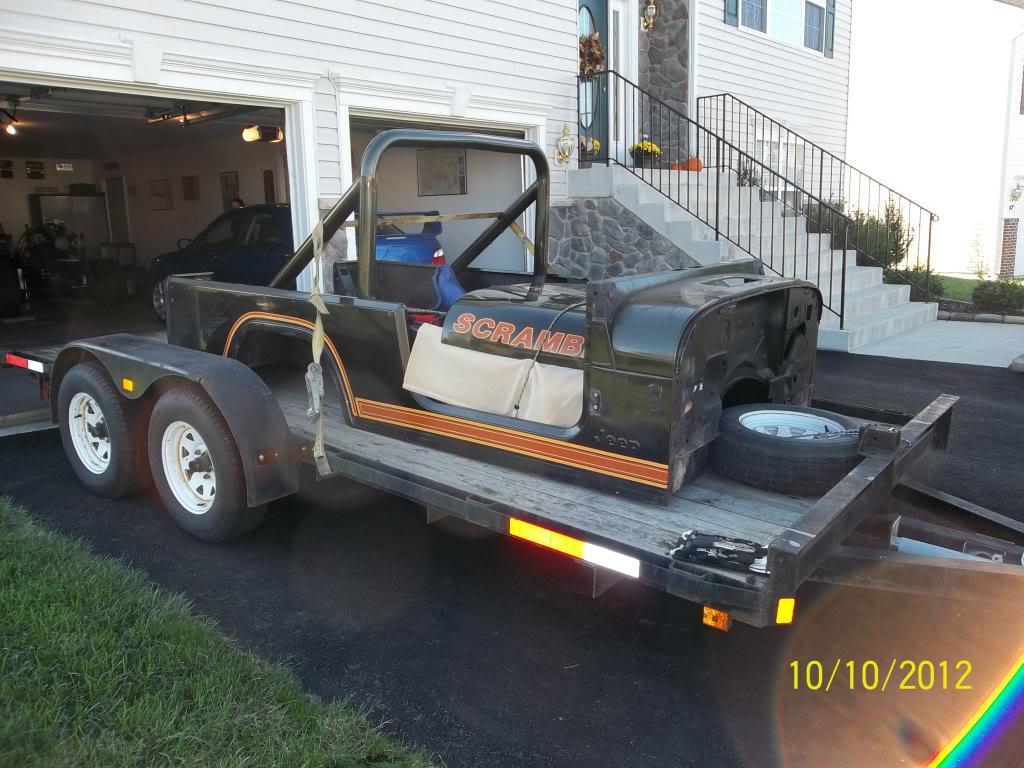
Loaded up on OneTon's trailer to head to the blasters. This was one of several trips he helped me out on during the body work phase.
100_0677-1.jpg


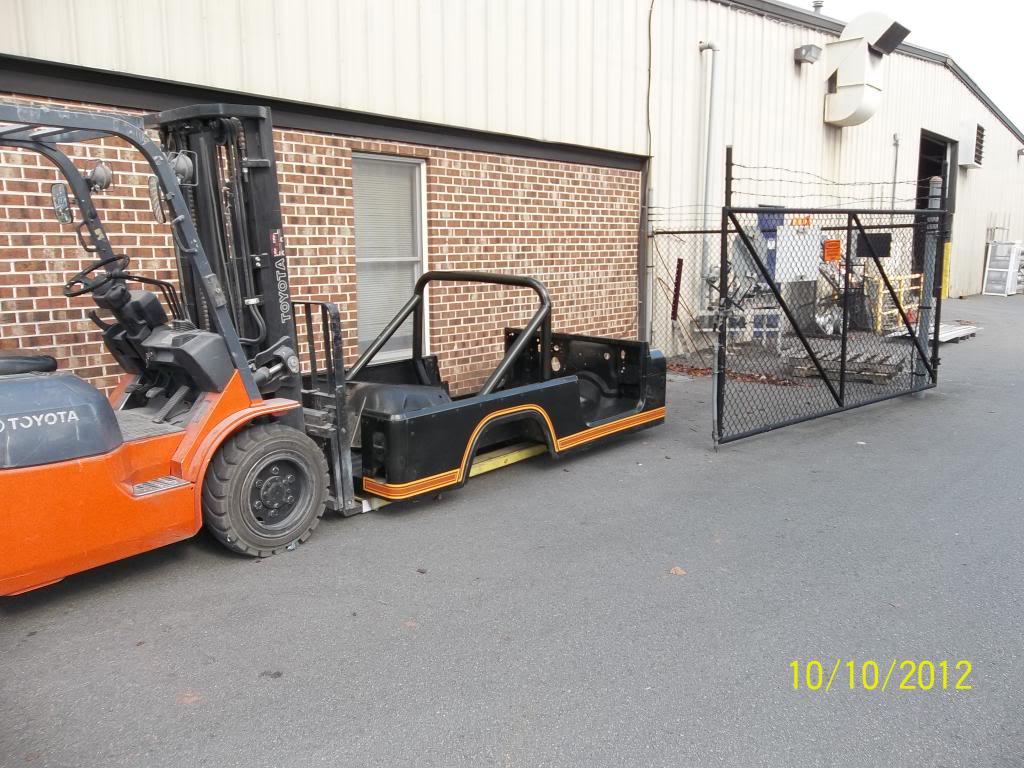
Body at the blasters. It will be a few weeks until I can get back to working on it again due to work commitments.
100_0678-1.jpg
 
Even in Alaska, we run gear oil in Dana 300s.

Yea...that is just what I heard from some other Jeepers. I wouldn't have put it in if it wasn't already in there, it will be getting swapped out before she is driven again.
 
Back
Top