• Notice for iPhone users: DO NOT use the image size reduction option when uploading photos to the forum. This causes portrait images to post as landscape. We have added a warning to the image insert pop-up as well.

TJScrambler - Getting Started

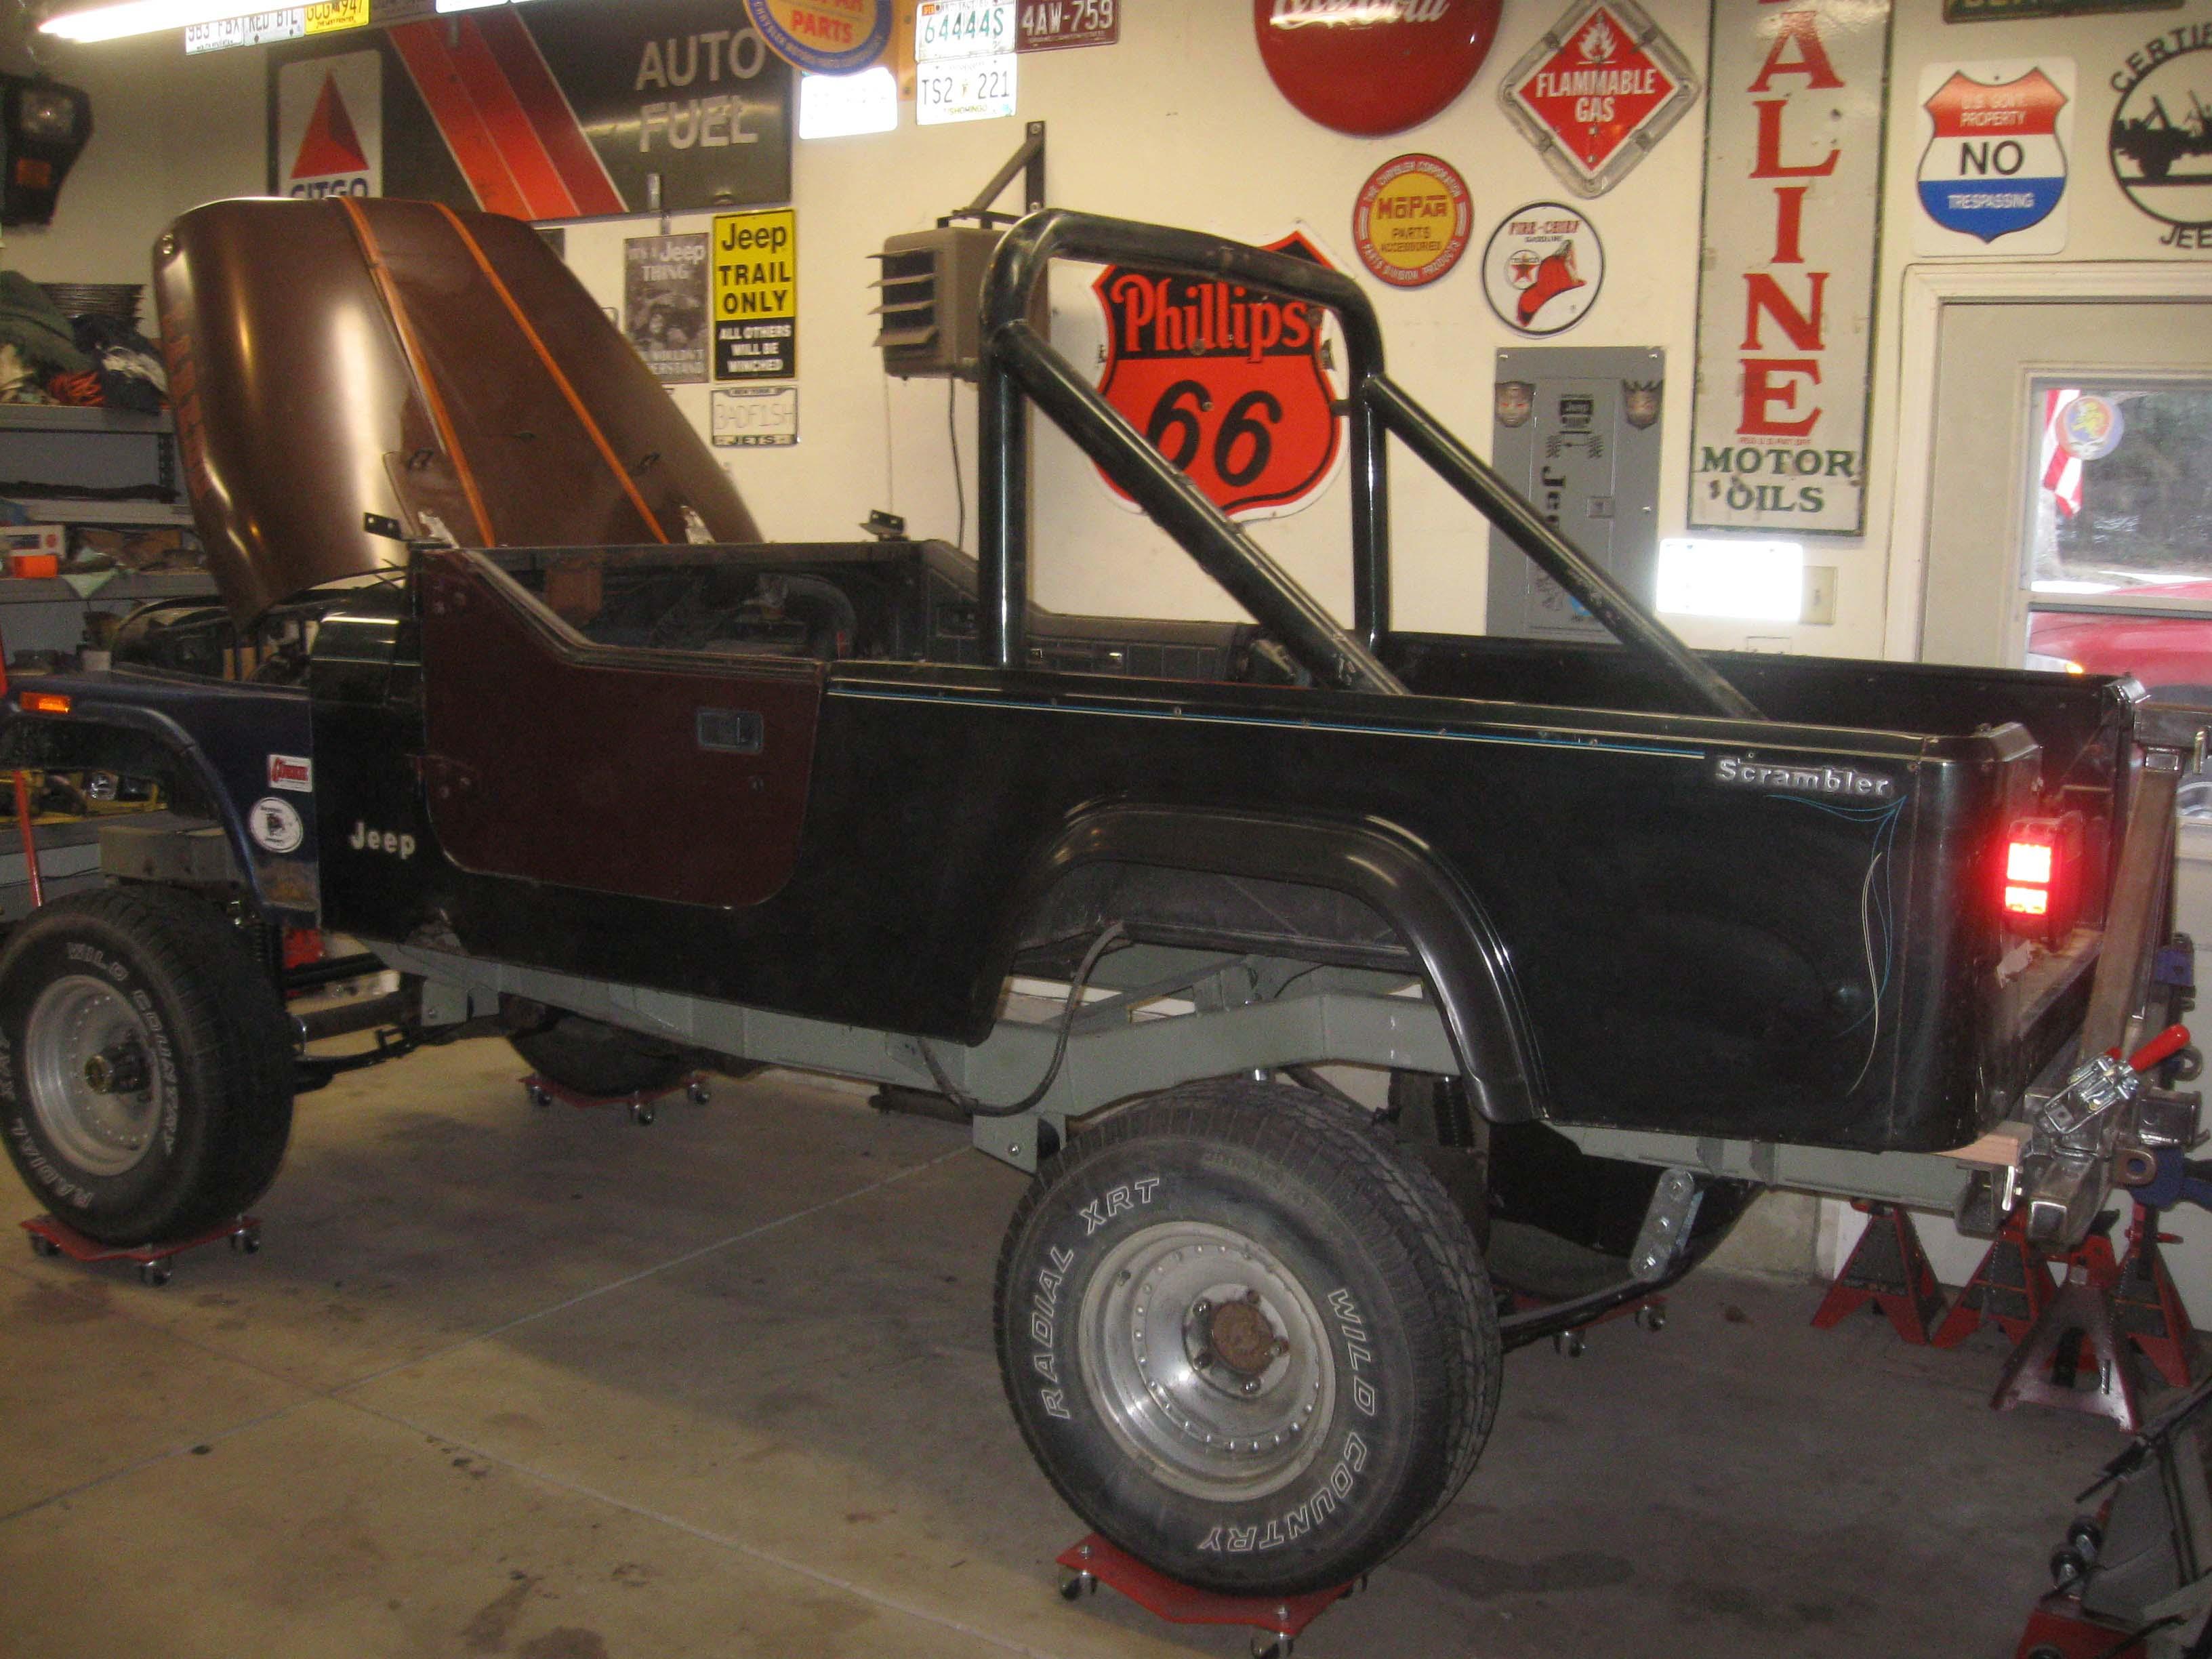
I can see the finished product now. LOL

3e053633edcc722157bf8bfafa16ba0b-1.jpg


cb
Sent from the garage
 
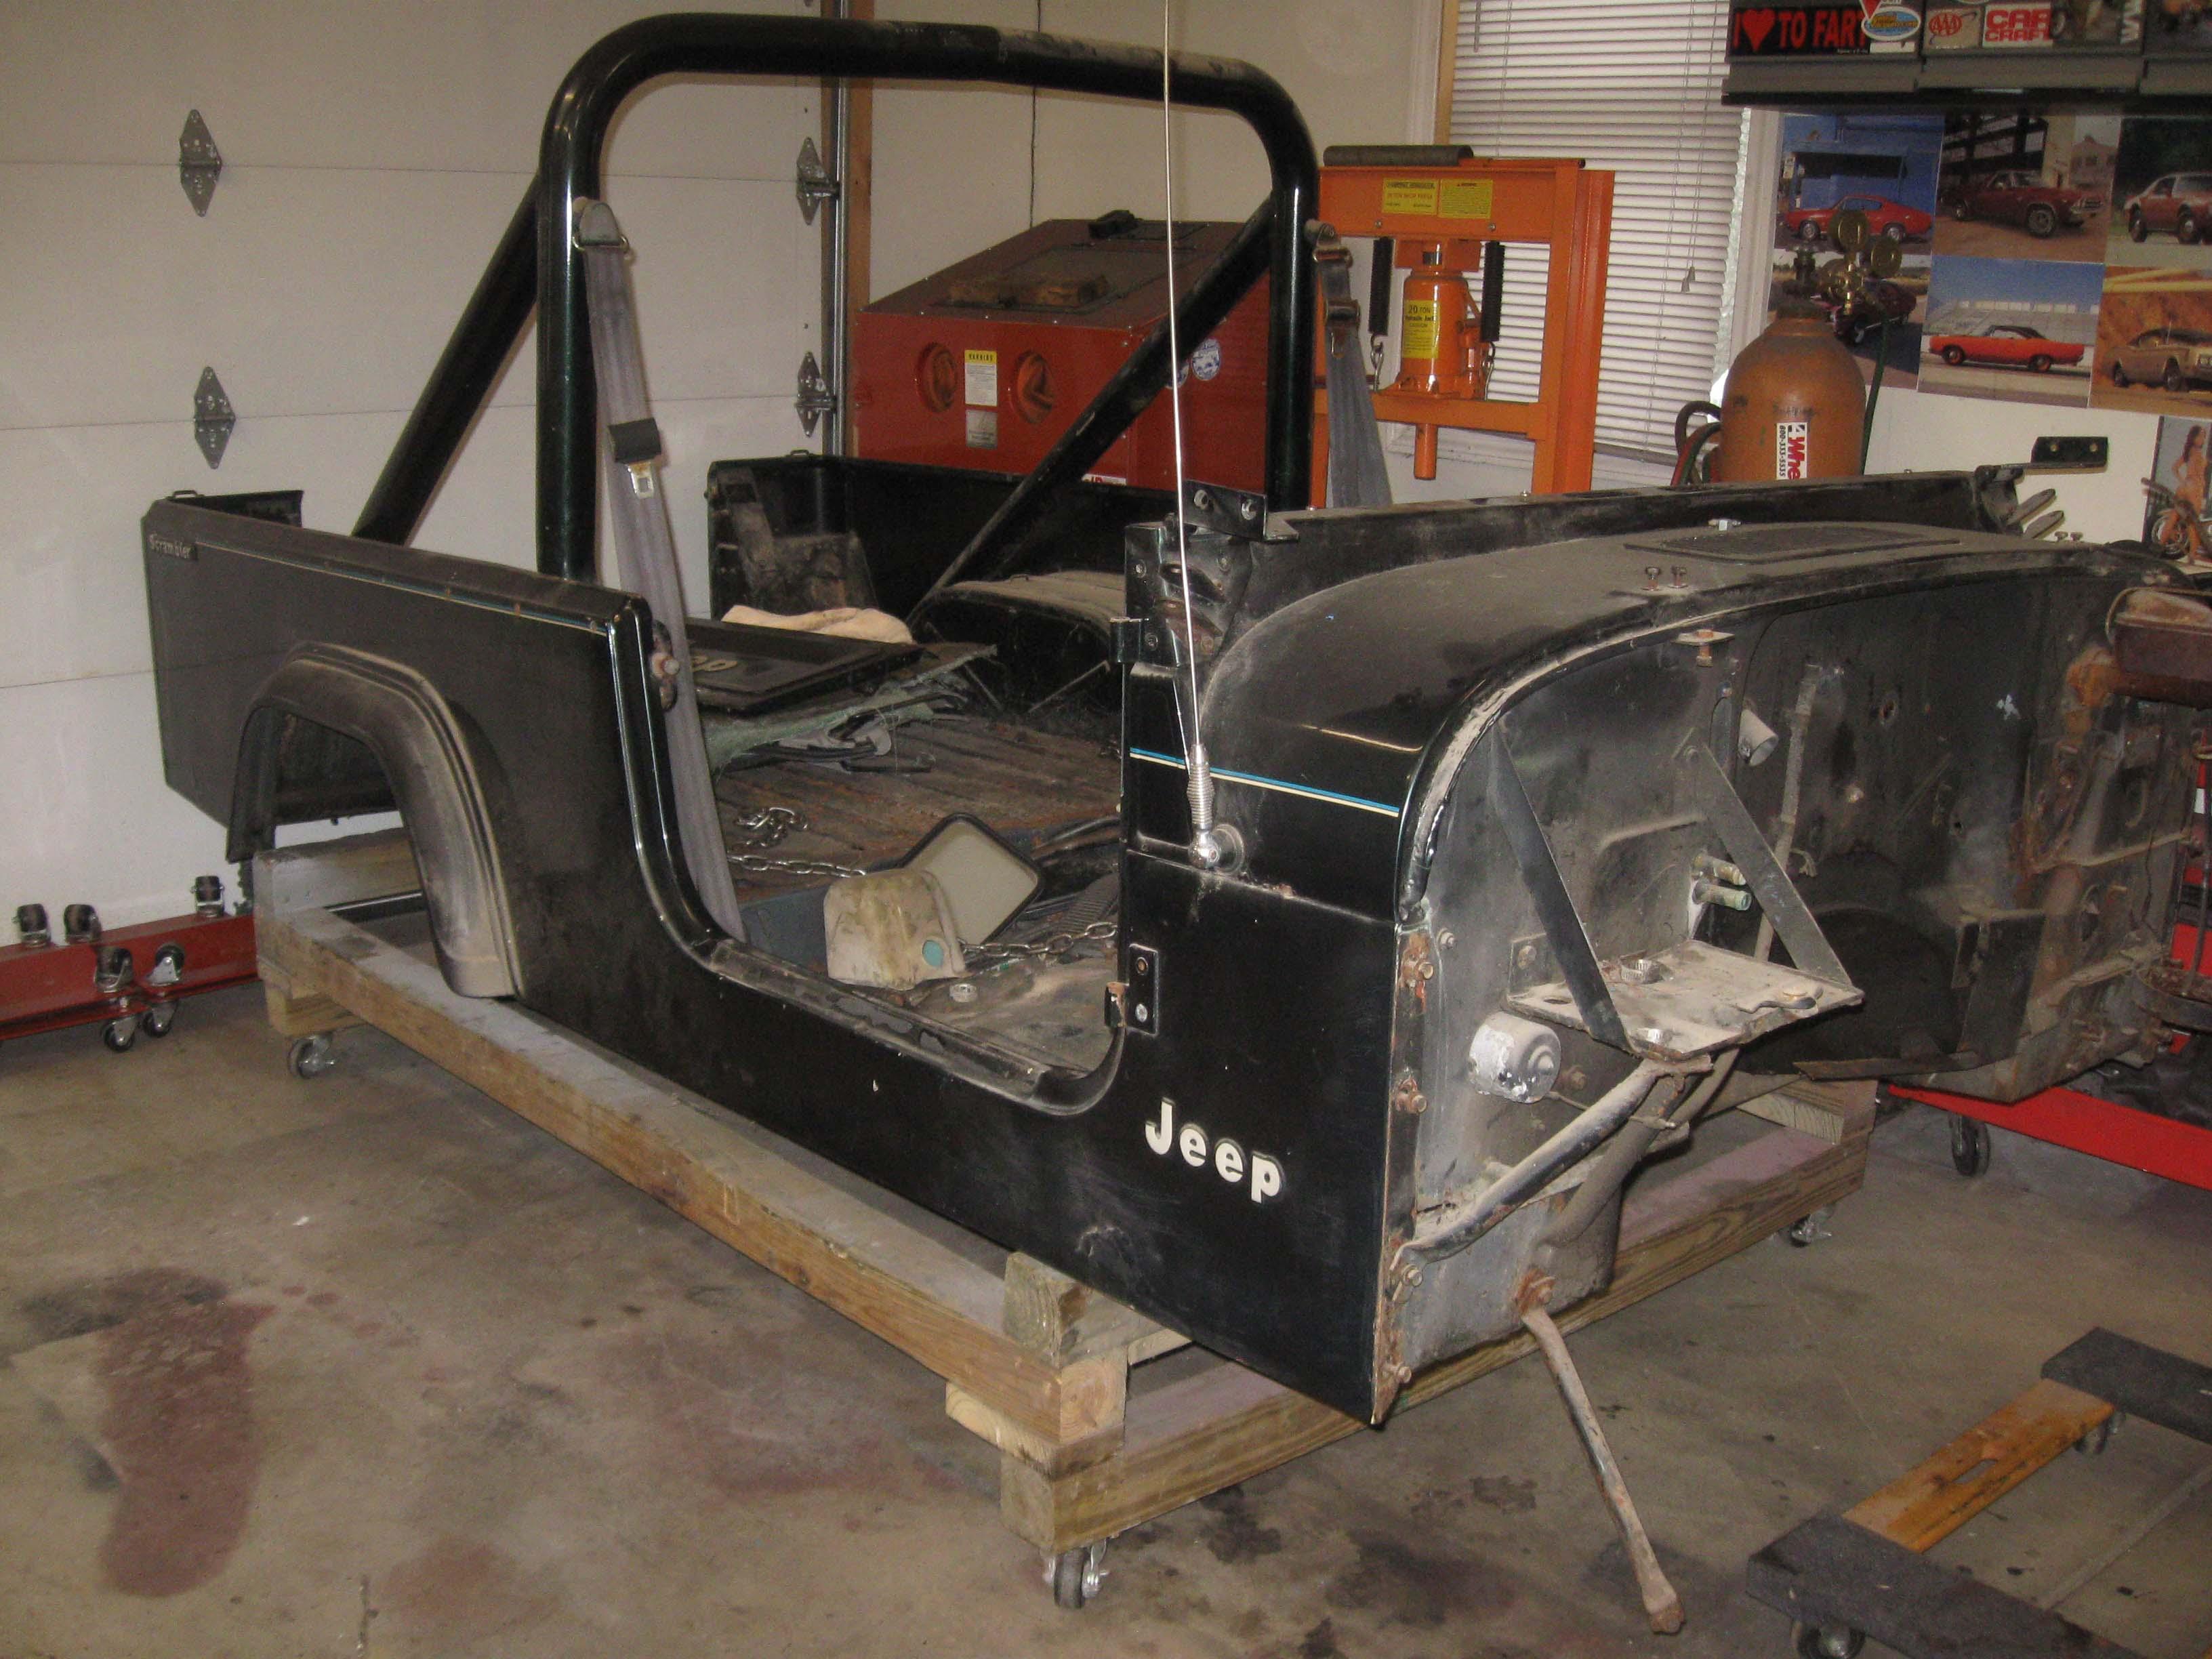
Be careful I removed the brackets under the front of the roll bar when I had my tub on my rotisserie and after I had it all together and mounted on the frame I had the body filler (skim coat) develope a crack (including through the paint). Took it down to metal and redid only to have happen again. Never cracked the metal of the tub. Did some snooping on the inside of the tub and found the rear edge of the pillar (inside tub) had separated and the crack was on the outside of the tub running along the pillar. Ended up using body panel adhesive to bond the pillar to the inside skin to lock it in. No problems since I did the fix.
 
Were you able to save the flares? Looking forward to seeing whats under the sliders.:popcorn:
 
Were you able to save the flares? Looking forward to seeing whats under the sliders.:popcorn:

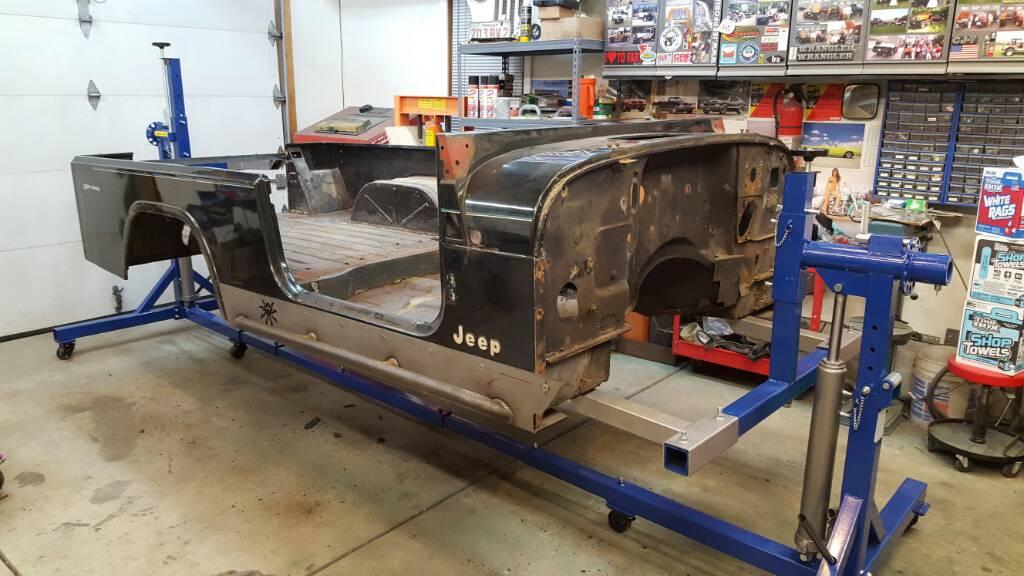
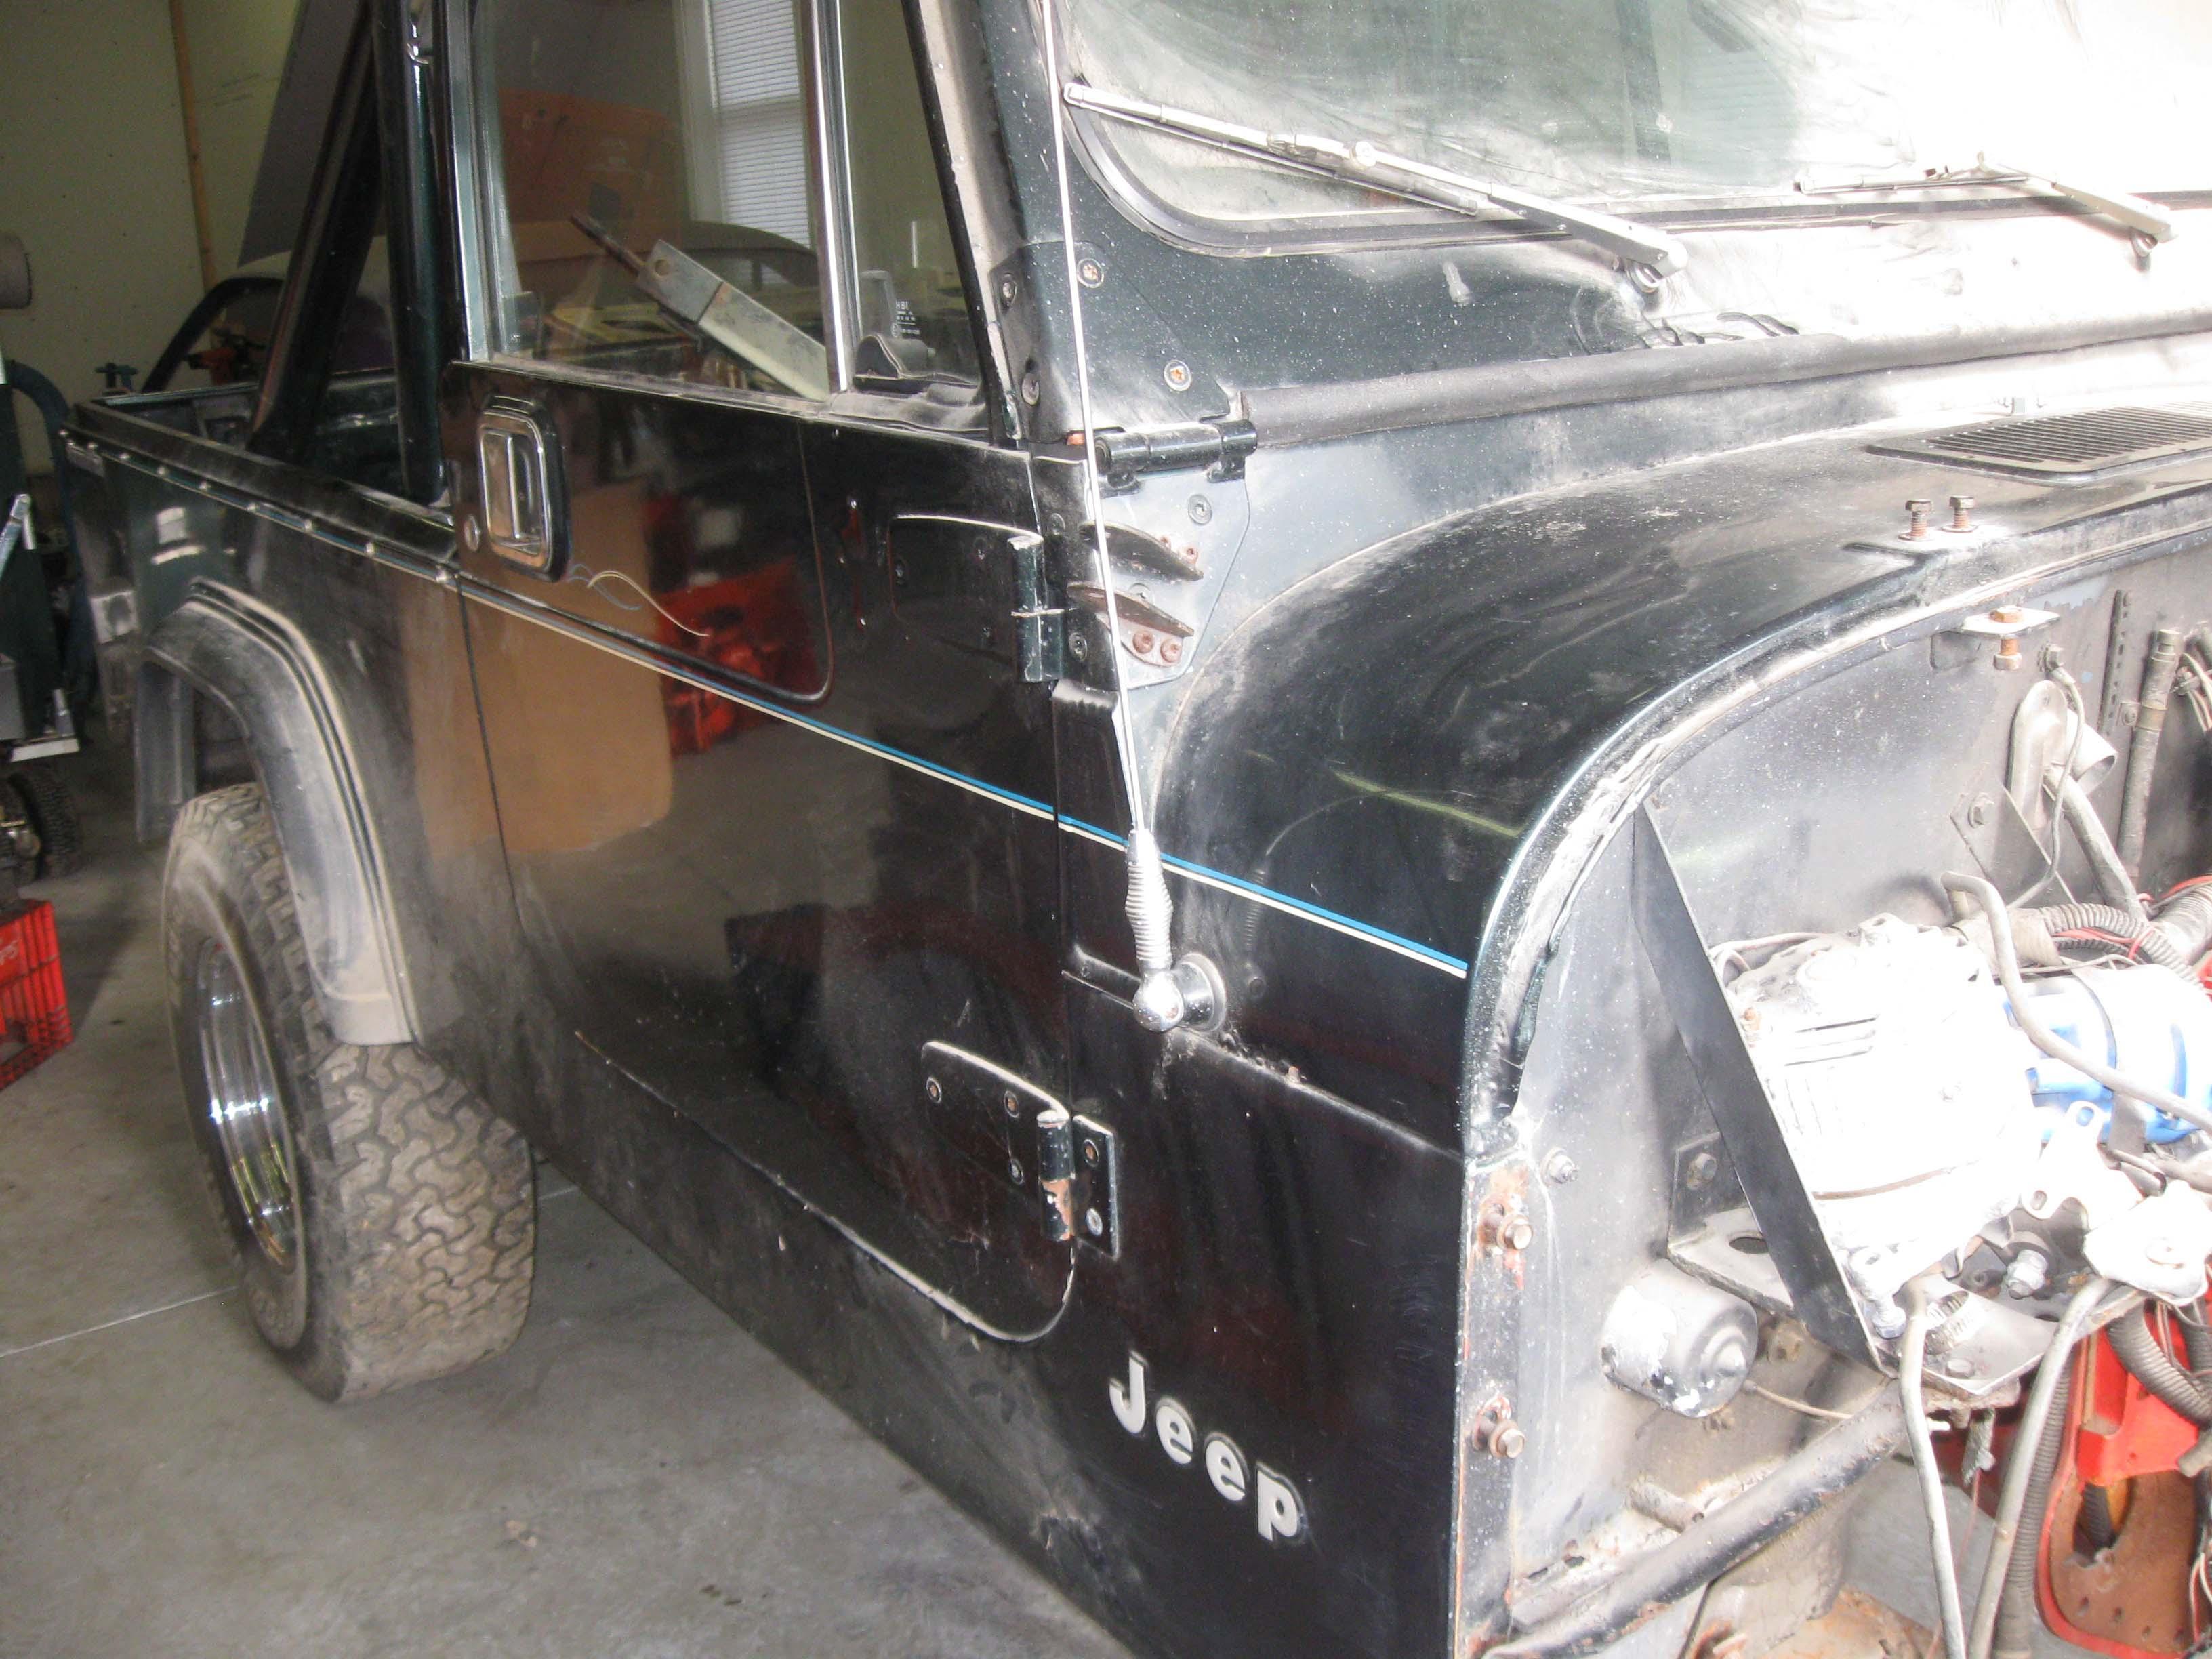
The flares were saved... under the sliders is not too much, a small area on the driver side.
Sliders aren't beign removed until we get the new floors in place to stiffen it all back up.

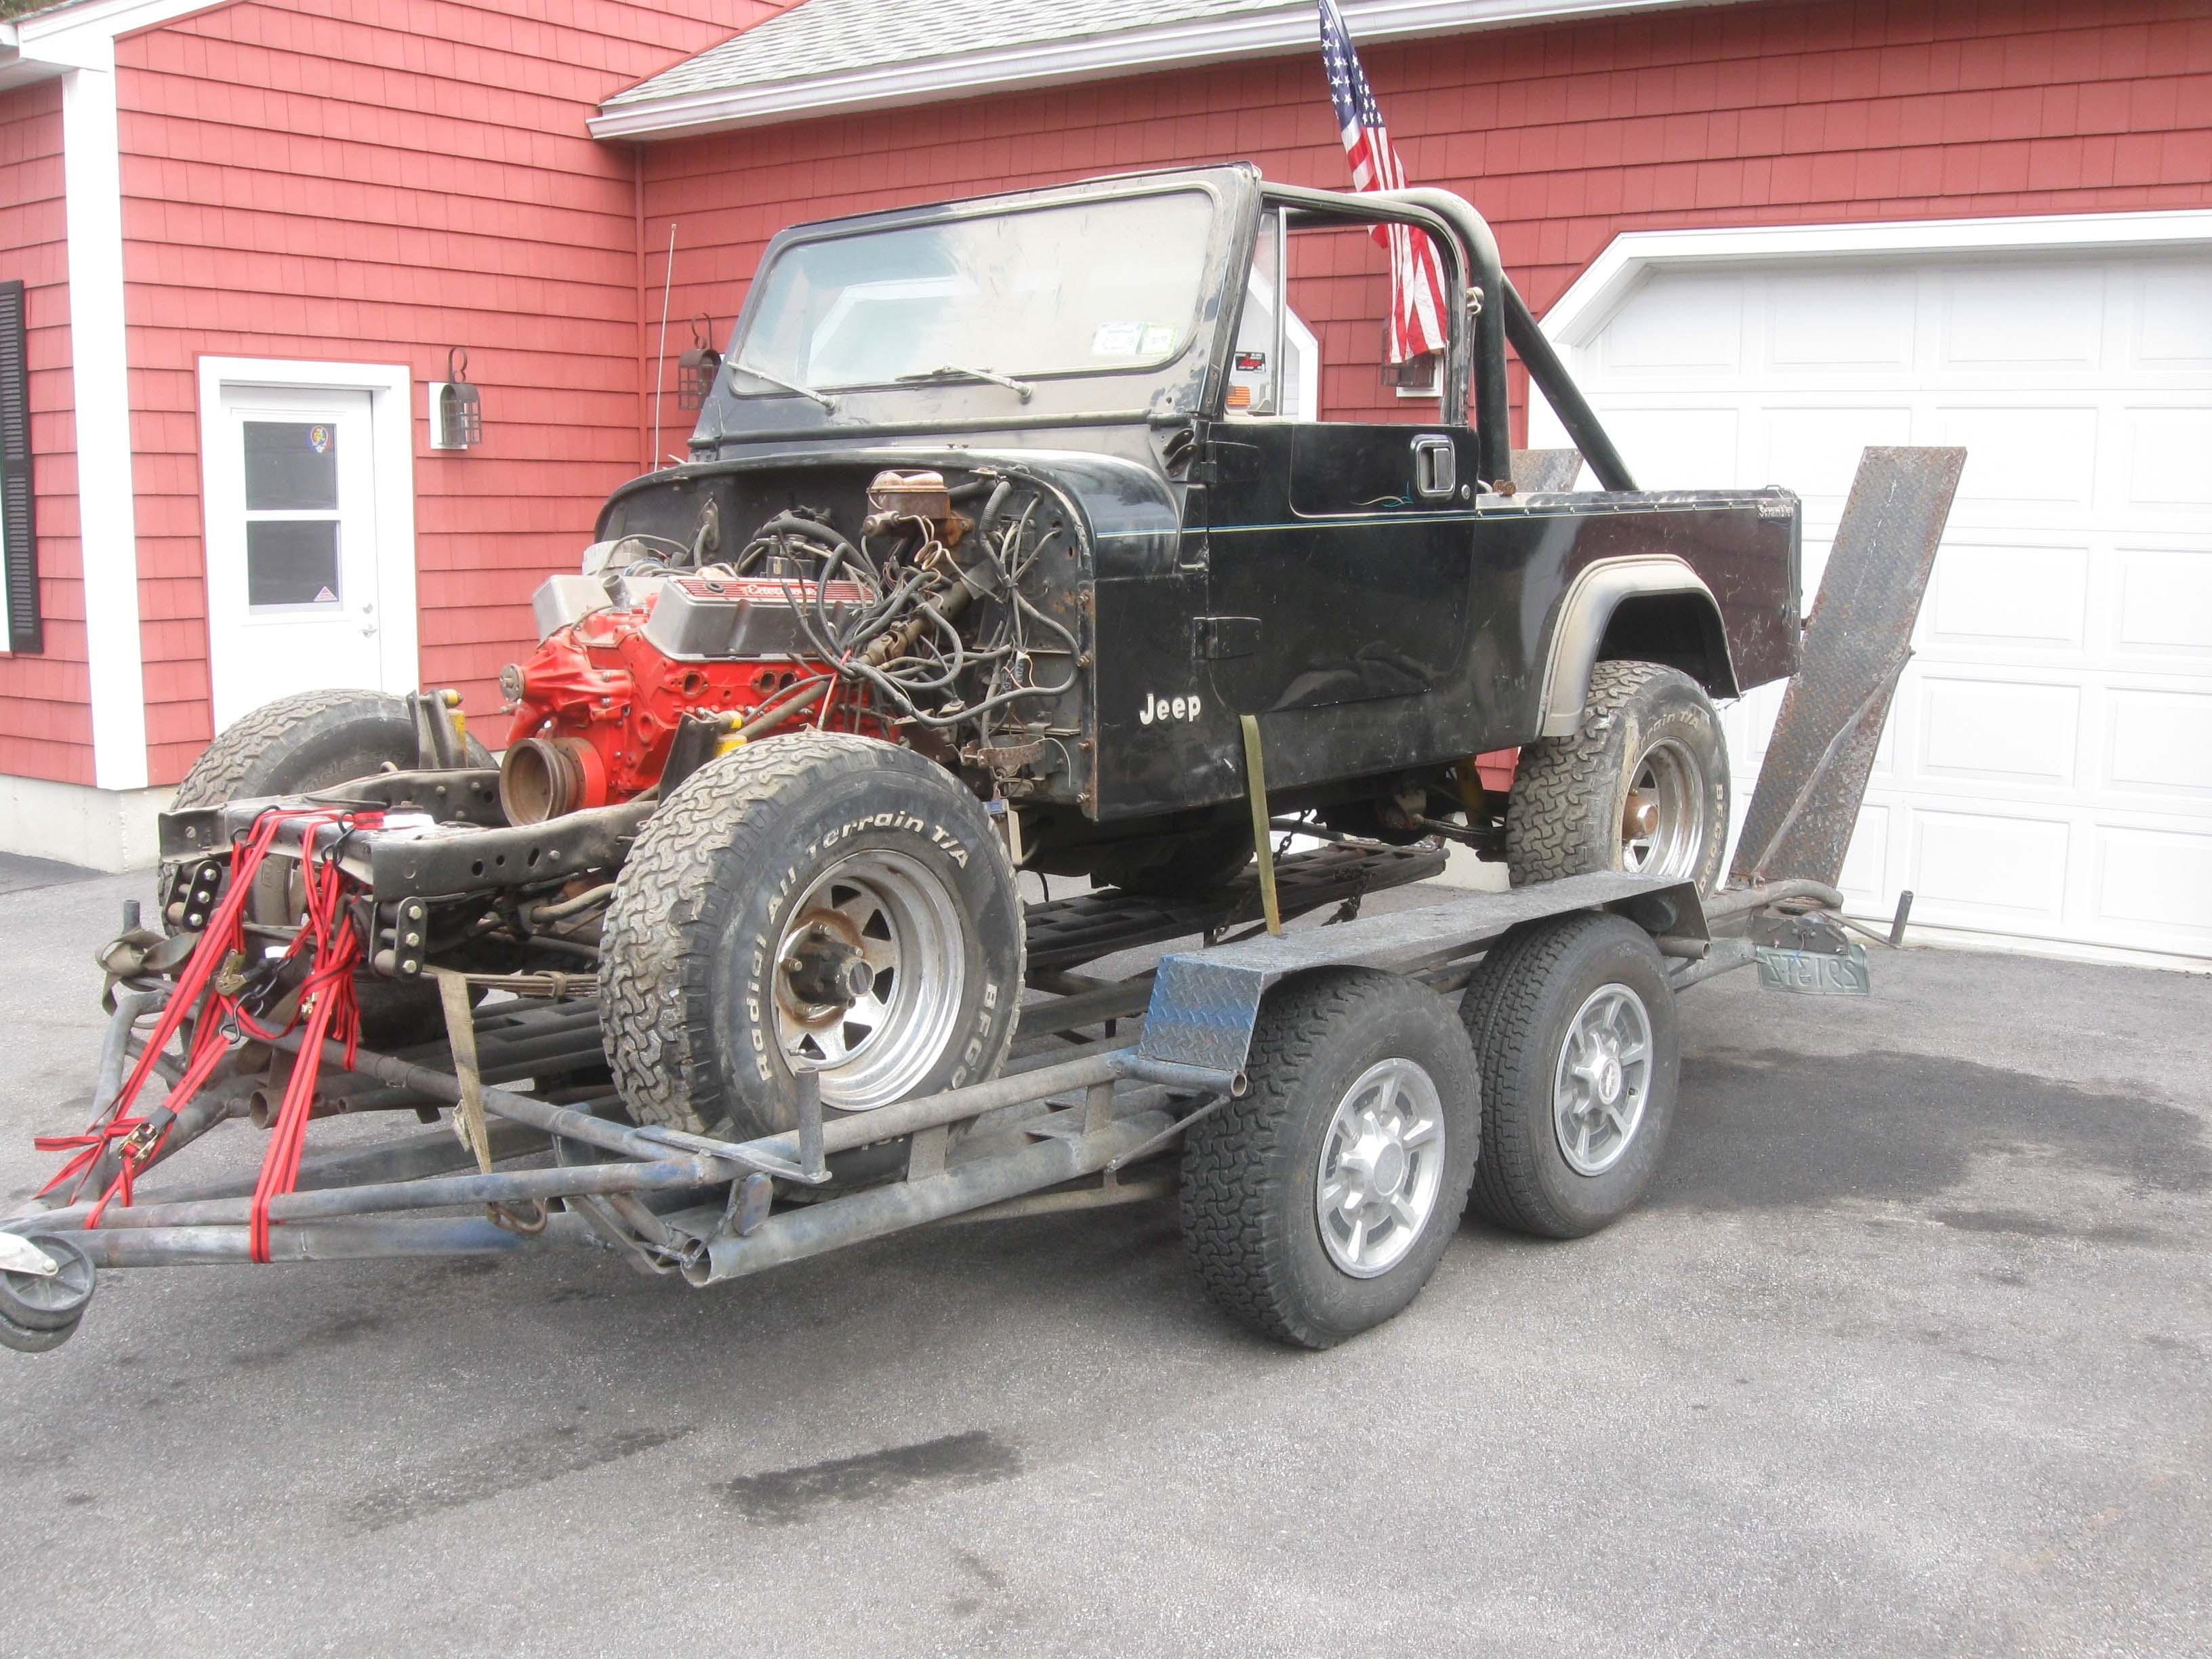
PRE-SLIDER

IMG_3445-1.jpg


IMG_3460-1.jpg


IMG_4232-1.jpg


IMG_4364-1.jpg


cb
 
That's good to hear, a good tub and will stiffen the tub. I'm just a worry wart on the flex of the tub, don't want to see someone have the hassle I had because of flex. Looking forward to the build.:thumbsup:
 
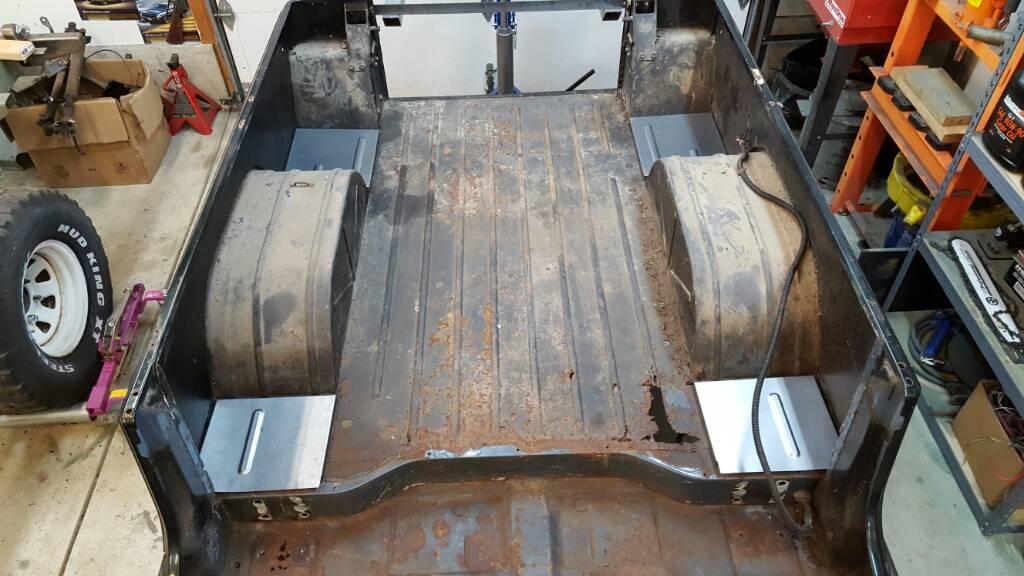
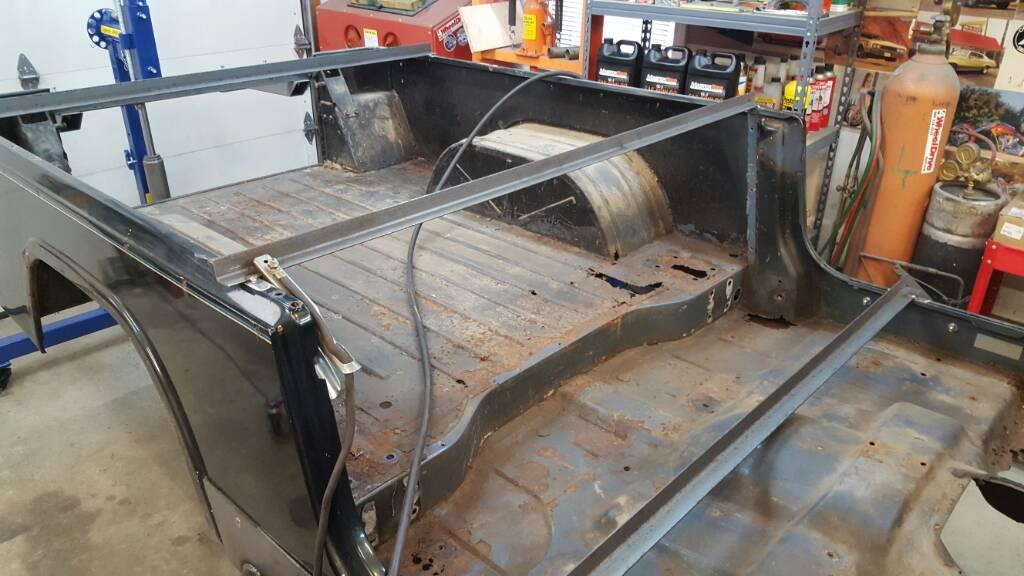
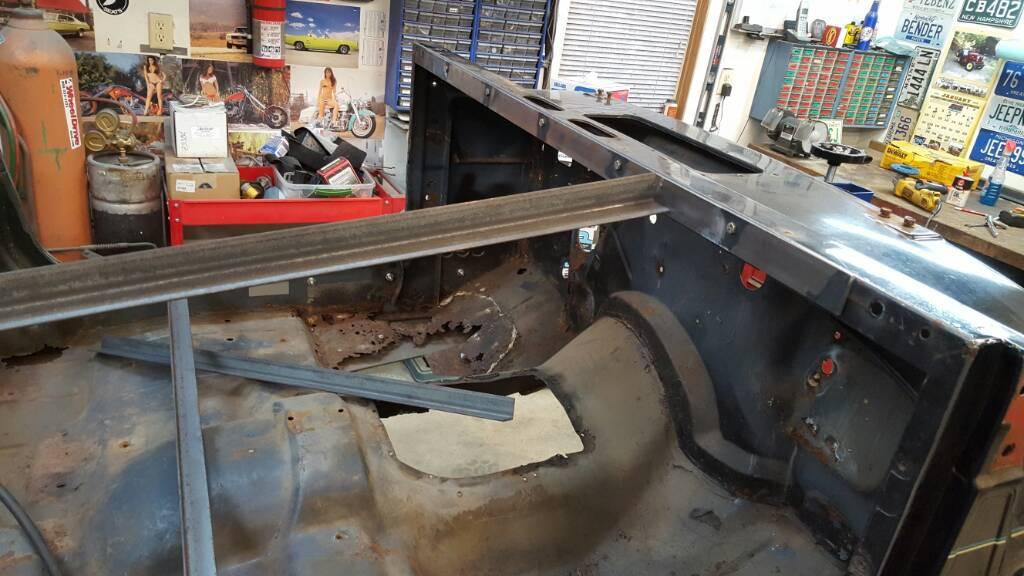
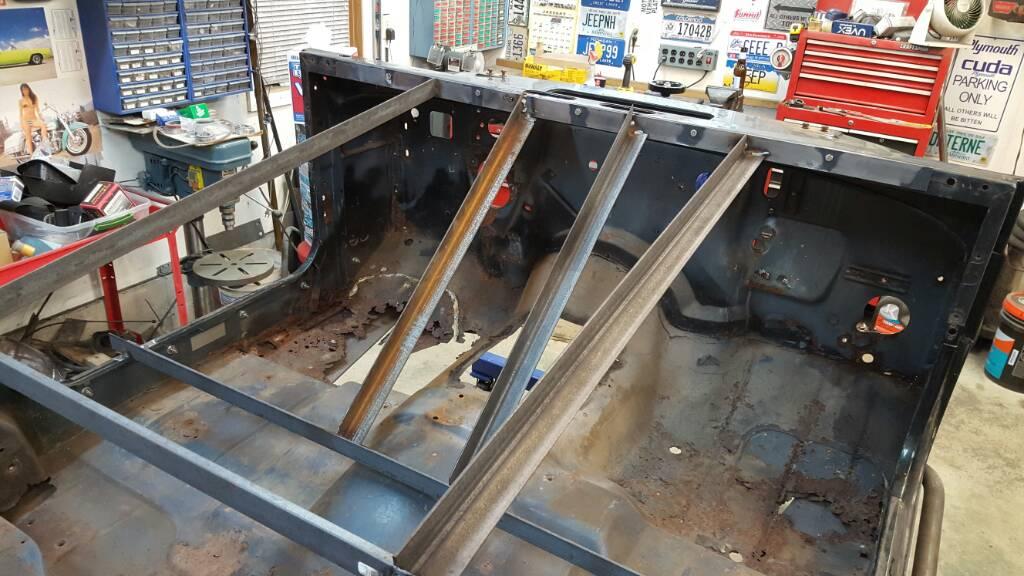
I made a couple of angle braces that bolt to factory CJ tub holes.

2015-03-29 18.05.26.jpg
 
That should help. You'll be glad you did this when you take the slider off.
An x brace across that would also keep it from side movement.
 
Spoken from the mouth of the most interesting man in the world

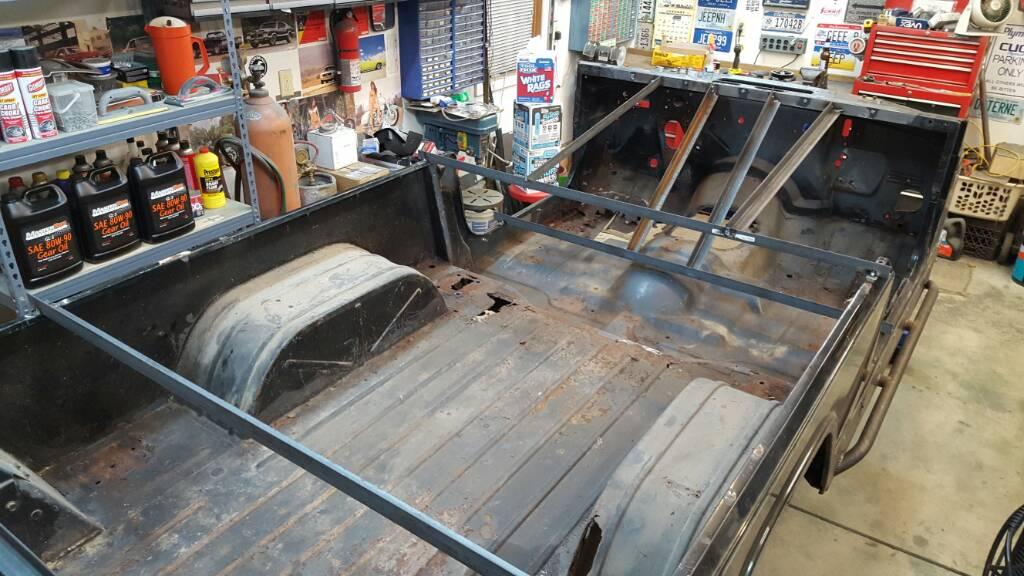
I dont normally brace my rusty scrambler tub...

But when a bunch of wise men I don't know tell me to brace it... I go freakin overboard !!!

2c9fdd6ed86ec261dbdb409ad64bbddc-1.jpg


1e03f5a0497a28a36f8bb9f678203be8-1.jpg


45e52155275be1a98749b5ad42e4dfa3-1.jpg


52e325e29bb529921653083b7c073a3f-1.jpg


dd9e10ac7c9593874a398764753ded04-1.jpg


dcfc7a53a2ea3dbf549a44970d6dbb32-1.jpg


50d74ce201c5b85f4301ddcc89614c87-1.jpg


Seriously though. ... looking for feedback to my rigid 4 link braced scrambler

Cb

cb
Sent from the garage
 
I think that will work. Good job.

P.S. think it's ok to take the slider off now. LMAO :)

You think being one of the most interesting guys in the world I wouldn't have been divorced three ficken times.
I can take it. LMAO
 
Last edited:
I dont normally brace my rusty scrambler tub...

But when a bunch of wise men I don't know tell me to brace it... I go freakin overboard !!!

Seriously though. ... looking for feedback to my rigid 4 link braced scrambler

Well, when I see people ask for opinions on their roll cages the normal response is:
"It could use more triangulation" :rotfl:
 
That should hold it together quite well. Wish I would have thought of it.
 
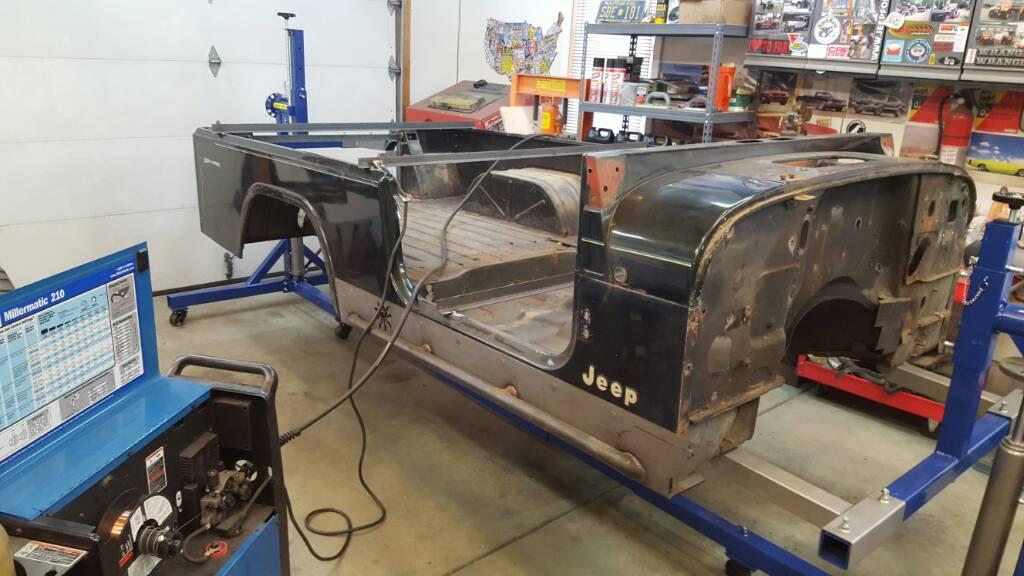
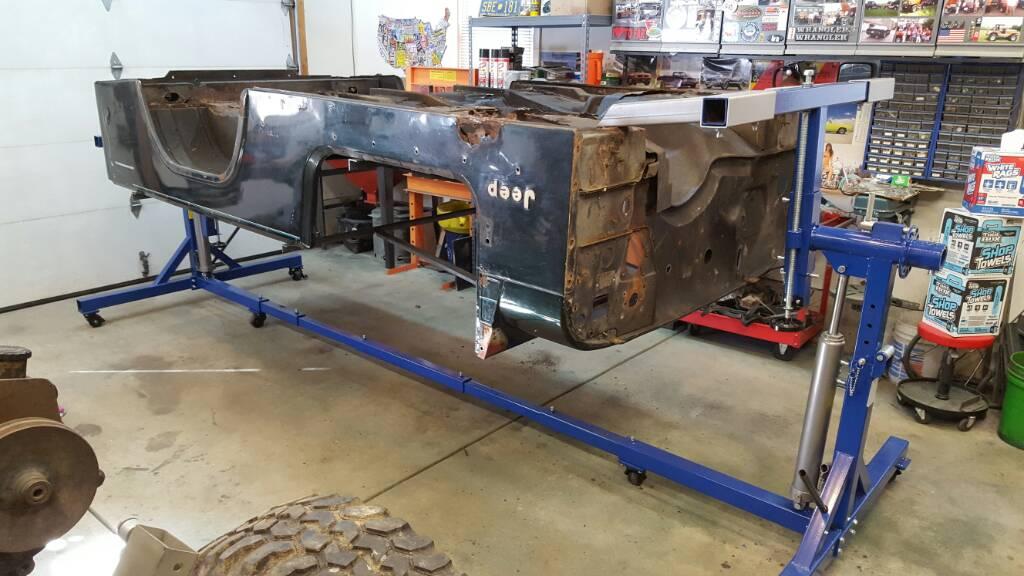
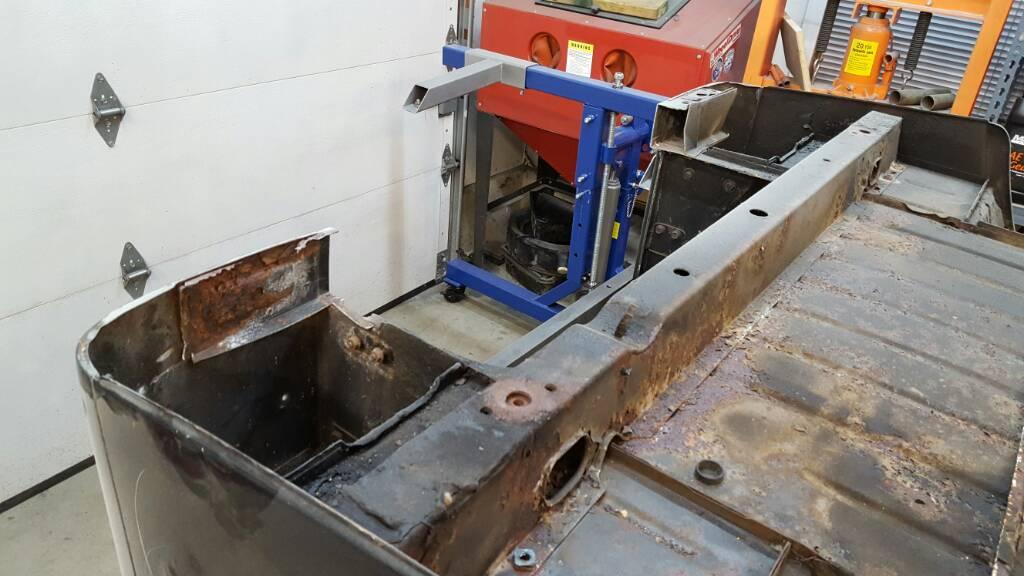
I plan to take the sliders off today and hopefully rotate it around to get to the rear surgery.
Basically the rear body mounts are shot and I want to mount the rotissiere to it, but I need to replace that piece first, so

Sliders off
Rotate it
remove rear tailgate support structure and part of the rear floor
"Glue" it all back together
Re-combobulate the rotissiere to use the rear body mounts for a lot more balanced and easier spinnging

Then start the rear or front replacement, whatever seems to be in need first.

cb
 
Plan in motion... sliders off first

26ae1084b1148be8676f9e2bff661b1a-1.jpg


9fce47d1791f67c3bb65025d488c828f-1.jpg


91341a292dcc3955e20aa0387c6ef9b0-1.jpg


c99664654399f91fc26c9eb322ecb099-1.jpg


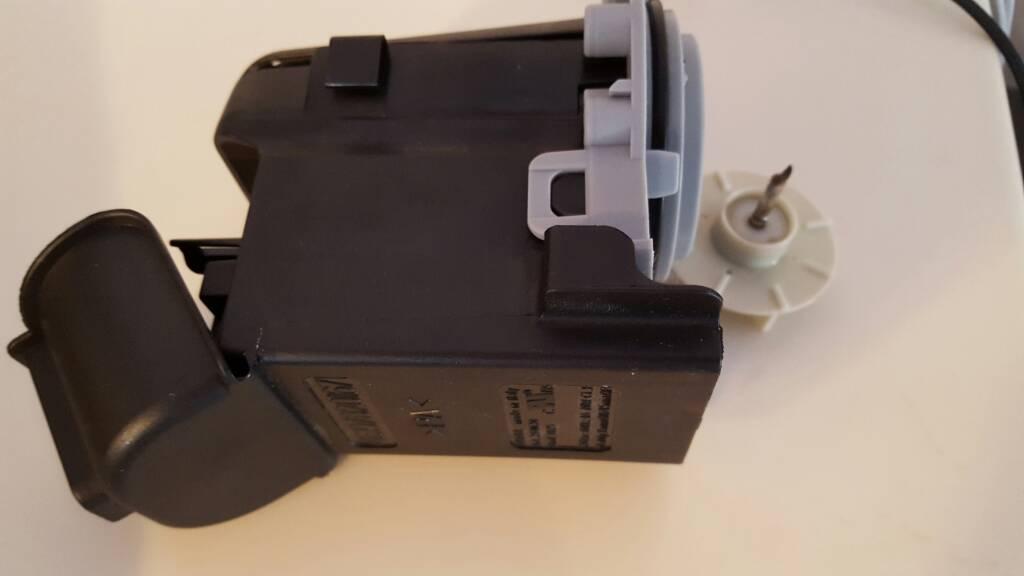
Most of the day was spent trying to figure out the washing machine

Sheared off impeller shaft on the discharge pump

2f2909abf07841975f2785fe92b89b79-1.jpg


cb
Sent from the garage
 
Last edited:
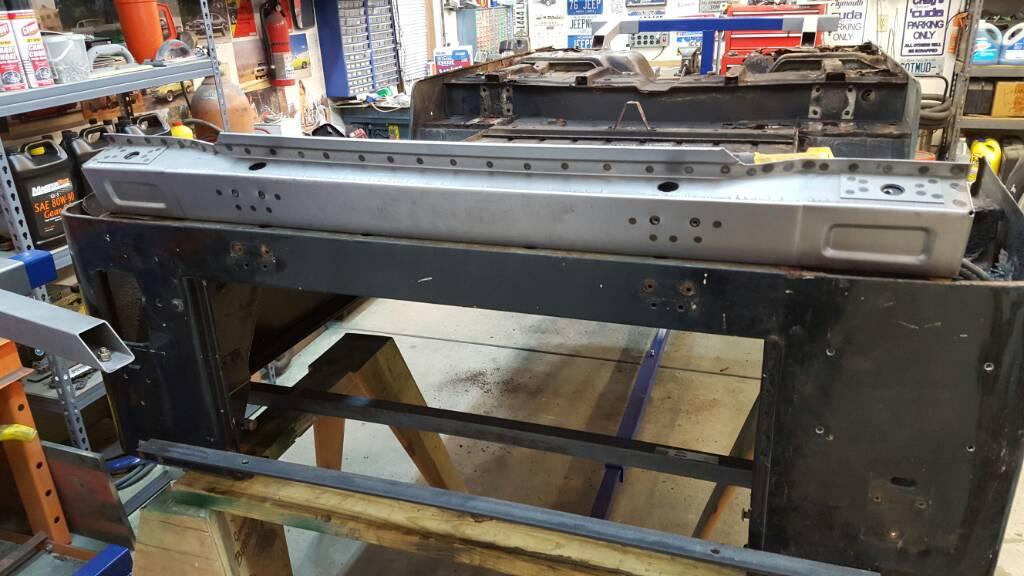
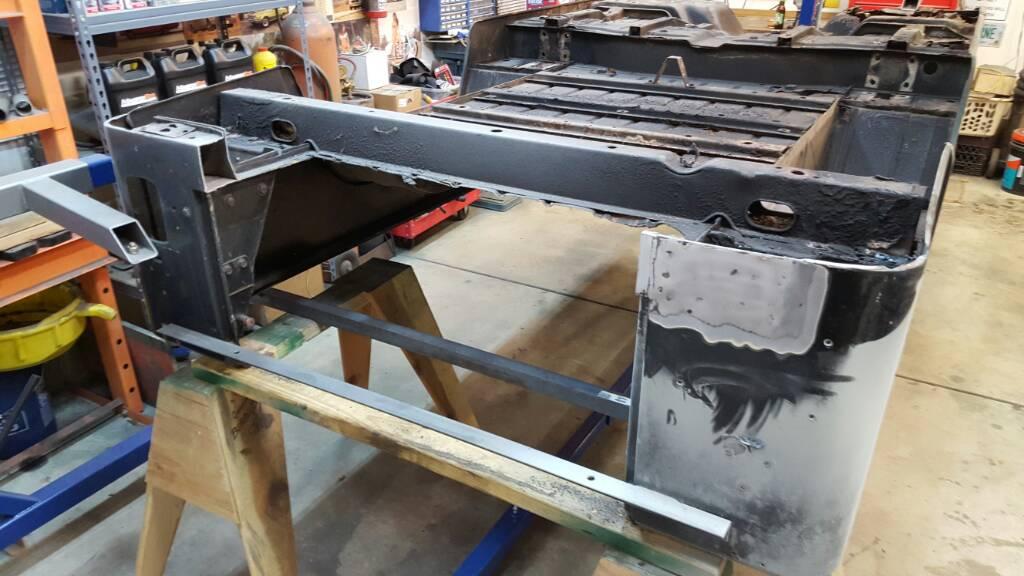
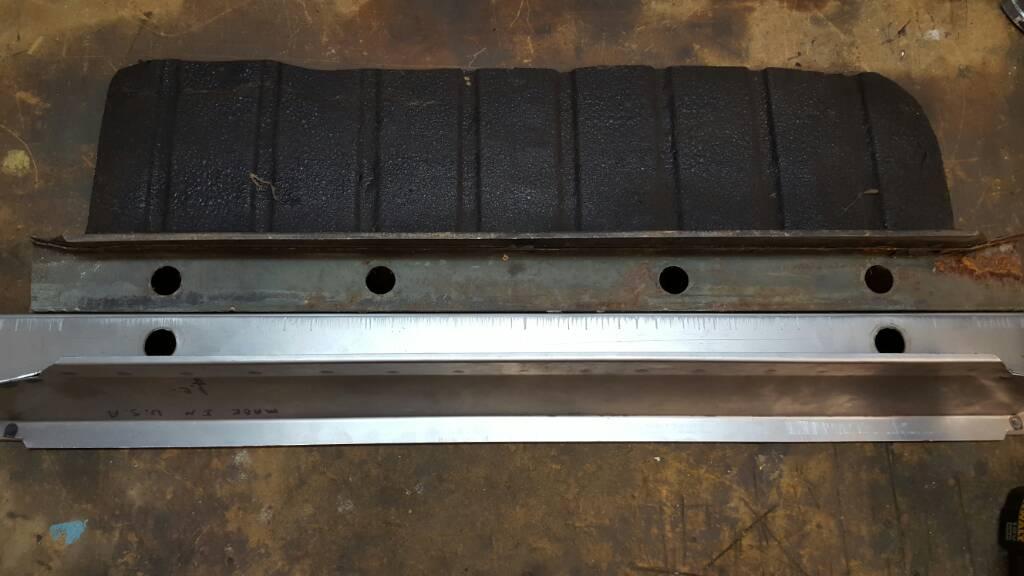
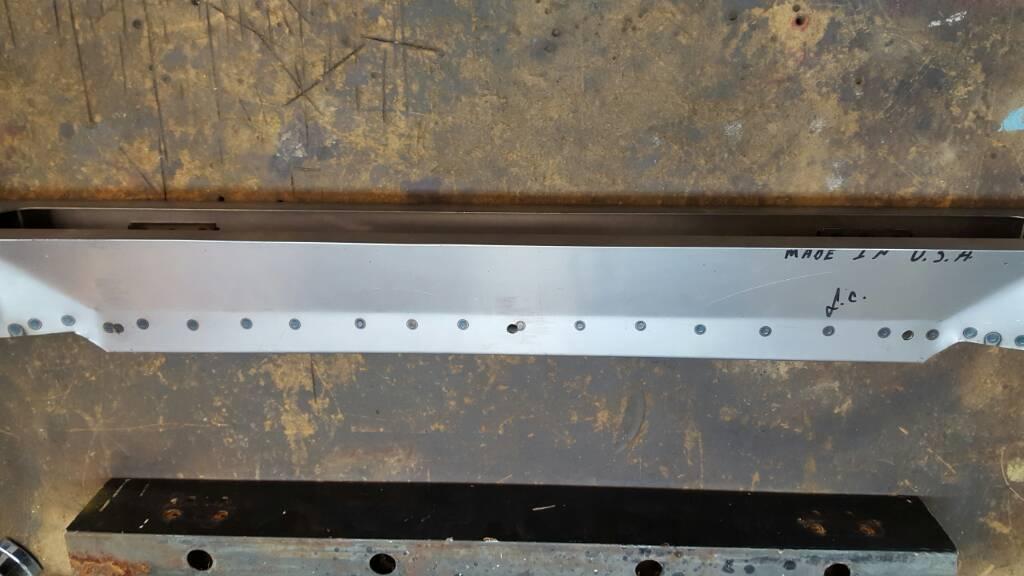
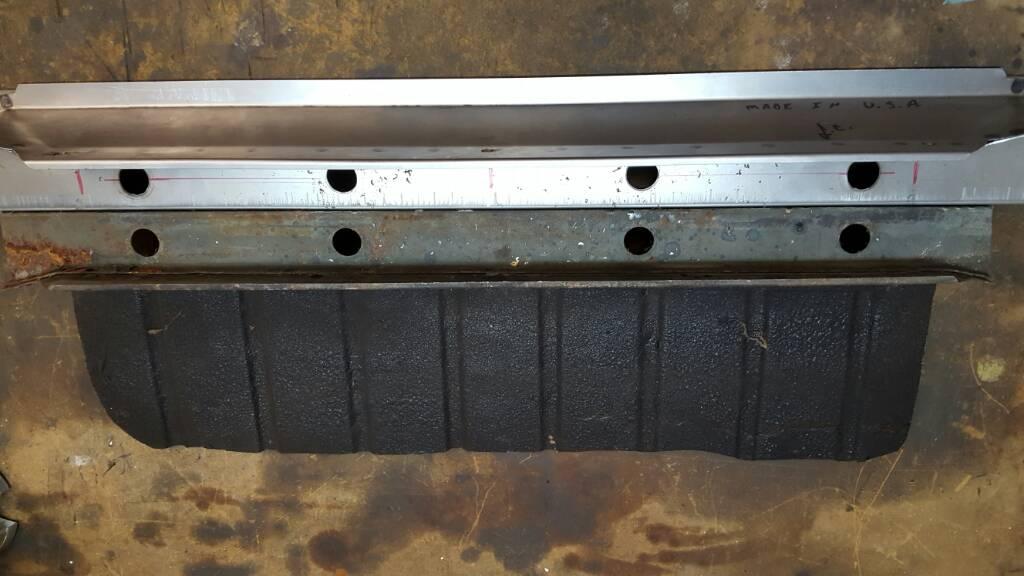
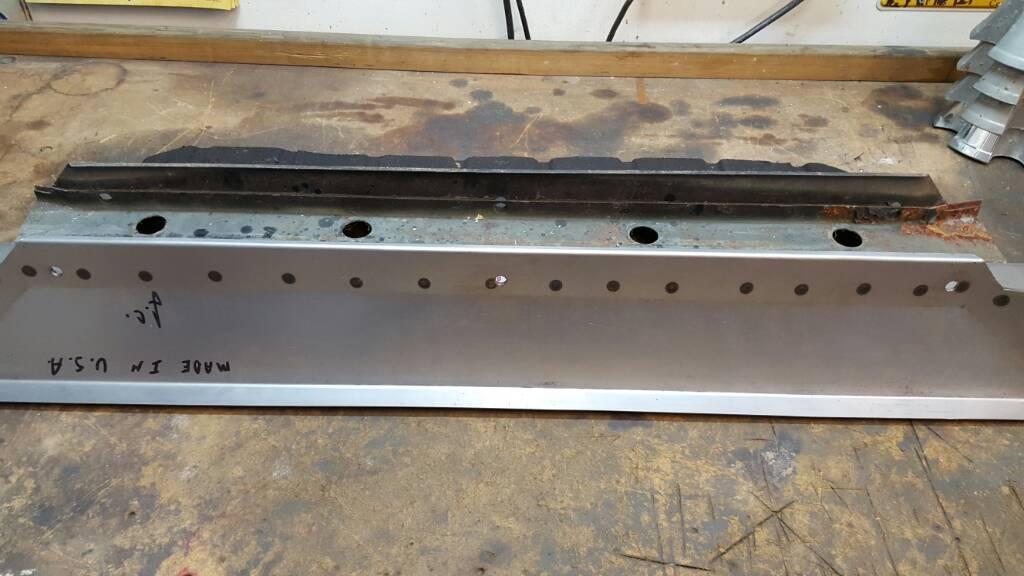
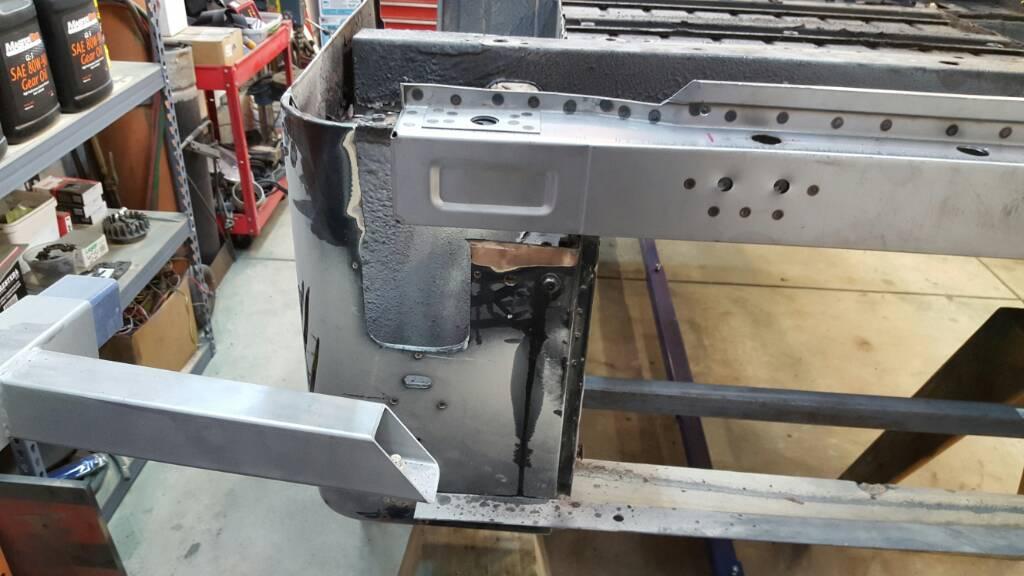
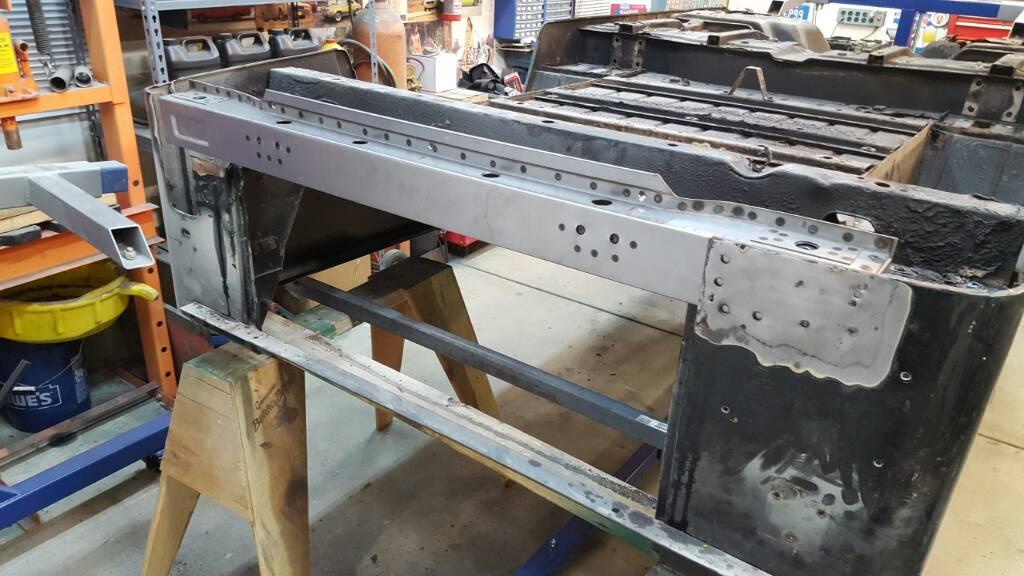
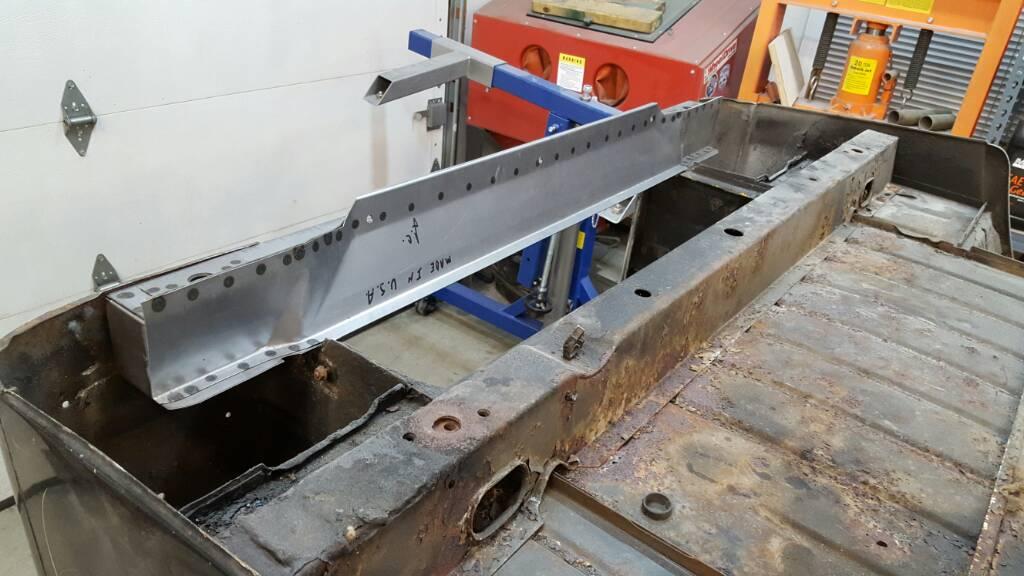
In today's segment titled lessons learned from the last build we make the rear tub support look like the oem. Extra drain holes as well as three for the wire loom

bf5969d9996911843e39e90a636bb163-1.jpg


ac4dc1d3a00b9523ab96ea790097be64-1.jpg


2cb780e667db079bebeaa202825753eb-1.jpg


759ed86189a39a4a323249796bad4833-1.jpg


cb
Sent from the garage
 
Progress... I suppose

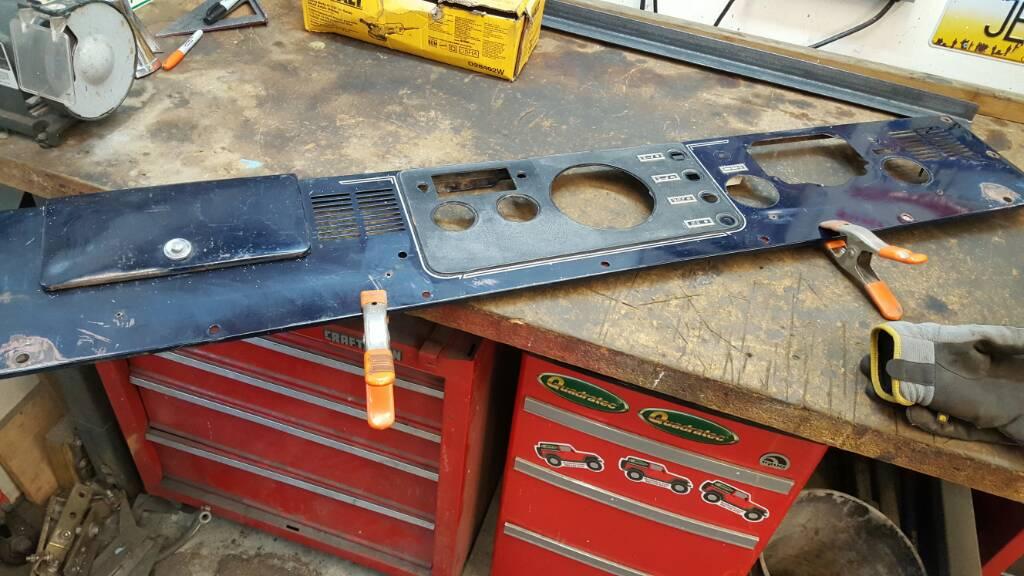
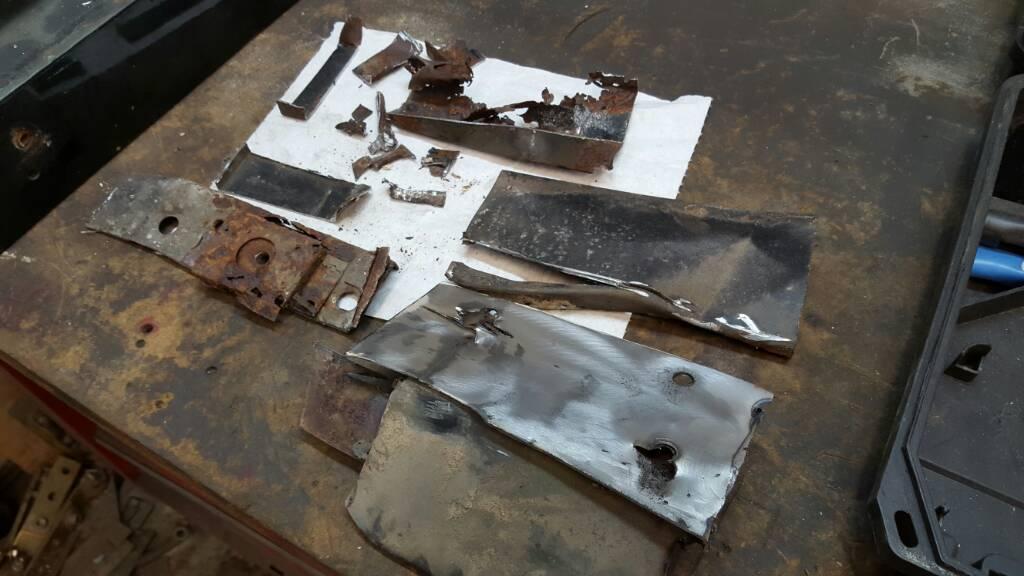
Drilling spot welds. Heavy rust are has thick metal behind and no rust area has thin metal. Go figure

dac3375e0ed09d6567940b6f604dda24-1.jpg


I mocked it up even though I now need a corner and don't have one

d0d41c6ee2bbbe1aafc3c675e96eb597-1.jpg


Cut out so much metal

34318ba150fe0c159b819696d3b5711b-1.jpg


And it didn't want to give it up. So much for the strength of rust

5ffe5483a8a7cb808972e5ab4b33d268-1.jpg


cb
Sent from the garage
 
Back
Top