• Notice for iPhone users: DO NOT use the image size reduction option when uploading photos to the forum. This causes portrait images to post as landscape. We have added a warning to the image insert pop-up as well.

My De-Rustification Project

I like both ideas. I have a slide hammer somewhere, but I know the end is a screw. I was not sure if screwing it into the seal would do anything other than have the screw end pull back out of the seal. But it is worth a try. I will have to find that thing. And I will get the torch out as well.
 
Very cool!! She's coming along nicely!!

Thanks. Nothing like yours though. So jealous. If I could do it without my wife knowing, I would sacrifice my JKU for that type of project.

I wish I had the bodywork skills that you have.
 
Oh man!! There's no bodywork here!! This thing of mine is going to be rough, rippled and ugly. Seams and welds showing. It's a "good from far, far from good" case of build. But for its purpose, it's perfect, cause the first tree I ricochet off of won't make me cringe!! The trails we run are so heavily overgrown in places they act like a car wash, only instead of dirt being removed, it's paint. My poor JKU didn't have a straight panel left when it commuted suicide by fire!! :)


Oh man!! There's no bodywork here!! This thing of mine is going to be rough, rippled and ugly. Seams and welds showing. It's a "good from far, far from good" case of build. But for its purpose, it's perfect, cause the first tree I ricochet off of won't make me cringe!! The trails we run are so heavily overgrown in places they act like a car wash, only instead of dirt being removed, it's paint. My poor JKU didn't have a straight panel left when it commuted suicide by fire!! :)

Well, the fact that you are welding your own body panels on put you way beyond my current skill set!
 
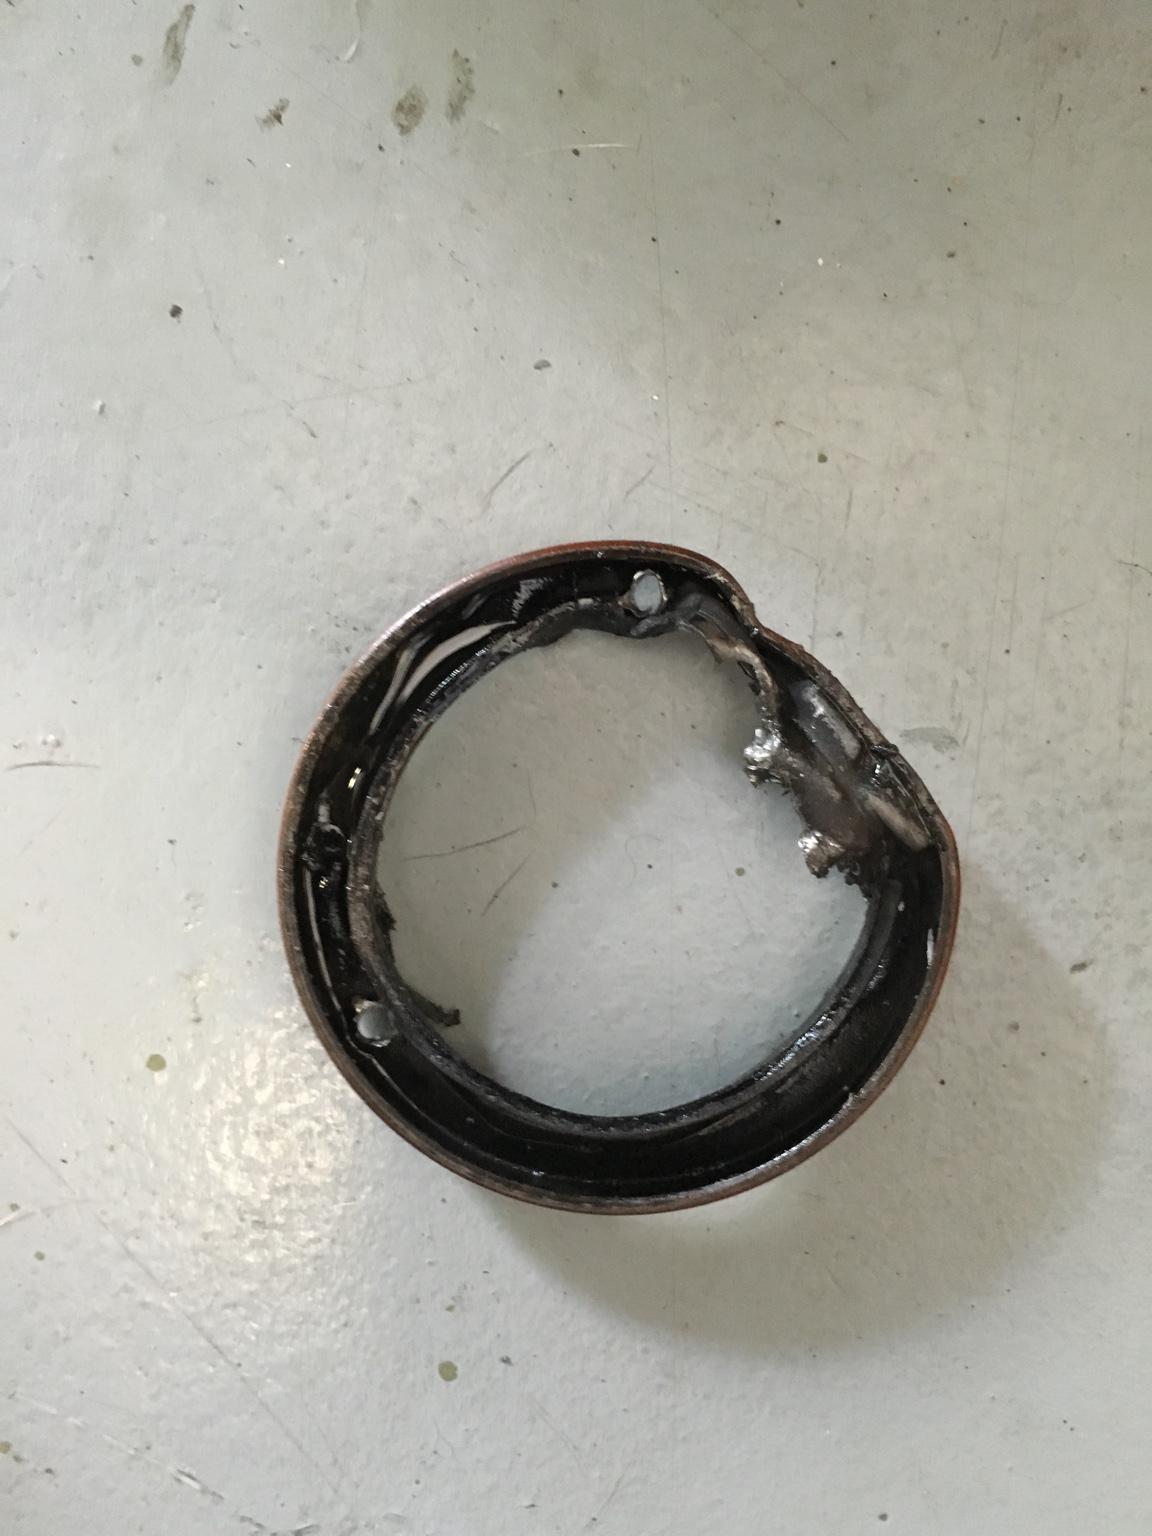
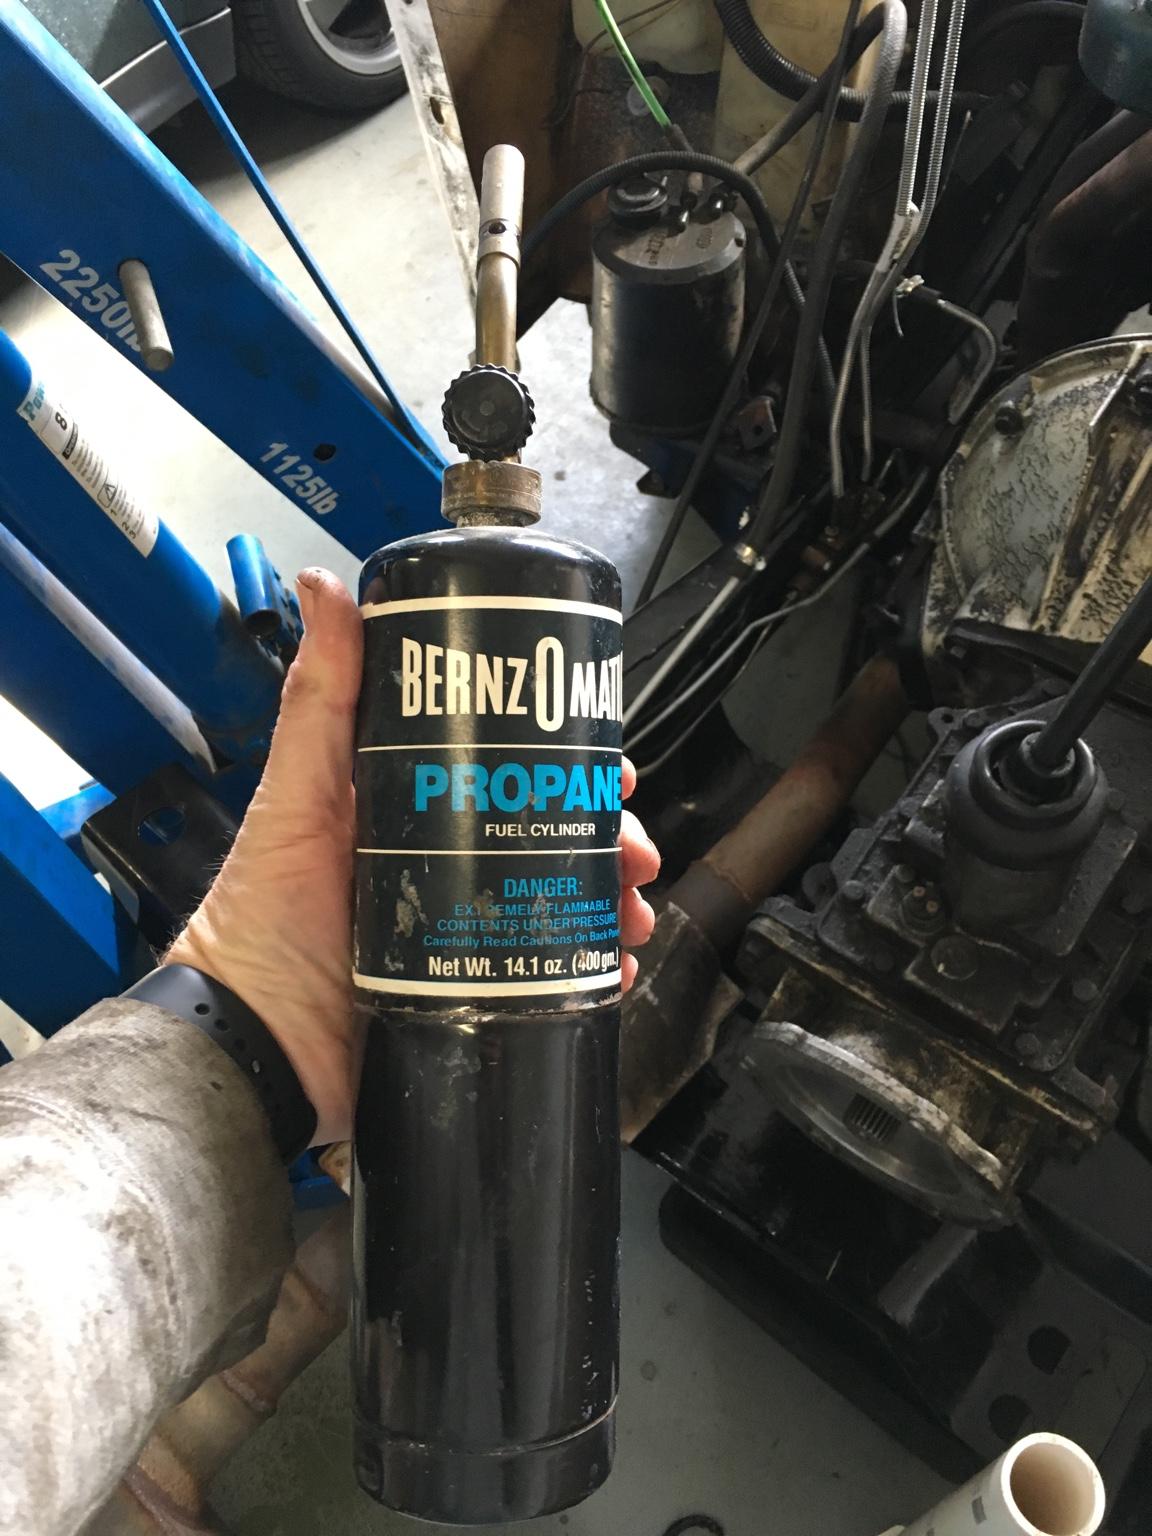
Soooooo, messed with the stuck seal a little tonight. Can't find my slide hammer. But put a screw into the seal and pulled on it with vice grips. Well, the metal stretched and the screw came out. Tried again and the screw broke off. Grrr. Then grabbed my needle nose vice grips and tried to twist the seal away from the outer edge. Nope. Just ended up with bits of metal in the vice grip teeth. Tomorrow I hit it with a torch.
 
I've taken more seals out with a screw driver than any specialty tools. Your not trying to save the seal so it doesn't matter how much you destroy it.
 
I've taken more seals out with a screw driver than any specialty tools. Your not trying to save the seal so it doesn't matter how much you destroy it.

Yeah. We are way past that. I am just wanting to be careful to not mess up the edge of the transmission.
 
Thanks. Nothing like yours though. So jealous. If I could do it without my wife knowing, I would sacrifice my JKU for that type of project.

I wish I had the bodywork skills that you have.

Just gotta say, my (ex) wife knows, and she hates that I'm actually happy again!! Hahahahaah!! Life has a funny way of playing out. My boys love the jeeps and the life that comes with it, and the friends we made. My oldest even commented that we've made more real friends since she scared me out then we ever had before. Because, JEEP!!


Jeeps are more fun than a wife but you better not tell her that. lol
 
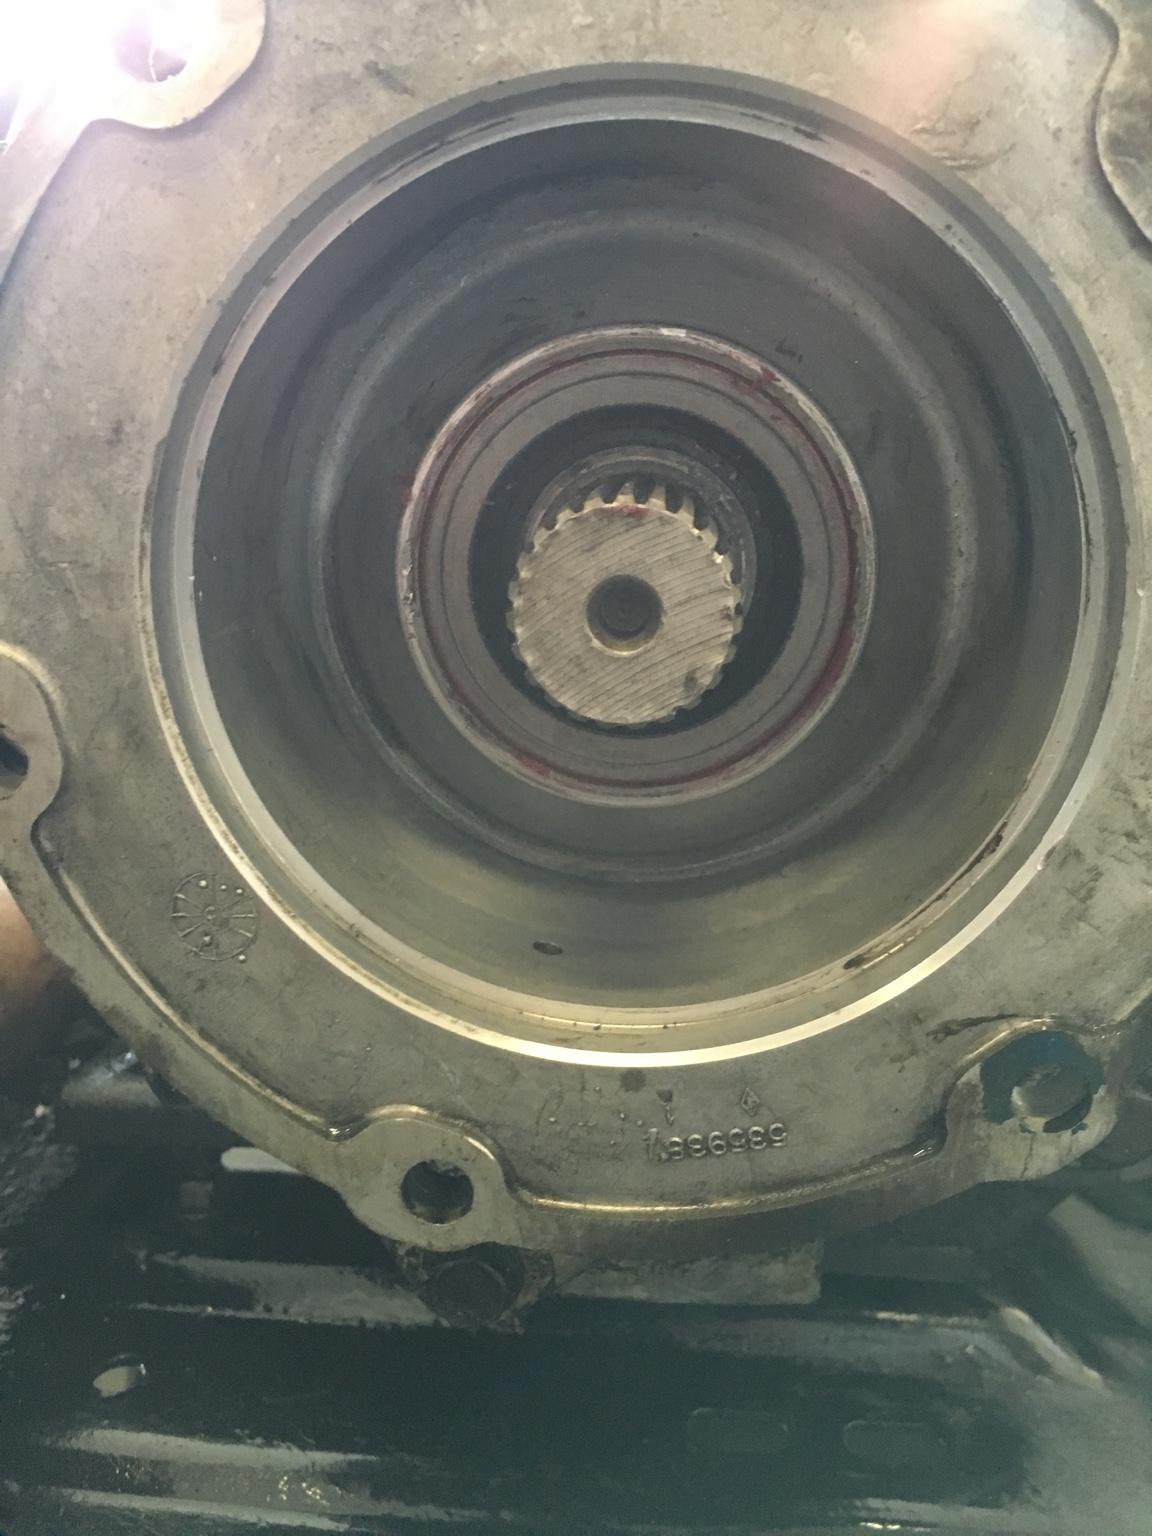
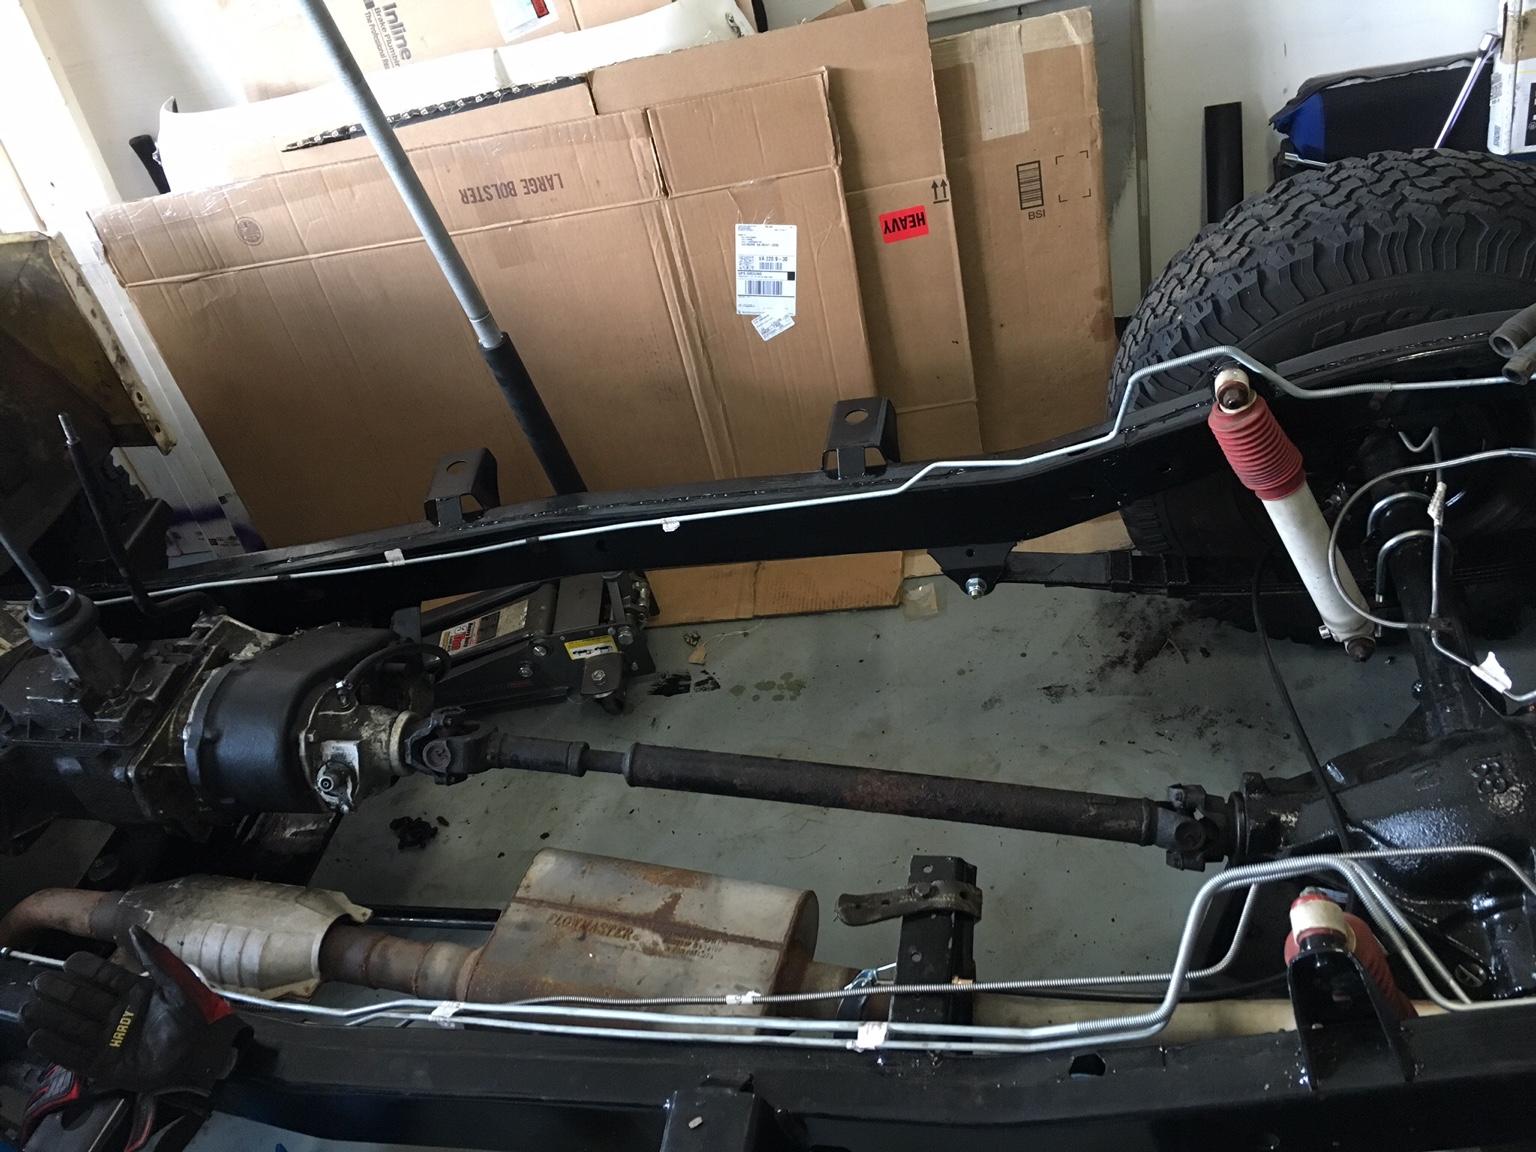
A little more progress today. I got that %#^*+ seal out of the transmission. What finally worked was heat. After heating up one side, I was able to pry it away from the wall and it popped right out.

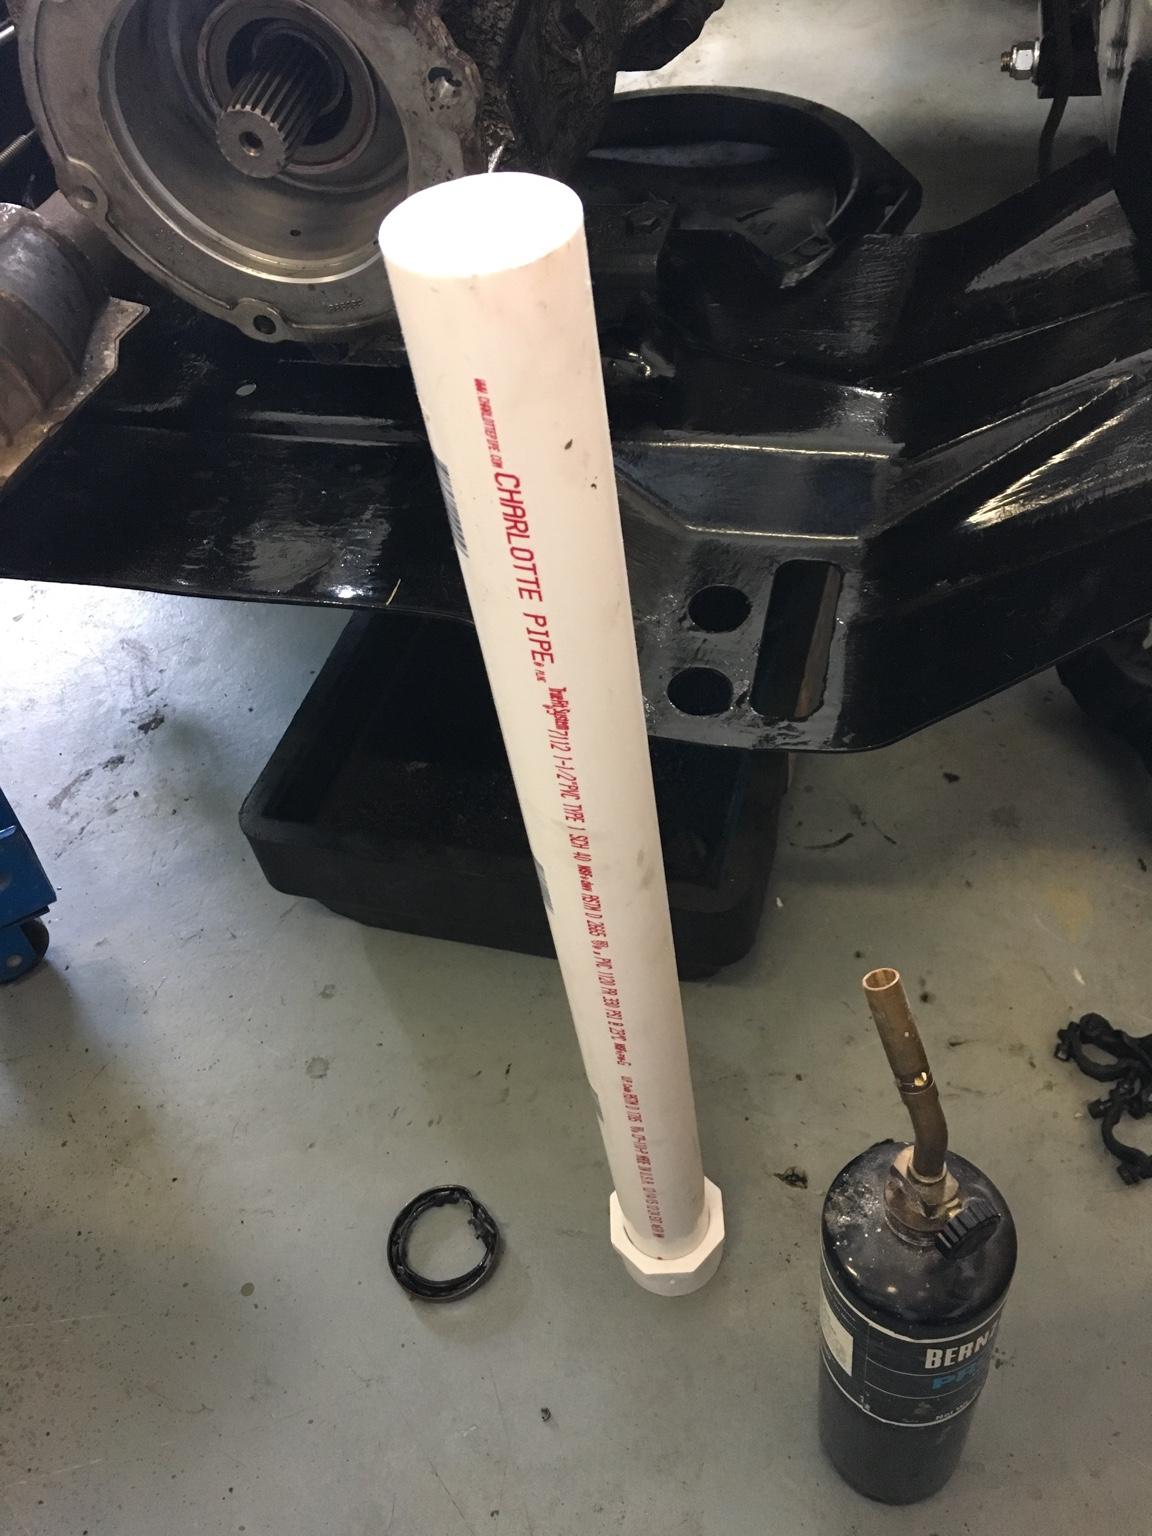
Then installed the new seal with the help of pvc and a hammer. Went straight in on the second attempt. Woot.

Then I reinstalled the t-case, which required removing the tranny crossmember. It made it easier, but for those who helped me move the engine, they remember what a pain it was lining up the bolts that hold the tranny to the crossmember. But I got it done alone with the use of the motorcycle jack and my regular floor jack. I also reinstalled the rear driveshaft. I will get the front one installed when it is warm enough to open the garage door. Dang. It is bitterly cold today (18*).

93fd3ce9c7e2d9d193e11fb318a8ca1a-1.jpg


cdc1918715bb1f439873bcb0eb94cdce-1.jpg


781794a3d67a6a0a389c422d2b5e03f5-1.jpg


2984d199aac9d17063caff286b257dc3-1.jpg


9ff62bf8fe5ba7ac361d11a2cfccb36d-1.jpg
 
Last edited:
Good job, you should be feeling much better now.

Thanks. I am feeling better. Need to get the pinion seal in the rear. But will probably get the body on it and then get it fixed. Also need to put the one piece axles in, but I can wait until the body is on for that as well. Just want to drive it and get it inspected.
 
Last edited:
Looks really good. :cheers:

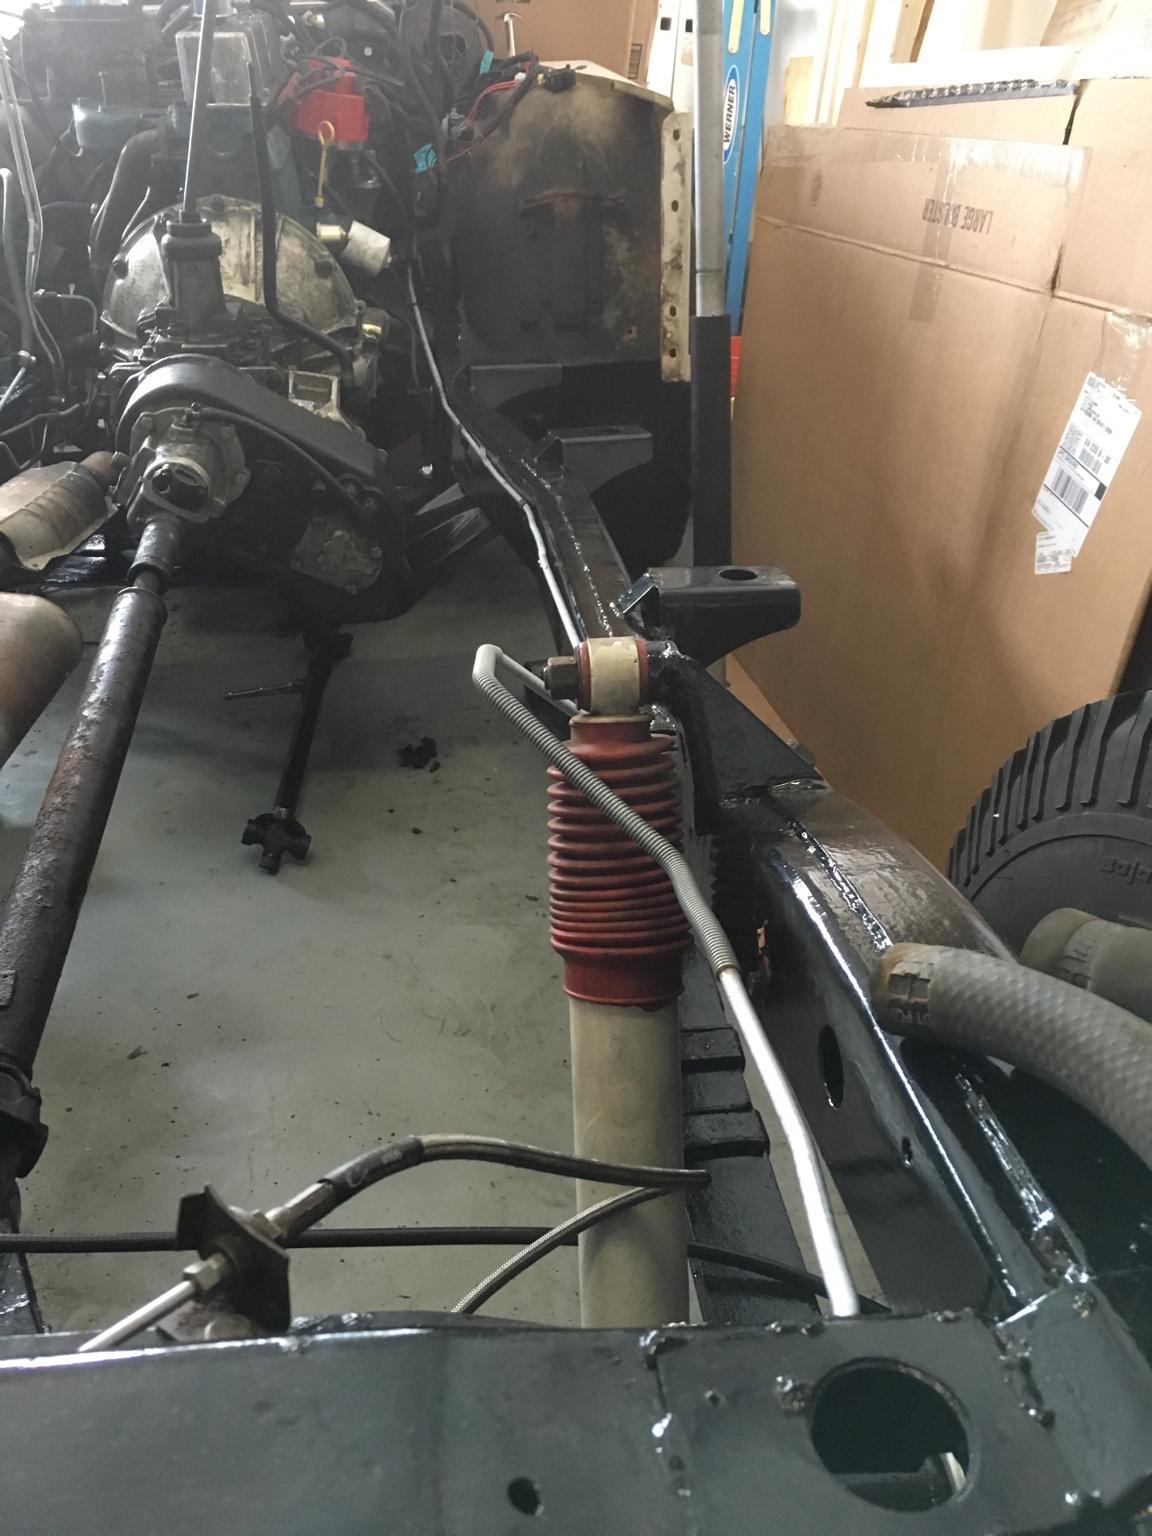
You may want to check your clearance on your fuel supply line to the tub on the passenger side before you set your tub. I don't know about fiberglass, but with the metal tub and standard height body mounts there is only an inch above the rear shock. Could just be the angle of the picture.
 
Looks really good. :cheers:

You may want to check your clearance on your fuel supply line to the tub on the passenger side before you set your tub. I don't know about fiberglass, but with the metal tub and standard height body mounts there is only an inch above the rear shock. Could just be the angle of the picture.

Yeah. That fuel line has been bugging me. Not really sure how I can bend it inboard some. As for the clearance, the body mounts have been raised a smidge more than an inch, so that will help, but I still want to get that line a little lower. Thanks for reminding me.
 
Looks really good. :cheers:

You may want to check your clearance on your fuel supply line to the tub on the passenger side before you set your tub. I don't know about fiberglass, but with the metal tub and standard height body mounts there is only an inch above the rear shock. Could just be the angle of the picture.

Rick,

Thanks again for reminding me about that. I adjusted the bend today.

277b1085324bf5928c6a892e77696c83-1.jpg
 
Looks good!:cheers:
The original supply line was the only fuel line I was able to reuse and that looks more like the way it was.
 
Looks good!:cheers:
The original supply line was the only fuel line I was able to reuse and that looks more like the way it was.

The lines I got from Classic were pretty good but I did have to make some slight adjustments. No complaints.
 
So, I may have mentioned this already, but I am going to get some new hoses for my fuel fill and vent. The ones on my current 15 gallon tank are 1" inner diameter and 3/4" inner diameter, respectively. They each appear to be too small to connect to the 20 gallon tank I got. So since it appears that the 1" hose will fit on the vent outlet, I am thinking I will get 1" and 1.25 inch ID hoses. They should still be able to be clamped tight enough at the filler cap on the tub, right? Only 1/4 inch different.

Is this a known thing when switching to a 20 gallon tank?

********************************edit*********************

Well from searching (and talking to Jim) I found a thread about the fill hoses here. Seems I am not the only one. I found some listed at The Jeep Guy (http://www.the-jeep-guy.com/fuel_&_intake_systems.htm). I sent Randy an email. They say they are for a CJ-7. Not sure if they will be long enough for an 8. If I don't hear soon, I will call him.
 
Last edited:
Back
Top