• Notice for iPhone users: DO NOT use the image size reduction option when uploading photos to the forum. This causes portrait images to post as landscape. We have added a warning to the image insert pop-up as well.

My Blue Jeep

Let me know if you need any parts. I think I might have some spare output shaft seals, maybe even some good used bearings. I might even have some good used other parts and pieces.

You could rebuild this one with the stock low ratio, buy another 300 to install the 4:1 gears. Once you install the 4:1 case, sell the stock rebuilt case to recoup some $$$ ??
Thanks, that's a good idea. I'll keep my eye out for another one. I really regret selling my spare Dana 300 now. I really didn't think I would need it. I'm eyeballing the kit from Advance Adapters right now. Anyone have any recommendations?
 
Thanks, that's a good idea. I'll keep my eye out for another one. I really regret selling my spare Dana 300 now. I really didn't think I would need it. I'm eyeballing the kit from Advance Adapters right now. Anyone have any recommendations?

I think I have used the Novak kits before, they were pretty good.

I never looked, but I wonder if it would be cheaper to buy the bearings and input/output/shift rail seals from a bearing supply house?
 
I see some kits come with the intermediate shaft and some don't. Do these normally go bad? Is it worth just buying one right away?
 
I see some kits come with the intermediate shaft and some don't. Do these normally go bad? Is it worth just buying one right away?
I have been reusing the OEM intermediate shafts, they seem better quality then the replacement parts :twocents:

The only thing riding on that shaft is the intermediate gear, which runs on all of those individual roller bearings. If your original shaft is bad when you pull it, let me know, I have spare new/replacement shafts.
 
Oh boy, here we go....
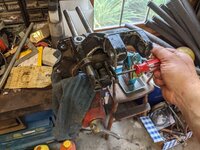
PXL_20210722_230150699.jpg

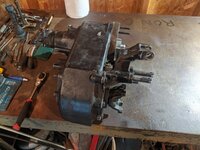
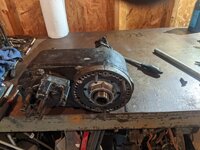
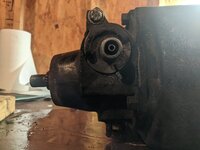
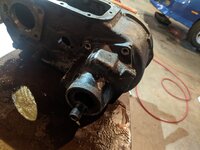
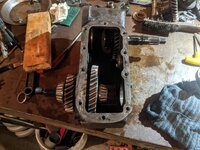
I started with my clocking ring. I put a little mark on top so I wouldn't forget how I had it.
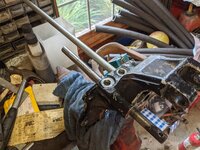
PXL_20210722_230936867.jpg
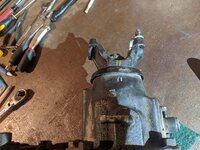
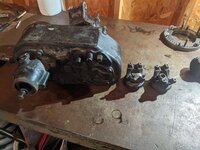
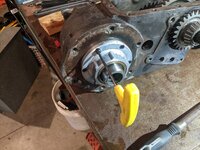
Couple little marks on the yokes too so they don't get mixed up. Not sure if this matters but generally I try to keep things the same way they came off.
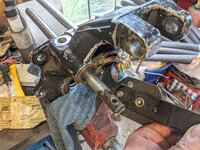
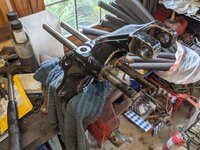
PXL_20210722_231428222.jpgPXL_20210722_231832016.jpg

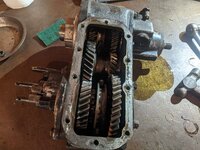
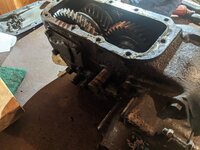
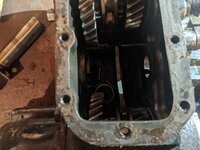
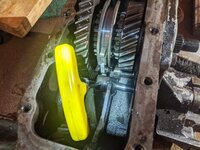
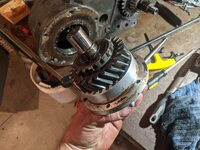
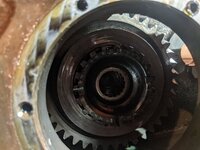
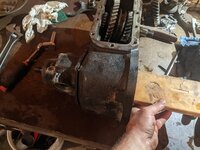
Oh look.... there's gears and things that spin in there.
PXL_20210722_232343067.jpg

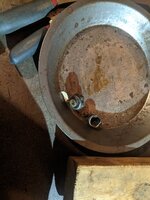
The sensor and the little cap thing.
PXL_20210722_232837319.jpg

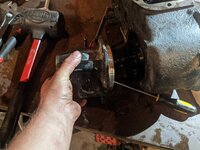
The bolt the holds the tag also holds the intermediate shaft. Let's take that little guy out.PXL_20210722_232839886.jpg
Smack the shaft...
PXL_20210722_234125903.jpgPXL_20210722_234131399.jpg
 

Attachments

  • PXL_20210722_234258418.jpg
    PXL_20210722_234258418.jpg
    168 KB · Views: 7
And it's out.
PXL_20210722_234258418.jpg
There are washers in there along with a few of the needle bearings that fell out. I just grabbed them with a magnet.
PXL_20210722_234301821.jpg

Ah, the lovely set screws that gives everyone trouble. Before I even tried the Allen wrench on it I beat the crap out of both of them ahead of time with a punch and hammer to "shock them". They both came loose comfortably. I didn't remove them. Just backed them off.
PXL_20210722_234712676.jpg
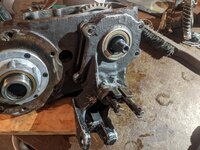
Now this can come off. A little awkward, but not terrible.
PXL_20210723_000902979.jpgPXL_20210723_004124851.jpg
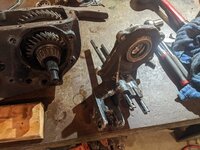
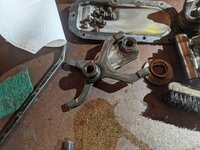
Once that's out of the way the forks can come out.
PXL_20210723_004233160.jpg
 
Didn't want to damage the speedo gear so I removed that before I forgot.
PXL_20210723_004512698.jpg

Let's take off more random stuff...
PXL_20210723_004908649.jpgPXL_20210723_005126447.jpgPXL_20210723_005639605.jpg

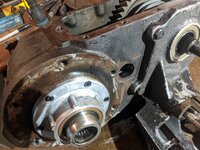
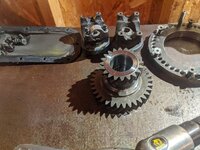
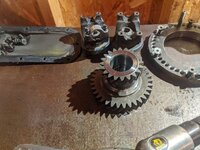
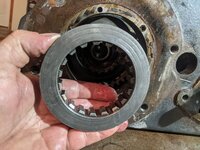
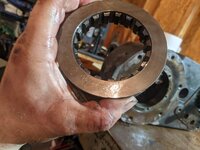
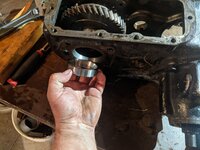
There's a collar thing in there. There is writing on one side of it. Not sure if this matters but I'll put it back the same way.
PXL_20210723_005732271.jpgPXL_20210723_005736984.jpg
 
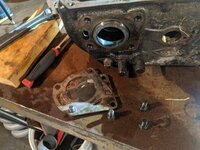
Took off the plate and shim. The bearing race just slides out by hand.
PXL_20210723_010103765.jpg

PXL_20210723_010146986.jpg

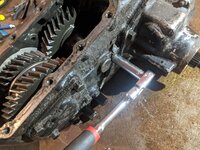
Unbolting more things...
PXL_20210723_010530055.jpg
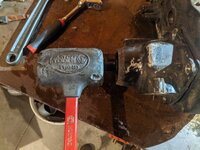
I smacked a piece of wood with a hammer to separate the two housings.
PXL_20210723_010820879.jpg
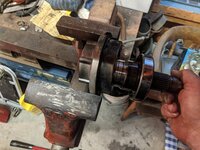
Then hit the shaft with my dead blow.
PXL_20210723_010857963.jpgPXL_20210723_011118677.jpg
 
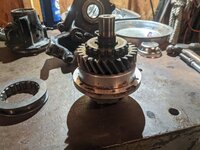
So now at this point I need a press to get the bearings off and apart the rest of the way. I'll do that tomorrow.
PXL_20210723_014530733.jpg
Let's go back to this little guy...the input shaft. Pop off that little snap ring on top.
PXL_20210723_011851907.jpgPXL_20210723_012016688.jpg

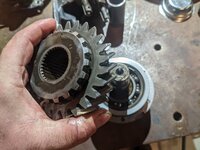
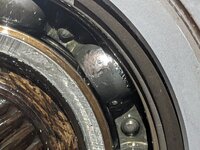
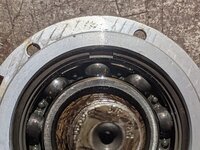
And the source of the noise.
PXL_20210723_012033063.jpg

This bearing is badly pitted/damaged. You can see it on the balls.
PXL_20210723_012044408.jpg

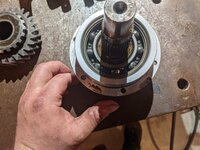
Another snap ring to take off.
PXL_20210723_012113939.jpg
 
The bearing didn't quite want to come out. So I took my torch and just gave the aluminum around the bearing just a little heat. Didn't take much and I was able to tap out the bearing.
PXL_20210723_013259103.jpg

That's it for tonight. I'll press everything apart tomorrow.
 
Looking good :thumbsup:

The biggest PIA with rebuilding the Dana 300 is reinstalling the shift rails. It takes a little finesse and patience, you will see what I mean LOL!!!
 
What anaerobic sealer did you guys use? When I googled it there is a very wide variety of answers.
 
What anaerobic sealer did you guys use? When I googled it there is a very wide variety of answers.
I used this stuff:


I "think" there is a "primer" you are supposed to use, too:


I used the primer, not sure if it is 100% necessary or not? Probably more important that the mating surfaces be perfectly clean :shrug::twocents:
 
I used the same and got it there also.
 
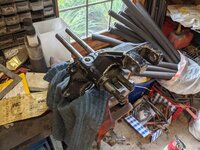
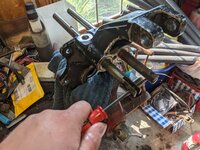
Alright, since you guys brought up the shift rails I thought I'd tackle them next. I put the assembly in the vise first.
PXL_20210723_202443192.jpg

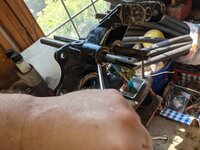
I unbolted the front plate/seal holder thing and turned the one rail 90 degrees.
PXL_20210723_202536890.jpg

Then as I slide the rail out I fed in a piece of round stock from the other side to keep the detent ball in place.
PXL_20210723_202958800.jpg
This made replacing the seal very easy.
PXL_20210723_204205412.jpg
And new one installed.
PXL_20210723_204638506.jpg
 
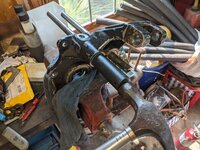
The other rail I tried to do the same thing but no luck. I tried various positions with each rail and couldn't get it out. Pretty annoying, that's 5 minutes of my life I won't get back.
PXL_20210723_205208341.jpg
So instead of wasting time on this I hammered in a screwdriver on an angle and just pried it out. I did of course clean/ lightly sand both rails before I did anything with them.
PXL_20210723_211828358.jpg

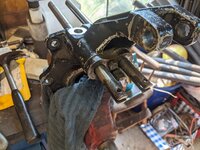
I found a socket big enough to fit over the top so I could install the second seal.
PXL_20210723_212112050.jpg

Bolted the plate back on and done with this for now.
PXL_20210723_212529526.jpg
Wow, what kind of Santa Claus crap is this!?!? The aftermarket intermediate shaft is on top and the factory one is on the bottom. Notice how the nice the finish is on the factory one and how rough the aftermarket one is? 🤮 As a toolmaker I am crying right now just thinking about it. How the hell does anyone F up a grinding finish that bad?
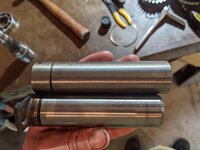
PXL_20210723_214149434.jpg
 
Someone told me to use drum sticks so that is what I used. A few years back CJ7Pilot gave me, not sure what it's called, he made them, little fiber donuts to go over the seals to help keep them clean. I installed them last fall.
 
Back
Top