• Notice for iPhone users: DO NOT use the image size reduction option when uploading photos to the forum. This causes portrait images to post as landscape. We have added a warning to the image insert pop-up as well.

My Blue Jeep

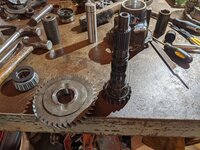
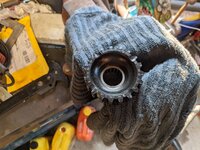
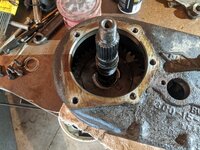
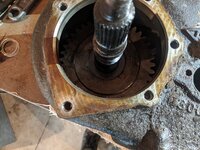
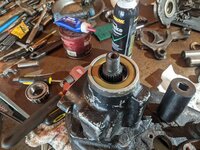
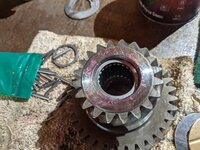
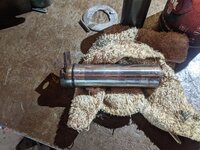
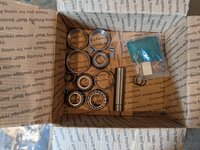
So I should have taken a closer look when I initially got my rebuild kit. Notice anything missing? I'll give you a hint, it's the main reason I had to rebuild this in the first place.
PXL_20210723_222110559.jpg

No input shaft bearing! I bought the kit from Transmission Parts Distributors and left them a message. In the meantime I called several parts stores in town so I can get this thing done. AutoZone (Duralast) and Orielly (National) will have it for me in the morning. I want to see who makes the Duralast one otherwise I'll just get the National one.

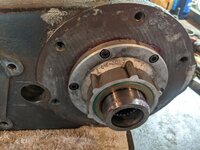
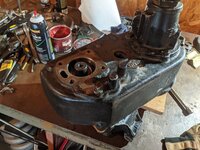
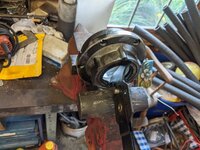
So moving onward. I replaced the seal and cleaned up this housing.
PXL_20210723_222712570.jpg

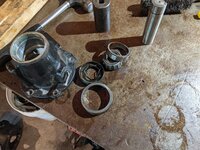
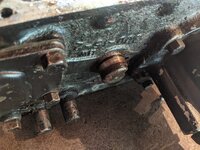
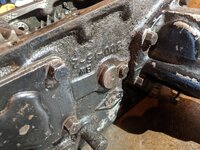
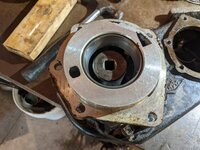
That crappy intermediate shaft did work well for smacking out the bearing and seal out of the output housing.
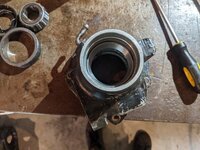
PXL_20210723_223524963.jpgPXL_20210723_223523216.jpgPXL_20210723_223940420.jpg

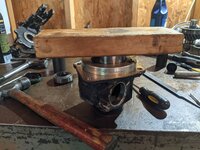
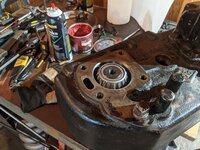
My spindle socket was actually the perfect size to install the new bearing race.
PXL_20210723_224901080.jpgPXL_20210723_224913604.jpg
 
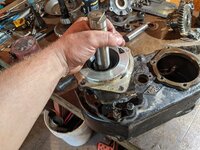
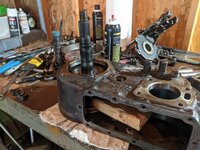
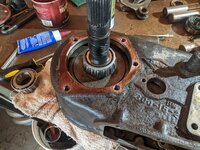
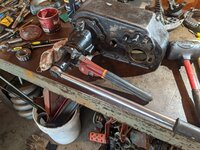
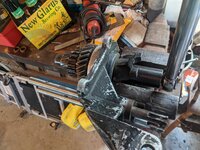
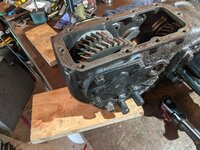
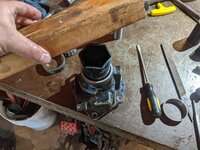
Alright, since you guys brought up the shift rails I thought I'd tackle them next. I put the assembly in the vise first.
View attachment 95693

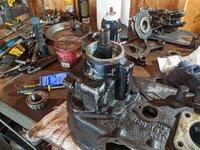
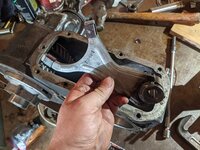
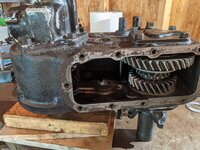
I unbolted the front plate/seal holder thing and turned the one rail 90 degrees.
View attachment 95694

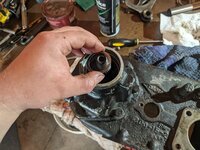
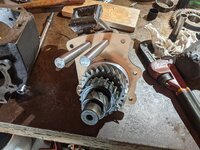
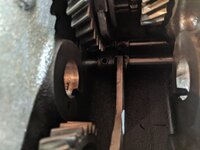
Then as I slide the rail out I fed in a piece of round stock from the other side to keep the detent ball in place.
View attachment 95695
This made replacing the seal very easy.
View attachment 95696
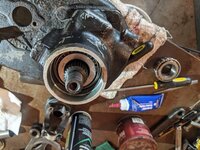
And new one installed.
View attachment 95697
Bloody brilliant. Why didn't i read this year's ago....?
 
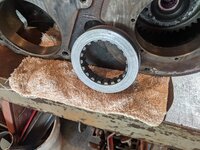
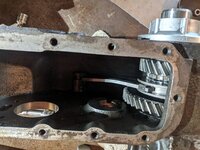
I used the old bearing race to install the other side.
PXL_20210723_225213607.jpg
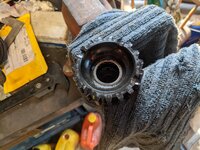
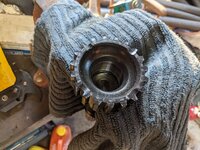
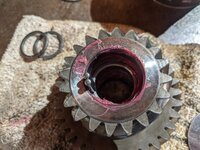
The input shaft has a little bearing that I almost forgot about.
PXL_20210723_225506968.jpgPXL_20210723_230316030.jpg
I don't have a puller for this so I just busted up the bearing and pulled it out.
PXL_20210723_230359877.jpgPXL_20210723_230608175.jpg
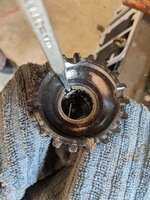
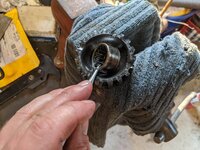
Cleaned up the bore for the new bearing.
PXL_20210723_230708531.jpg
 
I warned you about those replacement intermediate shafts :D
Lol, yes you did. It came with the kit and didn't give me the option to opt out. I didn't expect it to look good. But I really didn't expect it to look THAT bad! The pic doesn't even look as bad as it does in real life!
 
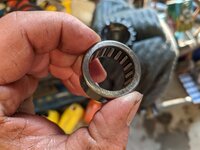
Not sure if this matters but the new bearing has 2 sides. One side is flat...
PXL_20210723_230958003.jpg
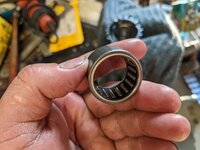
And the other side is rounded.
PXL_20210723_231001218.jpg
I put the rounded side down like it was from the factory.
PXL_20210723_231028405.jpg
This doesn't get pounded all the way in, just to that inner lip. I accidentally went just a tiny bit past. Should be fine.
PXL_20210723_231153274.jpg
All greased up and ready to go.
PXL_20210723_231352693.jpg

That's it for tonight. I need to go pick up my ridiculously old dog from my parents house. I had guests over earlier and they watched him for me.
PXL_20210514_013638953.jpg
 
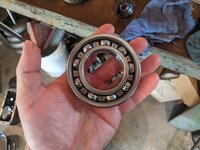
Hey! Look what I have! Lol. I just picked up the bearing at Oriellys this morning. The one at AutoZone said nothing else other than "made in China." Absolutely no other numbers or letters on it. My inner gut told me no so I got the National bearing. It too was made in China but at least the Manufacturer and part number was on the thing. I'm probably just being dumb about this. For all I know they both came out of the same factory. I grabbed my mic and measured everything I could and it was spot on. So we'll give it a go.
PXL_20210724_150940803.jpg
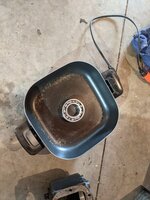
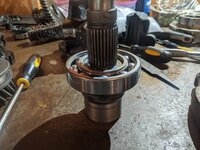
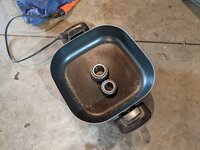
I was getting a little hungry so I threw the bearing in my electric skillet. I got it up to right around 225 degrees and slid it on to the input shaft.
PXL_20210724_151624901.jpg
PXL_20210724_153652480.jpg
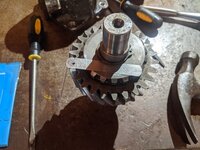
I wish I measured this before I disassembled it. According to my Haynes book the clearance between the gear and snap ring should be .003. I got .010 so I flipped the snap ring over and got a tight .008. If out of spec a shim is added between the shaft and bearing. Well, I'm not getting that back off without destroying the bearing so I'm just going to leave it. I can't imagine how .005 extra is going to make a big difference in this particular case. When you are driving the the gear will be pushing against the bearing and not the snap ring. Is my thinking correct here?
PXL_20210724_154931093.jpg
 
Gap tolerance must be for proper mesh? Dont believe helical gears induce thrust. Been a while. And the reduction gear boxes were for a little bigger application. Enjoying your rebuild.
 
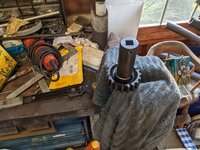
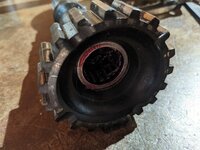
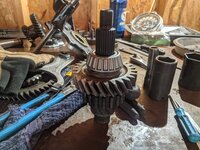
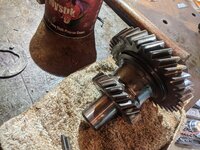
Next in line is this shaft with the gear. I put it in the freezer for 1/2 hour.
PXL_20210724_164122535.jpg
Don't forget the washer.
PXL_20210724_164156432.jpg
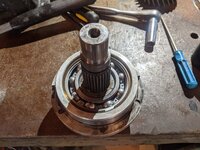
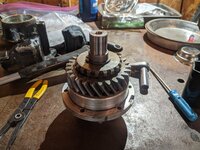
Then propped it up with a board so I can slid the bearing on which was on the skillet.
PXL_20210724_164738651.jpgPXL_20210724_165445576.jpg
PXL_20210724_174145982.jpg
 
Next comes the housing. I cleaned both surfaces and applied some of the anaerobic sealer.
PXL_20210724_174502740.jpgPXL_20210724_174945178.jpg

Definitely don't want to forget these shims.
PXL_20210724_175619783.jpg
The other bearing that was in the skillet.
PXL_20210724_175815918.jpg
PXL_20210724_180730565.jpg
I used some sealer in the splines of the yoke and slid it on. Blue thread locker on the nut and torqued it down.
PXL_20210724_181735046.jpg
 
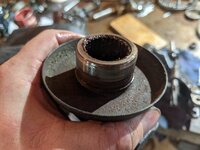
The collar goes in next. More anaerobic sealer on the outside for the input housing.
PXL_20210724_182139224.jpgPXL_20210724_182957717.jpg
PXL_20210724_183522832.jpg
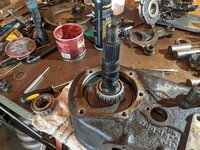
Back to the housing with the rails. I replaced the bearing race.
PXL_20210724_185417703.jpg
For the yoke that is for this side I noticed a little groove worn from the seal.
PXL_20210724_185428295.jpg

So when I installed the new seal I drove it further into the housing so it rides on a new surface on the yoke.
PXL_20210724_185431082.jpg
 
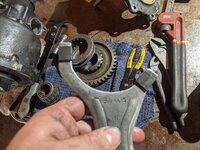
While I was waiting on more bearings in the skillet I thought I would tackle the plastic pads on the forks. Well, they weren't even close to fitting so I just put the old ones back on. No big deal, they were in excellent condition.
PXL_20210724_190932593.jpgPXL_20210724_191418324.jpg

At this point the bearing was fully cooked so I slide it on.
PXL_20210724_192757109.jpg

I didn't mention this before but the reason I put sealer in the yoke is so that when it slides on, it pushes the sealer out rather than into the bearing that's behind it.
PXL_20210724_193327675.jpg
I had to stick this one in the vise so I could torque the nut. Too awkward on the bench.
PXL_20210724_194427975.jpg
The first fork is ready to go in along with the rails. Check to make sure the forks slide into the rails comfortably BEFORE you try putting everything together.
PXL_20210724_195130552.jpg
 
I put the gasket on the housing end.
PXL_20210724_195631112.jpg
The fork is just hanging out in there for now.
PXL_20210724_195706438.jpg
Now sliding the fork on as I feed in the rail assembly.
PXL_20210724_201237903.jpg

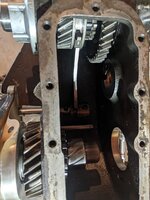
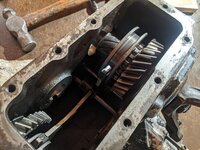
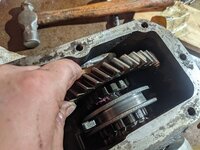
Don't go too far, the collar along with the other fork goes on along with the gear.
PXL_20210724_201653818.jpgPXL_20210724_201944204.jpg
And bolted in.
PXL_20210724_202650291.jpg
 
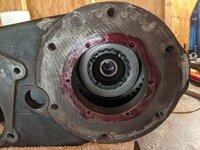
The other side is now ready for the bearing.
PXL_20210724_202942478.jpgPXL_20210724_203358238.jpg
The race just slides in by hand. This side uses shims to adjust the endplay.
PXL_20210724_203605329.jpg
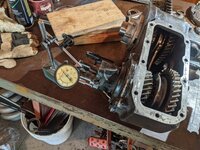
Checking the endplay.
PXL_20210724_210737443.jpg
And torqued down for good. No sealer is used here. Sealer acts like a shim which is no good.
PXL_20210724_213046208.jpg
I pulled out the set screws so I could line up the forks on the rails where they needed to be. Put them back in and tightened them down.
PXL_20210724_214308754.jpg
 
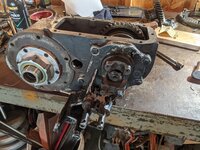
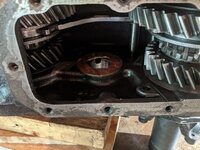
Next I got the transfer case on its side so I can get the intermediate shaft in.
PXL_20210724_214905757.jpg
Put the middle spacer in then load it up with grease to keep the bearings in.
PXL_20210724_215127081.jpgPXL_20210724_215307142.jpg
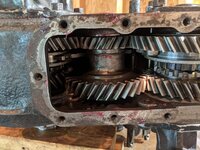
I slide the shaft through to make sure everything fit good. (Which it did)
PXL_20210724_215633458.jpg
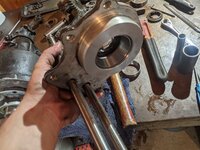
Slapped a good blob of grease on each one of the thrust washers to keep them in place. They only fit in there one way.
PXL_20210724_215841644.jpg
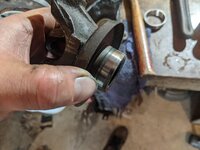
Kind of have to act fast here so the bearings don't slide out. But it just slides in place.
PXL_20210724_220310932.jpg
 
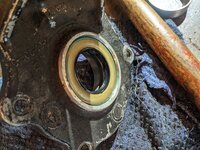
I replaced the O ring and made sure everything was clean and ready to go in.
PXL_20210724_220411307.jpg
PXL_20210724_221410732.jpg
And bolted in.

PXL_20210724_221948822.jpg
PXL_20210724_221951878.jpg
Reinstalled the speedometer gear.
PXL_20210724_222639825.jpg
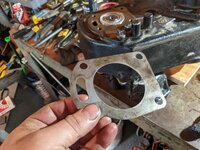
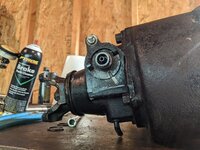
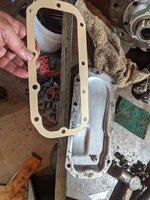
See this little guy? I'm not going to use this little guy. Paper gaskets suck, they always leak. I'm just going to use "Right Stuff" sealer instead.
PXL_20210724_223322716.jpgPXL_20210724_223956231.jpg
 
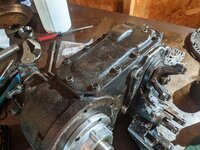
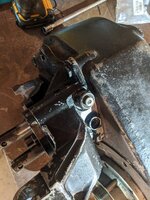
Reinstalled the 4wd sensor (yes I know mine is broken, don't care) along with that little cup/plug thing.
PXL_20210724_224454179.jpg
Reinstalled the clocking ring in the same orientation.
PXL_20210724_225525268.jpg
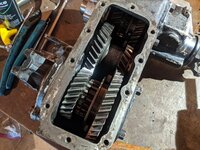
And done!
PXL_20210724_225528161.jpg
Everything spins nice and smooth. Also shifts nice. These are fun to rebuild! I just wish I didn't have to do it a week before my trip. Honestly, next one I do I'm not even going to mess with pulling the rails out. It's just not necessary and I have no idea why people put themselves through such hell to fully remove them. Smacking in a screwdriver and prying each seal out like how I did the second rail is super easy. That's it for tonight. I'll get it back in my Jeep tomorrow morning.
 
Back
Top