• Notice for iPhone users: DO NOT use the image size reduction option when uploading photos to the forum. This causes portrait images to post as landscape. We have added a warning to the image insert pop-up as well.

The Johnny Cash Project!--One Piece at a Time

jeepin494

Member
City
Ridgeville
State
SC
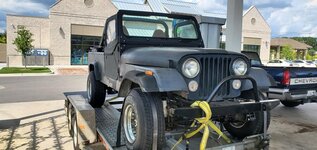
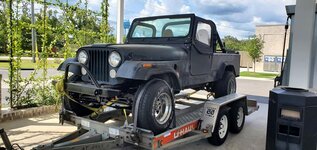
I have been into this project for a while now. A lot of things happening in the middle that keep it moving slowly. I moved last year and it sat in storage for a while. Also changes in the job have kept me on my toes. I have been trying to make lists and target one thing at a time to keep forward motion. It has definitely been a process so far and I will try to document as much as possible in hopes of keeping some sanity. This pic is the 1st day of ownership- I bought it in July of 2020. It looks great in this picture but underneath is a whole different story. I knew how bad it was when purchased and had planned on a tub replacement.
scram11.jpg
 
Last edited:
Looks like a good starting point, is it driveable? You may want to use it a while first?
 
Looks like a good starting point, is it driveable? You may want to use it a while first?
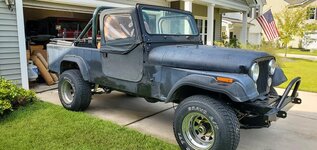
It was kind of drivable with some work on the brakes, transfer case and front axle rebuild. The PO had put a 4.0 out of a Cherokee in it. I have a CJ7 that I drive so the need to drive a Jeep is met. The Scrambler tub was extremely rotted. I know there are people out there that say everything can be fixed but geez, im not the guy and this isnt the day I said So... I tore it down oct7.jpeg
 
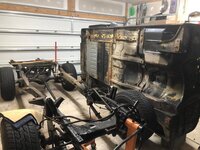
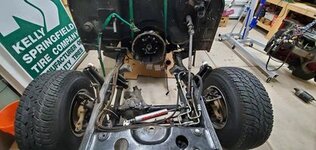
There is a few steps between these two pics, but you get the point. I pulled the engine and whole front clip. cut or broke all the rusted body bolts off and pulled the body off with a cherry picker and patience.273023006_10224975344565204_9167907190261908877_n.jpg273041331_10224975438327548_3010423853140192269_n.jpg
 
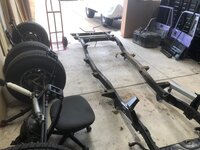
I pulled it apart and surveyed what was usable and to decide how much i wanted to do to it. Well, I got it down to the frame and decided I was going to do a full cleanup and toss in an LS. My 7 has an LS1 so i know how much fun it can be. I picked up a nice 5.3 from a Tahoe with 140K on it for the heart of the transplant. I also pulled the trigger on an MD Juan Tub too. This was a decision that was made purely on cost. While the MD Juan tub has been proven to be a PITA, it still was more cost effective than trying to fix what I had. The Tub cost $2400 plus about $300 shipping to my local Hub. Then, during the most inopportune time I decided to sell our current house and buy something with a little more room. Some neighborhoods get a little cramped if you know what I mean. So it headed off to Storage.273114900_10224975340645106_6336004656200878320_n.jpg
 

Attachments

  • 272930317_10224975808336798_3998514928893386320_n.jpg
    272930317_10224975808336798_3998514928893386320_n.jpg
    25.3 KB · Views: 9
  • 272819890_10224975806136743_8796611831283919954_n.jpg
    272819890_10224975806136743_8796611831283919954_n.jpg
    106 KB · Views: 9
Last edited:
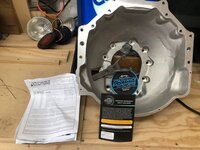
I at first chose to keep the AX-15 that came with the Scrambler. But with my CJ7 having an LS1 AX-15 combo mated to the Dana 300 with a 4 to 1 kit, I changed my mind. I unfortunately had already purchased an Advance adapter to mate the AX-15 to a Dana 300. I put it and the transmission up for sale and they sold fairly quick. I started a quick search for an auto and found a 4L65E from an Escalade for $150 about 5 miles from my house. Granted I will rebuild it even though I was told it ws in good working order. The last thing I want to do is put it all back together just to pull it all back apart for a hasty decision.273019755_10224975346805260_7002968946507254315_n.jpg273037394_10224975343085167_2545360945601477246_n.jpg273197567_10224975343165169_2845866883806720974_n.jpg273046451_10224975340005090_7061352176197034771_n.jpg273037602_10224975341405125_9216679106738369582_n.jpg
 
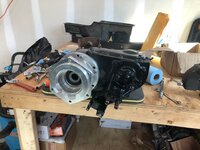
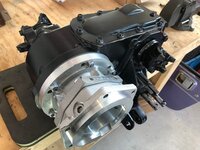
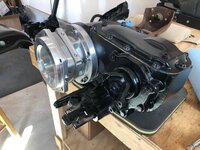
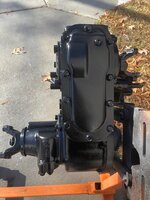
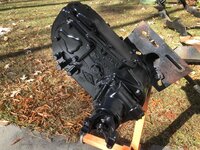
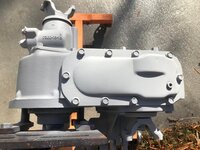
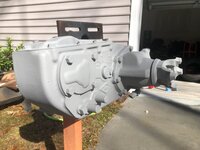
So some time passed while I made the move from one house to another and slowly but surely over the course of 6 months I got most things squared away enough to bring the Scrambler to the house. This of course was a fun few days of running loads from storage to home all while making it to work on time. Finally it was done and I could actually do some real work. I decided to tackle the job of cleaning up and installing the Novak Adapters kit onto my Dana 300. Overall this was a very quick and painless job. I have an extensive mechanical background and made quick work of the job, even with the needle bearings in the idler gears lol. But when I completed it, I thought, I should have gotten some pics. All that's left to do now is cut down the tail shaft of the trans and mate them together. That will have to wait til after the transmission rebuild.273132612_10224975177841036_3479521678500959518_n.jpg273044720_10224975169640831_6911863120111665832_n.jpg273149954_10224975176921013_5707014837928547949_n.jpg273049769_10224975346125243_7213399389618257964_n.jpg273175810_10224975345005215_3595868900350955217_n.jpg273019774_10224975347285272_2636355193236616203_n.jpg273031754_10224975348165294_9071561095133266026_n.jpg
 
Last edited:
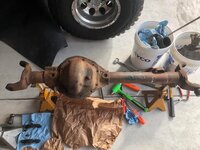
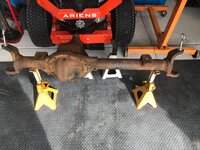
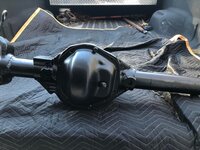
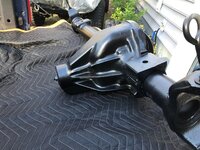
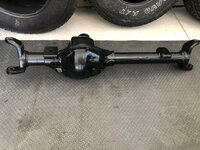
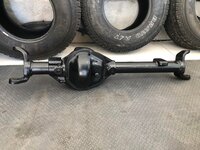
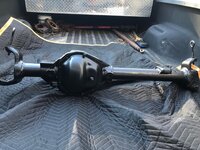
As most of you, i am always looking for Jeep stuff to buy. well one day on one of the FB Jeep groups. A set of axles appeared that fit the direction I was wanting to go. It was a Early Bronco 9inch and a shortened to CJ width K10 Dana 44. The price was right at $450 for the pair so I made them mine. Not only was this decent deal but the front was already re geared to 4:88's. I started tearing these down and cleaning them up. I tossed the rear to the side and concentrated on getting the 44 under control. I knew right away that high steer was in my future so I pulled the trigger on a high steer flat top knuckle kit. I am still waiting on some of the part needed to put this thing together so in the mean while I sent it out to powder coat. Oh yeah did I mention that where I moved to there is an industrial powder coating business at the end of the road. I pass it everyday on the way to work. I had been waiting for a reason to drop by. I talked to the owner and he is cool. He is a truck guy and was pretty reasonable with his service. I got a couple of quotes and dropped the axle off the next day.273020990_10224975344005190_6512390101458408846_n.jpg273191468_10224975344245196_2853514538252560998_n.jpg273051759_10224975173480927_6286478559129591639_n.jpg273139743_10224975180841111_8043740816065444413_n.jpg273106934_10224975175680982_485070466163105348_n.jpg273126248_10224975175560979_8837456127628352402_n.jpg
 

Attachments

  • 273016950_10224975174600955_7830443700115502343_n.jpg
    273016950_10224975174600955_7830443700115502343_n.jpg
    226.4 KB · Views: 0
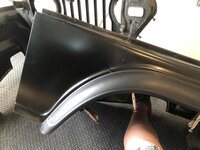
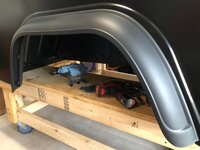
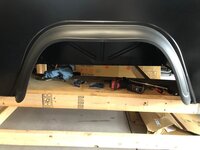
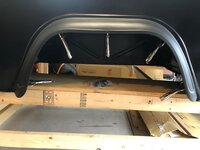
I took the time to fit the OMIX fender flares. the rears were a bear to get to fit right and also had to be trimmed.273270623_10224975345965239_9023091643606554762_n.jpg273143124_10224975343685182_7559819624089180407_n.jpg273170712_10224975347485277_2519258133797259480_n.jpg273125224_10224975340245096_1247311128307537721_n.jpg273164862_10224975346885262_8573612919818288247_n.jpg273018415_10224975174880962_7780195216990840445_n.jpg273152753_10224975172280897_7606657847190442695_n.jpg273124770_10224975339325073_7628890248294324497_n.jpg
 
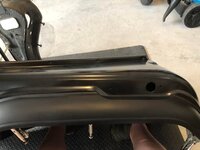
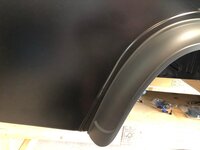
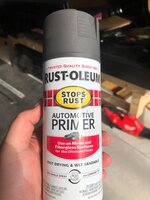
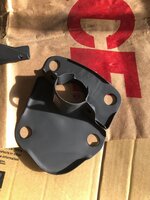
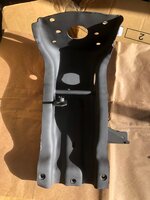
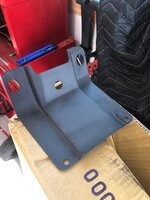
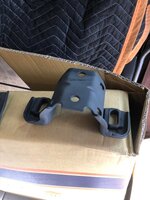
Spent some time over the past couple weeks cleaning up rusty brackets and getting them into primer. This has been fun and i mean that in a very sarcastic way. I know, it could be worse. But all kidding aside it is strangely satisfying.273023010_10224975170960864_5736563156683581606_n.jpg273039032_10224975173760934_5099687712888910001_n.jpg273290738_10224975174200945_2966137300436384653_n.jpg273050978_10224975180521103_785412144688154142_n.jpg273017682_10224975175840986_3426446357458510527_n.jpg
 
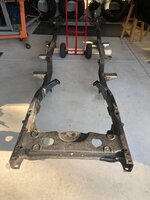
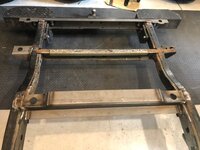
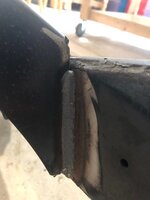
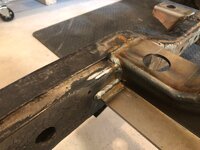
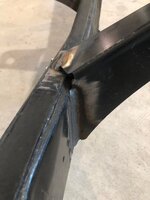
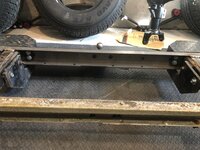
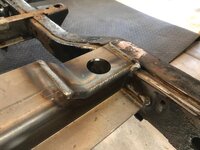
My frame needed some love so I ordered some parts from M.O.R.E.. Very BEEFY! I had a friend do the welding for me. He replaced a few body mounts, and the two body mount crossmembers in the rear. It looked like dirt/mud had been sitting on the mounts holding in moisture and salt from the roads. They were weak and the holes were much bigger than what they were supposed to be. I also had him weld in the LS mounts and fit the Hinkles bumper to the rear with a little more support than they had from the dealership. Now its time clean up some of the broken bolts and find a way to mount the transmission crossmember to the frame again.273144821_10224975172440901_3015173512934936219_n.jpg273162411_10224975174320948_2890135049912325254_n.jpg273031201_10224975175760984_686700533220589300_n.jpg273143841_10224975177481027_7600096219089502834_n.jpg273268867_10224975176441001_926423379997514791_n.jpg273041986_10224975177601030_4508746894878537666_n.jpg273115634_10224975177761034_130657246041718667_n.jpg
 
Coming along, thanks for sharing…
 
You have some great parts on this build. Are you planning on keeping the lug pattern 5 on 5.5? The nice thing about the 44 front is the option to run 5 on 5.5, 6 on 5.5 or 8 on 6.5 using factory parts.
 
You have some great parts on this build. Are you planning on keeping the lug pattern 5 on 5.5? The nice thing about the 44 front is the option to run 5 on 5.5, 6 on 5.5 or 8 on 6.5 using factory parts.
Thanks, I plan on keeping the 5 on 5.5 I'll get pics when I build up this 44. That should be soon, I most of the parts.
 
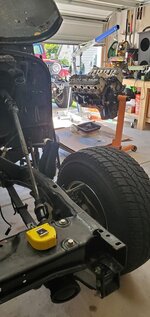
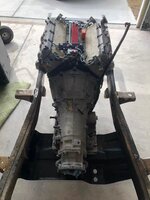
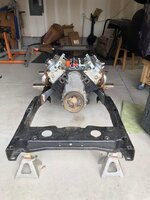
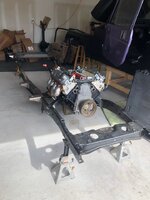
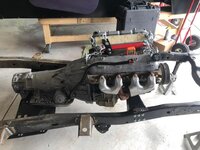
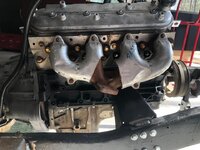
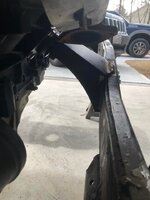
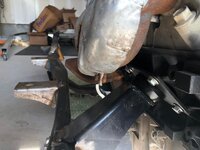
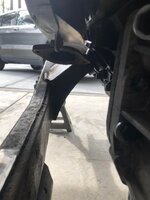
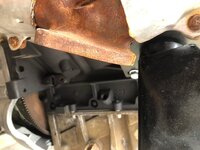
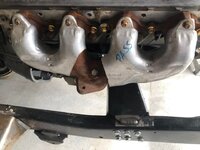
Was able to do a little work this week. 4 of the 6 holes for the Trans cross member were un-usable. So I installed Nut serts in the frame. That was fun! Once I got that in I flipped the frame over and got the Engine and trans in to see what was needed to make it fit. I have a trans mount on the way that fits the Advance Adapters kit. I am using LS2 manifolds as the Truck manifold dumped directly on top of the frame.
273935935_10225026509204288_7267424592217782090_n.jpg
273858340_10225026513284390_422138992141689425_n.jpg
273918640_10225026511004333_319047609729066334_n.jpg
273861171_10225026510404318_8049774297757481725_n.jpg
273830476_10225026508564272_2565496546881109043_n.jpg
273829336_10225026512404368_7317977874532634277_n.jpg
273995464_10225026511364342_8271001574320257171_n.jpg
273894508_10225026510724326_5381434929995863963_n.jpg
 

Attachments

  • 273816463_10225026512684375_2268371175128553315_n.jpg
    273816463_10225026512684375_2268371175128553315_n.jpg
    68.9 KB · Views: 2
  • 273891779_10225026508844279_5254981927889899422_n.jpg
    273891779_10225026508844279_5254981927889899422_n.jpg
    63 KB · Views: 2
Last edited:
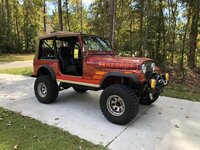
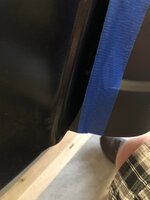
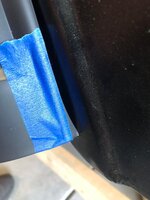
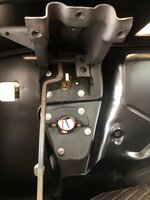
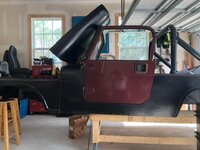
Scored a set of TJ doors for $200 this week. I am going to use them instead of the CJ doors I have. Initial fitment is looking good. I bought some TJ latches off ebay. I'll have to fab up a mount for them.273876214_10225026514084410_7308561157082282509_n.jpg
 
How did you know where to mount engine. I'm installing GM 350 on chassis without body. So I've been wondering about all that. Chassis had a LS 1 mounted before
 
Back
Top