

You are using an out of date browser. It may not display this or other websites correctly.
You should upgrade or use an alternative browser.
You should upgrade or use an alternative browser.
Spankrjs 1986 "Ploy-Boy" CJ-7
- Thread starter spankrjs
- Start date


- City
- Biloxi
- State
- MS
Went to the Southern CJ Show/swap meet this weekend, picked up a few goodies for this project:

I found an almost perfect 20 gallon gas tank skid plate metal side wing thing, the "earlier model CJ7" floor support braces (these go under the body, either side of gas tank, from 2nd set of body mounts back to rear floor support, will use these for additional support when I remove the tailgate support beam), and a good old stock fuel pump and automatic transmission starter solenoid.
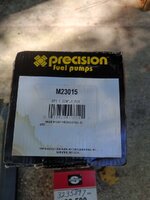
Don't see that "Made in the USA" too often anymore......
The OEM under dash lights and harness:

And one "goodie":
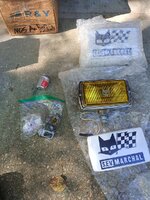
NOS Marchal fog lights. Not 100% factory optional correct, wrong color lens and black bodies, but still cool. Will probably install on this Jeep in the distant future.
So today, back to work on this one
I found an almost perfect 20 gallon gas tank skid plate metal side wing thing, the "earlier model CJ7" floor support braces (these go under the body, either side of gas tank, from 2nd set of body mounts back to rear floor support, will use these for additional support when I remove the tailgate support beam), and a good old stock fuel pump and automatic transmission starter solenoid.
Don't see that "Made in the USA" too often anymore......
The OEM under dash lights and harness:
And one "goodie":
NOS Marchal fog lights. Not 100% factory optional correct, wrong color lens and black bodies, but still cool. Will probably install on this Jeep in the distant future.
So today, back to work on this one
- City
- Biloxi
- State
- MS
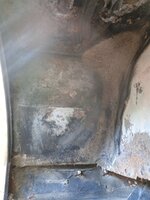
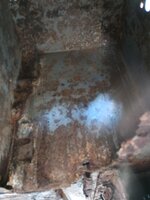
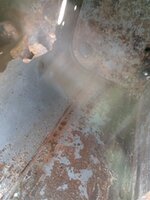
Since I had fresh arms this morning, spent two hours doing one last final sand on the rear wheel wells/cubby holes. I last sanded this one week ago, did not put any oil or anything on the metal, did not flash rust at all. Used stainless steel pot and pan scouring pads and really course steel wool. Used a cand of brake parts cleaner on each side when finished sanding, then a final wipe down with Acetone.
Passenger side:
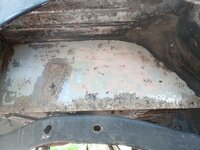
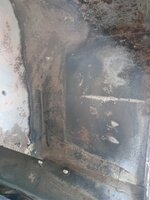
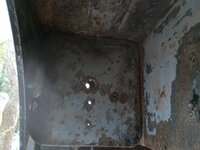
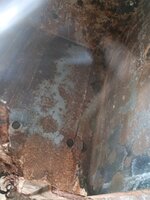
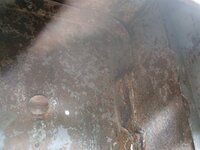
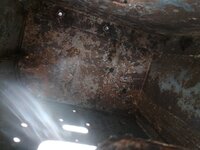
Interesting to see that pink/peach colored primer in the wheel well shots. Usually see that on heavily patina hoods and such. Some grey primer remnants up in the cubby holes but no evidence that the factory ever painted up in there.
Passenger side:
Interesting to see that pink/peach colored primer in the wheel well shots. Usually see that on heavily patina hoods and such. Some grey primer remnants up in the cubby holes but no evidence that the factory ever painted up in there.



- City
- Biloxi
- State
- MS
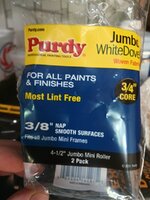
Used my previous mixture of 30% Owatrol oil/70% Owatrol CIP. Used cheap throw away 1" chip brushes for both cubby holes and all seams. Used a good 1" brushes for all the edges, and used a 4.5" roller for the larger areas.
Passenger side:


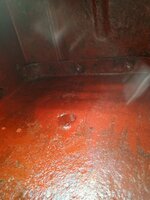

Like the gas tank skid plate, some brush strokes and bare spots, but the 2nd and 3rd coats will cover that up. Plan on three coats of primer on the body due to the corrosion.
Passenger side:
Like the gas tank skid plate, some brush strokes and bare spots, but the 2nd and 3rd coats will cover that up. Plan on three coats of primer on the body due to the corrosion.
- City
- Biloxi
- State
- MS
Driver side.
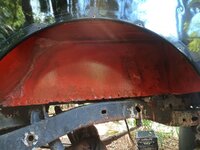
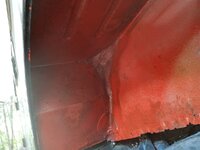
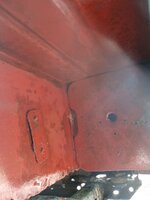
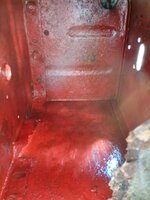
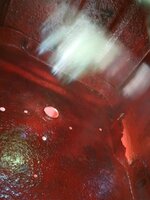
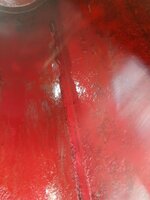
Halloween colors LOL!!
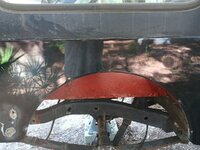
What I started with:

All in all, pretty happy with my prep work and the first coat of primer. Looks much better and is obviously protected from further degradation. This obviously is not "Pebble Beach Concourse" level work but I am really happy with it. Plan on doing this work to the entire underside to help protect it. Once I finish all of that work I will have a good idea of the real condition of this tub and what additional work it will need.
So, two more coats of primer on these areas, two coats of paint, then on to the rear floor bottom.
That's it for now.
Halloween colors LOL!!
What I started with:
All in all, pretty happy with my prep work and the first coat of primer. Looks much better and is obviously protected from further degradation. This obviously is not "Pebble Beach Concourse" level work but I am really happy with it. Plan on doing this work to the entire underside to help protect it. Once I finish all of that work I will have a good idea of the real condition of this tub and what additional work it will need.
So, two more coats of primer on these areas, two coats of paint, then on to the rear floor bottom.
That's it for now.
Last edited:
- City
- Biloxi
- State
- MS
Was able to get the second coat on this afternoon. Weather has been cooperating.
Passenger side:
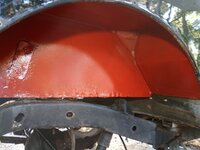

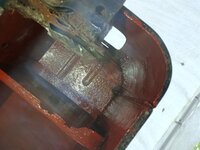
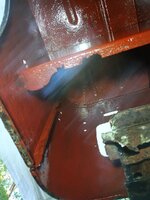
Driver side:
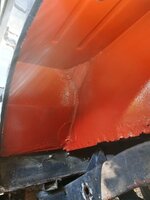
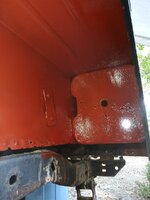
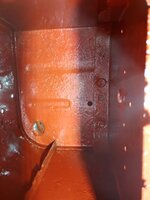
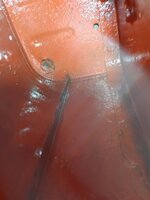
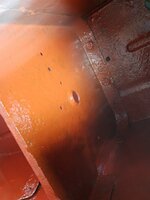
I am actually pretty happy with how smooth the primer is laying down, considering I am using a 1" brush for all the cubby hole work, 1" brush and 4-1/2" nap roller for the wheel wells. The second coat really solidified the slightly translucent spots. I went to back with some small hobby brushes and got some of the really tight spots after the second coat tacked up. I am going to add a third coat tomorrow, let it sit up a day or two, go back with the small brushes and hit any bare/thin spots.
I am pretty sure I am just going to brush paint the cubby holes. You can spray them, and I have before with a body tub on its side, but it is a PIA. Hell, the way the nap roller is working I might go ahead and brush/roll the fender wells too!!!
Anyway, pretty happy with my primer job so far, should really help protect the metal, and it looks a million times better already IMO. Only bad part, after I paint these areas, will only be about 25% complete with the bottom!!! Pulling the tub off is definitely the faster way to do this, but I wanted to give this way a go.
That's it for now.
Passenger side:
Driver side:
I am actually pretty happy with how smooth the primer is laying down, considering I am using a 1" brush for all the cubby hole work, 1" brush and 4-1/2" nap roller for the wheel wells. The second coat really solidified the slightly translucent spots. I went to back with some small hobby brushes and got some of the really tight spots after the second coat tacked up. I am going to add a third coat tomorrow, let it sit up a day or two, go back with the small brushes and hit any bare/thin spots.
I am pretty sure I am just going to brush paint the cubby holes. You can spray them, and I have before with a body tub on its side, but it is a PIA. Hell, the way the nap roller is working I might go ahead and brush/roll the fender wells too!!!
Anyway, pretty happy with my primer job so far, should really help protect the metal, and it looks a million times better already IMO. Only bad part, after I paint these areas, will only be about 25% complete with the bottom!!! Pulling the tub off is definitely the faster way to do this, but I wanted to give this way a go.
That's it for now.
- City
- Biloxi
- State
- MS
Got the third coat on this afternoon, coats go on quicker and use less material. Pretty happy with how it turned out.
Passenger side:
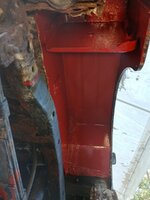

You can really see the contrast of the area I cleaned up and primed and the original, crusty rear tailgate support!!!
Driver side (sorry for glare but this is West side and I'm fighting late afternoon sun):
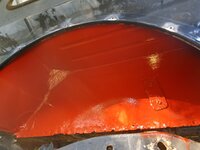
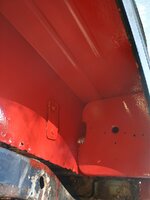
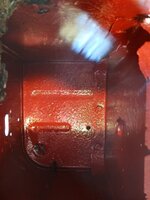
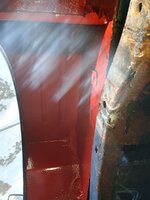

Pretty happy with the primer coat, need to let it cure for a couple of days before I top coat it with paint. Since it is an oil based primer I will top coat it with an oil based paint, Rust-Oleum!! But, in all seriousness, you can topcoat this stuff with just about anything as long as you let it fully cure first.
Will shift gears this weekend since I can't paint, get it ready for the next cleaning/sanding/priming area.
That's it for now.
Passenger side:
You can really see the contrast of the area I cleaned up and primed and the original, crusty rear tailgate support!!!
Driver side (sorry for glare but this is West side and I'm fighting late afternoon sun):
Pretty happy with the primer coat, need to let it cure for a couple of days before I top coat it with paint. Since it is an oil based primer I will top coat it with an oil based paint, Rust-Oleum!! But, in all seriousness, you can topcoat this stuff with just about anything as long as you let it fully cure first.
Will shift gears this weekend since I can't paint, get it ready for the next cleaning/sanding/priming area.
That's it for now.
- City
- Biloxi
- State
- MS
Went ahead and painted the cubby holes and wheel wells today. I brushed the cubby holes, due to them being a PIA to get to, sprayed the wheel wells. I used the small cans to spray the wheel wells vs the larger can - less paint comes out so more control in tight spots.
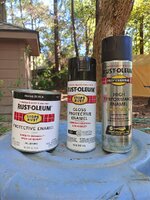
It's easy to match the gloss black exterior paint LOL. Bought a wide short brush, cut the handle off a 1" brush to allow for better clearance.
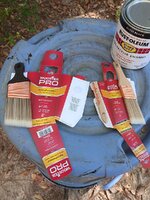
Cubby holes, 1st coat on. Will apply a second coat on either Monday or Tuesday. Pretty good coverage with first coat, just a few orange spots showing through.
Passenger side:
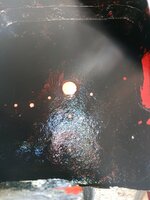
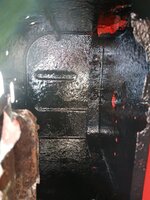
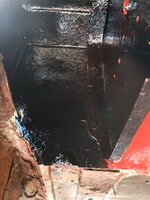
Driver side.
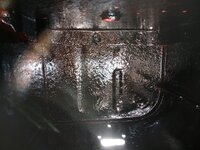
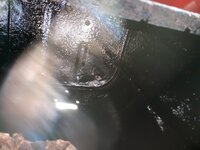
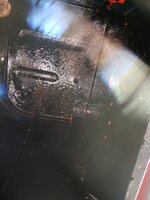
Pretty happy with the first brush coat, second coat should seal it up nicely.
It's easy to match the gloss black exterior paint LOL. Bought a wide short brush, cut the handle off a 1" brush to allow for better clearance.
Cubby holes, 1st coat on. Will apply a second coat on either Monday or Tuesday. Pretty good coverage with first coat, just a few orange spots showing through.
Passenger side:
Driver side.
Pretty happy with the first brush coat, second coat should seal it up nicely.
- City
- Biloxi
- State
- MS
Sprayed both wheel wells, worked out well.
Passenger side first coat:
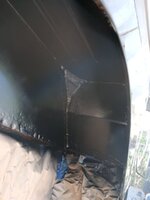
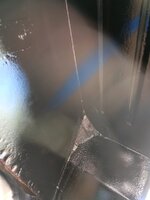
Driver side first coat:
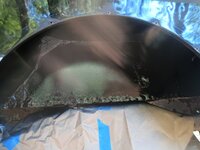
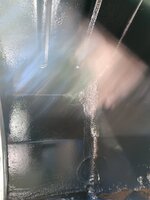

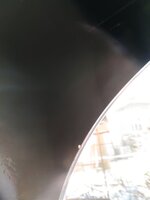
Sorry for the glare, really sunny out.
The brush paint requires 24-48 hours before a second coat. The spray requires second coat within one hour. I waited 20 minutes between coats. Humidity was below 40% today, which is rare, temp around 80, so really good painting weather.
Will post the second coat pictures later on, that's it for now!
Passenger side first coat:
Driver side first coat:
Sorry for the glare, really sunny out.
The brush paint requires 24-48 hours before a second coat. The spray requires second coat within one hour. I waited 20 minutes between coats. Humidity was below 40% today, which is rare, temp around 80, so really good painting weather.
Will post the second coat pictures later on, that's it for now!
- City
- Biloxi
- State
- MS
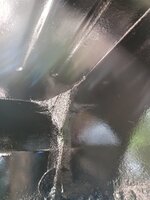
And second coat pictures. It looks a little bit extra glossy in the pictures due to the paint still being wet and the glare/sun. Came out pretty good. I was worried about using "gloss" but it's not too shiny, still pretty good contrast between the more glossy exterior paint.
Passenger side;

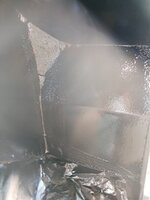
Driver side:
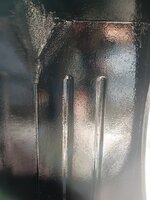

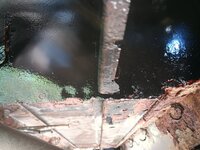
Picture below shows the contrast of before/after!!
And organized the little shed, it was a disaster.
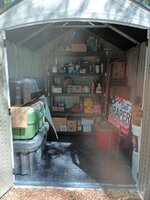
Will need to perform some disassembly/modifications before I proceed any further with the under body work. That's it for now.
Passenger side;
Driver side:
Picture below shows the contrast of before/after!!
And organized the little shed, it was a disaster.
Will need to perform some disassembly/modifications before I proceed any further with the under body work. That's it for now.
- City
- Biloxi
- State
- MS
Was able to get the second coat on inside the "cubby holes" last night.
Passenger Side:
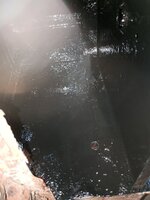
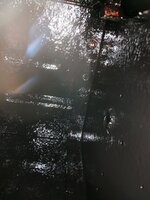
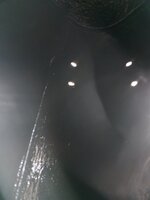

Driver side:


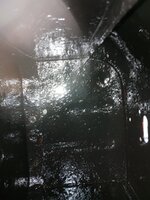
I have a few "orange spots" I need to go back and touch up with a small brush. You tend to bump into the sides you already painted while painting other parts, pretty tight quarters. All in all pretty happy with the paint job, obviously a million times better than before, and protected against further degradation.
That's it for now
Passenger Side:
Driver side:
I have a few "orange spots" I need to go back and touch up with a small brush. You tend to bump into the sides you already painted while painting other parts, pretty tight quarters. All in all pretty happy with the paint job, obviously a million times better than before, and protected against further degradation.
That's it for now


- City
- W-S
- State
- NC
you and me both......Wish I still had the plow

Belizeit
CJ-8 Member
- City
- River Ridge
- State
- La
Amateurs ? Amateurs ? When it snows here, and it has been the last couple hours, they close the interstate and all bridges. On average it only snows about once every 10 years, and maybe just a dusting or not even sticking to the ground. The 3 interstates are closed for a good reason. Raymond had the only plow within 100 miles. They are talking about historic records levels here. 4 - 8 inches maybe.3"-5"?? you'd plow that? amateurs
It's -32F here this morning...


