You are using an out of date browser. It may not display this or other websites correctly.
You should upgrade or use an alternative browser.
You should upgrade or use an alternative browser.
1981 scrambler build 3 link
- Thread starter mike_bfdr
- Start date

- City
- Colorado Springs
- State
- CO
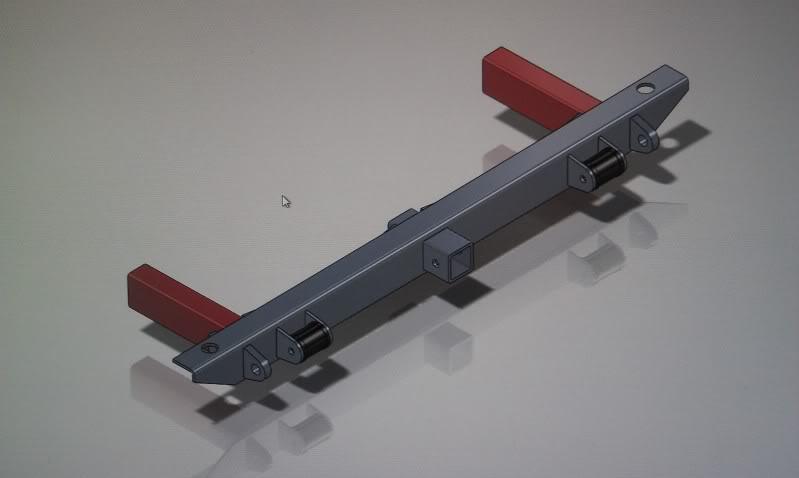
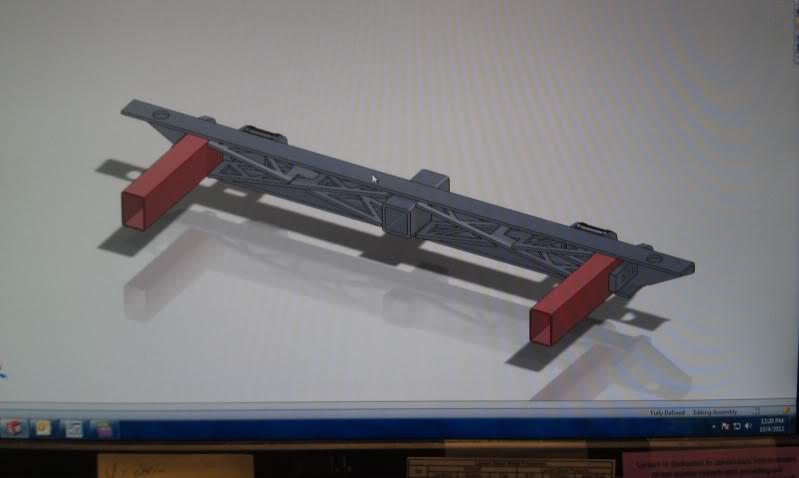
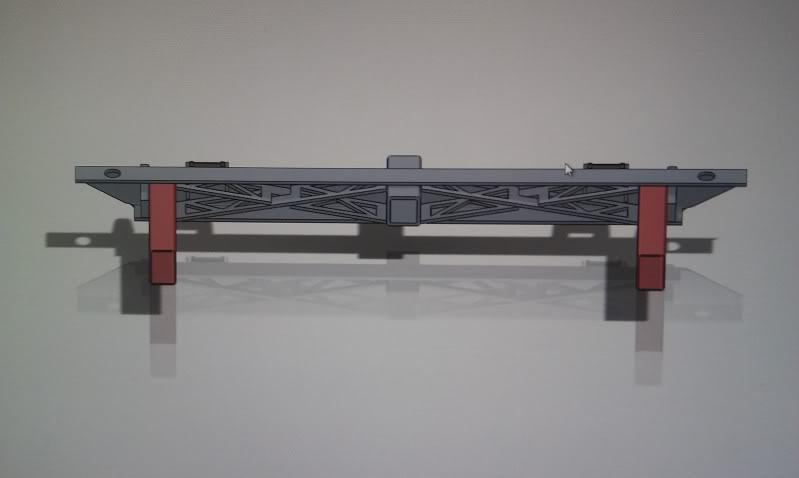
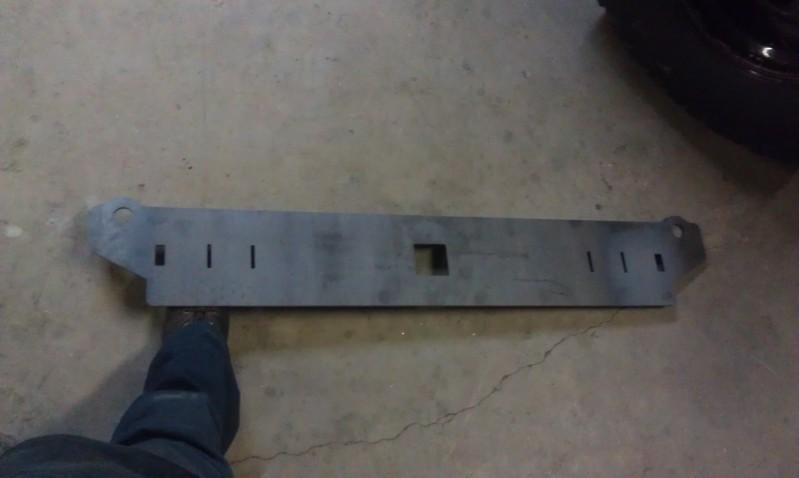
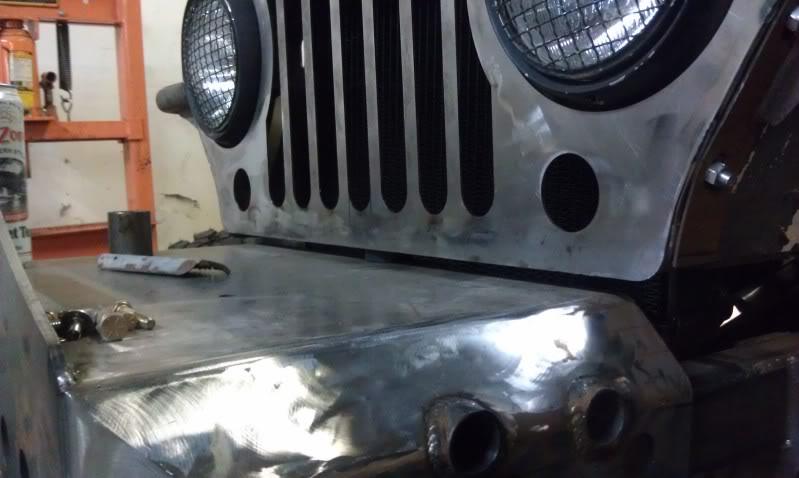
Awesome build sir! If you decide that you don't like the grille and make a new one, I'll happily take the old one...heehee! What I like about this build is the imagination and quality of execution! The clean fab work is amazing! Love the "speed holes" on the front with the thimbles coming through. Was that front assemble made on the laser as well?
One question... Can I get more pics of how you did the tranny cover/seat mounts? I like the box you made to cover the hole from removing the hump but can't figure out how it attaches to the body? Did you weld in some kind of frame and then this just bolts on? I'm about to start on mine and could use some more ideas. I'd love to keep it removable to make filling fluids or removing the top bolts on the crawl box or t-case easier...I'm just not sure how to do it. Ideas!?!
Oh.... and you should DEFIANTLY sell those rear wheel well storage boxes! Me wanty!!!
One question... Can I get more pics of how you did the tranny cover/seat mounts? I like the box you made to cover the hole from removing the hump but can't figure out how it attaches to the body? Did you weld in some kind of frame and then this just bolts on? I'm about to start on mine and could use some more ideas.
I'd love to keep it removable to make filling fluids or removing the top bolts on the crawl box or t-case easier...I'm just not sure how to do it. Ideas!?!Oh.... and you should DEFIANTLY sell those rear wheel well storage boxes! Me wanty!!!
Last edited:

mike_bfdr
Basic User
- City
- riverside
- State
- ca
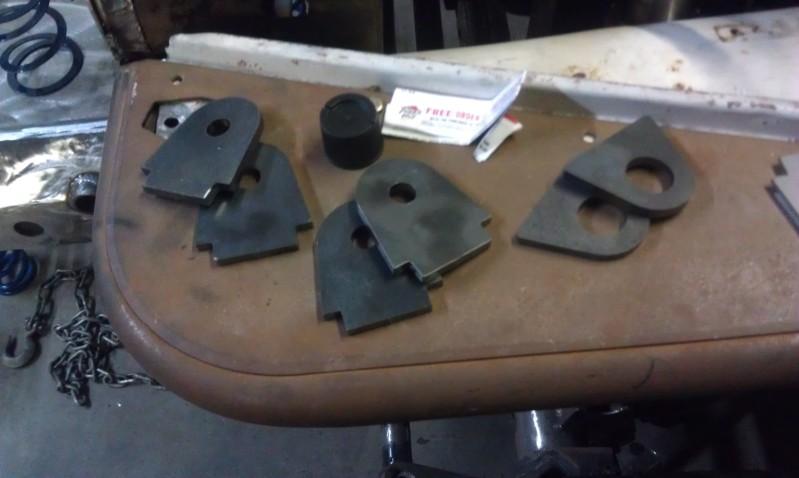
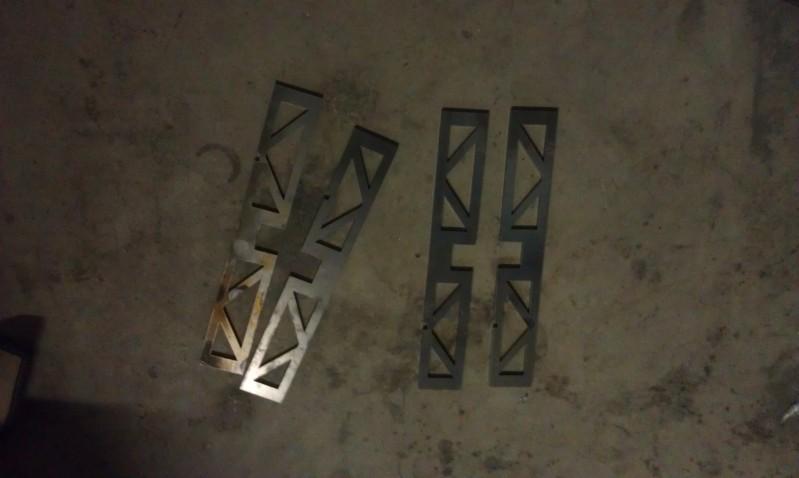
Wow thank u SOOOOOOO much for the kind words...... whatever info u need ill try to help...... the only parts that was cut out on the plasma table was just on the axle brackets and lower link brackets...... but everything else is cutout on a laser at work....... just let me know what you need and I'll get you what you need just FYI you know my grill isn't stock size it's 3" shorter
whatever info u need ill try to help...... the only parts that was cut out on the plasma table was just on the axle brackets and lower link brackets...... but everything else is cutout on a laser at work....... just let me know what you need and I'll get you what you need just FYI you know my grill isn't stock size it's 3" shorter
Last edited:
- City
- Colorado Springs
- State
- CO
Do you have any pics of the floor without the tranny cover installed? I'm dying to know how you braced it or whatever you did to make it work.... 
And are you going to make little "doors" to cover the storage areas? That would be cool. O one as a sub enclosure for a small speaker...?
And are you going to make little "doors" to cover the storage areas? That would be cool. O one as a sub enclosure for a small speaker...?
mike_bfdr
Basic User
- City
- riverside
- State
- ca
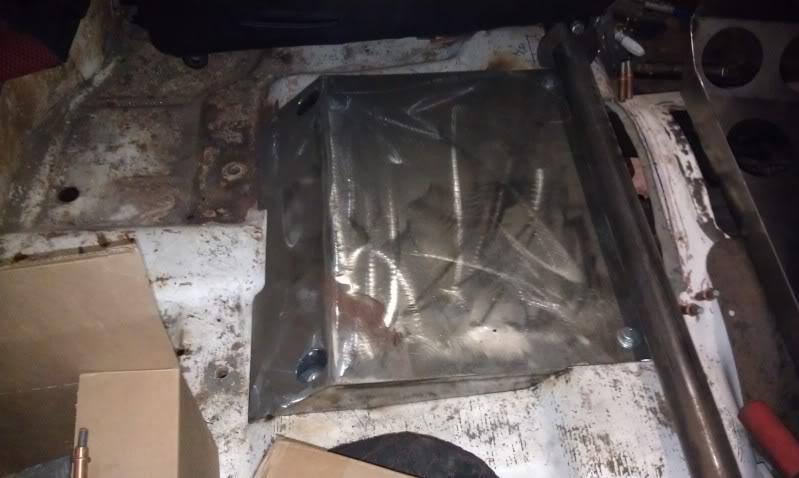
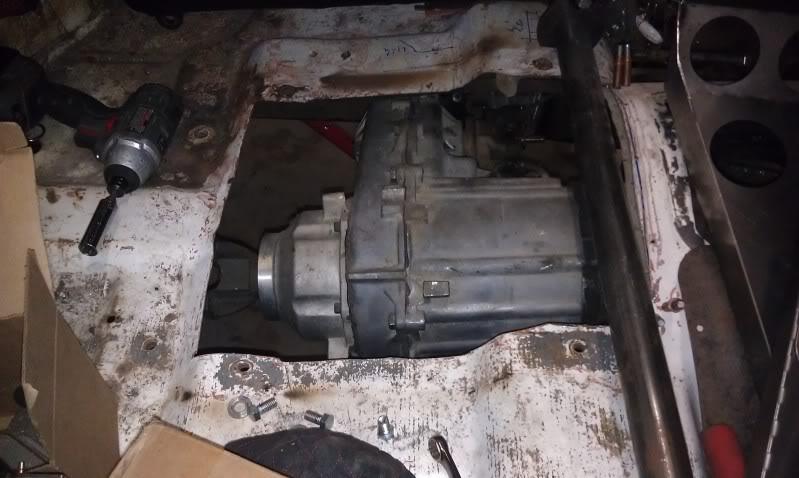
Do you have any pics of the floor without the tranny cover installed? I'm dying to know how you braced it or whatever you did to make it work....
And are you going to make little "doors" to cover the storage areas? That would be cool. O one as a sub enclosure for a small speaker...?
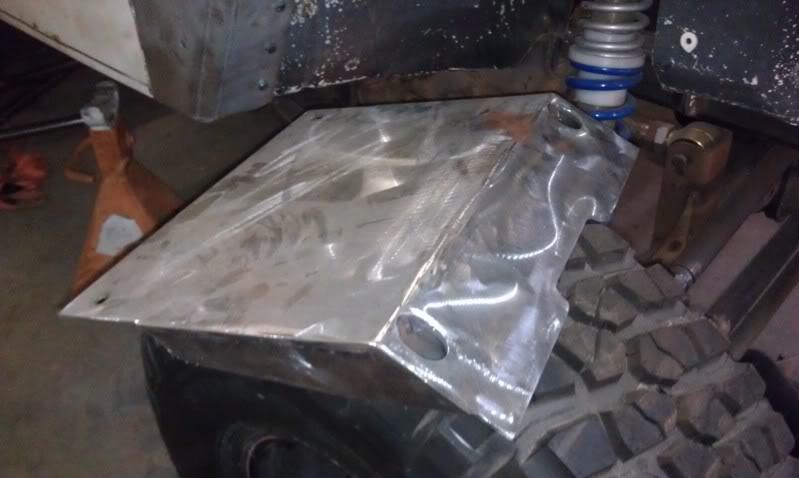
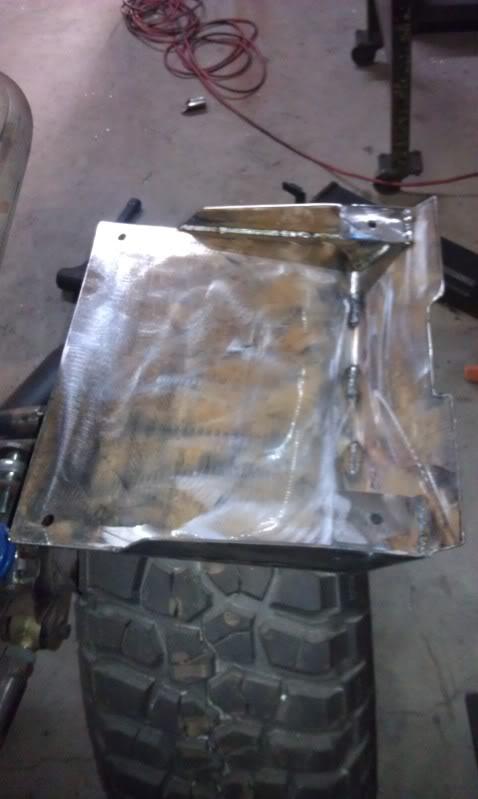
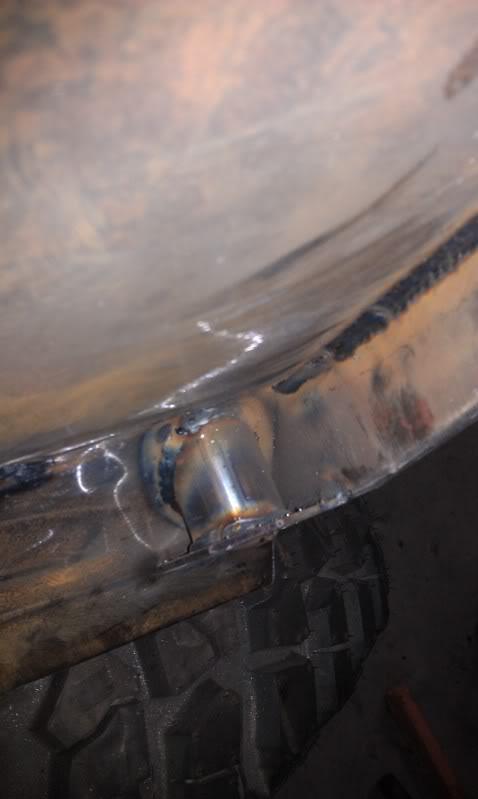
i hope this helps...... i didn't add any support cause when i added the cover i use 12 ga. (.105") and i jumped on it a few times and nothing moved too much that i was going to worry about it, cause when i bolted it down its almost is a support..... the rear wheel well covers are going to have doors to cover them with a latch..... i dont think ill be adding a sub lol im to old for that stuff..... just going to go with 4 speakers lol
Last edited:
mike_bfdr
Basic User
- City
- riverside
- State
- ca
New dash look great. Really reminds me of a jk type dash. Keep up the good work, your making good progress.
thanks....... it does look like a jk dash :/ whats funny is that i didnt mean to to that and to top it all off i dont really care for the jk lol
- City
- Colorado Springs
- State
- CO
Looks like Mrs Santa was goooood to you!
I can see how the cover mounts now... thanks. Looks like yo tied into the seatbelt or seat mounting nuts? My only question is how does it seal out the water and such??
I can see how the cover mounts now... thanks. Looks like yo tied into the seatbelt or seat mounting nuts? My only question is how does it seal out the water and such??
- City
- Colorado Springs
- State
- CO
Silicone... almost as good as big natural ones. lol!
I'll be leaving Germany (happily) early March. Not long at all now and the "to do" list is still huge! haha!
I'll be leaving Germany (happily) early March. Not long at all now and the "to do" list is still huge! haha!
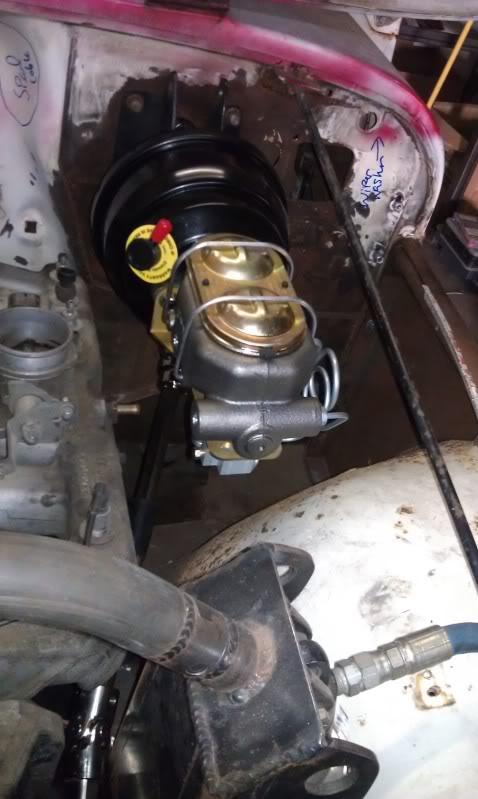
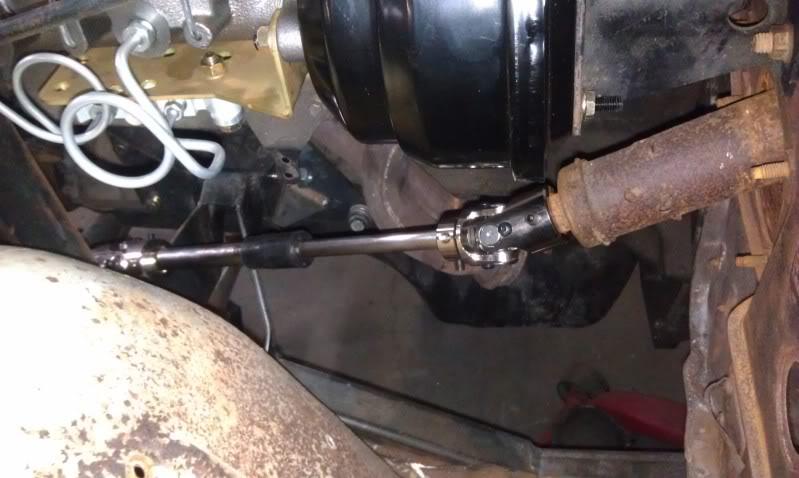
Is that a Master Power booster and master cylinder? I put the dual diaphragm booster and master from them in my scram and the braking performance was fantastic afterwards. I can lock up 40's with the quickness if needed. Are you running a different proportioning valve? I think I see one mounted underneath.
Last edited:
mike_bfdr
Basic User
- City
- riverside
- State
- ca
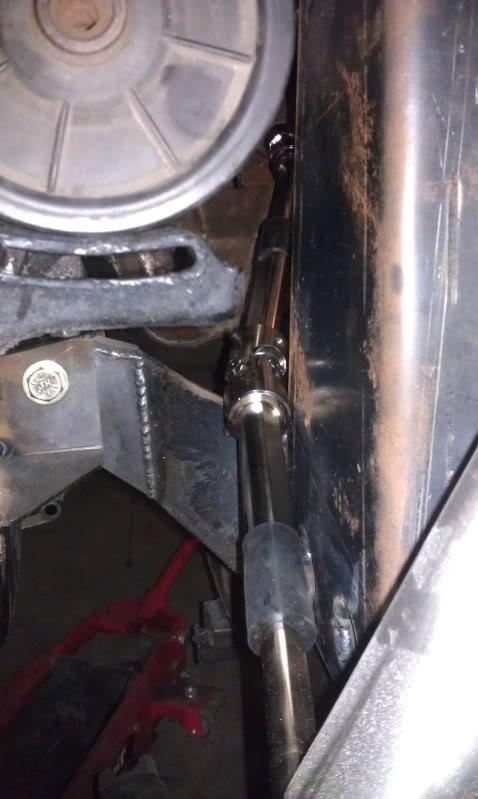
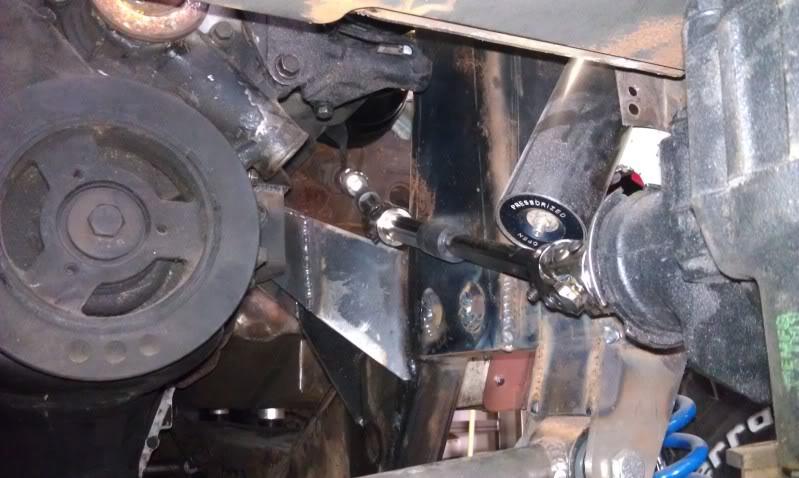
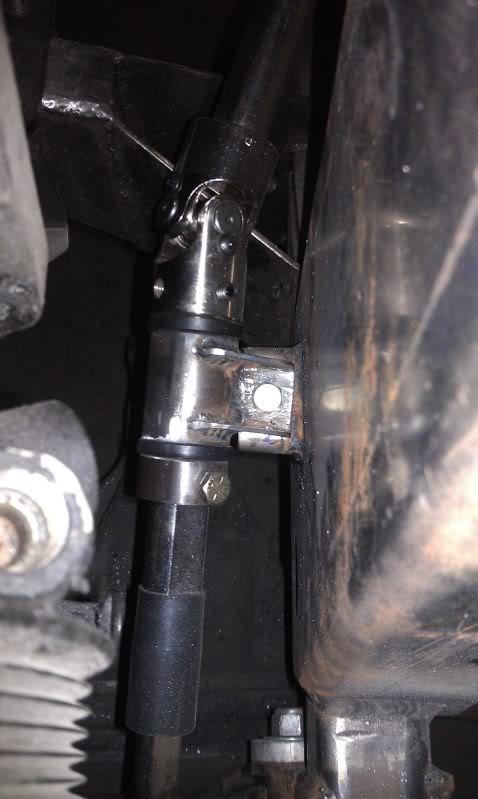
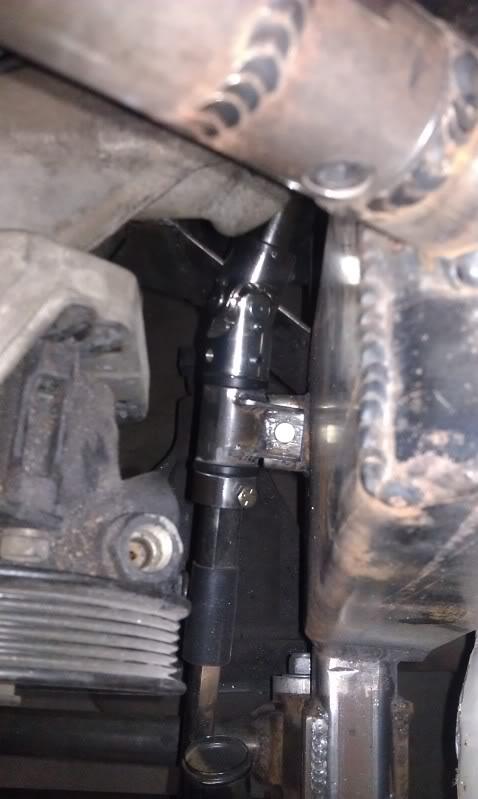
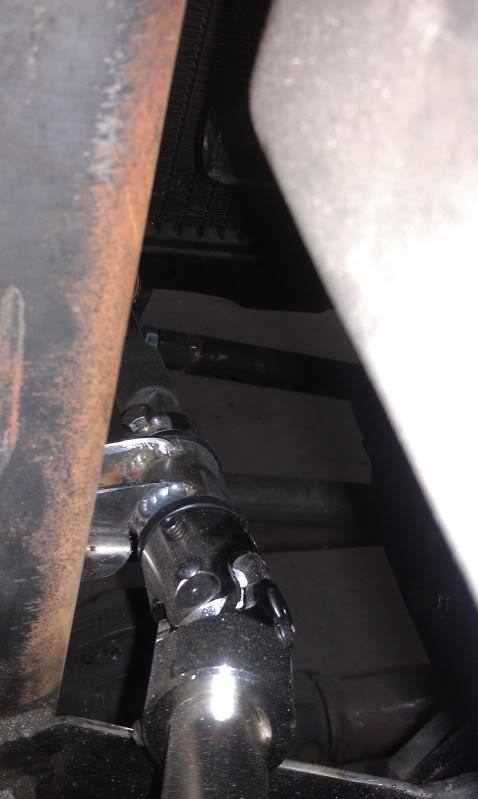
I got the booster from classic performance products in Anaheim its a duel 8" with an 1 1/8" master cylinder with a proportioning valve at the bottom disk to disk .... I was debating on going with a hydroboost or conventual brake booster..... But the cost outweighed each other lol by a lot lol...... If this doesn't work then ill be putting the booster on my mustang lol the steering u-joints are from there also and there much cheaper then any other on the market
Major Jack
Legacy Registered User
- City
- Zillah
- State
- Wa
Drill & tap collor for a zerk. When building low hoods in tne old days. We used a pillow bearing when rerouting the steering shafts.

CJ ATE
Legacy Registered User
- City
- Vinton
- State
- VA
HOW DID I NOT SEE THIS ALREADY!!!!!!
Great work man love the original ideas and out of the box thinking. Those are the kind of thing I LOVE!
Please let me know when its bring your friend to work day! Ive got multiple files in CAD ready for that laser table! LOL
Been looking into CNC plasma tables myself but the laser/hi def plasma is so far outta my price range its not even funny!
Later
Sean
Great work man love the original ideas and out of the box thinking. Those are the kind of thing I LOVE!
Please let me know when its bring your friend to work day! Ive got multiple files in CAD ready for that laser table! LOL
Been looking into CNC plasma tables myself but the laser/hi def plasma is so far outta my price range its not even funny!
Later
Sean
mike_bfdr
Basic User
- City
- riverside
- State
- ca
lol will do........ it really nice to have access to a laser and press brakes lol my buddys shop has a plasma table, thats what i had to use when i didnt work where i work at.........
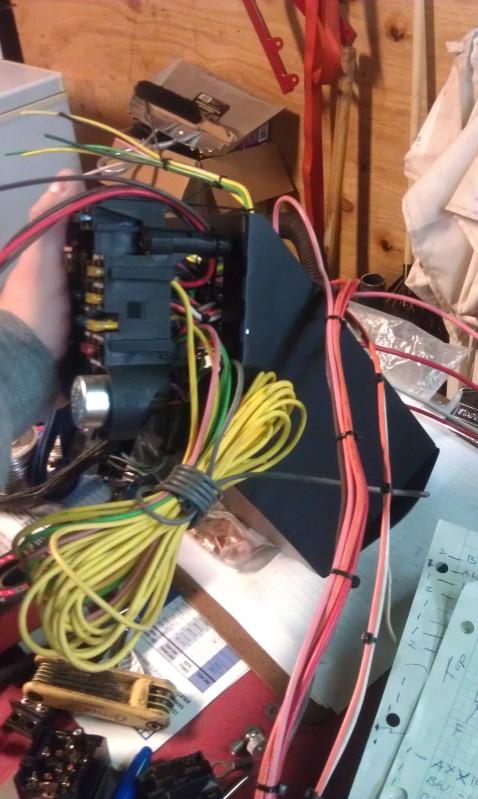
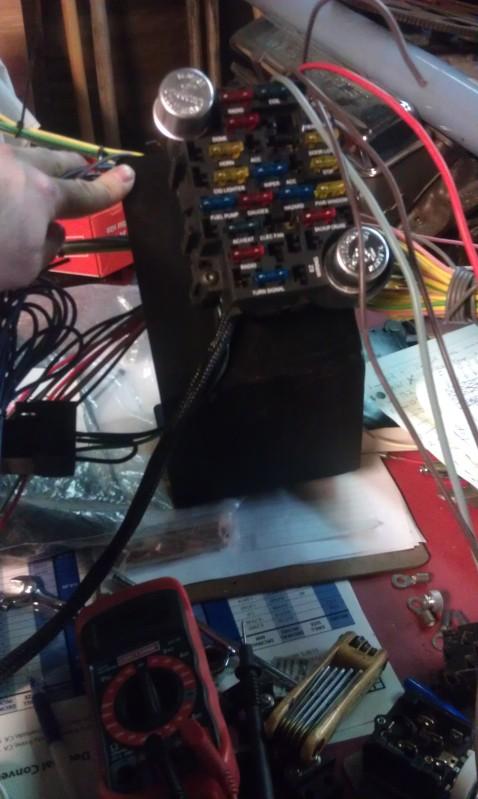
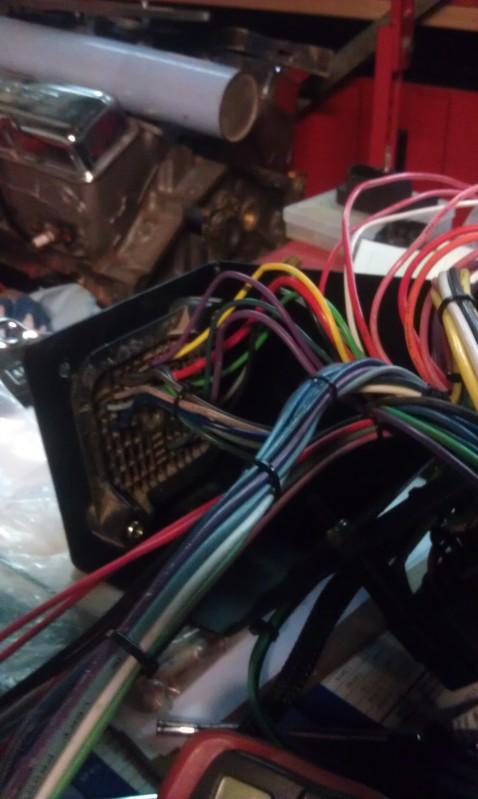
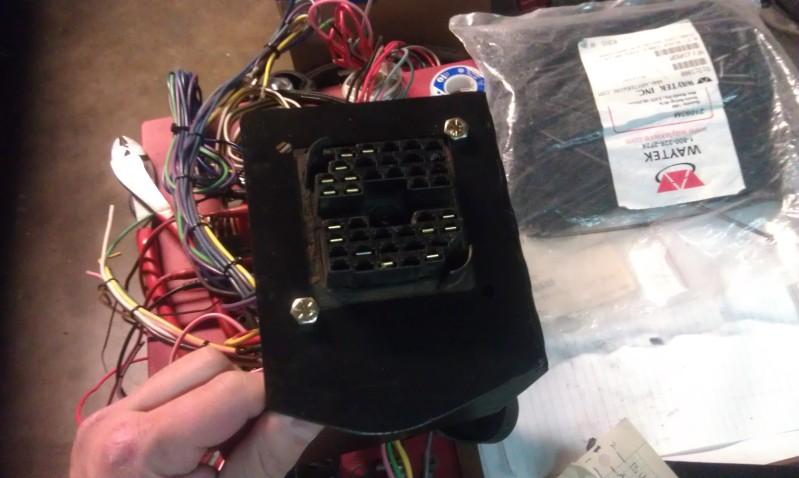
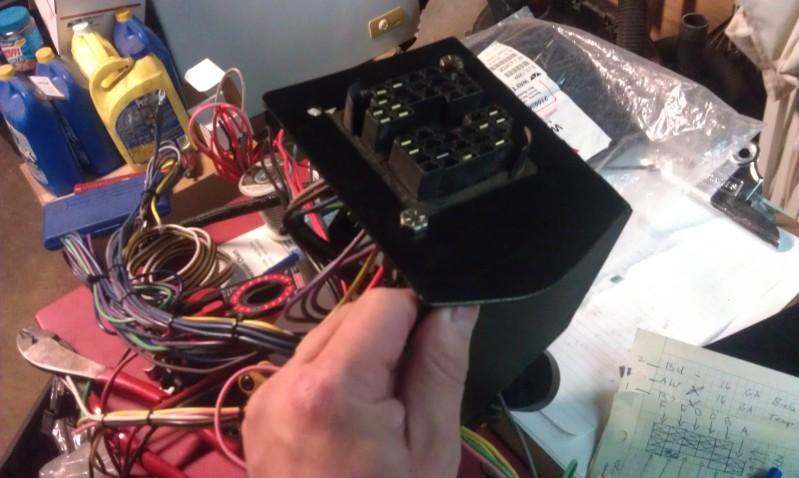
heres a few pics of my wiring under my dash..... i made the fuse box holder
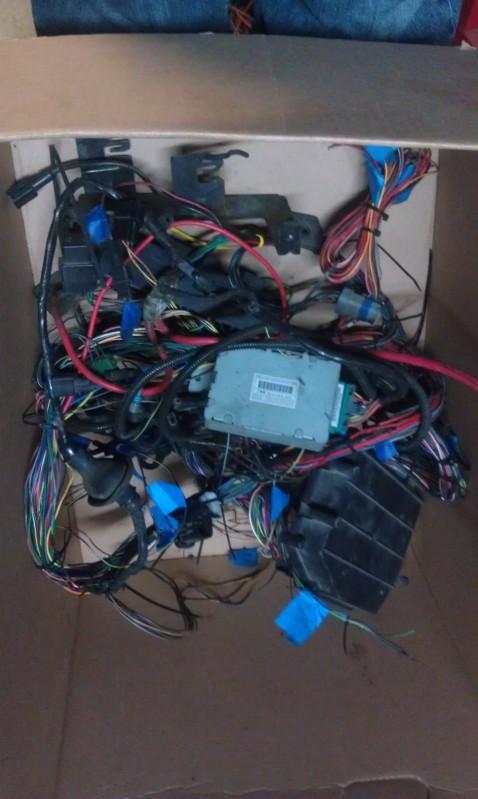
heres the harness for the motor..... thats almot finished
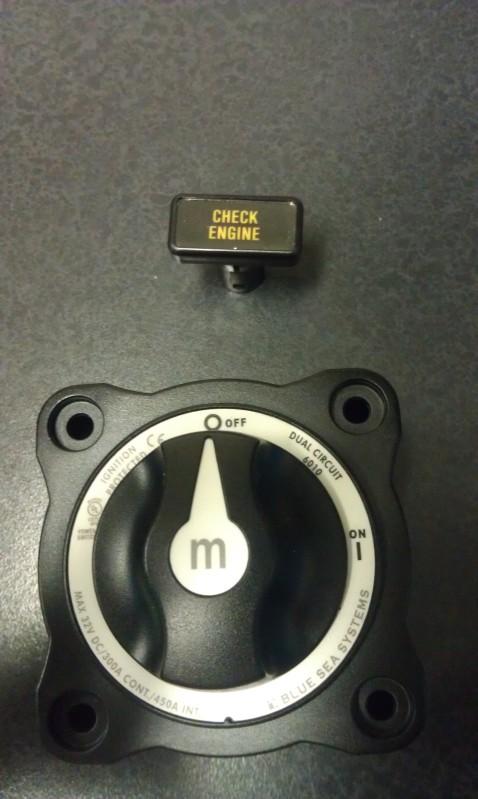
cut-off switch and indicator lights im going to use
heres a few pics of my wiring under my dash..... i made the fuse box holder
heres the harness for the motor..... thats almot finished
cut-off switch and indicator lights im going to use