• Notice for iPhone users: DO NOT use the image size reduction option when uploading photos to the forum. This causes portrait images to post as landscape. We have added a warning to the image insert pop-up as well.

Jeep cj7 83 right hand drive 4x4 5 sp british export - part II

There may or may not be a Yellow/Orange/Terracotta Renegade kit on the way... :)

It is more of a British racing green, so I thought it fit the British theme... mainly to keep cost down a bit too.
It has cost a lot more than I had thought (don't they all)... I mean I knew it needed work, but not nearly what I have thrown at it (~250 hours)

I still have a long way to go as well and I want a reliable, good looking cruiser when I am done.
I never intended it to be a full blown restoration or a concourse, I don't have the time or funds for that... someone else can take it to that level if they want to.

cb
 
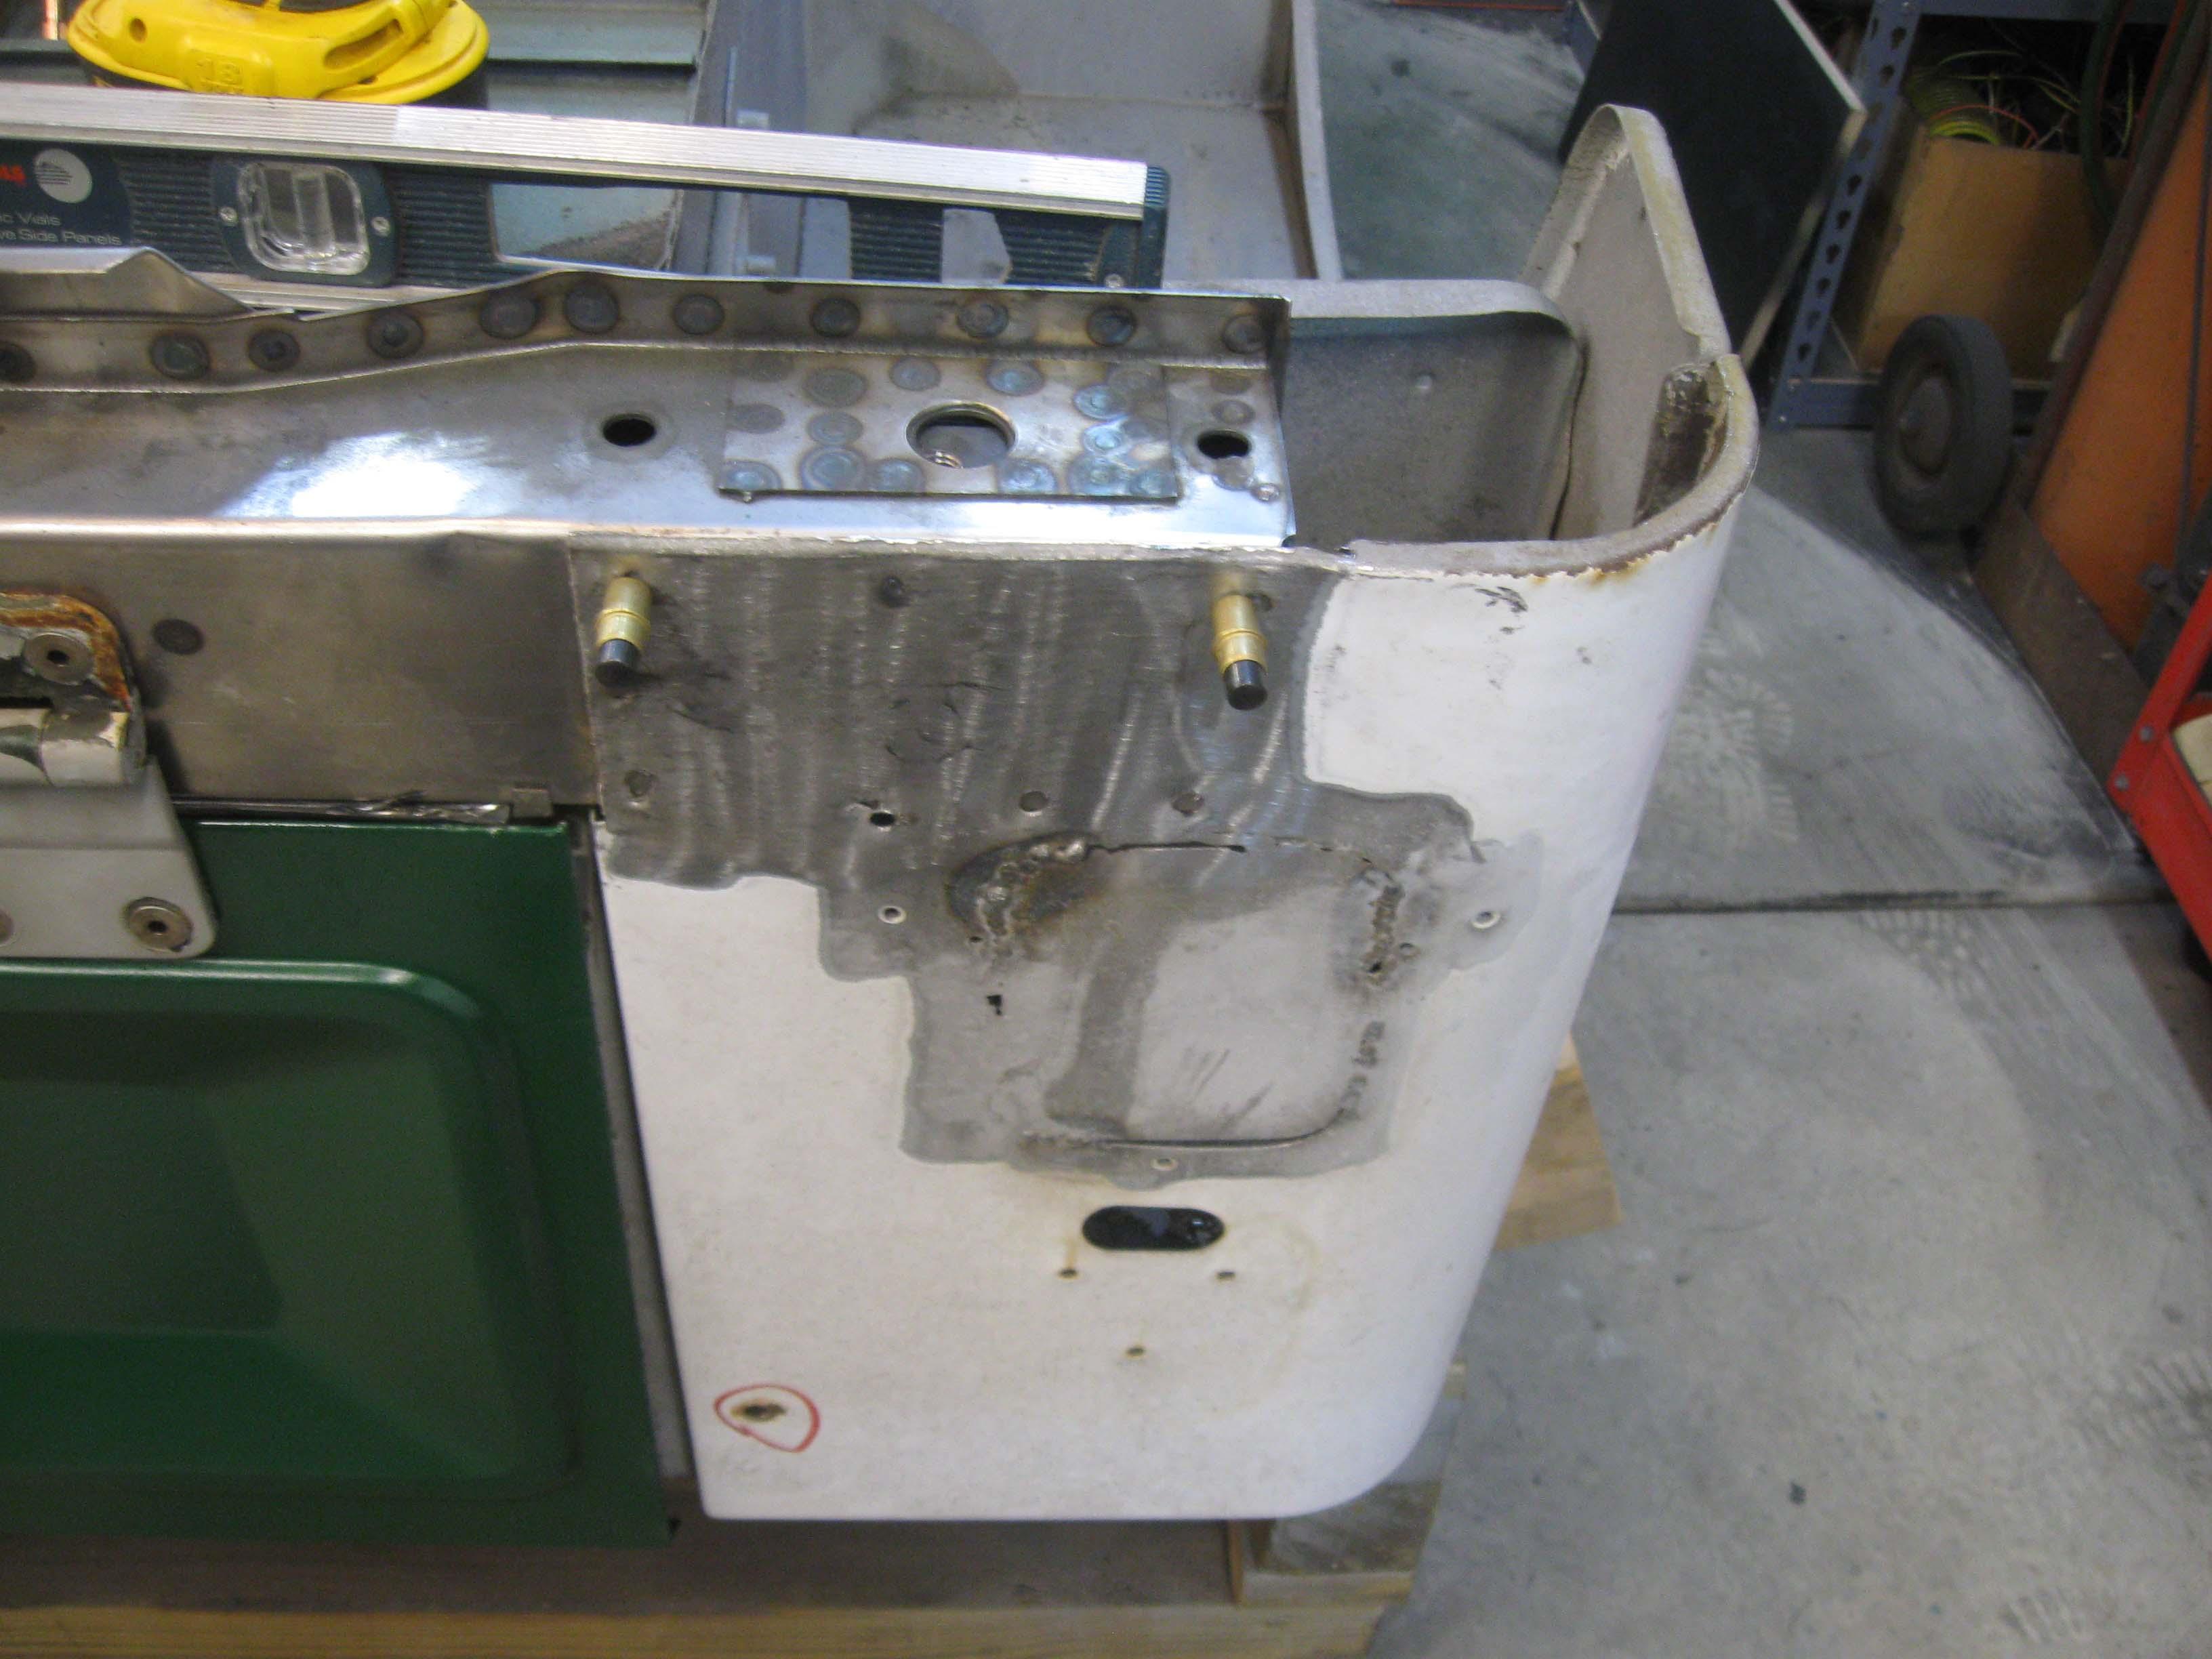
I removed the plate from the RHD tub as it is needed on the new tub... it as a mess and a TON of spot welds... 25 by my count.

IMG_7347-1.jpg

IMG_7348-1.jpg

IMG_7354-1.jpg

IMG_7355-1.jpg

IMG_7356-1.jpg

IMG_7364-1.jpg


cb

Have you copied and pasted all this from my build thread??:D
keep at it CB! i remember all too well drilling out all those spot welds
 
Yeah, I have seen yours many times and it is very similar... rusted in almost the same place where the gas pedal is mounted.
I like the idea of welding in the panel from the backside for the LHD fixes... but my RHD side is so full of holes from where the drilled for all those conversion plates, I might just cut out all of it and weld it over as this was an automatic YJ and I have a manual setup, so I need to move that hole over for the hydraulic clutch.

Either way, it is a lot of work... you had a little bit of head start as your new tub had the RHD side was all without holes and plates and such.

I also have all the underside work that I have to do... so welding will be my friend for a while... and a lot of cutting and grinding.

cb
 
Have you copied and pasted all this from my build thread??:D
keep at it CB! i remember all too well drilling out all those spot welds

Dave... did you just use the same thickness steel on the inside when you welded in the panels and did you end up with any clearance issues? Or did you go thicker for more strength?

cb
 
It was 16 gauge (1.2mm i think) if i remember correctly and everything went back in ok.
Made sure i seam sealed it up really well to hopefully stop any moisture getting in there and rotting it from the inside out.
 
I will attempt tonight to take that other plate off and start the process... or the bottom bits... who knows, all of involves drilling!
 
Not a ton done during the week due to the household being quite sick (kids/wife, somehow I skated so far)... but Friday night and yesterday afternoon I was able to get out while everyone was napping.

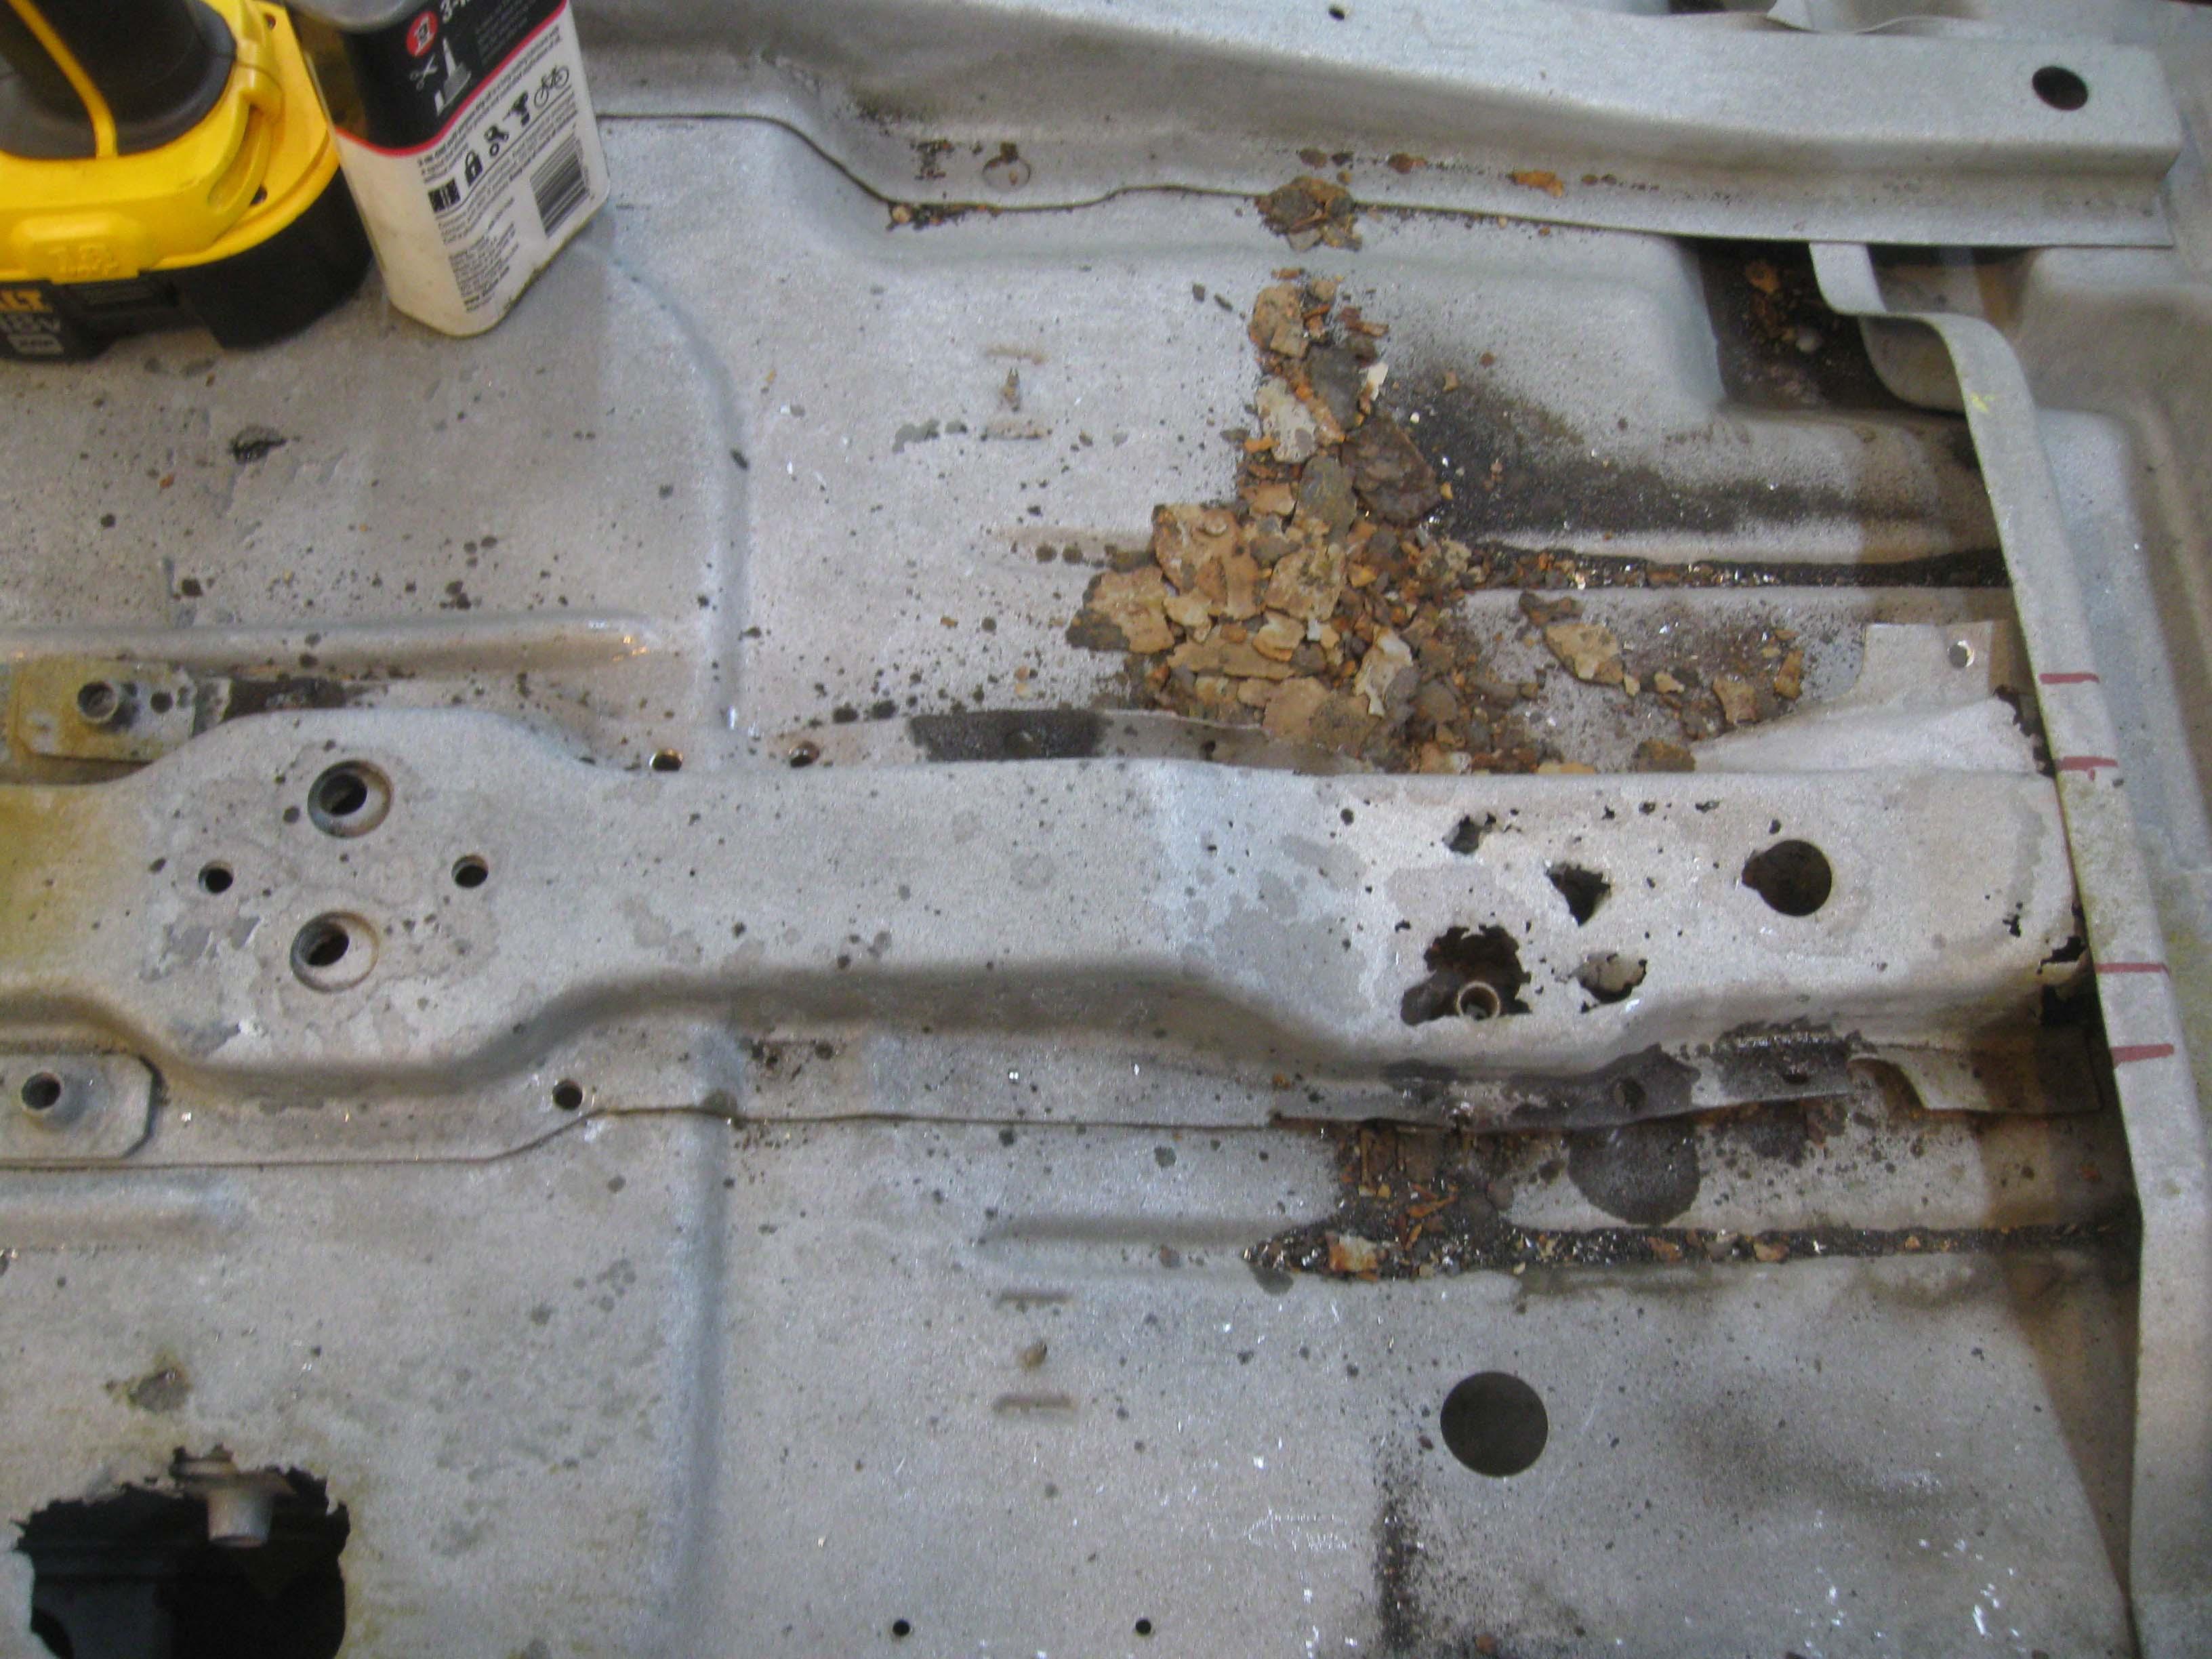
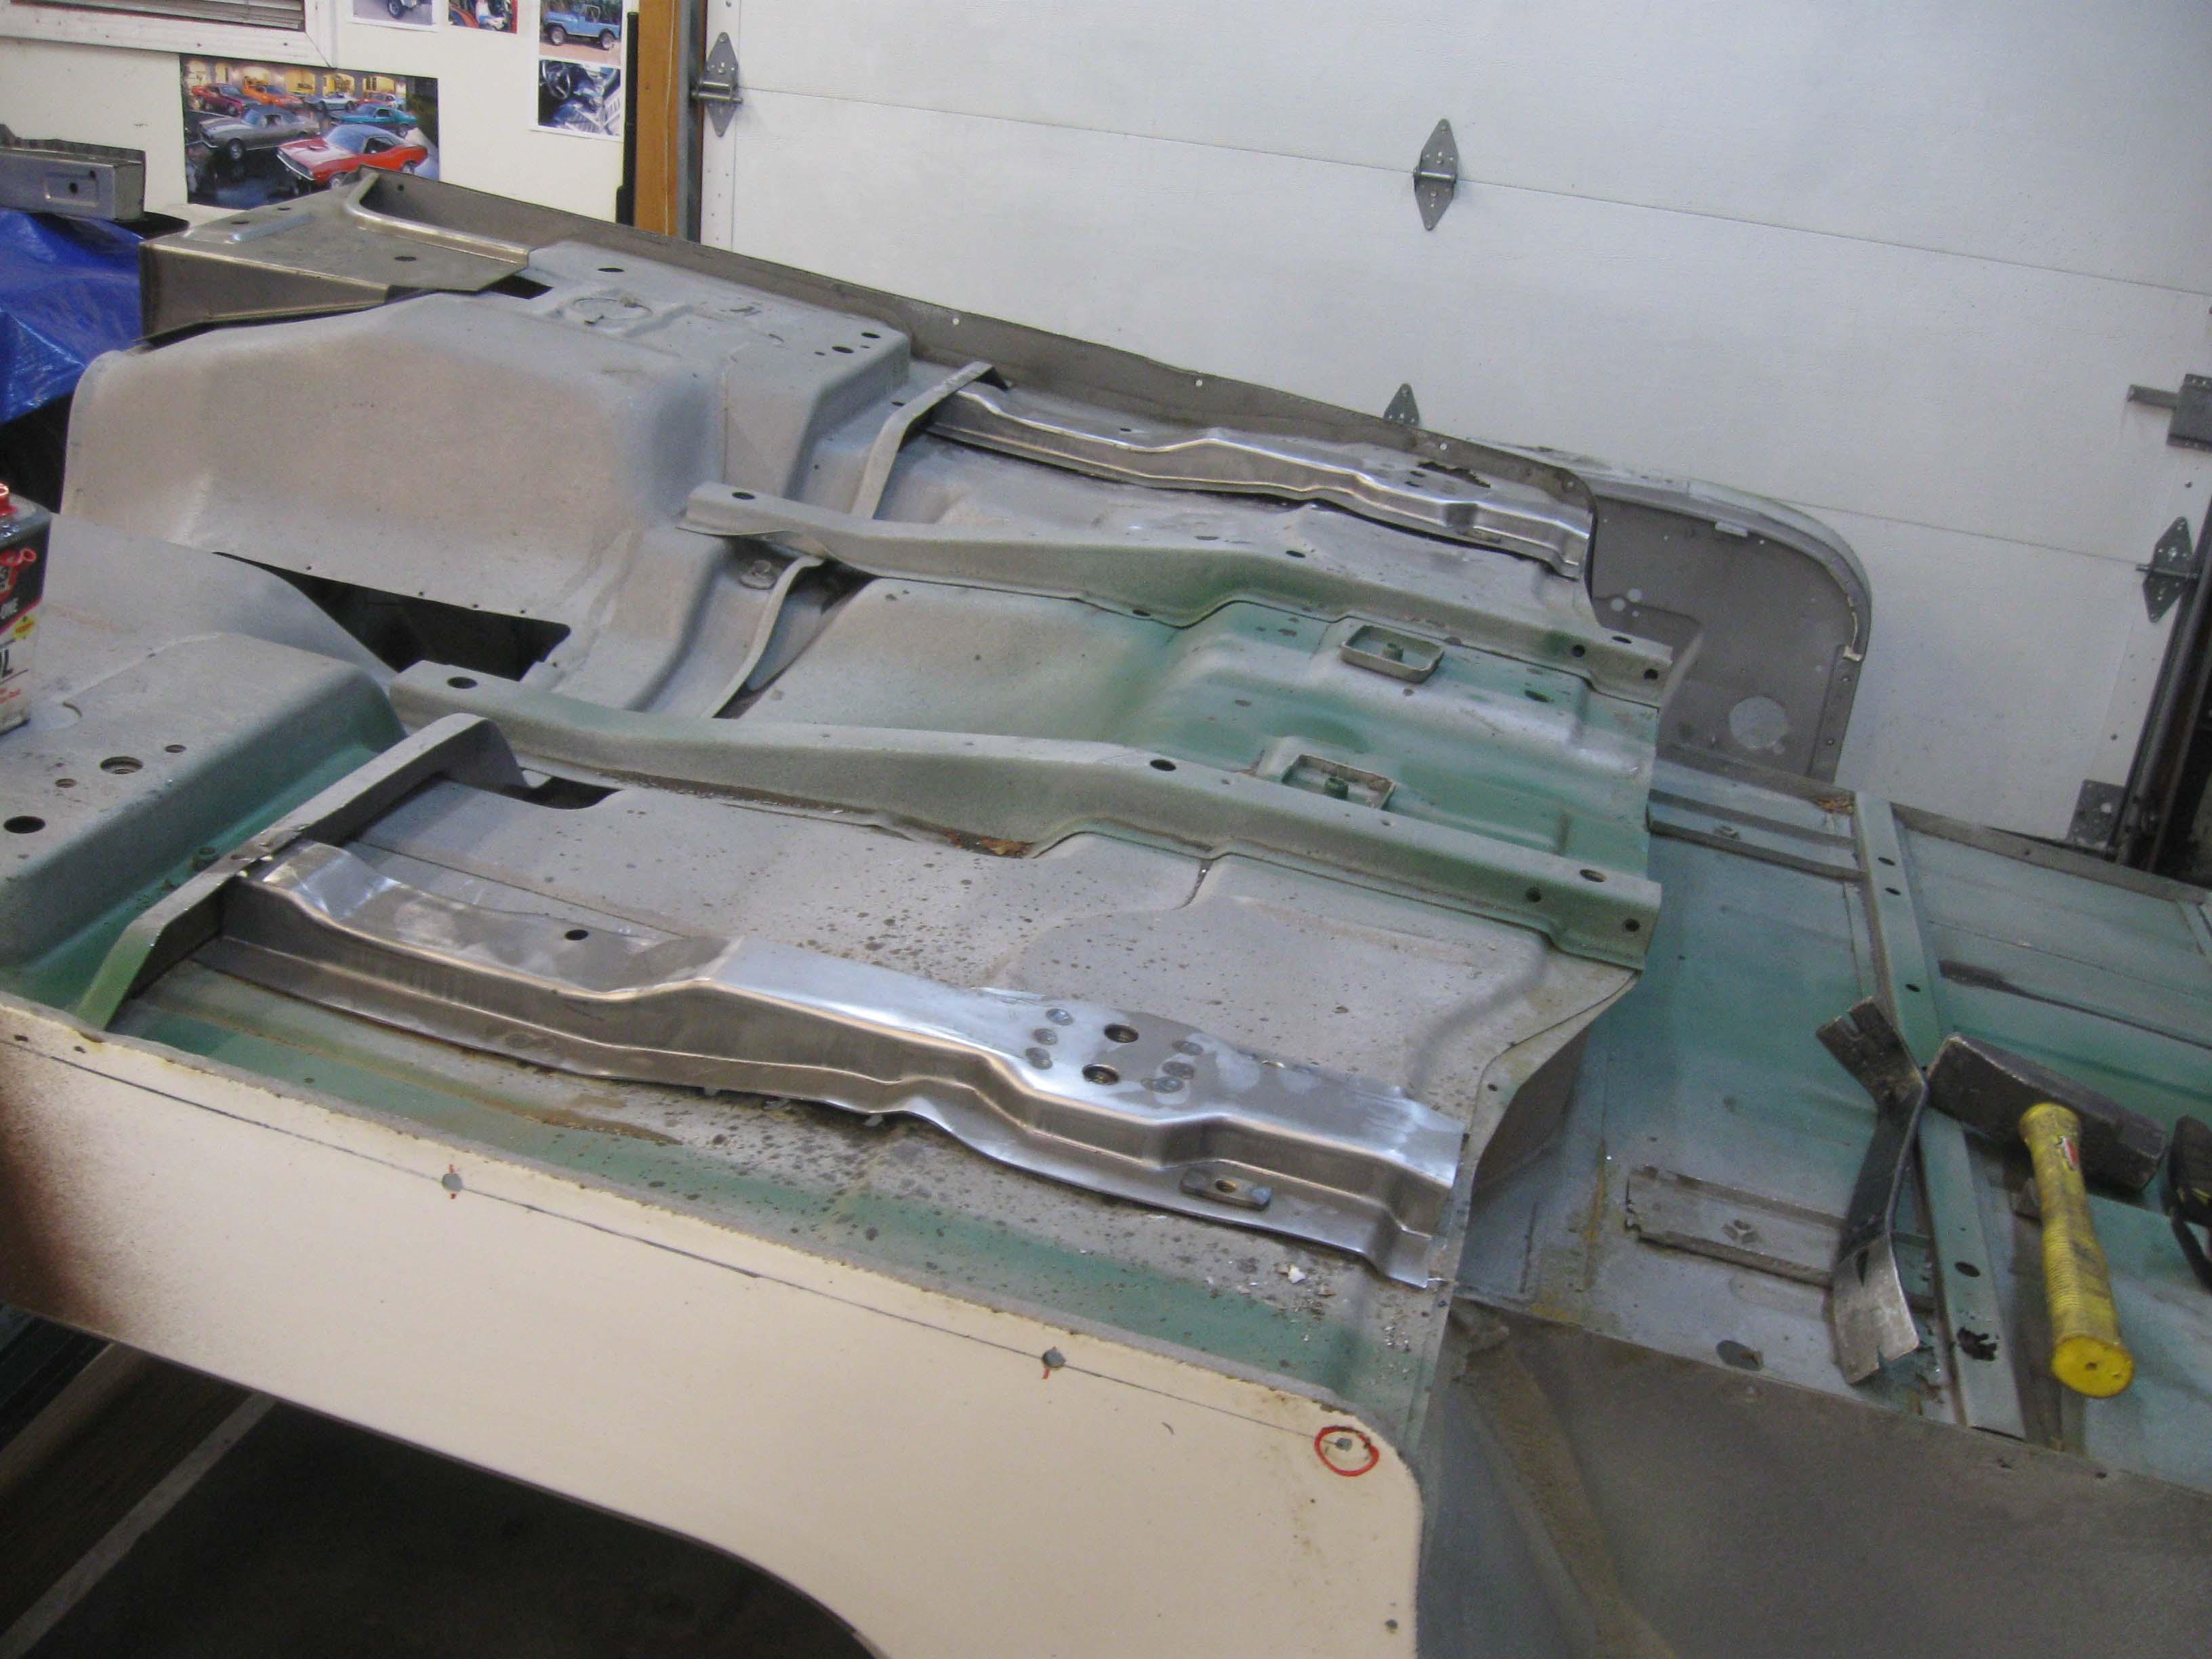
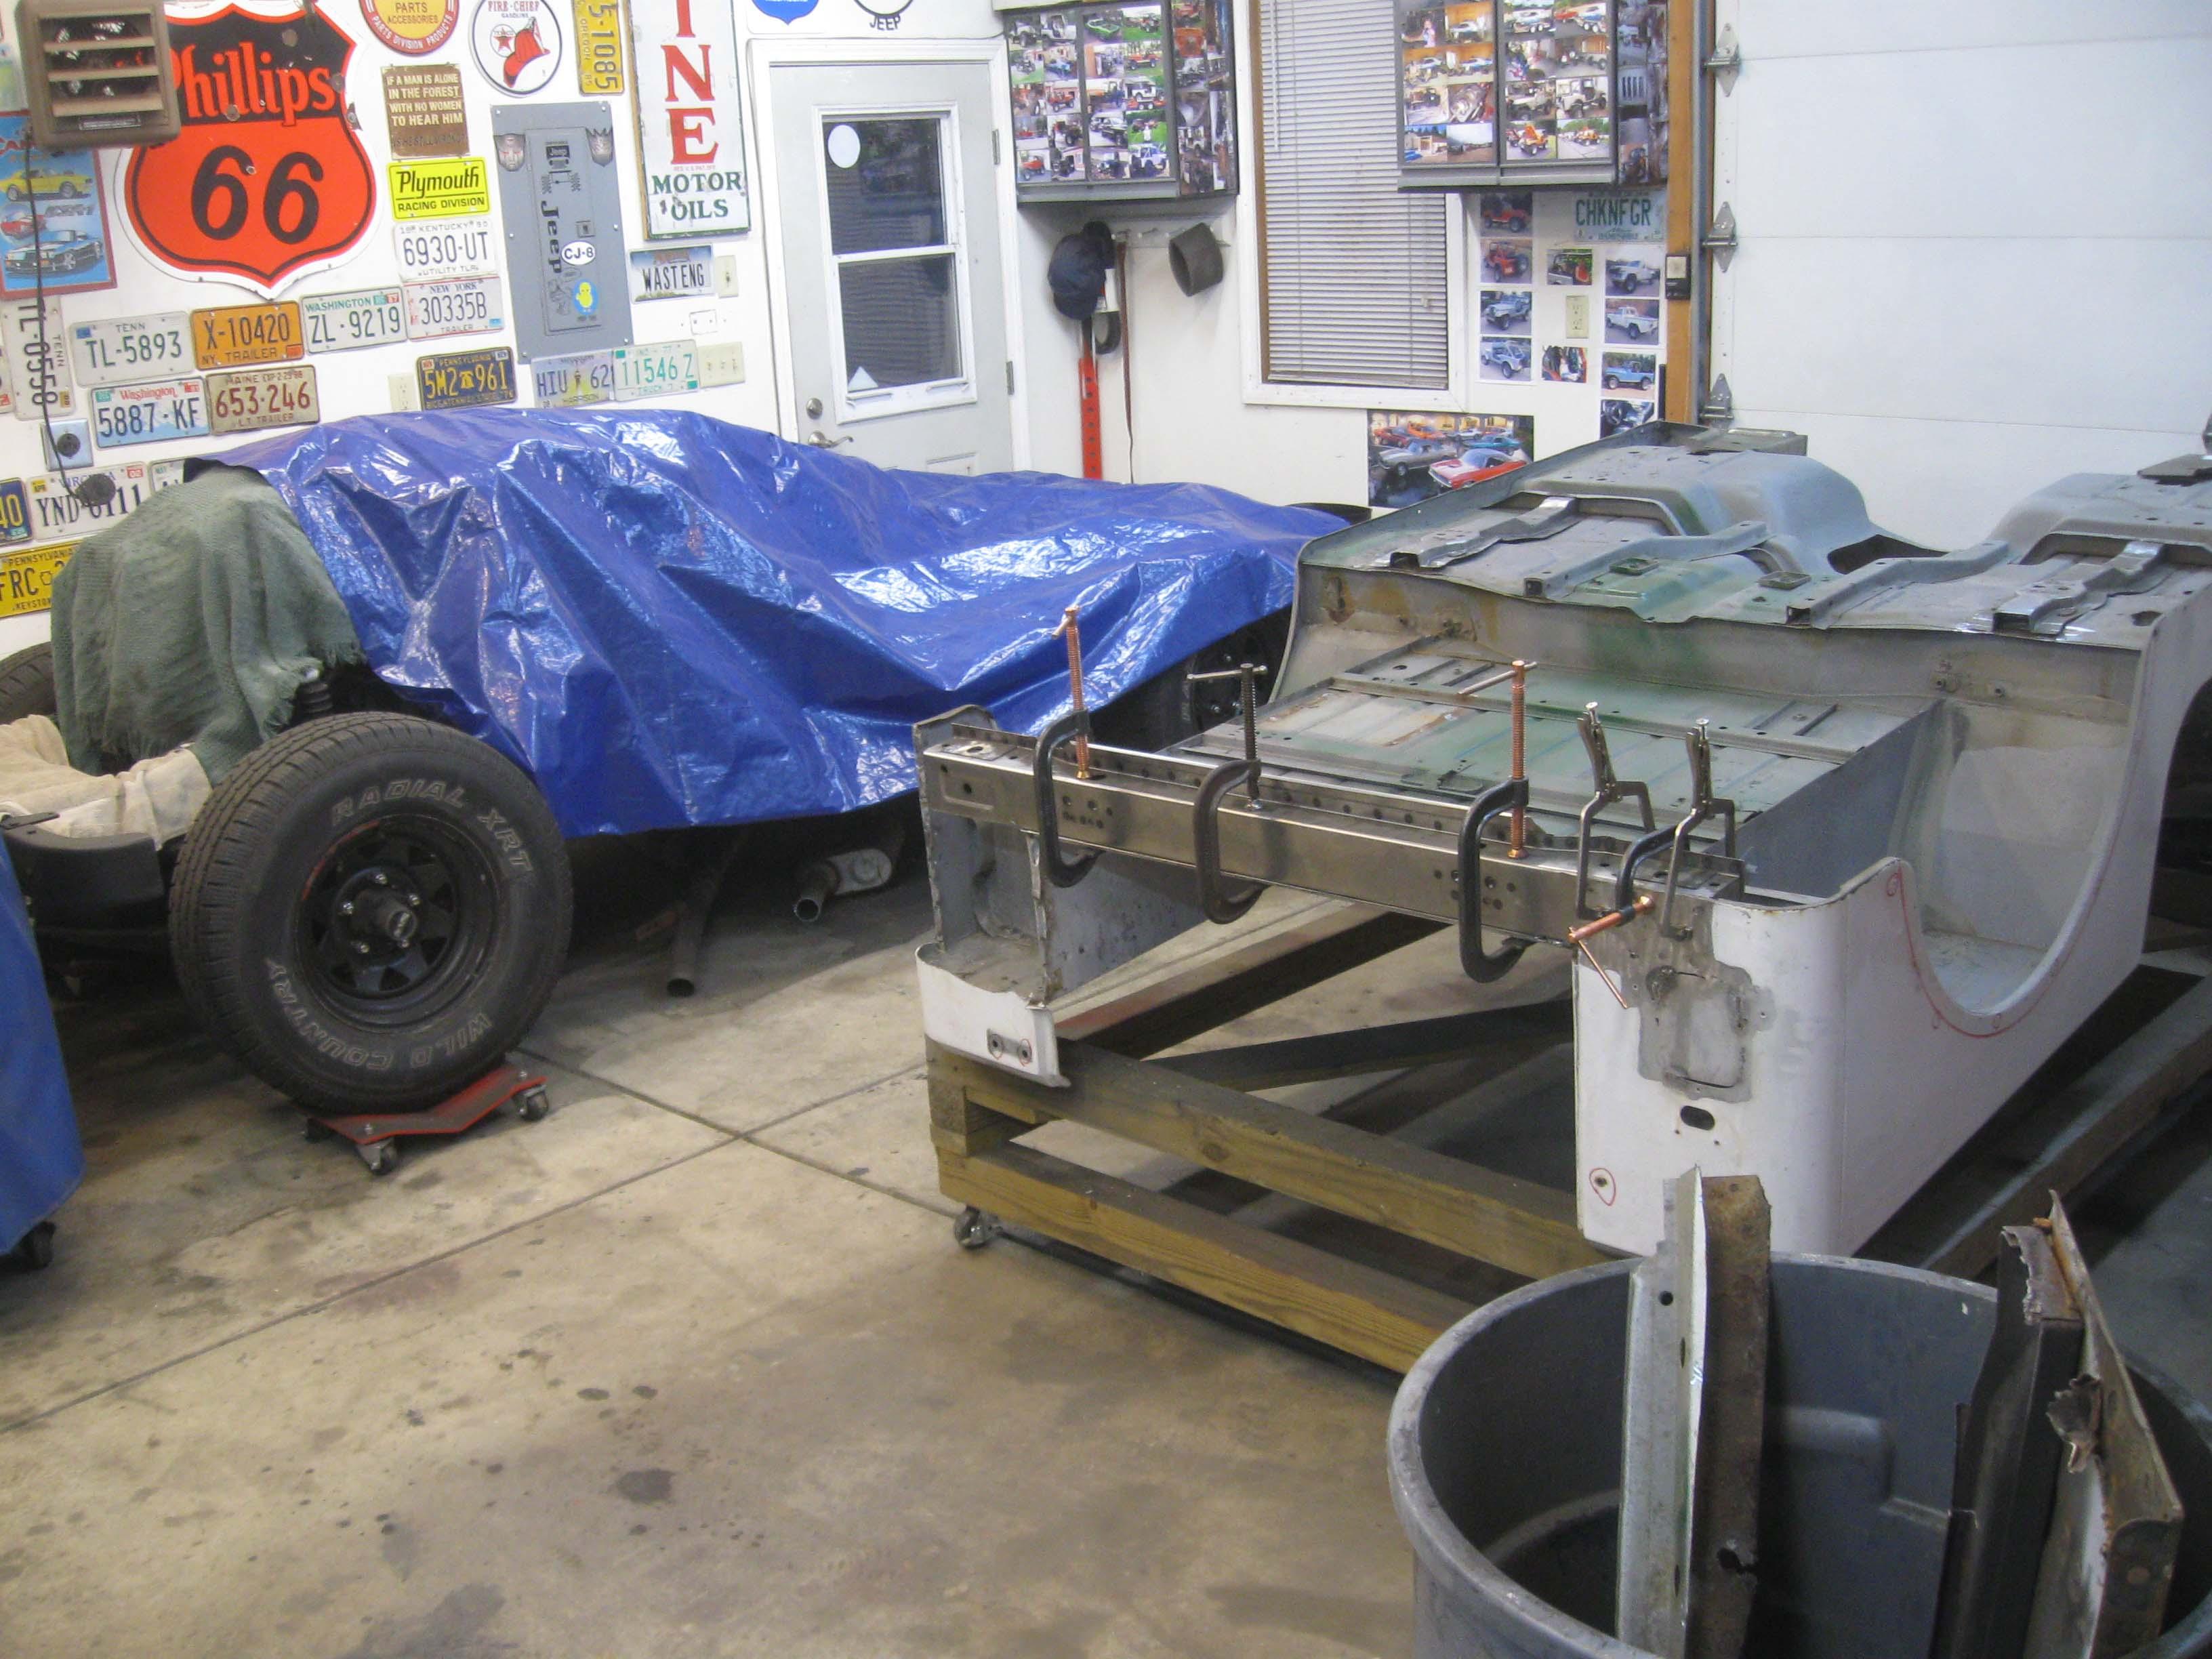
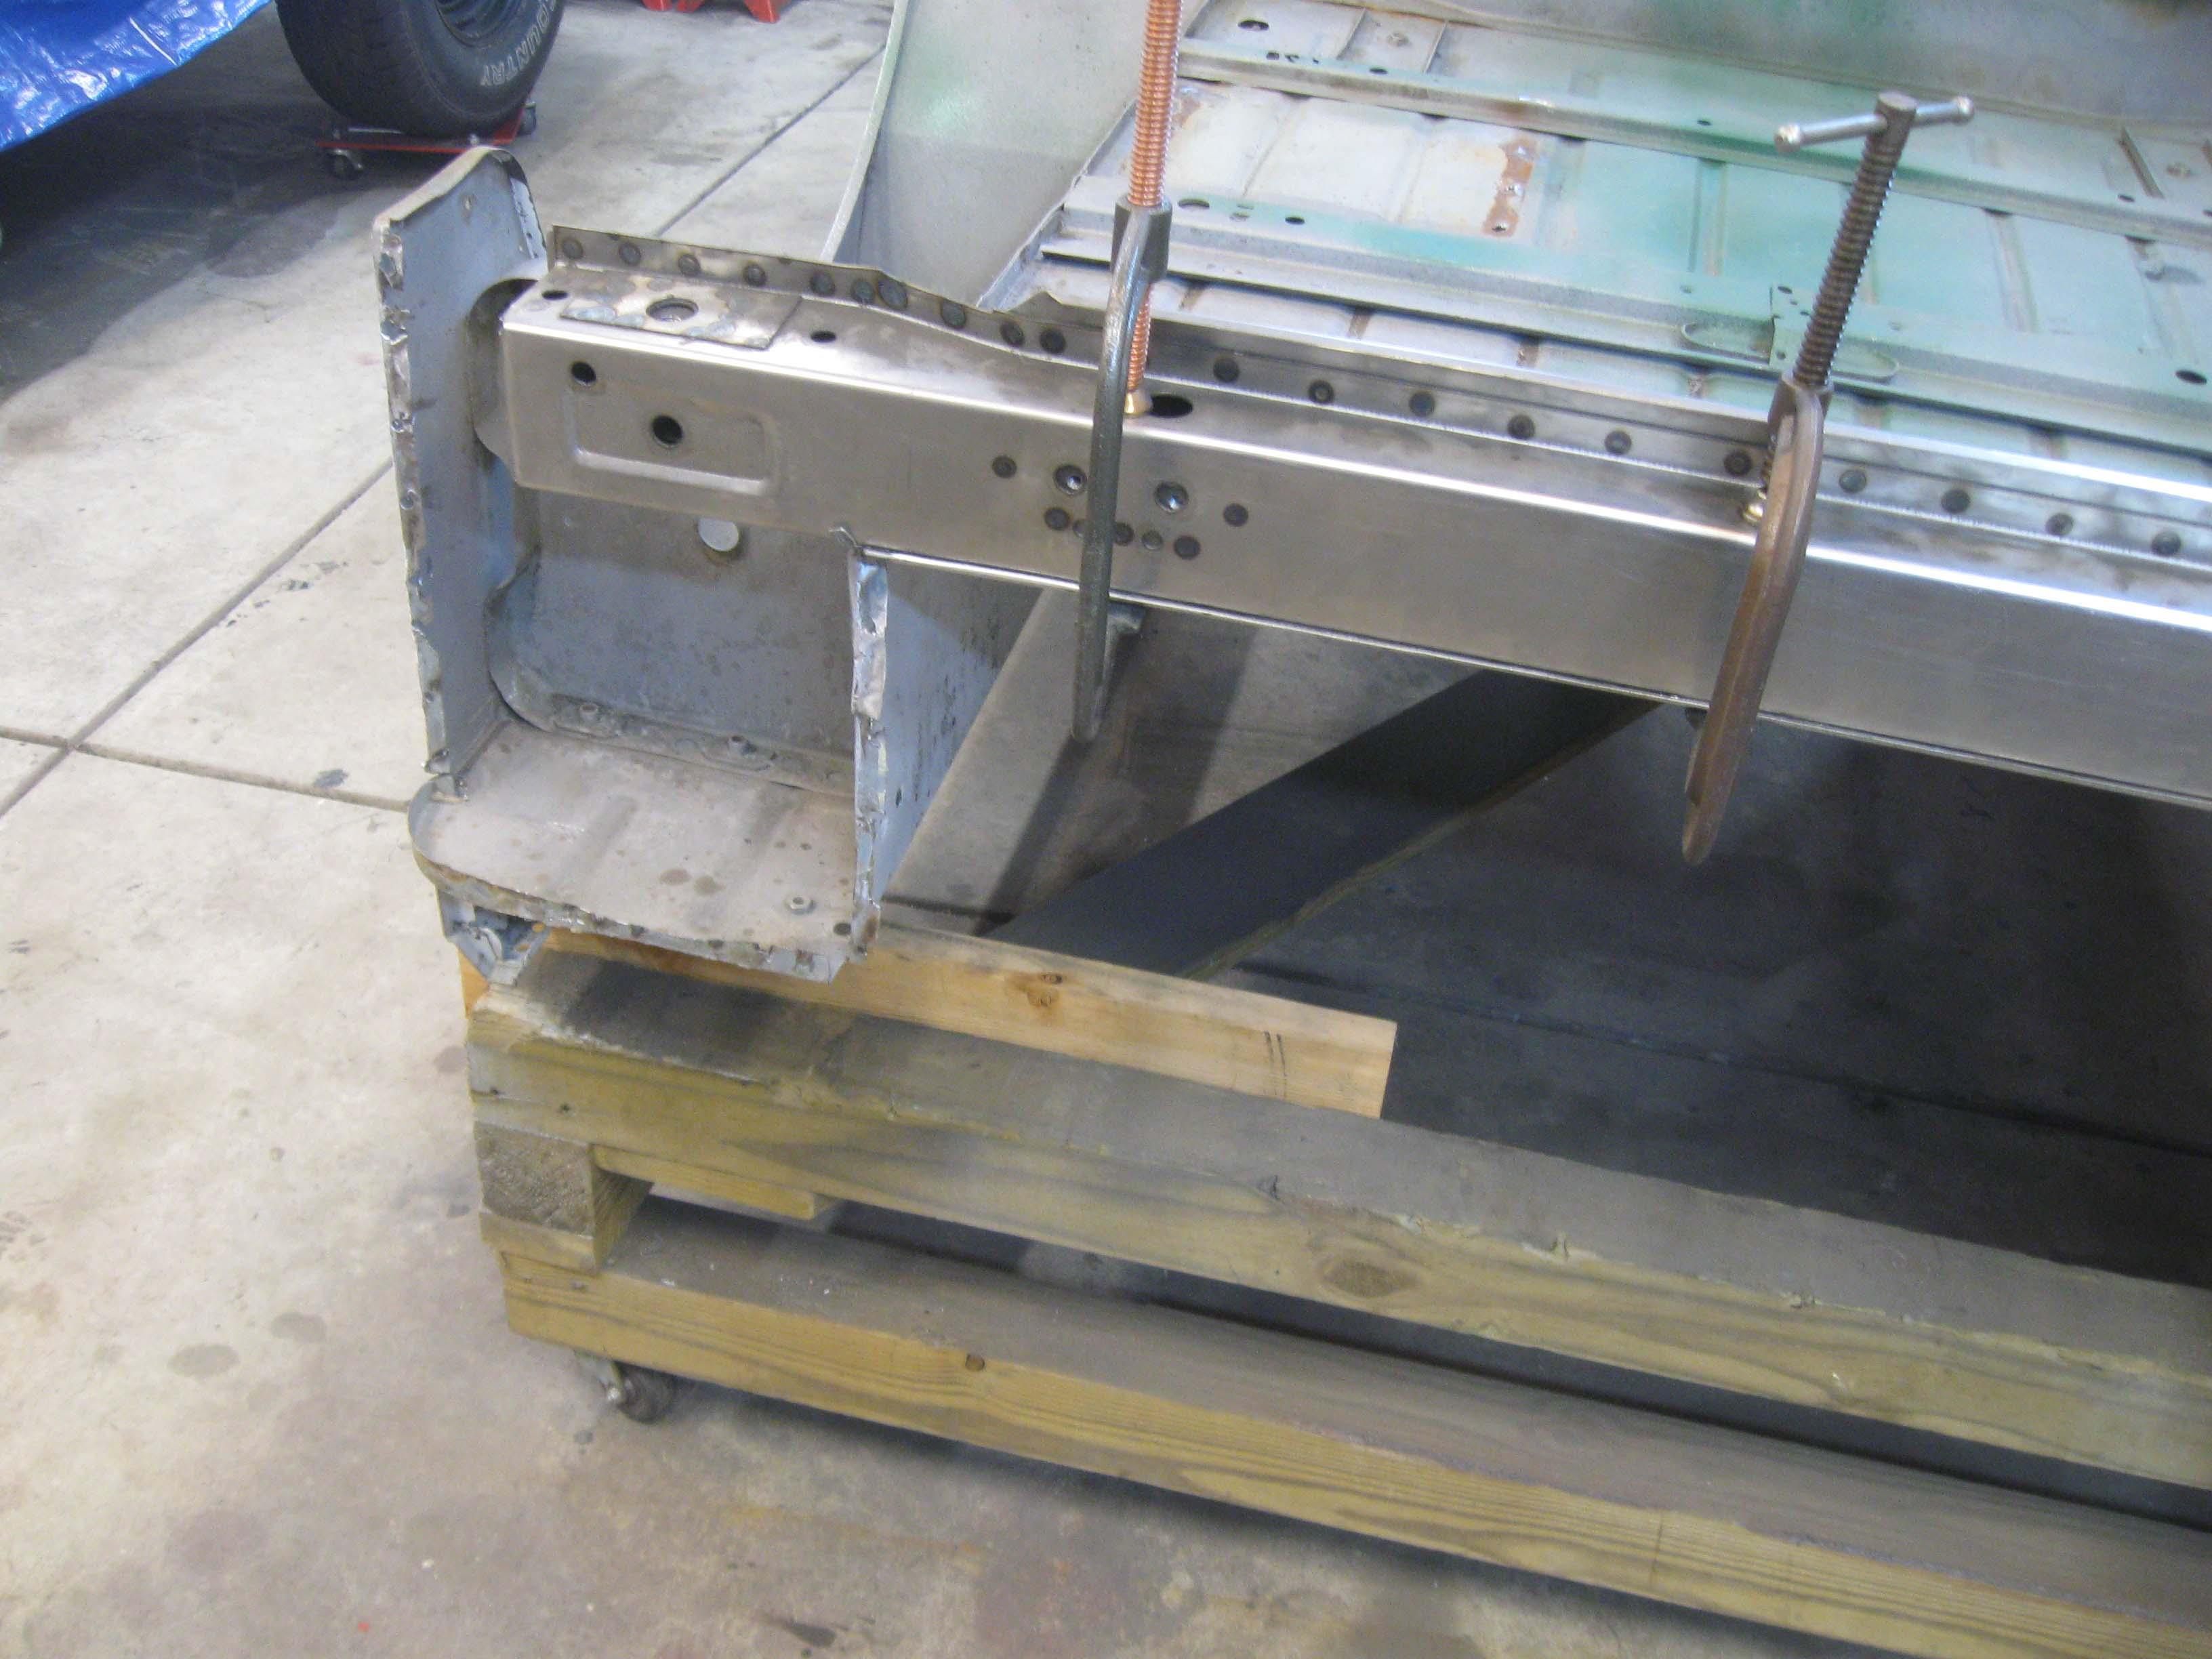
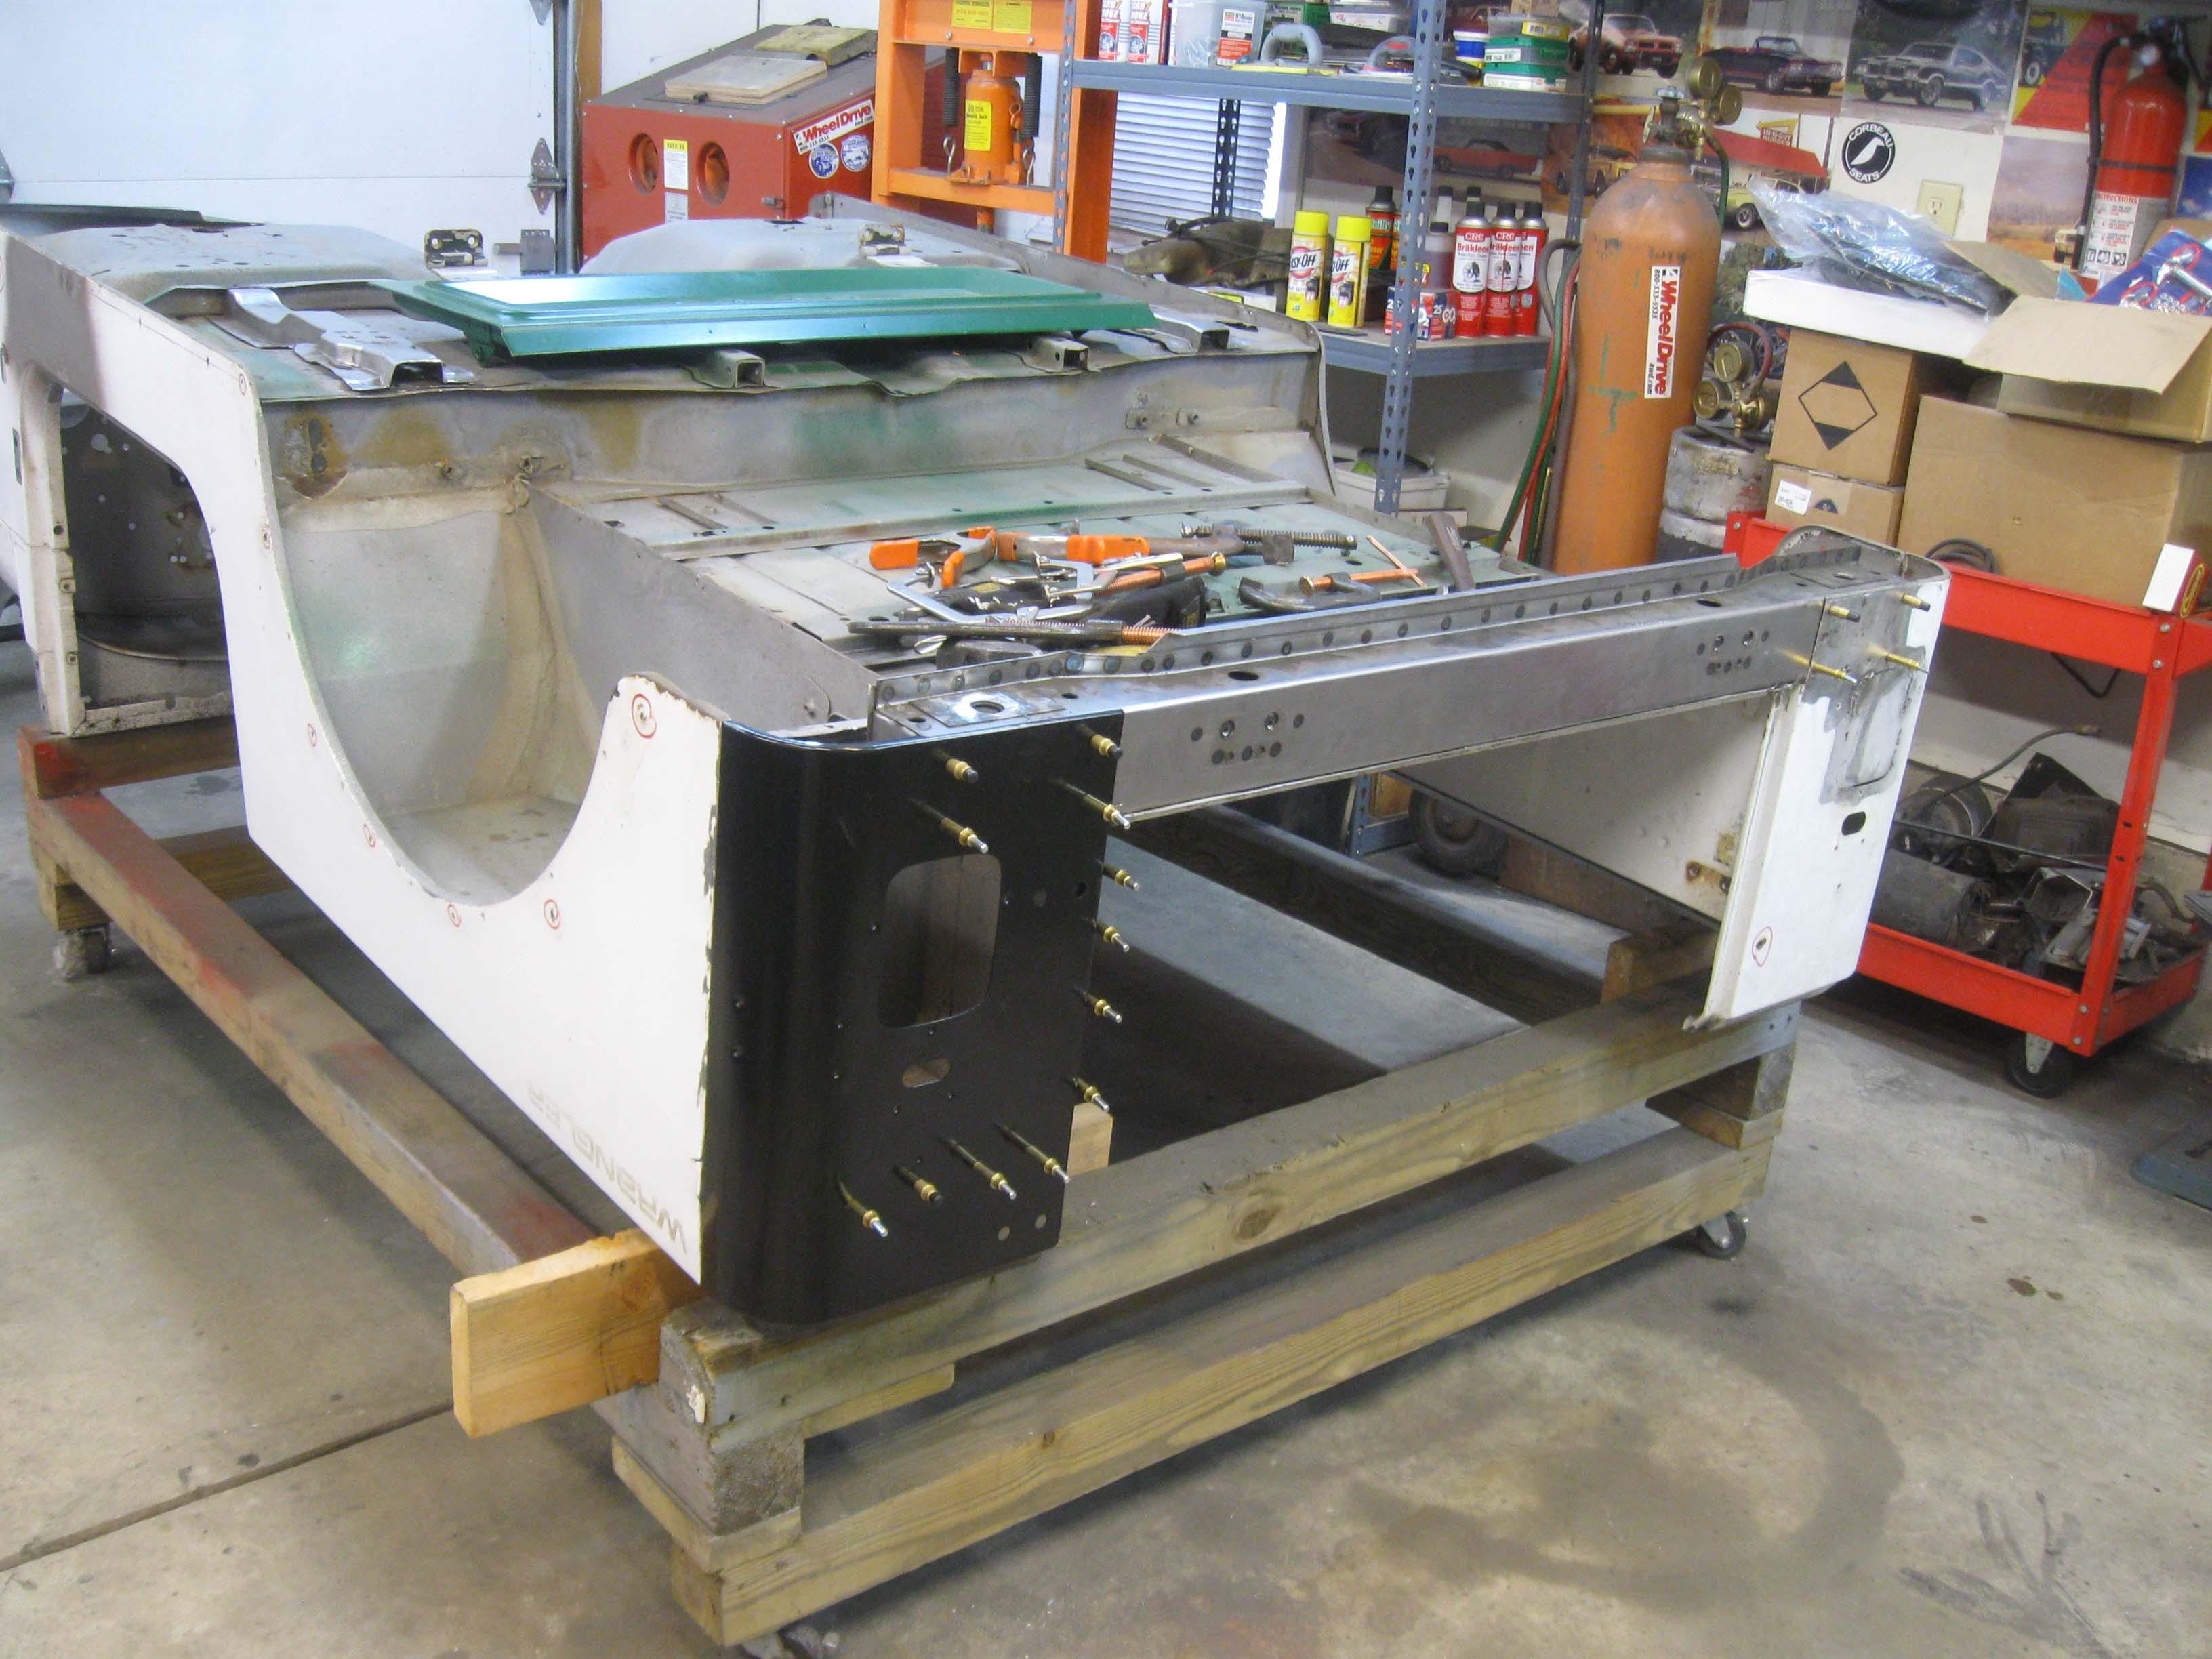
The 2 mid ribs are drilled out and the rear main crossmember has been removed and replaced.

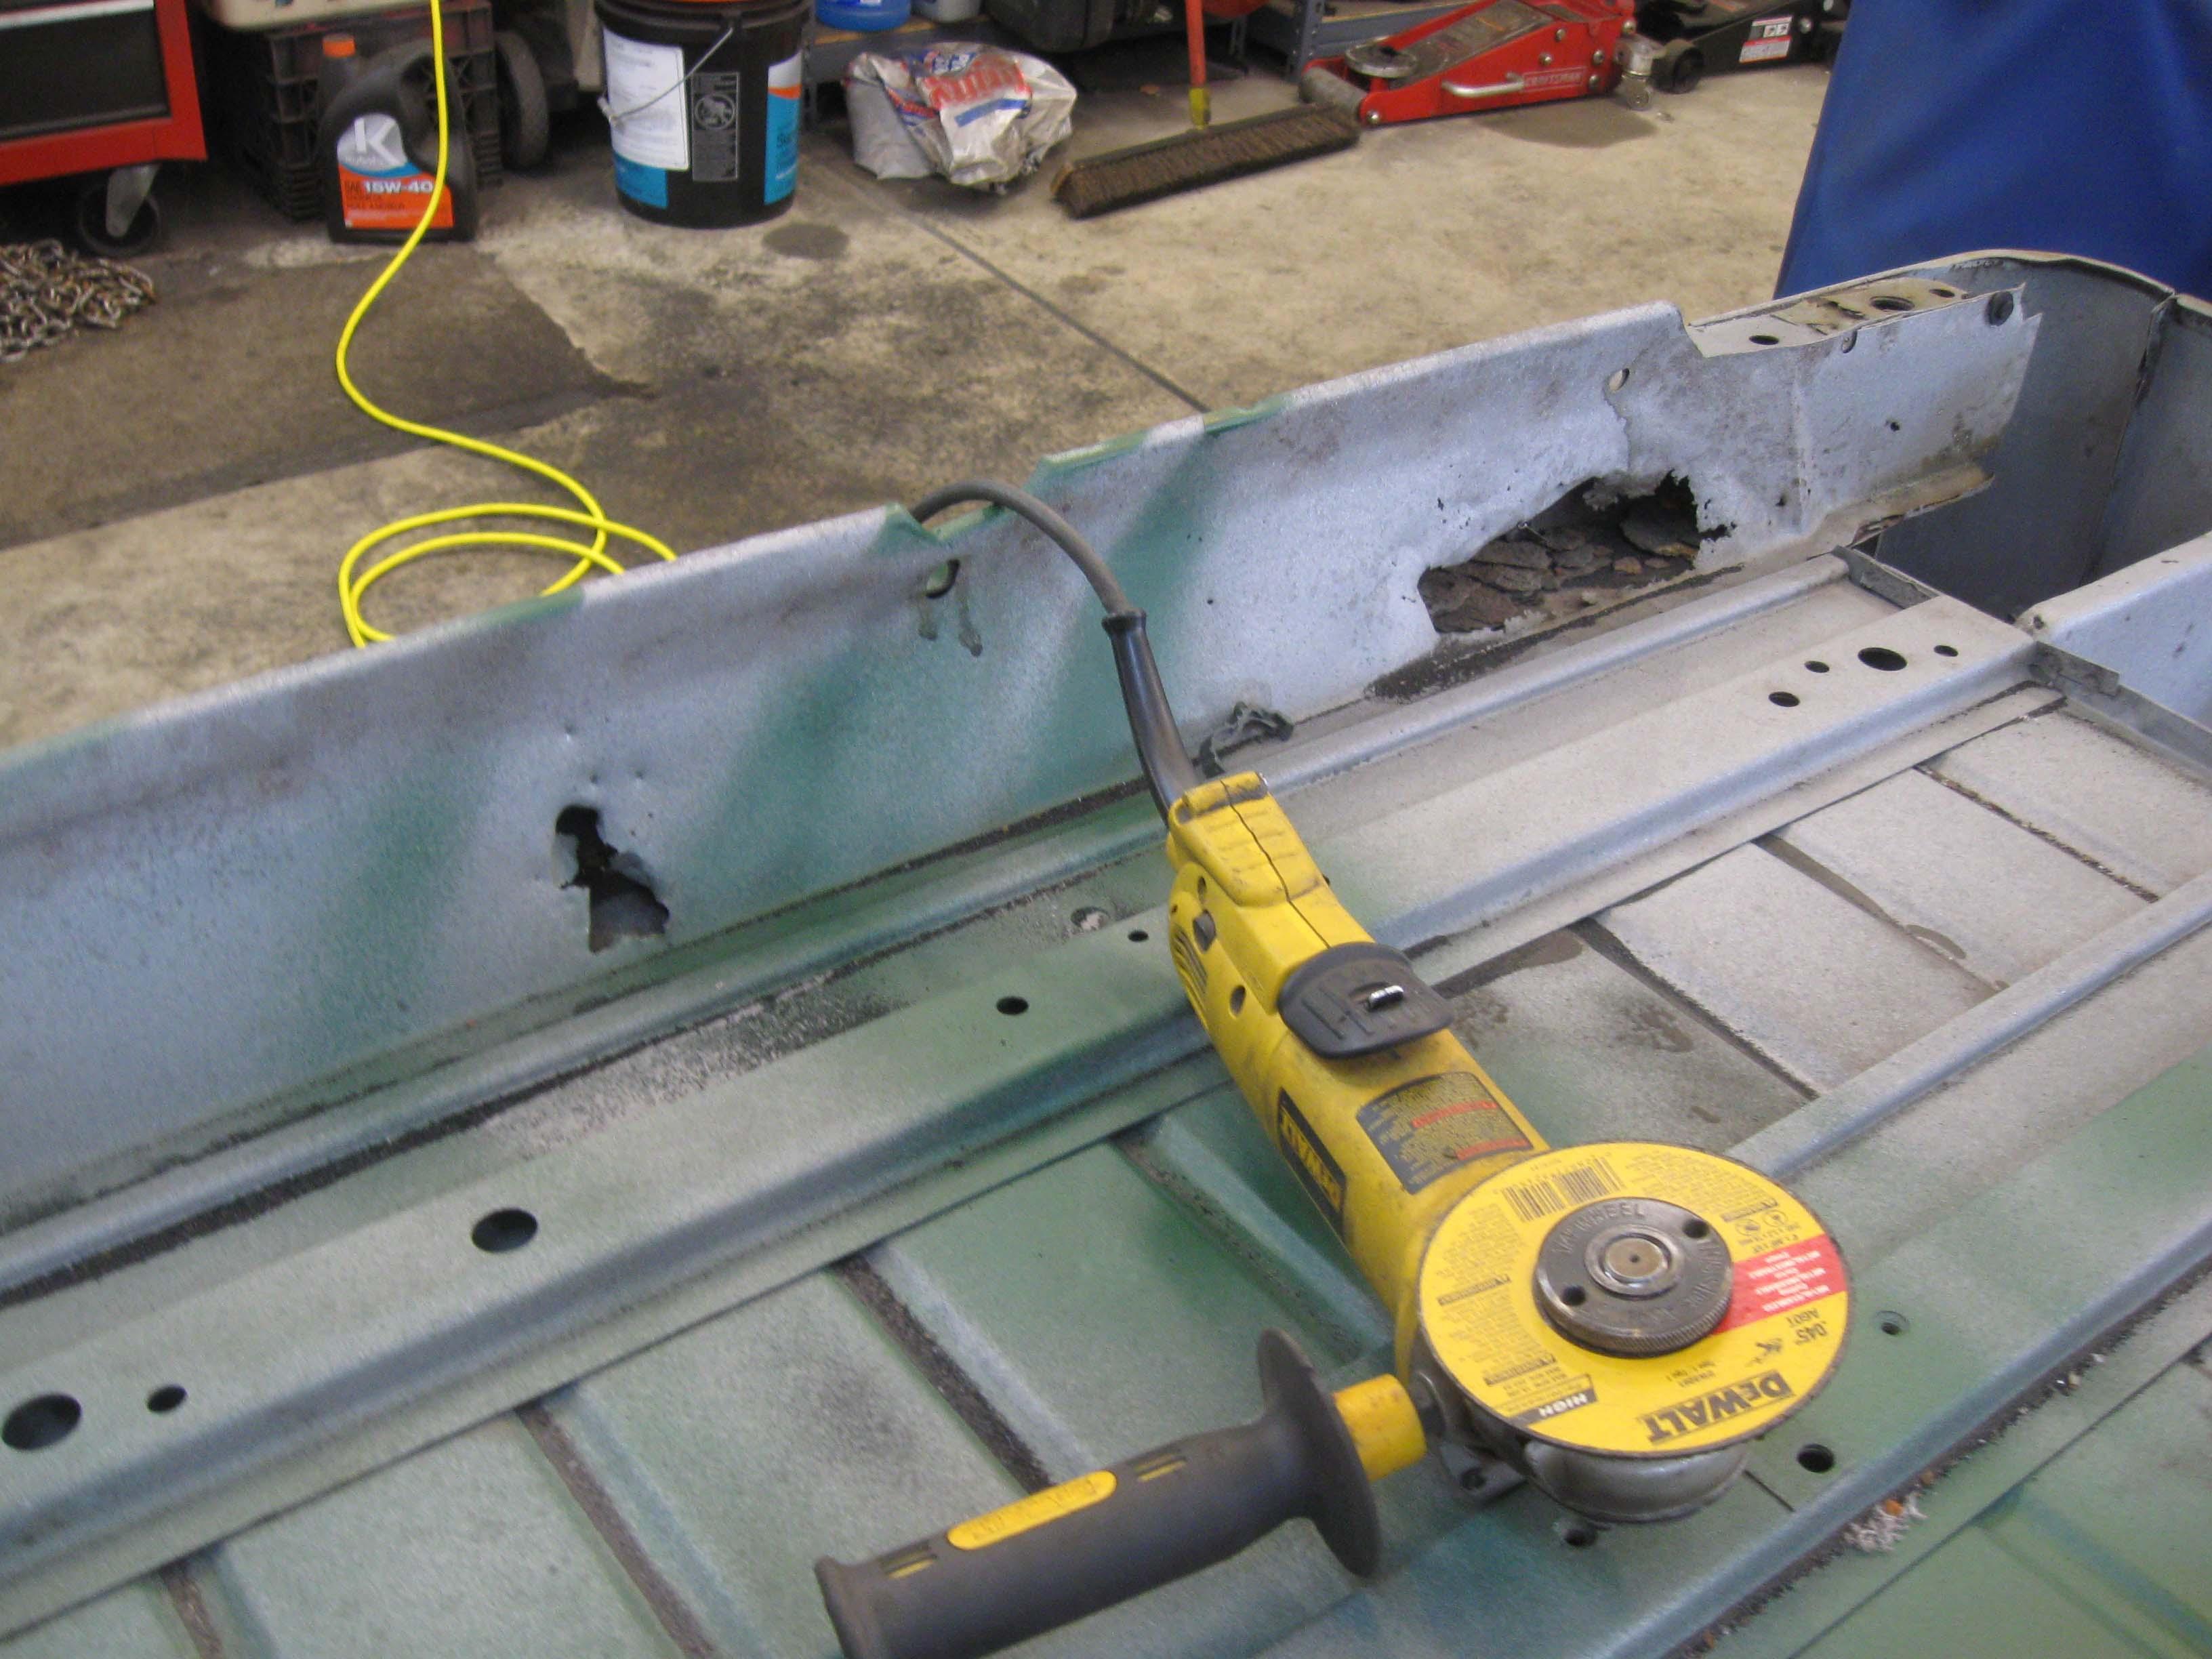
The rust was hidden deep in the ribs... even AFTER sandblasting!
IMG_7366-1.jpg


I won't bore you with drilling spot welds...
IMG_7374-1.jpg


The before
IMG_7378-1.jpg


The during
IMG_7380-1.jpg


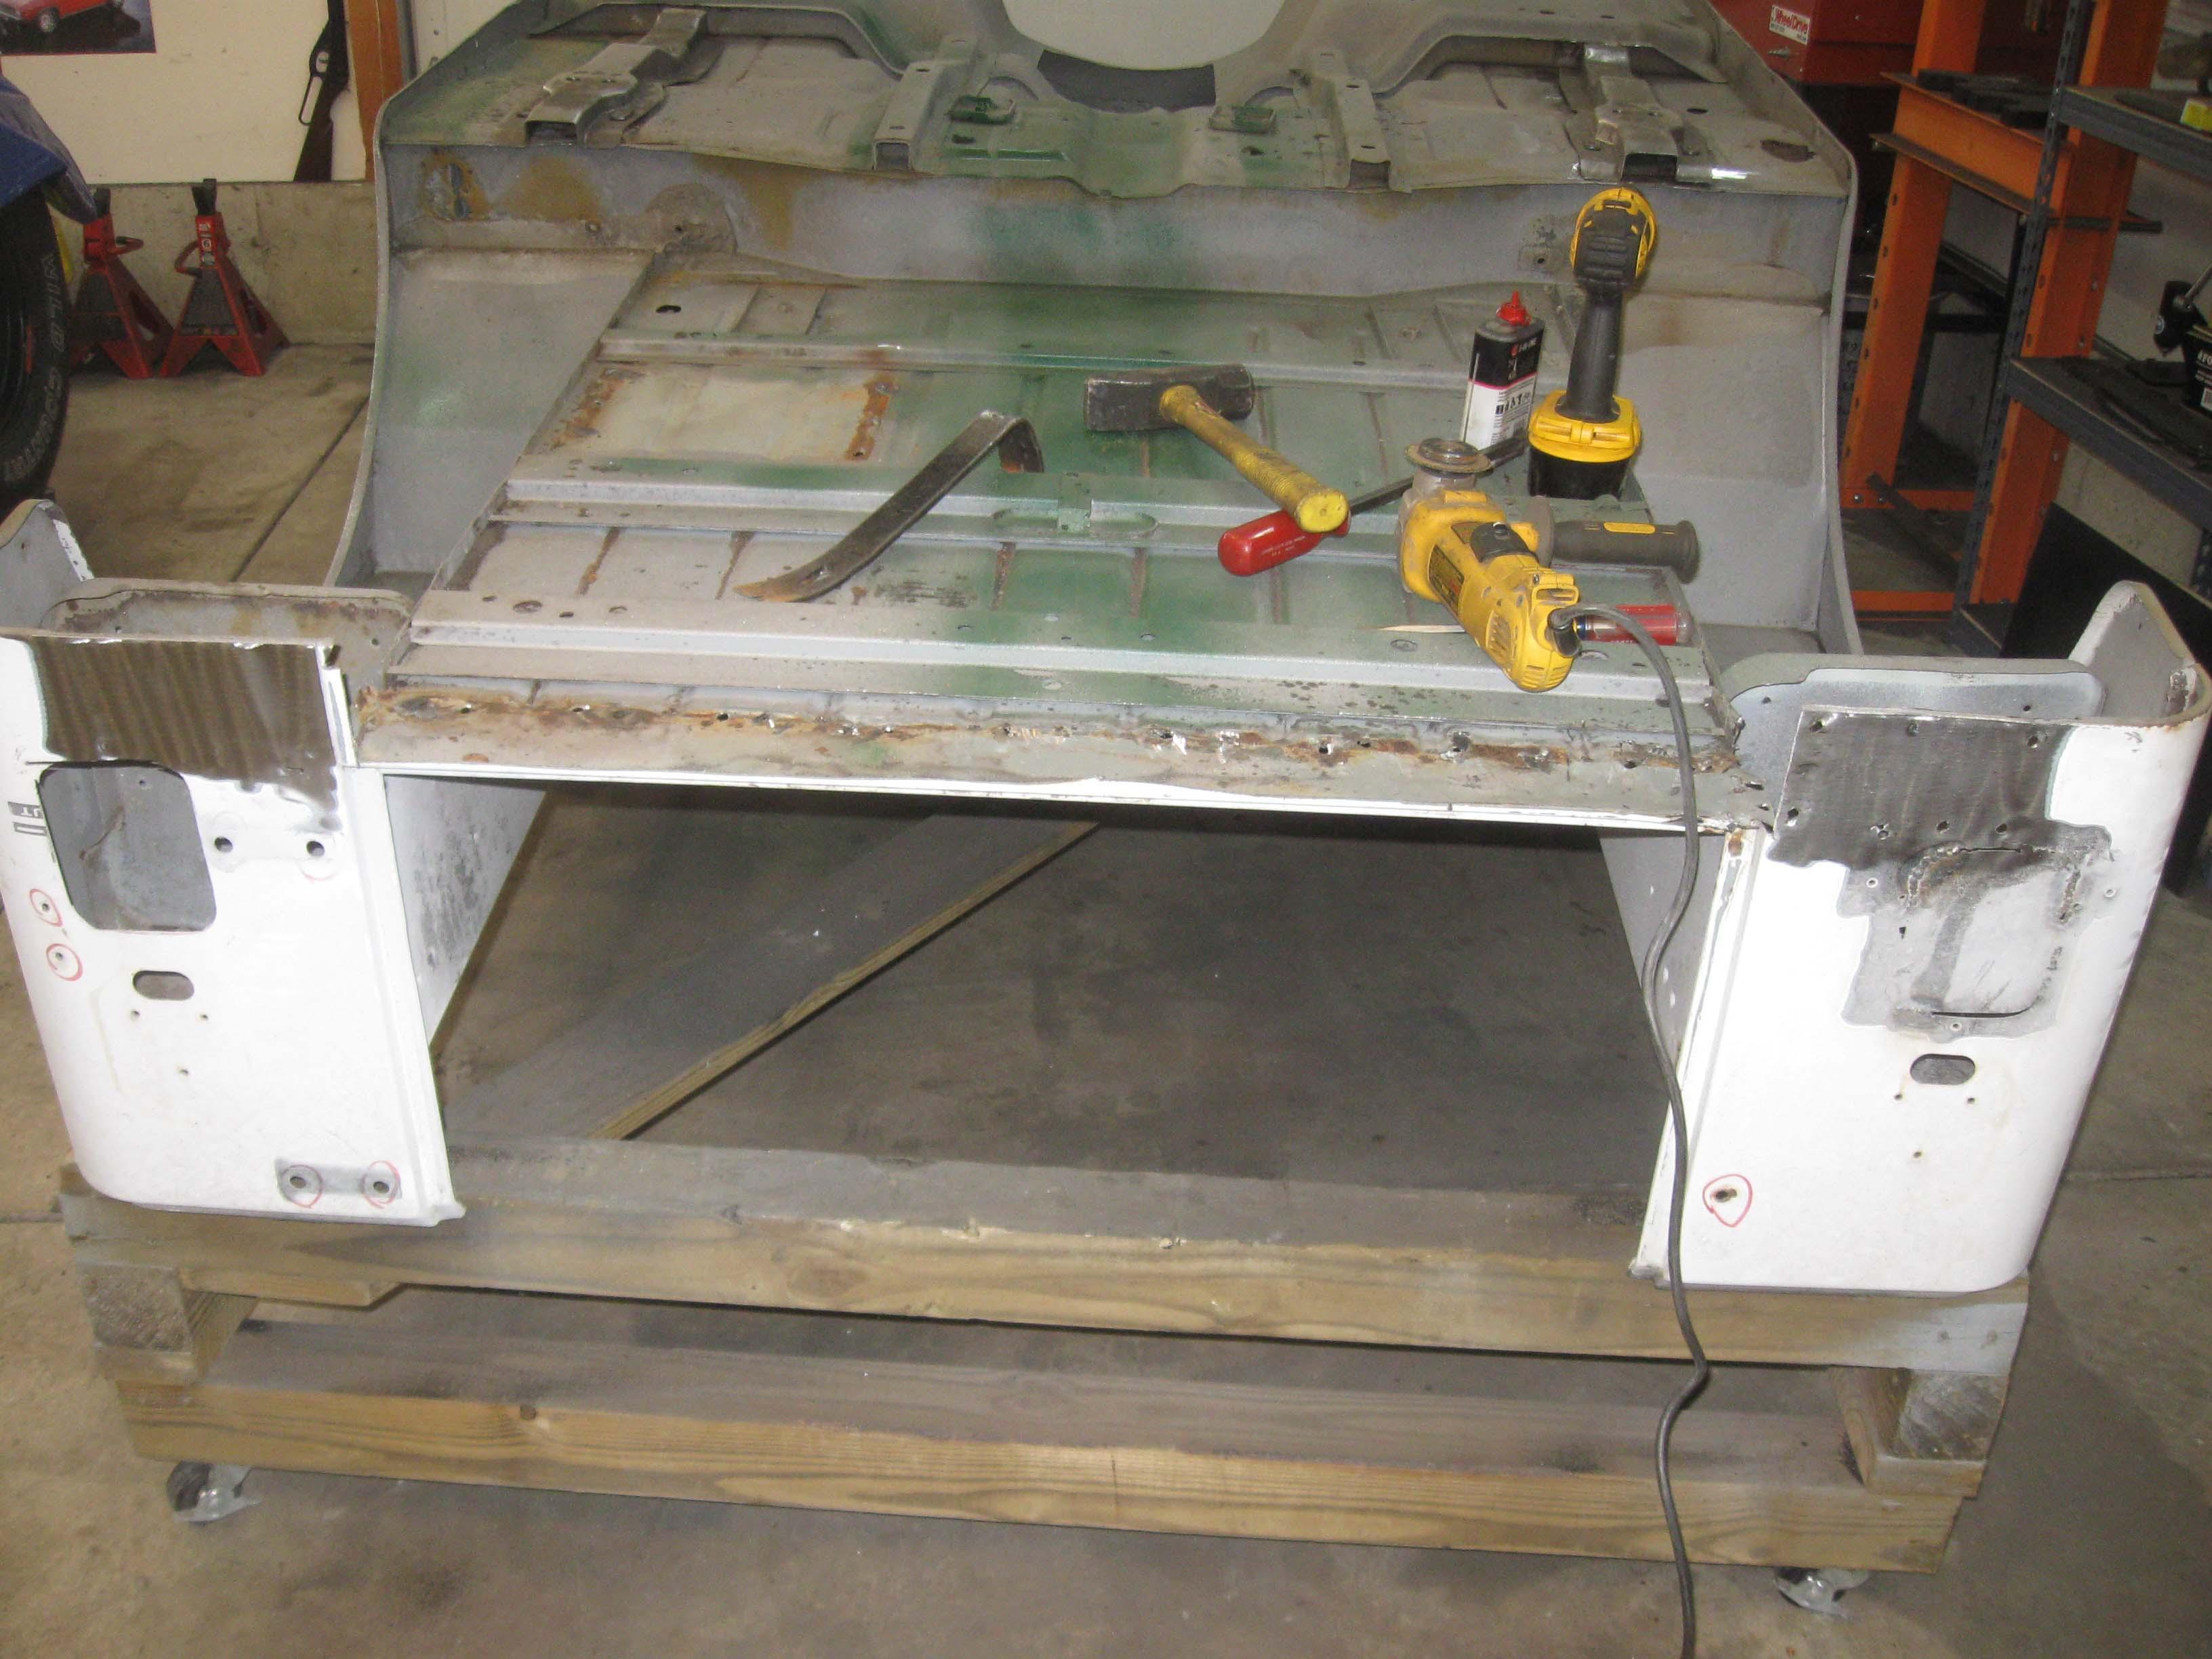
As it sits now and I hope to get 2 more hours in today before the big game.
IMG_7386-1.jpg


I have to travel a lot this week, so it is doubtful to get anything done with the snow that is coming and that, but I hope that next weekend brings me a new rear corner to stich on and get the bits and pieces welded to the underside so I can turn it over and fix the underside.

Take care.

cb
 
You might want to consider epoxy primer on the firewall and the back of the metal plate. I used this on my truck before painting (work trucks). When I wet sanded the paint I sanded through the paint and exposed the primer. Since it's black paint and a dark gray primer I never got the chance to re-paint the trucks. Three winters (and cleveland salt) and no rust. Looks the same as the day I sanded through. If you put the metal plates together and air get's between them (it will, it's not a vacuum) the moisture in the air will condense between the plates. It will run down and be trapped between the plates and rot it out even faster. If you do use seam seal leave the bottom undone so water can excape and airflow will help keep dry.
 
You might want to consider epoxy primer on the firewall and the back of the metal plate. I used this on my truck before painting (work trucks). When I wet sanded the paint I sanded through the paint and exposed the primer. Since it's black paint and a dark gray primer I never got the chance to re-paint the trucks. Three winters (and cleveland salt) and no rust. Looks the same as the day I sanded through. If you put the metal plates together and air get's between them (it will, it's not a vacuum) the moisture in the air will condense between the plates. It will run down and be trapped between the plates and rot it out even faster. If you do use seam seal leave the bottom undone so water can excape and airflow will help keep dry.

Wait till you see the pictures of what I got off the firewall of the "good" tub... glued together and spot welded and the "air" did a number.... I plan on putting down some weldable primer between the plates, at least that will help somewhat.


cb
 
As promised... glued on and spot welded on and there was rust still in between the plates... all plates wlll be treated before going back on... these spots welds are getting to be ridiculous, but I will say, the CJ tub had a ton more of them... the YJ one had less.

cb

0202150728.jpg
 
Spot welds is probably one of the reasons the tubs rusted out at the seams so much (among many reasons):rotfl:
 
Well, I didn't have much time this week... I worked 70+ hours, was in training for most of the week and had to work most of the weekend.
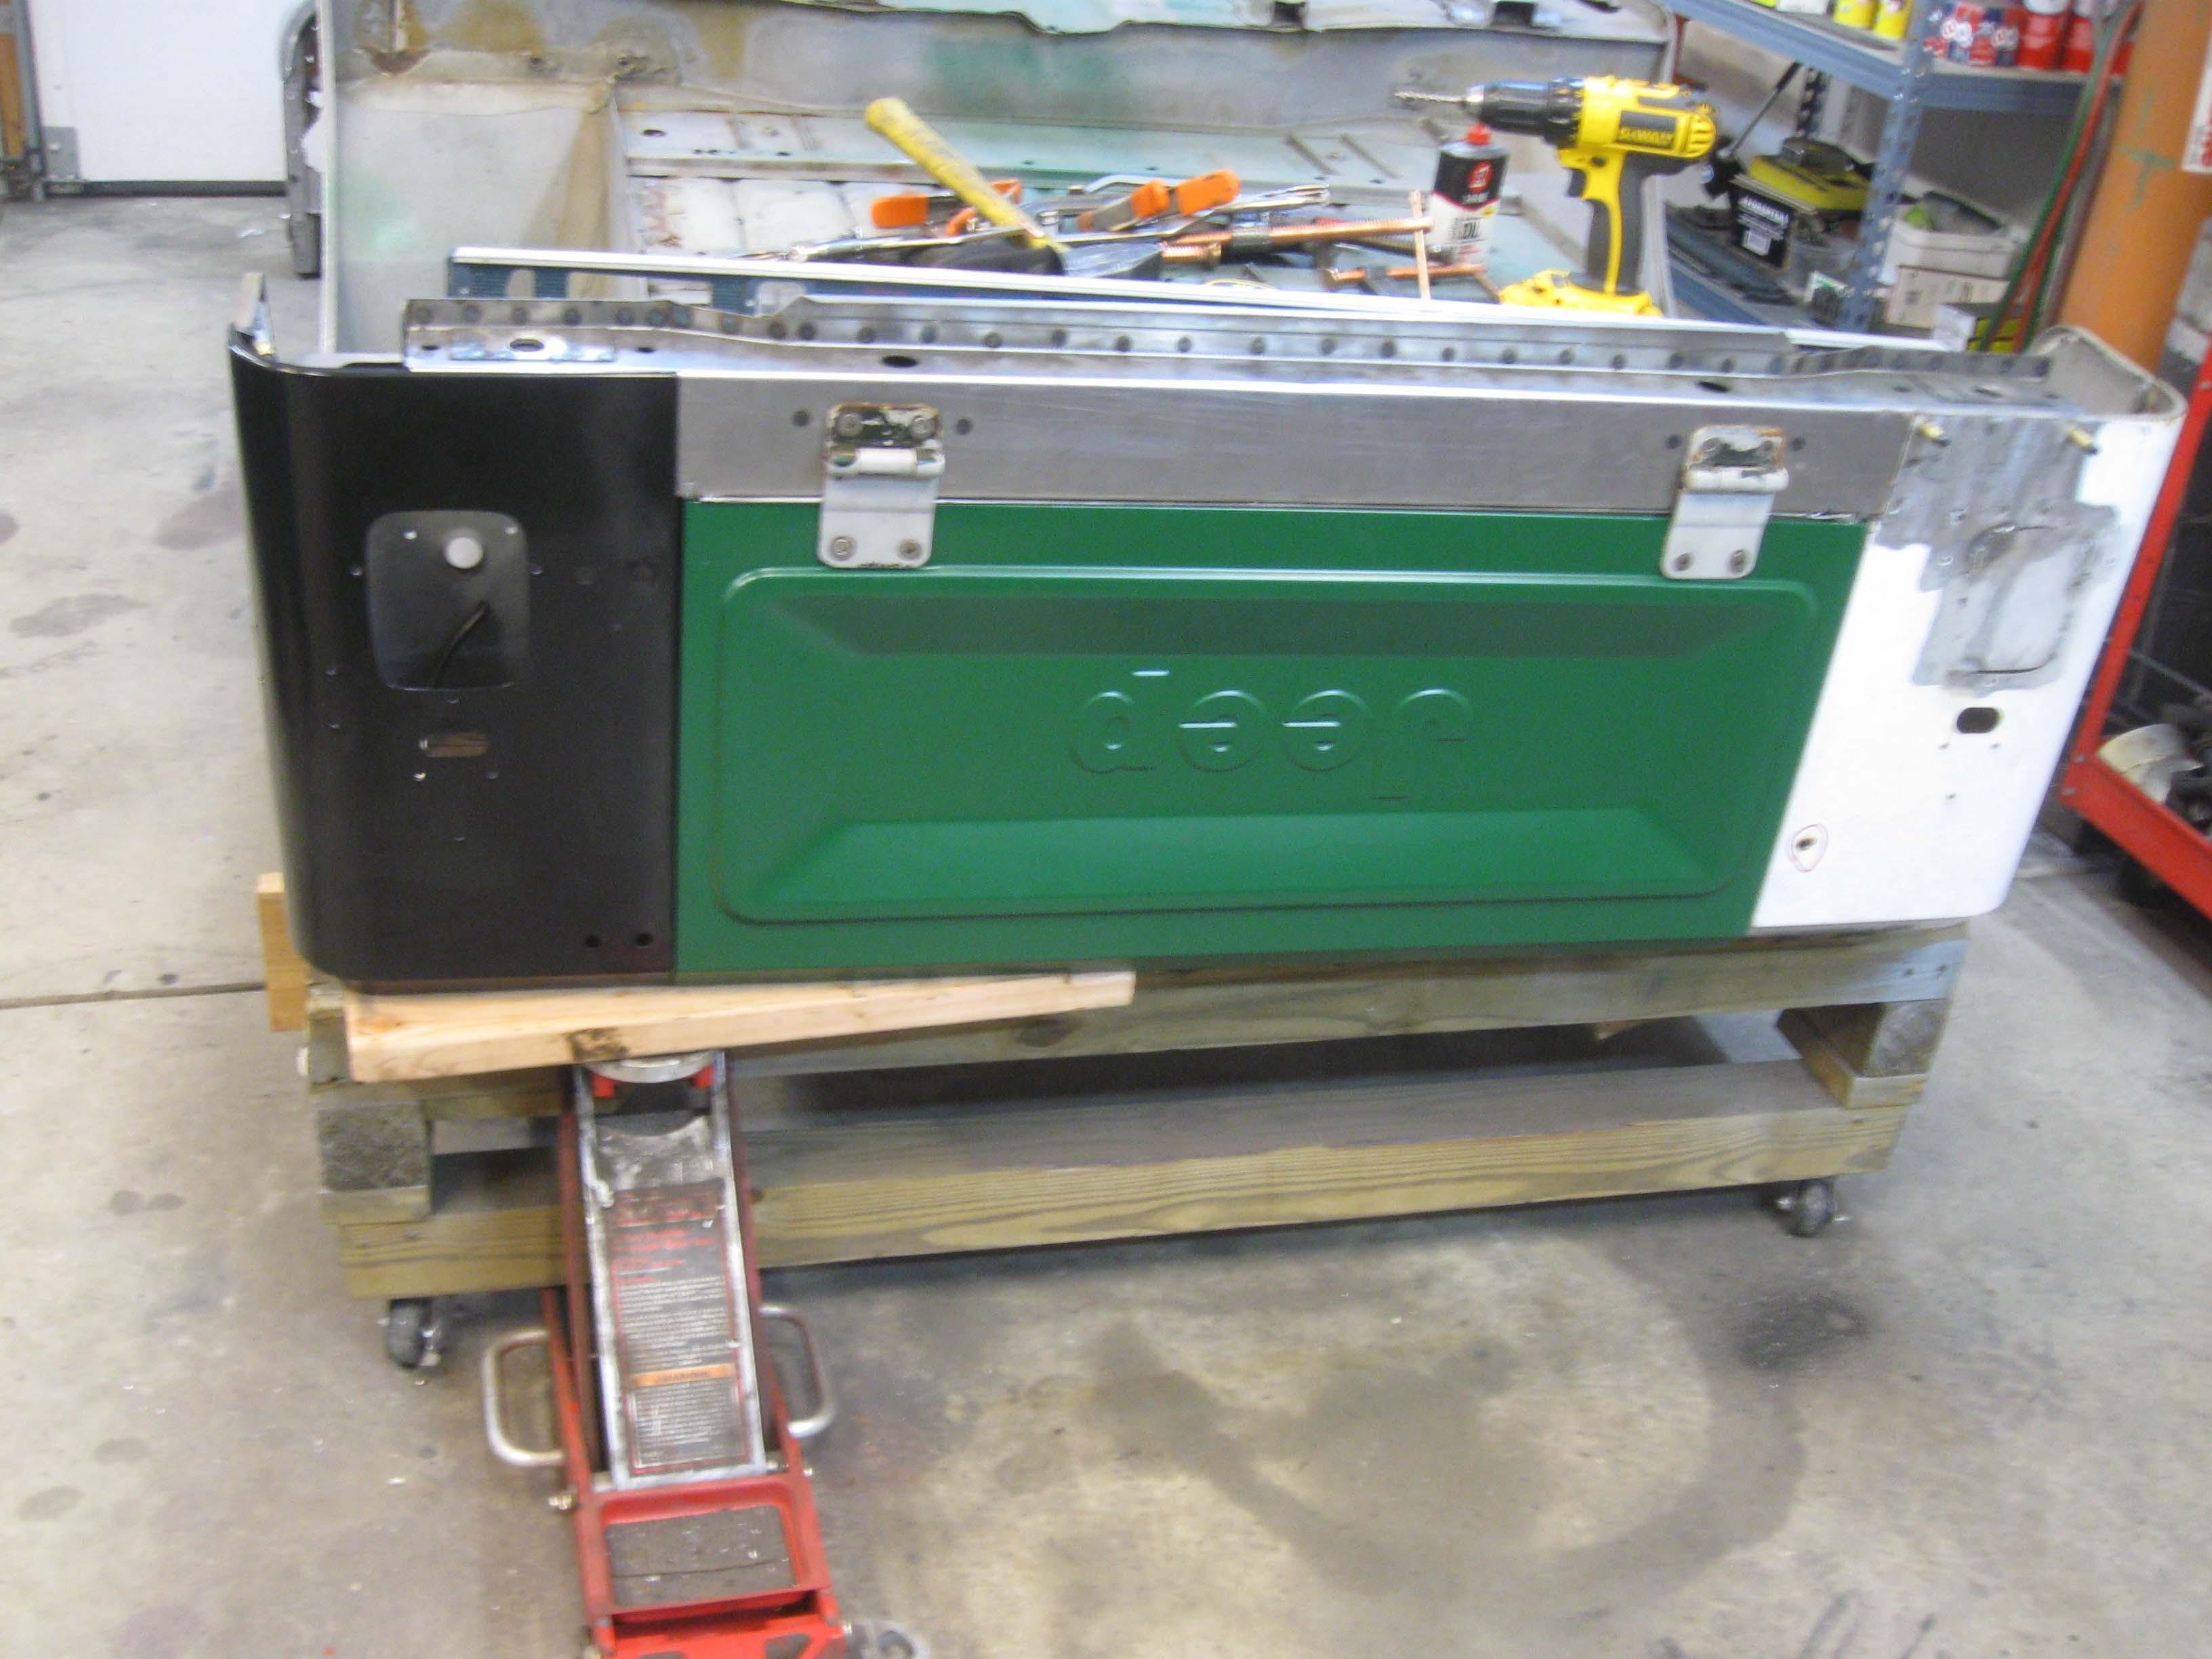
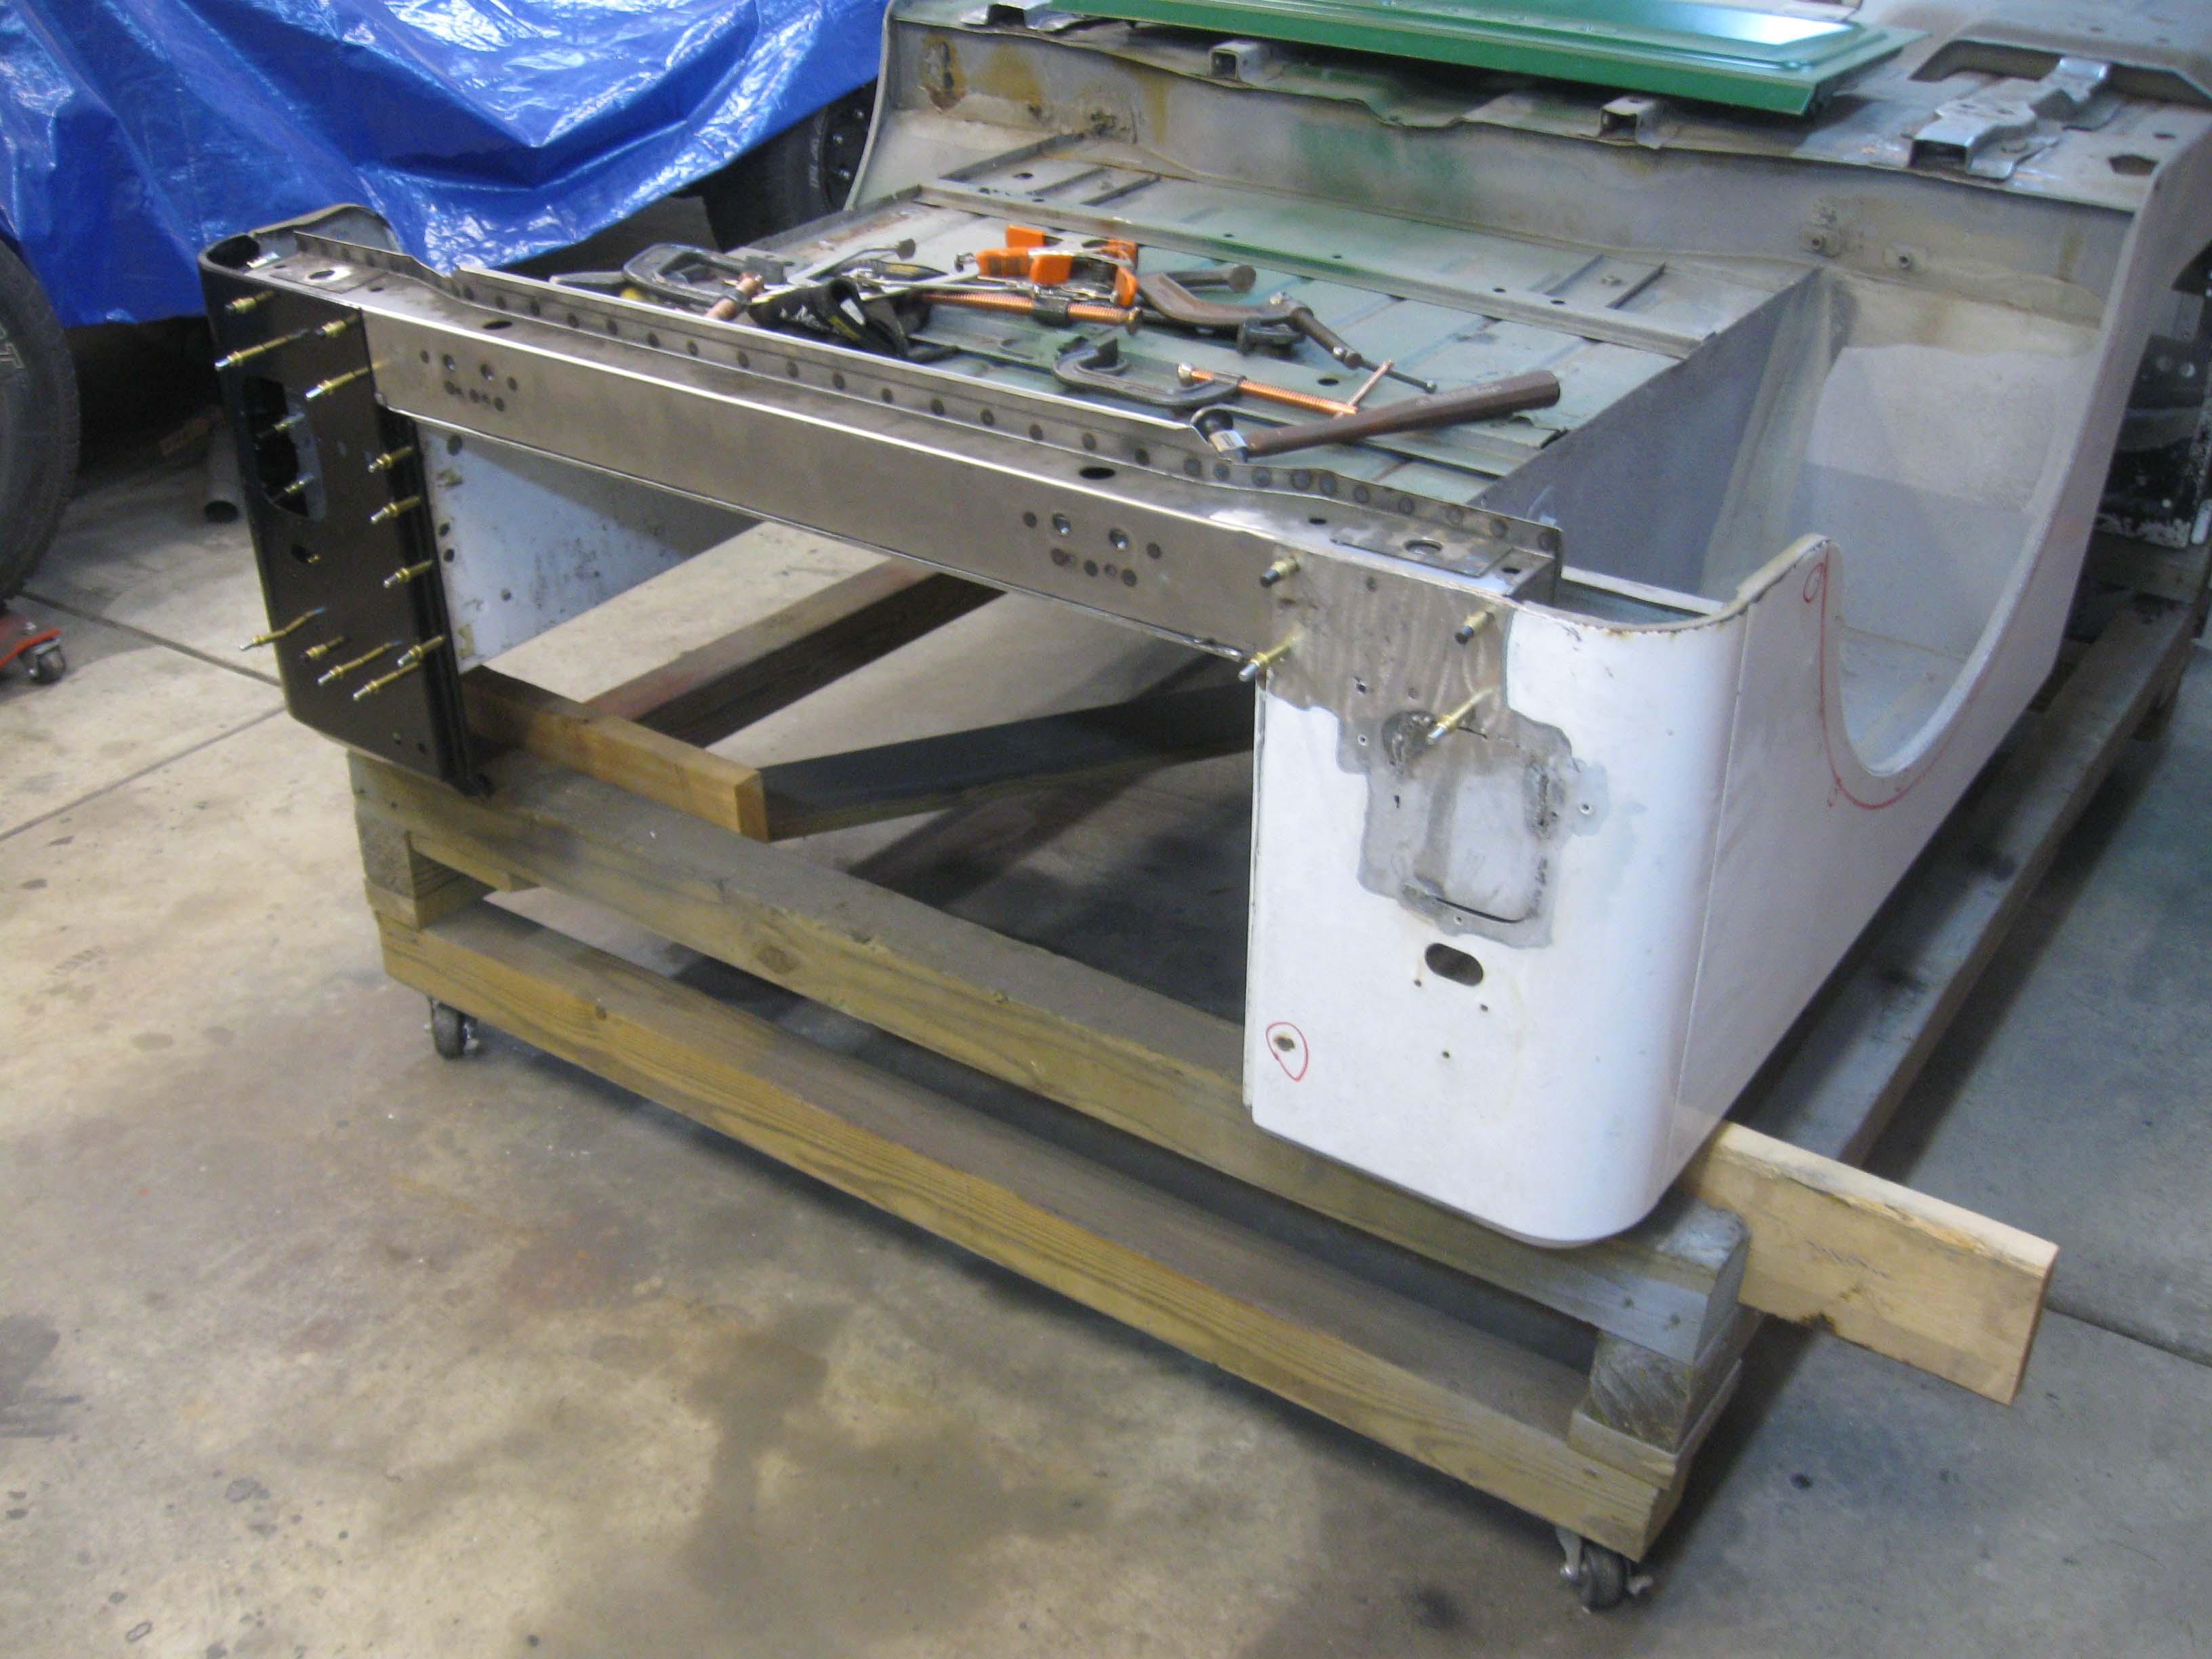
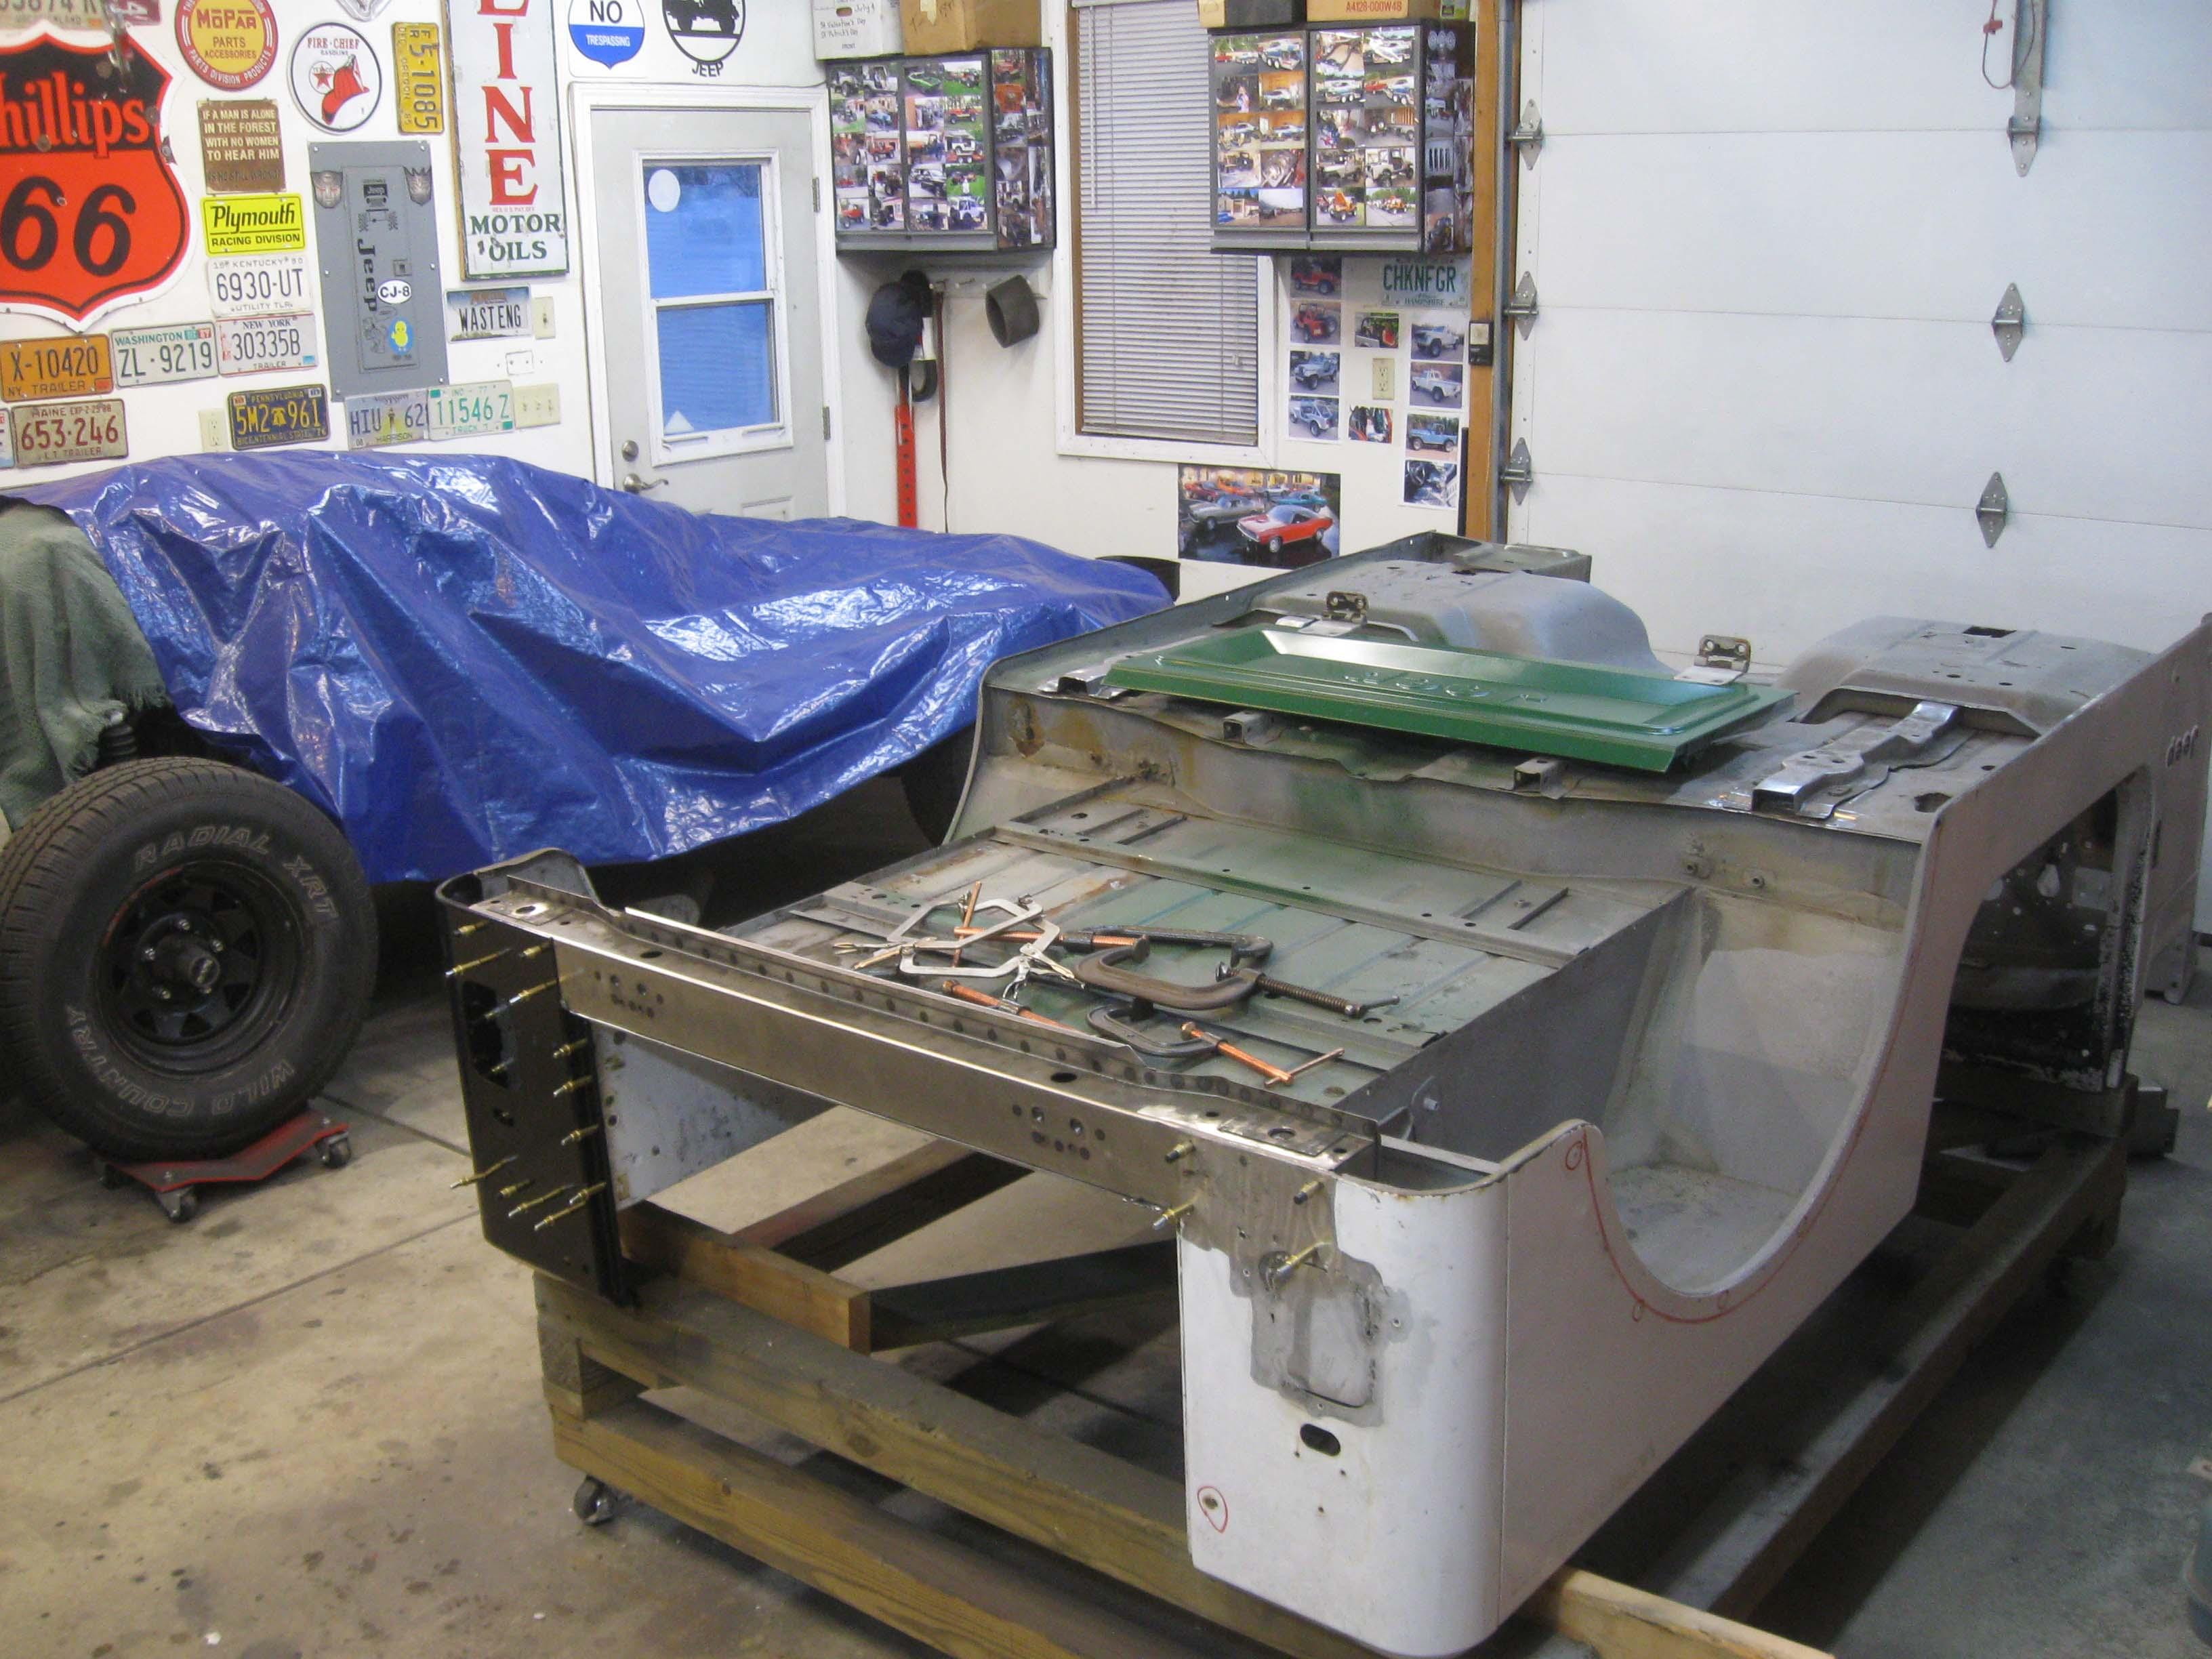
I did however get out for a couple hours yesterday and was able to get things put in place, drill some holes, and get things where I wanted and put them in place with "clecos"... my first time using them.
I only pinched my finger 2 times and I am surprised how well they work.
Drill 3/16" hole pop them in and they stay in place.
I only had one come loose and it was my fault for not having it be fastened fully... I like them, I can see how useful they can be.

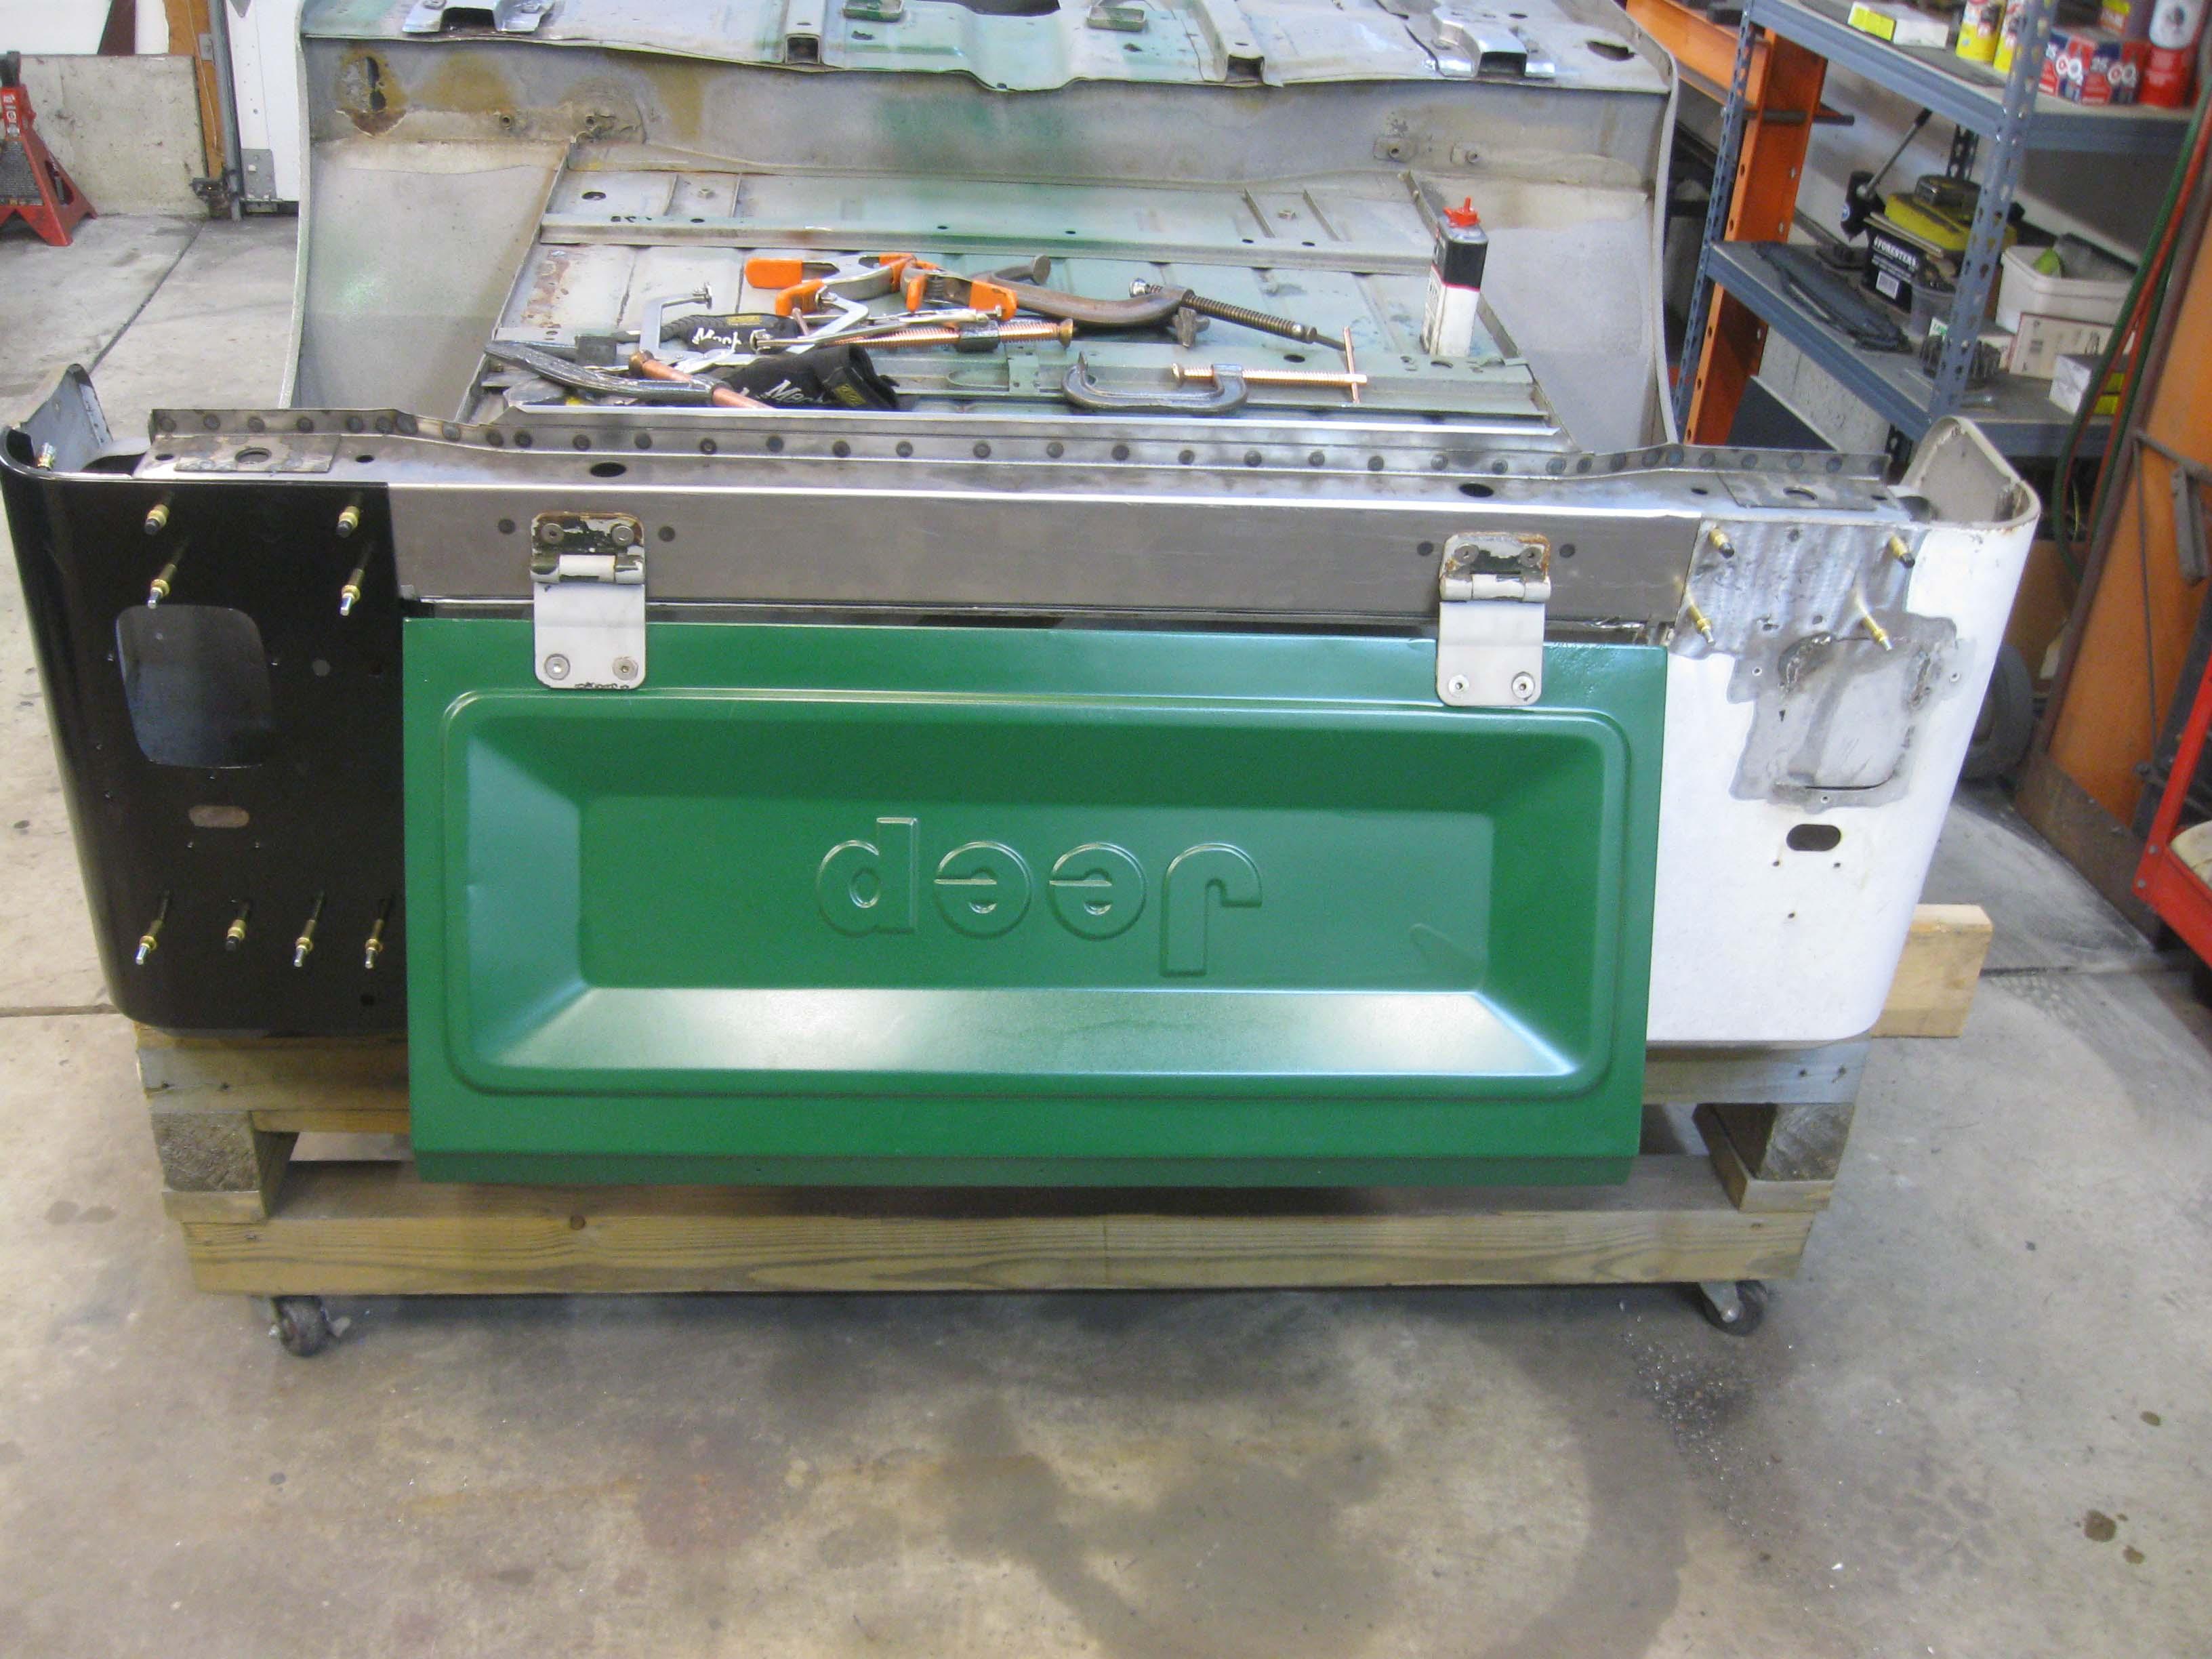
I have a bit more work with the new panel and the seam to the body itself... there are some waves where I removed the spot welds and are clamped in place now, but all in all, progress.

0208151716.jpg

cb
 
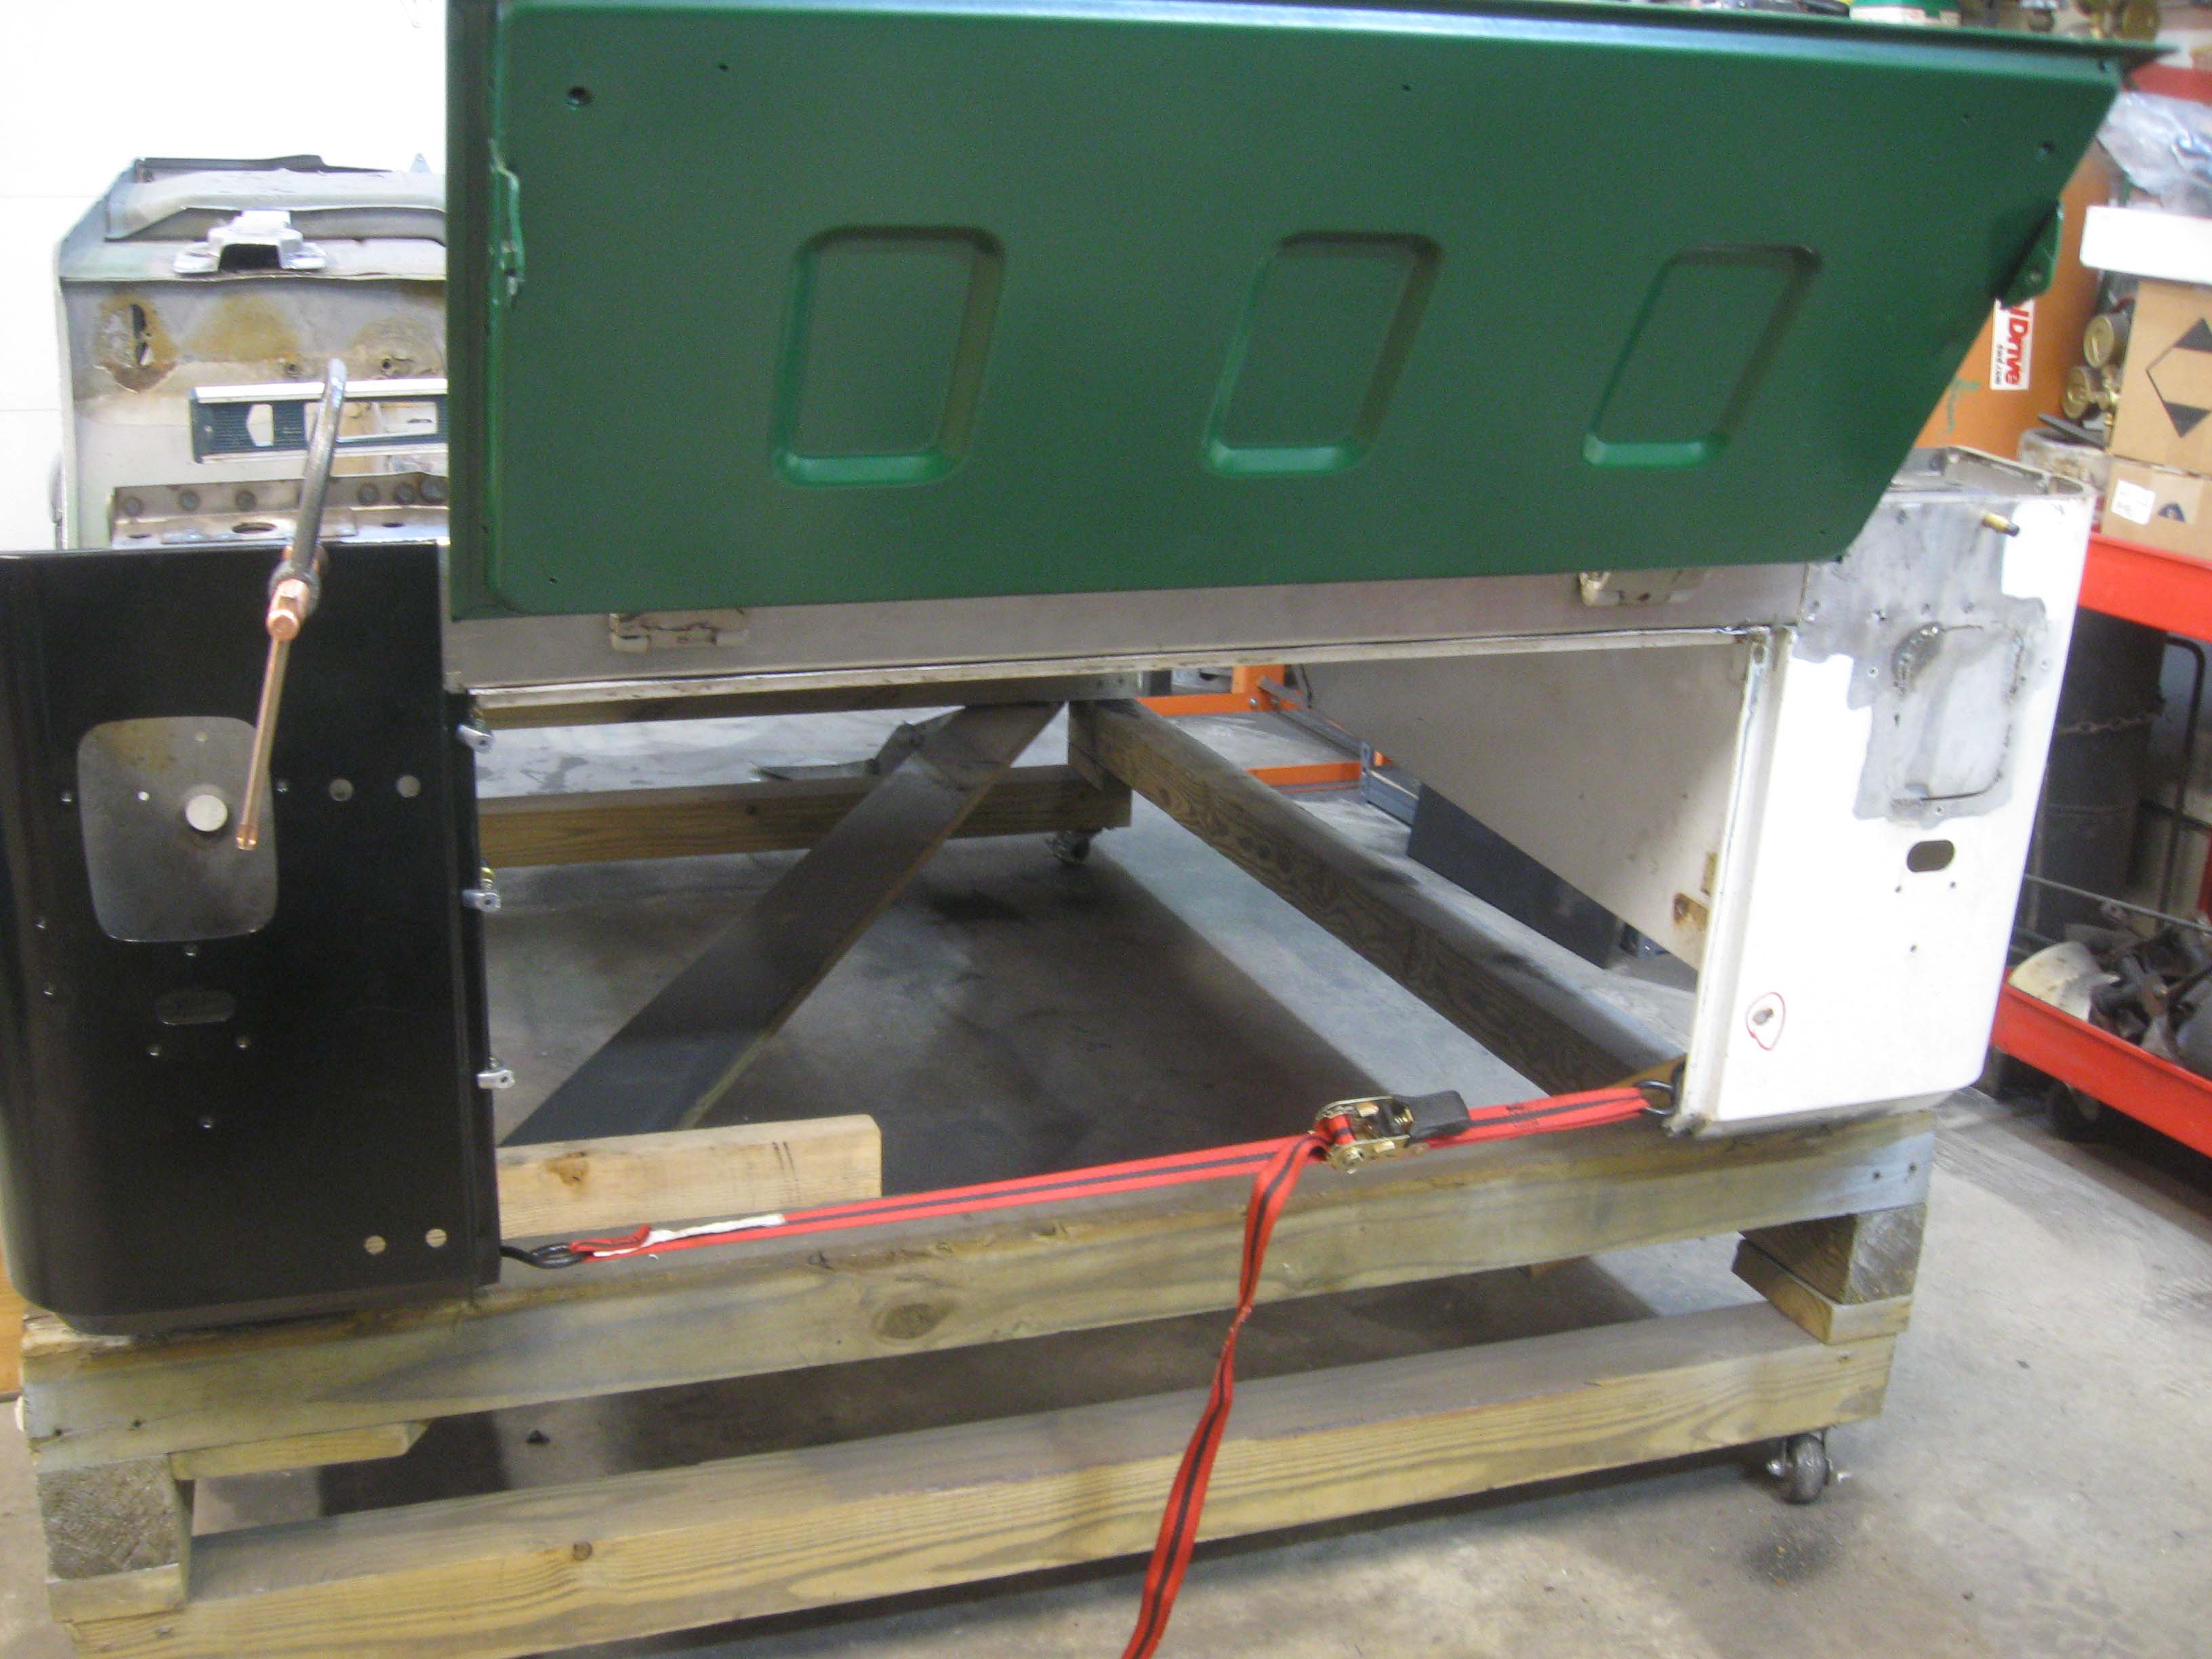
Looks good. Your gaps on the tailgate are smaller and better aligned then mine.:rolleyes:
 
Looks good. Your gaps on the tailgate are smaller and better aligned then mine.:rolleyes:

Only because I used the ratchet strap to bring it all into alingment! Doing this upside down is suboptimal, but it should work out.
I am hoping the snow holds off Thursday night so I can get back to it this weekend.

cb
 
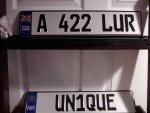
I went to their web site and saw this:

All European license plates are made in our sign shop in Melbourne, Florida USA

This is in the town adjoining mine :huh:
Maybe I can get a duplicate of my old tag. 8E3 CJ-8
Or something for the LJ Rubicon. ????

Thanks for helping me spend some more money on the Jeeps.

OK, here is an update on this.
I ordered up a plate over a month ago, never showed... was charged for it.
Called up today, just got off the phone, apparently they had a "glitch" that took the order, charged for it, but no record of the order existed.
That is one heck of a glitch!

Anyway, they are doing it today and sending it out tomorrow... we will see... time will tell.

cb
 
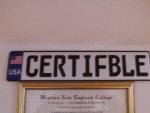
Snow and fixing the tractor is keeping me from working on the Jeep, but these showed up today...

0213151115.jpg

cb
 
Back
Top