• Notice for iPhone users: DO NOT use the image size reduction option when uploading photos to the forum. This causes portrait images to post as landscape. We have added a warning to the image insert pop-up as well.

My De-Rustification Project

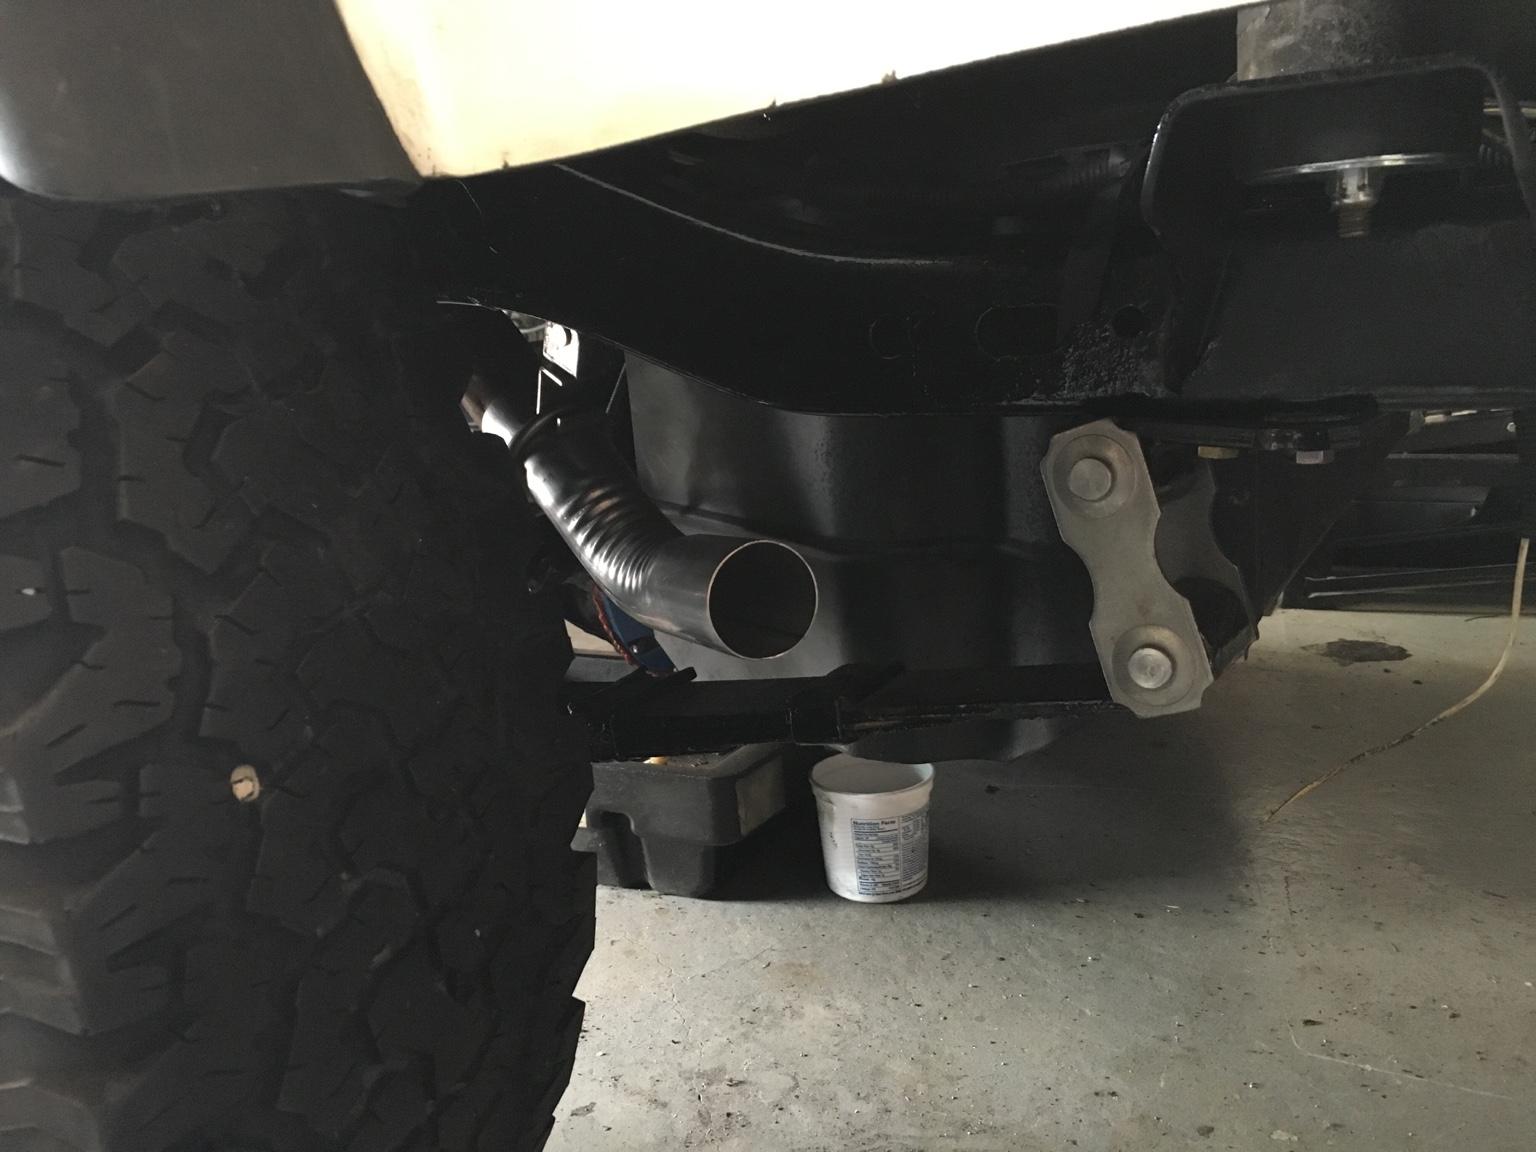
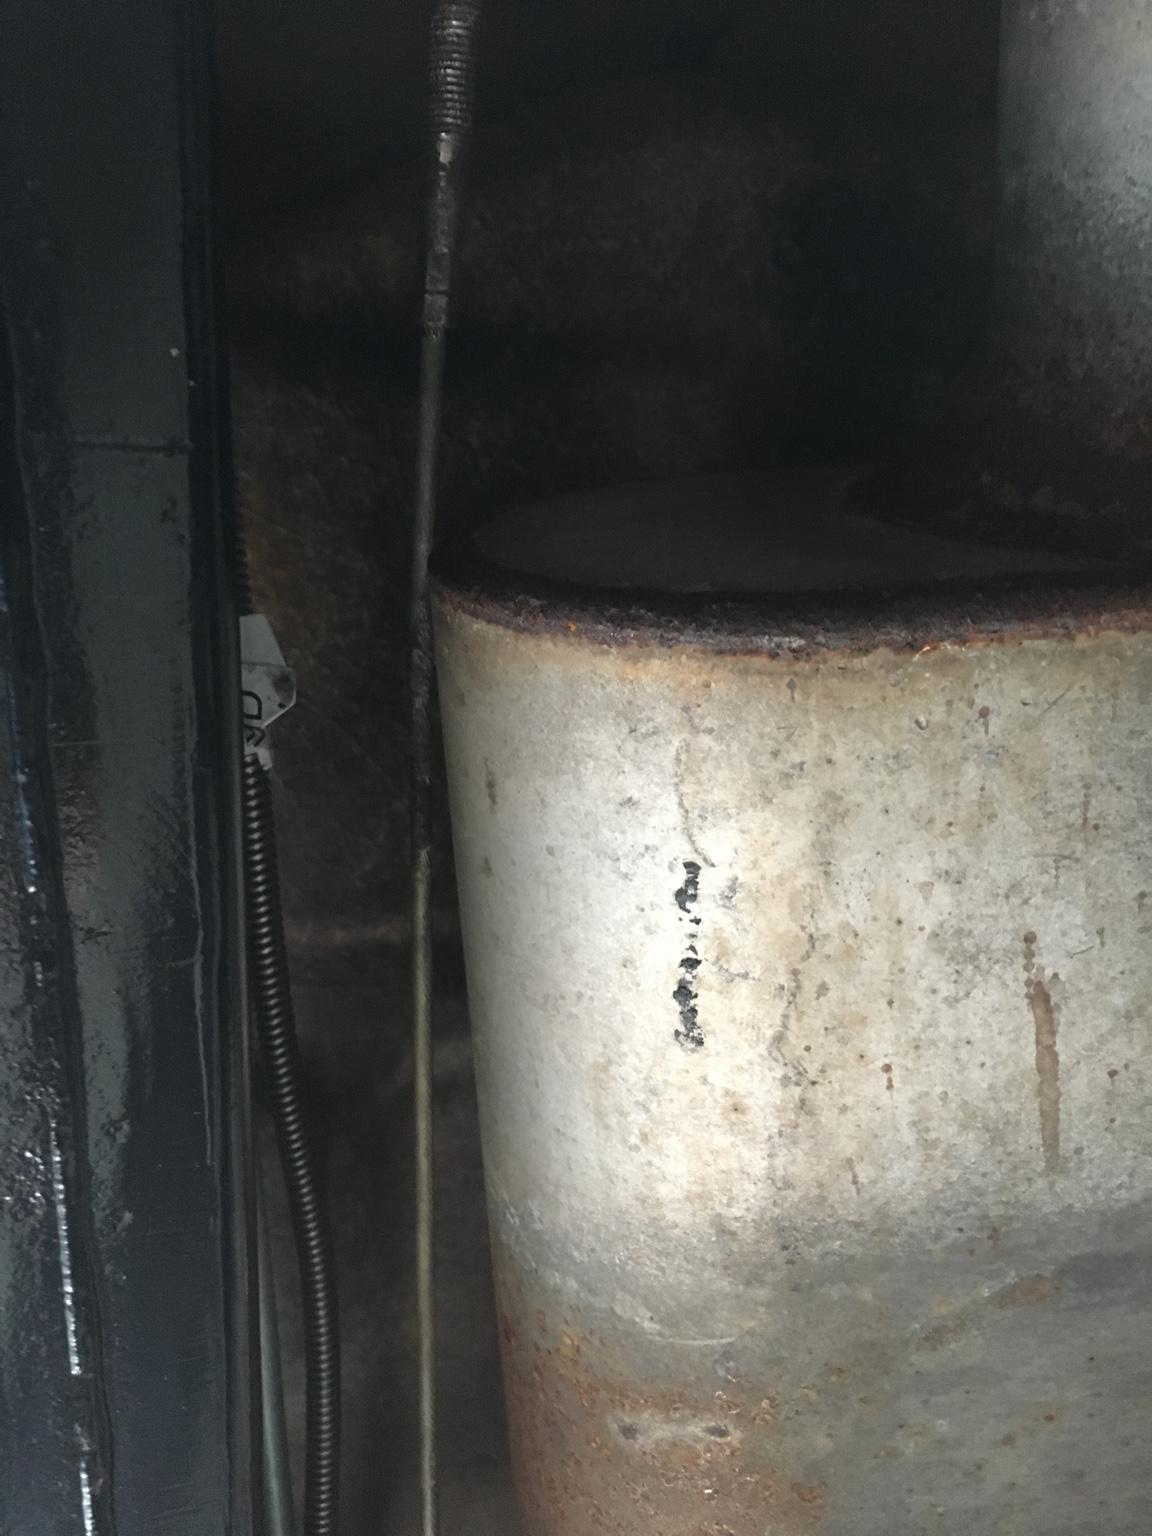
Bought and installed a 45* exhaust pipe. May need to extend it. But now I can at least raise the exhaust off the ground. But the damn muffler is now against the e-brake cable again. Oh well. Some day I will run the exhaust like it should be done.

2510dfa721b8de2dfd95b8f3b9e1e0c0-1.jpg
2fff47d0bf2fe6cc7caf4f64e31c834b-1.jpg


On to the electrical crap.
 
Dain, It's never enough, I have 2 big garages/barns on 2 acres and now I want 40/100 acres and no neighbors.
 
Dain, It's never enough, I have 2 big garages/barns on 2 acres and now I want 40/100 acres and no neighbors.

Probably. But it will keep me happy for a little while.

No luck on the electrical crap. No power in the cab. Thinking it has to do with the block on the firewall. Maybe it is not seating well.

Jumped it again to start it. Got my coolant leaks resolved. Started adding brake fluid. Have a leak at the valve. Will tighten that when the exhaust cools.

Also noticed that my e-fans are not coming on when the temperature is reached. I will have to double check that wiring as well.

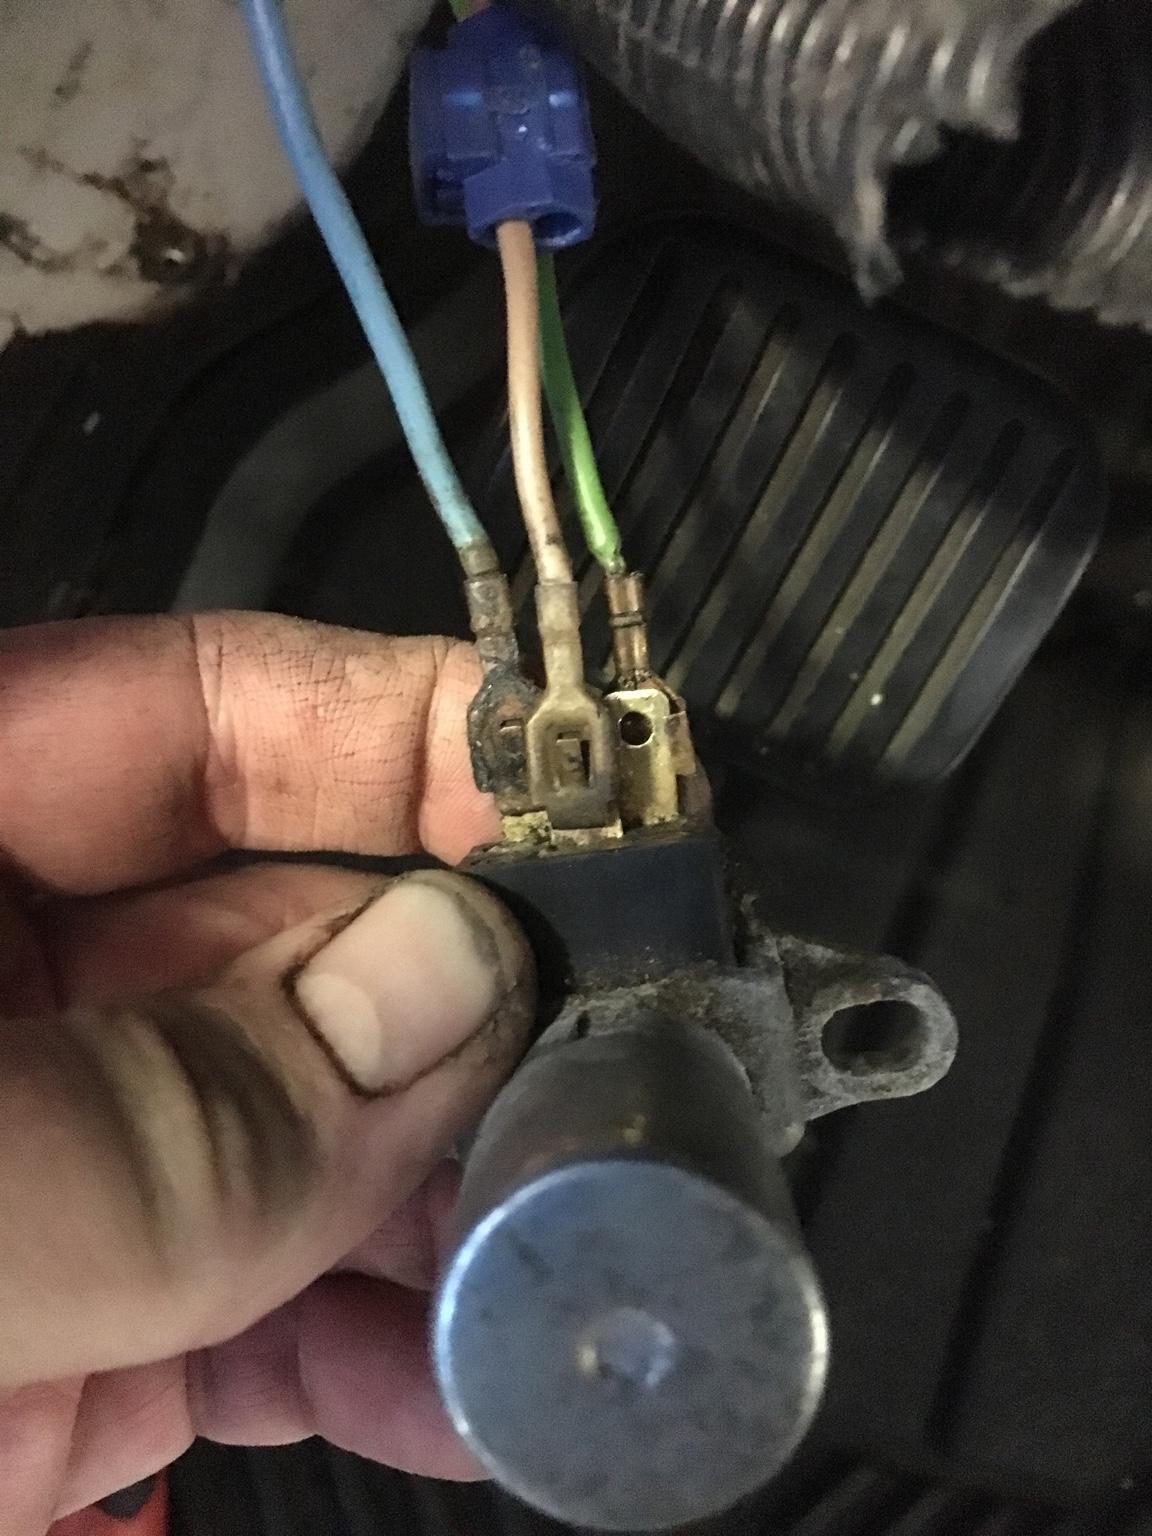
And I took the taped up connections at the hi-beam switch and freed the wires to connect them directly to the switch. Not sure which wire goes where. But here is what I have right now. Switched a few around with apparently no difference (kept the blue on the left. Was confident about that one.

f4550e20bfbfefbcf578e3fb5fbf4542-1.jpg


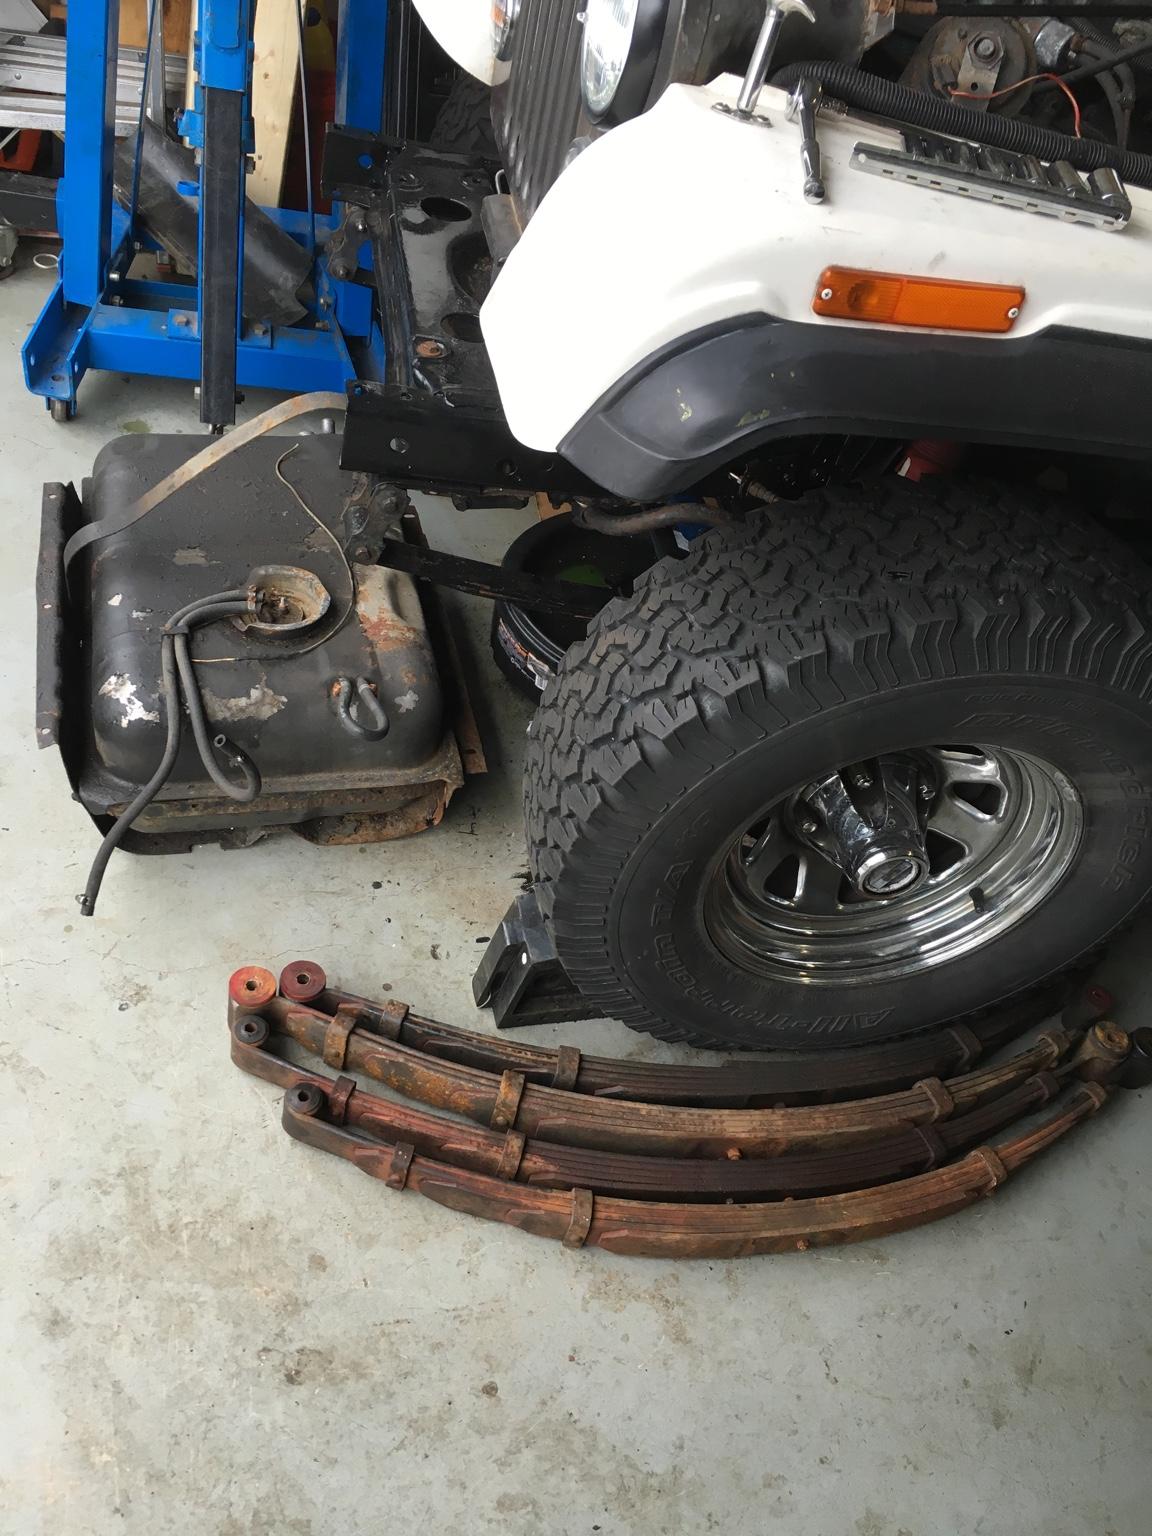
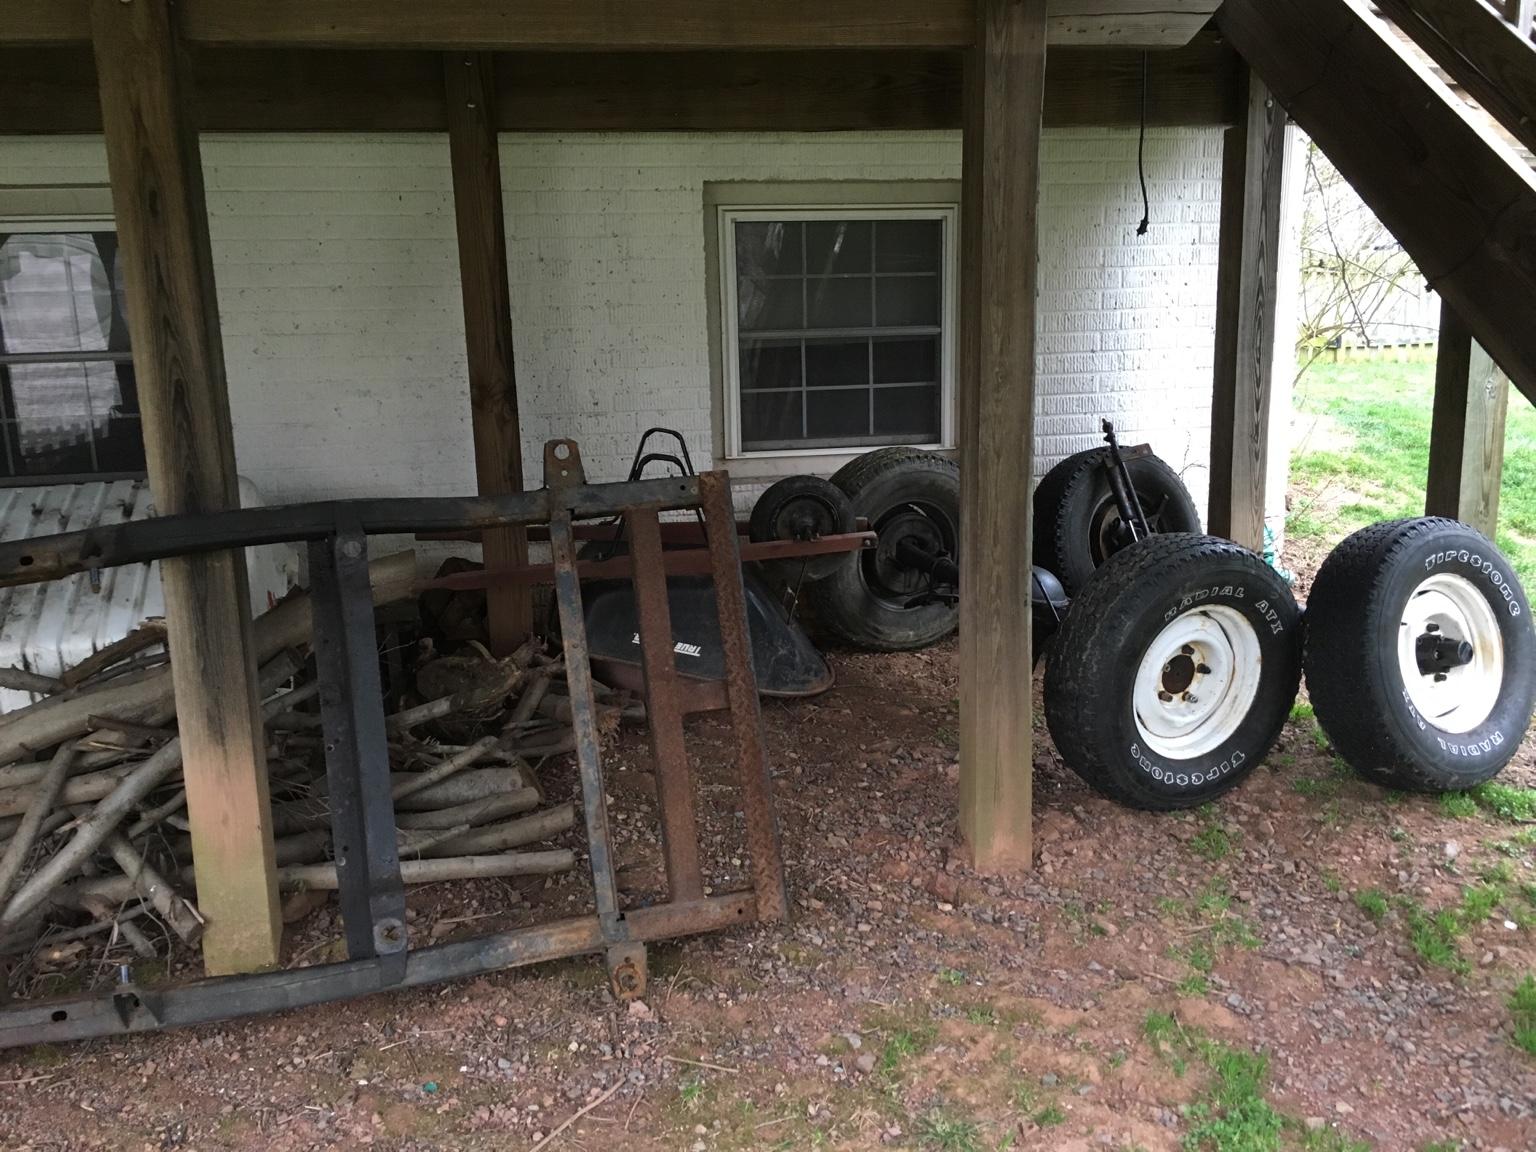
Also took the springs off of the old axles and took the frame and axles to the back yard to make the HOA happier and to appease my wife. I also needed to pull the JKU up to jump start the CJ. So it helped me out as well.

db27f12710fa5507e764a27a059ec07b-1.jpg


That gas tank had about 5 gallons in it. That is now in my lawn mower fuel canister.
 
Dain, it's time to get the wiring cleaned up. Replace the blue connector with solder and use heat shrink on the connection. Also use heat shrink on the wire ends connecting to the dimmer switch. That's a short waiting to happen. If you don't get that cleaned up correctly your going to be chasing your tail (hunting gremlins) for the rest of your life. What's worse is having it happen away from home on the trail.
 
Dain, it's time to get the wiring cleaned up. Replace the blue connector with solder and use heat shrink on the connection. Also use heat shrink on the wire ends connecting to the dimmer switch. That's a short waiting to happen. If you don't get that cleaned up correctly your going to be chasing your tail (hunting gremlins) for the rest of your life. What's worse is having it happen away from home on the trail.

I agree. Sigh. It is just a huge PITA. I know I should.
 
It's much less of a PITA when it's apart and at home than on the road. Make a list, start at one end and work to the end. Fire up the soldering iron and go at it. Once you get it started that way it goes much faster than stop and go. That's when you respect what Big Walton and spankrjs and others do when doing a proper rebuild. It's well worth it to be able to take the jeep out time after time and not have a problem.
 
It's much less of a PITA when it's apart and at home than on the road. Make a list, start at one end and work to the end. Fire up the soldering iron and go at it. Once you get it started that way it goes much faster than stop and go. That's when you respect what Big Walton and spankrjs and others do when doing a proper rebuild. It's well worth it to be able to take the jeep out time after time and not have a problem.

I would start with a whole new wiring harness.
 
They are expensive but you are correct. Not meaning to be a pain, just friendly advice on being there a couple of times:rolleyes::wave:
 
And I took the taped up connections at the hi-beam switch and freed the wires to connect them directly to the switch. Not sure which wire goes where. But here is what I have right now. Switched a few around with apparently no difference (kept the blue on the left. Was confident about that one.

f4550e20bfbfefbcf578e3fb5fbf4542-1.jpg


If you have a test light, one of the leads will be hot when the headlight switch is on.
This wire goes to the center terminal. The other two leads go individually to each of the outside terminals.
If you jump from the hot lead (or any positive 12 volt power) to the other leads individually you should be able to test that those connections are good. One lead will be the low beam, the other will high beam (and the high beam indicator).
As far as the location of the high and low beam terminals on the switch, it shouldn't matter as the dimmer switch basically alternates from the center terminal to the outside terminals with each press of the switch.
Also, as was mentioned earlier; get rid of that crimp splice and replace/insulate the connections at the switch.

 
If you have a test light, one of the leads will be hot when the headlight switch is on.
This wire goes to the center terminal. The other two leads go individually to each of the outside terminals.
If you jump from the hot lead (or any positive 12 volt power) to the other leads individually you should be able to test that those connections are good. One lead will be the low beam, the other will high beam (and the high beam indicator).
As far as the location of the high and low beam terminals on the switch, it shouldn't matter as the dimmer switch basically alternates from the center terminal to the outside terminals with each press of the switch.
Also, as was mentioned earlier; get rid of that crimp splice and replace/insulate the connections at the switch.

Thanks a lot. That helps. I will be cleaning that up. And I will get rid of the crimped connection. I was just waiting until I knew what was what down there before buttoning it all up.

If I remember correctly, that crimped in wire was going to the old fog lights that are no longer there. So I will remove that once I confirm.

Thanks again for the info on the wires.
 
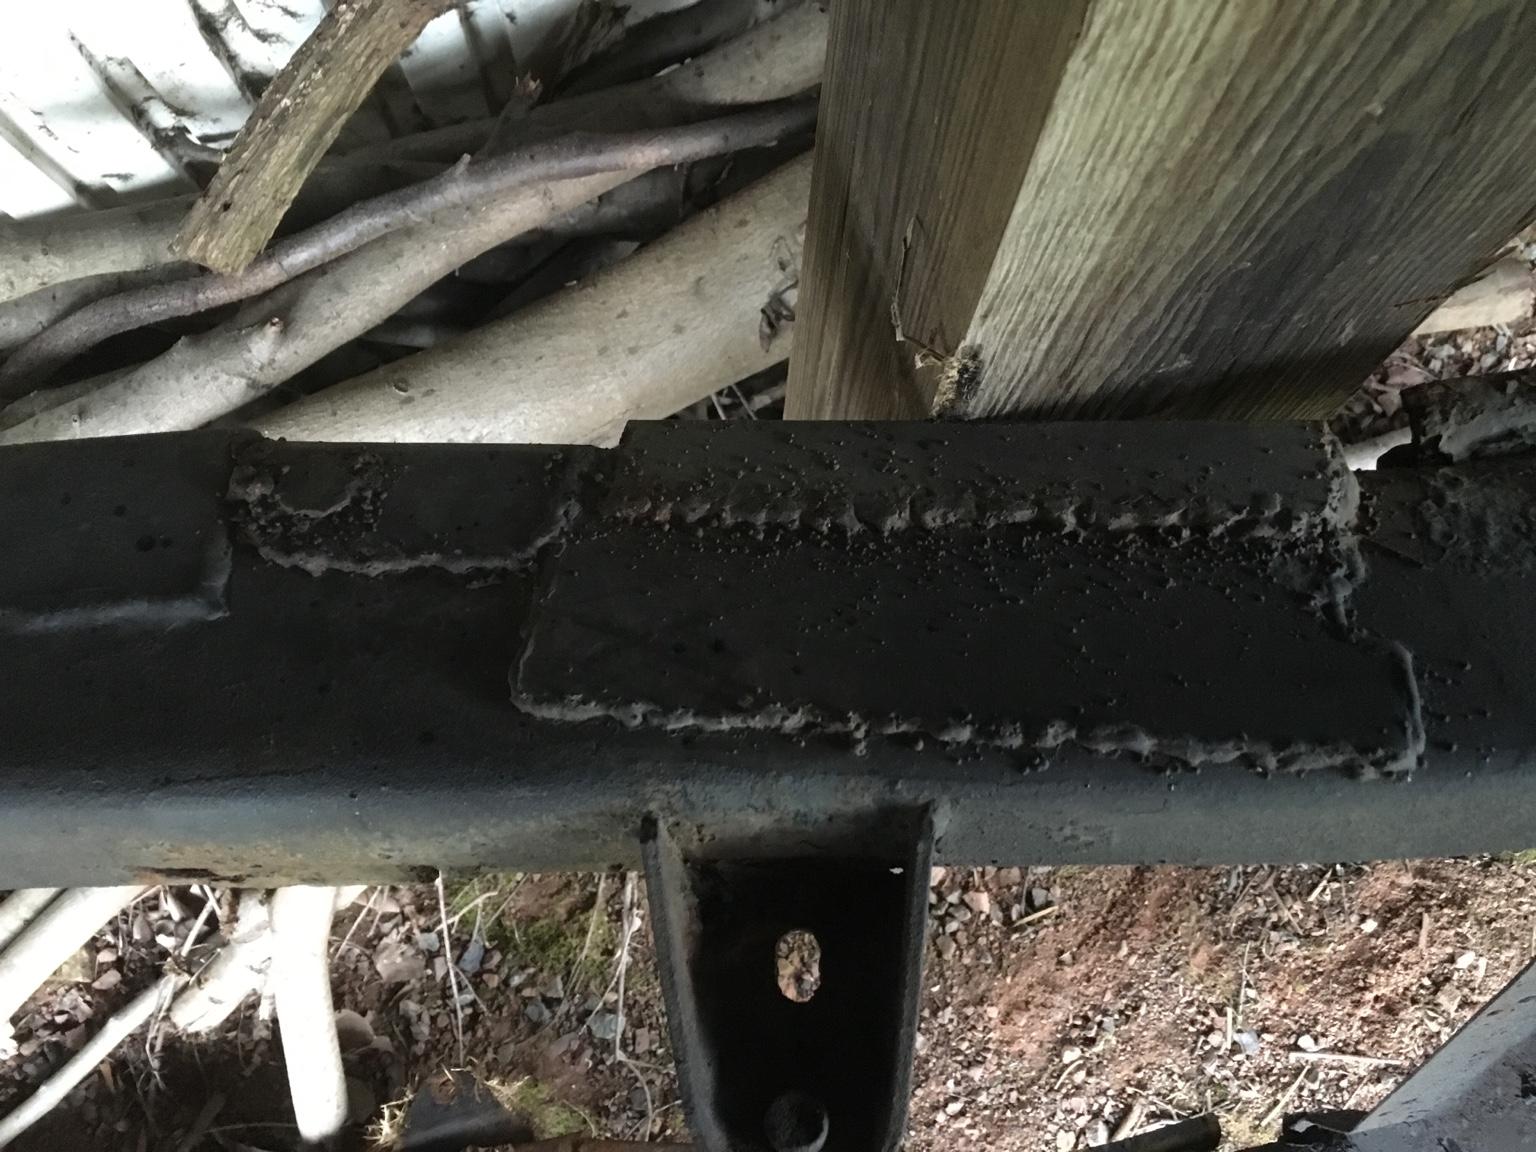
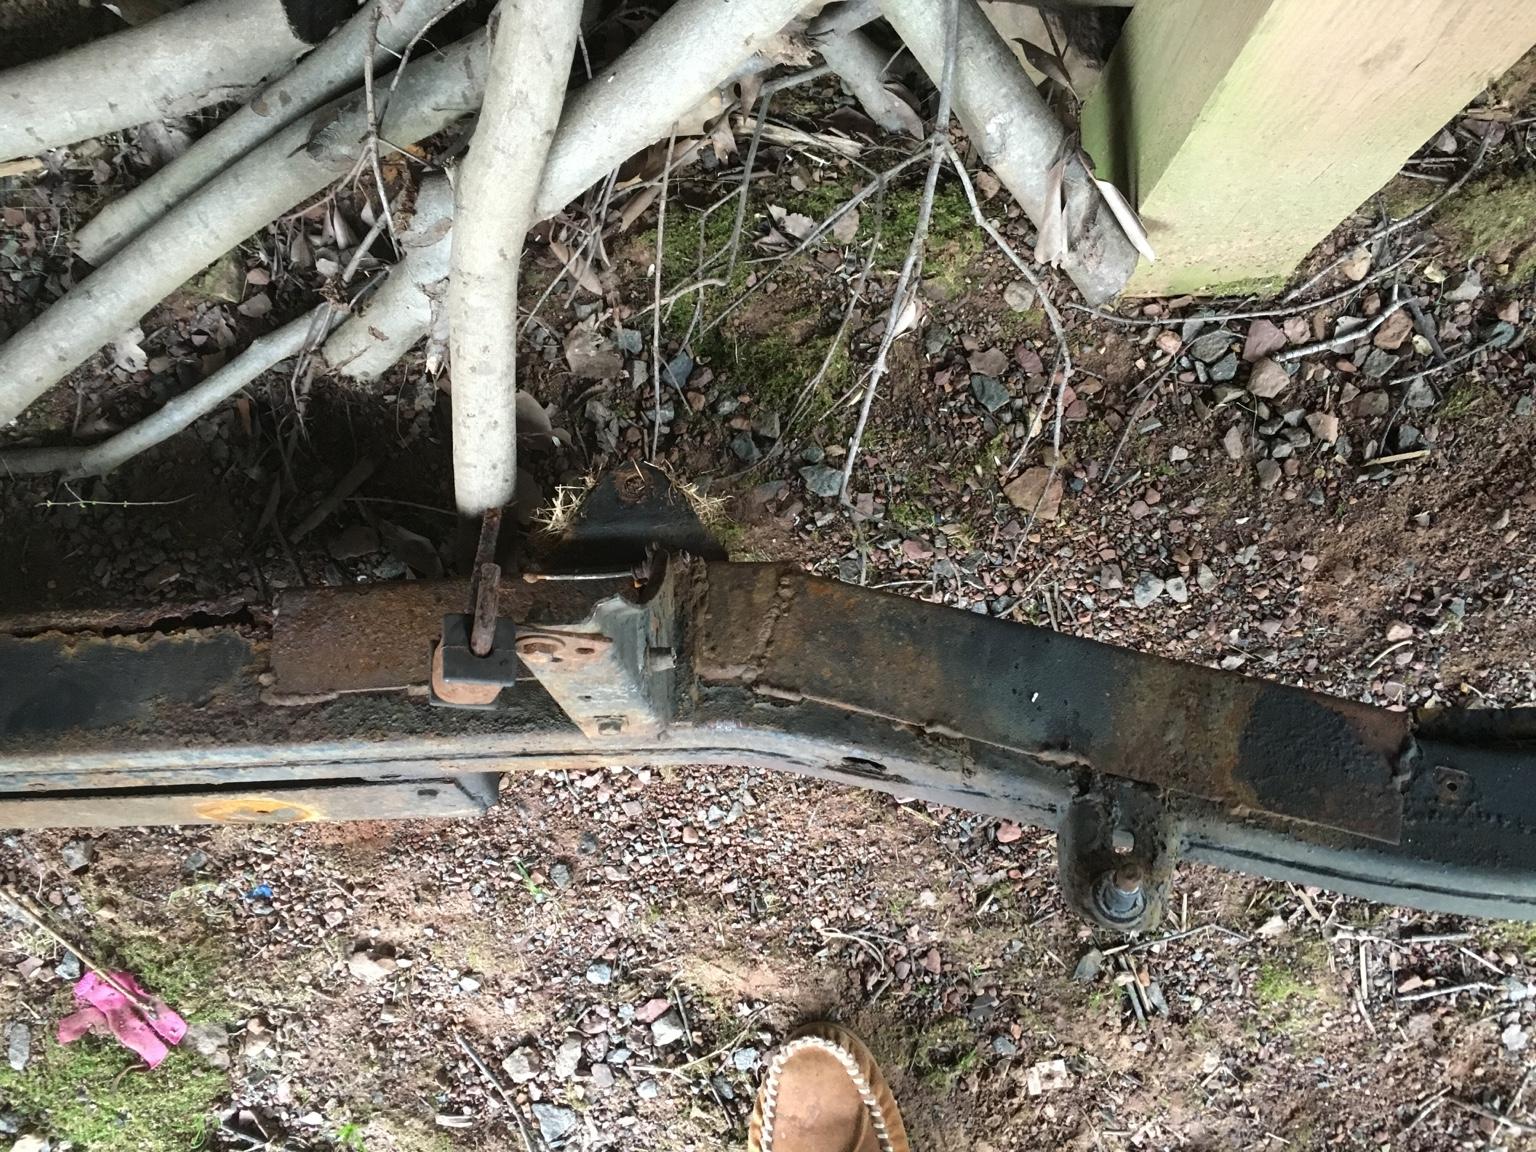
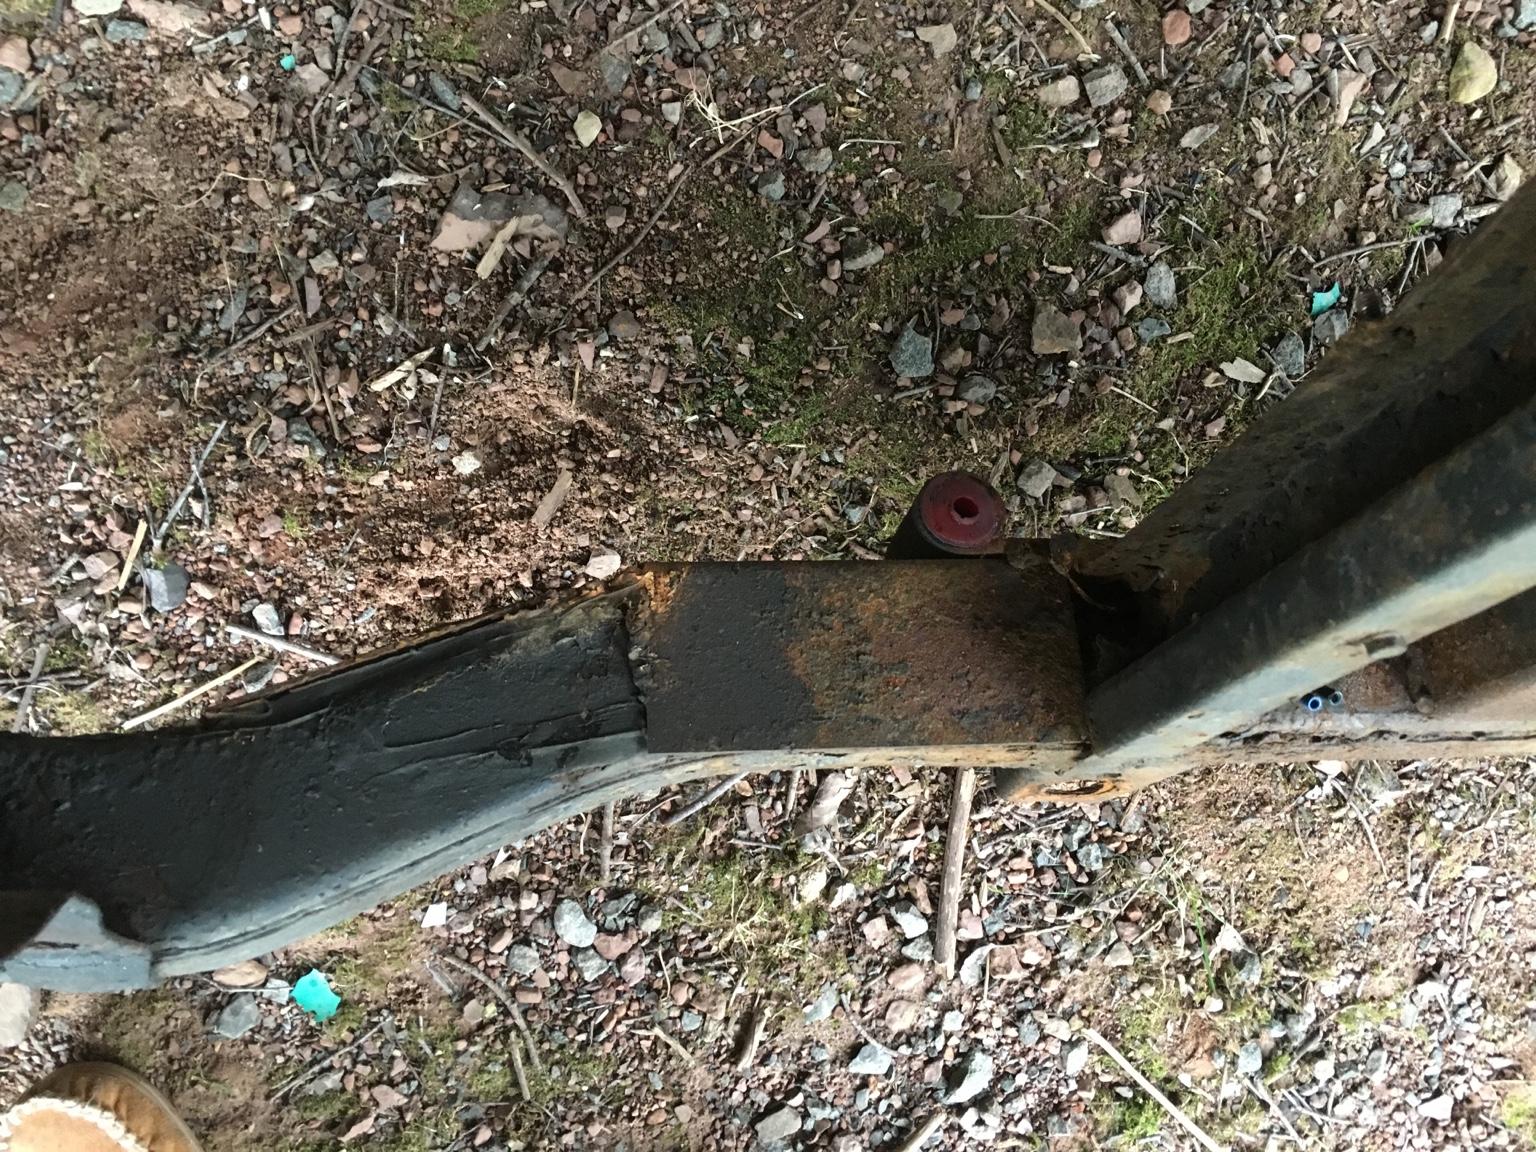
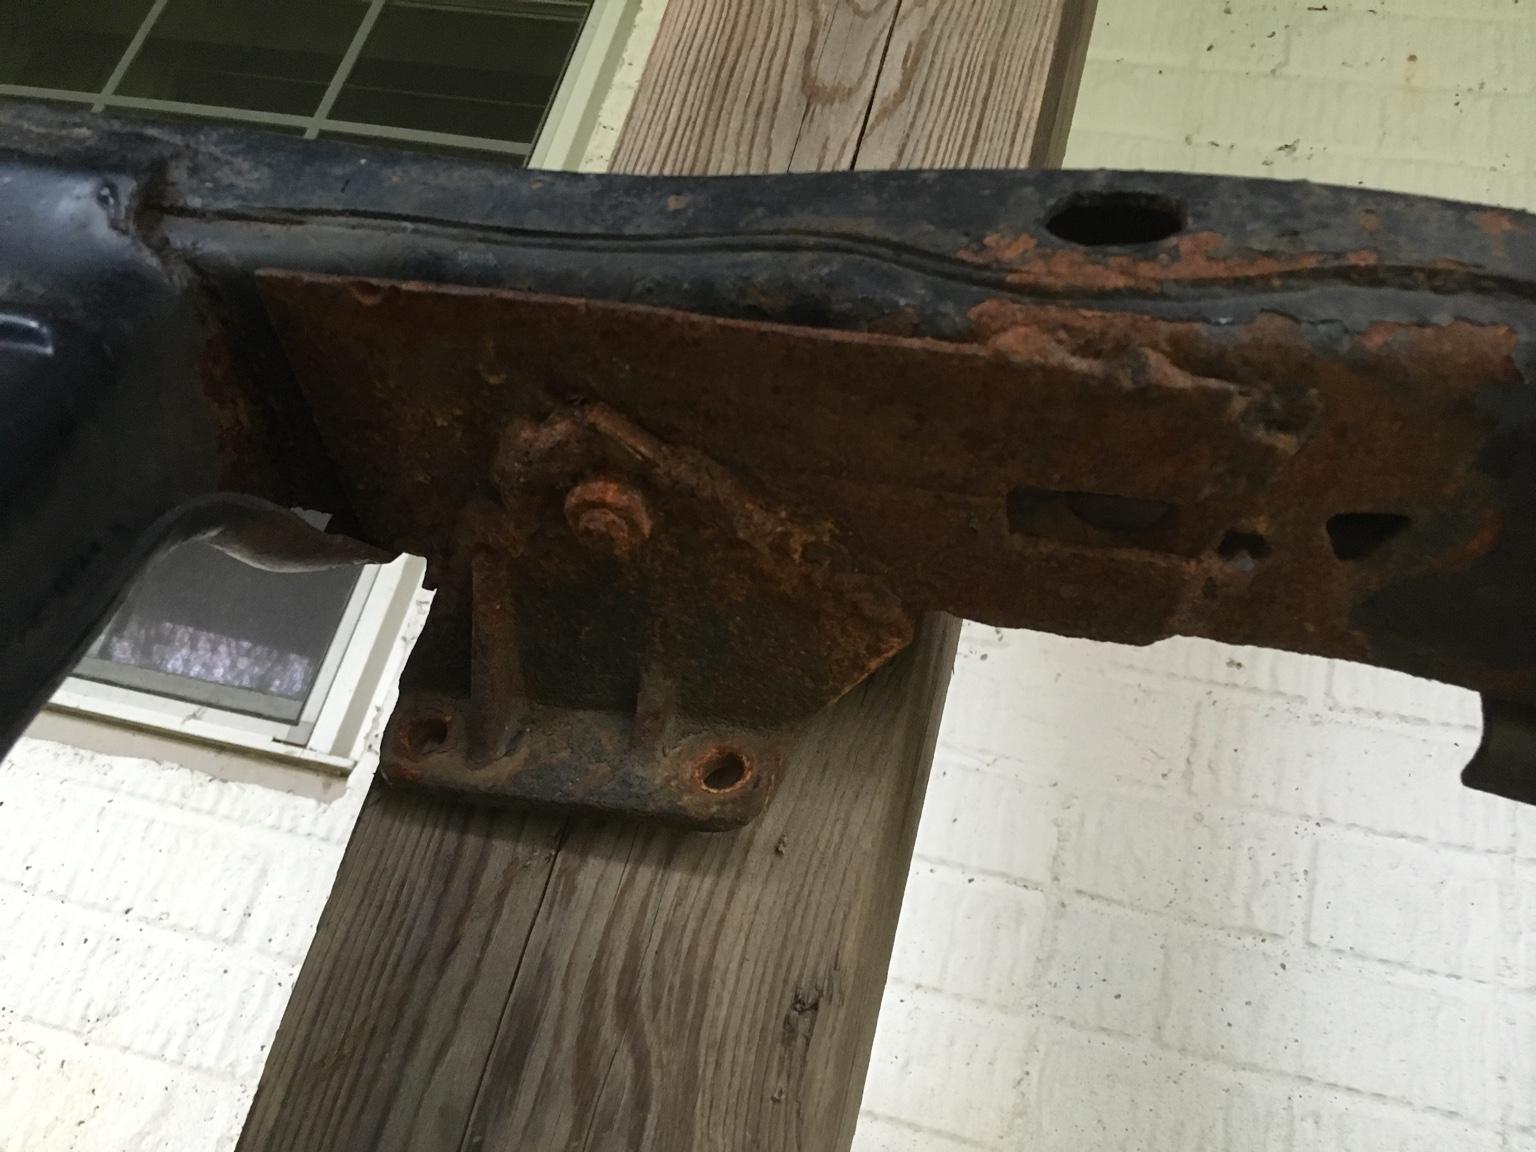
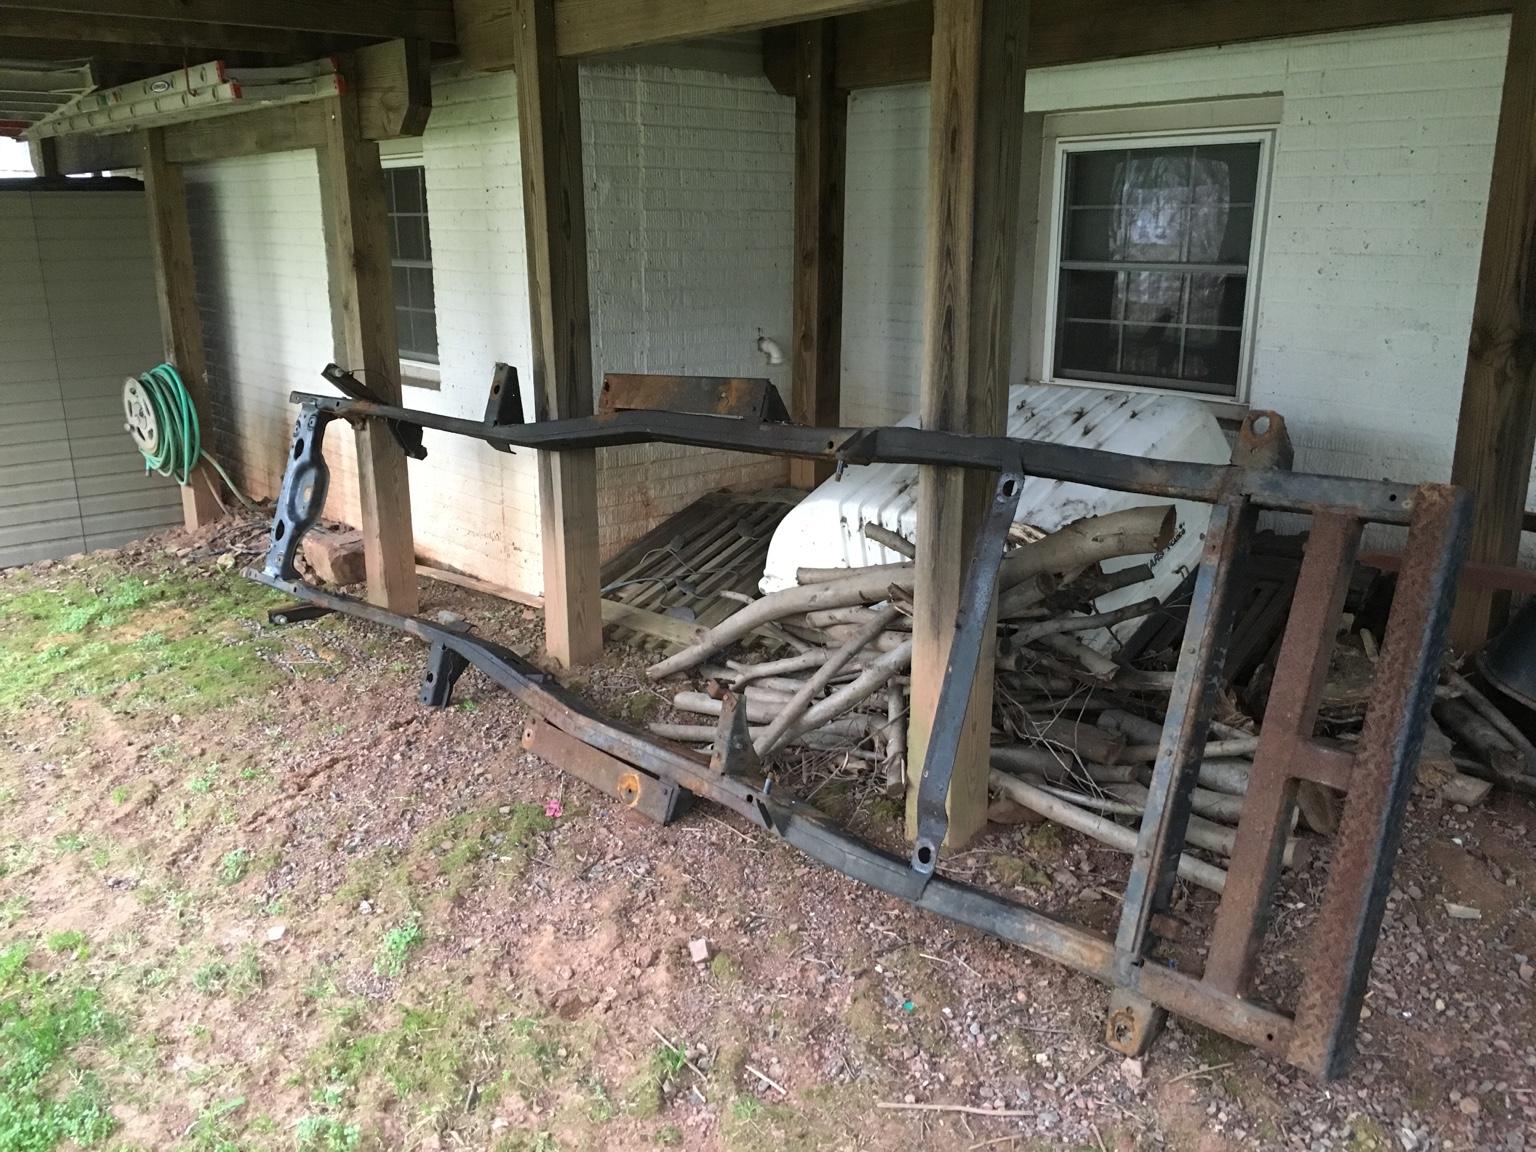
Out with the pups this morning taking a look at the old frame. Ugly. Patches on top of patches.

6e8afc7fd08b8e7ec41dbe0b8b884d34-1.jpg


4eb5fdc13900f53ce5981dfc0c1ba122-1.jpg


b758017d52caa8d124cec968e57c81e8-1.jpg


d590a14a7aff71765058f7aac4919c70-1.jpg


And my yard is starting to look like a Jeeper's yard
6d1b1cedf67950d95c89f503a6058955-1.jpg


5d51c6736f7e374a9481e5257960597f-1.jpg
 
Put it on craiglist someone might want it .. [emoji23]

Sent from my SM-N910P
 
Put it on craiglist someone might want it .. [emoji23]

Sent from my SM-N910P

The frame is actually already claimed. A friend and fellow CJ owner is coming to get it.

.
.
.

But don't worry. He is only using it for measurements. He is stretching a CJ 7 and wants to know exactly where to add to.
 
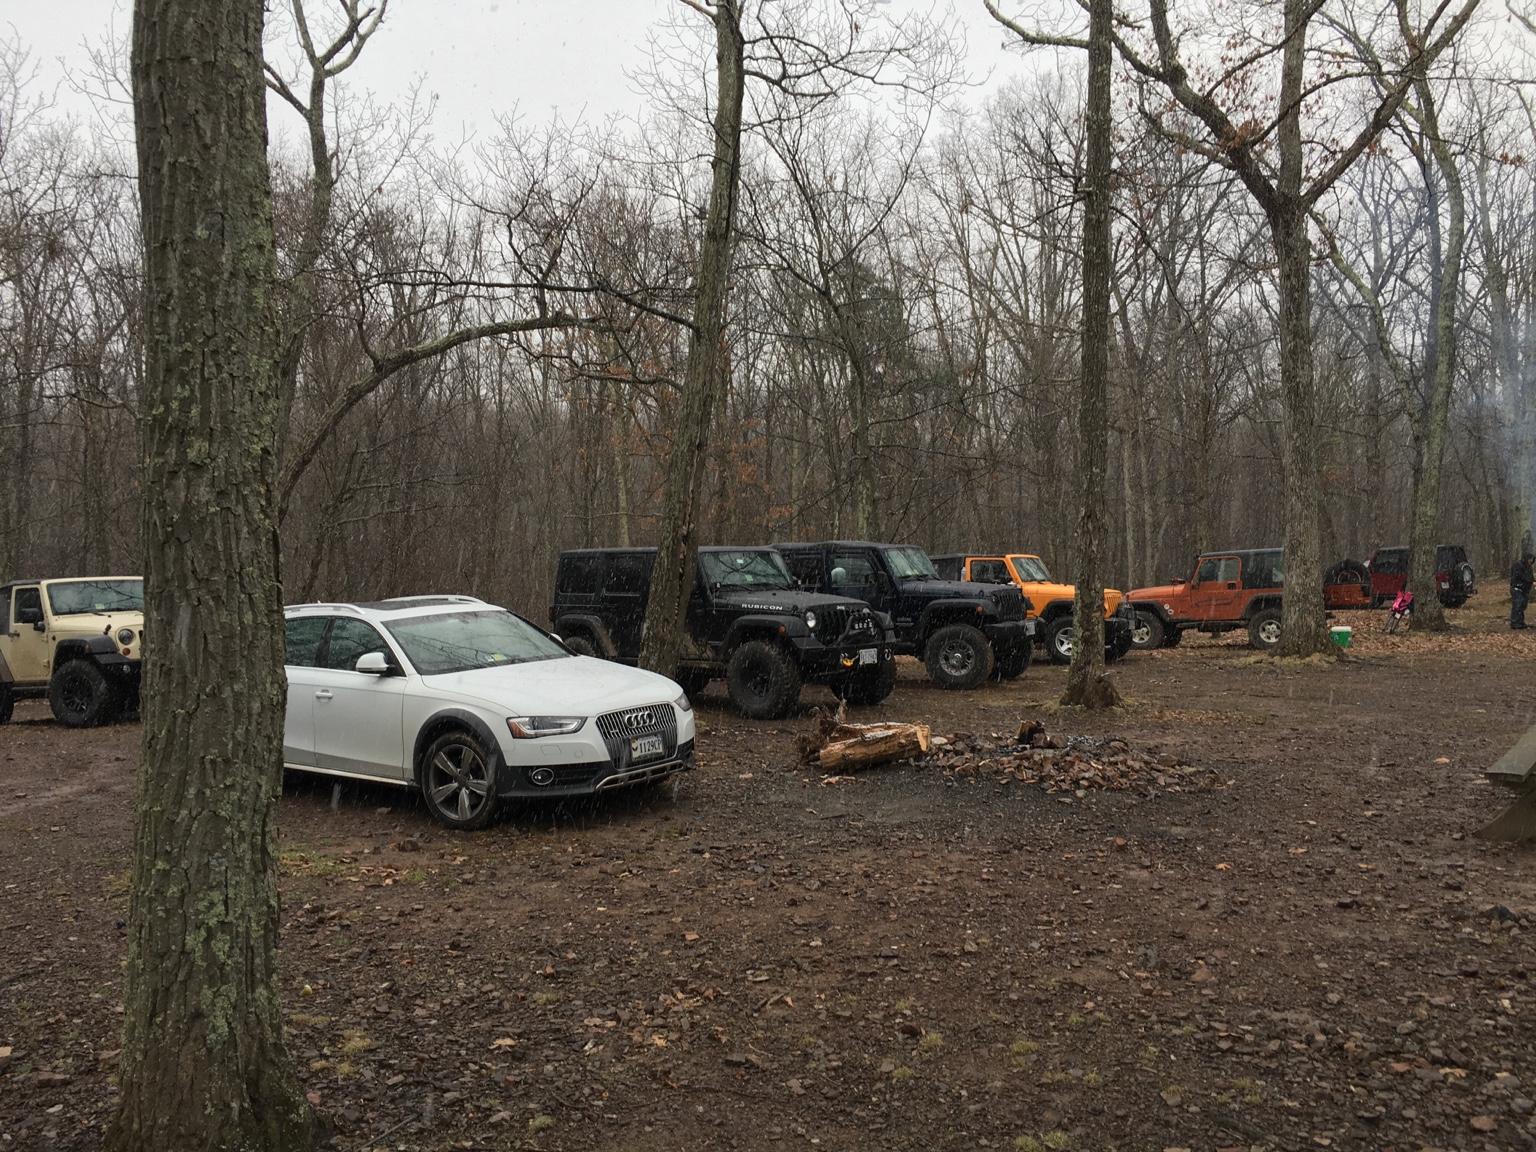
Unproductive weekend (unfortunately). I went wheeling with my local club yesterday.

f5229609a6b039ef6809e98ff1ca6112-1.jpg


See the white Audi wagon at the camp? That was me since the CJ was not ready.

So today I went out to the garage. I got the u-joint swapped out and went to install the drive shaft. Went onto the t-case fine. When I was bolting the other end to the axle, two of the four bolts snapped. So I took the drive shaft completely off and will have to see about removing those dumb little bolts now. There was mud/dirt in the holes. I scraped and blew some out. But not enough I guess. And paid the price. I like to give myself work.

I really need to work on this POS more this week but only at nights, unless I can see about getting a day off. Grrrr. So close and yet so far.

I also scraped off some paint on the frame where the neg battery cable is attached. Hopefully that helps my grounding. Not dealing with electrical today. Got family coming over in an hour. Had to stop and clean up. At least I got to have fun in someone else's Jeep (TJ) on the trail yesterday. In the snow even.
 
I have been running a tap through every single hole on my restoration before I attempt to run a bolt in it. It might seem time consuming but it actually saves me time.
 
I have been running a tap through every single hole on my restoration before I attempt to run a bolt in it. It might seem time consuming but it actually saves me time.

Yeah. Should have. Oh well.
 
I have been running a tap through every single hole on my restoration before I attempt to run a bolt in it. It might seem time consuming but it actually saves me time.

Best set of tools I own, tap and die set!
 
Back
Top