• Notice for iPhone users: DO NOT use the image size reduction option when uploading photos to the forum. This causes portrait images to post as landscape. We have added a warning to the image insert pop-up as well.

Retitled: 83 Scrambler resto-mod finally gaining momentum

amc 20 rear end unit

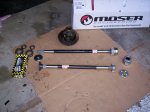
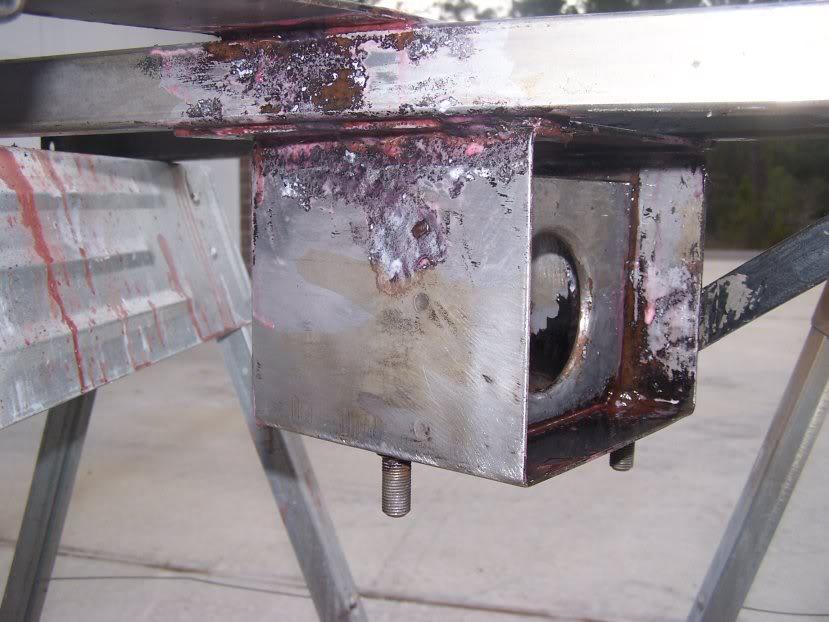
hi i have been building a full floater disk brake for my 1981 scrambler and i have done a lot of research on how strong it is before i started this build,,,,,, the amc unit is stronger than the dana 44 almost as good as the ford 9 inch,,,,,, with a little work they can be made to be better,,,,, take a look at the one i almost have ready to put under the cj8,,,,,,i built this so i can use the warn hub locks on the rear for towing behind my motor home,,,, but also went ahead with the disk brakes and also i can be used with the rock crusher solid locks which are very easy to change,,,,,, you might want to think about keeping the amc 20,,,, not a bad start,,,,,
 

Attachments

  • Picture 001.jpg
    Picture 001.jpg
    703.7 KB · Views: 108
  • Picture 002.jpg
    Picture 002.jpg
    704.4 KB · Views: 95
on the shaft side of the bearing cap there's a nice deep groove worn into that surface.. I think I get the general idea of what you're talking about, but would loctite hold a bearing race dealing with the torque/speeds, while immersed in gear oil? Wouldn't the face that the bearing race mates to have to be finished smooth?
I believe the Locktite works in oil. I wonder if there is room to put an extra shim outside the race to make up for the wear? The M20 rear uses shims outside the bearings...just a thought. Either way, peening the surface is probably your best bet. Or a different axle...:banghead:
 
That is one nice lookin' AMC 20!!! :cool:

Do you have a build up post on it?

As for the current problem. I agree. Peen the surface of the bearing cap and embossment, and use the locktight (clean it all with brake cleaner first) if its the axle housing.
replace the carrier if its that and all should be good. Then reassemble it and run it.
I'd look for a new housing though if the housing is whats messed up, if you spin a bearing again, the housing will be toast without major work.

Got any recent pix?

Sure was a nice looking CJ-7 you sold.
 
Last edited:
scrambler 228... that's a nice looking 20, but that's also exactly illustrative of my problem: I'm not capable of fab work, and certainly not to a skill like yours. I'm at best a shade tree wrench turner, and I have to count on swaps and kits that fall into the near-bolt on category, and occassionally throwing a little money at it to overcome my own skills (or lack thereof), although I've done nearly all the work myself.

Randy/Orionn.. it is the axle housing, and in the end, I'm working to buy myself some insurance and acquiring another D44 from a forum member here..

No current pics, mostly because of no current progress.. that said, my frau is flying home with my son to spend a month with her family so, I'll have some "free time" in FEB to try and make some progress.. trying to start lining up some parts/projects to get going while she's gone.
 
let's make this February a productive one

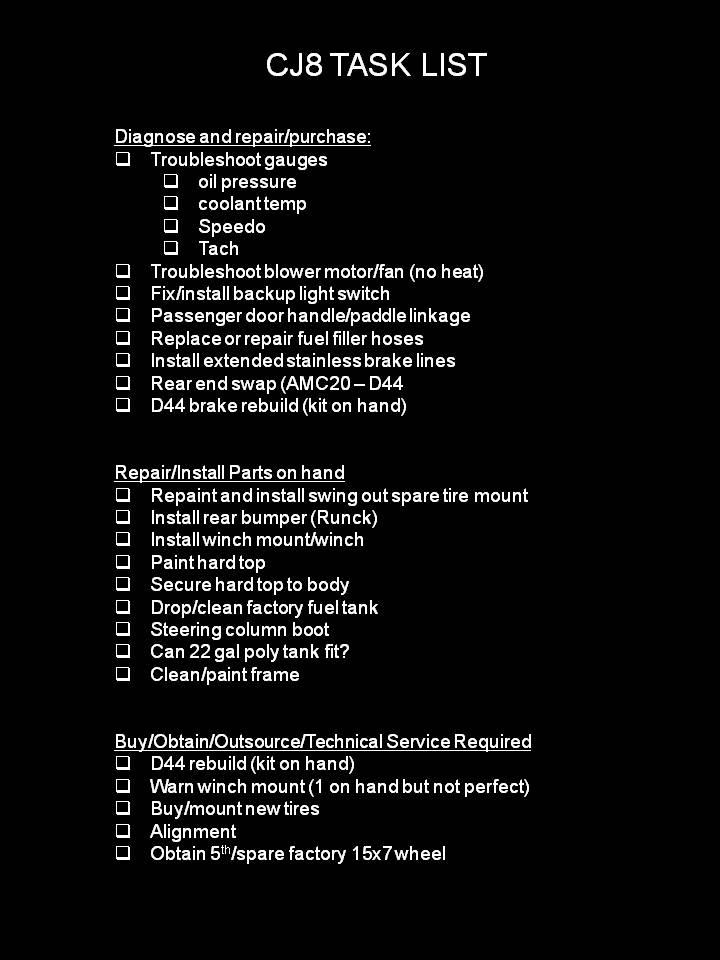
as stated in last post, wifey took son home to the UK to spend some time with the family so I'm playing geographic bachelor for a bit, going to try and get some "stuff" done.. compiled some notes while I was sitting in a meeting and not paying attention:
20110202Jeeptasklist-1.jpg


like a good staff officer, I made it in powerpoint, then slide saved as a jpg ;)

there will (no doubt) be tasks that nearly double this list, but it's a start point!

I have been thinking of posting a running list of things in the "wanted" ads, so I maybe save myslef a few ours of surfing CL every day for things that never appear (1 x white wagon wheel being one of them)..
 
started on project last weekend

internet classifieds are turning out to be lessons in "caveat emptor" for me..

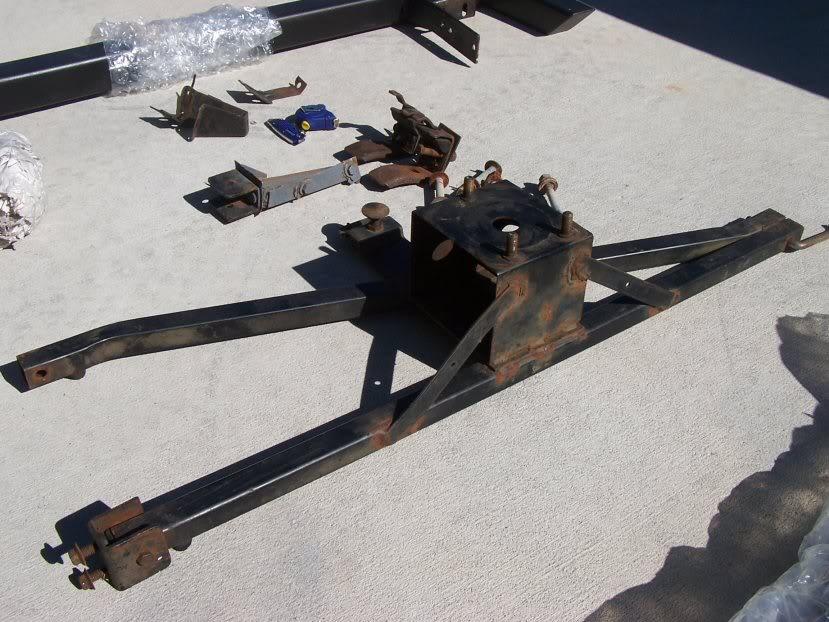
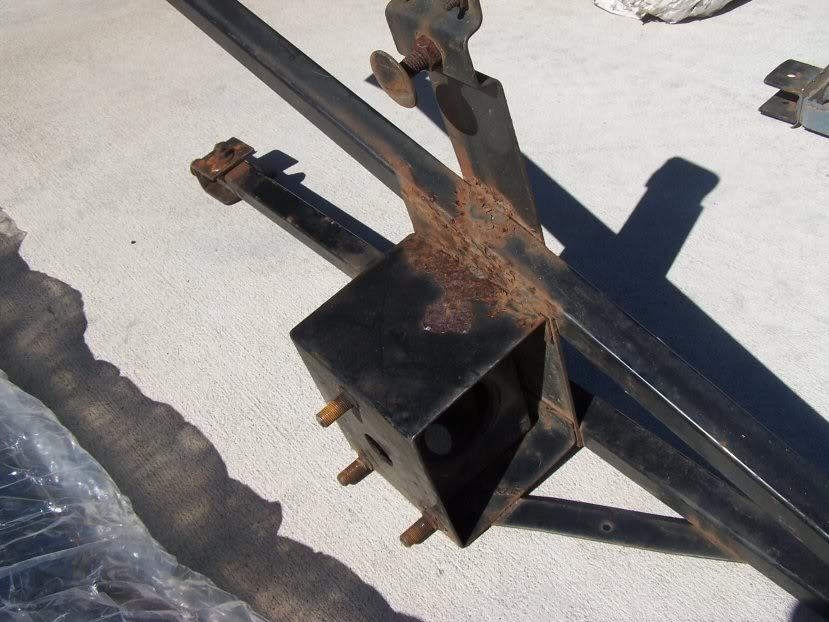
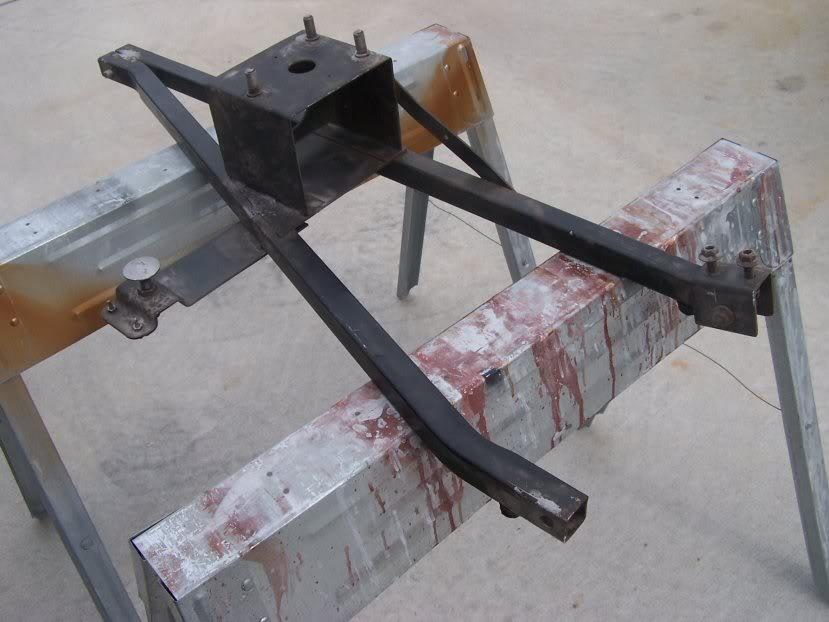
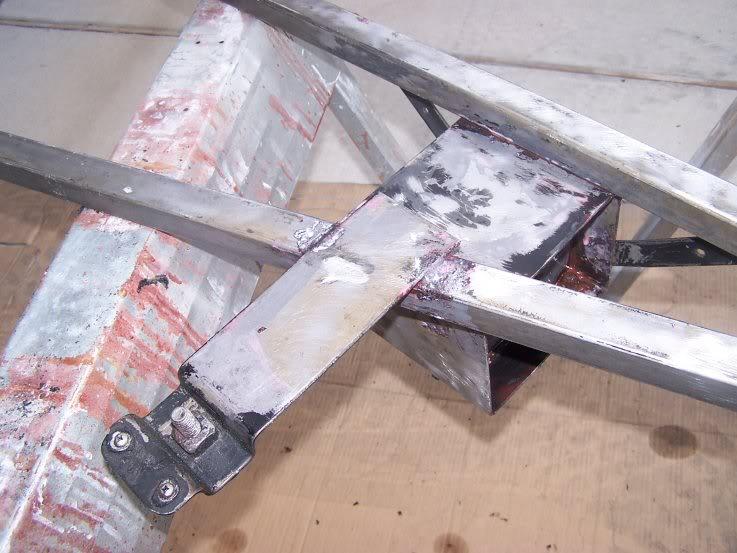
among things I recently purchased was a factory swing out carrier, advertised as "nice".. I guess "nice" is relative, but the seller has been a good egg so far so, we'll see what happens.. in any event, I received this (with some healthy rust/scales on it), and the brackets to mount it:
01carrierondelivery-1.jpg

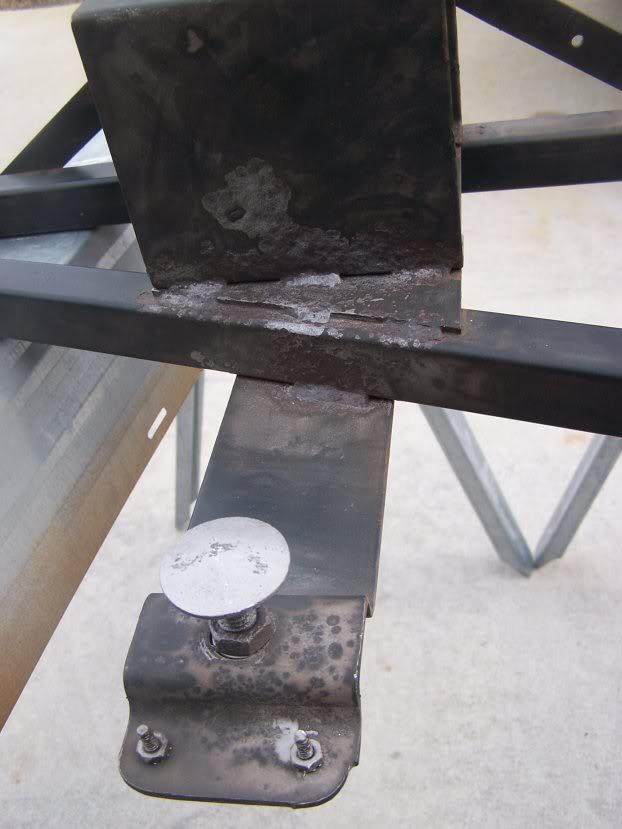
02carrierrustondelivery-1.jpg
 
after an hour of sandblasting...

I did get some/alot of the scale off of it, but I think the blast media was worn out

03aftersandblasting-1.jpg


04aftersandblasting-1.jpg


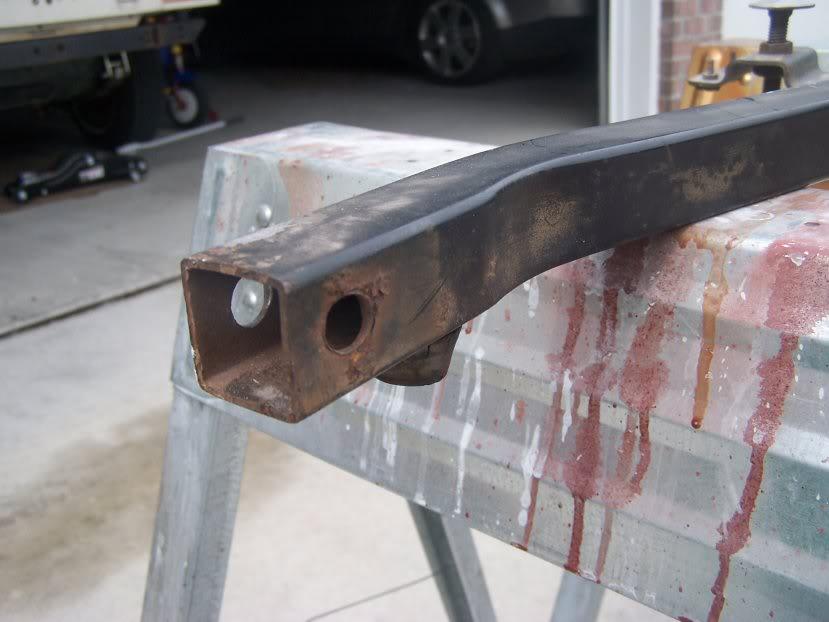
and the blaster cabinet is big, but the size of the carrier proved difficult to manipulate inside it so, I ended up with corners and seams that I just couldn't get to

05aftersandblasting-1.jpg


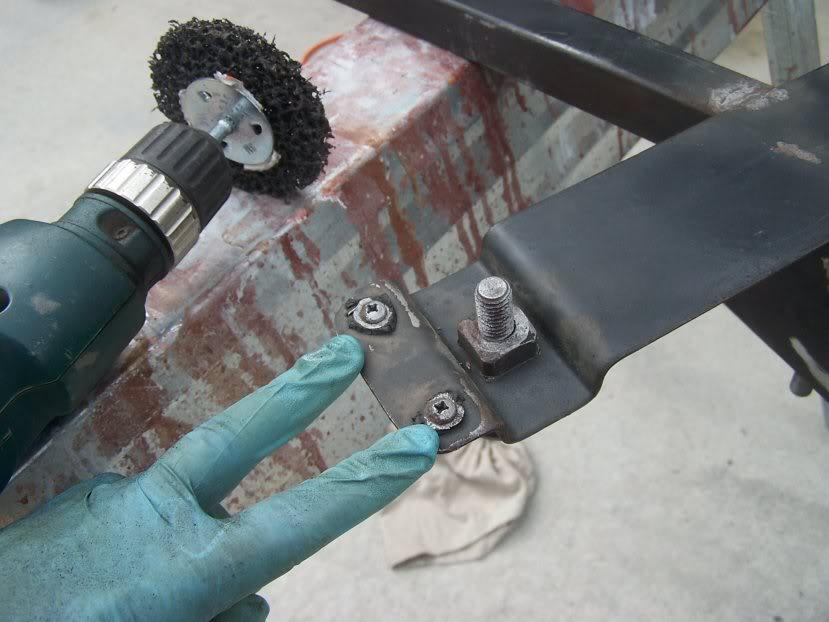
does anyone know what these two screws once held on?
06whatarethesetwoscrewheadsfor-1.jpg
 
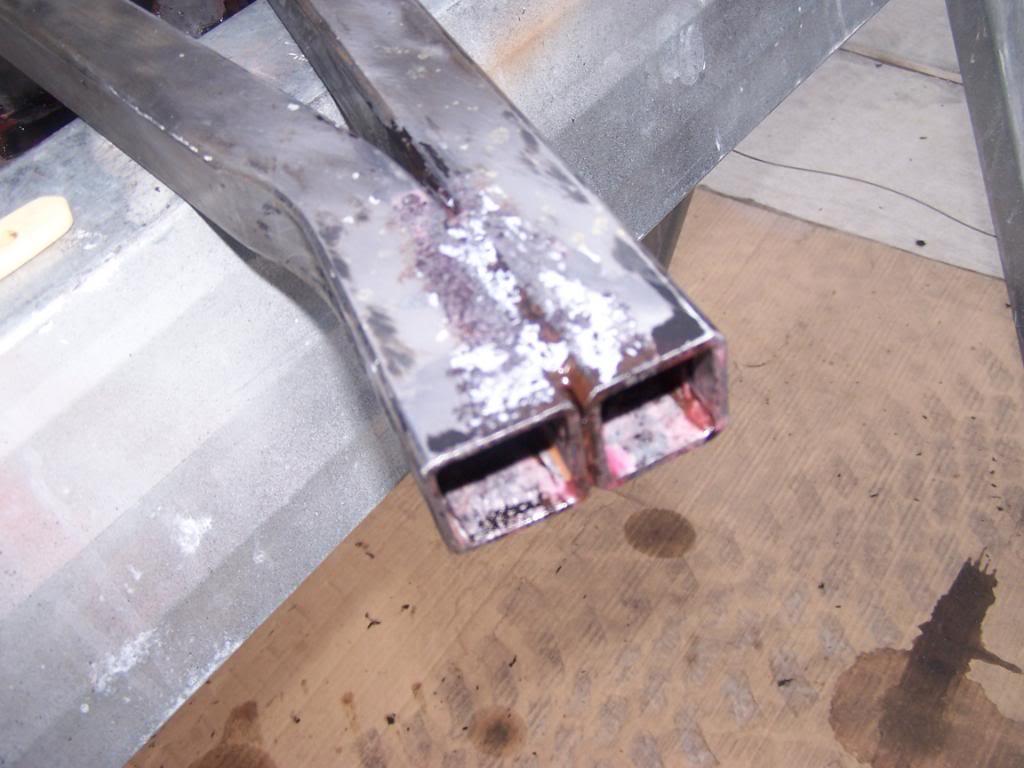
paint stripping and grinding

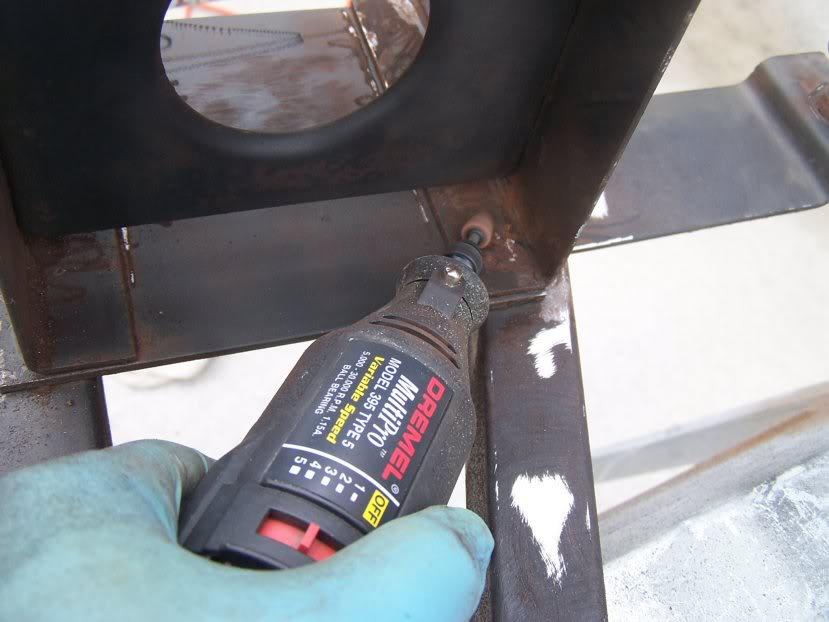
after unsat results form the blast, I turned to mechanical means with a 3M drill bit (above pic) and my (rarely used, but occassionally very handy) dremel tool. I bought that black and decker corded power drill years ago from Wally world to do a tub strip for Herculiner, considering it "disposable"... it's been perfect the whole time.

07dremelforthetightspots-1.jpg


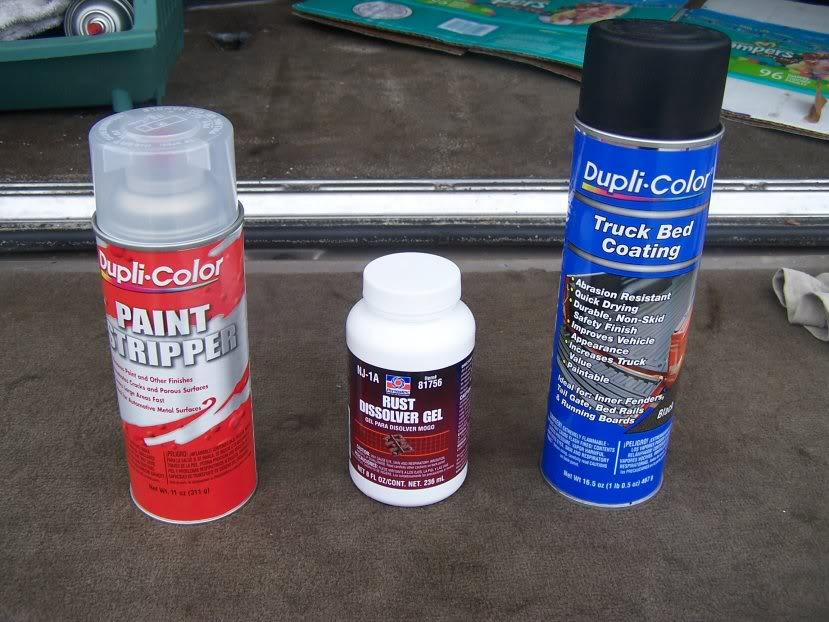
after tiring of manual methods, I commited to the SpankJrs method and sought some chemical relief:
08stripperandrusttreatment-1.jpg


the Runck bumper I just bought came coated in the Duplicolor bed liner and it looks pretty sharp, so I figured I"d make the carrier match it
 
chemicals is messy

I was wary of the chemical method as it can be messy (both the results and trying to actually remove the stripper before paint).. but it is, no doubt, much faster..

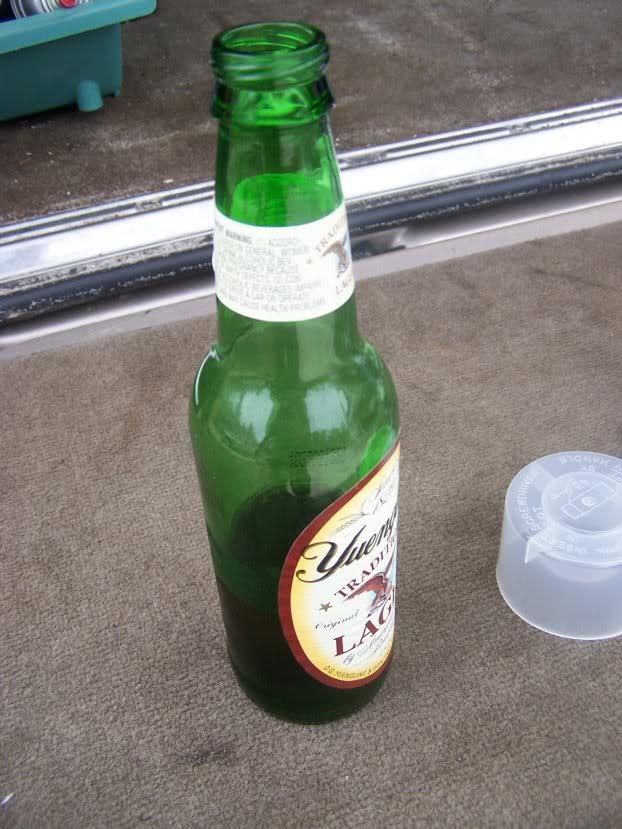
I only got THIS far through my beer waiting for the paint stripper to work
09whattodowithyour20minuteswaiting-1.jpg


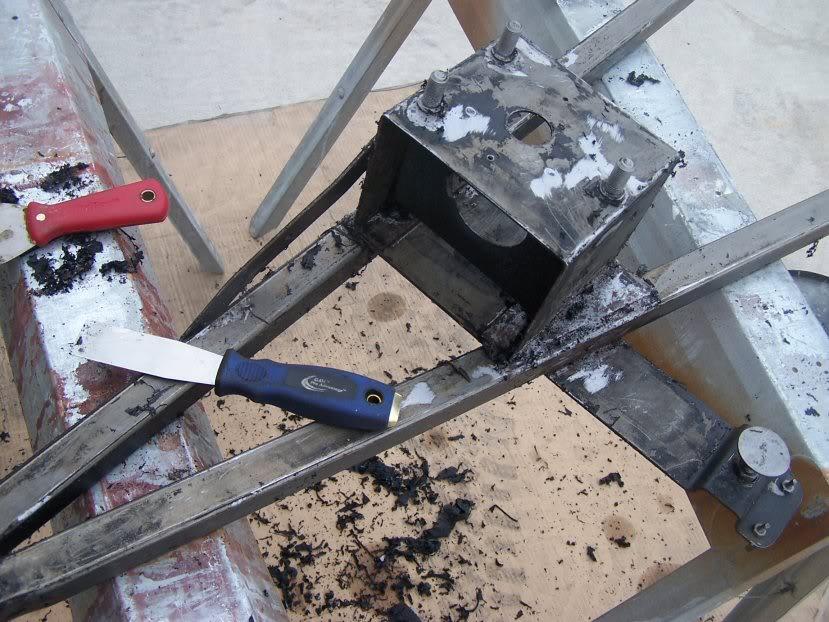
used a hand scraper to remove the results.. may have been easier if I'd took the time to drink the whole beer, or two, before I started scraping, as some of the paint had just turned tacky, not stripped
10scrapingstrippedpaintoff-1.jpg
 
the stripper results

a few more shots and you can see some of the pitting left and the pink jelly from the rust remover gel, I may do some more prior to painting, as the unit has now sat in my garage since Saturday and has some "flash" rust on it..

13rusttreated-1.jpg

14rusttreated-1.jpg

15rusttreated-1.jpg


unfortunately we've been hit by this cold front (even in FLA) and it's too cool in my garage to really paint right now, fingers crossed for somethign warmer/more humid this weekend
 
Those screws held rubber bumpers that contacted the tailgate.
 
I should've known.. now that you say that I can distinctly remember the two "impressions" in my CJ7 tailgate before I sold it.. that's one thing I'm really going to miss about my CJ7.. it was nice having a full size reference sitting in the next garage stall!

Those screws held rubber bumpers that contacted the tailgate.
 
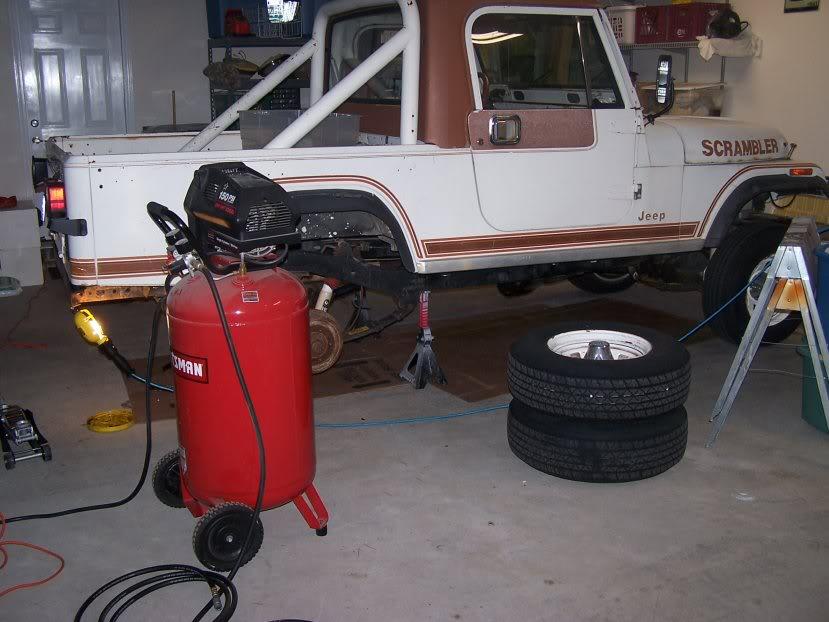
last night

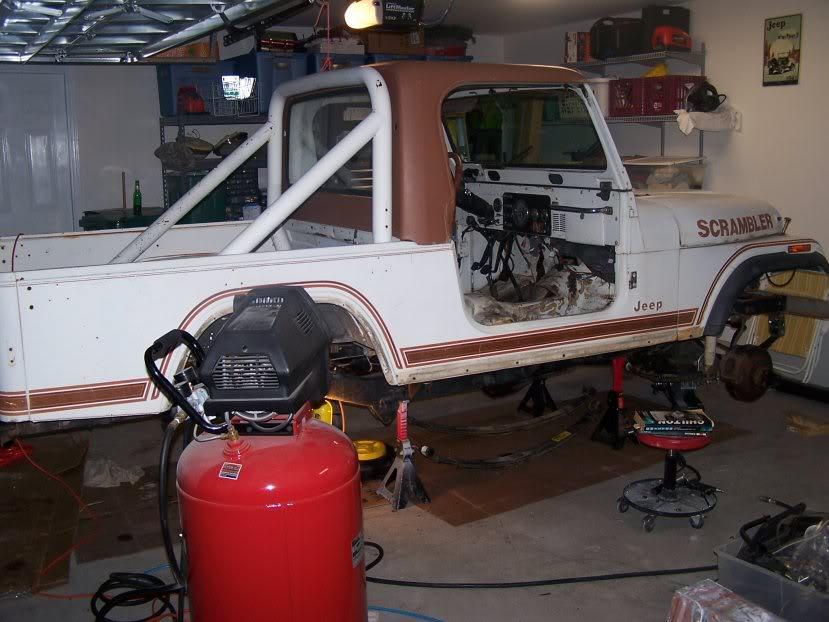
started doing some disassembly in anticipation of getting an axle here soon, and of getting access to the frame rails to do some cleanup and touchup paint..

don't often use this thing (compressor), but decided to air it up for this job.. in the end, I'm probably going to sell this because I use it so little
20110204gottheacout-1.jpg


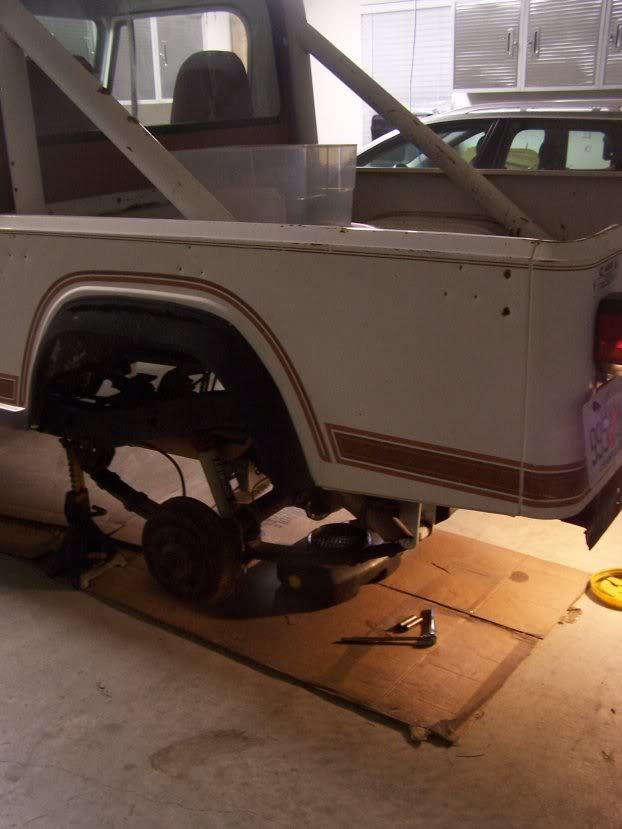
got the truck up on stands
20110204wheelsoff2-1.jpg


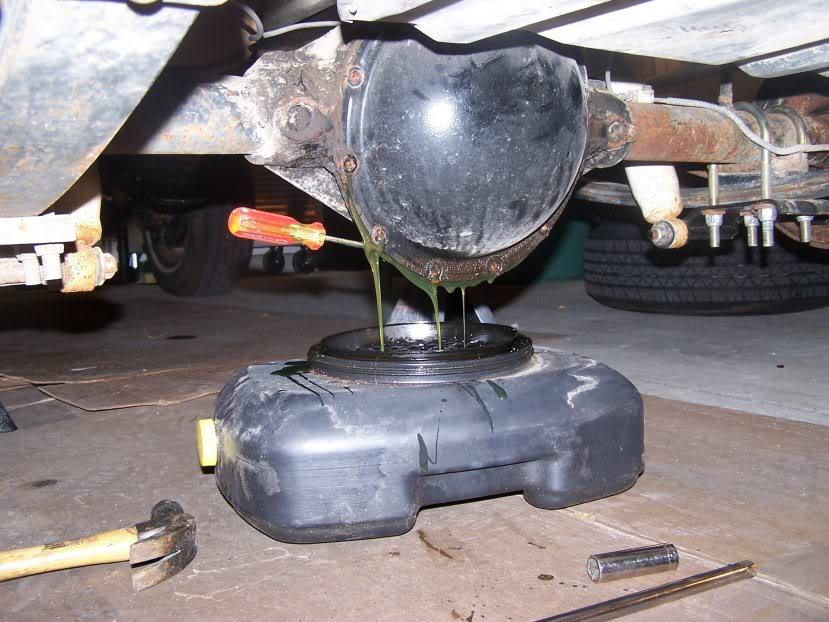
drained the diff.. I was surpised to find NO shavings or bit in here as the self-diagnosis on my rear end was a bad pinion seal/bearing, and i figured I'd have alot of bad meshing.. if all goes well with my D44 swap, I'll be selling this (cheap) locally, or trying to, so I'll post something on here first to see if anyone needs parts
20110204drainaxle-1.jpg
 
more disassembly

can anyone verify this?
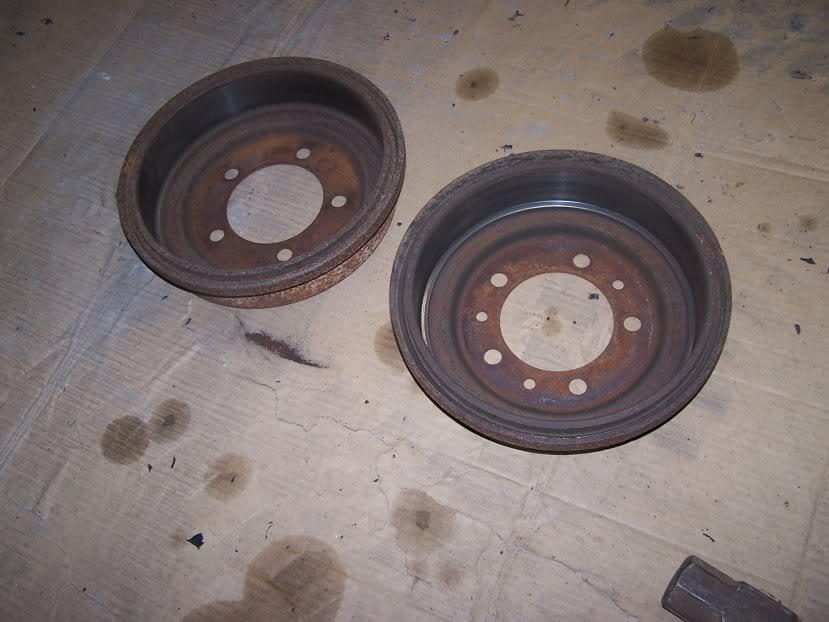
I THINK/BELIEVE, but am not 100% sure yet, that the drums are interchangeable with the D44.. I already have the new hardware rebuild kit (which is different), and have pulled the wheel cylinders (which I think are also interchangeable based on catalog part numbers).. I just rebuilt the entire brakes on this a year ago, and there's been hardly any miles since then, so trying to xfer as much as possible to the incoming axle (which has no brakes on it)
20110204workonD44-1.jpg


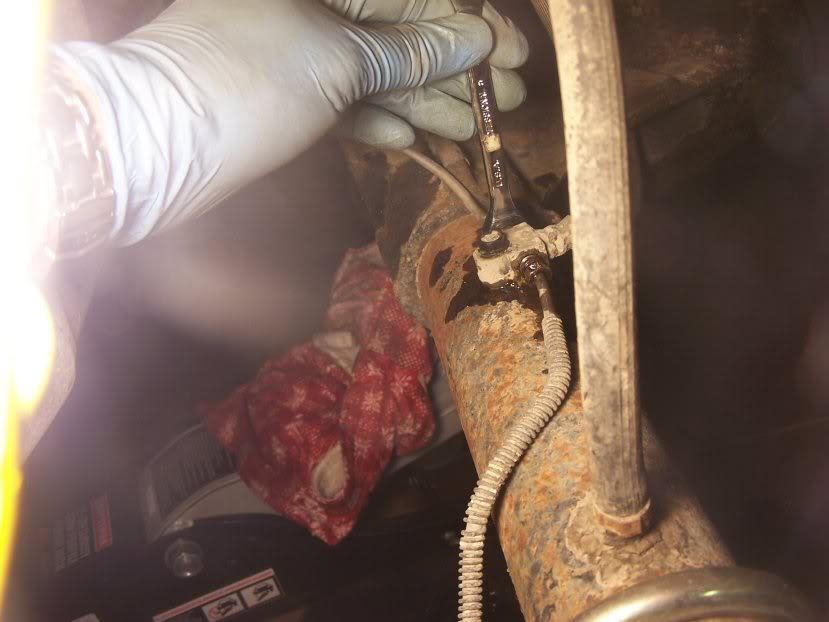
disconnect brake line splitter at axle.. I'll replace the actual hose with a set of braided stainless from Russell for CJs with lifts (thanks to a Polarfire CL link.. 50% off retail!)
20110204disconectbrakelines-1.jpg


just cut this hose at the base.. doesn't look like it was working too well anyway :huh:
20110204disconnectbreatherline-1.jpg
 
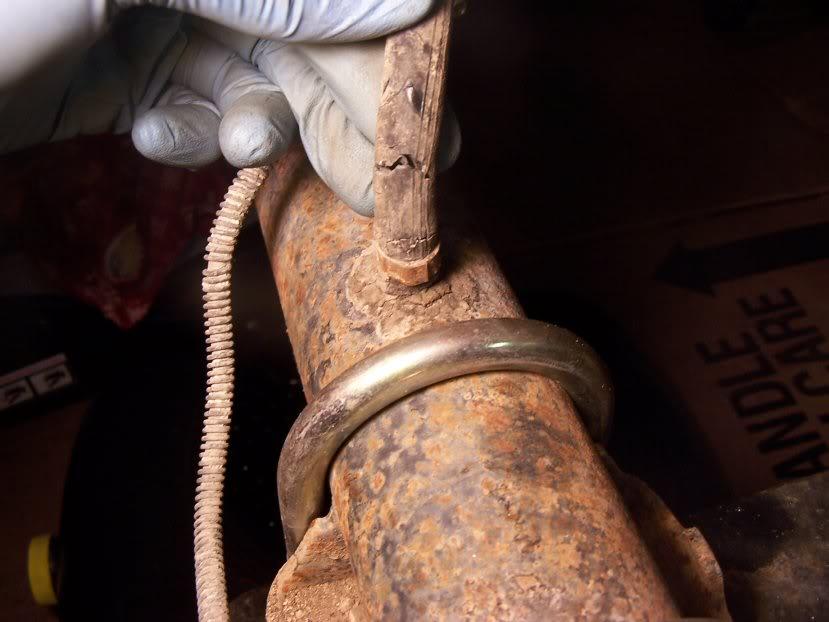
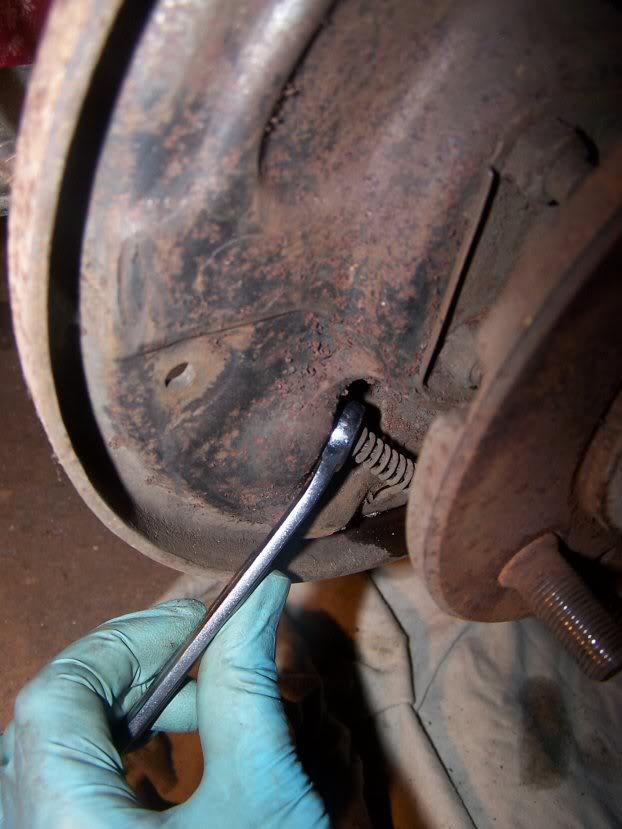
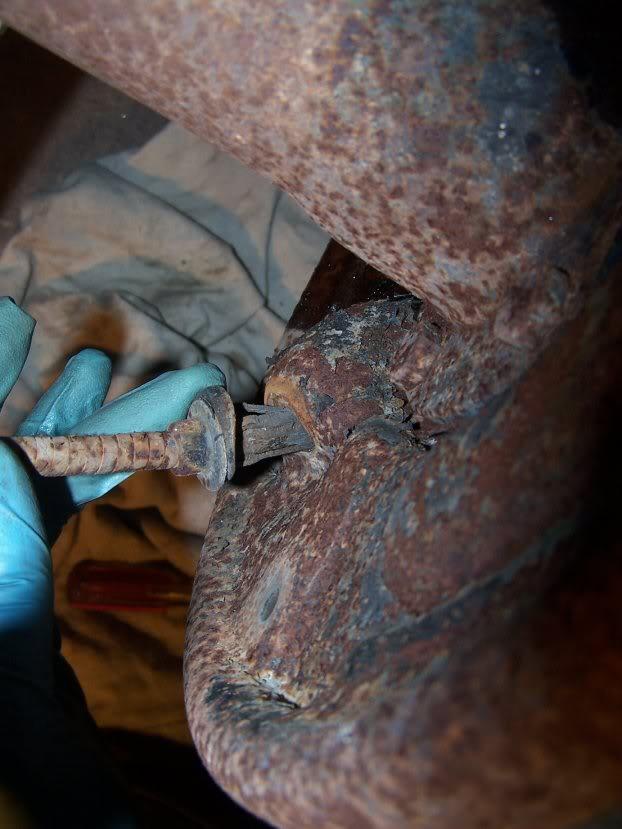
a little trick

to get the e-brake cables free from the backing plate.. they have a metallic "flower" that holds them tight/snug against the back plate.. I used a 1/2 inch box end wrench, which I sort of tapped into place to compress the metal spines/leaves of that "flower"
20110204ebrakedisconnecttrick1-1.jpg


and then I could just pull the ends through the backing plate from the other side... worked much easier than I expected to get this old rusty hardware apart
20110204ebrakedisconnecttrick2-1.jpg


the hardware all looks like sh-t under the hard light of the camera flash.. makes me want to strip all the lines out and order new ones, but they were working fine.. will have to check costs on that

also removed the u-bolts (and found that my DS spring plate had a stripped shock mount to it ..grrr) so that's one more part to order, no pics of that
 
Last edited:
got a bug up my a++ today

and decided to NOT stop at taking out the fuel tank, and figured I'd start disassembling the whole thing..

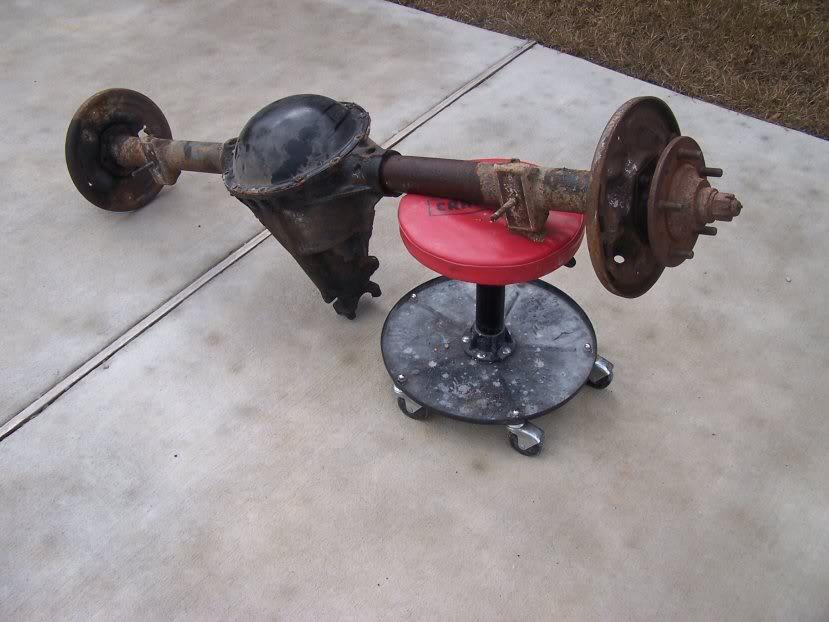
moving heavy objects as a one-man show, sometimes you have to improvise:
20110206stoolasdolly-1.jpg


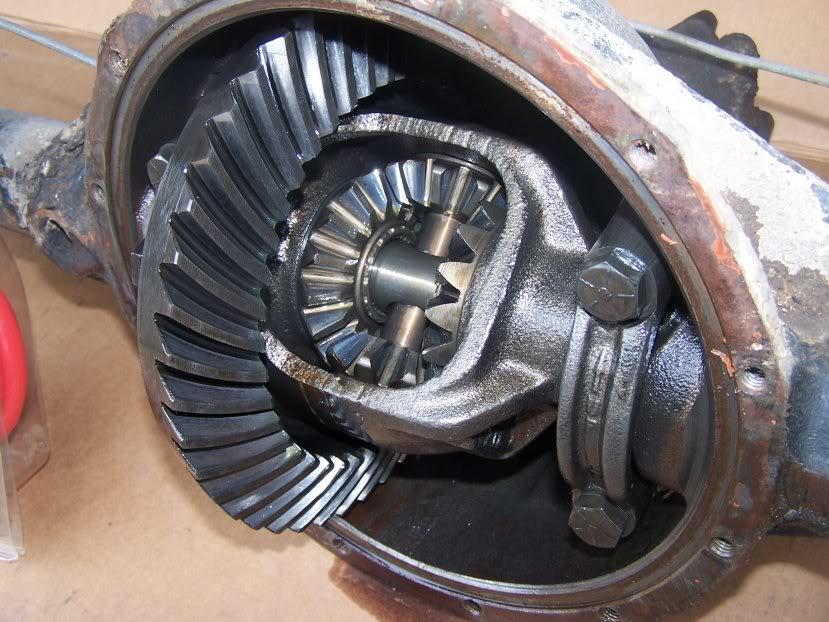
despite how bad my rear-end vibration was, looks like the ring gear and spider gears were all in very good shape.. it's kind of odd to see how much crust/patina was on the outside of the axle but for all the age/wear and tear, the inside looks like new.
20110206amc20gears-1.jpg


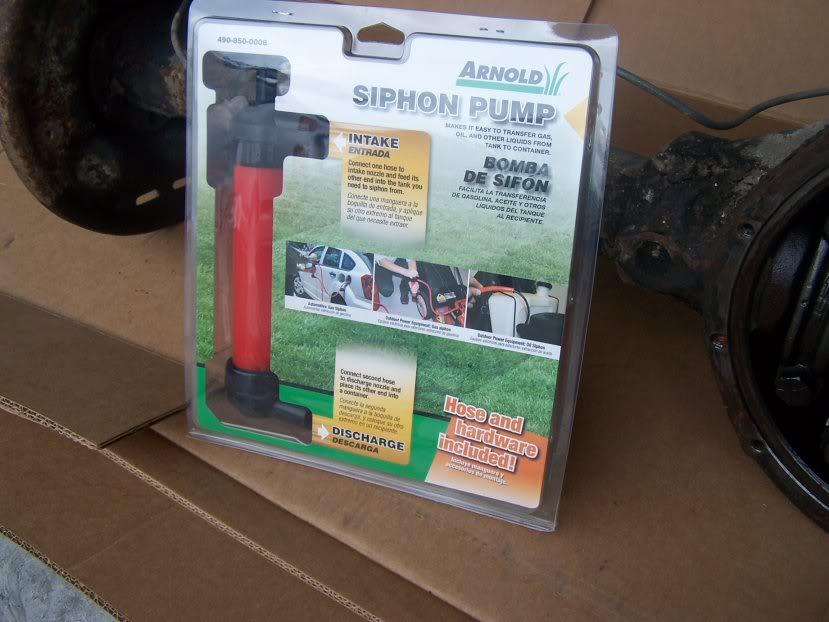
bought this kit (on sale, woohoo for good timing) at Lowes last night to siphon off the tank.. I can tell you it's tricky to tell if you've got enough out of it before you drop it, and since gas weighs about 8 pounds a gallon, it's in your interest to get it pretty empty before you try the balancing trick on a floor jack
20110206siphonkit-1.jpg


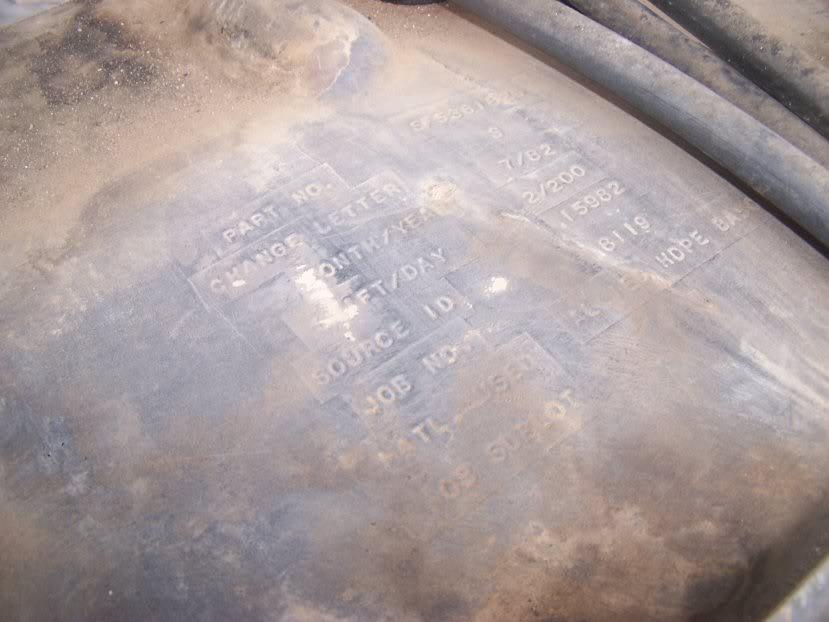
dropped the fuel tank, dusted off the top and thought it was kind of cool to "uncover" some orignal manufacturing data..
20110206tanklabel-1.jpg


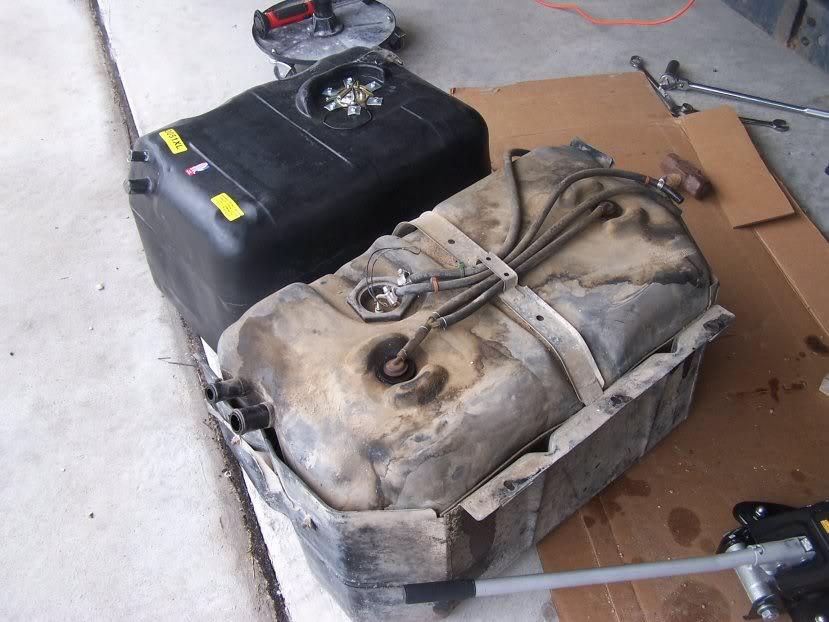
so.. I have my hands on a 22 gallon aftermarket tank (the new one in this pic).. riddle me this, why does it appear to be about 50% smaller than the factory small tank?
20110206comparingsizes-1.jpg
 
Last edited:
there's something very gratifying about..

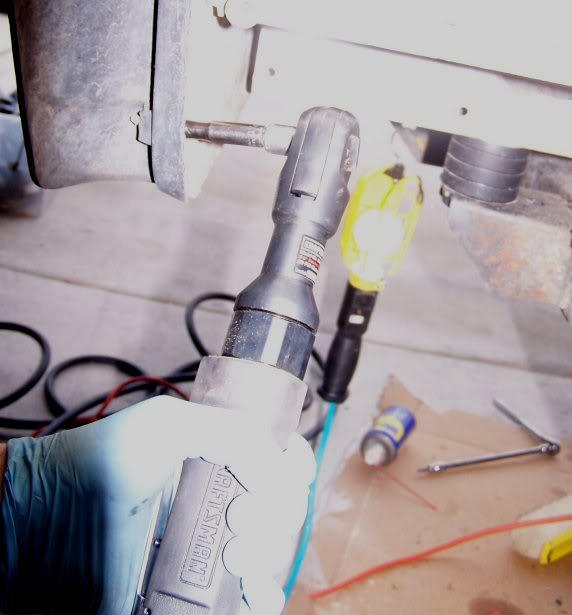
...working with helpful tools.. used my air ratchet and impact wrench most of today
20110206airratchet-1.jpg


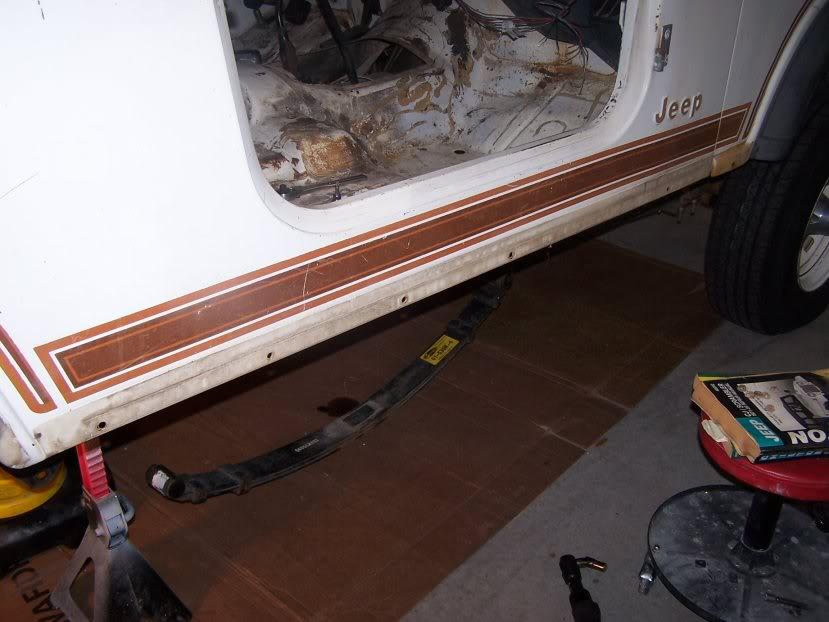
been fortunate to find little to no rust under anything I'm taking off.. here's the orignal rocker guards
20110205allgoodunderrockerstrip-1.jpg


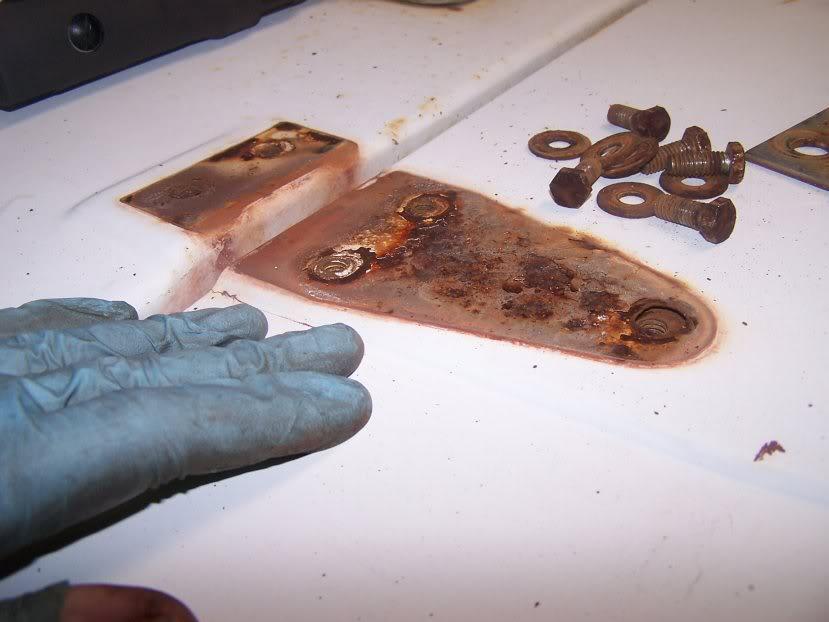
the hood hinges were the worst part.. same as the resto I did on my CJ7.. really flaky under there
20110206rustunderhinges-1.jpg
 
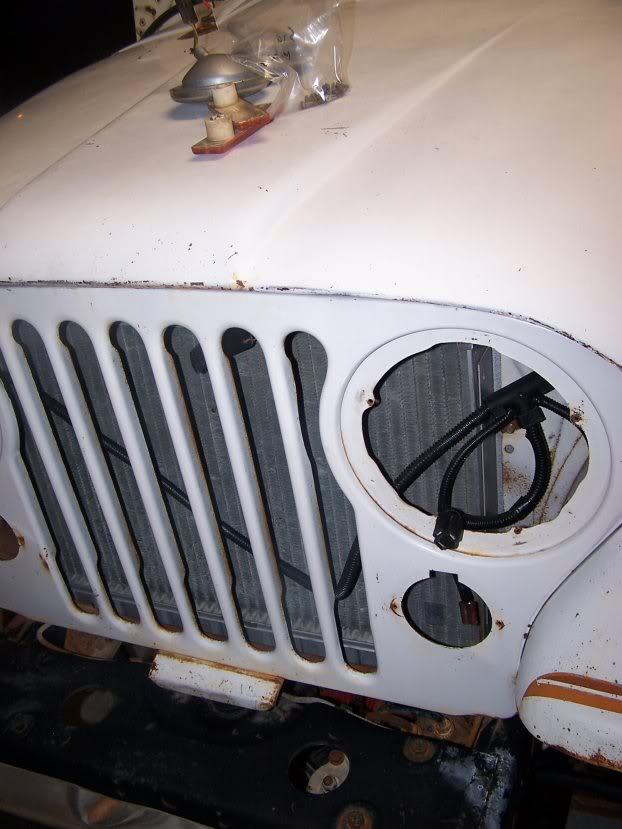
tearing it down

got the roll bar and top disconnected, just need a spare hand to lift them off.. took out seats, belts, and a bunch of other random stuff.. it's actually pretty fun tearing them apart, like an adult lego set
20110206wheelsoff-1.jpg


20110206moredisassembly-1.jpg


got my little corner of parts collecting in the corner... feel like Stacey David, except I'm not throwing them across the floor
20110206stackingpartsinthecorner-1.jpg
 
Last edited:
question for you

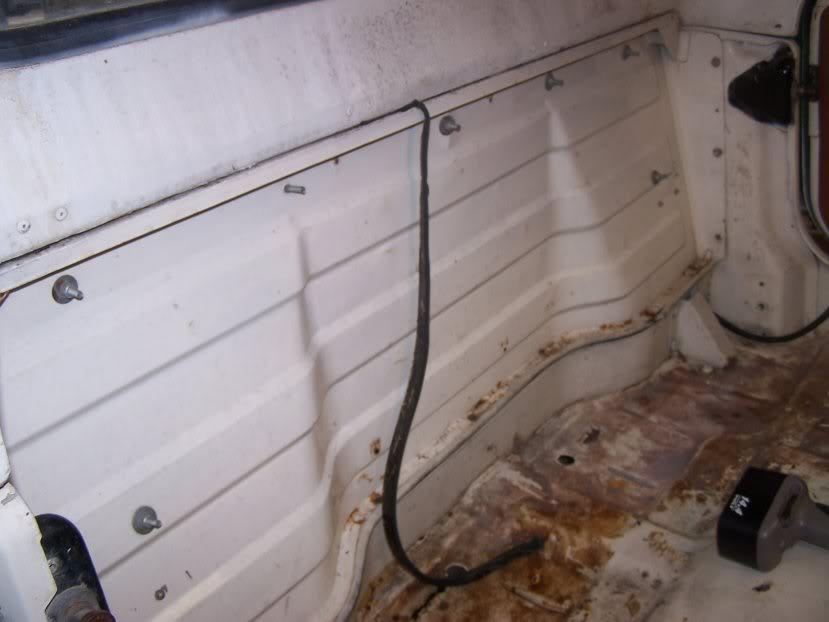
does your bulkhead have all these bolts coming through? I had a series of farmer-Bob mods to this truck when I bought it, just wondering if these are original or not? i've got 7 or 8 of them with flat heads on the back side but nothing attached them on the front

20110206boltsonbulkhead-1.jpg
 
There were no holes or bolts coming through the back in the original bulkhead.
 
Back
Top