• Notice for iPhone users: DO NOT use the image size reduction option when uploading photos to the forum. This causes portrait images to post as landscape. We have added a warning to the image insert pop-up as well.

Retitled: 83 Scrambler resto-mod finally gaining momentum

timing cover install

a few notes on the reinstallation of the timing cover..

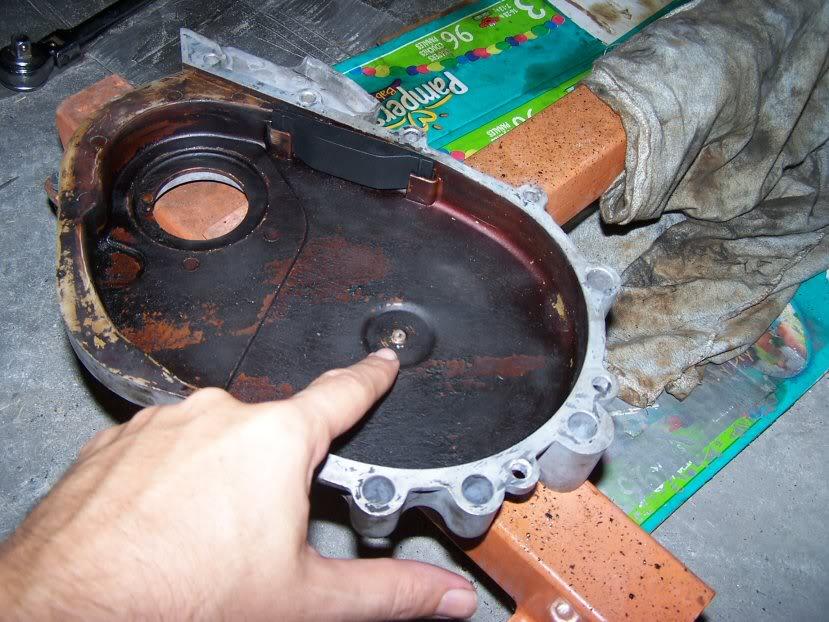
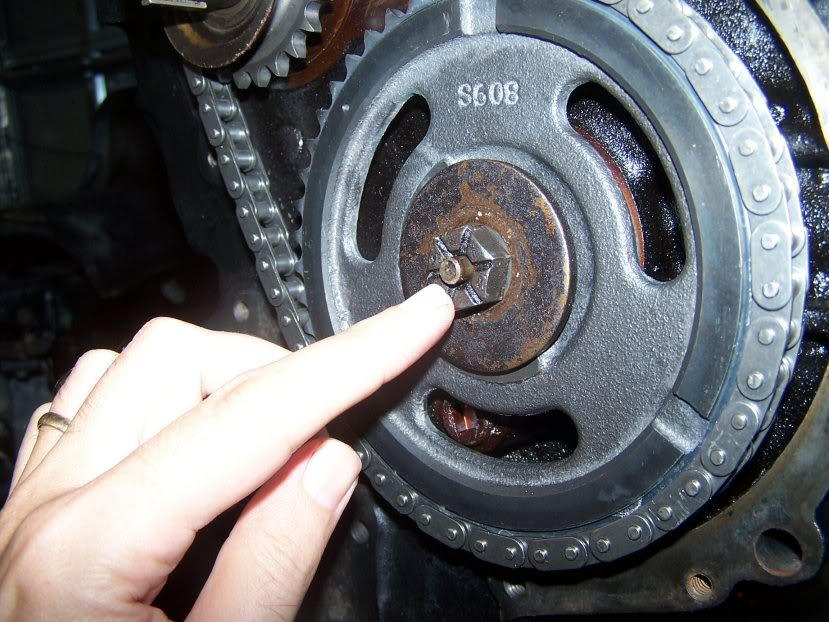
notice that the cam gear has a small detent spring and a pin that protrudes from the mounting bolt: this spring/pin touch the inside of the timing cover, and must be depressed forward to rearward to get the bolt holes on the timeing cover to line up
100_2788-1.jpg

100_2789-1.jpg

I spent a few minutes trying to figure out why my re-used timing cover wouldn't line up with the blocks bolt holes and then realized that I wasn't mating these two contact points properly.. solution is to place the cover on in a rearward motion while depressing that pin, and then thread a few bolts to hold it in place
 
other work

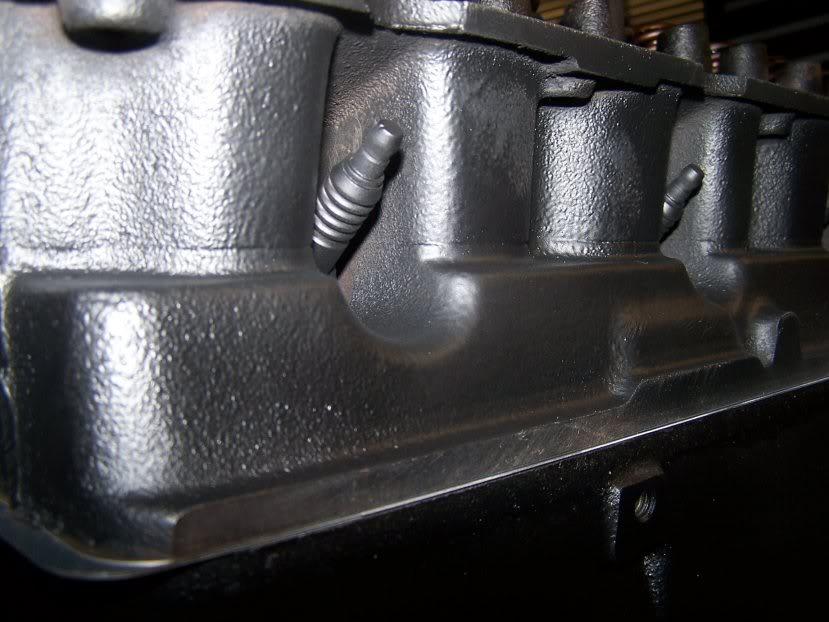
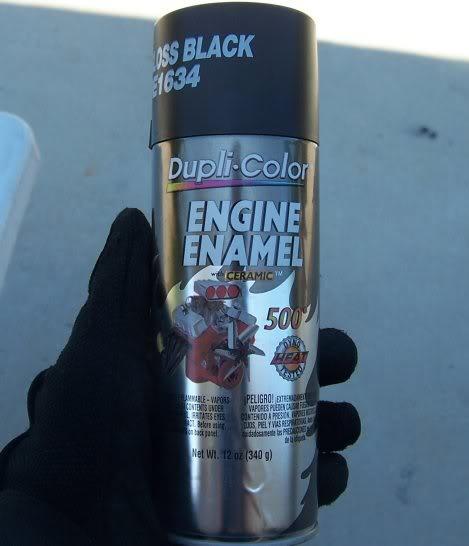
painted my block with this stuff: figure on at least two cans if you're going to do the block and the head...
100_2778-1.jpg
I was happy with the finish.. kind of a flat cast black..

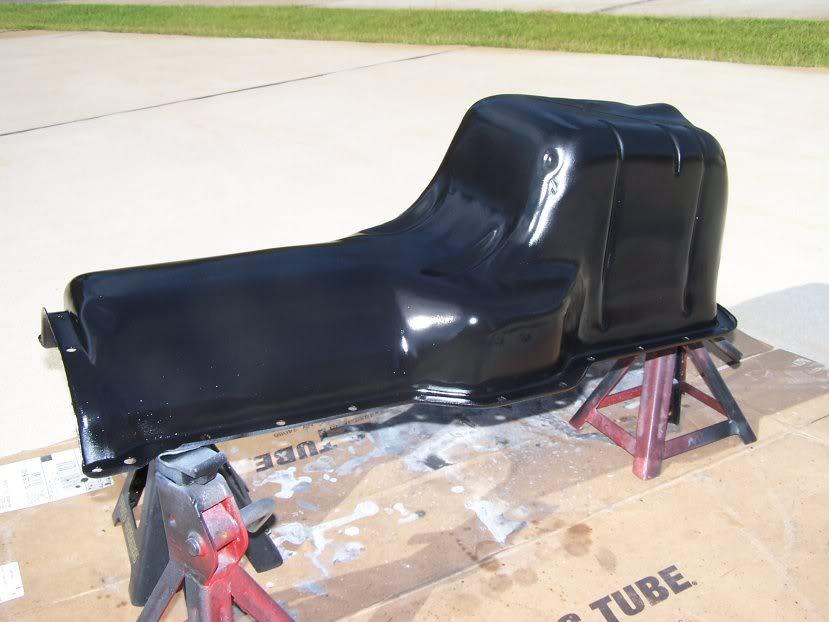
for my oil pan I just used about three coats of the regular Rustoleum semi gloss:
100_2796-1.jpg
 
oil pan gasket

my engine gasket set came with the rubber/metal one piece oil pan gasket.. research I've done online indicates that this should NOT be mounted with silicone or RTV, but simply bolted on (and not over-torqued)..

the gasket I pulled off appeared to have some sealer on it (same style gasket), and the oil pan bolts definitely had some black RTV style sealer on them.. and some folks online have indicated that the still use RTV on these, even tho' the directions say not to..

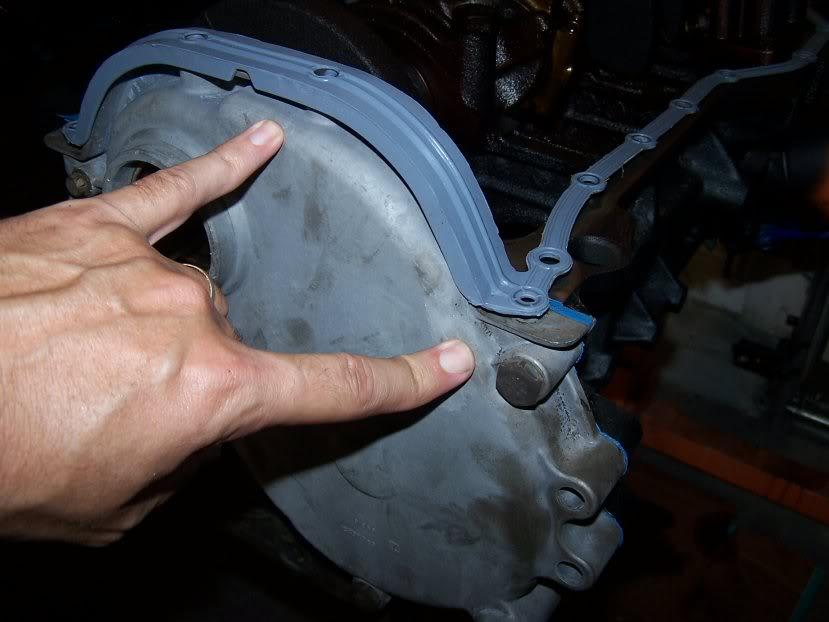
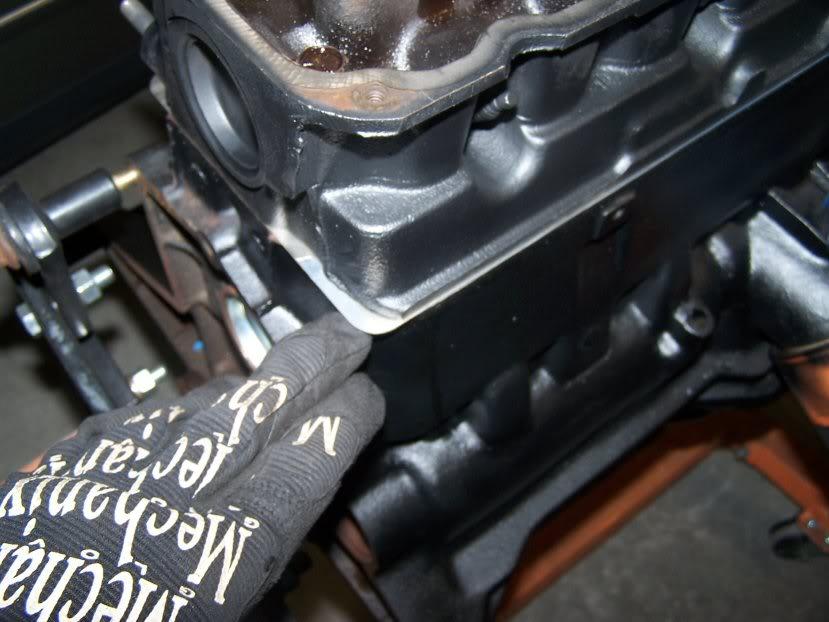
I was NOT going to use RTV but now have a little concern as I found that the rubber gasket doesn't natually fill in all the gaps, particularly where you see these gaps at the end of the timing cover where it meets the flat block surface.. where my index (right) finger here is pointing, you can see the small gap on the opposite side of the timing cover is the same
100_2797-1.jpg

best I can figure if you torque the oil pan down right, it should stretch the gasket downward and flat, but I'm wondering if it doens't make sense to reinforce that surface with RTV?
another lesson learned.. get a low-torque torque wrench for this kind of work (FSM doesn't even list torque under 20 ft/lbs and I don't have a in/lb wrench.. stuff like the oil pan and timing cover, valve cover, etc use in/lbs)
 
Last edited:
thanks Craner... Navarre is about 1/2 way between Ft Walton Beach and Pensacola.. I work at Hurlburt Field

L.A. (Lower Alabama)
 
progress... with a baby v2

so to close out my last post... finally bought a low torque (in/lb) torque wrench from Sears and finished up install of my oil pan and torqued on the timing cover as well.. based on alot of research online I found that there is some concensus to RTV the block at the points where the horizontal/flat part of the gasket meet the vertical/bends (basically where the timing cover curve ends and the rear main output ends).. I'll try and capture pictures

lesson learned.. probably not new to many of you, but I rarely used Youtube in the past, and have recently found a LOT of good how-tos illustrated in video on there...

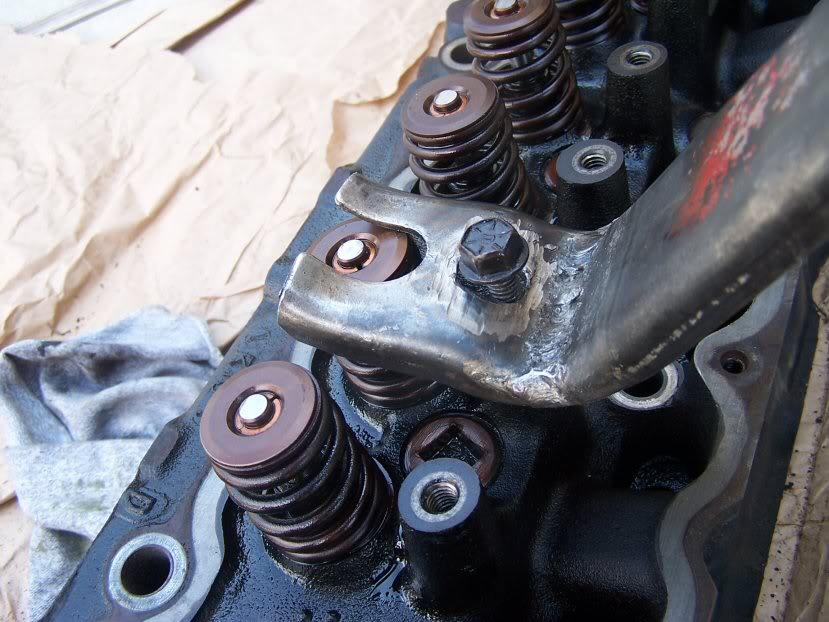
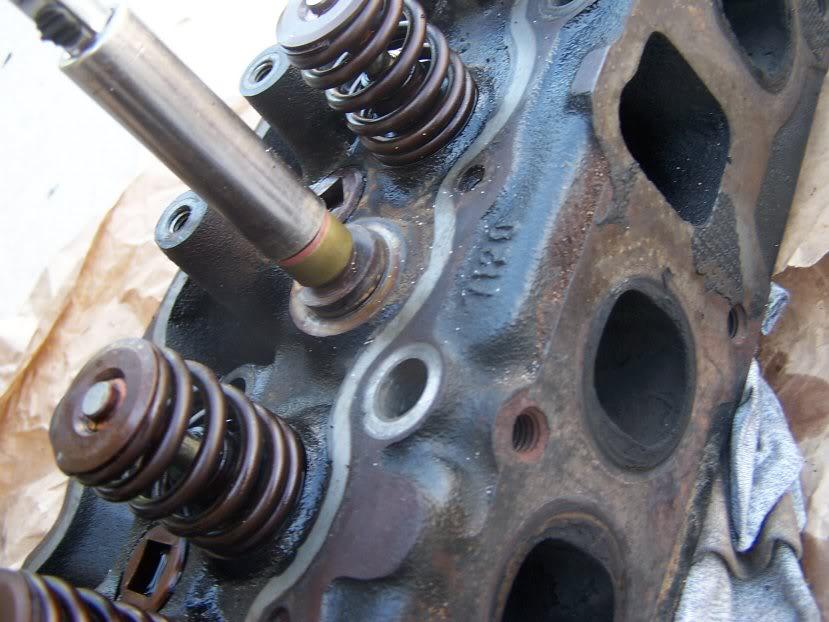
on to another project: valve stem seals.. I ended up borrowing (not buying) a home-made tool for the job, looks like this:
100_2803-1.jpg

as oppossed to the spring compressors that have a hand crank to compress, this one uses the rocker studs (or in Jeep inline cases, bolts) to create a lever point to compress the spring, like so:
100_2805-1.jpg


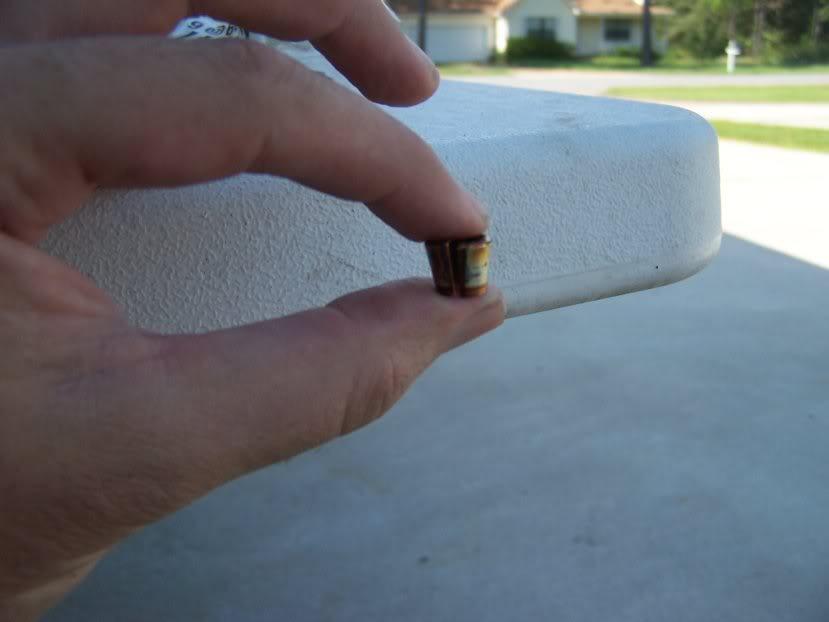
you have to compress the spring far/hard enough to get the valve stem to pop upwards, which then releases the two little clips that hold it on, you'll want to have a telescoping or pen-shaped magnet on hand to collect them.. they look like this (note the conical shape, they only go in one direction)
100_2815-1.jpg

had advice from a tech to "tap" the springs with a soft faced hammer before compressing them which is suppossed to help get these two keepers to release, in lieu of that I used a hammer with a flat 1x4 to tap it, and not sure if it really helped, I ended up using muscle and impatience to finally get each one to release.. it's a pretty noticeable "pop" when the do, so you'll want to do it in an area where you won't be searching for a keeper part in the dark/clutter if it falls/jumps out on you
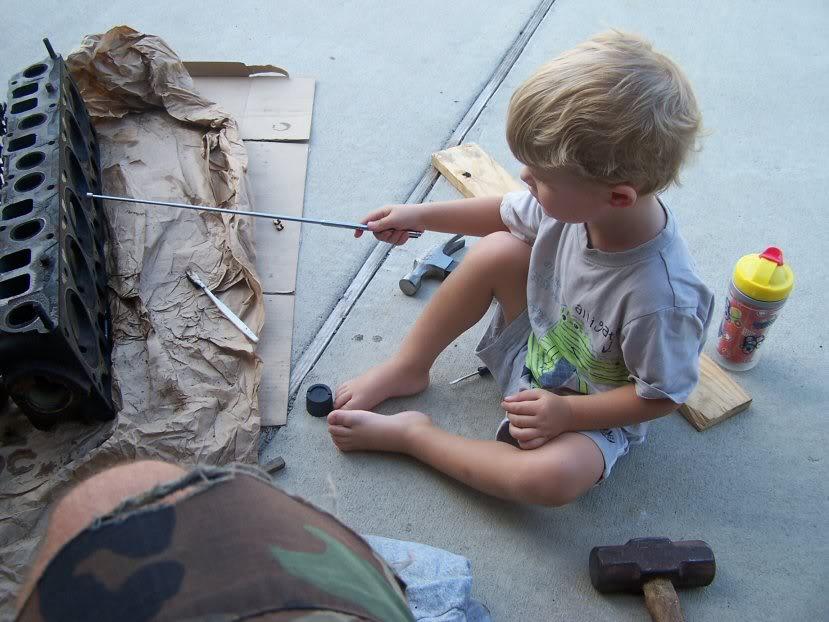
lesson: as my head was removed and sitting on the cardboard/ground during this repair, I used a balled up rag to provide some mass under it to stop downward travel of the valve, helping to push the valve stem back up at me to release the two keepers. If you do this while the head is mounted (a) it would probably be easier to get enough torque on the lever point and (b) you can used compressed air or feed a long rope through the spark plug hole to fill the cylinder and provide the same backwards pressure (and keep the valve from falling through into the cylinder).. just make sure you leave the end of the rope outside the cylinder so you can pull it all out

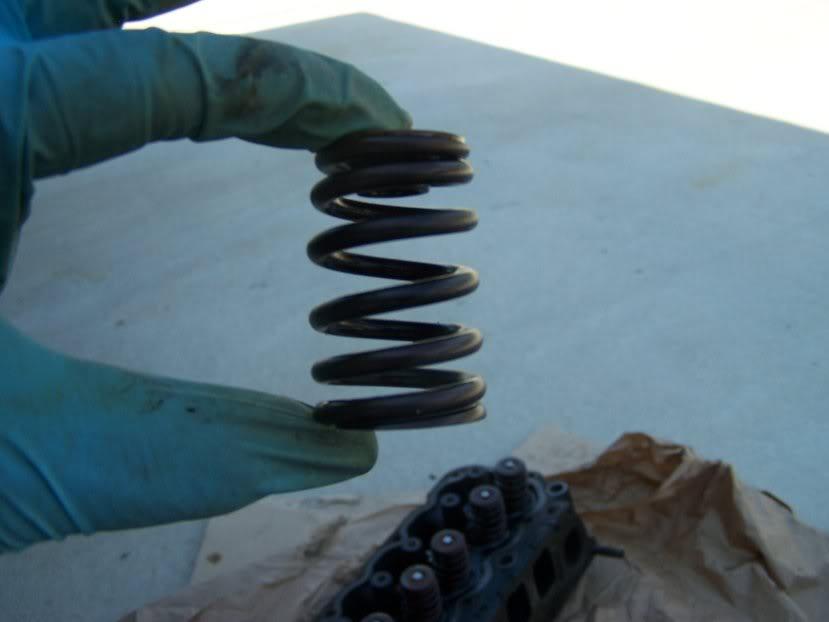
note also that the springs can only go back on one way, hard to see in pic, but they have a slight taper, and the cap will only fit properly on the smaller/upper top end
100_2814-1.jpg
 
Last edited:
yucky valves

you know all those commercials for fuel additives that show carbon-covered valves that the gas suppossedly cleans?
100_2824-1.jpg

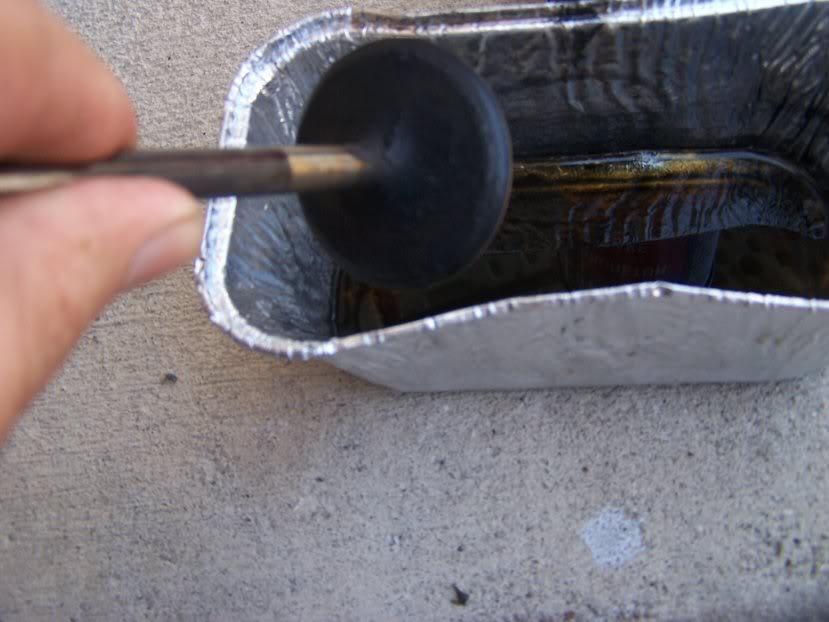
I can tell you they probably don't do a damn thing on older engines like this, because I was using alot of harsh chemical (brake cleaner, carb cleaner) to try and get it off.. with SOME results
100_2819-1.jpg

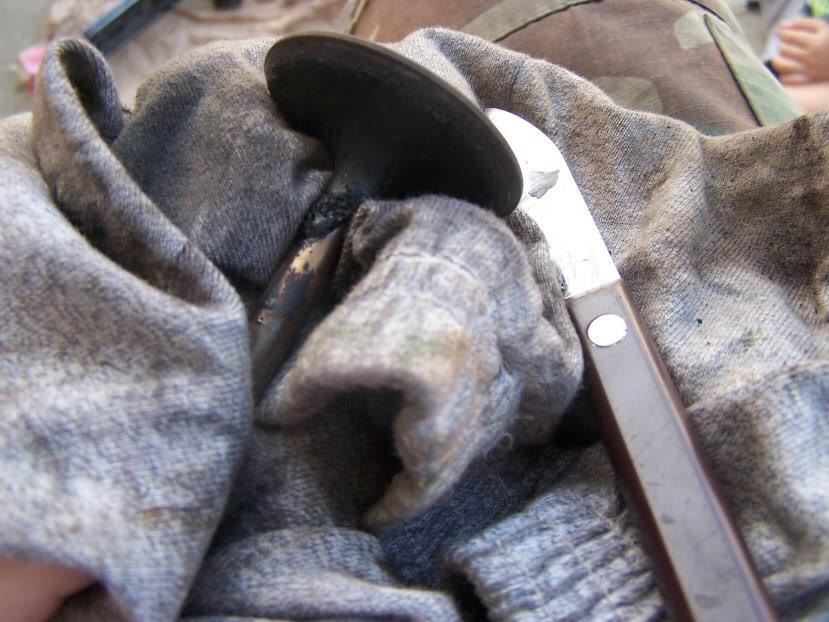
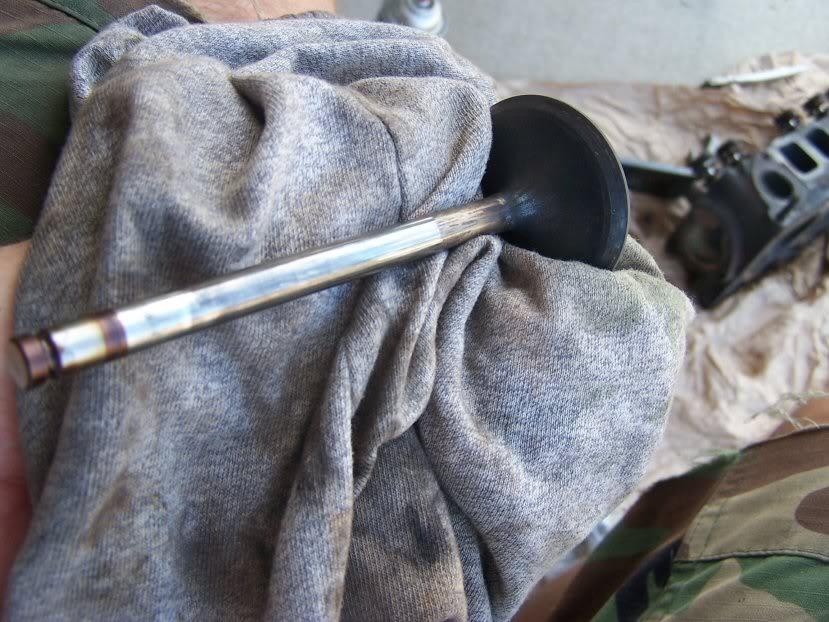
but what, in the end, actually worked was careful scraping with an old paring knife/straight edge
100_2825-1.jpg
 
I think my valve stem seals were good..

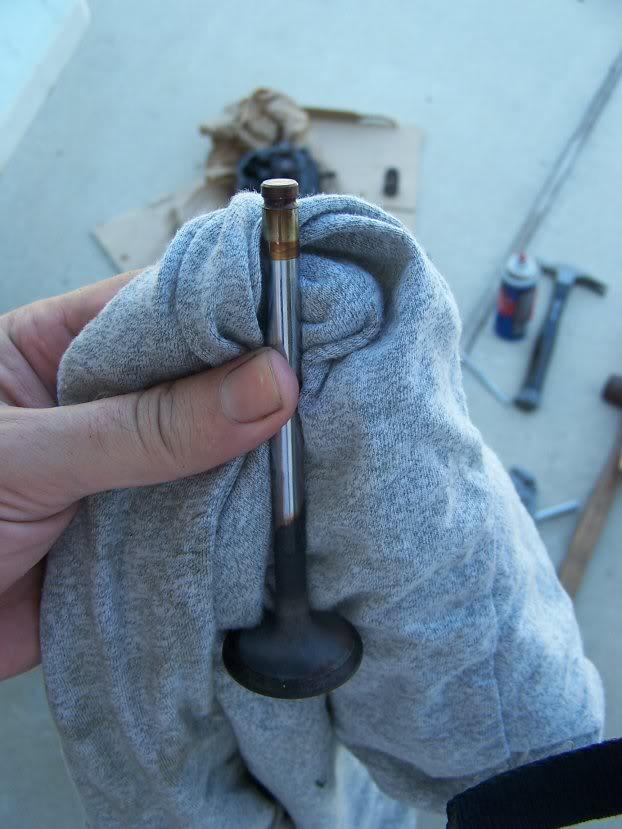
every one of my valve stems (the top ends) looked like this:
100_2816-1.jpg

which tells me that the portion below the burned-on-oil looking part was protected by the seal, and the stuff above it was, well, outside the seal.. also gives you an idea of how much stroke there is the stem travel
 
installing stem seals

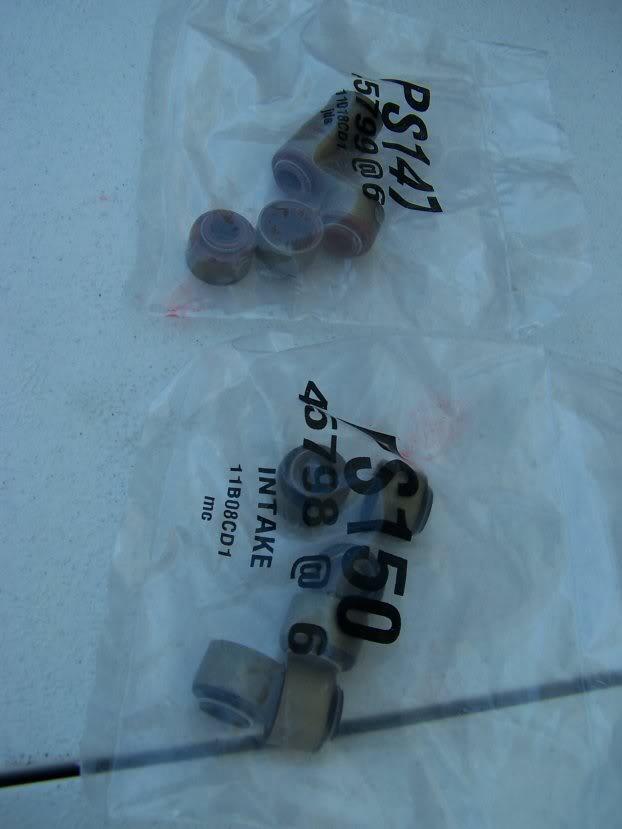
the seals come in two separate bags in the engine gasket set, one with a reddish rubber (exhaust) and one with black (intake)
100_2802-1.jpg

the colors are another indicator, other than the label on the bag, as to which are intake and which are exhaust
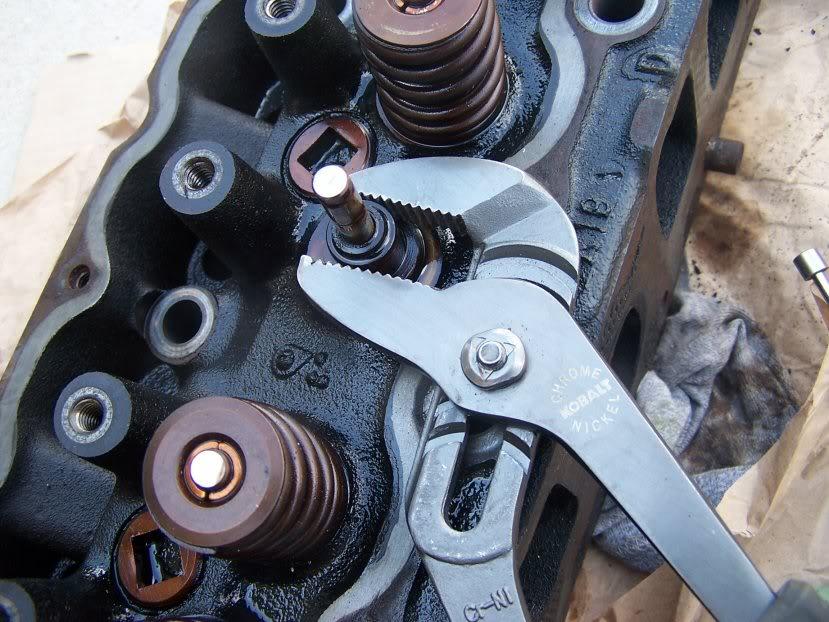
removing the old seals was easy (pliers):
100_2806-1.jpg

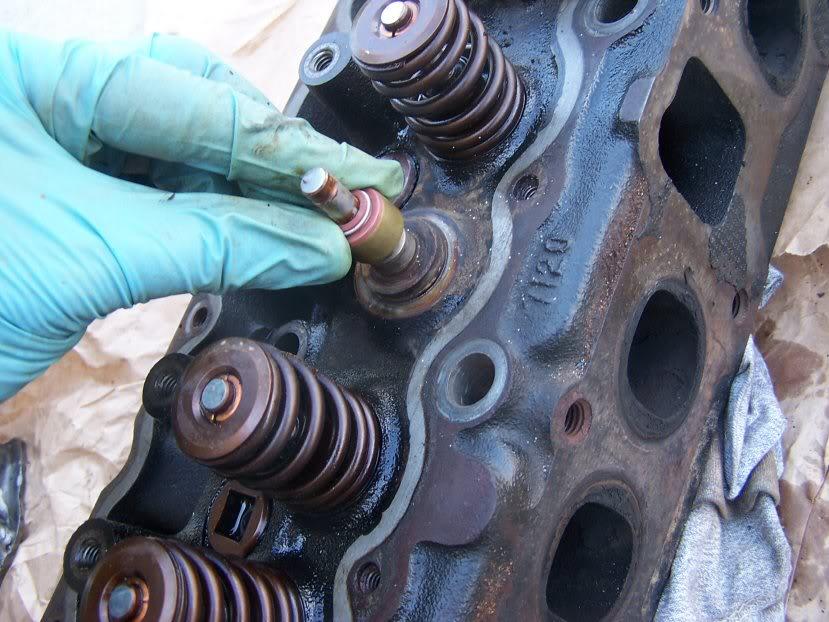
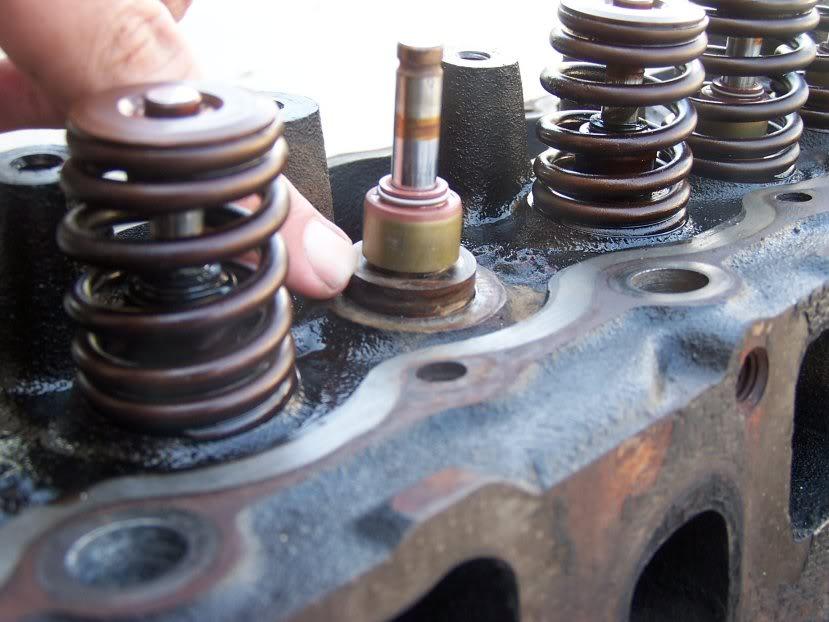
and installation of the new seals was straightforward (slide it on), I did have about four total seals that wouldn't slide on easily by hand, so I used a little bit of assembly lube to get them seated all the way down, sometimes with some soft pressure on a socket for even seating
100_2812-1.jpg

see this one not seated:
100_2817-1.jpg

socket for pressure:
100_2813-1.jpg


final tip: I did all my exhaust in sequence, and the all the intake in sequence.. just to make sure I didn't make the mental screw-up and install a wrong seal (only opened one bag at a time)
 
cleaning the head

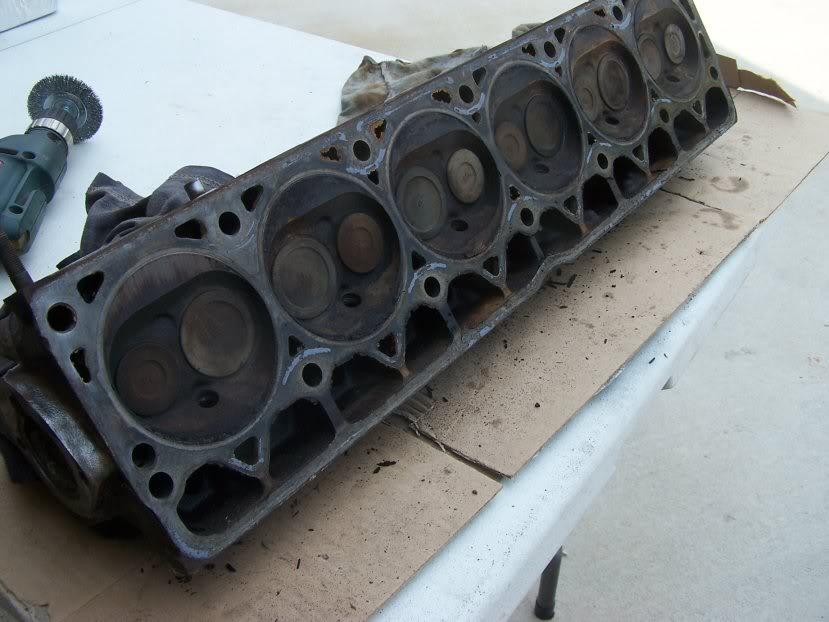
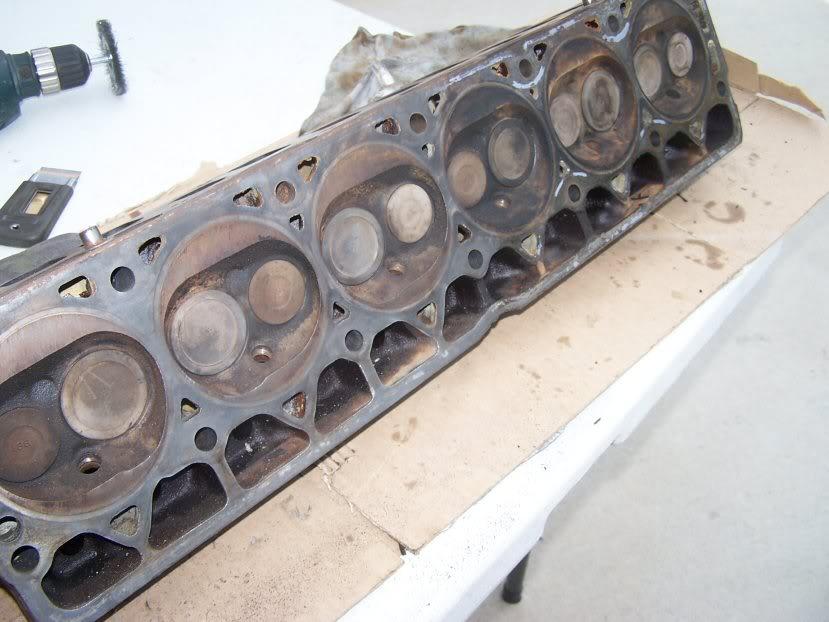
old gasket material and lots of crud around the combustion chambers so I did some clean up with a wire wheel and some brake cleaner.. I was worried a bit about damaging anything that was finely honed, but then figured I couldn't do much worse with a cheap wire wheel bit or some brake cleaner than it would be to leave a ton of crud sitting as is..
100_2832-1.jpg

half way through (three cylinders closer to camera are done in this shot)
100_2833-1.jpg
 
cleaning cylinders/pistons

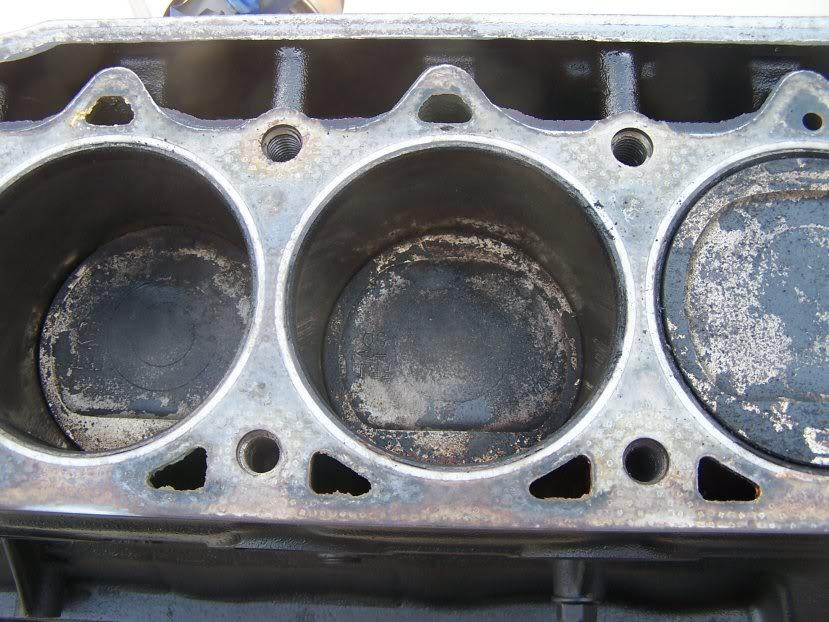
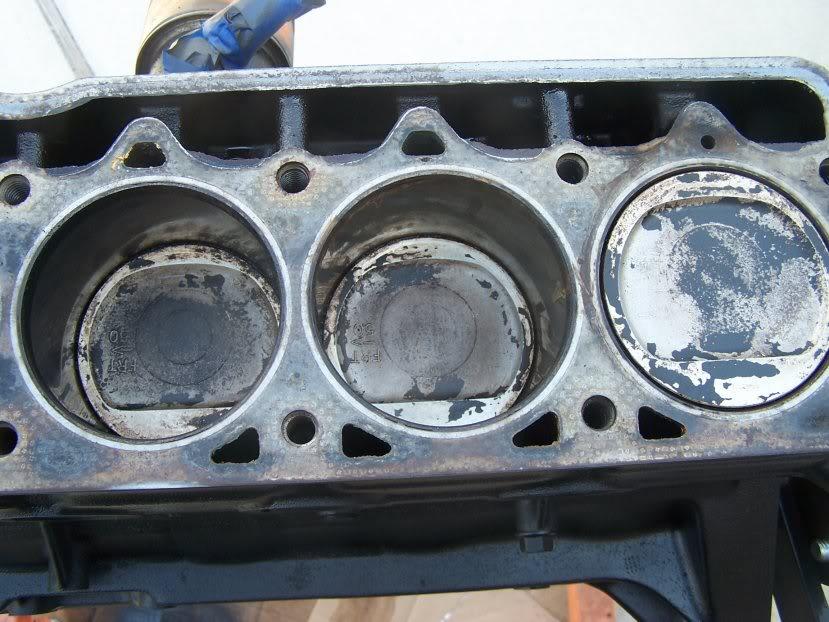
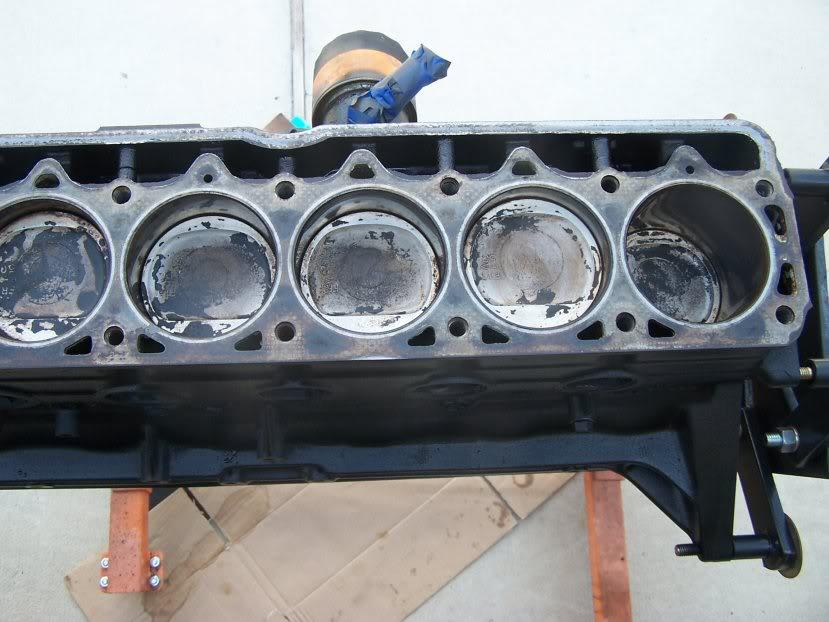
had much crud on my cylinders and in the bores so, decided to clean them also, here's a before shot of 4, 5 and 6
100_2826-1.jpg


wasn't sure what would work so I tried one each carb cleaner, brake cleaner, and then seafoam (right to left as you see it)
100_2829-1.jpg


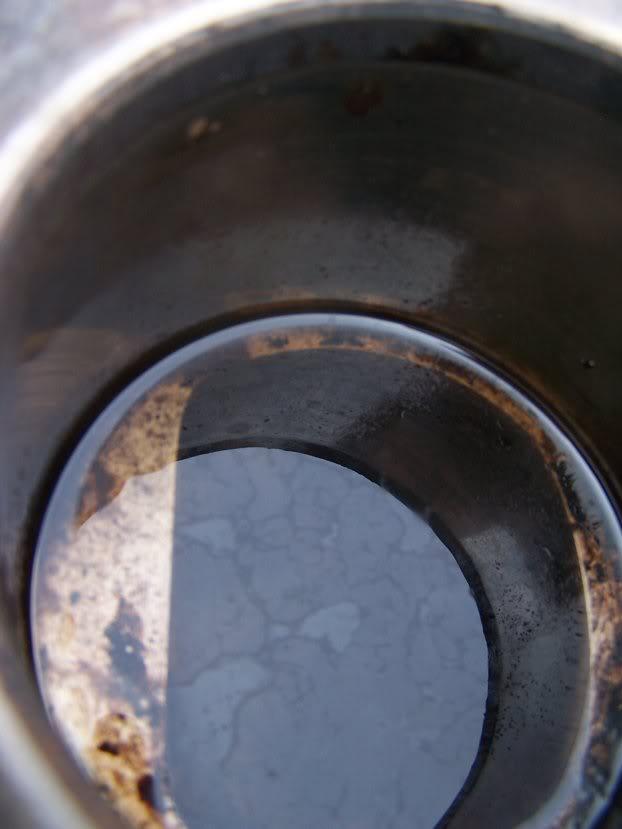
the only chemical that "appeared" to be working was the sea foam, which had some obvious reactions going on in the pool of chemical (may be noticeable in this photo)
100_2827-1.jpg


and it may have worked best if I'd allowed it to soak in some, but in the end, I found brake cleaner to be the fastest and bulk crud removal.. sprayed, wiped, sprayed wiped, repeat.. the rotated the motor through two full rotations back to TDC, while continuing to clean the cylinder walls along the way, as some of the loosened up crud was spreading around

don't think the pic does it any justice, but there was some noticeable cleaning going on:
100_2830-1.jpg


next step in the plan: get my head cleaned, masked for paint, painted, and then on the block with a new gasket
 
Last edited:
I witnessed an engine that the head was taken off that had no treatment run through it. It had tons of crud and carbon build up. It was put back together and had seafoam run through it for around 1500 miles and then taken apart again. You wouldn't have believed it was the same engine. And no I'm not a sea foam salesman but I have been using it for years in everytype of engine I have including my deisel tractor. I also run a can through the crankcase for about 100 miles before I change the oil.. i beleive the stuff is better than snake oil for ones body. You guys really should try it. My only worry is that on a tired or older engine if the sea foam may do too good a job and maybe the engine would start using oil, thinking that the crud and carbon may actually be helping to seal the blow by. I know some of this might sound dumb but sea foam seems to work for me...If you pour it directly into the carb according to the instruction on the can till the engine dies and let it sit for the recommended 15 minutes, be prepared to see more smoke than a brush fire for about 20 minutes, all your friends will be running over with their fire extiguishers. the smoke does clear up though. I even try to suck up about a cap full thru each of the vacuum tubes on the carb.
 
Last edited:
head and head gasket

finished up cleaning the head gasket and then blew it out with compressed air.. painted it (left the spark plugs in to seal the chambers off... already have replacements
100_2840-1.jpg

this head gasket for the 4.0L doesn't have an "up" stamped in it, but it only goes on one way correctly.. not the two passages at the front of motor (one for water, one for a head bolt) vs the single head bolt hole at the rear
100_2837-1.jpg

100_2838-1.jpg

the head gasket is a three ply metal type that must be torqued under the head 4 times in sequence (22 ft/lb, then 40-something two iterations, and then 110 ft/lbs, except for bolt #11, which requires both thread locker and 10 fewer pounds)
100_2834-1.jpg

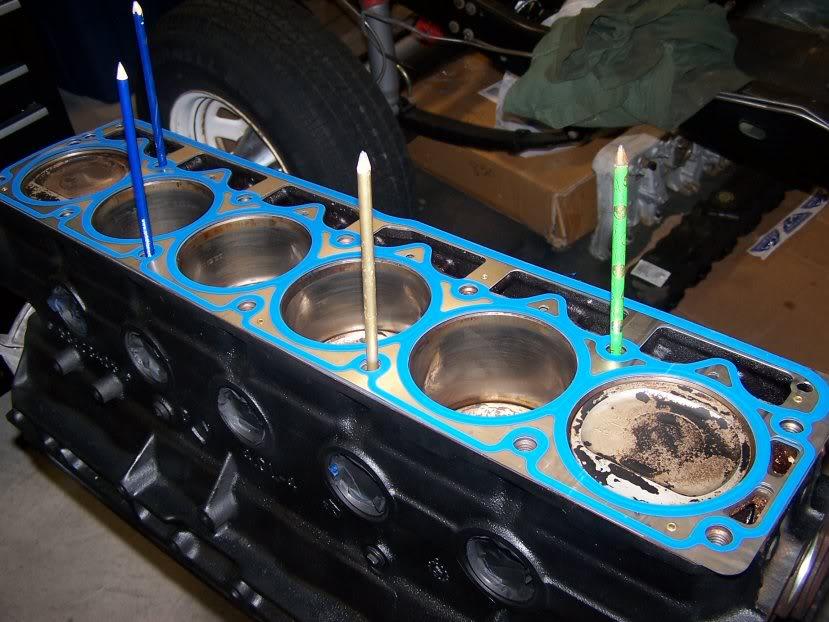
I used a few pencils as dowels to help me line up the head so I wasn't moving it all around once I set it down (it's heavy)
100_2839-1.jpg

even then it took a second set of eyes from my wife to get her lined up nearly correct before I could feed the bolts through
 
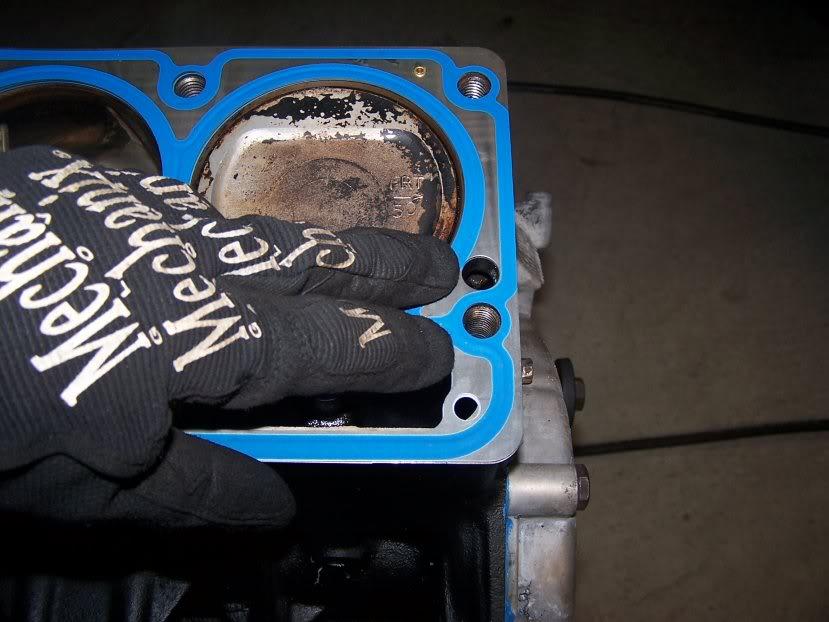
the head gasket matched up evenly all the way around the head/block except for the right rear corner.. don't know if this is a problem, but there's this excess sticking out
100_2842-1.jpg
 
so what to do with a bad motor mount bolt hole?

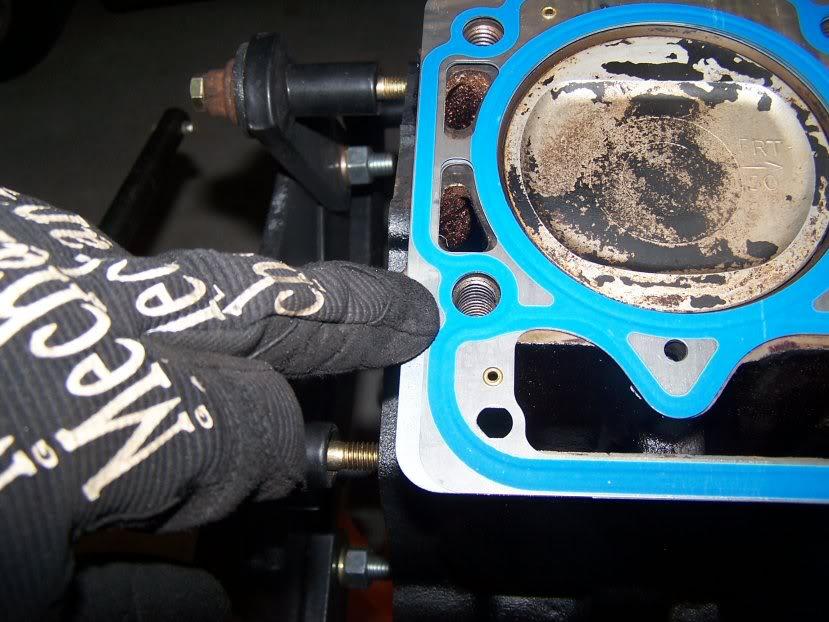
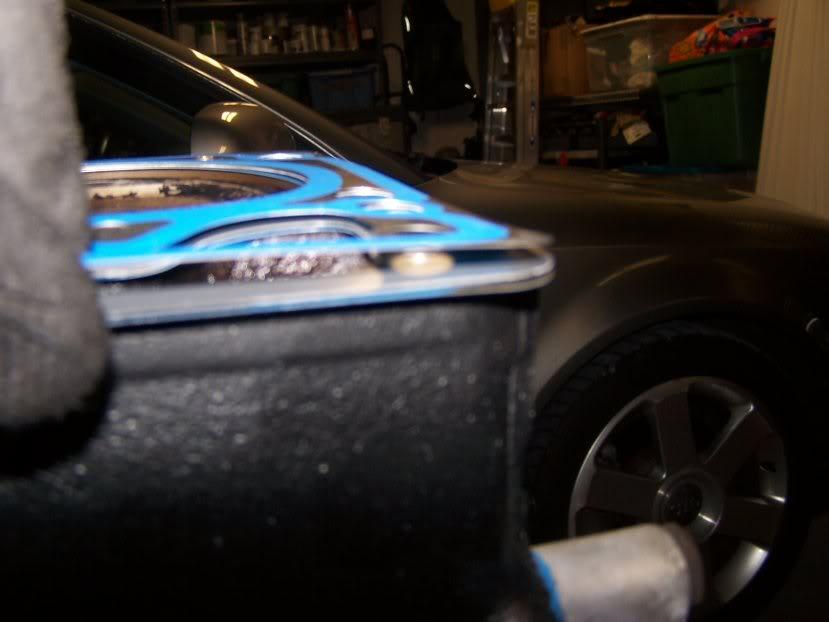
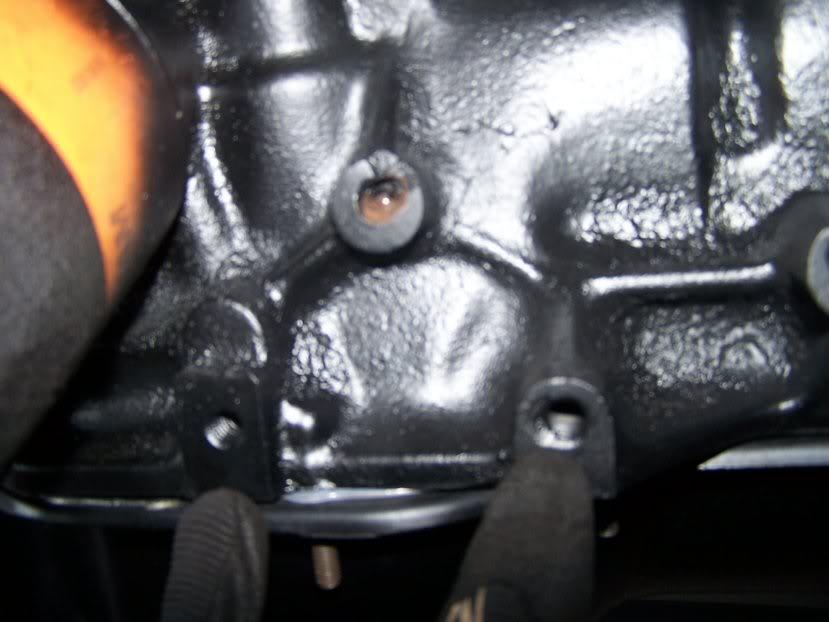
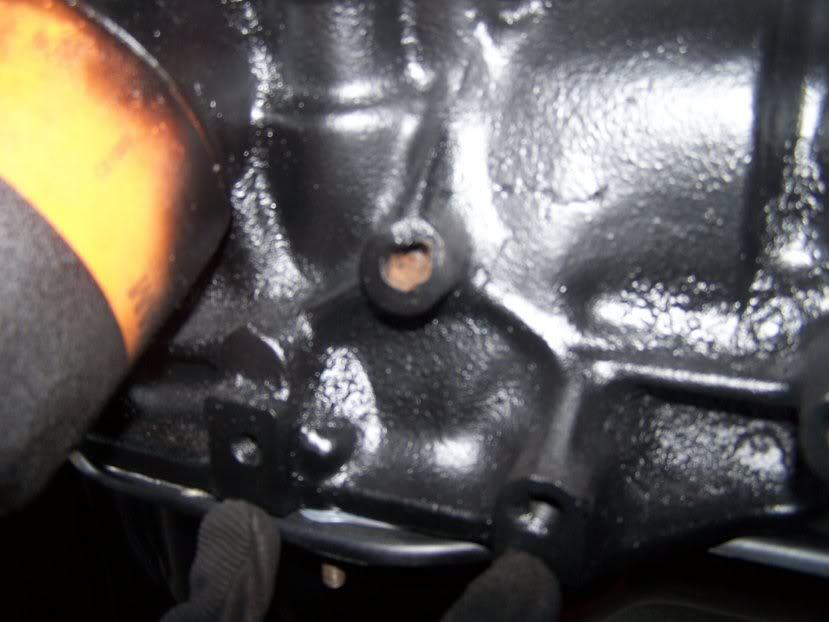
the upper bolt hole (the one I'm NOT pointing to is this crappy out of focus set of photos) on the PS of my block appears to have been broken or stipped out at some point in it's life..

I'm 99% sure this hole is used in the YJ application too, so the motor came out with this problem, and it doesn't appear to be repairable to me.. am I good with 5 out of 6 motor mount bolts?
100_2843-1.jpg

100_2844-1.jpg
 
question: what pilot bushing?

anyone with 4.0 swap experience that can tell me definitively what pilot bushing I need to use on the YJ 4.0 with a CJ flywheel and the CJ factory T5 transmission?
:shrug:
 
update

finished a (very) few odds and ends over the last few weeks but with the new baby and some seriously sleep-deprived nights for momma and me, things have been slower on the 8 lately...

first was one of those jobs that I really anticipated being a PITA, but when I finally got around to it the fear was unfounded.. it actually only took a few hours and was fairly straightforward.. fixing my new brake lines

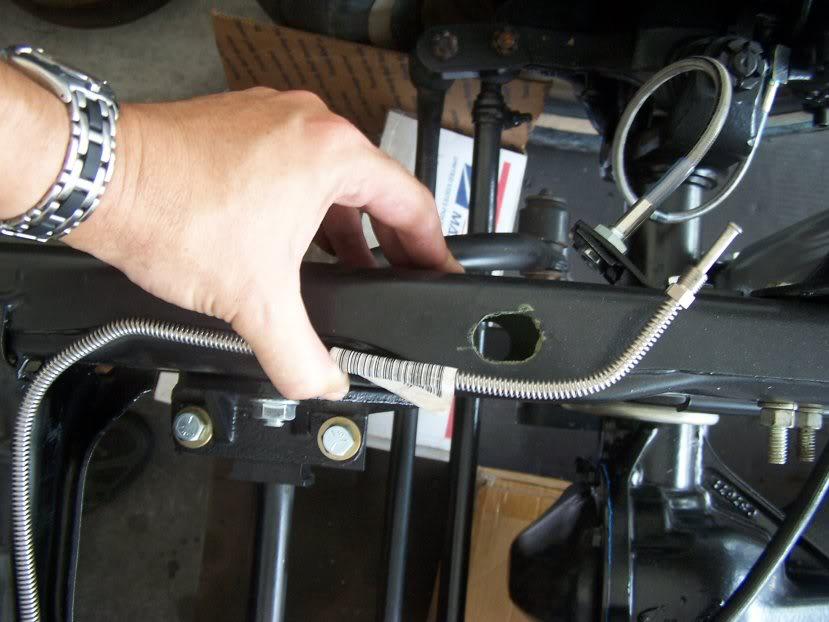
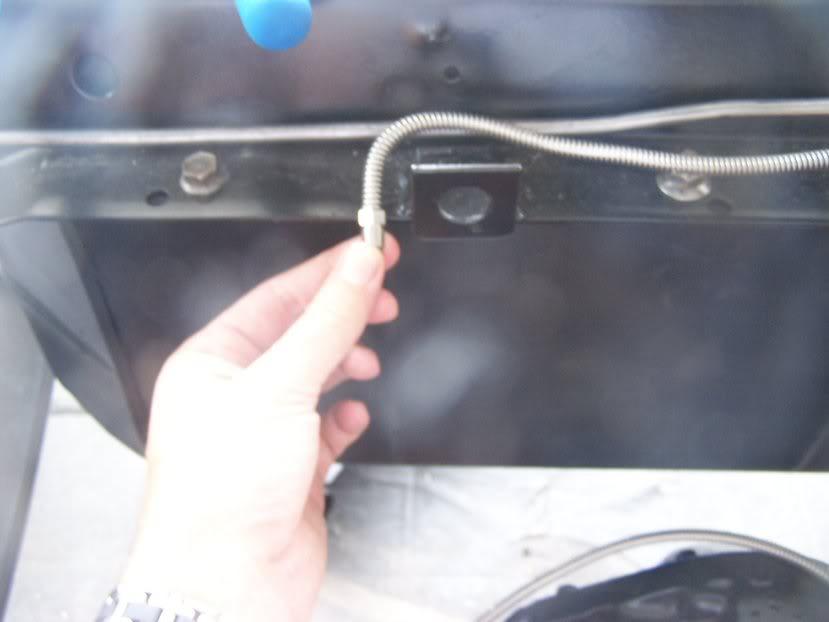
I wrote briefly before about my disappointment with the pre-bent stainless lines I ordered from Inline tube (via 4wd hardware).. bottom line: they're nice, but didn't "just fit" and for 200$, I was expecting true "bolt on" fit.. here's some of the discrepancies:

the PS front brakes were off by a few inches:
100_2851-1.jpg


same with the bend to the single rear brake hose:
100_2845-1.jpg


I'm not the only guy that had this problem... I recalled Raymond (Spankrjs) discussing it in his thread and we talked via phone about it.. bottom line solution for him was to offset the mounting of the single rear brake line.

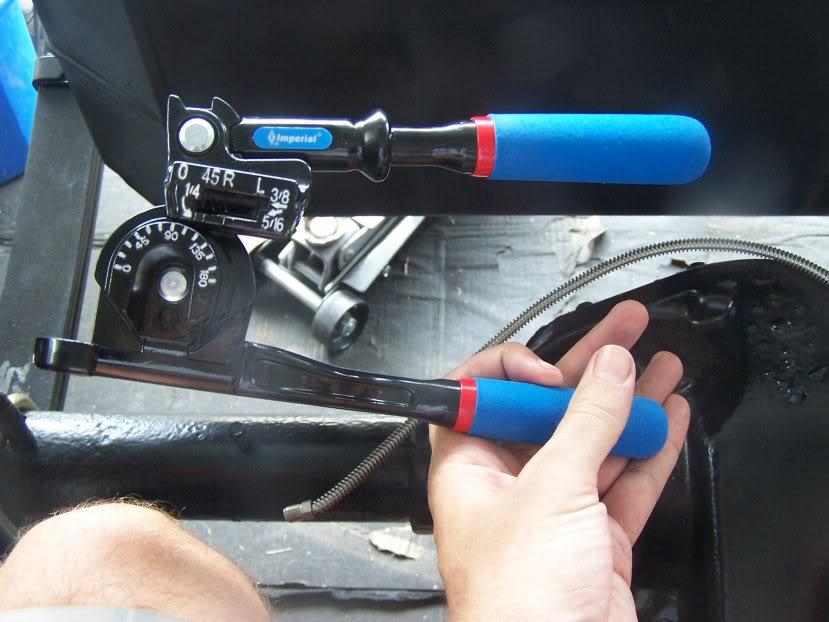
i bought this tool, which turned out to be good (but pricey) at Sears
100_2846-1.jpg


not sure anyone with tube bending experience would have needed it, but I was wary of kinking my expensive lines, but wanted to make it happen so, I paid the piper and used the tool, which helped me alot.. ending up taking up some slack in other areas to shift things around and "shorten" the lines by adding some bends here and there

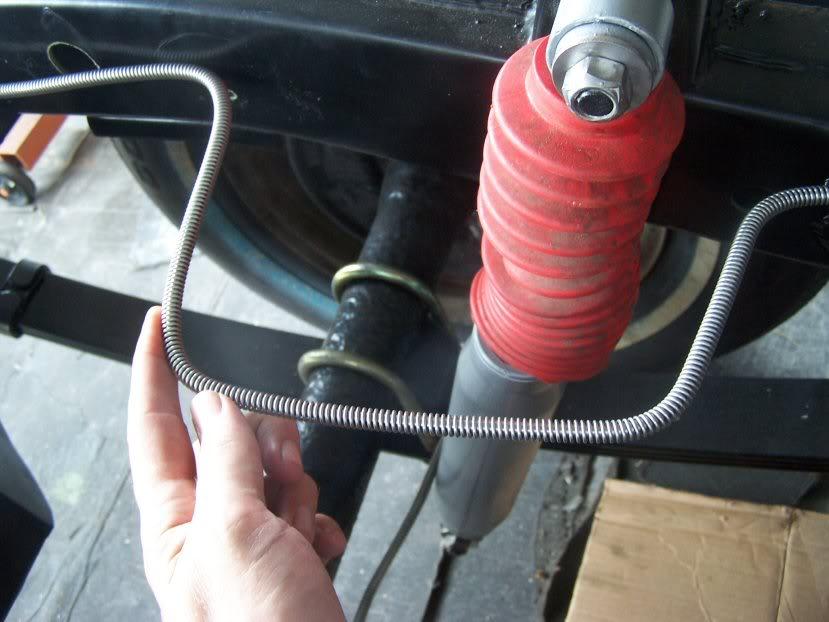
for example.. all this slack around the DS rear shock tower
100_2847-1.jpg


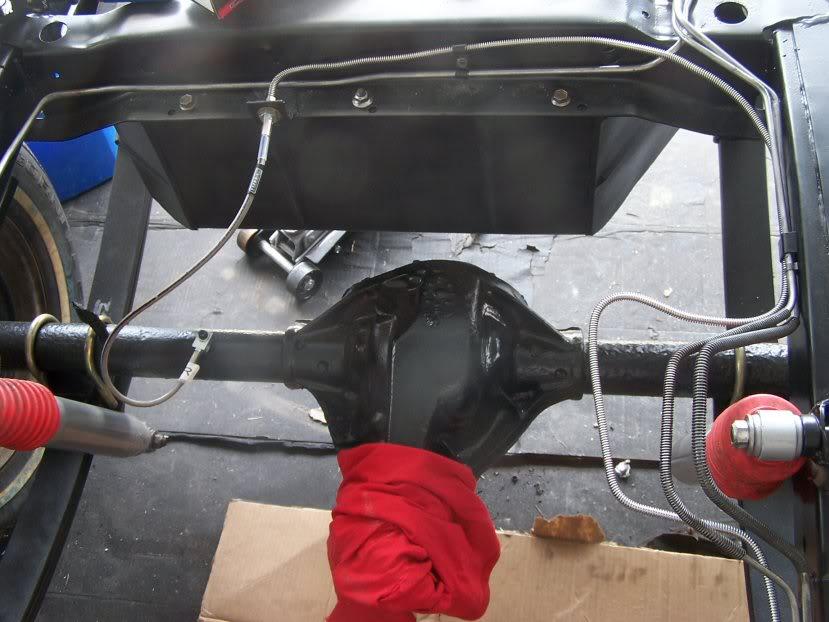
I bent it further to pull the rear most part of the line towards the front, and then "moved" the old bends further backwards to make it fit.. end result was:
100_2850-1.jpg


not a pro job, but made it work
 
Last edited:
mild heart attack

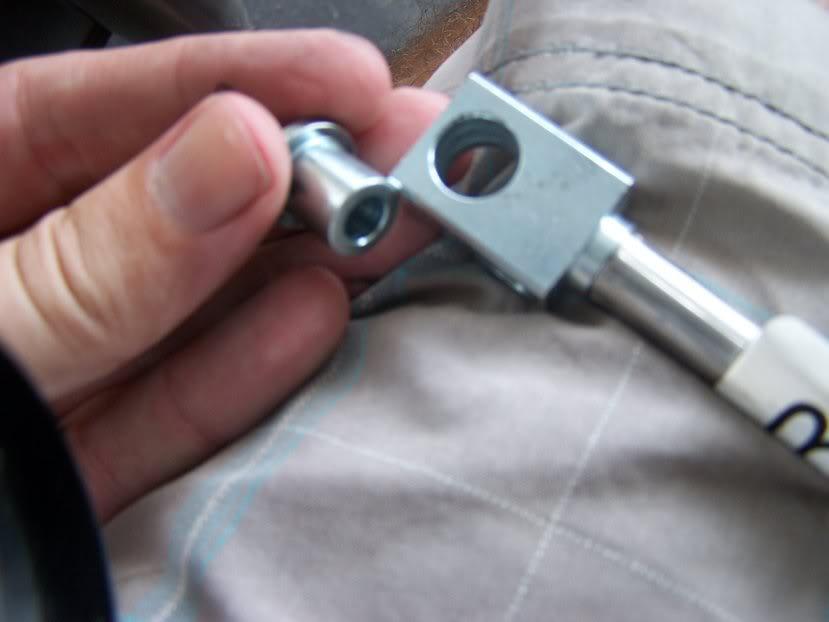
when I saw how thin the mounting bolt for the rear brake hose splitter at the axle was, and how fat the hole it's designed for is.. went back through my parts boxes and found that there was a washer that fits inside it (phew)!!

100_2849-1.jpg
 
motor reassembly continued

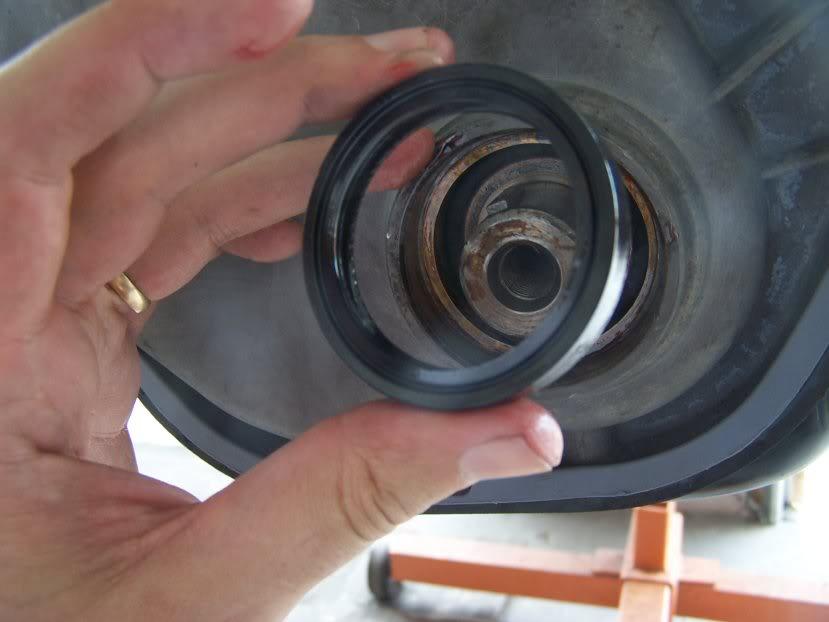
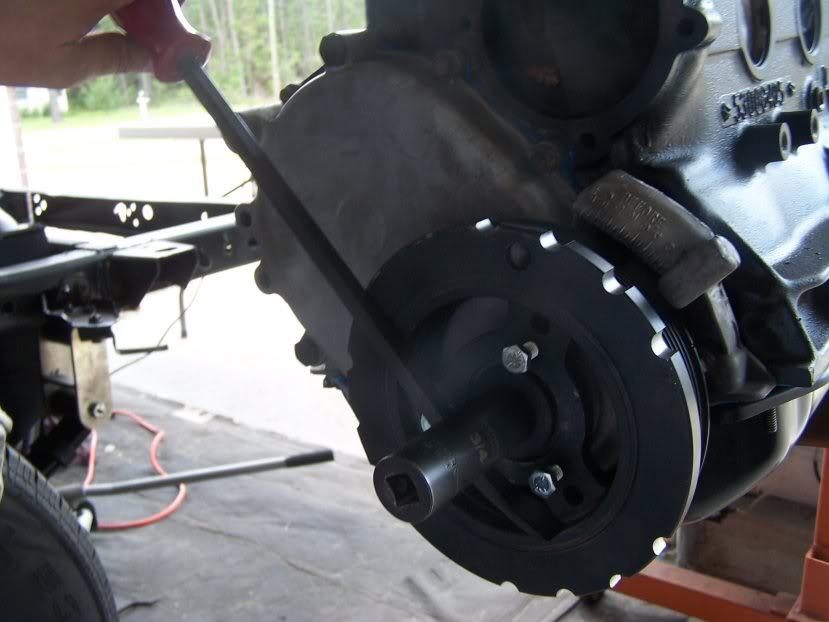
got the timing chain and cover, the head, the valve cover and then the new dampener installed with a new front seal..
100_2852-1.jpg

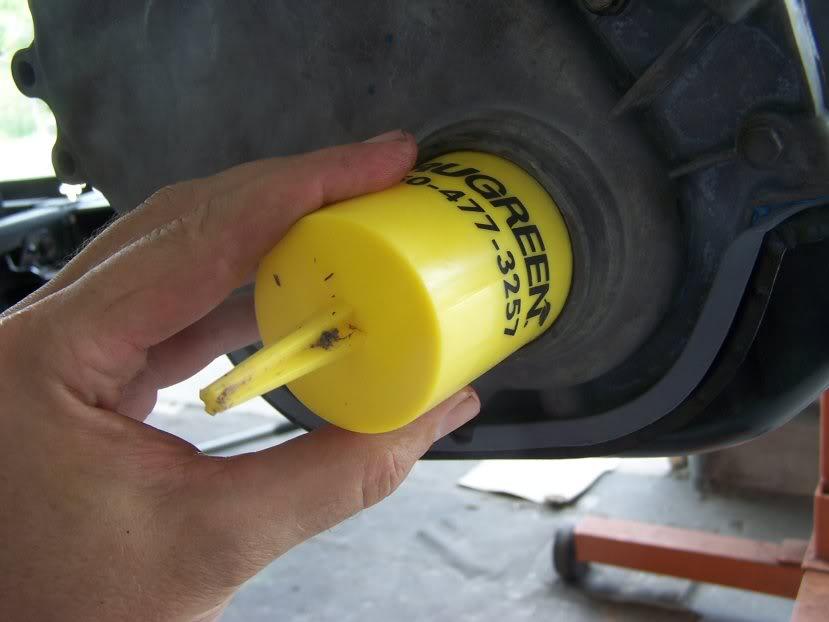
check out my high-speed tool for seating the front seal (cup you put in your lawn to guage rain/sprinkler accumulation)
100_2853-1.jpg

occassionally find some good deals at the Pensacola Sears outlet store.. which is a rinky-dink little operations, but I recently bought a 3 set of pry bars for cheap, and found my first good use for one:
100_2854-1.jpg

obviously you want to be careful of not rotating your engine of TDC when you're doing this step
 
Back
Top