

You are using an out of date browser. It may not display this or other websites correctly.
You should upgrade or use an alternative browser.
You should upgrade or use an alternative browser.
SCJEEPER'S Build to Now!
- Thread starter SCJeeper
- Start date


SCJeeper
Legacy Registered User
- City
- Pickens
- State
- SC
Well fellers.....did some work on the Heep last night when I really should have been cutting grass and paid for it. I really wanted to get the mount for the hi lift figured out and fabbed up so I stayed after work and got to figuring. After some online research I knew where i wanted to put it so it just figuring out how to get it there. I figured that it was going to be a pretty easy little project so I jumped on it. I actually cut the piece of 2" square tube during my lunch break and got the holes drilled in it for the bolts the run through so I thought i had a good head start. Here is what I started with.
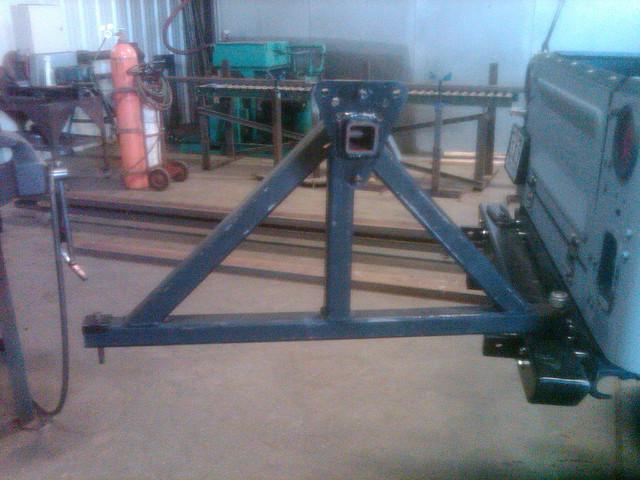
Here is the mounting bracket.
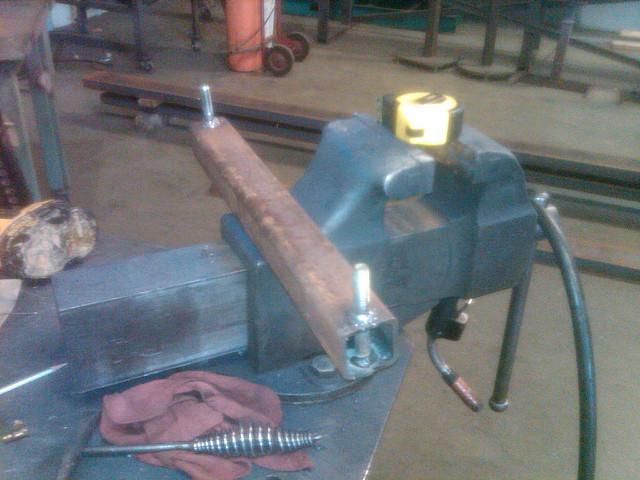
Here is how the bracket is mounted to the swing. It really is straight even though it don't look it.
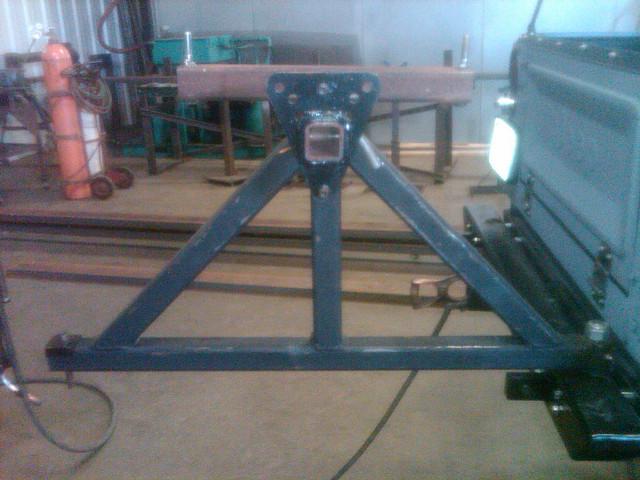
Here it is all welded into place. I was very excited at this ponit.
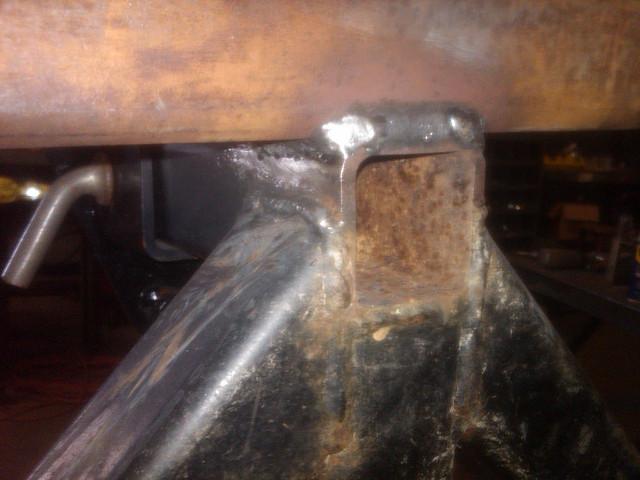
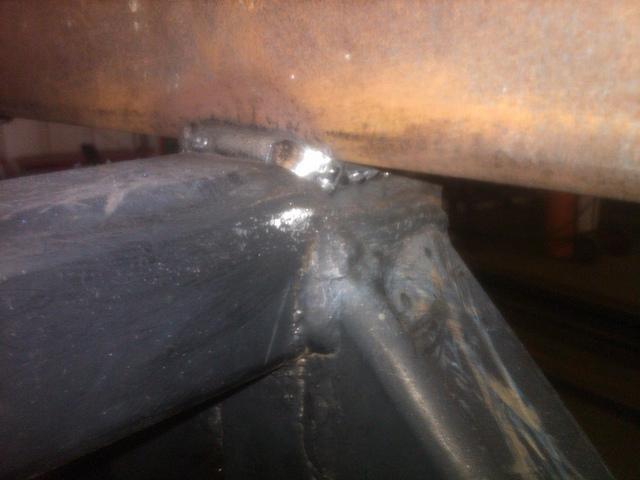
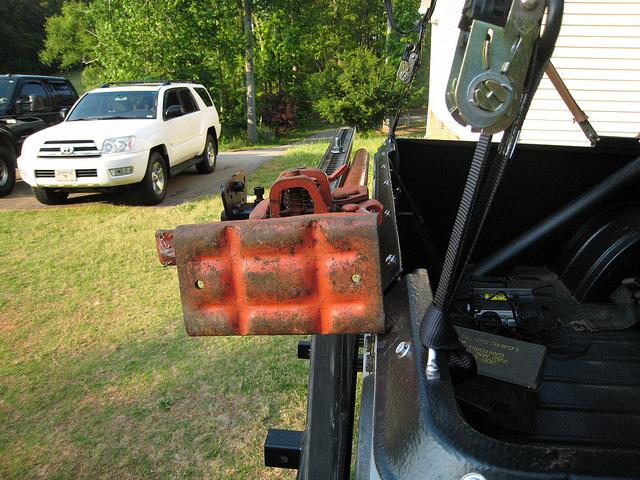
Then here is the point that i realized I had a problem. LESSON LEARNED....TEST FIT BEFORE WELDING SOLID!!!!!!!!!!!! The bracket was too low and close to the body so the foot of the jack hits. I felt like saying a few choice words at this moment and then thought well if i am going to do things for myself i will learn by falling on my face a few times. Lesson Learned.
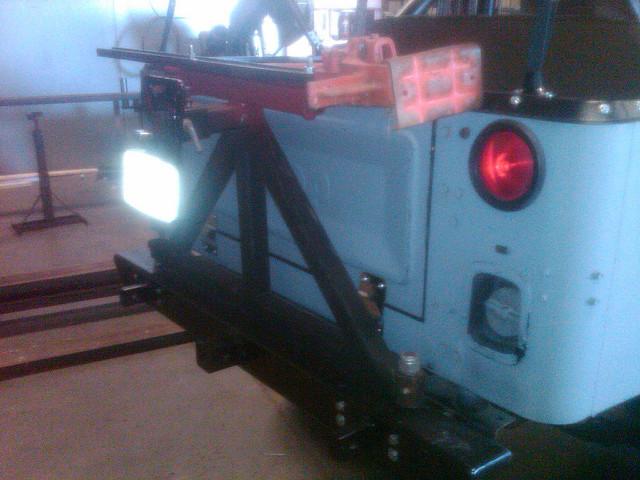
So I am thinking that I have enough bolt to put a nut under the jack and raise it up enough to clear the body but I haven't tried it yet. If that doesn't work then I am going to grind it off rotate it 90 degrees so that the foot will be vertical instead of horizontal. Live and Learn right!? I have to keep telling myself that. Here are a couple of outside shots so you can plainly see what the generic idea was.
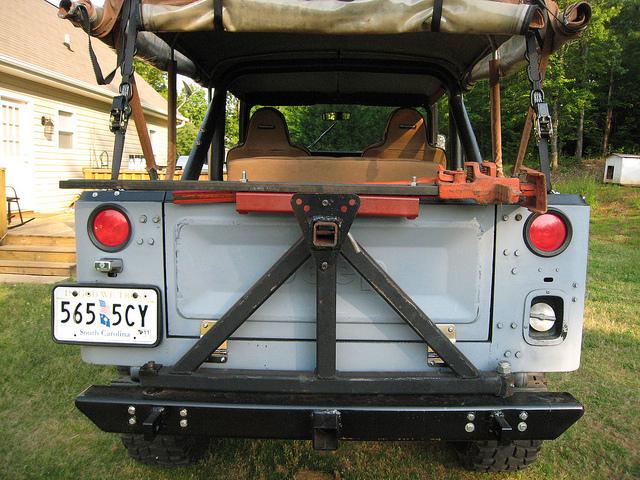
See where the foot hits?
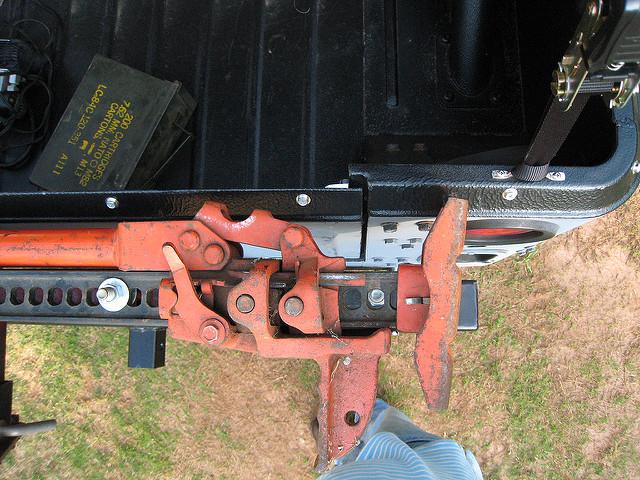
Looks good though I think.
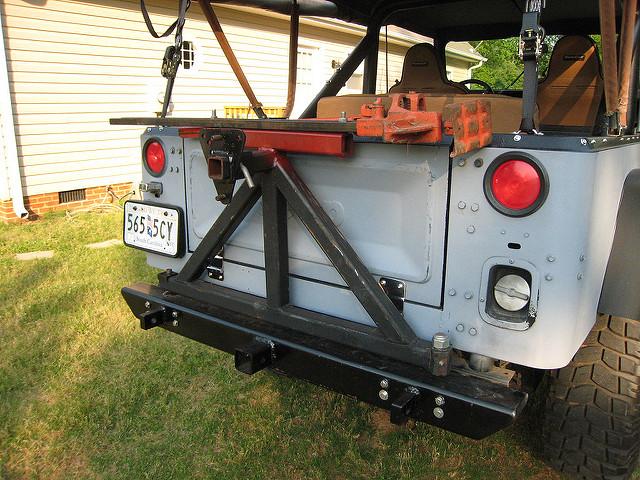
Here is the mounting bracket.
Here is how the bracket is mounted to the swing. It really is straight even though it don't look it.
Here it is all welded into place. I was very excited at this ponit.
Then here is the point that i realized I had a problem. LESSON LEARNED....TEST FIT BEFORE WELDING SOLID!!!!!!!!!!!! The bracket was too low and close to the body so the foot of the jack hits. I felt like saying a few choice words at this moment and then thought well if i am going to do things for myself i will learn by falling on my face a few times. Lesson Learned.
So I am thinking that I have enough bolt to put a nut under the jack and raise it up enough to clear the body but I haven't tried it yet. If that doesn't work then I am going to grind it off rotate it 90 degrees so that the foot will be vertical instead of horizontal. Live and Learn right!? I have to keep telling myself that. Here are a couple of outside shots so you can plainly see what the generic idea was.
See where the foot hits?
Looks good though I think.


AK-RWC
Legacy Registered User
- City
- south central
- State
- AK
Then here is the point that i realized I had a problem. LESSON LEARNED....TEST FIT BEFORE WELDING SOLID!!!!!!!!!!!! The bracket was too low and close to the body so the foot of the jack hits. I felt like saying a few choice words at this moment and then thought well if i am going to do things for myself i will learn by falling on my face a few times. Lesson Learned.
I'll do you one better: I welded a complete bumper and tire carrier assembly, carefully fitting the bumper to make sure it would work before pulling it back off to bring into the welding shop for modifications and additions (I was using an "art shop" without a garage door that wasn't near the parking area). When I was finally done and bolted it up, I realized that A) I mounted the carrier hinge and latch assembly directly in the way of opening the tailgate, and B) the carrier directly interfered with the lift gate. Doh! I cut and modified the carrier, but I always had to do a dance to open the liftgate since there was just one special spot where it had to be to sneak through between the steel and rubber. I gave up on the tailgate, but the hinges were rusted closed anyway.

SCJeeper
Legacy Registered User
- City
- Pickens
- State
- SC
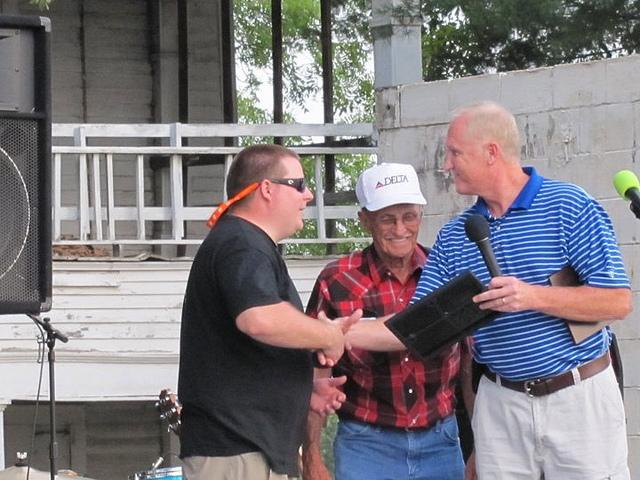
Well got to do some work on the heep the weekend out of neccessity. We had a HUGE cruise in this weekend that was Jeeps only so I had a project list that I wanted to get done before Saturday night. Since I have the full soft top now and probably will only run the Half Hard top if the mood strikes me so I decided to move my rear speakers to the rear wheel wells and mount them so they didn't move around. Easiest project of the day. Got a handle Isolator for the High lift to keep if from making so much noise rattling around. Figured out a way to keep from having to cut the high lift mount off the carrier by adding some much needed rubber bushings to the bolts to act as spacers with a big ole wing nut and pin to keep them from backing off. Scrubbed out the inside with some purple power to get it nice and black from all the dust of the wonderful dry summer that we have started off with. Got my rear seat cleaned up. Figured out a way to mount a front tag without have to drill holes in my bumper. Did a little sewing on the soft top where I had a zipper trying to come unstitched. Cleaned the entire inside of the jeep and outside....as clean as primer can look anyway. After a day out in the 95* heat then met the club to ride in as a group to the cruise in on Mainstreet in the town I am from. We had 55 ride in with our club and the last count that i heard was 146 total parked on mainstreet from 6:00 to 10:00 that night with a live band and vendors and it was a great time! I even got presented an award buy the legendary Larry Hinkle and the Mayor for designing the logo for our club. Larry Hinkle if you dont know the name once ran the largest jeep dealership in the world out of our small town Pickens, SC. That is the biggest reason that Jeeps are so huge in our area. He is one of my granddad's friends and a really great old man to hang out with! Here is a pic of me getting the award and I'll add pics of all the crap that I got done this weekend later.
SCJeeper
Legacy Registered User
- City
- Pickens
- State
- SC
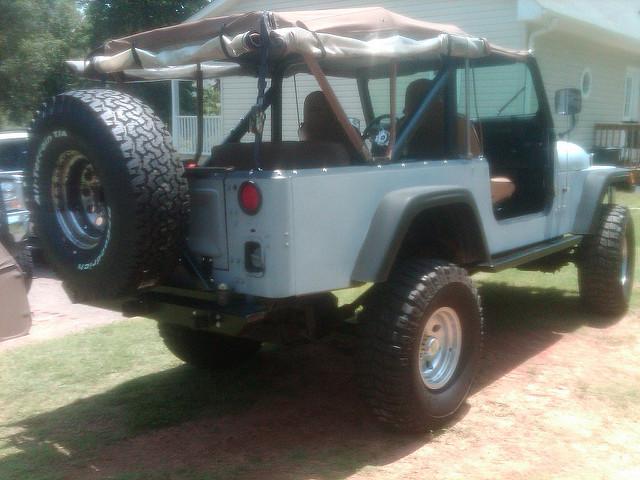
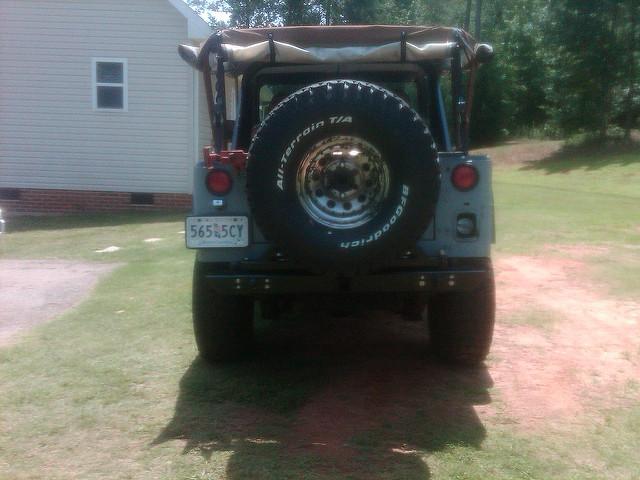
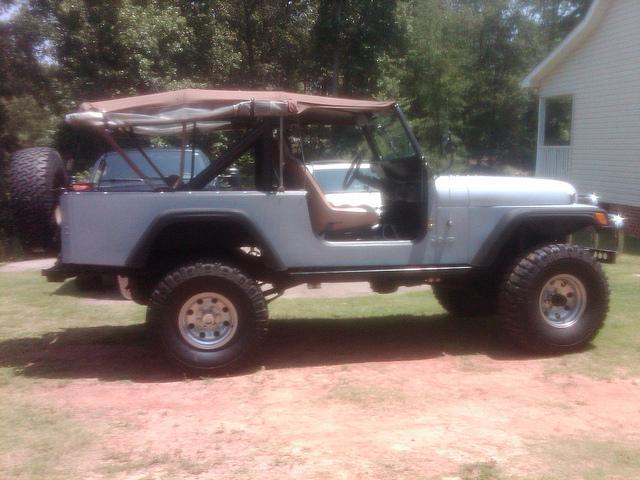
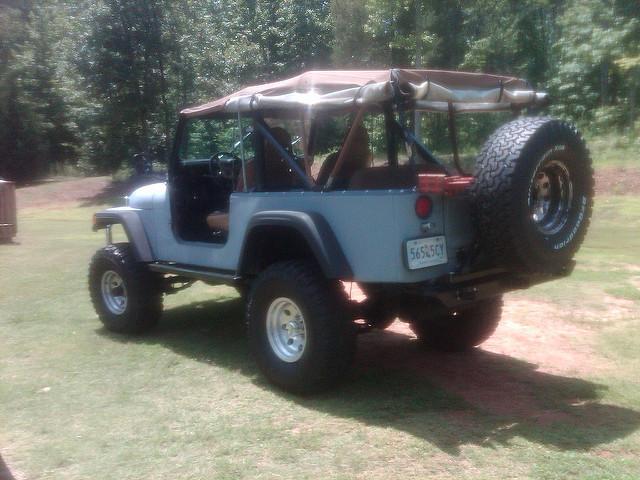
Well made a little progress on the 8 this weekend! Feels good to check one more thing off the list of "to do's". My future brother in law works at Michelin and got me a deal on a spare tire that I had to jump on. 35 x 12.50 BFG AT for 75.00 new! Who knows how that happened but I was on that deal like stink on poop! So saturday morning I got up and went to the local tire shop and had it mounted and got the little bit of stuff that I needed to lock her on to the tire swing with out rattling. This thing looks like a monster back there. I still have the strip the paint off the rim that I got to put it on and polish it up but in due time it will get done. Well that is it for now. I am hoping that I have found a CJ7 on the cheap to get for my little boy.....ok it is for me but he can have it one day!



- City
- Ashburn
- State
- VA
Your Jeep looks great. And by the way, after staring at your pics for months, I decided to try and fit some TJ flares on my 8. I picked up some freebies the other night and will be shooting them with some black krylon fusion paint and then I am going to mock them up on the Jeep to see if I like the look on mine as much as I do on yours.
And I wish I was as lucky as you when it comes to scores falling into your lap. Well done. I love what you did for the tire swing and hi-lift mount. And nice grab on the two piece doors.
And I wish I was as lucky as you when it comes to scores falling into your lap. Well done. I love what you did for the tire swing and hi-lift mount. And nice grab on the two piece doors.
SCJeeper
Legacy Registered User
- City
- Pickens
- State
- SC
Thanks Gr8dain! Things have been a stand still for a little while on the Heep. Took a couple of mini vacations and work has been insane as well. Speaking of insane...me and the misses started the Insanity workout and we are having a great time doing it. The huge fat blob in the picture above is going away forever. I want to look as good as my Jeep does going down the road! Plans are heading in the direction of paint right now. I'm just trying to figure out the time frame to get it done and where to keep parts that I am done with. You know the minor details :-). It has been so hot that i have not even been driving the thing. Today is the first time in a month that I have drove it because it is supposed to be a cool 89* today.
SCJeeper
Legacy Registered User
- City
- Pickens
- State
- SC
Well started the tear down last night for a little bit anyway. I got all the Soft Top hardware off and ready to take to powder coating. Tonight's goal is to get the flares off and maybe the tire swing and tailgate. I have a little body work to do on the tail gate before it is ready for paint. Luckily that is all the body work that I have left to do. The PO did a great job before I got it. i am not using body color hinges but I am going to paint them since I have them all because I might change my mind one day and want them on there. i am taking all the hinges to bare metal then sealing, priming and painting them all body color then wrapping them up and putting them away. All the seals for the full doors cost a fortune but i am going to strip the doors down for paint and order all the seals and such as mulla allows.
SCJeeper
Legacy Registered User
- City
- Pickens
- State
- SC
Insanity is truly amazing! We love it and the fact that it actually works is that much better. It definately aint no walk in the park. We chose it over P90X because we didn't really have a place for the pull up bar and weights and stuff. i actually have a sinus infection right now so I am taking this week off and starting month 2 over on Monday. As far as progress on the Jeep goes....made good progress last night on disassembly. Only things left to take off are the rear bumper, tail gate, wind shield and windshield hinges and front fenders. Hoping to get the front fenders off tonight then trailer it to my buddy's house where I will be painting it so he can help me with the rear bumper cause it's a beast. Then the fun of sanding begins.
SCJeeper
Legacy Registered User
- City
- Pickens
- State
- SC
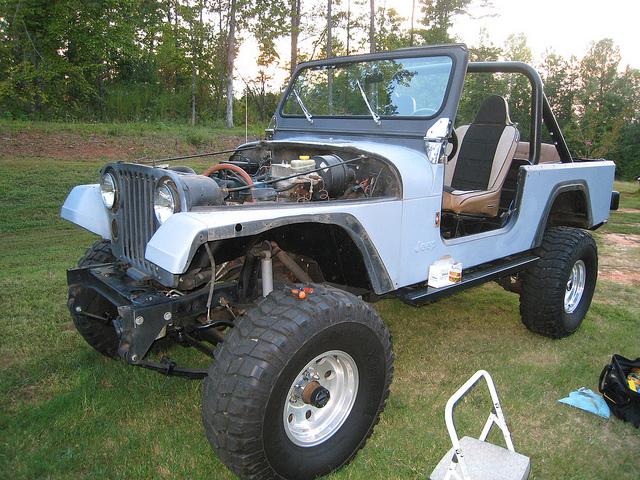
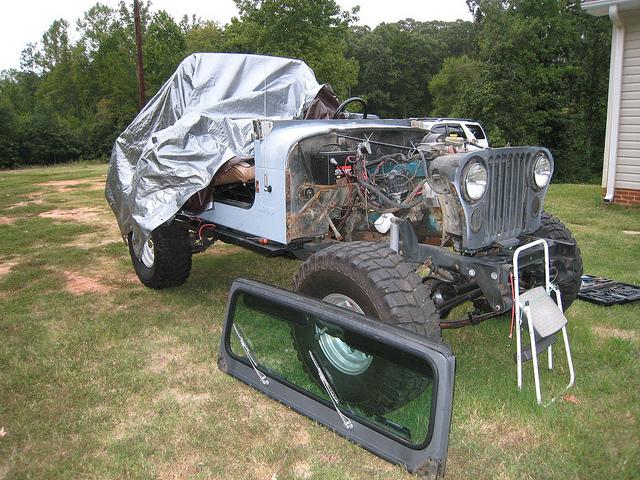
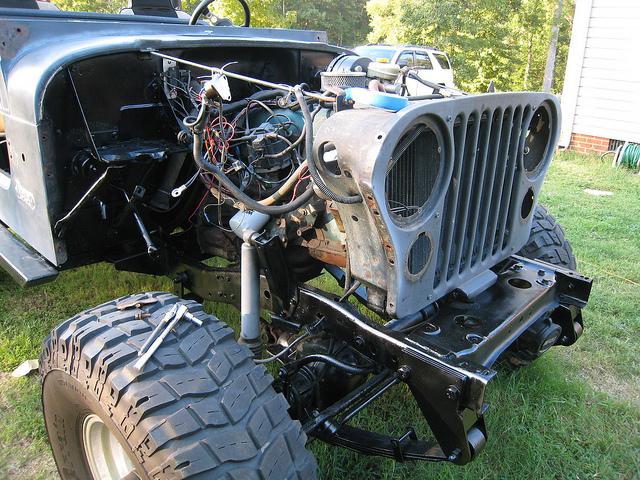
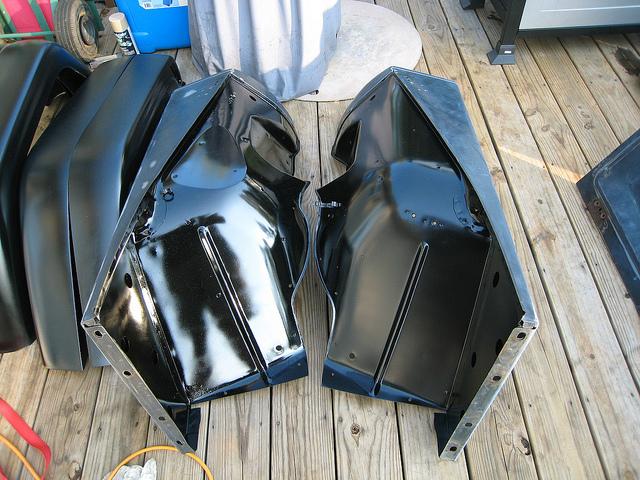
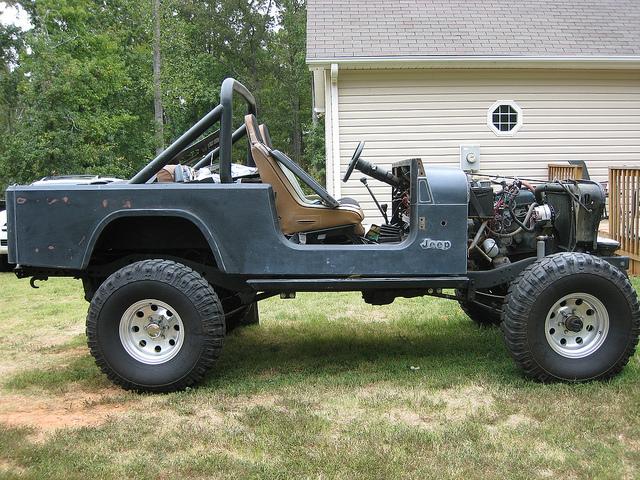
Little update time! Things have been going relatively smooth with the tear down minus having to borrow some tools to get my big arms in some pretty tight places. So far I have the front fenders, windshield frame, dash, glove box door, hood and tailgate all ready for paint. I have completed blacking out the engine compartment and the only thing left in there is to clean some wiring up as you will be able to tell in the picture. I also blacked out the back side of the dash and I am in the process of making the wiring a little neater in there as well. i hope to lay some paint at the end of the week to really show the progress! Pictures as promised!
Top Hardware off
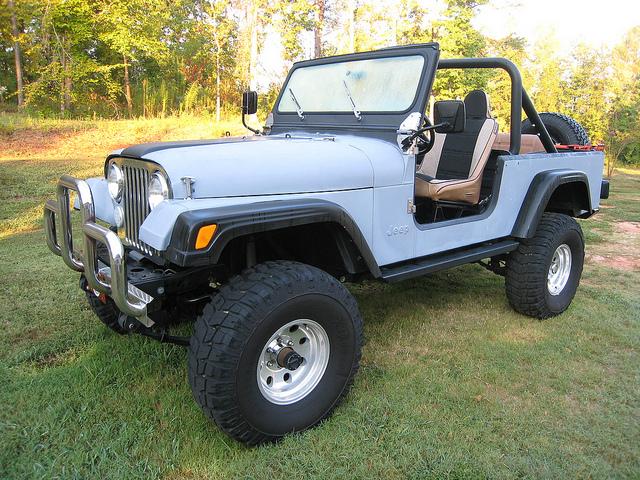
Flares, bumpers, hood gone
Fenders, Windshield and dash
Blacked out Engine bay
Blacked out Fenders and flares
Backside of Dash
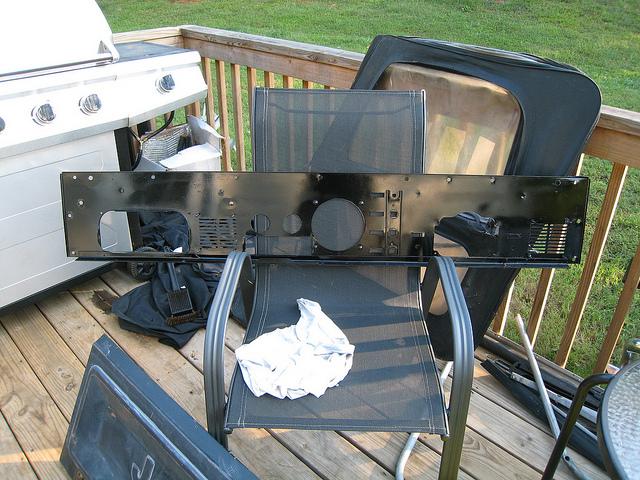
Tub
Top Hardware off
Flares, bumpers, hood gone
Fenders, Windshield and dash
Blacked out Engine bay
Blacked out Fenders and flares
Backside of Dash
Tub


SCJeeper
Legacy Registered User
- City
- Pickens
- State
- SC
made some more progress tonight before dark. I spent some time painting some normally hidden components that will never be seen but that looked ugly so i had to make them better. I am trying some of the vinyl paint on some of my black interior components like the sun visors and door panels. The visors came out incredible in my opinion. I am hoping to start laying some blue on Thursday if everything works out right. Hood, Fenders, dash, tailgate and windshield frame. big ambitions for after work but I am optimistic. I have to drop the soft top brackets to the powder coater even though I am not going to need them real quick and spend some time polishing my soft top windows trying to clear them up some. To answer FLCJ8 and Dain about the TJ Fender flares it was a simple as drilling matching holes from the flares into the body. yes it will hurt to make more holes in the tub but if you want it you have to make sacrifices I guess. the holes can always be patched.
SCJeeper
Legacy Registered User
- City
- Pickens
- State
- SC
I GOT TO START PAINTING LAST NIGHT!!!!!!!!
I was so excited/nervous about getting to this point. This was my first time ever touching a spray gun so I was a smidge leary of the outcome. I got everything in the booth on my lunch break and set up for final prep. Work day ended at 4:30 so I changed clothes and was in the booth by 4:45. I had the final clean everypiece and get everything taped up to paint. By the time I finished this process for the hood, Front fenders, dash, windshield frame, and tailgate it was about 7:00. My buddy jeremy came to help me drag air hose and keep me from bumping into stuff so we proceeded to start mixing paint. My nerves were in over drive so I was just trying to keep the shakes from coming out. Got the first batch mixed and started spraying. The instructions said to do 2-3 medium coats then a mist coast to even the metallic in the paint so I followed them to a "T". It took about 2 hours to complete all the pieces including a sandwich break. I could not be happier with the outcome of the paint. I DIDN'T HAVE A SINGLE RUN!!!!! I did think that the paint would be more of a blue color but it is so dark that it has a purple-ish hue to it. I think that it look amazing. The metallic in this paint is amazing! Hopefully I will be spraying the body Sunday.....hopefully.
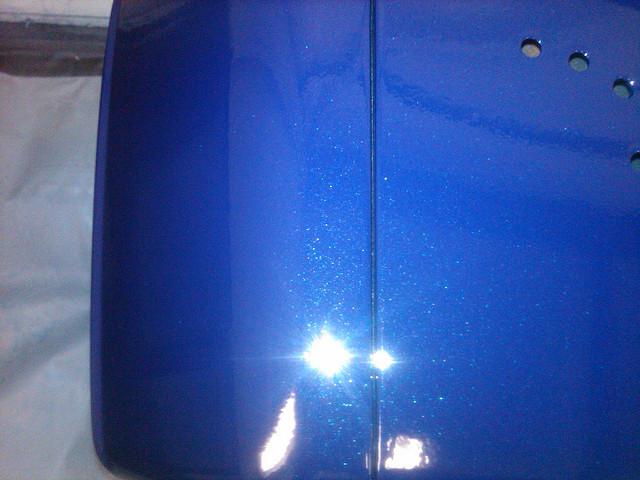
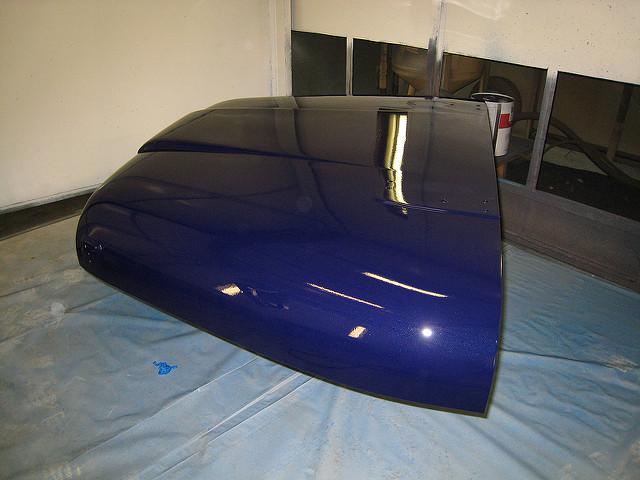
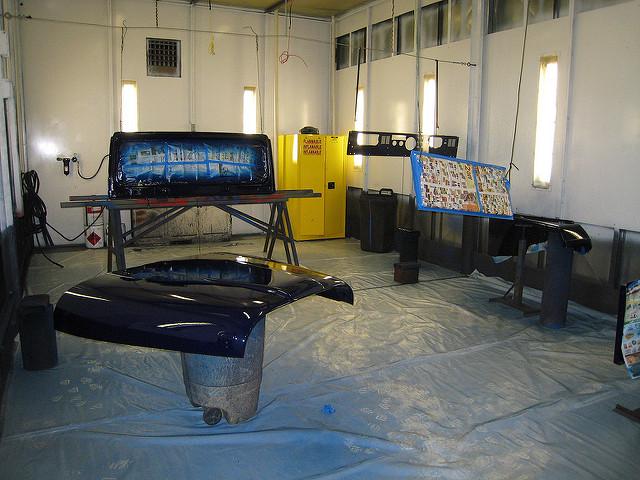

I was so excited/nervous about getting to this point. This was my first time ever touching a spray gun so I was a smidge leary of the outcome. I got everything in the booth on my lunch break and set up for final prep. Work day ended at 4:30 so I changed clothes and was in the booth by 4:45. I had the final clean everypiece and get everything taped up to paint. By the time I finished this process for the hood, Front fenders, dash, windshield frame, and tailgate it was about 7:00. My buddy jeremy came to help me drag air hose and keep me from bumping into stuff so we proceeded to start mixing paint. My nerves were in over drive so I was just trying to keep the shakes from coming out. Got the first batch mixed and started spraying. The instructions said to do 2-3 medium coats then a mist coast to even the metallic in the paint so I followed them to a "T". It took about 2 hours to complete all the pieces including a sandwich break. I could not be happier with the outcome of the paint. I DIDN'T HAVE A SINGLE RUN!!!!! I did think that the paint would be more of a blue color but it is so dark that it has a purple-ish hue to it. I think that it look amazing. The metallic in this paint is amazing! Hopefully I will be spraying the body Sunday.....hopefully.
 Well done!! Can't wait to see the tub!
