You are using an out of date browser. It may not display this or other websites correctly.
You should upgrade or use an alternative browser.
You should upgrade or use an alternative browser.
Scrambler UpGrades - Pappywaho
- Thread starter CHIEFWAHO
- Start date


- City
- Thayer
- State
- KS
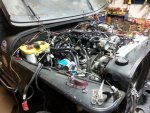
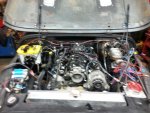
Finally got it fired up tonight. Not without some issues.
Guess the motor had sit around too long.
We're thinking all but 1 of the injectors had seized.
Luckily I had another set laying around from another to be swapped 5.3 (1981 Chevy SWB C10)
Dad did a great job doing the harness himself.
Will posted video proof soon!
Guess the motor had sit around too long.
We're thinking all but 1 of the injectors had seized.
Luckily I had another set laying around from another to be swapped 5.3 (1981 Chevy SWB C10)
Dad did a great job doing the harness himself.
Will posted video proof soon!
- City
- Thayer
- State
- KS
Hope this link works
https://www.facebook.com/CHIEFWAHO/videos/1350532154960461/?l=8558810044870561200
https://www.facebook.com/CHIEFWAHO/videos/1350532154960461/?l=8558810044870561200

mysunnshine
Legacy Registered User
- City
- Phoenix
- State
- AZ
Backspraying the injector with carb cleaner usually unsticks them. I do that using our injector cleaning machine at work while pulsing the injector. You can do the same thing with two wires and a battery too. Just keep the sparks away from the carb cleaner and only pulse the connection and never hold current to it.

- City
- Thayer
- State
- KS
Backspraying the injector with carb cleaner usually unsticks them. I do that using our injector cleaning machine at work while pulsing the injector. You can do the same thing with two wires and a battery too. Just keep the sparks away from the carb cleaner and only pulse the connection and never hold current to it.
That is what we did this morning. Got them all spraying and back in.

- City
- Kingman
- State
- Ks
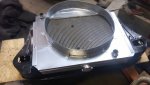
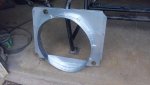
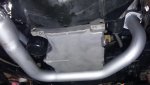
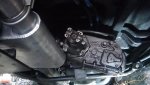
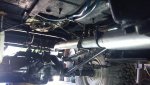
Do you happen to have a better picture of how the anti-wrap bar is tied to the frame or a cross member? I am trying to figure out how to stuff one of those in there on mine and not have to redo my exhaust. I thought about going off one side of the frame rail, but not sure there is space or will be strong enough. From the last picture that kind of looks like what you did?