• Notice for iPhone users: DO NOT use the image size reduction option when uploading photos to the forum. This causes portrait images to post as landscape. We have added a warning to the image insert pop-up as well.

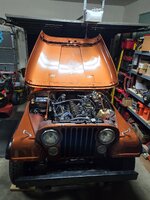
Spankrjs 1985 Spring Special CJ-7

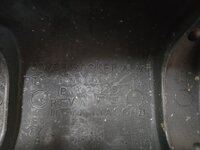
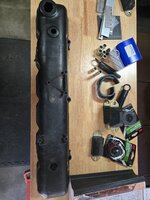
Still have this OEM plastic valve cover in my garage, pretty sure I bought it new a long time ago, briefly used it on something, then removed it.
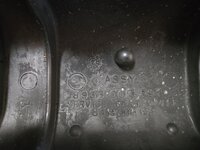
20261025_101253.jpg

20261025_101329.jpg

20261025_101337.jpg

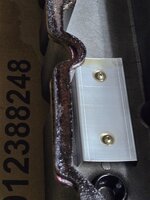
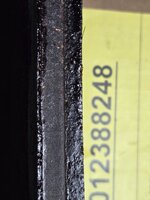
Part #'s:

20261025_101809.jpg

This cover has the front bolt hole, rear bolt hole, three passenger side bolt holes, NO top holes. Not sure what it it is for.

Little locating pegs on the driver side of valve cover.
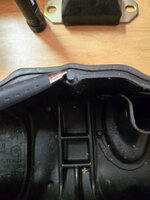
20261025_102032.jpg

These pegs are way smaller then the holes in the head in these locations, not really a positive locator, more like a suggestion.

Valve cover that is on the original engine out of my green 1983 Scrambler, same type:
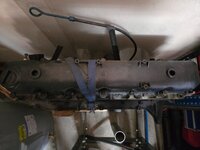
20261025_102143.jpg

I gooped this cover down with RTV, no gasket, no leaks.

The 1986 CJ7 in my yard has the same valve cover BUT it has the two top holes for the threaded rocker bridges, too.

Sitting overnight, still seeping.
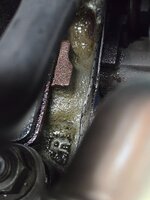
20261025_102235.jpg

If the aluminum valve cover is not cracked, I will reinstall it with either the black FelPro gasket that I have, or wait on the Real Gasket I ordered Friday night to show up. The real Gasket is orange silicone, intalled dry. I am using this gasket with this same valve cover on my green Scrambler's 258 with no leaks so a proven set up IMO.

If this valve cover is cracked I will give the OEM plastic valve cover another try. Will not use any type of gasket, just straight RTV on the head then the plastic valve cover.
 
The FelPro worked. Very thin layer of something. Can’t remember, it was in Dallas night before driving to Moab. Cork was cracked and leaking. Months later you and I went exploring inside the engine and I went back with the Orange one. Works great because you can install and loosen if needed, to move into the correct position and snug it back down, no sealant so no problem re-getting into the correct position. :thumbsup:
 
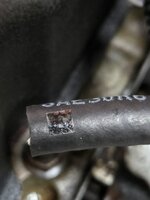
Note to self: black labels do not show up well on black vacuum lines!!

20261026_174411.jpg

Oh well, only about 8 or 9 lines, so I can suffer through it. Blue painters tape would have been better but that stuff got pricey!!

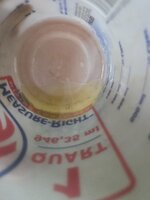
Pulled off the fuel filler, old fuel definitely has a yellow tinge to it.

20261026_181718.jpg

Once I get this Jeep back outside I will siphon out the remaining fuel, not much in there, maybe 3 gallons. So, that yellowish tinged fuel is probably one part old fuel to two parts new fuel.

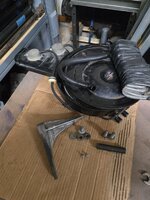
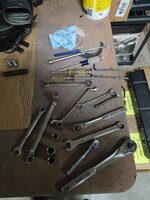
Not too many parts had to be removed.

20261026_184938.jpg

Not too many tools used.

20261026_184943.jpg

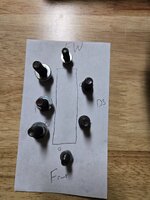
Valve cover bolts out and locations labled.

20261026_185013.jpg

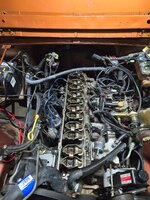
Had to whack the valve cover a few times with a rubber mallet to break the seal loose. Kind of surprised me, since it is leaking. Was able to remove the valve cover without draining coolant/disconnecting coolant lines.

20261026_183453.jpg

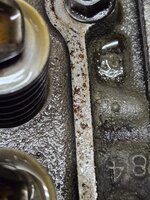
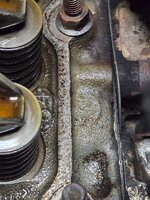
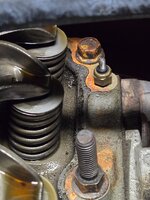
Driver side, hot side, some remnants of the cork gasket cooked to cylinder head.

20261026_183525.jpg

20261026_183543.jpg

Looking back toward the firewall, near temp gauge sending unit, you can definitely tell where the gasket was!

20261026_183531.jpg

Passenger side of cylinder head, not as hot side, no cooked on gasket material.

20261026_183546.jpg
 
With the valve cover off and upside down, you can tell where the oil was seeping out. Gasket is wet with oil where it was smooshed/sealed to head.

20261026_183726.jpg

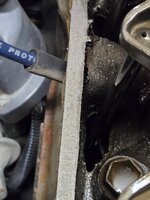
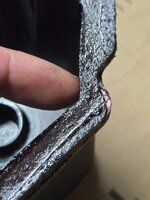
Front corner, driver side, definitely leaking here. Gasket does not show an "inner ridge", where my finger is pointing. Maybe gasket got hard, not sure. The gasket definitely does not have any squishiness to it anywhere.

20261026_183758.jpg

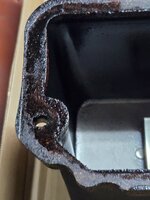
Back corner, another leak spot.

20261026_183809.jpg

Passenger side, no leaks. Note the nice inner and outer ridges of gasket where it was smooshed down perfectly on head flange.

20261026_183731.jpg
 
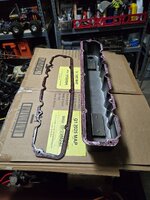
I was able to pry the gasket off the cover in one piece, using just my fingers.

20261026_184501.jpg

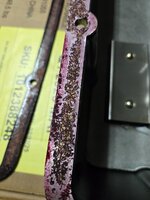
The red/pink hue on the valve cover and cover side of cork gasket was from the Permatex gasket cement I used. That stuff worked great.

You can see, pretty uniformly around the entire valve cover flange, remnants of cork gasket material still stuck down.

20261026_184505.jpg

I used Permatex Aviation Sealant on the cylinder head flange/that side of the gasket. The gasket did not stick as well to the cylinder head. Picture below, you can see remnants of the Aviation sealant on either side of where the gasket was compressed to the head. Maybe cork soaked up the sealant here?

20261026_184509.jpg

Will need to check the specifications, maybe the Aviation Selant is not the right product at this location due to high temperatures? I'm really thinking that the cork just got old and hard. It was the Chineseum gasket that came with the aluminum valve cover kit so....

One other note: I was able to remove the valve cover and gasket with the coolant lines intact. If using a "dry install" gasket, which I plan on using here, I can reinstall it with these hoses kind of in the way. But, if using some type of goop, the hoses would have to come off to get a good straight install. Also, if using goop, I would probably remove the transmission mount bolts and jack up the engine level to enable better odds of success.

20261026_184954.jpg

That's it for now.
 
Back
Top