• Notice for iPhone users: DO NOT use the image size reduction option when uploading photos to the forum. This causes portrait images to post as landscape. We have added a warning to the image insert pop-up as well.

Retitled: 83 Scrambler resto-mod finally gaining momentum

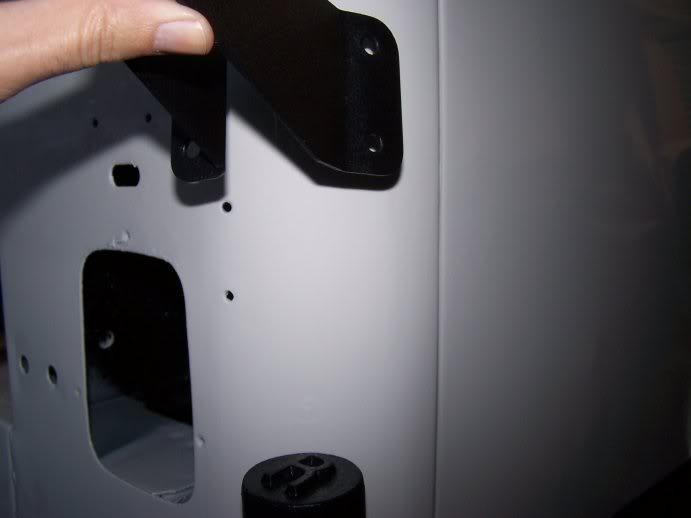
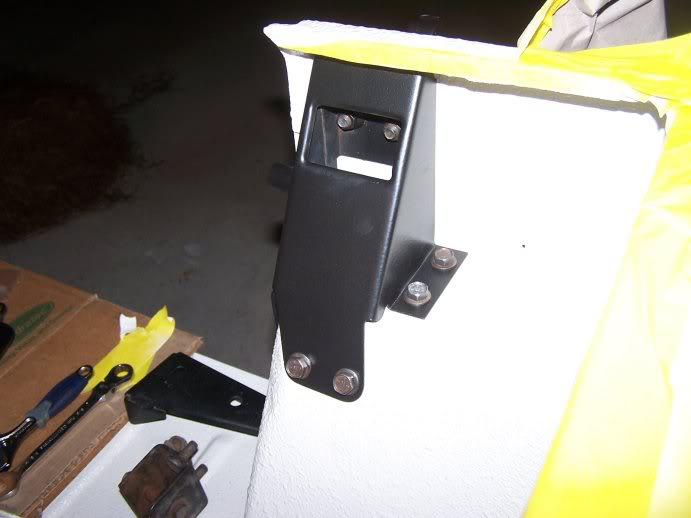
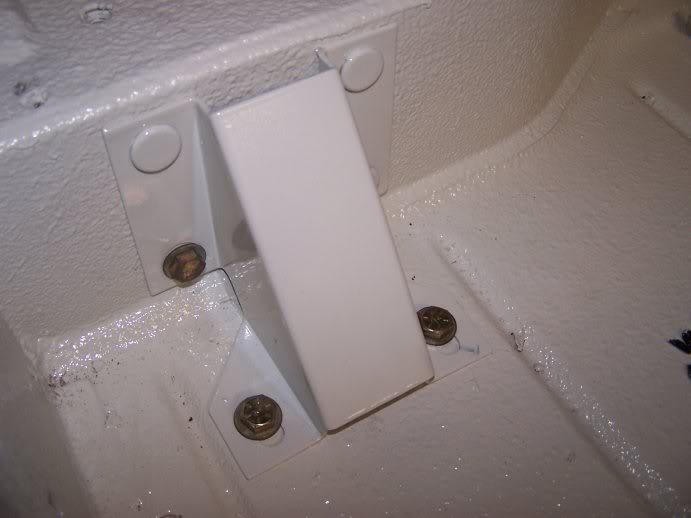
my CJ tray disintegrated as I took it off the firewall, so my goal is to used the YJ battery tray (requires new firewall holes) and it's associated bracket for the PDC/PDU (the box full of relays).. in the hopes that it will look clean:

I found a YJ tray to use as well, but couldn't bare to drill new holes (at this time), since my CJ tray is still in good shape. I did pull the YJ PDC mount from the YJ tray and mount it to the CJ tray and that seems to be working.

Your rig looks fantastic. Great work!
 
My little man came out and and announced excitedly, "it's FIXED daddy!" "Aaaaaalllllll done!" Not quite buddy.. but makes it feel alot closer!

AWESOME! I LOLed at that... fantastic!

I'm VERY excited about getting to start real tangible assembly for a change

It's all "real tangible assembly", don't belittle all the work you've done to now, it just looks different from now on ;)
 
AWESOME! I LOLed at that... fantastic!

He's at the point in language development that makes for some entertaining conversations, and he's alot of fun.. at the moment he's very big into things that do work (diggers, dozers, etc), fixing things (or me fixing things), and among my favorites (not sure if he got it from me or his mother): he often says "keep working!"

thanks for the encouragement.. :cheers: there's definitely more of a sense of being on the downside of the hill now... although today/tonight presented the first (of what I'm sure will be plenty) reassembly challenges... read on!
 
fixing what's fixed, or re-fixing it, or...

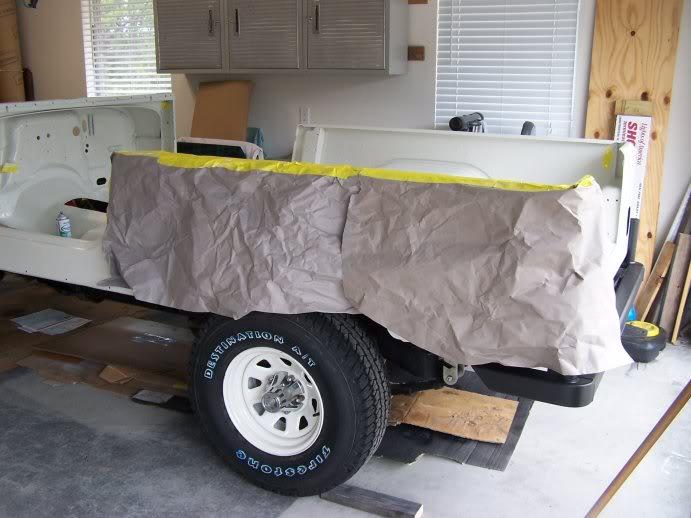
so, here we are masked up again..
100_3092-1.jpg


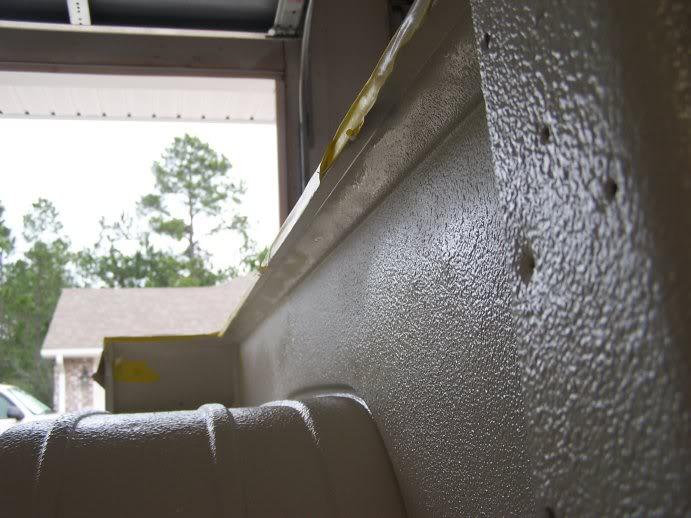
I'll give the benefit of the doubt and chalk this up to my body/paint guys not being "Jeep guys".. but, the problem was that after blasting, priming, some paint, and the bedliner, there were still some spots that were never taken care of.. consistently being areas that one would only see if you (or the Jeep) was upside down.. so I masked it up and shot some rattle can into the cavities below the bed rail, door sills, and anywhere that logically paint wouldn't easily find it's way:
100_3094-1.jpg

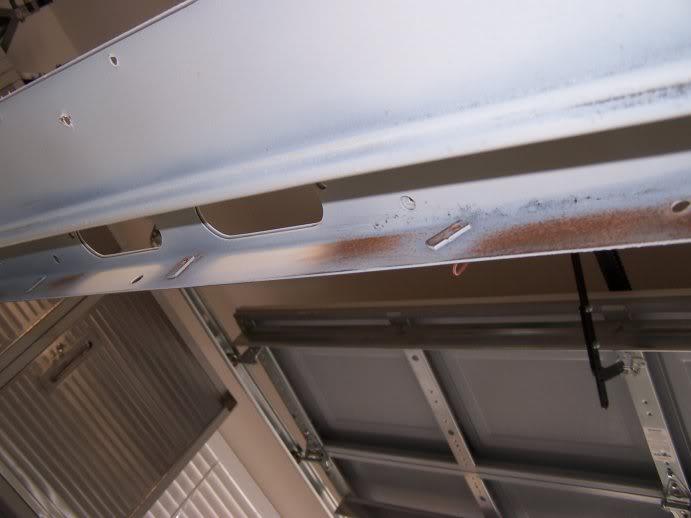
the areas under the cowl (what will eventually be behind the dash) had alot of surface rust on them so I gave them a guick hand-sanding and shot some spray bomb under there as well, here's a before shot:
100_3095-1.jpg
 
so you think your accessories are going to go on smoothly, eh?

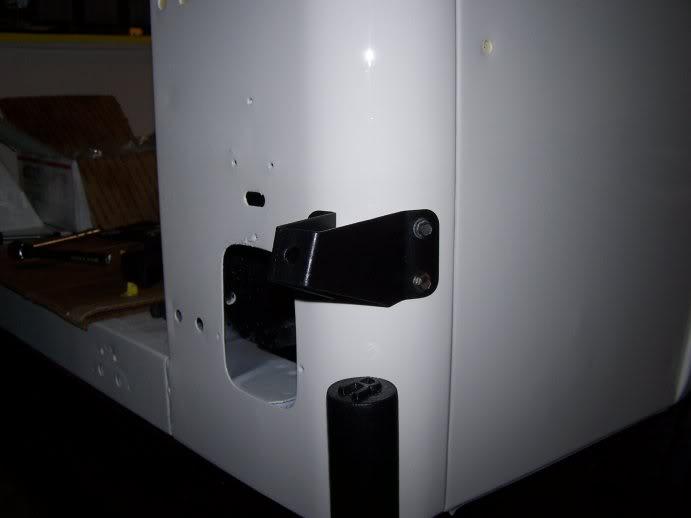
I don't really have a priority of work laid out for the way ahead, but I do have a bunch of stuff that's recently been prepped/painted, so I figured (for items I know that I can install without fear of having to take off again for wiring, clearances, etc) I'll just pick the first one off the table... which happened to be the spare tire bump stop...

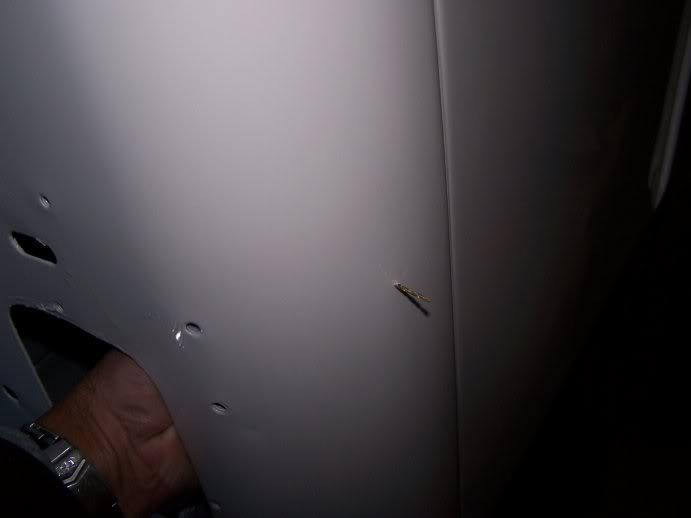
hmmmm... I'm missing two mounting holes?
100_3097-1.jpg


so how do you feel about the VERY first thing you have to install requiring you to have to drill in to your BRAND NEW paint? :evil:

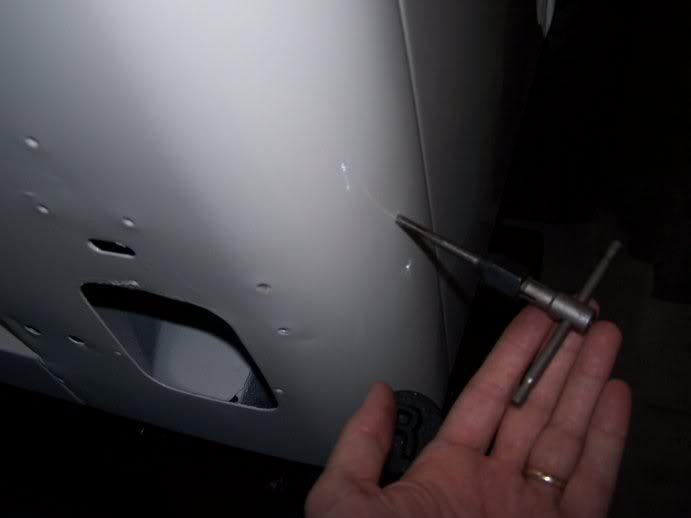
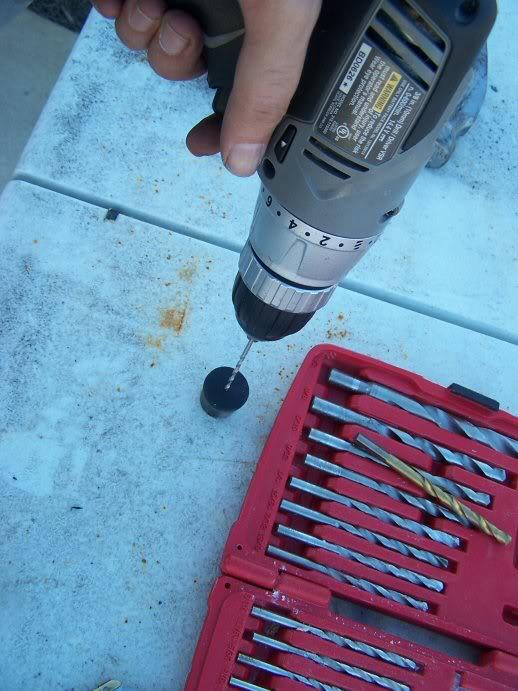
Body guys must have figured these were non-factory holes and filled them with putty, smooted, and painted.. so I knocked down the little blobs of body filler filling the factory holes with some nippers (from the backside via the gas filler neck opening), and used a very small drill bit, by hand, rotating with my fingers.. to drill a hole in the body filler and "locate" the holes from the back side
100_3098-1.jpg


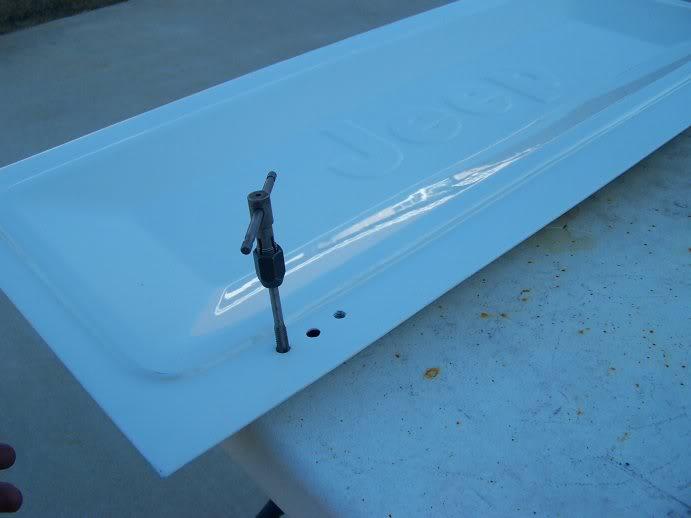
then I used a sereis of taps to gradually re-drill the factory holes (I was wary of doing anything other than small graduating steps if it took a big chunk or chip out of my paint)
100_3100-1.jpg
 
Last edited:
and installed..
100_3102-1.jpg


also painted (bed liner to match my bumper and tire carrier) these triangle braces and installed them:
100_3103-1.jpg


as I began to inventory my bolt bags and accessories, I started to realize the huge gap between what I have prepped, and what I still need to.. and some of the failures in my organization skills (was going to mount my tail gate and swing out tonight, but could find my tailgate hinge bolts, nor can I find the mounting brackes for the swing out.. I need to do another invetory/organization day, and assemble a list of replacement bolts/fasteners for my next trip to Lowes/Ace
 
and as I'm going along here, for re-usable hardware (see the bolts above holding on the bump stop and the braces), I used my bench grinder (wire wheel side) to clean them (both the threads and the bolt heads).. most of the hardware cleans up well, but will eventually get ugly or rusty or discolored again as it is graded (and not stainless), which brings me to a little question/decision point..

what do you do with old hardware when you're mounting new (or cleaned or painted) items? For most of my graded requirements, I'm using new replacements from the Lowes bolt bin.. but most of their graded hardware lacks the "attached" washer sets that many factory fasteners have, so you have to also buy those.. for my chassis alone, I spent over 100$ on replacement bolts.. it's not a big financial commitment, but it's a hassle to have to go get it..

for items that I have on hand and don't HAVE to be replaced (like those pictured above), I've been cleaning them, but painting them before installing is no good (spray paint chips under torque/wrench action), and painting them AFTER is going to be time consuming/tedious at best (ie: by hand with a touch up brush...

i was wondering if there's an alternative way to handle this?

finally, for things that often prove to be a PITA to take out (think roll bar bolts), is it worth doing something like an anti-seize compound on the threads before they go in? I'm going to hex-head bolts on those (and on many of those fasteners that I'm fully replacing) so they should be easier to get out anyway, but the thought crossed my mind.. I'm sure someone here's going to tell me and go the opposite direction (ie: put loctite on them) for safety reasons.. just curious if I was the only one considering this..

in the end, with limited time on hand to get this thing as assembled as I can before we move (from FLA to CO in January), I may not have new hardware, and commit to replacing things bit by bit (so to speak) someday down the road..

 
Last edited:
For bolts I am re-using I clean them up and paint them with POR15, then a coat of chassis black over them. I have not had any issues with the paint coming off. I have started using the eastwood's rust encapsolator and chassis black paint with very good results too (I actually prefer eastwood's stuff especially since it is available in a spray can. Both products are very tough when dry and shouldn't flake off. Just make sure not to get to much on the threads or you can run a die down the treads before installing them. I use anti-seize on just about every bolt on my CJ's. Saves a lot of headache down the road when something has to be removed or taken apart. You will thank yourself later!
 
Last edited:
update

spent a few hours every night over the last week and almost all of last weekend working on the 8

mounted up the roll bar support braces (the PS one was missing one of the four pressed-in bolt/studs, so I had to replace it with a hex-head):
201112rollbarbrace1-1.jpg


mounted the tail gate... on this, and every other threaded hole on this Jeep, I've had to tap out the holes to clear them of paint and/or bed liner:
201112tapping1-1.jpg


any idea of HOW MANY holes are threaded in a Jeep? A lot!

I got the tailgate mounted and adjusted left/right up/down so that it looks straight against the tub.. the only problem I have is that the two rotating latches are (a) now shimmed with a washer to keep them from dragging on the bedliner and (b) way off the tub-side catches that they're designed to grab..
201112tailgatenotseating-1.jpg

not sure how I'm going to skin this cat but, getting them in a vice and hammer-bending them forward has crossed my mind...
 
Last edited:
project: tire carrier

sometime back in February I stripped and painted a spare tire carrier I bought off the JU classifieds... I finally mounted it up, but it was missing the rubber bumpstops that rest below the tailgate...

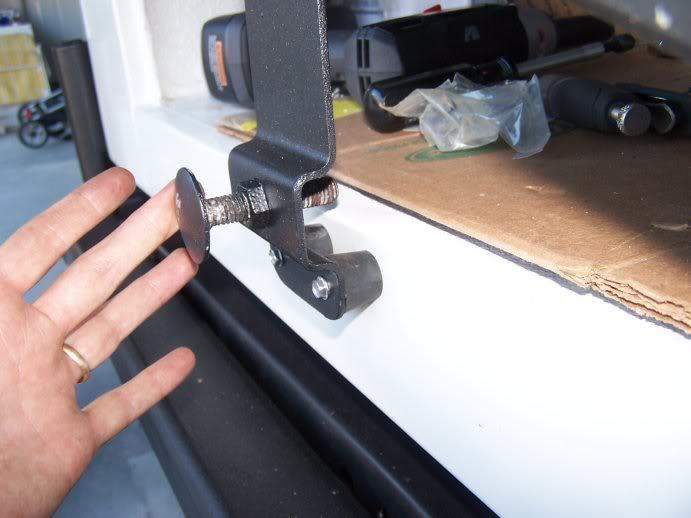
so I bought some generic rubber stops from Lowes, and then (eyeball) measured them against the carrier/vs/tub:
201112carrierbumpstopsmeasuring2-1.jpg

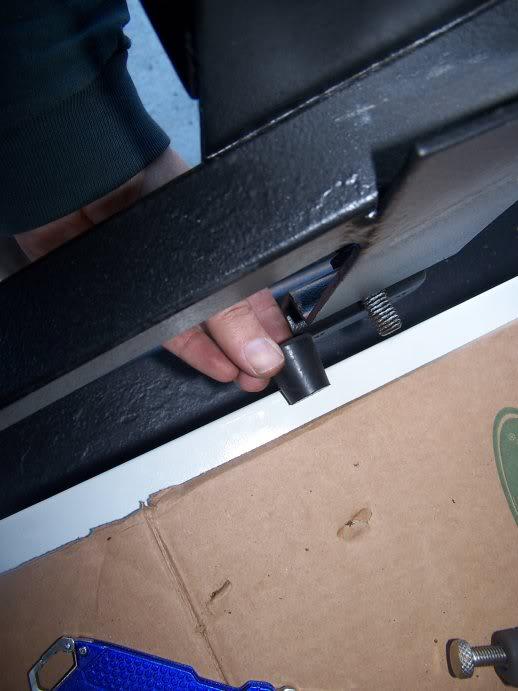
then I cut the excess with a razor blade, and countersunk a hole to put a stainless self tapping screw through
201112carrierbumpstopsmaking-1.jpg

mounted them up and pretty happy how they came out for a 1 or 2 dollar (total) solution to something that likely would've been more expensive to ship to me (if I could find them).. and if I lose or ruin one, Lowes has more :thumbsup:
201112carrierbumpstopsnew-1.jpg

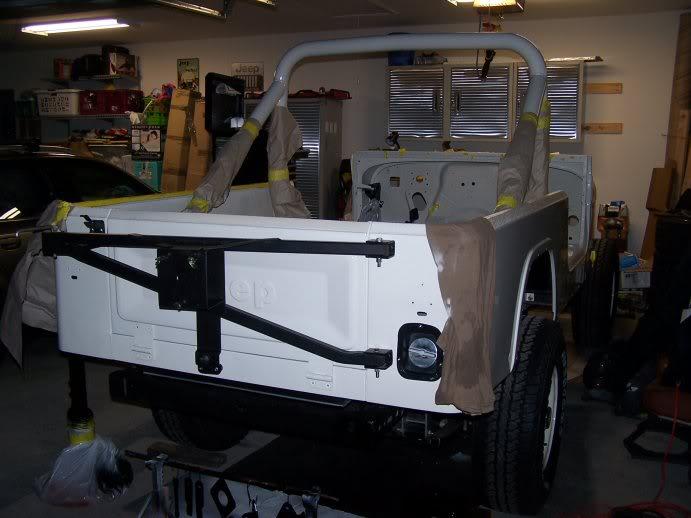
and the tire carrier installed:
201112tailgateandcarrieron-1.jpg


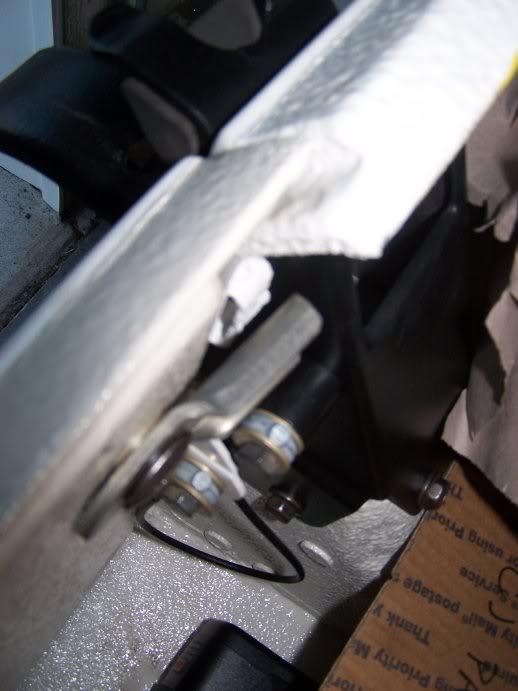
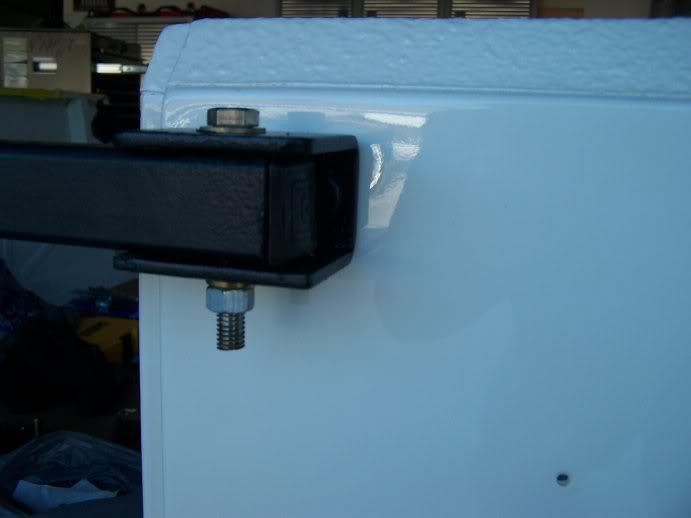
the bolts at the pivot points were way too long, but to get stainless hardware that was not threaded (smooth sided where the carrier touches it) I had to buy them long... I'll cut the excess off here shortly, as there are slight gaps between the two arms of the carrier and the actual mounting brackets/hinges on the tub, and I bought some plastic washers to help seat them tighter and keep the rattling down
201112carrierhardware1-2.jpg
 
Last edited:
I'm nowhere near as organized as I thought I was, or need to be

I was really excited the night I got the tub on because I thought that I was going to be ready to tear through my boxes of parts and get stuff bolted back on... turns out I didn't keep things as organized as I'd thought (and have moved boxes upon boxes around over the last year)... and I also failed to prioritize what parts need to be cleaned/prepped/painted in what sequence.. so I've spent a ton of time playing catch-up and trying to "multi-task" on projects when I have time (coats of paint on one part while doing install breaks on another)...

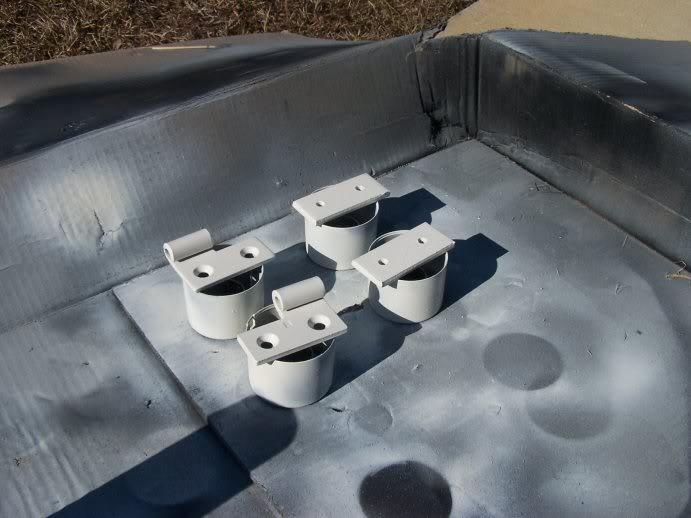
an example: I've had a few random parts that got separated in my piles.. like one of my door catches, and these hinges.. which didn't make it to the painter with all my other hinges so, I had to strip, prime, and paint them last weekend:
201112morebracketsIforgot-1.jpg

201112morehingesIforgot-1.jpg
:angry:

I thought I'd get ahead on installing the grill and then looked at my hood supports, which I just now noticed were all bent to hell
201112grillebracebent1-1.jpg
:banghead:

those are two (three) small examples, but it seems like I've spent an indordinate amount of time searching for one component of a larger part, or now discovering that the parts I do find are not in the right condition for re-installation, or (biggest pain) require me to order some specialty part that I can only get via UPS (add a week to my timeline)

I've also found myself running short on particular pieces of hardware nearly every night (tonight it was washers).. :rolleyes:

lessons learned for me...
 
Last edited:
project heater assembly

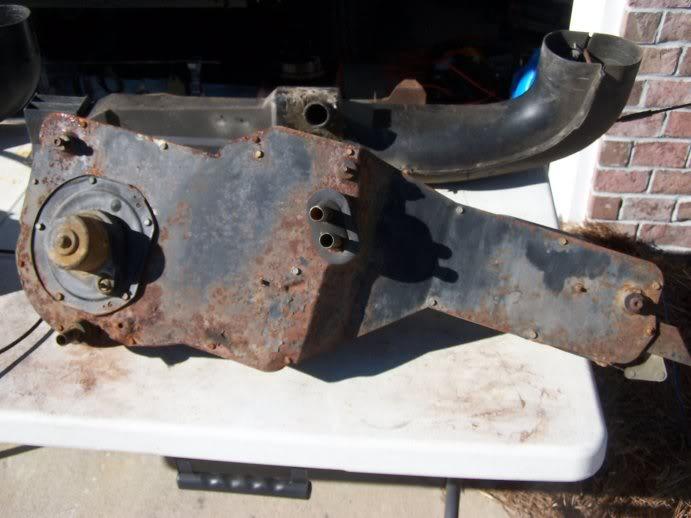
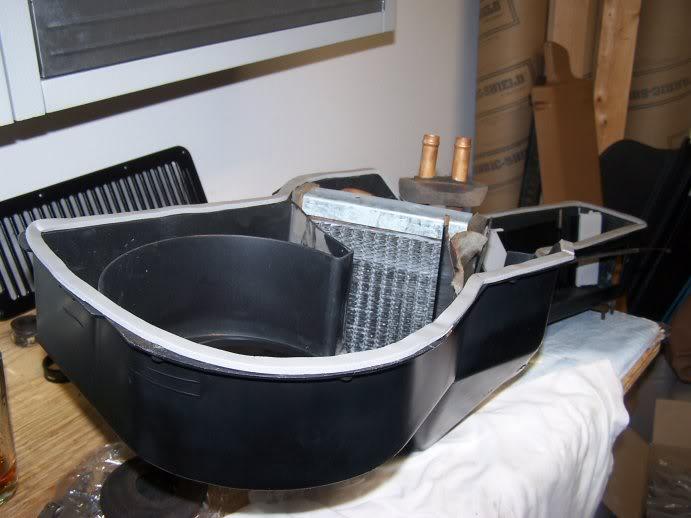
part of my lack of proper sequencing of parts preparation was leaving the heater assembly until too late... it was a job that I was looking forward to because my original heater assembly looked bad when I pulled it and only looks worse after sitting in my (parts trailer) storage for nearly a year:
201112hvacbefore-1.jpg


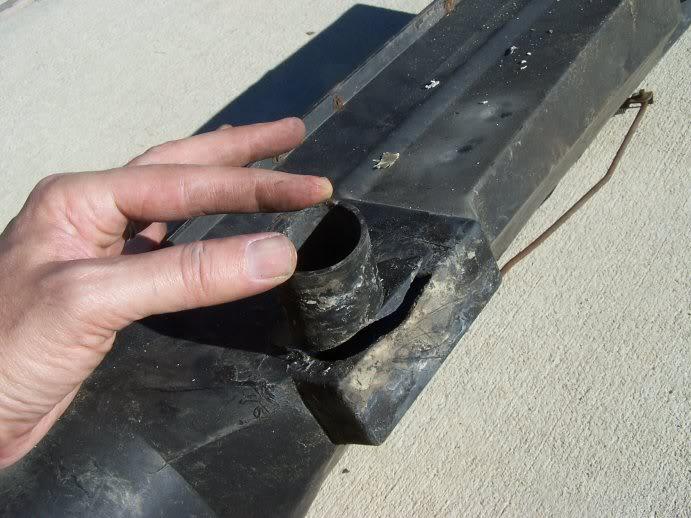
the upper portion had a boogered up fiberglass job on the down-spout/drain that comes through the firewall (you can kind of make it out in the above pic), I cut it all off with a knife and found this underneath:
100_3179-1.jpg


I kept the entire kit out of the YJ I parted out, and thought I might be able to use parts from it to Frankenstein together a complete one.. and some parts do transfer (ie: the black plate that you see all rusted and banged up and above is a direct swap) but some do not (ie: where linkages are mounted is entirely different)

because that butchered up fiberglass/bondo job on the spout you see above was covering only a half-cracked spout, I decided the only direct swapping I need to do was the main backing plate, but I'm doing a full disassembly, clean, repair, and update (new blower motor, new heater core) and paint job before it goes back in
 
Last edited:
good help goes a long way

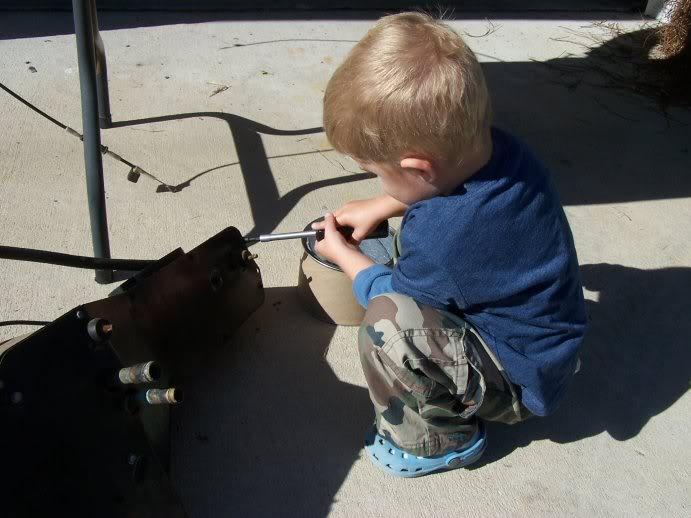
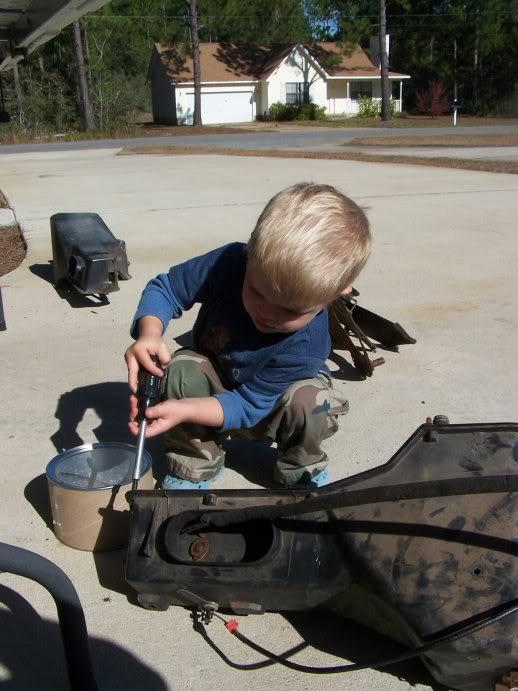
my little man wanted to get involved and this was a good project for him: getting all those 1/4 inch screws that hold the backing plate on un-screwed:
201112goodhelp5-1.jpg


he needed a little help from Daddy but, it was really cool to see him starting to get "in to" what I'm doing:
201112goodhelp6-1.jpg


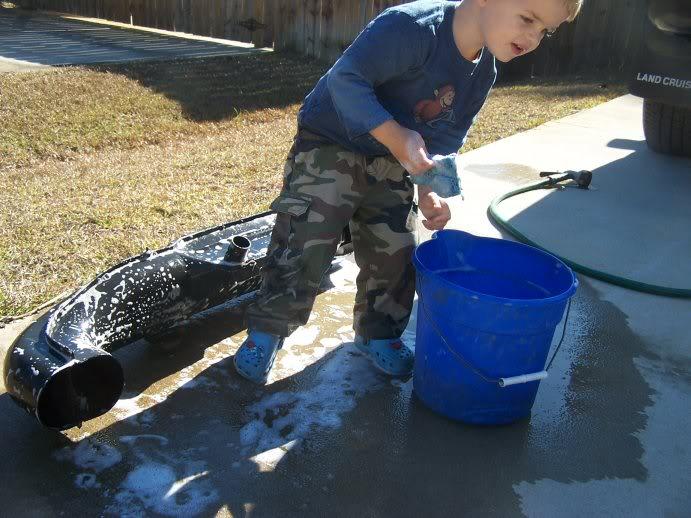
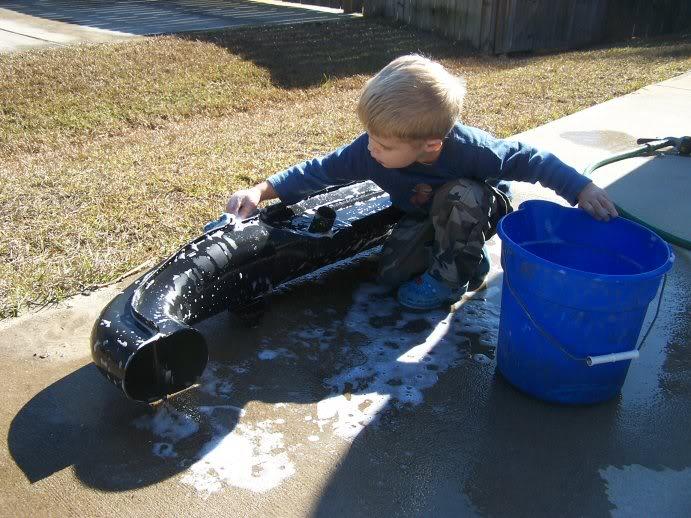
then he helped out with the scrub down (and especially liked the rinsing part.. he gets to used the hose for that) :thumbsup:

201112goodhelp2-1.jpg

201112goodhelp3-1.jpg
 
placeholder for HVAC reassembly

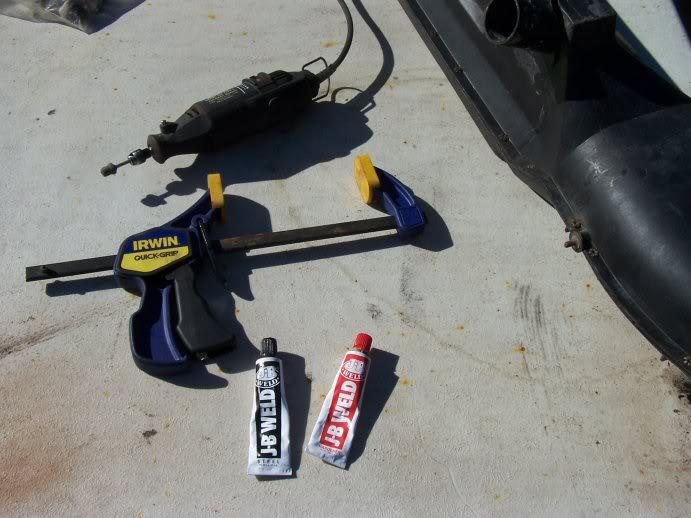
here's what I used to fix the drain spout on the upper heater box:
201112hvacfixtools-1.jpg


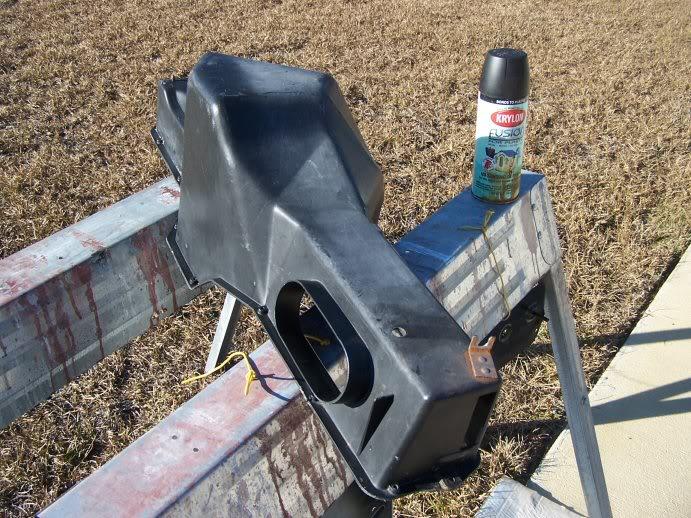
and here's the lower box before I put on the Krylon fusion paint:
100_3195-1.jpg


UPDATED WITH COMPLETION PICS:
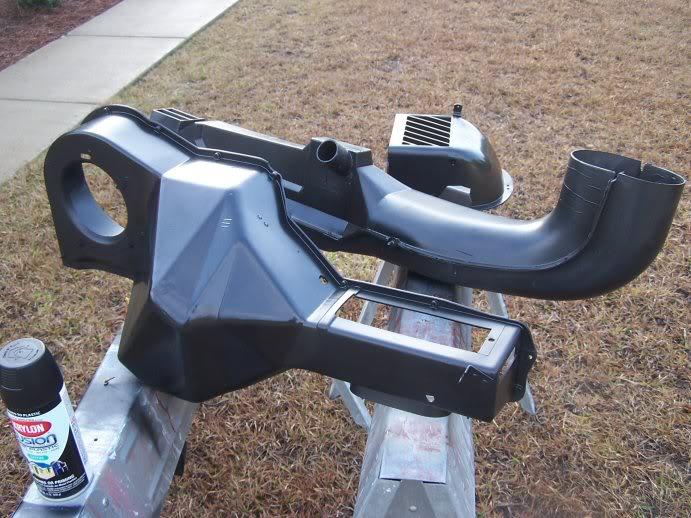
here's the plastic housings with at least one of the several coats of Krylon fusion I gave it:
201112HVACpaint-1.jpg

here's the new heater core mounted and me sealing the outer edges of the assembly with some thin weather stripping... I found that when the whole assembly was back together, this stripping made a difference, as the metal plate bowed out/separated from the plastic housing in between each bolt by quite a bit.. this sealed it nicely:
201112HVACgasketseal-1.jpg

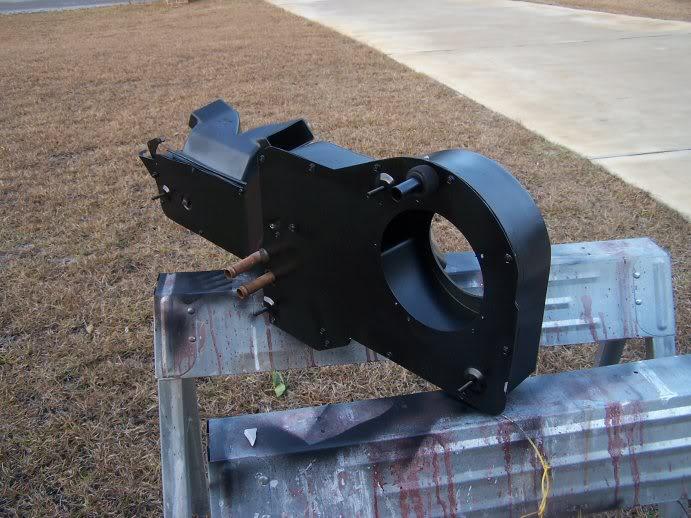
painted and complete assembly:
201112HVAClowerhalfpainted-1.jpg

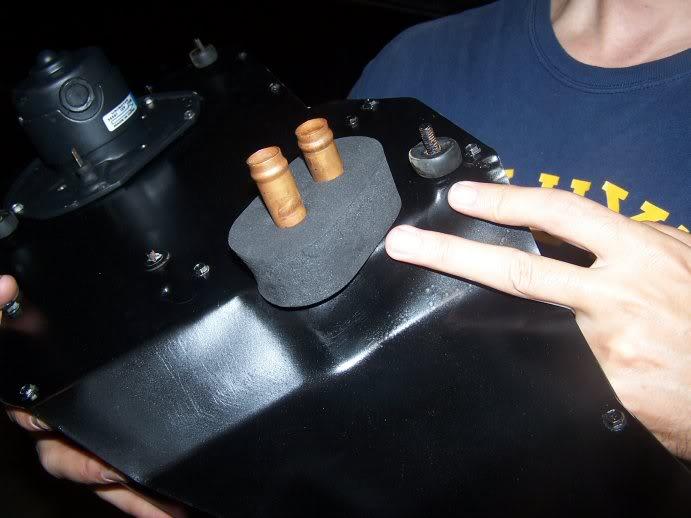
I ordered a replacement firewall gasket for the heater core.. I ended up cutting this thing in half with a razor because it was REALLY thick.. almost twice as thick as required, ad the foam was very dense, so I had a hard time seating the four studs of the assembly through the firewall, as this was giving so much resistance under compression:
201112HVACheatercoregasket-1.jpg


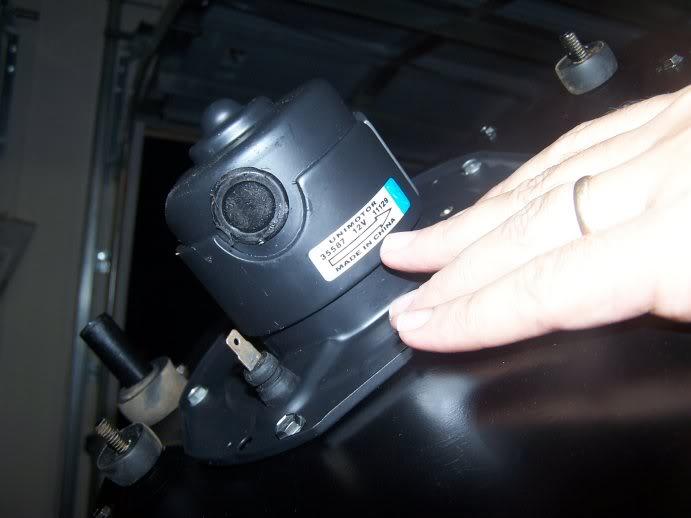
I'll make a new post for this: the blazer blower motor upgrade:
201112HVACblazermotor-1.jpg
 
Last edited:
placeholder for power brake booster restore

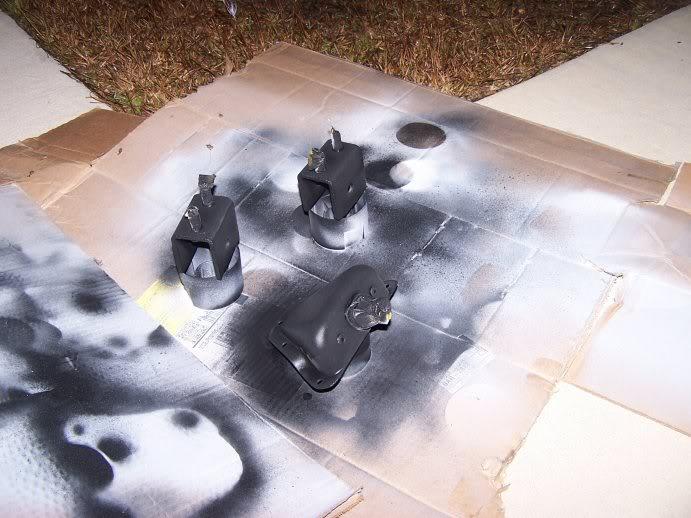
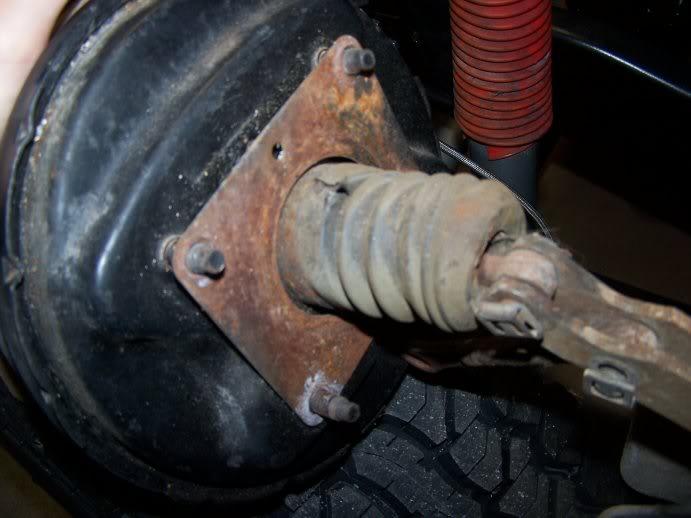
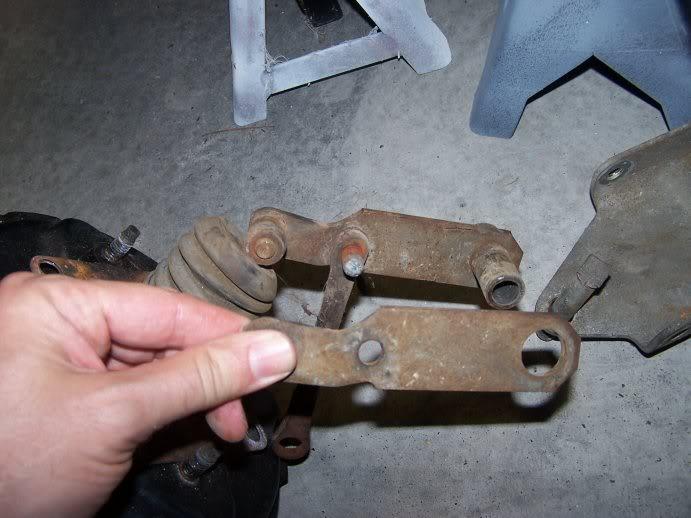
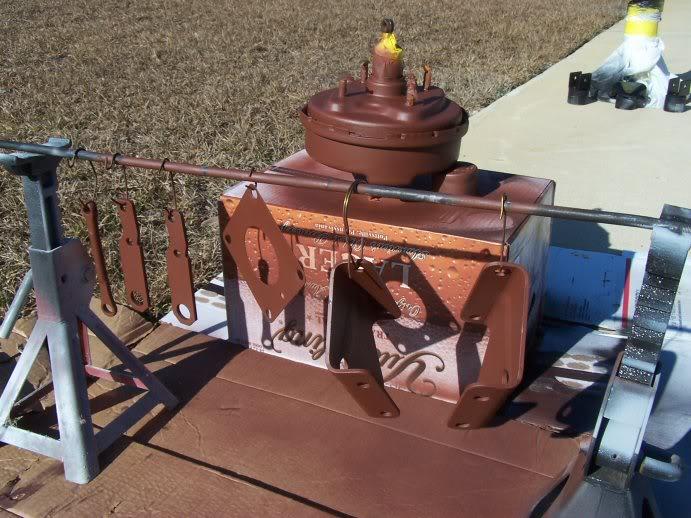
another item that I should have tackled in the weeks my body was in the shop: the brakes parts forward of the firewall (write up on reassembly to be posted):
201112brakeboosterandbracketsprimed1-1.jpg


Updated 23 DEC:

I took about 1000 pics of this assembly when I was taking it apart, and I was glad I did. It's one of those "seems simple" parts/assemblies, that is a bit hard to remember how exactly it goes back together.

here's a general idea of what it looked like at disassembly:
201112brakebracketsref2-1.jpg

201112brakebracketsreference-1.jpg


I'll continue the rebuild on the next page so folks don't miss the update
 
Last edited:
Coming along nicely:cheers:

I see that you are figuring out that its all the little bits and bobs that eat up all your time:thumbsup: I got most of that stuff cleaned up and repainted when i was waiting for my body to get back, but like you, I still had a ton of parts that I "forgot" about, and then had to stop forward progress to clean/derust/repaint:eek:

I used one of those "Totally Stainless" bolt kits, it included a good portion of the hardware you are searching for:cheers:
 
I used one of those "Totally Stainless" bolt kits, it included a good portion of the hardware you are searching for:cheers:

if I could do it again, that's likely what I would do.. the pure savings in time (and gas money as my closest Lowes/hardware store is 9 miles from my house) would have made it worthwhile.

I'm sure you feel the same way I do... if I had to do this project again, I could probably do it in 50% of the time after cutting my teeth on EVERY step the first time with this particular 8.

:twocents:
 
Yep, figured out lots of ways I could have used my time more efficently in hind sight:cheers:

Try to find a "Fastenal" store near you. They are a chain of commercial fastener stores. Way cheaper then Lowes/Home Depot:twocents:
 
my local fastenal only sells items in gross lots (ie: bags of 100 ct or more.. I passed on it as I didn't have a real appreciation for what amounts I needed by size and didn't want to pay for a bunch of excess... not sure if other franchisees operate differently :shrug:
 
Back
Top