• Notice for iPhone users: DO NOT use the image size reduction option when uploading photos to the forum. This causes portrait images to post as landscape. We have added a warning to the image insert pop-up as well.

Retitled: 83 Scrambler resto-mod finally gaining momentum

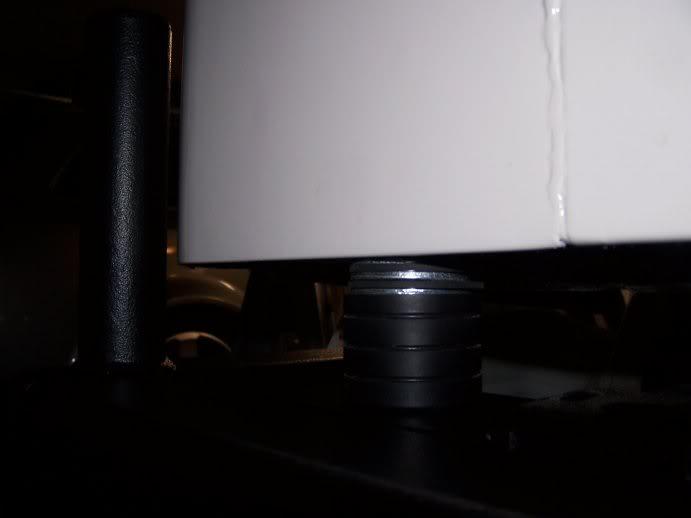
the measuring technique worked well, and with the flexibility of the (moveable) captured nuts in the body, I was able to get it all lined up just fine.. the only complication was that the bumper sits JUST a bit lower than the original x-member, and I had to shim the body mounts with about 1/3 of an inch of fender washers (space with rubber washer) to get them snug against the body.. I've got a pic of that, but haven't downloaded the camera yet..

and here's the washer stack picture..
201112rearbumperbodymount-1.jpg
 
dash install

I was trying to think of a way to capture this but... as I've indicated in some other threads, I"m within weeks now of moving from the Florida panhandle to Denver. My wife and kids will stay behind until I get settled in the new job, do some house hunting, and depending on what happens with the sale of our house here.. as will the Scram. Once we have a definitive timeline for the whole family to move, I"ll take some leave and come back and move them as well.

What that means to this project is: time crunch. I've known for over a month now that getting the truck up/running is probably not a reasonable goal, particularly trying to get everythign "right" as I go. The adjusted goal is to get it into as much of a complete rolling assembly that I can so that I can push/drag it onto a trailer and pull it West.

That said, there are items that I don't like in their current condition, but they're going to have to be "GEFN"... good enough for now. I simply don't have the time left to prep every item the way I want. Two good examples are the steering column and the dash. The upper end of the column needs a rebuild, and just about every bit of the dash (other than the metal dash itself) needs restoration... but for now, it's got to have minimal functionality.. so the "GEFN" on the dash follows...

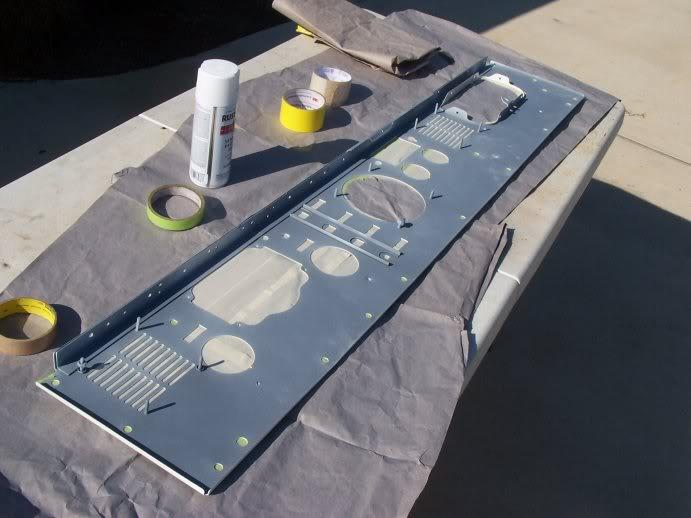
... and yet another part that the painters only managed to prime for me (the back side), so I had to mask off and rattle can here so I didn't get a surface rust farm behind the dash.. here it is masked up ready for white:
100_3266-1.jpg

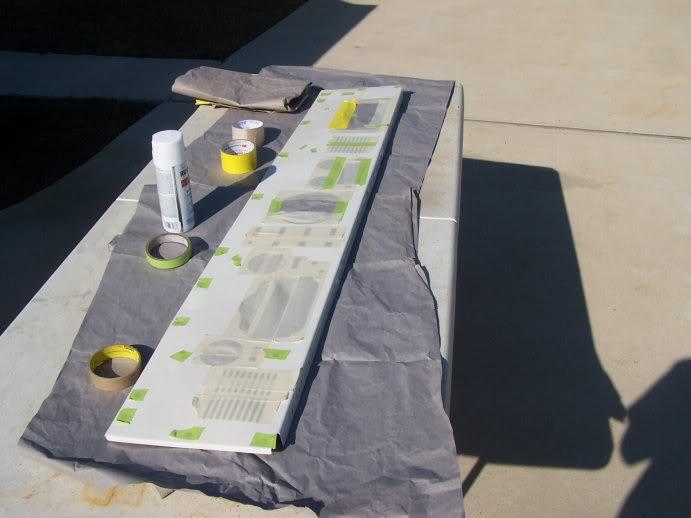
and that kept the front from getting any mixed white colors on it.. the dash was in surpisingly good shape consider how much the PO had driled up the rest of the tub:
100_3265-1.jpg


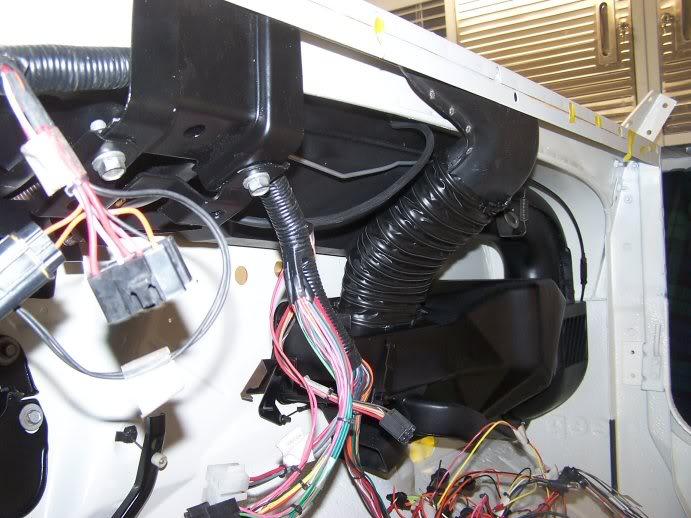
while it was curing I finished up the behind-the-dash stuff, including the defroster ducting (new) and the rigid part that screws to the cowl
100_32741-1.jpg
 
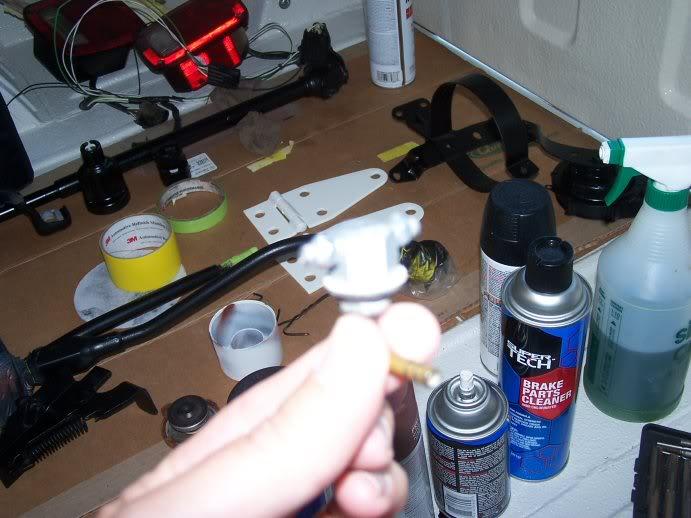
I didn't get a good pic of it but I soaked the windhseild spray nozzle in mineral spirits, painted the body part of it sliver, and mounted it.. here's a blurry shot of the nozzle:
100_3267-1.jpg

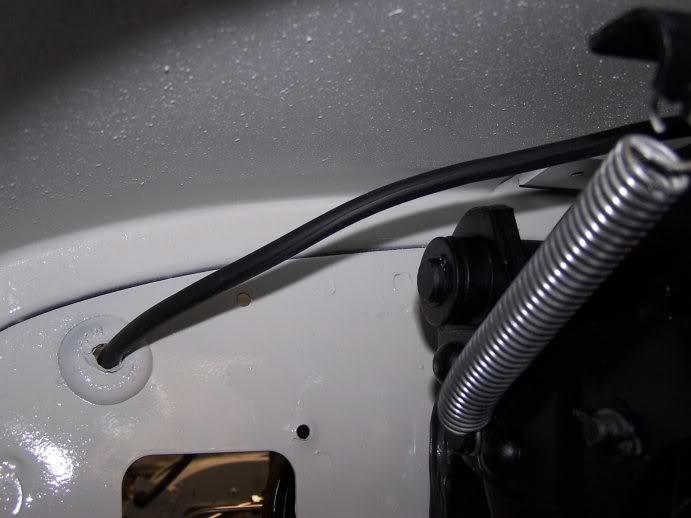
here's the line routing going out the bulkhead to (to be mounted) washer bottle.. I'm going to try and use the YJ washer bottle.. we'll see if it fits...
100_3268-1.jpg


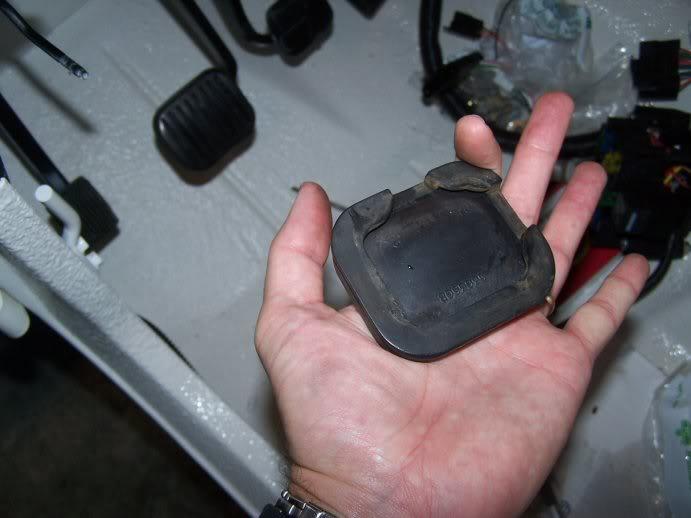
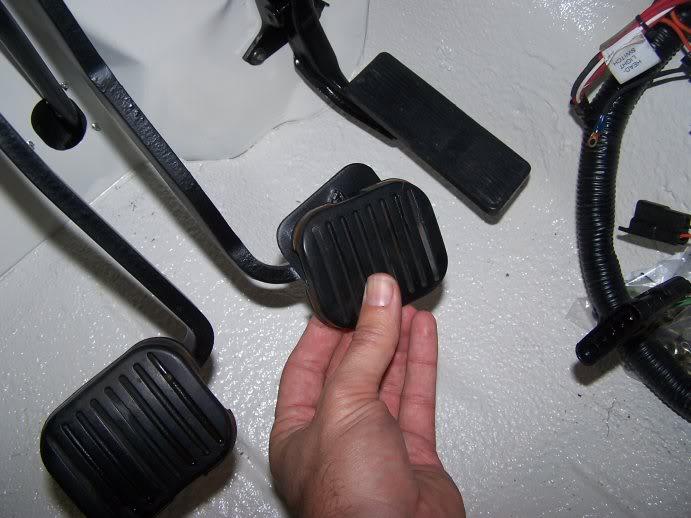
other small things.. successfully got one of two of the pedal pads back on, the second one started tearing up/crumbling on me.. I dont know if new ones are more pliable, but these were a b-tch to get on:
100_3269-1.jpg

100_3270-1.jpg
 
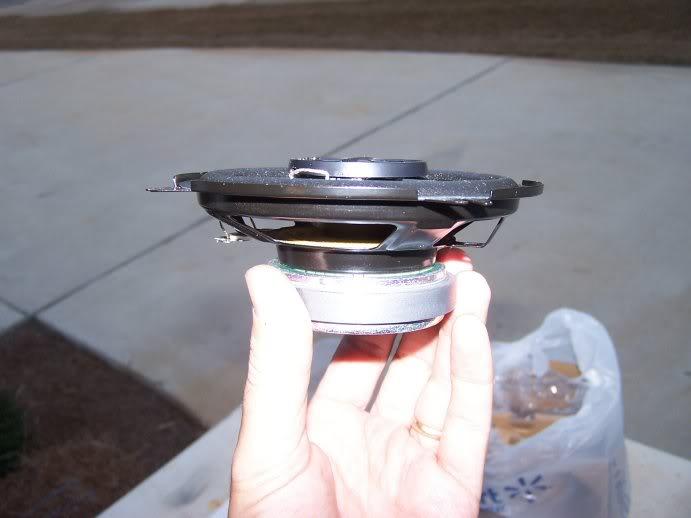
stopped at Wally world and picked up a set of Pioneer 5.25 speakers... they had two models on the shelf that appeared the same, with the same price (46$), but one was 120W max and the other ws 220W max.. so I went with 220 in case I ever get an amp hooked up
100_3272-1.jpg

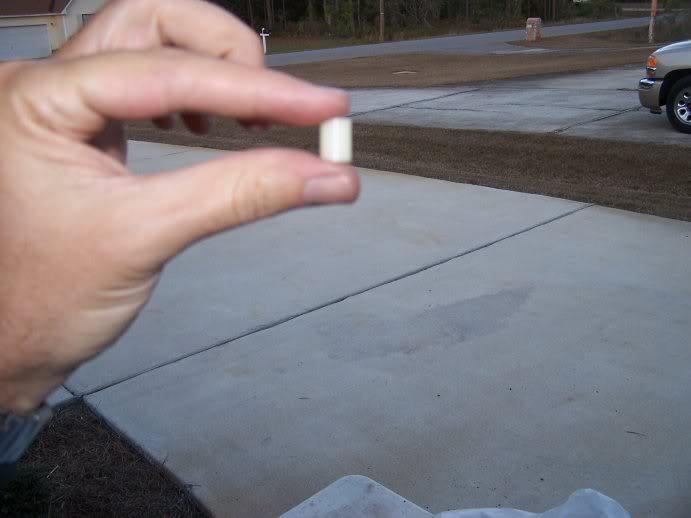
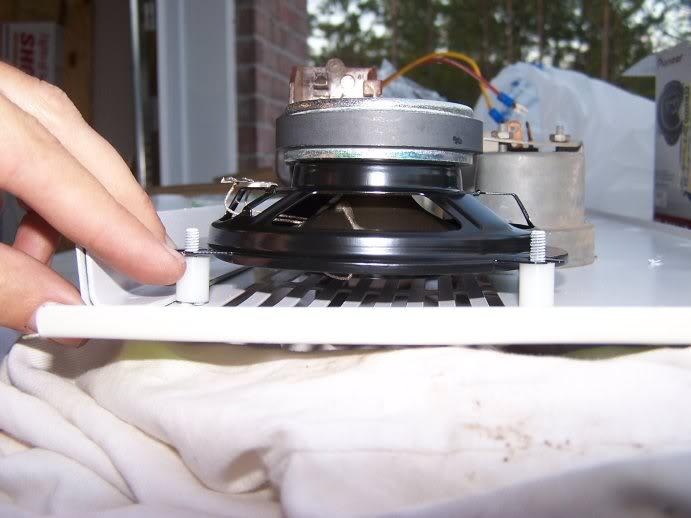
the diagram on the back of the speaker box showed the "depth" of the tweeter being 7/16", so I bought these 1/2" spacers at the local ACE..
100_3273-1.jpg


not sure what the difference was, but the 1/2" spacer put the tweeter evern further away from the grille than I expected.. I went with it for now, and will see if it works okay
100_3271-1.jpg
 
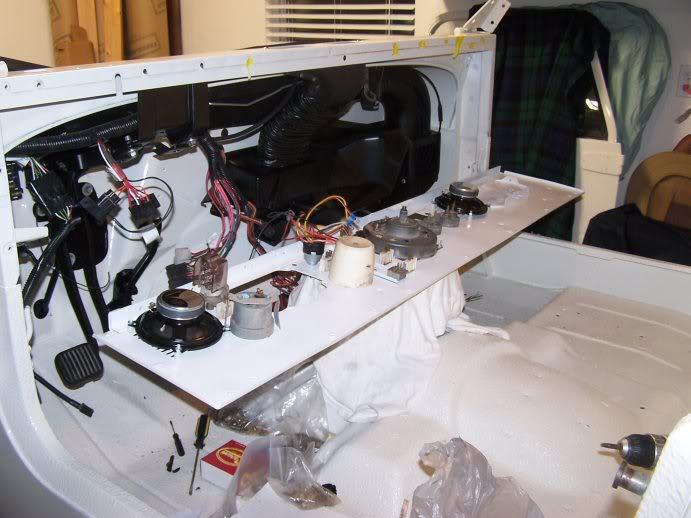
I put a wash bucket in the tranny hole and a box on top of it to hold the dash up so I could start my wiring re-install
100_3275-1.jpg


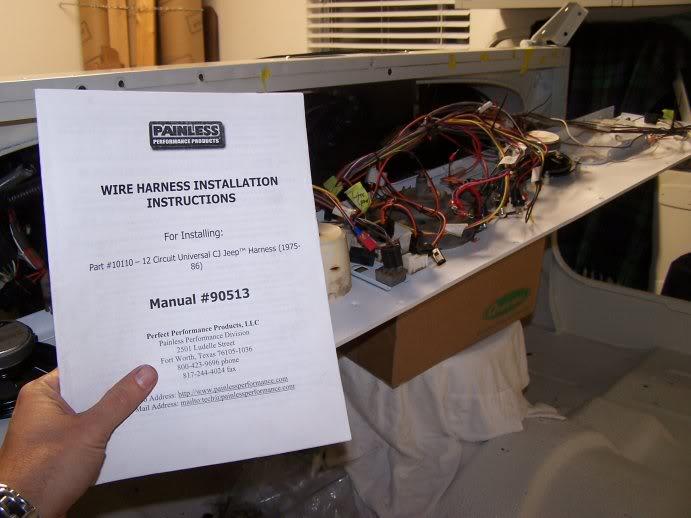
I did a Painless harness on this truck about four years ago, and as it's never really been on the road/used, it looks basically brand new, and all the termination/labels are still there... good to keep instructions for stuff like this:
100_3276-1.jpg

made it about a 30 minute job to re-wire the dash, and that was only because I didn't read the instructions again before I started

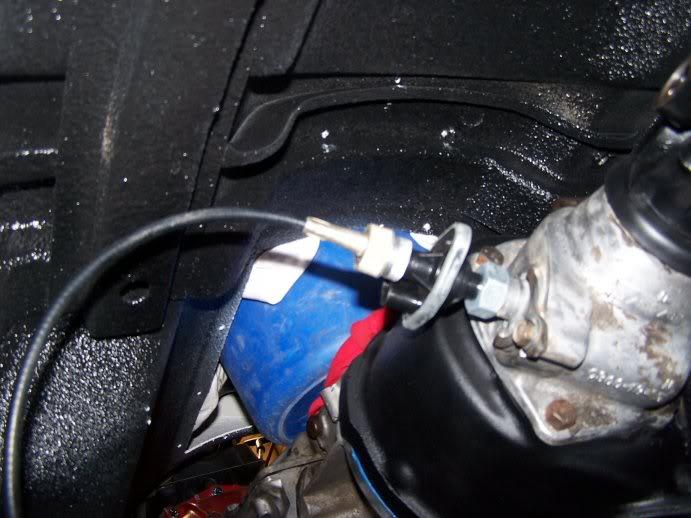
put the speedo cable on the speedo and to the VSS adapter from Hesco on the xfer case output
100_3277-1.jpg
 
upper steering column reassembly..

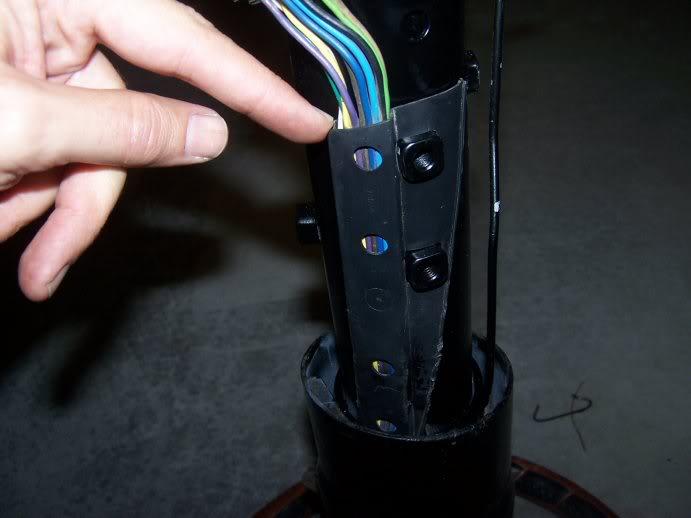
here's the plastic cover for the wiring harness, it has two square holes that align with the steering brace mounting holes:
100_3278-1.jpg


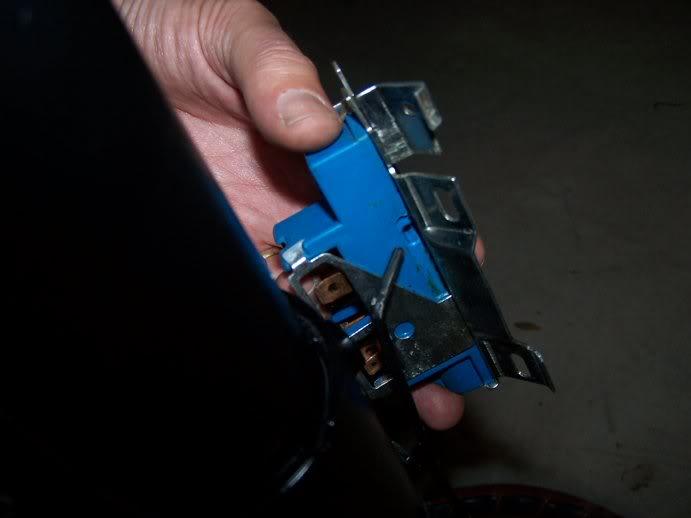
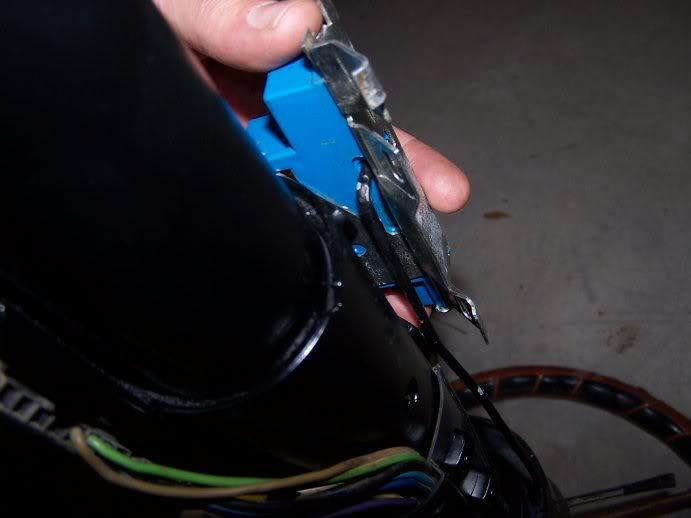
took me a few minutes to figure this one out.. the rod from the lock/tumbler and the key release runs down the side of the column and then bends into this wiring harness module:
100_3281-1.jpg

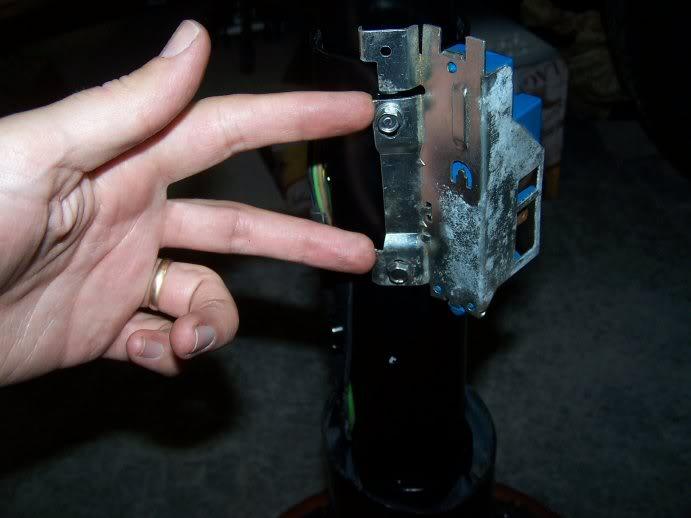
which then mounts to the side of the column via two small bolts
100_3282-1.jpg

and complete:
100_3283-1.jpg
 
I did take some pics of the dash mounted and the upper steering column installed, but somehow didn't get it uploaded to my P-bucket account before I got to work... assembly of the column and brackets was pretty easy.. Raymond has a good step-by-step in his thread...

last night I also got the HVAC control lines in (and only manged to break two of the three of them (they'll all be replaced when I do the eventual dash "restoration" later down the road)... aldo got my clutch spring installed, the proportioning valve brake lines to the master cylinder ran, and discovered that my old factory radiator is toast (d'oh... cha-ching, add it to the list)

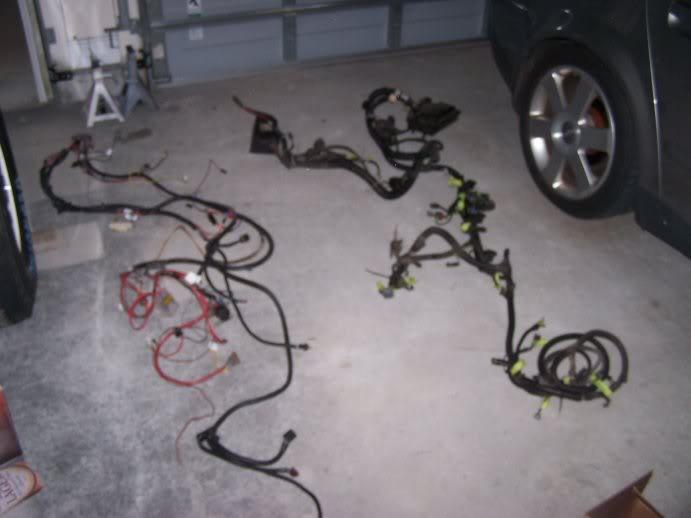
and, in my final hour in the garage before bed, laid out my Painless engine compartment harness and the factory YJ harness, inspected each, and started to feel the confusion upon which I am about to enter.. blurry picture to match my blurry mind

100_3285-1.jpg


I'm actually feeling somewhat confident going into this because (a) the YJ harness has specific terminations that only go ONE place on the motor, so it should be pretty easy to get it laid out in the engine compartment, and (b) the CJ has alot of non-engine bits (ie: lighting assemblies), and (c) the biggest benefit, it's a Painless labeled harness with the instruction manual/diagrams, so identifying wires by color/label should be pretty easy (eaiser than tracing FSM diagrams) and the eventual splice/merge should be pretty straightforward
 
Last edited:
Nice!

Gonna have to raid my local Eddie Bauer store...
 
Cool progress!

OT: Is it just me or does that Audi sit a little lower than stock ;)
 
OT: Is it just me or does that Audi sit a little lower than stock ;)

It's a bit lower than stock, but it is the "stock" sport suspension from Audi.. not sure what the difference in ride height is from factory (bought it used), but it's certainly at least an inch or two lower, but not stupid boy-racer low in accordance with Audi forum trends.

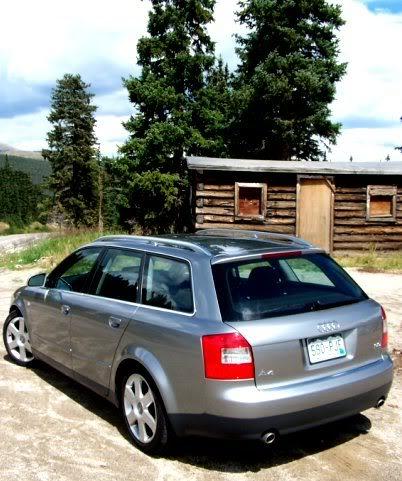
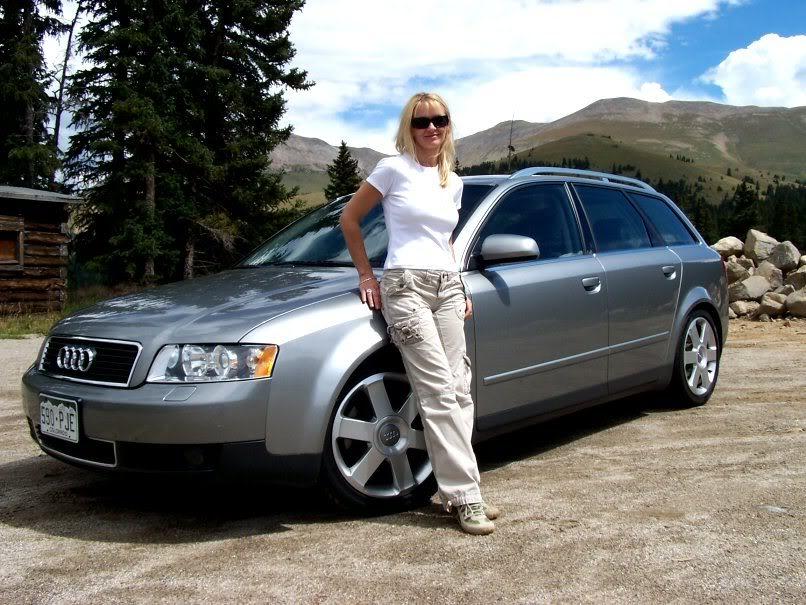
This is my wife's DD and she really likes it (as do I, it's a blast to get into the twisties with, and it holds two kids and all their gear)... among her "musts" on a car is a manual tranny, and this has the Audi 6 speed manual behind the 3.0 (would've love to have given her the S4 Avant with the 4.2 V8, but at the time we were shopping, they were still WAAY more expensive), and it's pretty quick/sporty as is.. we lived in Colorado at the time so the Audi/VW safety record plus Quattro system were a big selling point.. bought from the original owner who (like my wife) was a euro import (UK).

Couple of shots:
kaznewcar3-1.jpg

kaznewcar1-1.jpg


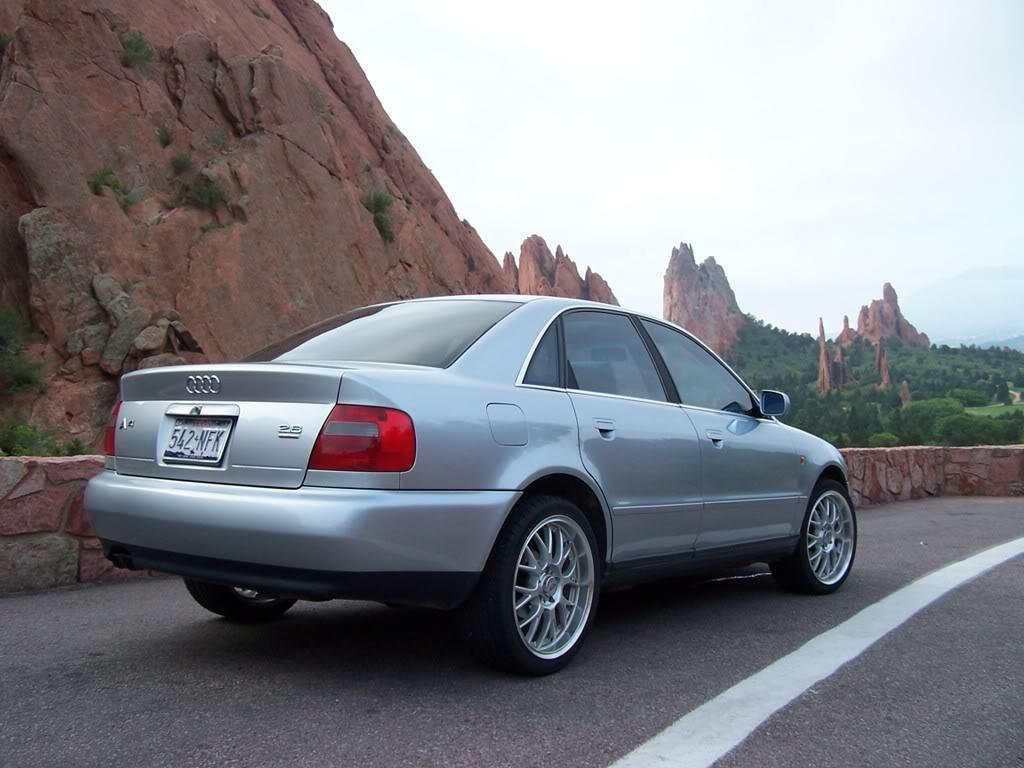
and her's my old 99 A4 2.8Qmt.. owned it for ten years, sold it and bought the Landcruiser. I'll eventually swap these ASA wheels over to her Avant... which will look way better than the reps that are currently on there.
100_0370-1.jpg

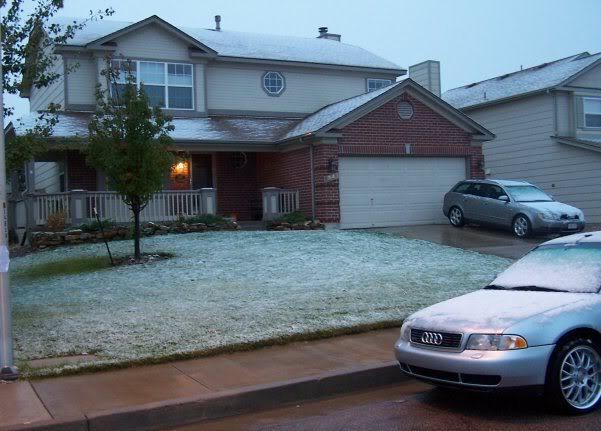
both together in the CO snow at our previous home:
Audisinfirstsnow-1.jpg


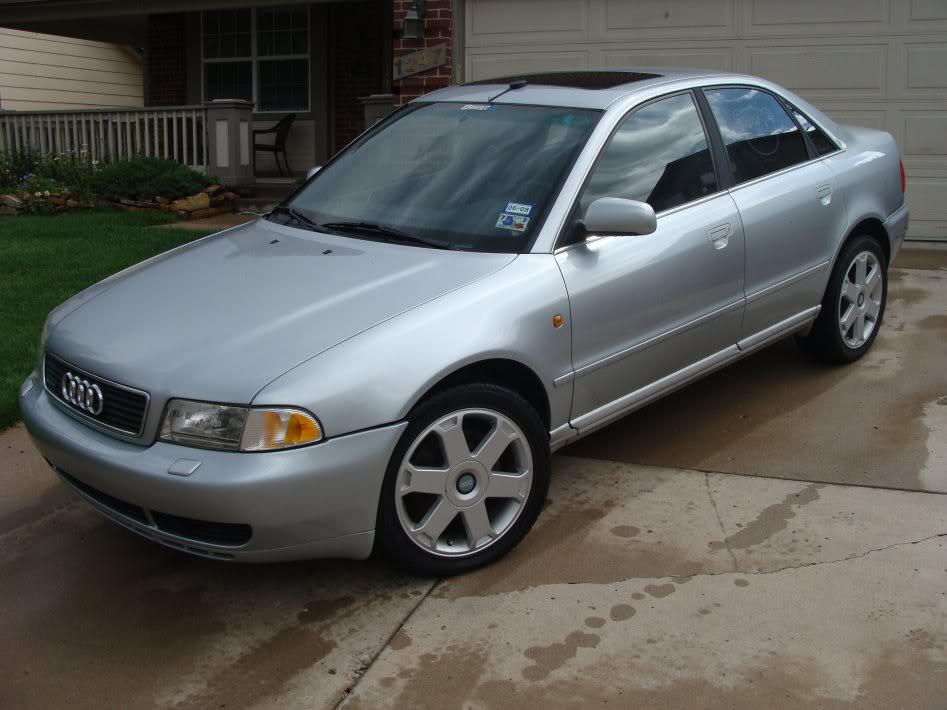
eventually did the "painted lowers" mod (body match the bottom black trim to the silver, looks cleaner) and put some winter Nokian tires on it with S4 replica wheels and then sold it..
AUDISALE1-1.jpg


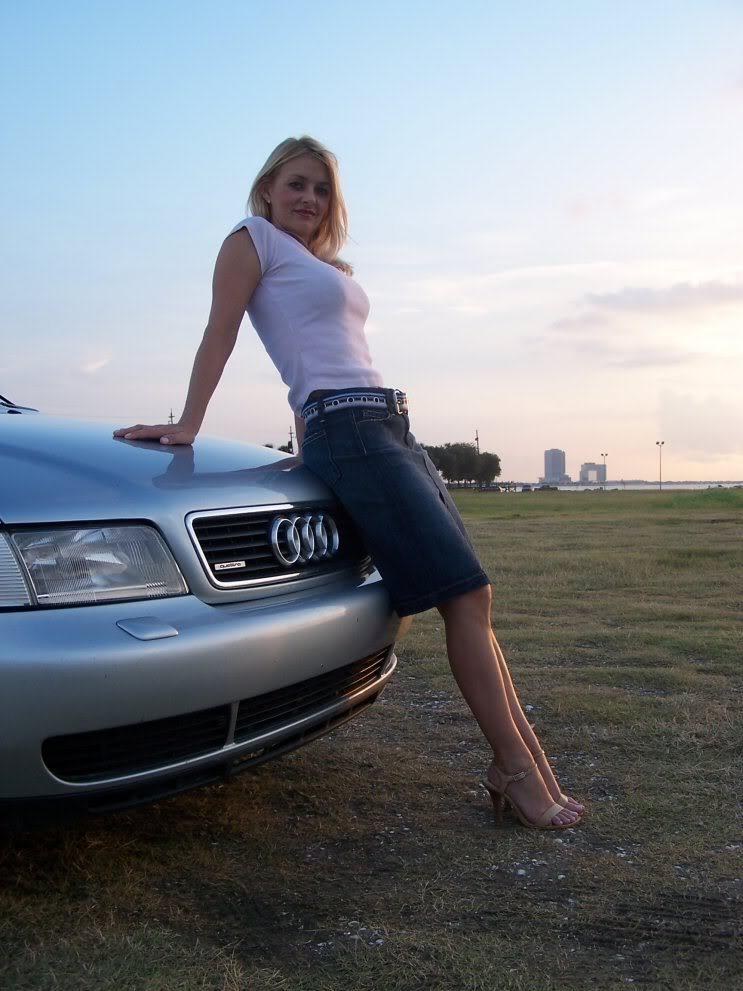
and one with frau as hood ornament :drool:
kazaudilakepontch-1.jpg
 
Last edited:
beautiful cars! I love Audis!
smoking hot wife too! ;)
 
Great pictures....I had a 2002 A6 4.2 that I loved... I sold it in 07 as I got tired of spending $1200 every 20k miles for those low profile tires....but I did love that car and it was a blast to drive!
 
Awesome, sorry for the OT, but looks like it was totally worth it ;)
 
on the cusp.. and then hesitating

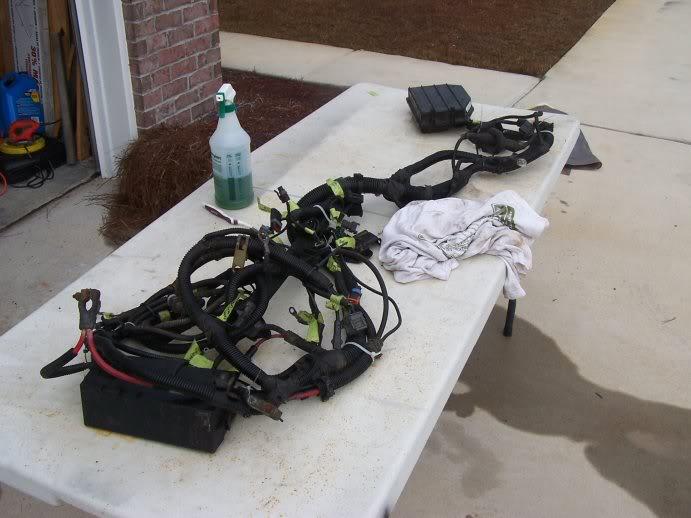
so... laid out the YJ wiring harness and did a quick scrub with some simple green (mostly on the conduit and the connector bodies..
100_3287-1.jpg


Getting ahead of myself, I put the fenders on (by myself, kind of a pain) and then connected the CJ bulkhead harness on the engine side (no pic) and laid out the horn/washer/lighting portion in the engine bay..
100_3293-1.jpg


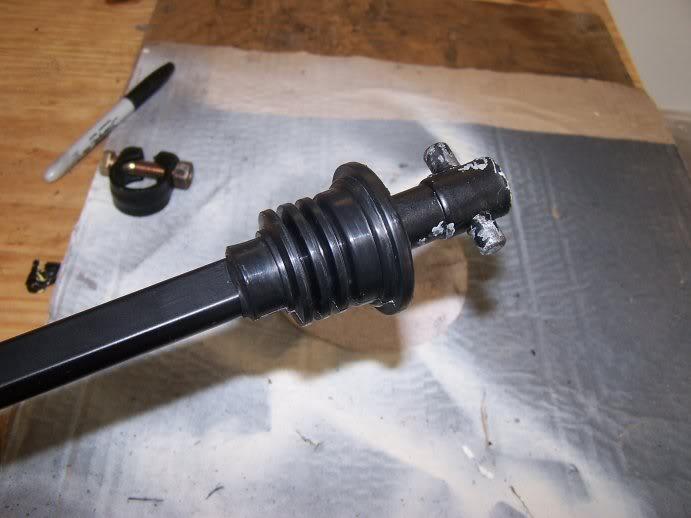
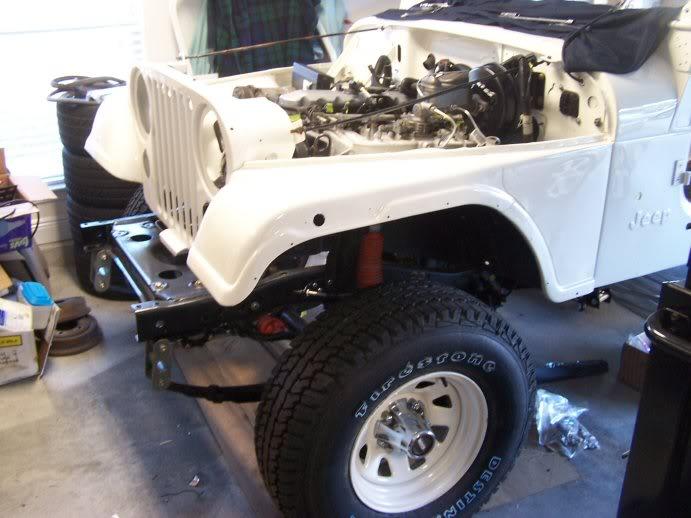
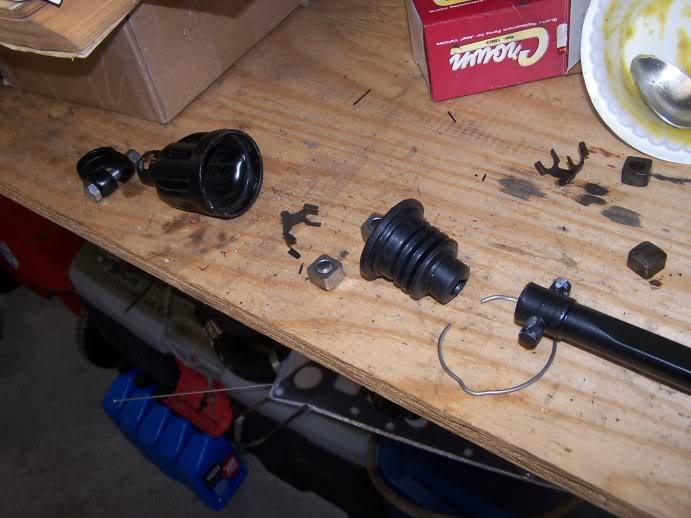
It's nice to see the Jeep nearly whole, but I instantly realized about three things that I should have done before I put them on.. one of which was assembling the steering column.. here's the replacement lower shaft boot and the little square bushings that come on it:
100_3298-1.jpg


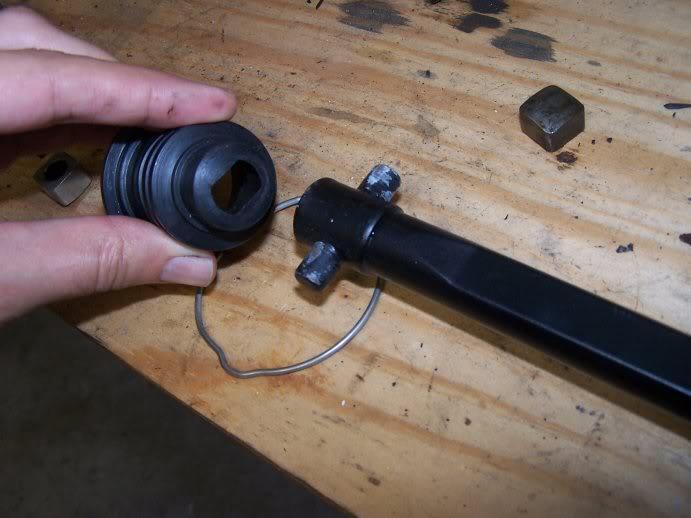
Notice how the lower shaft boot comes with no easy option for sliding it over the shaft..
100_3299-1.jpg


I couldn't find anything in the FSM or in Haynes/Chilton on how to get that boot on, but saw a post on JU about the fact that it would, in fact, stretch over the lower half. I sat it in a bowl of hot soapy water and eventually managed to work it over the lower shaft with only one minor tear in it. This was NOT a fun job...
100_3300-1.jpg

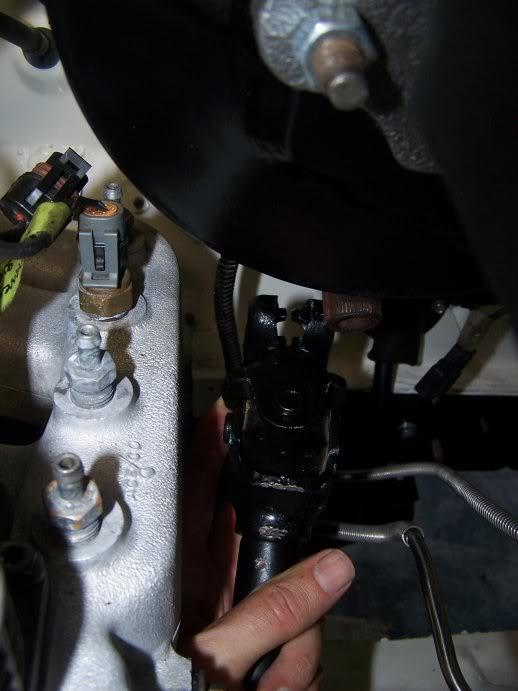
Even more of a PITA is getting the two little squares and the retaining clip to stay together while sliding the lower shaft into the bell housing, but I finally got it in there, and then the retaining clip for the shaft boot is also a PITA.. so suffice to say, this is a PITA job.

also note, as the shaft is a fixed length, once you install the lower portion at the steering gear box, you end up with excess lenght at the u-joint to the upper half of the column..
100_3301-1.jpg

I ended up loosening up the dash supports and firewall bracket, moving the column rearward about an inch, and then aligning the shaft u-joint/coupling on the firewall side, and then using a 3lb hammer to tap the column back into the engine back to seat it in the coupler.. not sure what the best answer is, but it worked

 
Last edited:
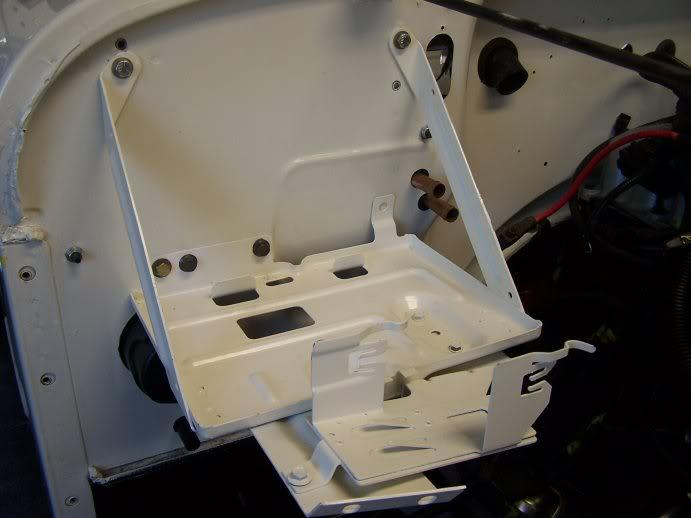
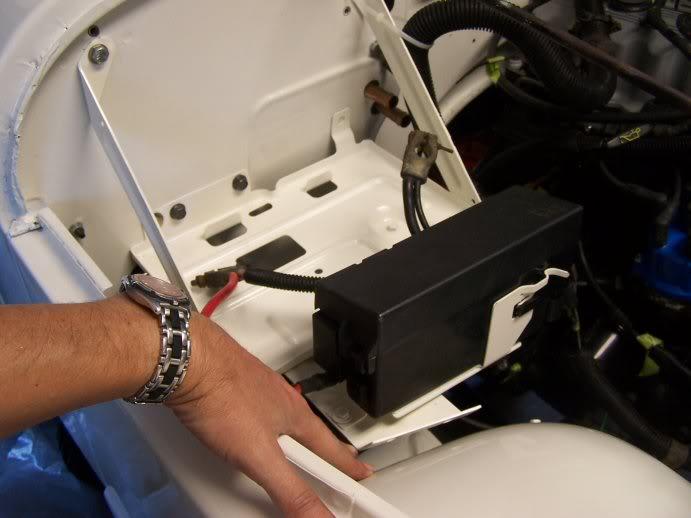
As I indicated in an earlier post, I'm using the YJ battery tray and PDC holder in my CJ, so I ligned it up with one factory CJ hole and marked three more to be drilled/tapped to hold it:
100_3288-1.jpg

I was able to use one factory nut plate, but the two other holes I had to use washers/nuts on the back side.. so I added an additional hole to the battery tray to take advantage of a CJ captured nut that it was covering (see the middle of three bolts on the bottom of the tray:
100_3289-1.jpg

so far no interference issues with this setup, but the forward mounting bolt holes are off the CJ fender by about 3/4 of an inch.. I may pursue drilling holes in the CJ fender and adding some bolts/bushings to take advantage of the forward support
100_3294-1.jpg


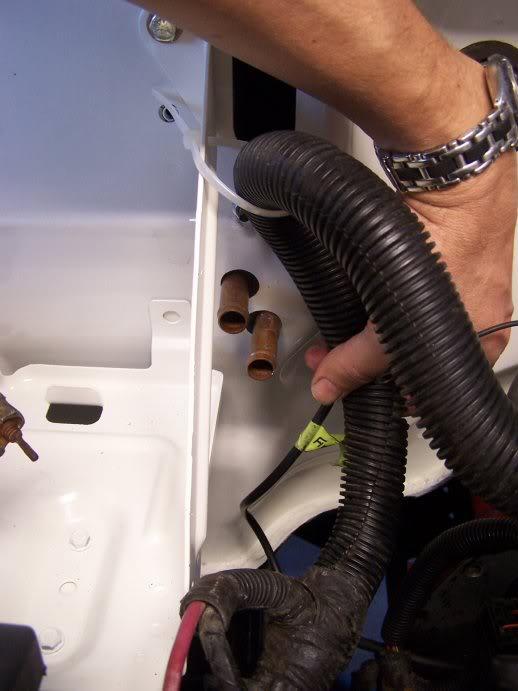
the heater hoses will be tight, but I don't think I'll have a problem making them fit
100_3295-1.jpg


I then realized that I had not installed the CJ factory fender braces before I put the tray on so.. it'll have to come out at least one more time
 
Last edited:
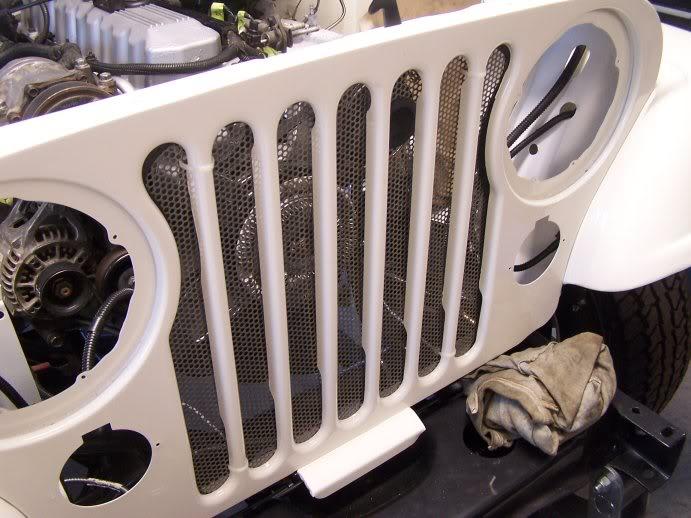
I have one of those old fashioned bug screens that I kept of my CJ7... I'd always like how the picture on the cover of the CJ restoration manual had one tucked inside the Jeep's bars, so I temporarily mounted mine up there to see how it looks (before I put the new radiator in).. I kind of dig it.
100_3296-1.jpg
 
I mocked up the YJ windsheild washer bracket and bottle (replacing the old "IH" model container that I removed in FEB of last year.. which was small, and cracked), and the YJ assembly will fit in the CJ and only require me to drill one hole in the DS fender (two holes already line up fine).

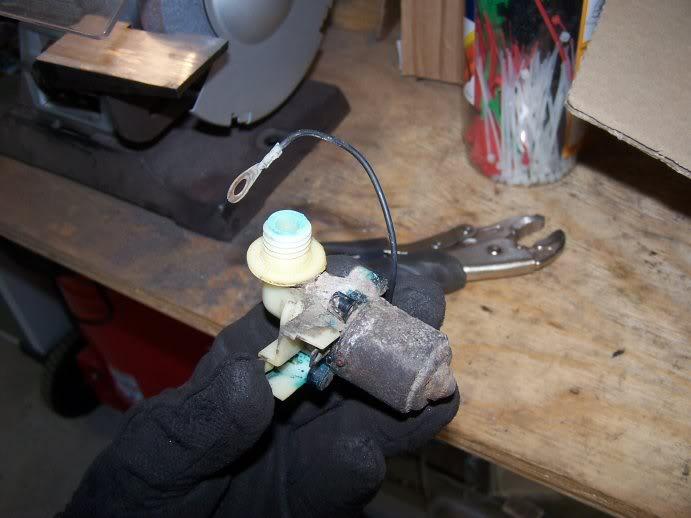
To prevent messing around with wiring, I just moved my CJ washer motor off the old bottle on to the new YJ model, which is the same size, just different connections. Here's the crusty (but working) old one:
100_3303-1.jpg

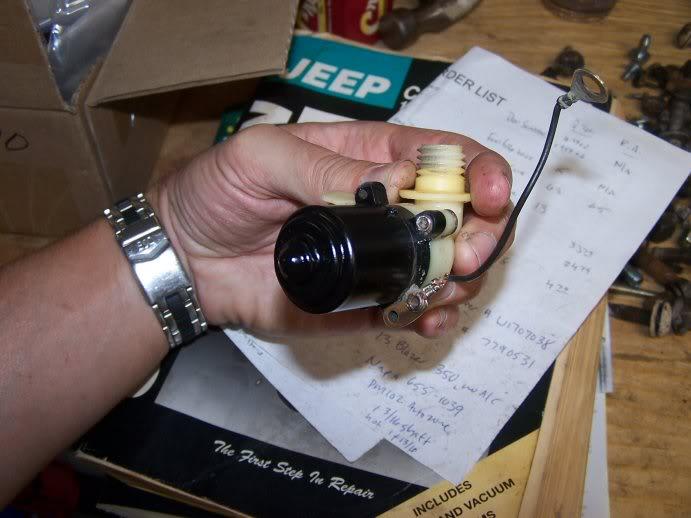
and after I cleaned and painted it:
100_3304-1.jpg
 
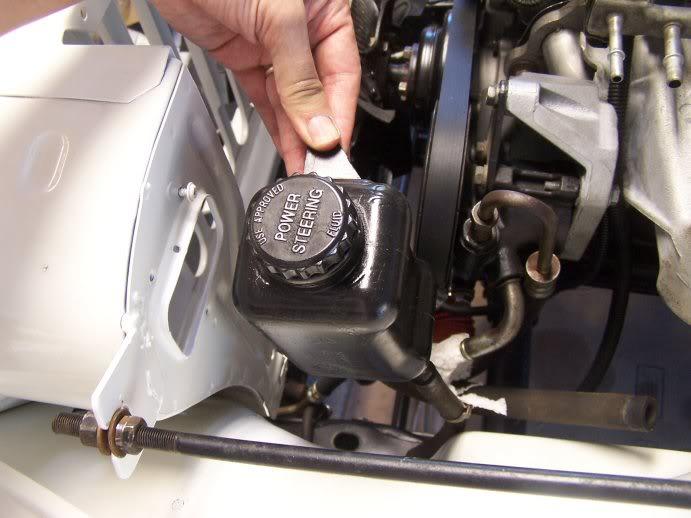
among items I'm going to have to "figure something out" for is the PS pump resevoir (the YJ uses an external reservoir that mounts to the grille, but it's not a similar fit in the CJ.. here's the general area:
100_3292-1.jpg


I'm also going to try and recycle the air cleaner assembly from the YJ (no pic) and get it fender mounted as well.. I kept and painted the YJ bracket, but it's not a direct match to the CJ fender, and I don't want to start trying to bend/shape it until I see how much room the YJ intake assembly gives me to work with..

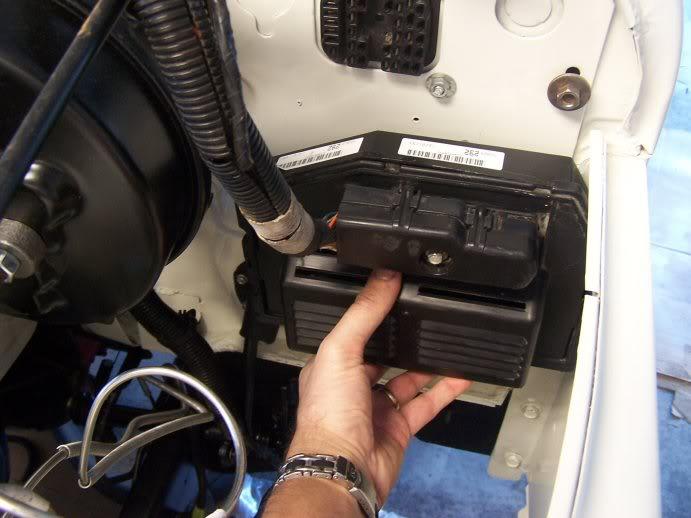
I think I"m going to put the ECU here, above the charcoal canister and with room for the windsheild washer bottle
100_3291-1.jpg


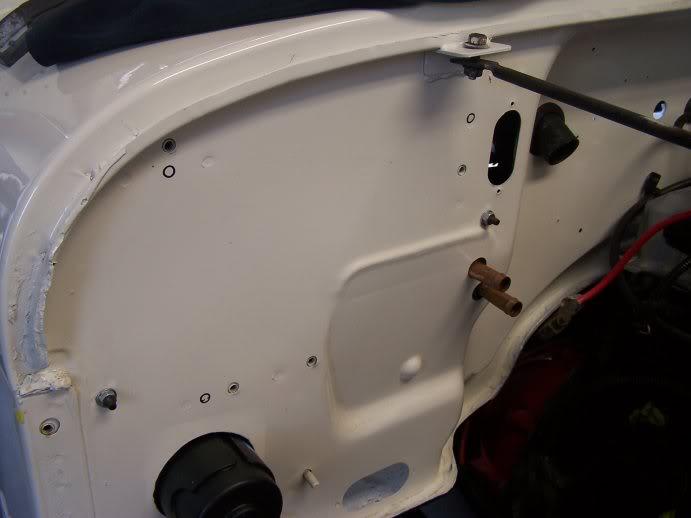
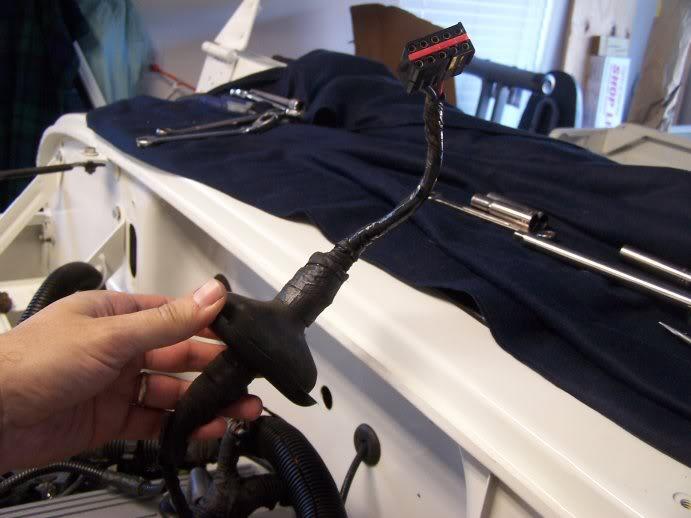
I am not sure what this connection was.. diagnostic port? If so I may keep it mounted on the firewall, as it's too big to pass through the CJ firewall without cutting a new hole..
100_3290-1.jpg
 
Last edited:
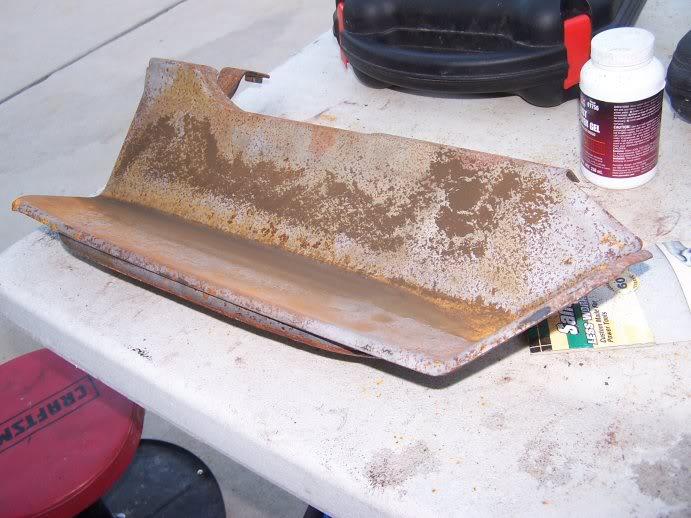
as the weather is scheduled to get cold here in the next 48 hours, I shifted focus to some short paint projects as today was beautiful.. I started prepping and priming the side steps:
100_3305-1.jpg


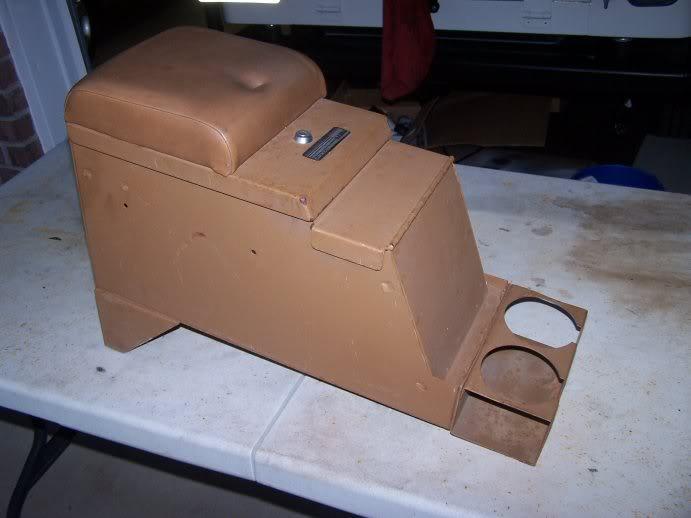
and I'm still trying to come up with ideas on restoring this solid but ugly Tuffy stereo console.. I'm going to paint it, but not sure about colors/textures, and then if I can find some extra Spice colored cloth (ie: from an old soft top or bikini top), I'll recover the arm rest pad
100_3306-1.jpg


I got going on the "5 wires to fire" this morning, and messed around with "research" on the harness in the garage for at least an hour, and finally decided that today was going to be for other priorities until I am ready to tackle it fresh so.. I did alot of organizing, cleaning, and throwing stuff away today in the garage, as I've gone from about 8 tote boxes of parts down to 2, and also wanted to get an inventory of anything that I might've forgotten at this point.. only realy PITA one I've identified so far is that I didn't mount the fuel tank sending unit signal wire before I put the tub on, so I may have to drop the tank to get that on (grrr)...

I'm going to do some more reading tonight, but I think the basic plan for the YJ harness is to split all the conduit off, start tracing and labeling the wires that I think I'm going to splice with the CJ harness, and then do the same with the CJ harness, leaving about one foot of wire to work with coming out of the CJ bulkhead connector.. . everything I'm not using is going to laid over the side (but not cut) until I confirm I can get it to run.. I'm not looking forward to the explosion of wires out of the conduit, but I think it's the only way I can get it done..
 
Last edited:
Back
Top