• Notice for iPhone users: DO NOT use the image size reduction option when uploading photos to the forum. This causes portrait images to post as landscape. We have added a warning to the image insert pop-up as well.

Jeff's Offroad Build

You'll like those. I hear they make rears to fit our Scramblers now!

I've always like the Metalcloak fenders and I like that it comes with an inner fender since I don't have existing fenders to get it from. I plan on getting front flares and the rear fender/flares once I determine how big of a flare I need.
 
I'm running the 6" on mine, 60" axles with 35" tires on 8" wheels.
 
Painless install - dash panel

I got the Painless harness this week so I started the install.

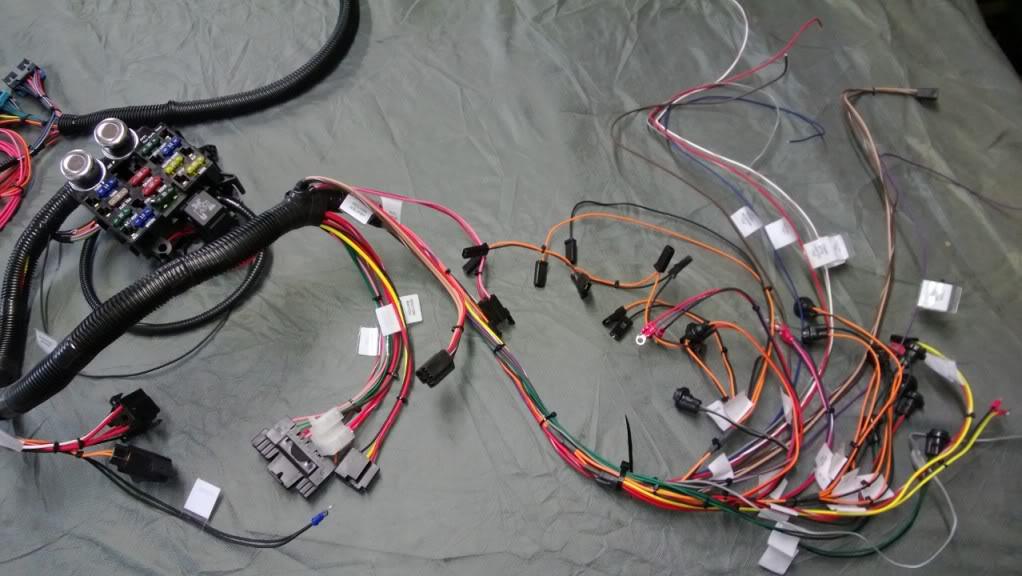
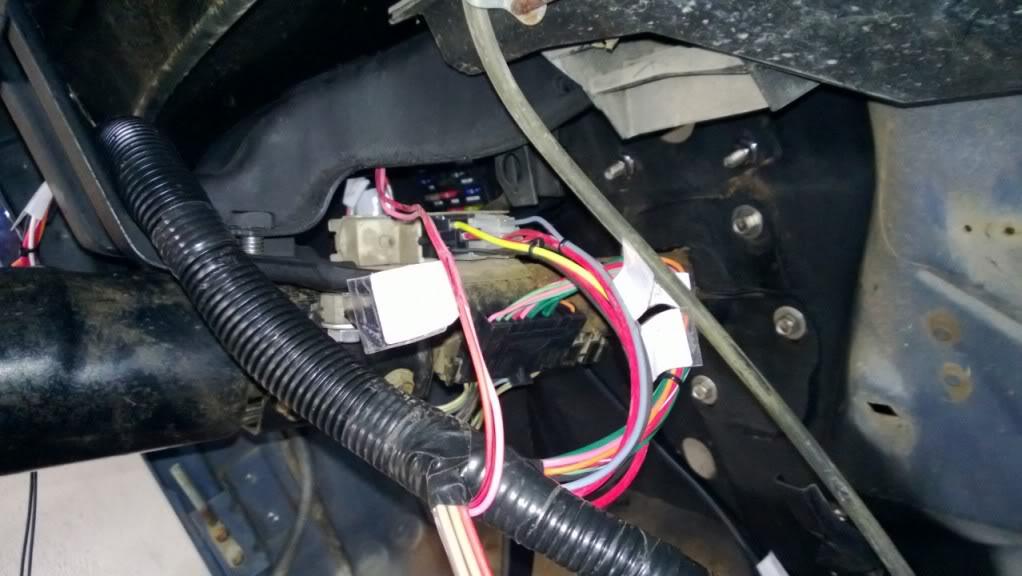
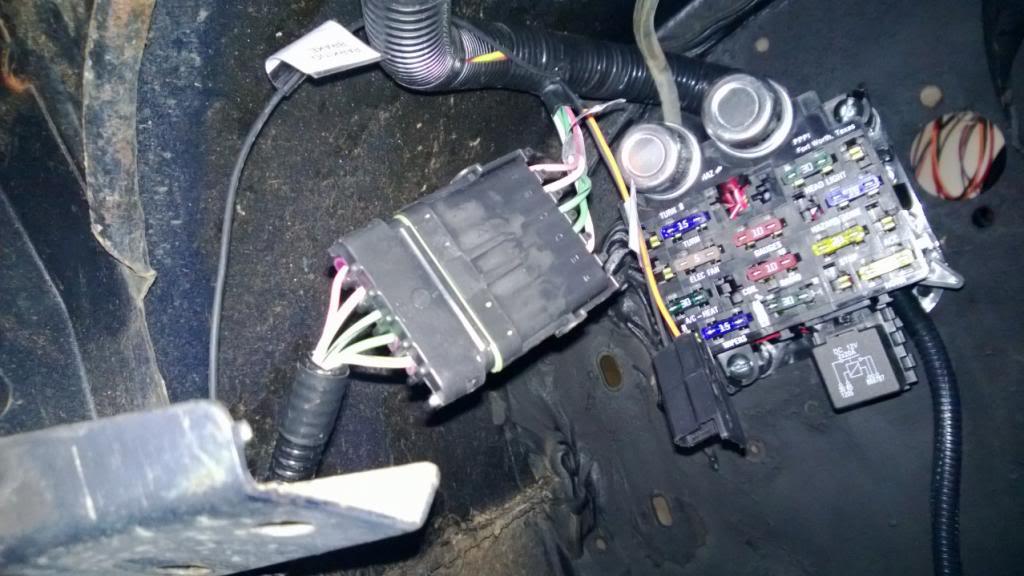
Step 1, install the dash harness:

WP_20130306_001_zps98d4ccff-1.jpg


You can see that most all of this harness is pre-terminated.


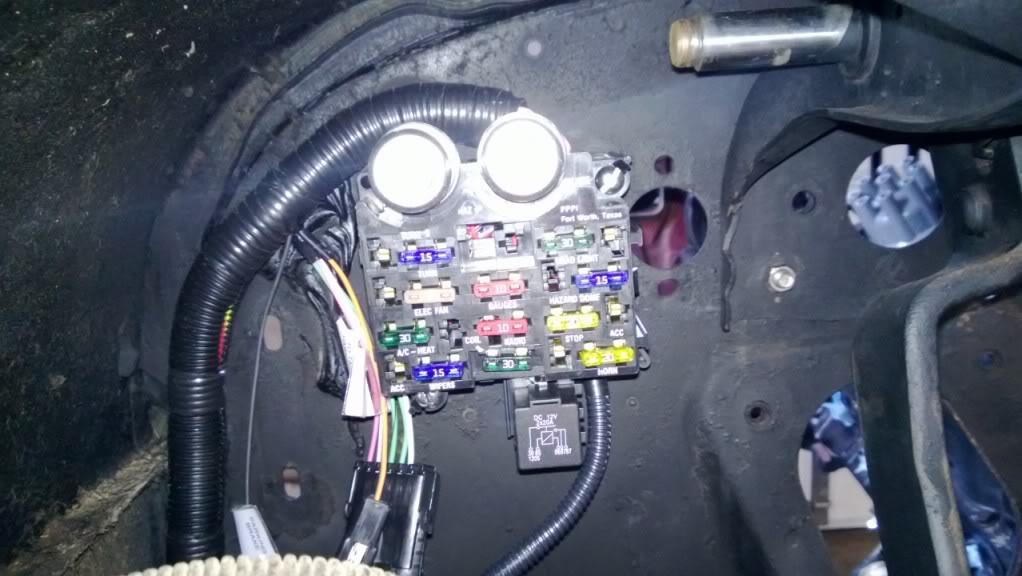
The Painless fuse block bolts were slightly larger than the stock ones so I had to drill out the two holes to 1/4". Fuse block installed:

WP_20130306_003_zps173224d6-1.jpg


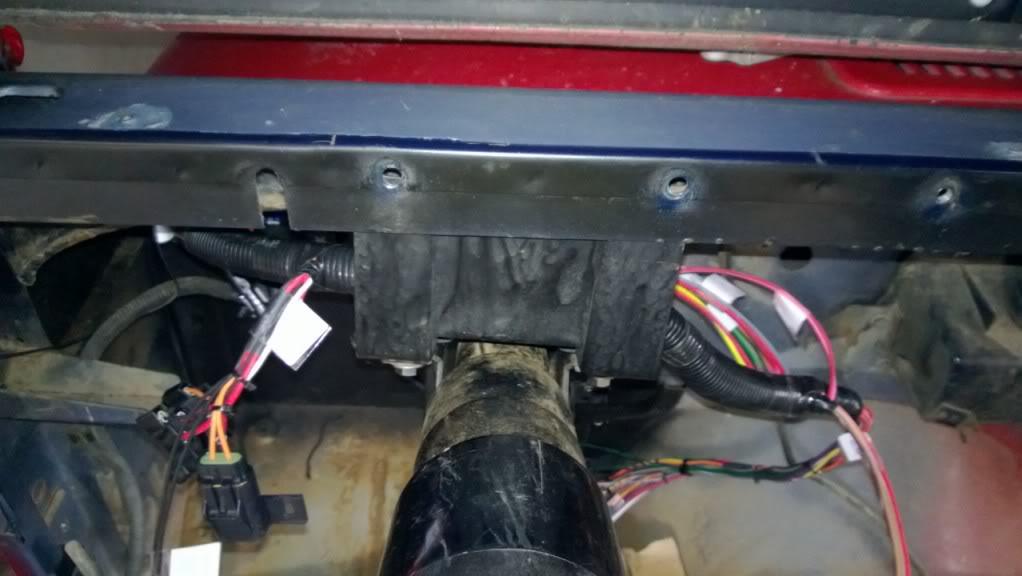
Feed the harness above the steering column bracket:

WP_20130307_001_zpsea52371e-1.jpg


Installed the lights:

WP_20130308_001_zps70633135-1.jpg


Notice the fuse and ground. I will secure those when I get the speaker installed.


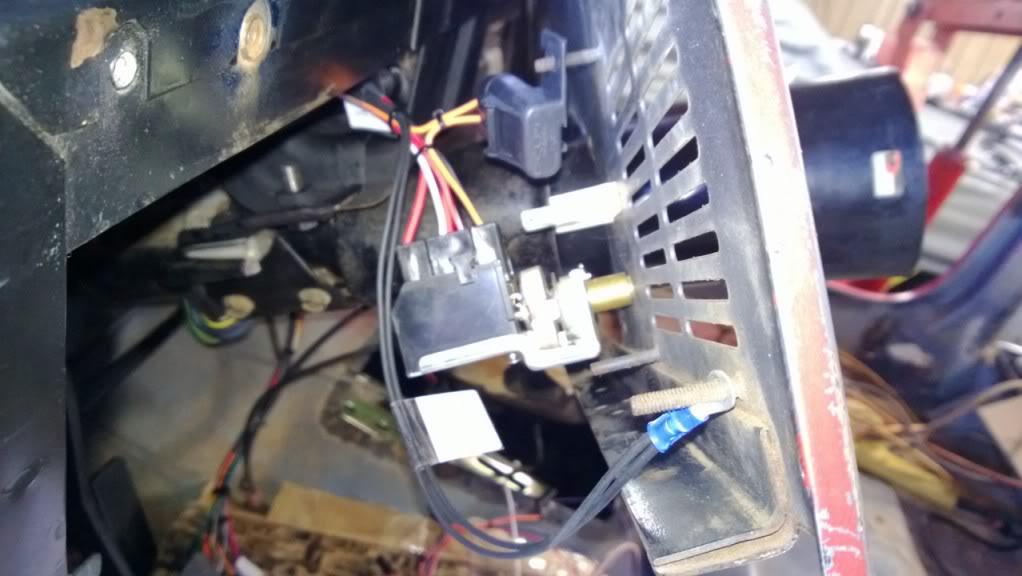
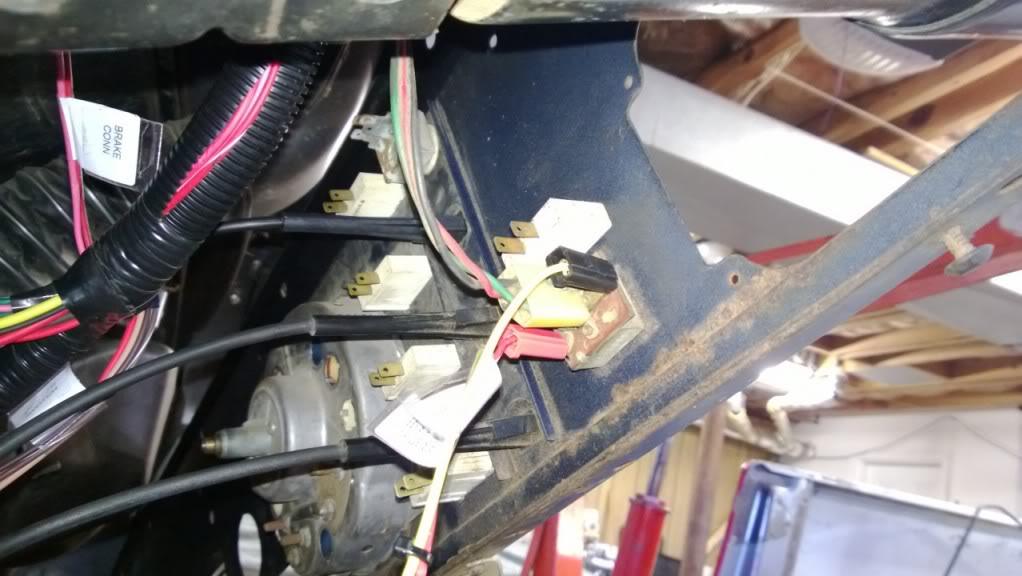
Installed the two ignition blocks, white first, then black. Installed the turn switch block:

WP_20130307_002_zps17945c61-1.jpg


In the above pic you can also see the brake switch wires coming down from inside the brake pedal assembly.


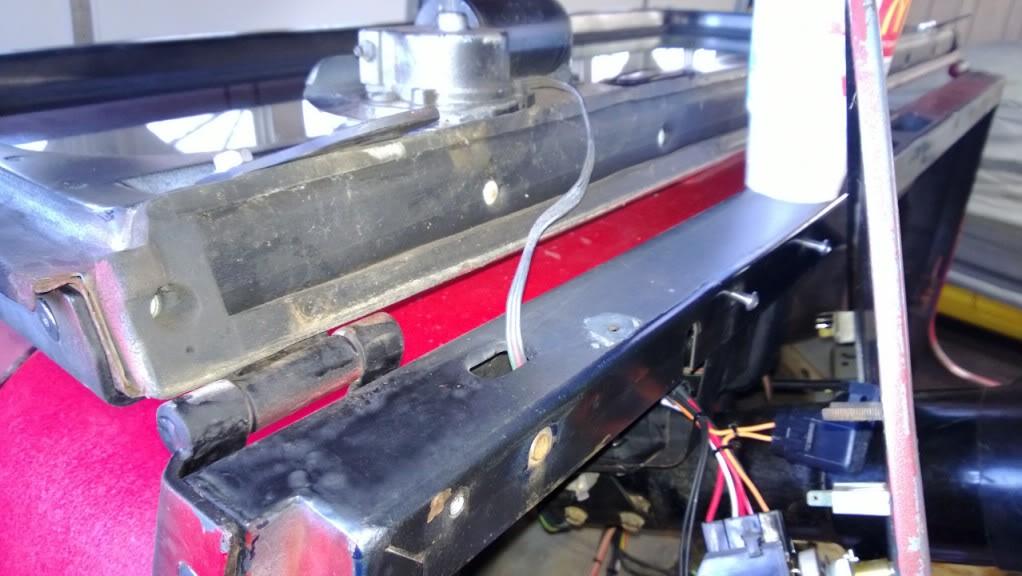
Next the wiper motor. First feed the wiper motor wires down through the dash to the passenger side of the steering column:

WP_20130308_002_zps8d8136db-1.jpg


Plug the wiper motor wires in and then the wiper motor and washer motor plugs:

WP_20130308_004_zps661fa6ec-1.jpg


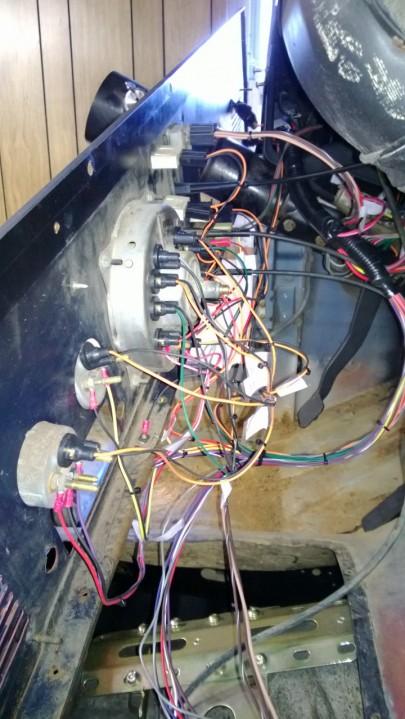
Next I installed the instrument panel wires, including volt meter and oil gauge:

WP_20130308_009_zps08499709-1.jpg


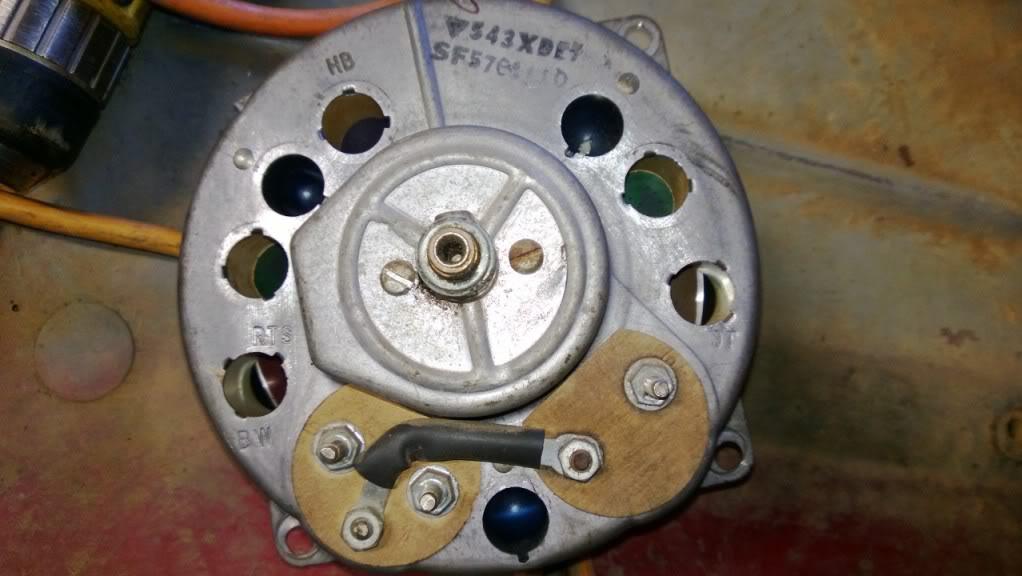
It helps to use another speedo as a guide, I happened to have a spare one:

WP_20130308_006_zpsce12bb9c-1.jpg


They did a good job of labeling the slots, HB is high beams, BW is brake warning, LTS is left turn signal (faint and hard to read in the pic above), RTS is right turn signal, and QT is 4 wheel drive indicator (stands for Quadra-trac). The three slots with the bumps above them are panel lights.

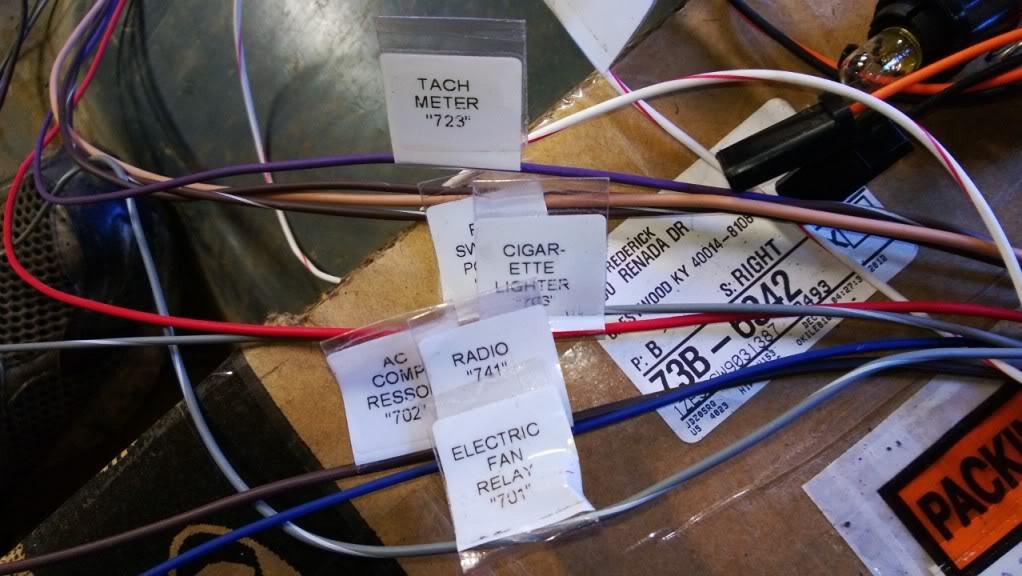
The following wires are not terminated. Some I will use but some I don't need:

WP_20130308_005_zps2ae315ab-1.jpg


I also plugged in the heater control and resistor and the six two-pronged dash lights.

The instructions were pretty straightforward so this part of the harness was easy to install.

 
Painless harness - tail light

Next I decided to knock out the tail light harness since it wouldn't take long.

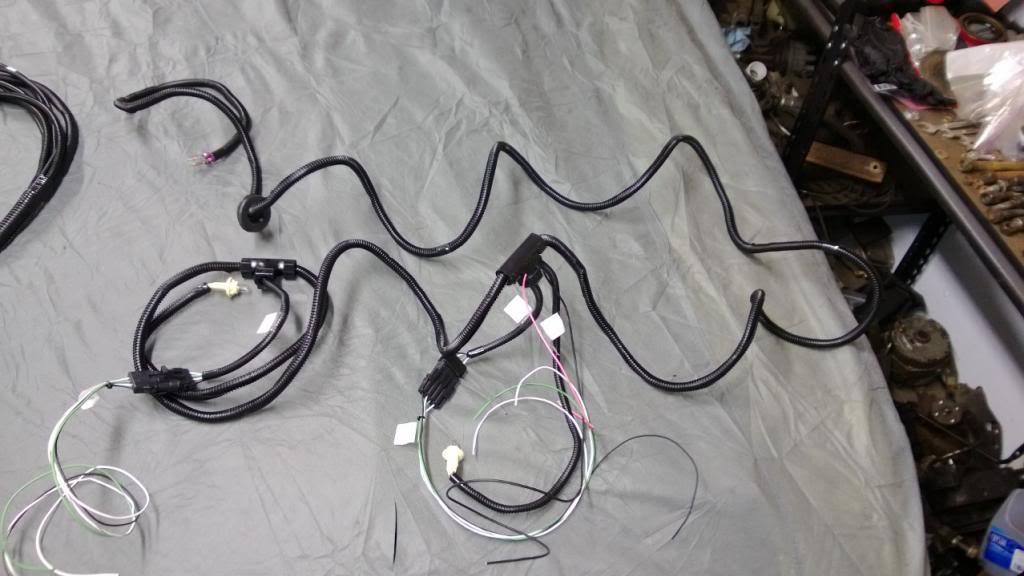
The harness:

WP_20130309_001_zps0cf27ad6-1.jpg


Notice there are a few terminations that will need to be done since the tail light connectors are different.


First, feed the harness through the hole behind the driver seat and push the grommet into place:

WP_20130312_009_zpscbb353aa-1.jpg


Run the harness under the driver door frame and up to the fuse block. Plug the individual wires into the included connector and plug into the fuse block connection:

WP_20130312_010_zps109014cb-1.jpg


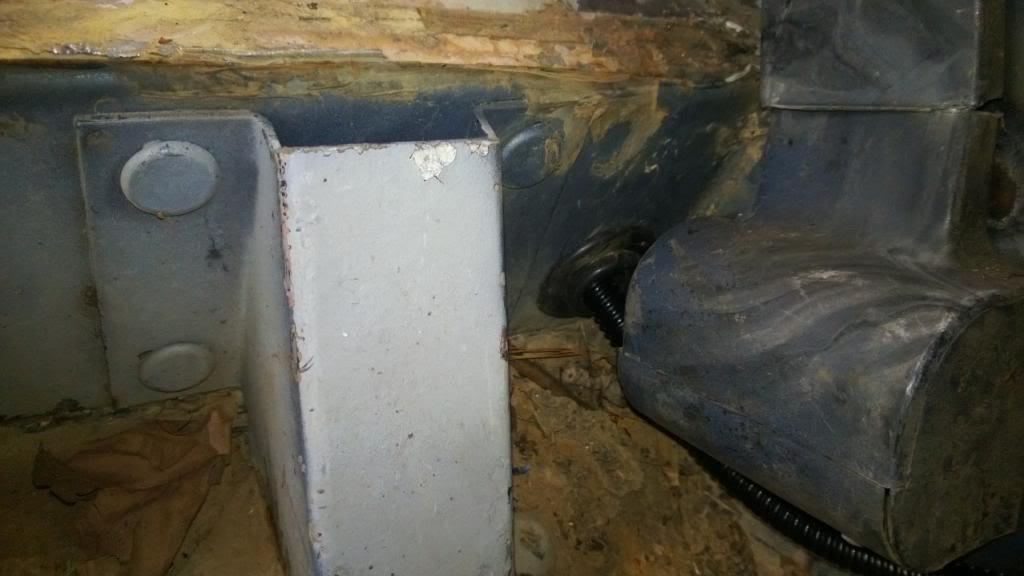
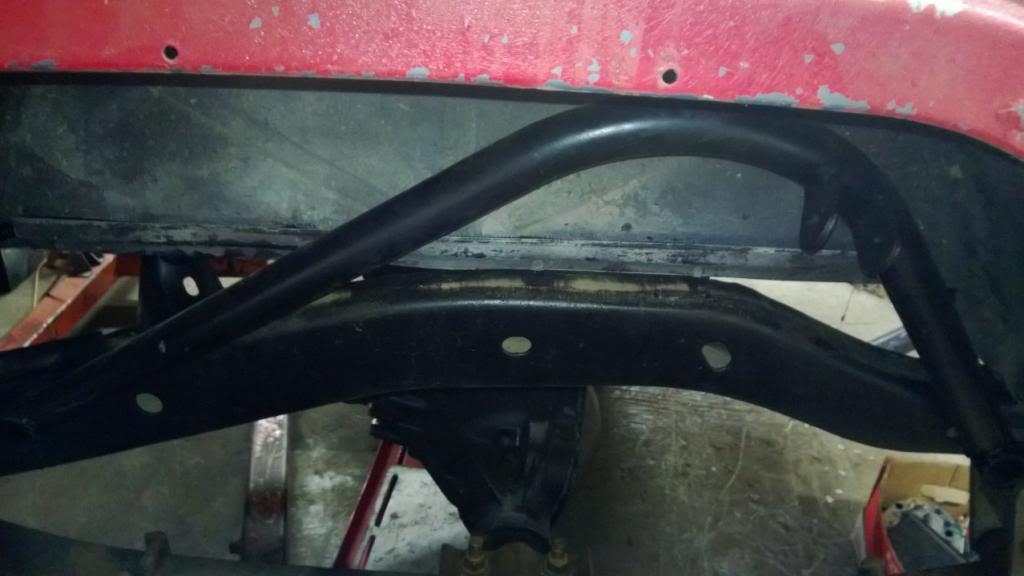
On the other end of the grommet, run the harness through the channel in the rear wheel well and then to the back corners:

WP_20130312_008_zps3a0b7f6f-1.jpg


I left the clips in place when I removed the old harness so I can just clip the new one in place. I don't have a pic of this though, I'll try and get one later.


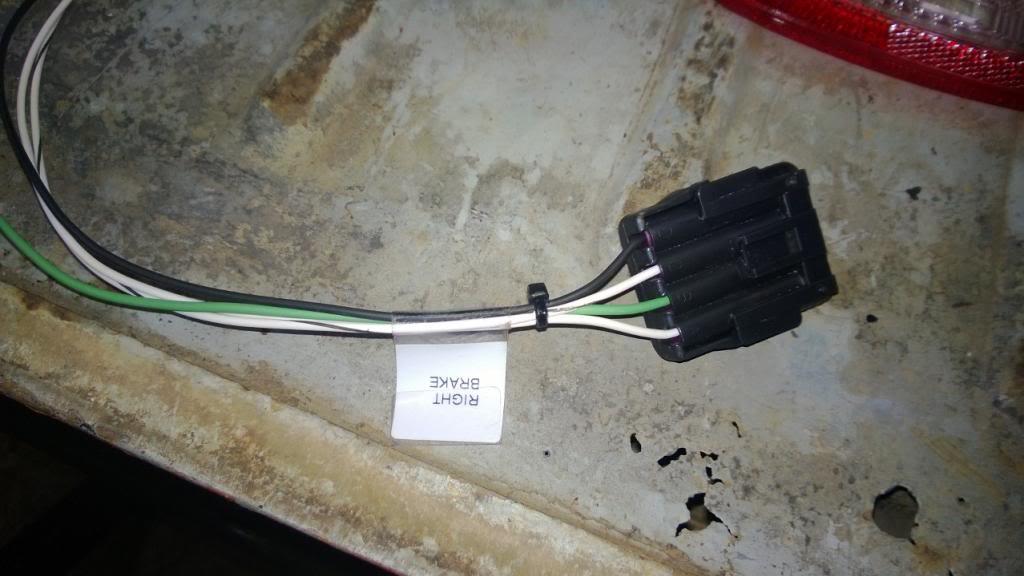
Four pin connector from Painless:

WP_20130312_001_zps7a0c5746-1.jpg


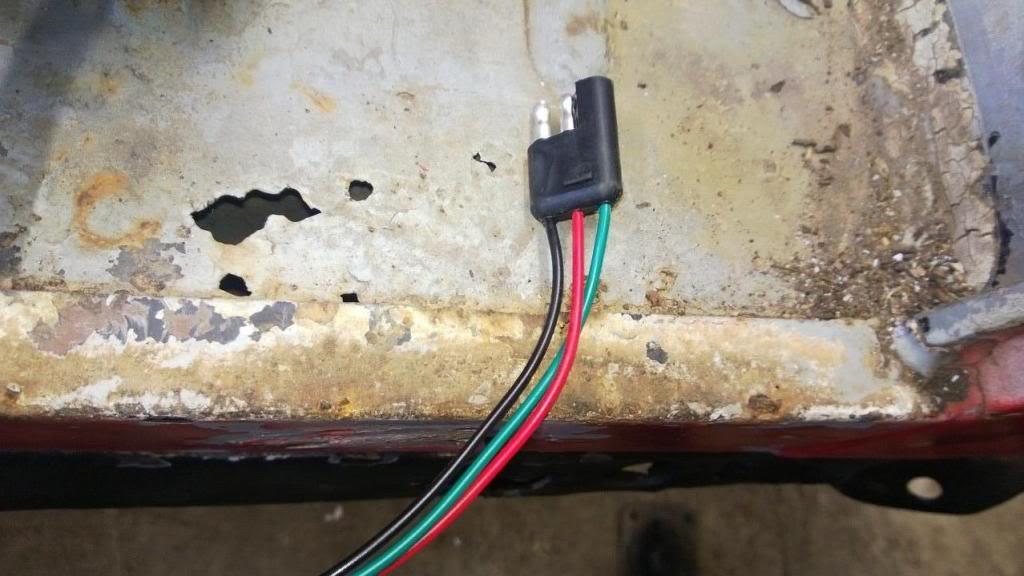
Three pin stock connector:

WP_20130312_002_zpsbeaac479-1.jpg


To make it easy to map the wires to each other, I plugged in the stock harness connector to the tail light connector:

WP_20130312_004_zps3109c51b-1.jpg


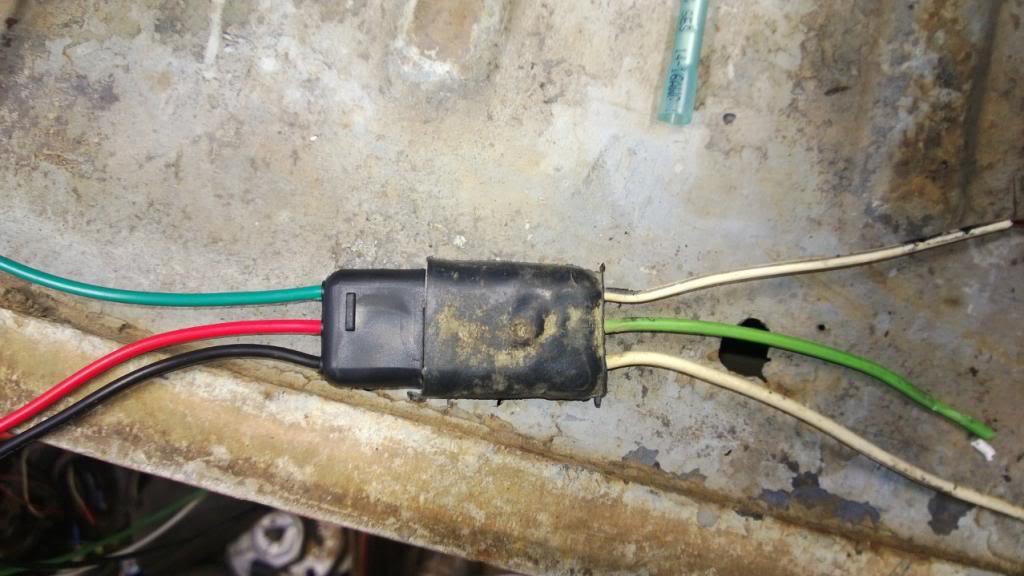
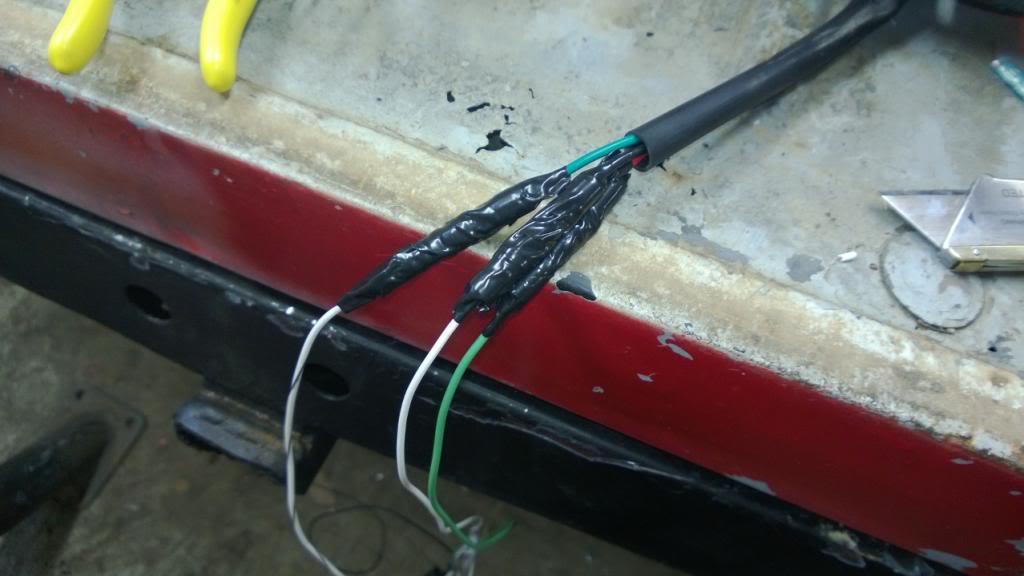
Then I crimped the wires together and taped them up:

WP_20130312_005_zpsbf0a137f-1.jpg


I plan on using some liquid tape to help seal the connections.

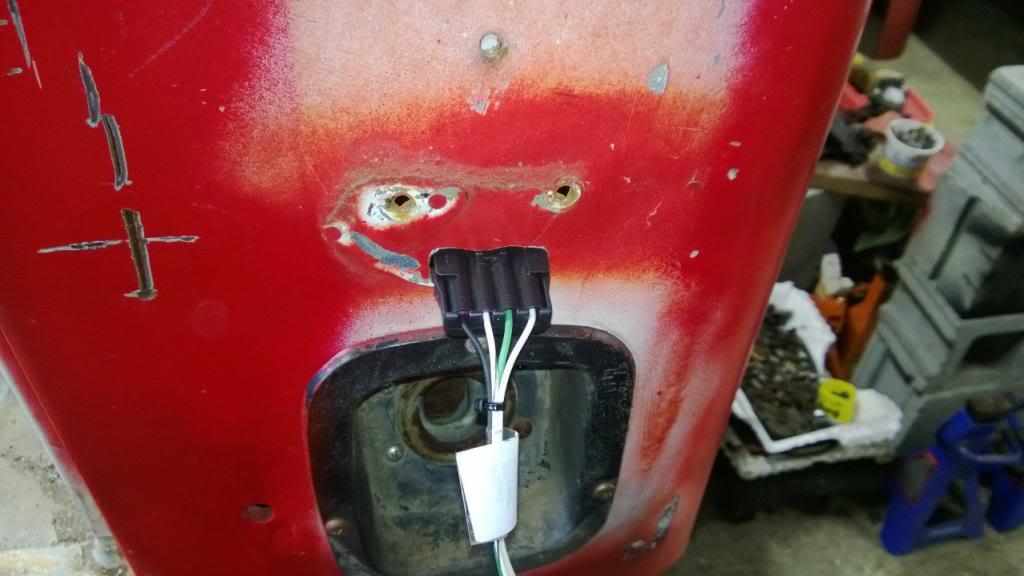
For the fourth wire, which is the ground wire (black one), I just terminated it with an eyelet and secured it with a nut to one of the tail light mounting bolts. This ground wire is meant for fiber glass bodies since the metal ones should ground with the tail light body.

I left the side marker light even though I don't have side marker lights just in case I need it in the future.


Filed the stock opening a little so the new plug would fit:

WP_20130312_003_zps25f0b44d-1.jpg


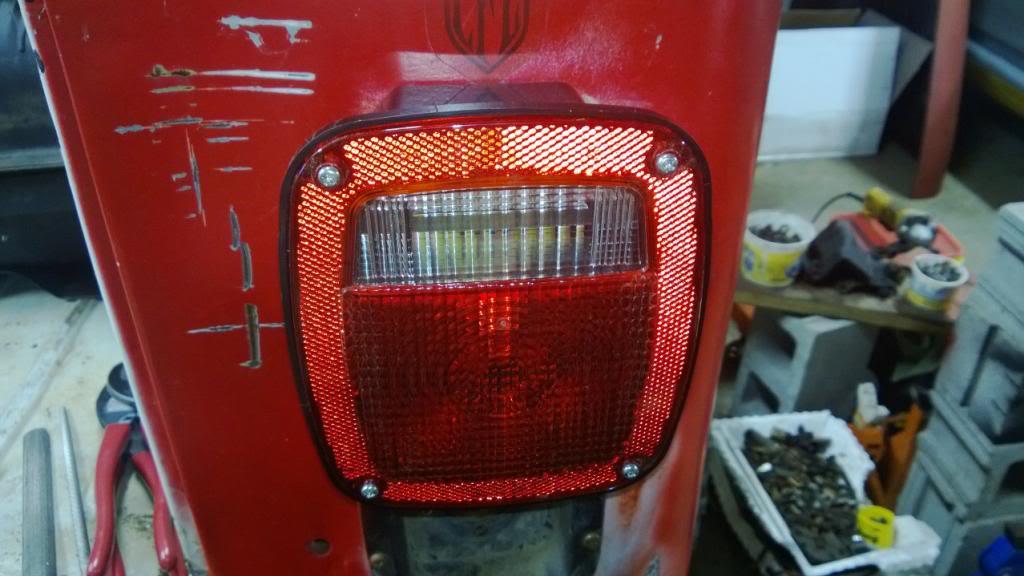
Tail light installed:

WP_20130312_006_zpscdd9de90-1.jpg


Did the same thing on the driver side.


So far it's been pretty painless but we'll see how the engine harness goes!
 
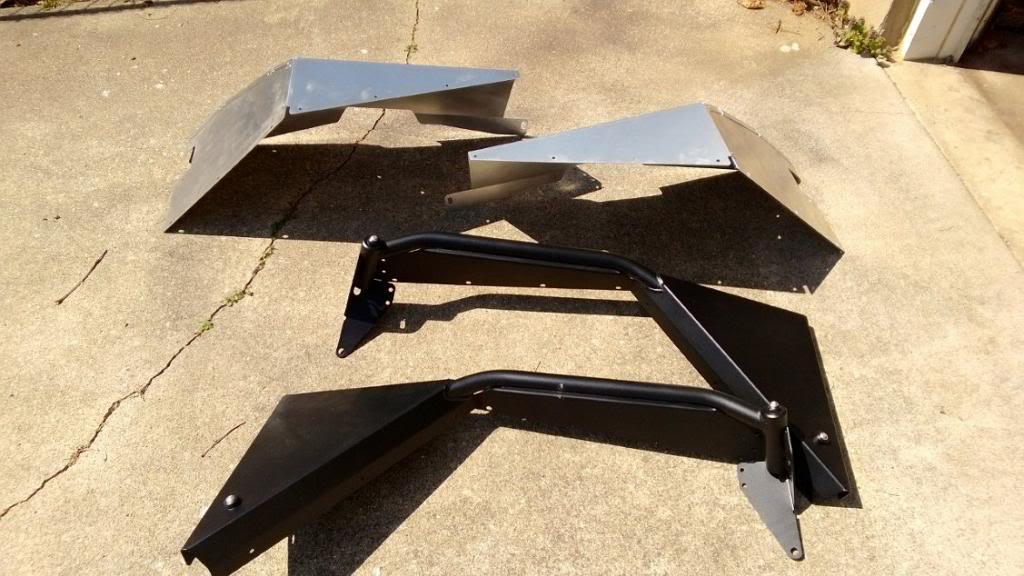
I finally received the Metalcloak fenders, didn't expect it to take so long. The install is pretty straight-forward and unfortunately it looks like they forgot to drill the holes in the inner fenders for the accessories. Not a big deal and I don't need all the factory accessories anyway.

Here are the new flat fenders and inner fenders:

WP_20130405_001_zps1bb4a0b5-1.jpg


I had them powdercoat the fenders since I will probably paint the hood black.


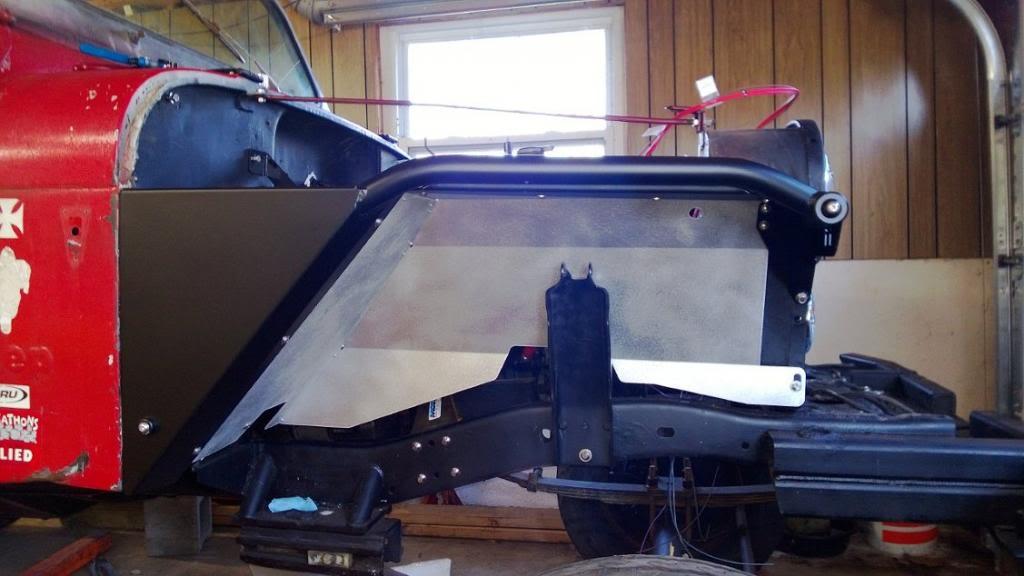
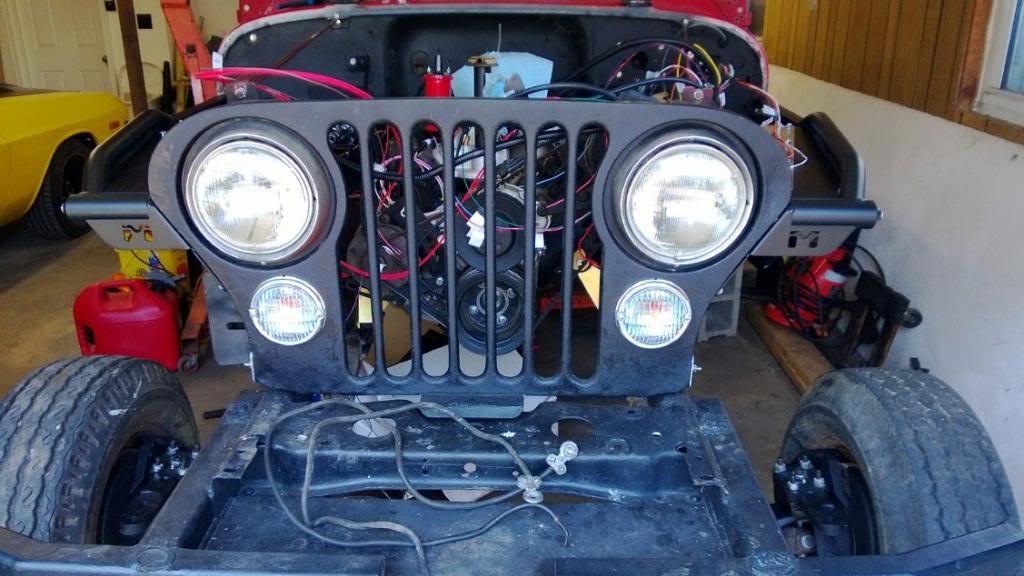
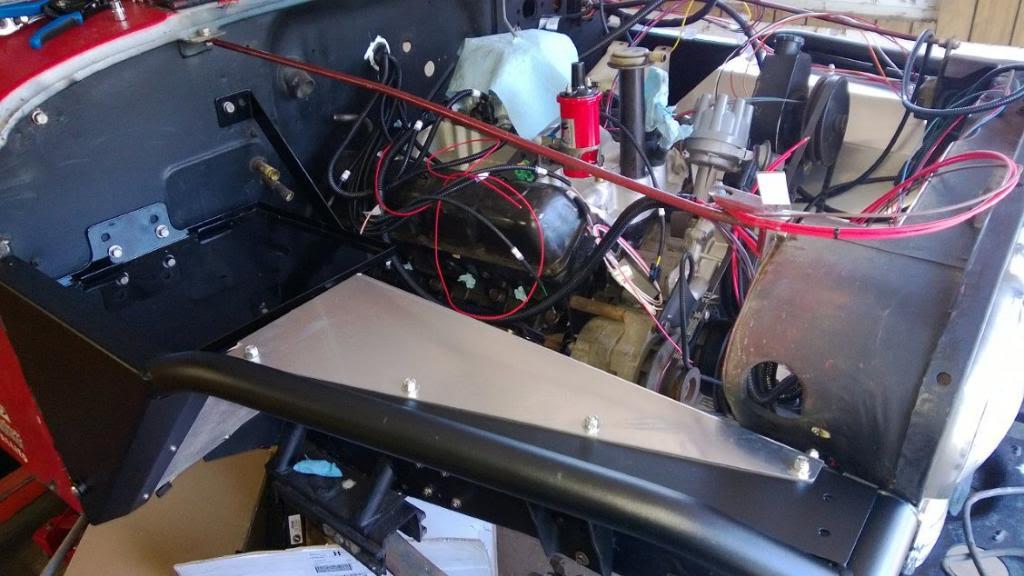
I was hoping the Ford shock towers would fit and they do:

WP_20130405_002_zps39f20513-1.jpg


WP_20130405_003_zps7b056196-1.jpg


WP_20130405_004_zps41894659-1.jpg


I also picked up a dual battery tray which can be seen in the last picture.


Now I can finish wiring the engine bay. I was waiting for the fenders so I would know wire locations and lengths for all the accessories.
 
I spoke with Matson at MetalCloak when I was purchasing mine. They do not predrill the inner fenders on the CJ models. Thought being the inners are somewhat different than stock, and most guys installing these fenders are probably not stock anymore anyways. I'd much rather have to drill holes than plug a bunch of unused ones.

I love my fenders. They are one of the most commented about parts on my Scrambler.

I don't know how the coverage is on the factory powdercoating. FYI- I had mine powdercoated locally and the seam on the flares between the tube and the flat plate is difficult to get good coverage. Mine have started to rust there after 2 wet winters. Hopefully the powdercoater will warranty his work...and once they're redone I'll seal that area from the backside with seam sealer. If they won't warranty it I may think about a different color scheme.

Your Scrambler is looking great!
 
I agree about the pre-drilled inner fenders but the instructions show them pre-drilled which is confusing. The powdercoating looked good but I didn't look very closely so we'll see how it weathers. Winters are a little drier here and I may keep the Scrambler in the garage.

I like the look so far but I need to get my hood painted to see how it will all come together.
 
Hey Jeff- I don't know how Metalcloak's powdercoating is, (probably great), the problem I have is with powdercoating applied locally, and on the bolt on fender flares, not on the actual front fenders. That being said, when you do get fenders, you might want to apply seam sealer on the inside where the plate meets the tube. You'll see, and if you have questions be sure to ask.

I was considering having the center section of my hood Powdercoated to match the fenders and painting the sides body color. It would be a lot easier with black fenders/flares- you could just paint the center of the hood black.
 
I see, I'll keep that in mind when I order and install my fender flares. I rattle-canned my grill with a flat black paint so I may do the entire hood the same. I'm also considering some red/black combo such as a center stripe or decal/stencil design.

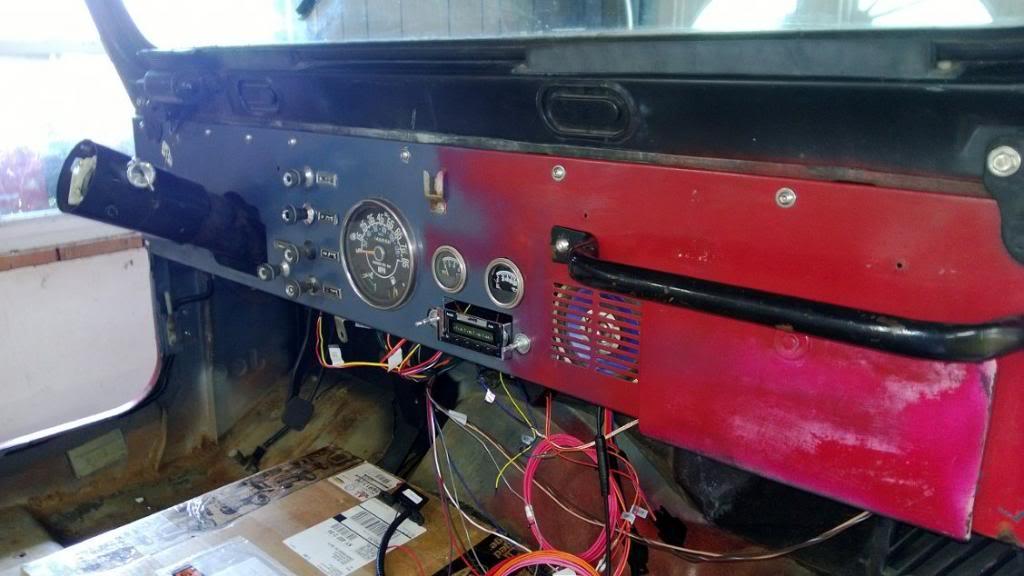
Had a few minutes today so I wired up the speakers and installed the dash:

WP_20130407_001_zps94468e91-1.jpg


Looks like the PO may have run out of paint on the dash leaving it half reddish and half slate blue which is believe was the factory color. I'd love to return to the slate blue color some day. Maybe if I do an aluminum tub. :)

I still need to cleanup the wires a little bit, run the antenna wire, and install the tachometer (probably just an under dash mount). I also need to setup the fuel injection harness which includes a check engine light, obd1 port, and a couple relays which I will mount under or behind the dash.
 
quick update

I dropped the Scrambler off at the shop for some things I can't do in my garage. Setting the rear pinion angle, welding shock mounts on the rear axle, fixing body mounts, and fixing steering box bracket mount location. Hopefully I'll get it back in a couple weeks.

In the mean time, I purchased some new wheels for the Challenger:


Reproduction Magnum 500 wheels :thumbsup:


I only had time to get the front wheels mounted but should have the rears mounted by the weekend.
 
Whenever I see a Challenger the first thing that comes to mind is "smoky burnout"! :thumbsup:

I love those things!
 
Been a while since I updated. This happens every summer though when all the car shows are in action. I saw a few CJs at the Street Rod Nationals including some Scramblers but I didn't get any pictures.

Here is the Challenger with the new wheels after I adjusted the alignment:


The Scrambler is still at the shop:


The current SOA setup is pushing the axle into the stock steering setup so we are going to convert the front suspension to a 4-link with coil-over springs/shocks. The atlas II t-case is mounted, gas tank and pump are mounted, and body mounts are cleaned up. I'll try to get some pictures next time I'm there.
 
Quick update

I stopped by the shop yesterday to drop off my headers, mufflers, and steering box so I snapped a few pictures of what has been completed.

Atlas t-case installed:


The 3.8:1 ratio written on the case is the gear ratio so combined with the 2.72:1 reduction results in the 4 speeds of 1:1, 2.72:1, 3.8:1, and 10.34:1. Both output shafts are 32 spline and the input shaft from the TF727 is 23 spline I think. It can run in the standard 2 low, 2 high, 4 low, 4 high including front wheels only.


Electric fuel pump installed on frame rail:


Gas tank mounted, the rear cross-member had to be replaced since it was bent:


The Radflo coil-overs are in as well as the links and brackets but nothing had been welded on yet. I will get pictures of this when it's complete. :thumbsup:
 
It's taking longer than I wanted mostly due to the front suspension issues but it will be real nice when the coil-overs go in. I'm currently planning on running the 38x14.5x17 Goodyear Wrangler MT/Rs. I had the 35 inch version of those on my JK and really liked them.
 
I ordered my wheels and tires: 40x13.5x17 Nitto Trail Grapplers, the shop recommended them and they're cheaper than Goodyear Wrangler MT/Rs, and Trailready HD beadlocks. I also ordered the tie rod and ends and a Sam's off road pitman arm.

The headers I have don't fit with the new control arms so I picked up some CJ V8 exhaust manifolds off Craigslist:


I'll probably stop by the shop later this week to get some pictures of the progress.
 
A Challenger and a trail killer Scrambler! Your killing me Jeff!:drool:

I really like those metal cloak fenders! Randy how much more room do they provide once installed?

Looks great Jeff and your gonna love that 4-speed case!:bacon:
Looks like the new design case as well!:bow:

Keep the pics coming man.:popcorn:
 
A Challenger and a trail killer Scrambler! Your killing me Jeff!:drool:

Once I get the Scrambler running, you'll really enjoy my next project, 512 stroker engine for the Challenger! :D

Here's the base 440 engine I picked up for only $400:


:cheers:
 
Back
Top