• Notice for iPhone users: DO NOT use the image size reduction option when uploading photos to the forum. This causes portrait images to post as landscape. We have added a warning to the image insert pop-up as well.

84 CJ8 4 link coil over project underway

Progress update;

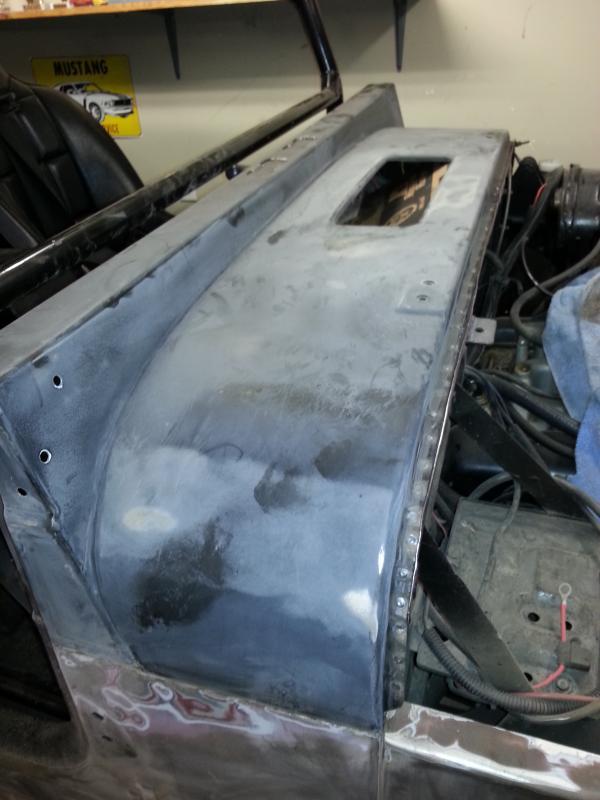
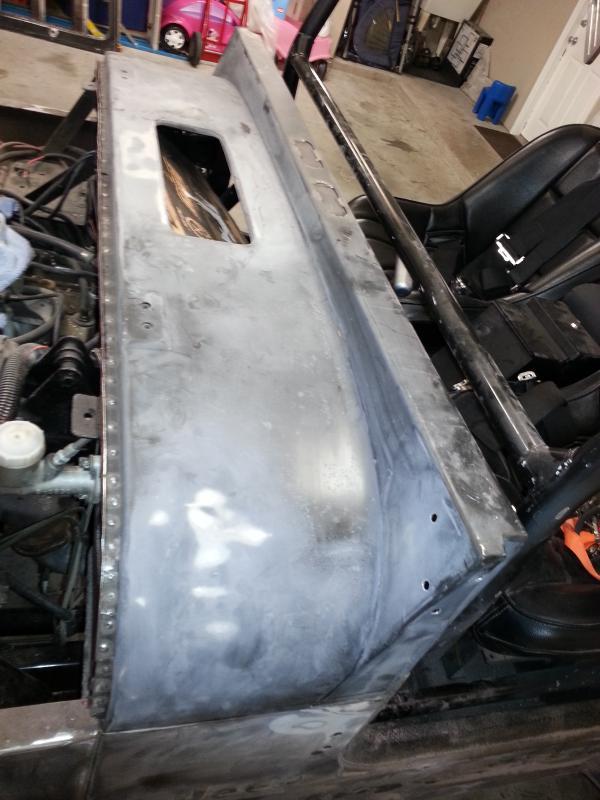
Cowl was welded in place. Thanks Mike K. for coming over to help with that.
20140807_223024-1.jpg

20140807_222929-1.jpg


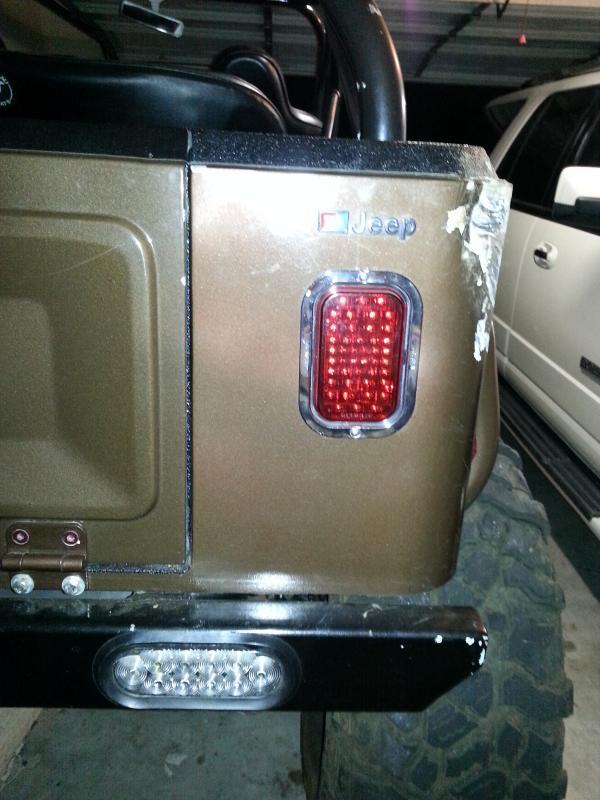
Rear corner re-aligned with tailgate:
20140802_000608-1.jpg


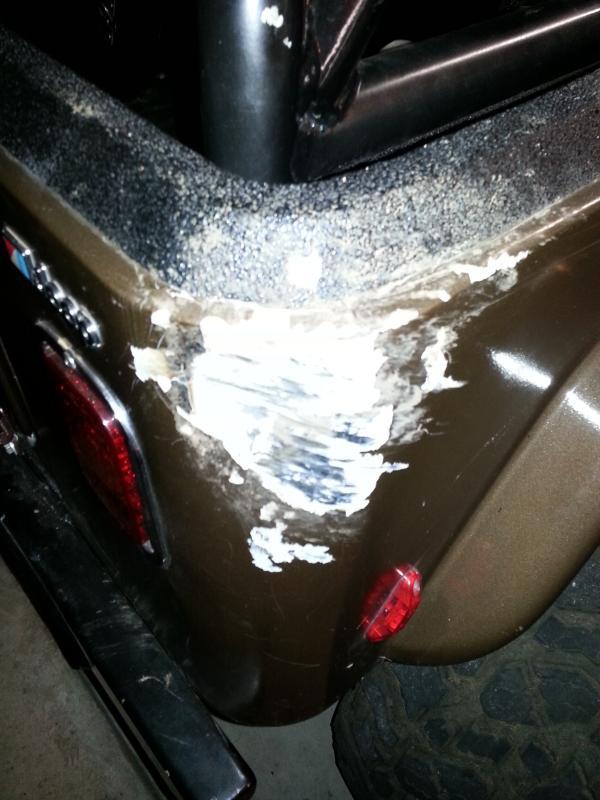
Rear corner before:
20140802_000628-1.jpg

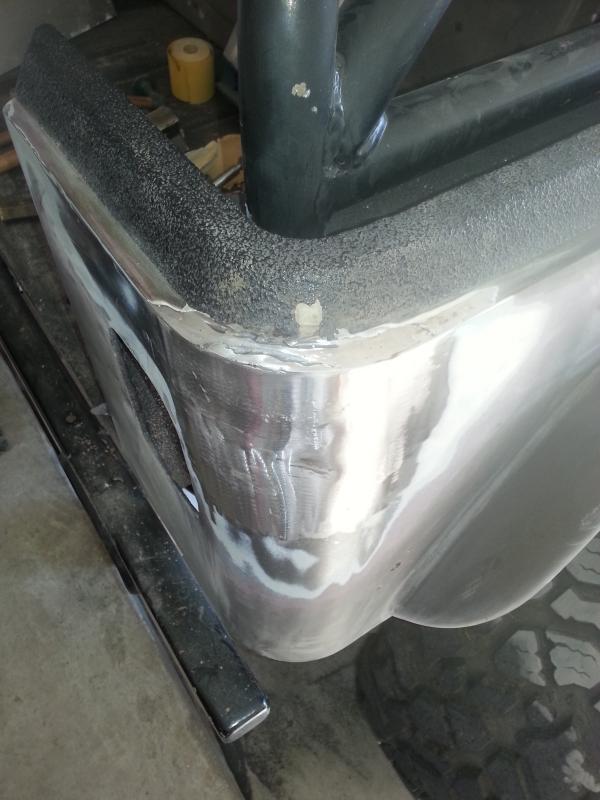
Rear corner after:
20140808_183926-1.jpg


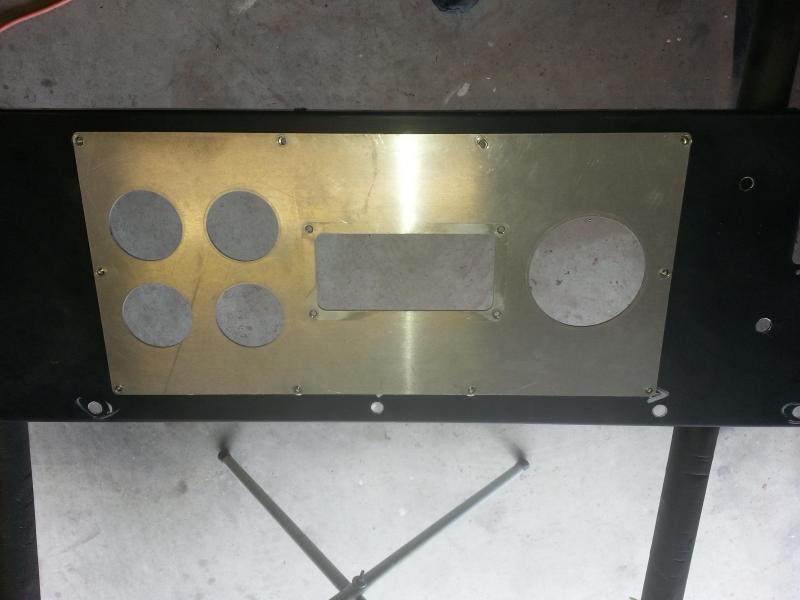
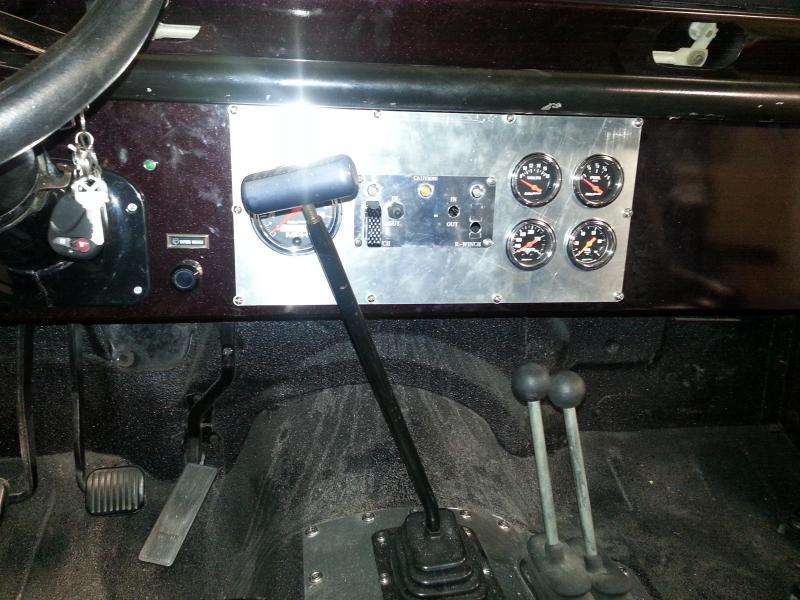
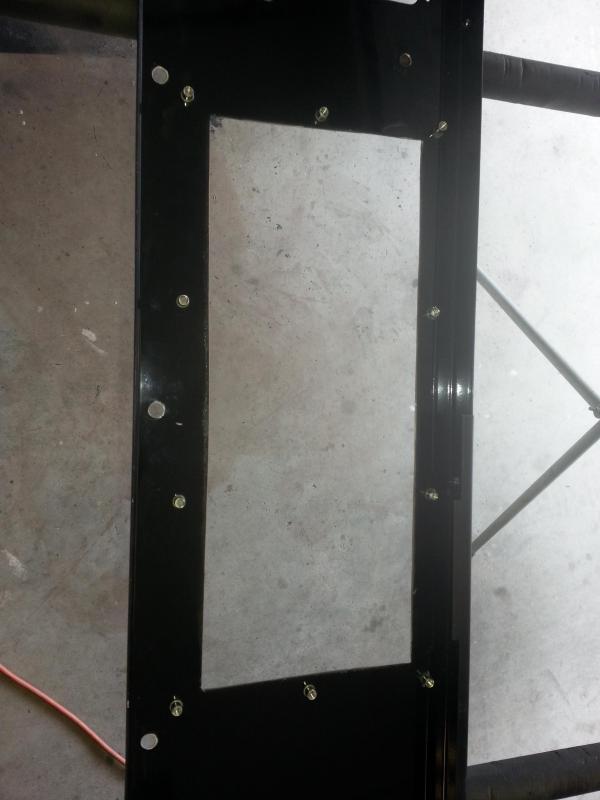
Customized dash to replicate the old + rivets (no speakers this time. I'll add them later:
20140812_170531-1.jpg

20140812_170607-1.jpg
 
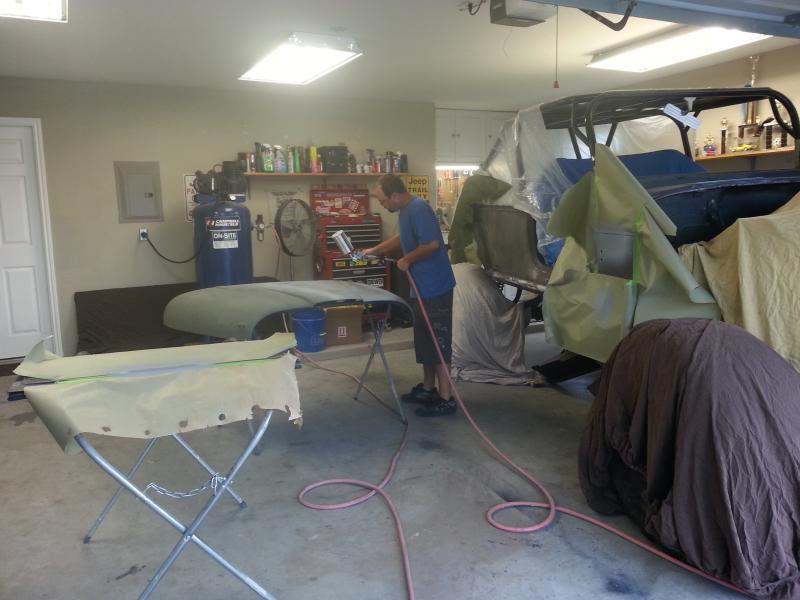
Glenn laying down the etch primer:
20140811_184310-1.jpg


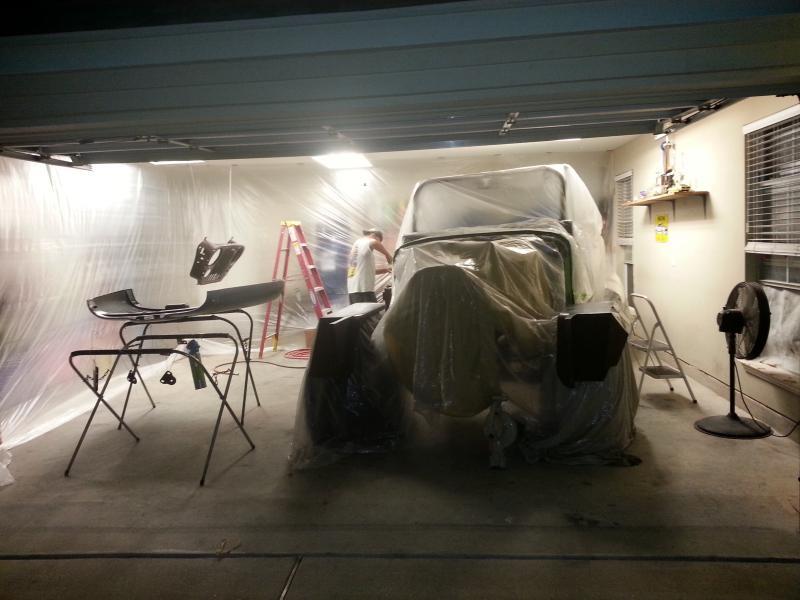
Home made paint booth setup, masking for etch primer:
20140812_213734-1.jpg


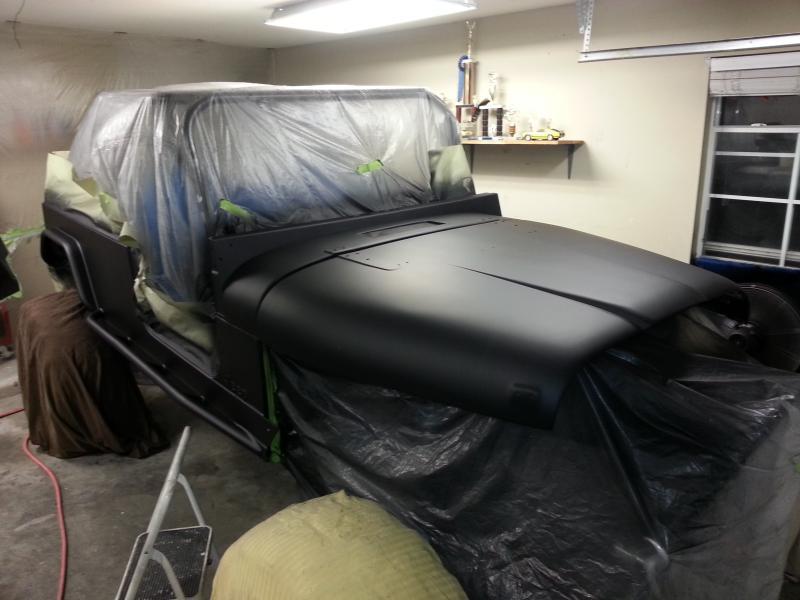
Primer sealer (Black):
20140814_002940-1.jpg


Test paint:
20140813_103048-1.jpg

20140813_103203-1.jpg
 
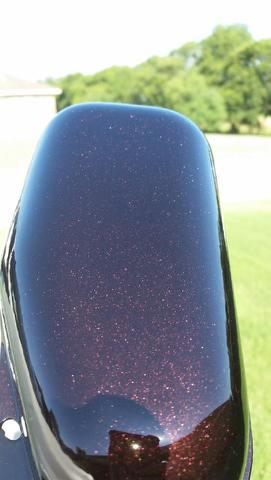
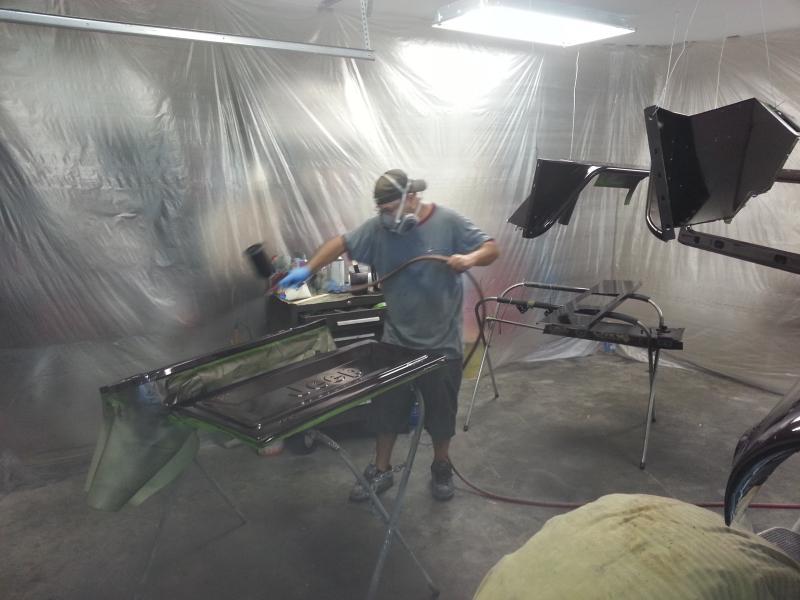
Glenn laying down Black Cherry Pearl (Point of no return, but at least no longer root beer brown):
20140814_105537-1.jpg


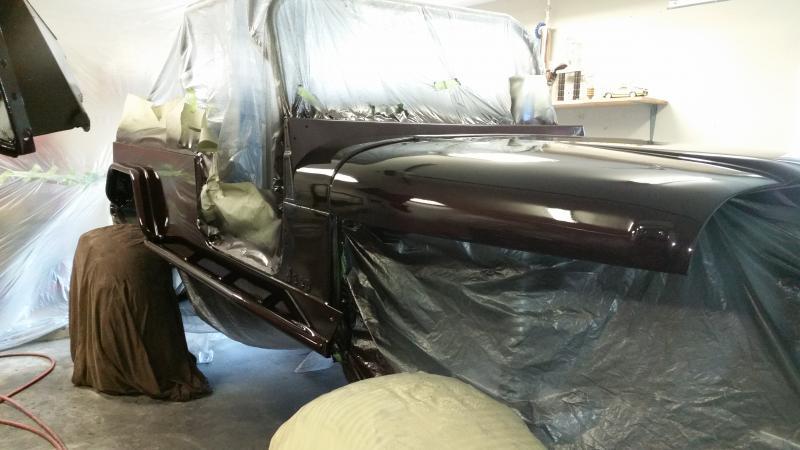
2 coats of single stage now waiting to dry:
20140814_115237-1.jpg


I pulled all the tape and will allow it to dry for a few days. I'll start reassembly on Monday. I still have the cage to repaint, fix the front diff cover dent, add T case oil and Axle oil + change eng oil, etc...more updates soon.
 
Wow that is going to be purrrdy.
 
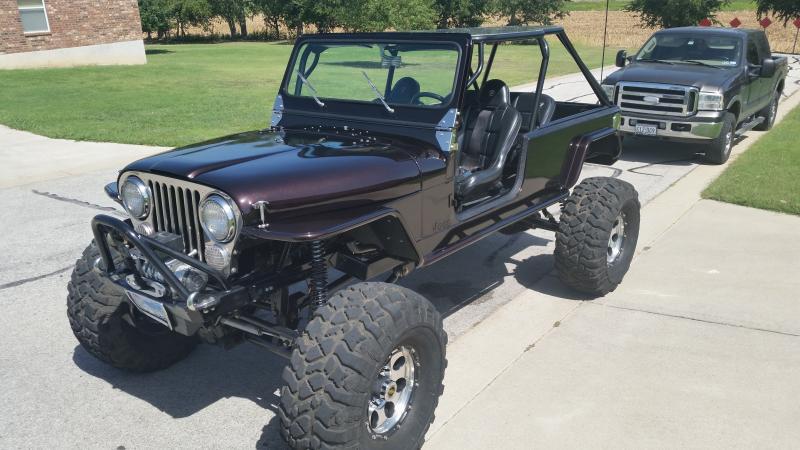
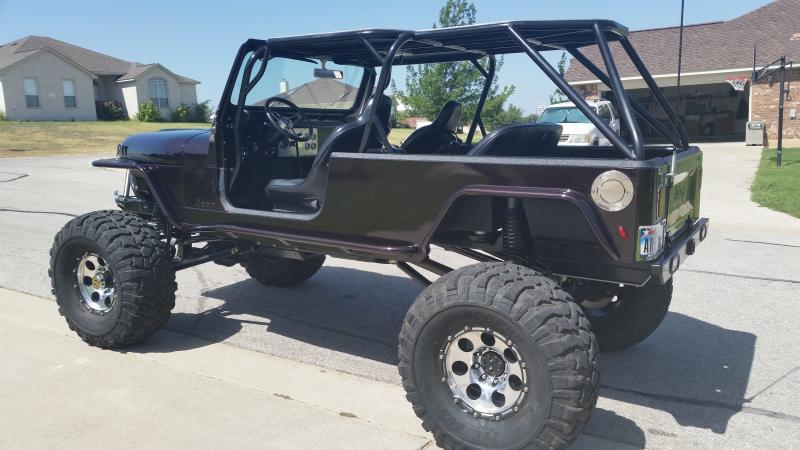
OK the Jeep is finally put back together and for the first time out in the sun!

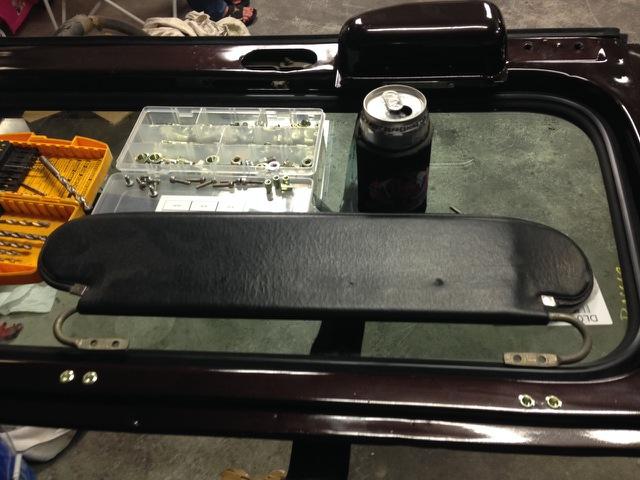
After the windshield was installed I had to put my visors back on and remembered that over time they would come loose and the bolts would hollow out and eventually I removed the altogether. So I drilled the holes out and installed rivnuts so I had a good foundation to bolt/thread the hardware. Hopefully, this will last a lot longer with all that bouncing around on the trails. I know I know visor are overated on the trails but I do drive this beast on the road with my 3yr old daughter whom absolutely love it (Pool, trip to Mc D's, etc).
IMG_9745-1.jpg

I did the same to my custom dash insert. It allows me to work on the gauges/wiring without removing the whole dash or crawling underneath it. These rivnuts are the bomb!
20140822_004157-1.jpg


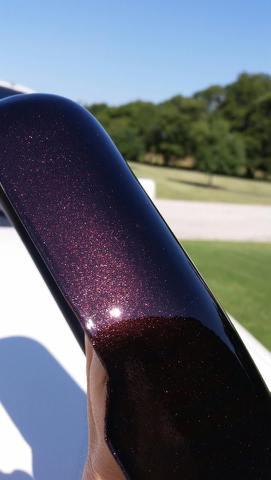
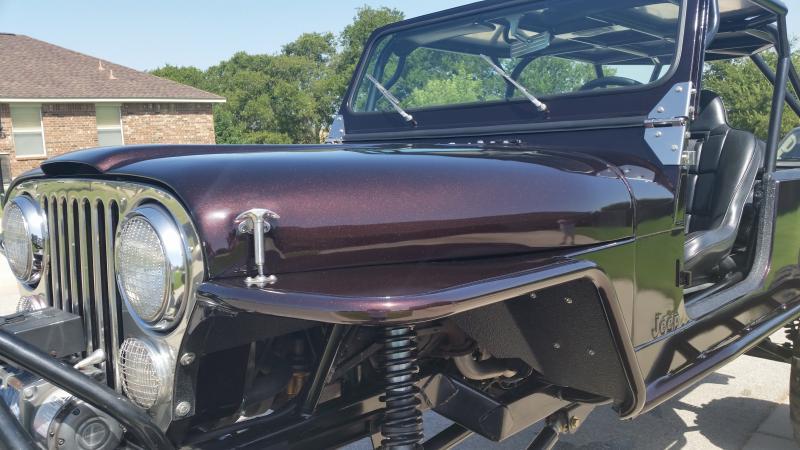
Pics of the new paint and body work. It ain't perfect but it sure is purdy
20140822_112918-1.jpg

20140822_112556-1.jpg

20140822_112525-1.jpg


Now its ready for it's return to the trails this labor day weekend. :headbang:
 
I love the "quietly aggressive" hood scoop! It keeps the classic look while making it just a little meaner... Nice color choice too!
 
Wow- Looks great! I may have to steal your hood scoop idea.
 
Thanks guys. You guys crack me up! I will do my best to keep it right side up, but now what that is out of the way....I'm ready to get back in the saddle.

The hood scoop was originally designed for a CJ7 with a 454 by an old friend of mine whom decided to go another route so I bought it, repainted it to match, then painted it again in the last build + added bedliner underneath. I took good care of it but this last roll bit me right there so when I got another hood from a guy in Dallas whom owned his Scrambler since high school, I felt it was a staple in my look so we had to replicate it. I am glad we did because that is how I discovered what seemed like a 1/4" of bondo in the middle to conceal a pond on the top. We spot heat fixed it and of course replicated the scoop. 95% of folks miss it as it is suddle but it also helps keep the AMC 360 V8 cool. Feel free to replicate and I have a few add'l pics for those interested to see the making. I may have skipped a few steps in my updates to not bore anyone.
 
for sure add pics of the scoop!!! :drool:
dont skip steps, we all love the little details!!!
 
Back
Top