

You are using an out of date browser. It may not display this or other websites correctly.
You should upgrade or use an alternative browser.
You should upgrade or use an alternative browser.
Kane's Project CJ8-SS
- Thread starter Kane
- Start date


Kane
CJ-8 Member
- City
- Berlin
- State
- ct
You are right about that top. I took a chance after measuring the glass body to the original and figured it would work. This glass body has exactly the same exterior dimensions but I got such a good deal I knew I could sell it and make a few bucks if it didnt work out. It's nice to have the top before I do the window frame because this will help to line it up exactly at the proper angle with no guessing. This will make setting up the hard doors tha much easier as well. Once the axles are done and installed that will be my next job.
Kane
CJ-8 Member
- City
- Berlin
- State
- ct
So I have been squeezing whatever available time I have into this project which isn't much compared to some people but I managed to stay on my timeline to have a roller by February. So far I am where I need to be to make this happen. Over the last couple weeks I did all the prep work to make my front Scout II Dana 44 ready for a CJ with proper caster and dif angles. Here is a link to the whole thread as I decided to make that one separate for people who have questions in the future.

https://www.cj-8.com/forum/showthread.php?37685-Scout-Dana-44-prep-tips&highlight=
With the odd diff that has the spring perch right on it I had an interesting issue which is the CJ spring plate will not work without welding the old holes and making new holes for the much larger u bolts. This left very little room for the bolt since the plate is actually slightly too small to do this. Since I might go to a wrangler type spring I decided to make my own perch that can accept both the 2” and 2.5” wide spring. The last few days I whipped up this little baby. Sometimes it is the small project that give me the most satisfaction.


https://www.cj-8.com/forum/showthread.php?37685-Scout-Dana-44-prep-tips&highlight=
With the odd diff that has the spring perch right on it I had an interesting issue which is the CJ spring plate will not work without welding the old holes and making new holes for the much larger u bolts. This left very little room for the bolt since the plate is actually slightly too small to do this. Since I might go to a wrangler type spring I decided to make my own perch that can accept both the 2” and 2.5” wide spring. The last few days I whipped up this little baby. Sometimes it is the small project that give me the most satisfaction.


- City
- Redmond
- State
- OR
For a V-8 with 33" tires and no overdrive, 3.73 is ideal. But with overdrive, I'd go 4.10.Not what I wanted to see when I pulled the pinion gear out of the Dana 44 rear end. I guess I have a choice to make at this point. I can just buy some new rear gears in the same ratio which is 3.73-1 or go lower in both axles.
Here is the best- without a doubt- gearing calculator around. It allows you to compare gearing and transmission, shows speed and rpm, ect. It's a bookmarked sight on my computer...
http://www.grimmjeeper.com/gears.html
Kane
CJ-8 Member
- City
- Berlin
- State
- ct
I agree as i was never a fan of gearing too low since I always used my Jeep on the street and highways as well as trails.
Wow that calculator is amazing. I compared my t-18 to a 700r4 and was surprised at the rpm difference at 65mph. it really puts my gearing needs into light.
Wow that calculator is amazing. I compared my t-18 to a 700r4 and was surprised at the rpm difference at 65mph. it really puts my gearing needs into light.
Kane
CJ-8 Member
- City
- Berlin
- State
- ct
Well since I have given almost zero updates in the last 1.5 years here is where I am at. I am basically just going to post a bunch of pictures of various stages of the paint and body process since most people will just look at those anyway.
How it arrived at my house about four years ago. It sat behind a church for 16 years before the town took it into impound. A fellow police officer and Jeep lover rescued it and then sold it to me. He knew how rare of a vehicle this model is new it deserved to be resurrected.

Here is the Jeep after I fitted everything to the glass body and drilled all the holes.
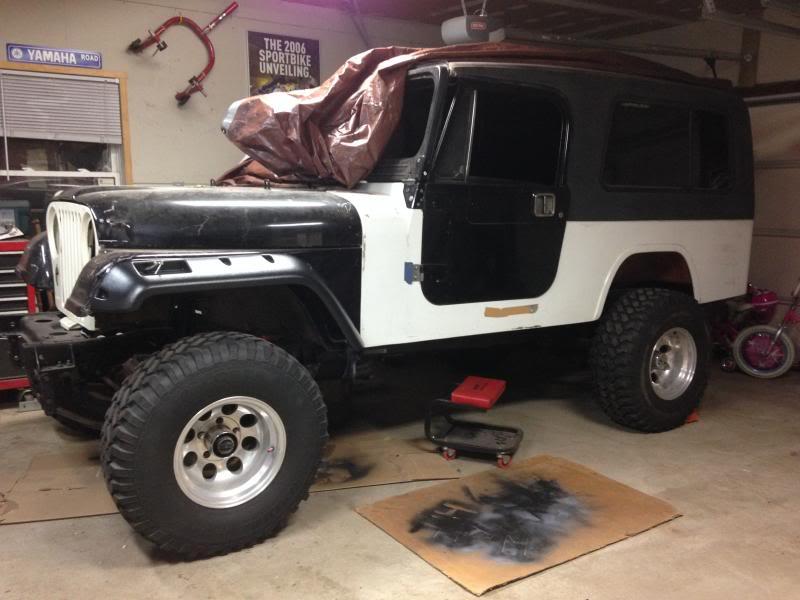
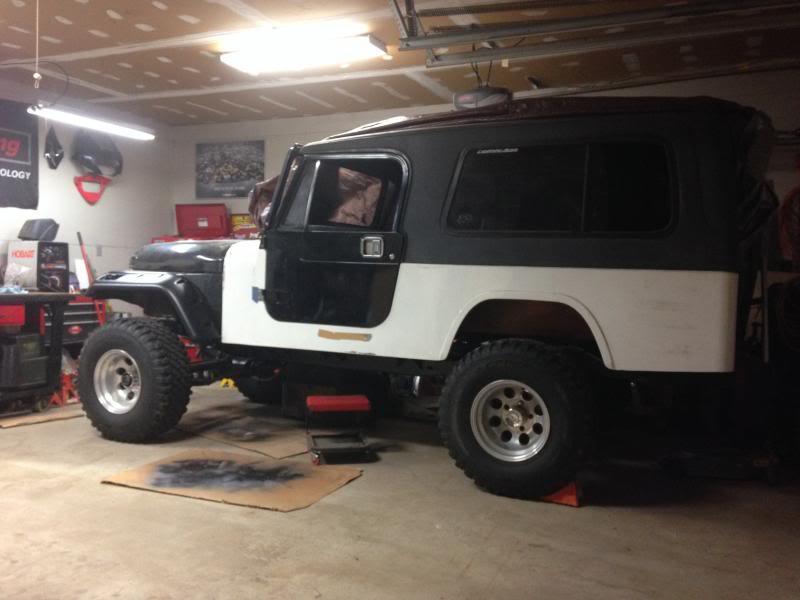
July when I tore it back down and started removing the black paint. I am sanding it down to the original paint to ensure a good bond with the new color. Good thing too because the black paint was actually spray paint on most of the front end. I could actually scrap it with a razor blade faster than I could sand it off with a DA.
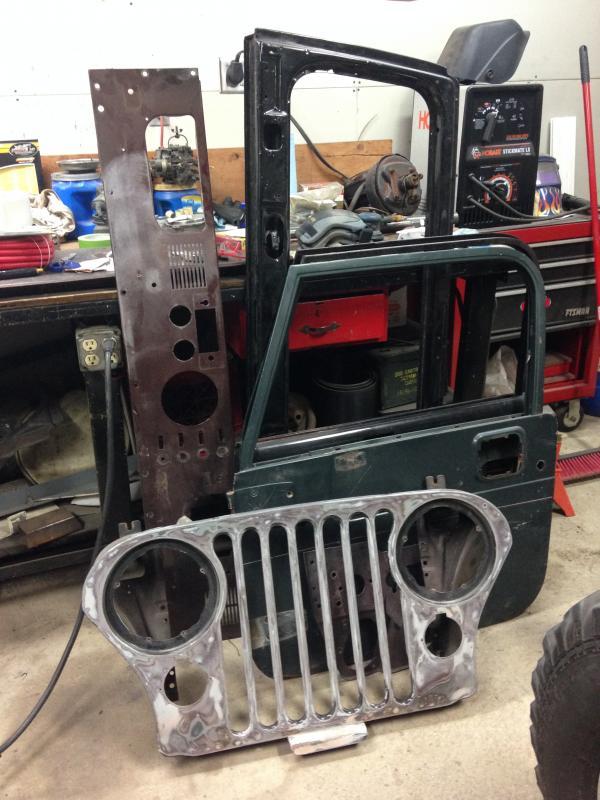

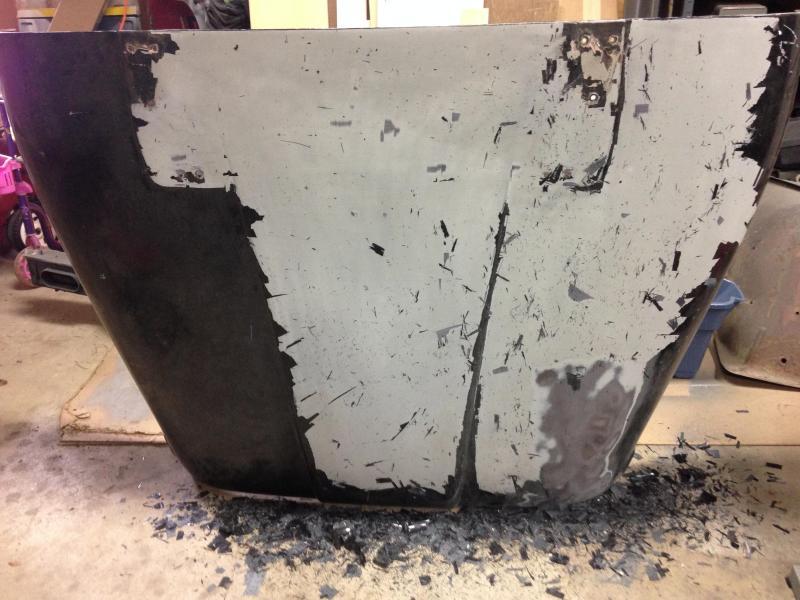
How it arrived at my house about four years ago. It sat behind a church for 16 years before the town took it into impound. A fellow police officer and Jeep lover rescued it and then sold it to me. He knew how rare of a vehicle this model is new it deserved to be resurrected.

Here is the Jeep after I fitted everything to the glass body and drilled all the holes.


July when I tore it back down and started removing the black paint. I am sanding it down to the original paint to ensure a good bond with the new color. Good thing too because the black paint was actually spray paint on most of the front end. I could actually scrap it with a razor blade faster than I could sand it off with a DA.


Kane
CJ-8 Member
- City
- Berlin
- State
- ct
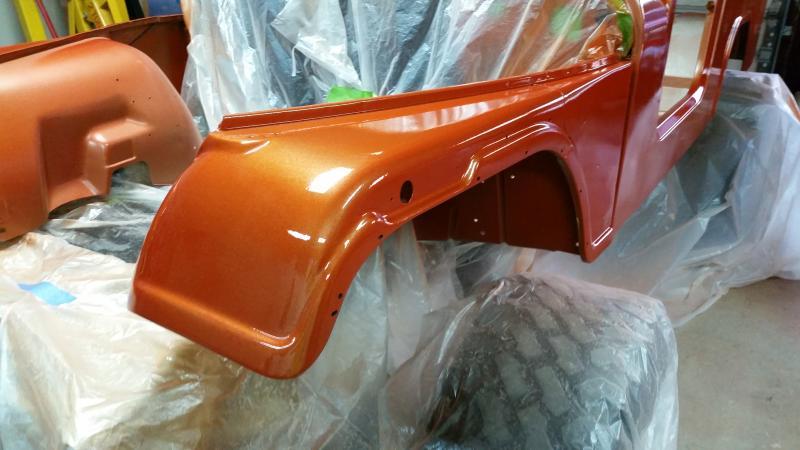
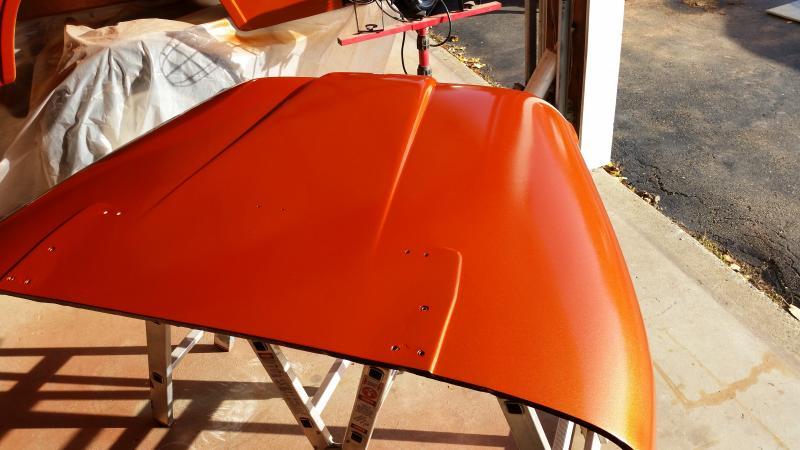
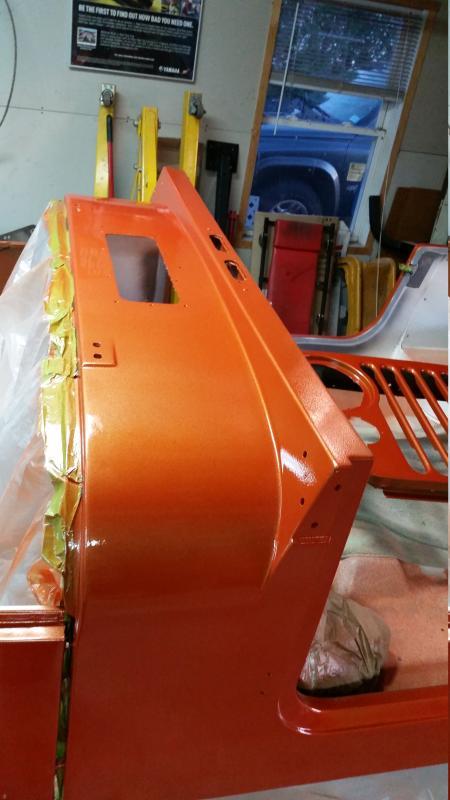
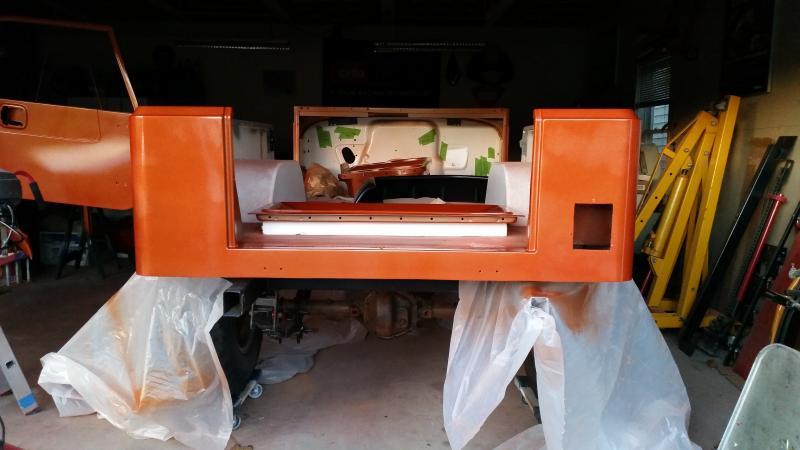
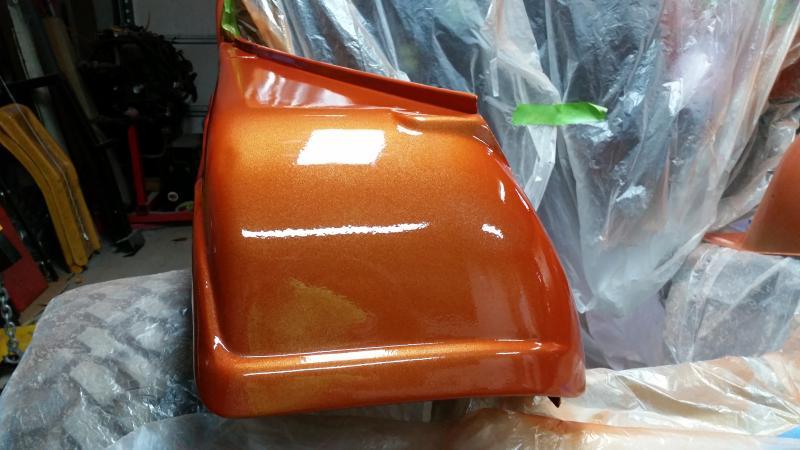
This is how she sits today. I plan to start body assembly tonight and I am waiting for my U-pol raptor liner to come in the mail so I can spray the inside. It's not perfect but this is my first time ever painting a vehicle and of course i picked a tough color with metal flake. This is Eastwoods Sunset metallic orange urethane with clear. I actually messed up the paint so bad the first time that I had to re-sand the whole Jeep down and spray again. I learn a ton on this portion of the project and hope to get better at painting over the winter with all the other parts that need to be done.


- City
- Bedford
- State
- NH
Being in primer is a nice stage! Looks good!
cb
cb
- City
- Bedford
- State
- NH
I learn a ton on this portion of the project and hope to get better at painting over the winter with all the other parts that need to be done.
I spoke too soon, looks great with the new color.
Remember though, here in New England... painting in the winter is not a lot of fun. The paint, the metal parts, the air, etc. all have to be the same termperature... "warm" and that is hard to do unless you have a good heater. I ran drips all over last year trying to paint and ended up waiting until it warmed some more to get the rest done.
Good luck with the reassembly!
cb
Kane
CJ-8 Member
- City
- Berlin
- State
- ct
It's a amazing how a tremendous amount of work shows up in three simple posts and look like it was done on a Sunday afternoon. In reality I have well over 100 hours of sanding, welding, putty, sanding, spraying, sanding and spraying again. I have a new found appreciation for body and paint pros and I will never question the cost of a good paint job again because the work load is ridiculous. I cannot wait to finally start putting parts on the Jeep that will stay there and not have to removed again. The goal is to have this on the road by next July to take it to the 4x4 national in Bloomsburg PA.
Kane
CJ-8 Member
- City
- Berlin
- State
- ct
I spoke too soon, looks great with the new color.
Remember though, here in New England... painting in the winter is not a lot of fun. The paint, the metal parts, the air, etc. all have to be the same termperature... "warm" and that is hard to do unless you have a good heater. I ran drips all over last year trying to paint and ended up waiting until it warmed some more to get the rest done.
Good luck with the reassembly!
cb
I understand. They will be small parts like brackets and little bolt on pieces. I need to add more clear to the hood due to some dry spots but I plan to wait until spring at this point and hit it then.


- City
- stafford
- State
- va
That's HOT !!

Cpittman428
Basic User
- City
- Fort Collins
- State
- CO
I'm digging that color!

- City
- Fremantle
- State
- WA
Ditto the comments above. Colour is cool as is all of your hard work. Paint is a blast isn't it? I made mistakes on my 10 and can't wait to do my next paint job. It's going to be another JK colour, Dune. How any base coats then clears did you use?
Kane
CJ-8 Member
- City
- Berlin
- State
- ct
Ditto the comments above. Colour is cool as is all of your hard work. Paint is a blast isn't it? I made mistakes on my 10 and can't wait to do my next paint job. It's going to be another JK colour, Dune. How any base coats then clears did you use?
I had to do fours base coats due to the fact the color was somewhat translucent and i did 2 coats of clear. I actually need to sand and hit it with another clear coat in the spring because I have a bunch of dry spots. I definitely want to practice painting more so I can get better at it. I am kind of hooked on painting now. I am not hooked on my burnt out shoulders though. They are roasted from all the sanding.