• Notice for iPhone users: DO NOT use the image size reduction option when uploading photos to the forum. This causes portrait images to post as landscape. We have added a warning to the image insert pop-up as well.

Changing to a TH400, 4:1 Klune V, D300 (rebuilding) twin stick cable shift.

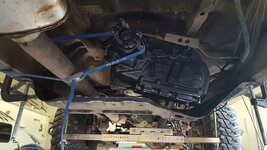
This has a 4in lift, old but it was 4in. I figured it wouldn't go but you know sometimes you just have to try it any way. Take it out tomorrow and start taking it back a part and re clock it. That is just life when you mess with a Jeep.
 
Fit test #2. back in the Scrambler again, Going to hit the local drive line shop when I get back from a trip to Quartzsite AZ for about 8 days then I can know for sure if that is good one more try.

20210109_140322.jpgresized.jpg
 
Fit test #2. back in the Scrambler again, Going to hit the local drive line shop when I get back from a trip to Quartzsite AZ for about 8 days then I can know for sure if that is good one more try.
I'm liking that TC support...
I know I've seen one before, (maybe you already posted it), do you have any info on it?

Thanks.

Looking good, enjoy your trip.
 
I'm liking that TC support...
I know I've seen one before, (maybe you already posted it), do you have any info on it?

Thanks.

Looking good, enjoy your trip.


The trany support was made by Advance Adaptors but they no longer make them, I tried awhile back to get a second one and they weren't available. I find it really handy. Maybe if we get together and figure how many of want one, maybe we could talk them in to making a run????
 
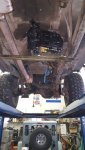
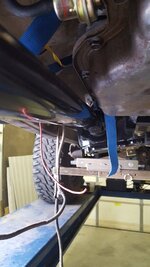
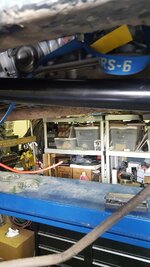
Still messing with this. Still have got all the skid plate figured out but making progress. A few things are starting to jell.

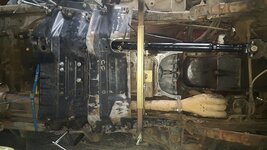
Got the front drive shaft from the shop and put it in
.20210209_125231.jpgresized.jpg
 
Last edited:
Continuing from above, site wouldn't let me post more than that picture contacted the boss trying again.

Drive front drive shaft installed. I jacked up the right front tire until I about had the left front about off the ground. It is close but might work.
20210209_125301.jpgresized.jpg

Using an old CJ skid plate, seeing how it works. It will not bolt up slid that far back. Figure I will need to add some material to the sides and re-drill holes and put Bungs in the frame to bolt to.
20210211_134725.jpgresized.jpg

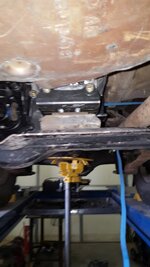
Found I could get a trany mount in between the plate and the mount at the front of the Klune V. One hole was there and lined up will need to drill the second hole. This gave a bit of alignment.
20210211_134741.jpgresized.jpg

Where the pan sits on the frame rails.
20210211_134754.jpgresized.jpg20210211_134800.jpgresized.jpg

A view from outside the rails
20210211_135039.jpgresized.jpg

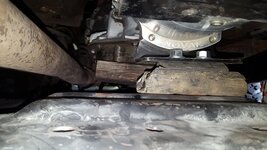
This was the first shot at the trans mount. It left the skid plate an inch or so short of the back or the T-Case.
20210215_134515.jpgresized.jpg

Plates made and stuck in to see how they work.
20210215_134633.jpgresized.jpg20210215_134646.jpgresized.jpg

Figured out I could turn the bracket around and that it would let the The T-Case mount move back allowing the skip plate to slide to the rear and cover the T-Case completely.
20210215_134841.jpgresized.jpg
 
Continuing from above, site wouldn't let me post more than that picture contacted the boss trying again.

Drive front drive shaft installed. I jacked up the right front tire until I about had the left front about off the ground. It is close but might work.
View attachment 91611

Using an old CJ skid plate, seeing how it works. It will not bolt up slid that far back. Figure I will need to add some material to the sides and re-drill holes and put Bungs in the frame to bolt to.
View attachment 91612

Found I could get a trany mount in between the plate and the mount at the front of the Klune V. One hole was there and lined up will need to drill the second hole. This gave a bit of alignment.
View attachment 91613

Where the pan sits on the frame rails.
View attachment 91614View attachment 91615

A view from outside the rails
View attachment 91616

This was the first shot at the trans mount. It left the skid plate an inch or so short of the back or the T-Case.
View attachment 91617

Plates made and stuck in to see how they work.
View attachment 91618View attachment 91619

Figured out I could turn the bracket around and that it would let the The T-Case mount move back allowing the skip plate to slide to the rear and cover the T-Case completely.
View attachment 91620

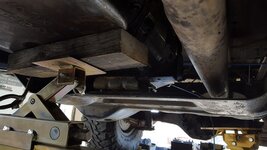
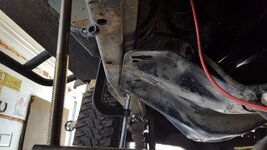
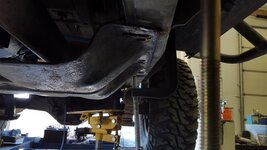
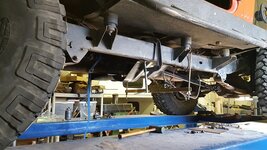
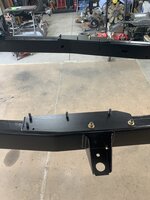
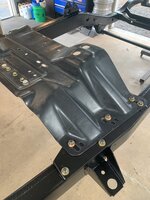
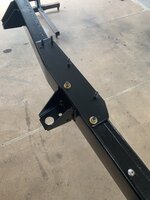
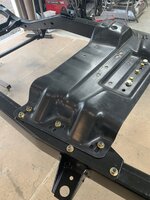
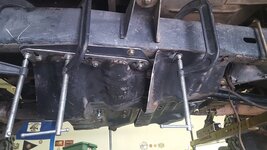
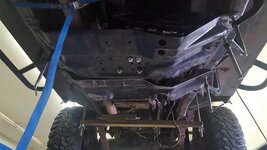
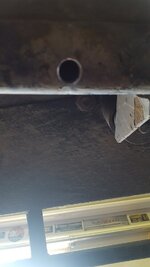
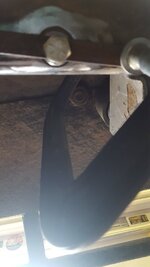
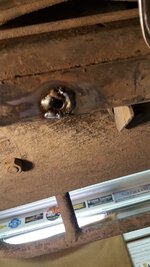
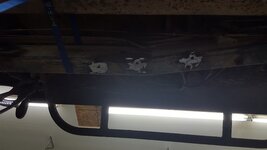
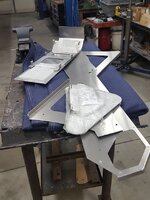
I did the same thing on Red. Made a couple of plates and remounted the stock skid back a ways. I used a HD nutsert in the frame for the rearmost stud. Worked out great. 3873F9E3-0802-4C91-AF18-F4A8E981C048.jpeg891E4CDA-FF85-434C-8C30-2D0C156E3D83.jpeg18B1F559-3727-47AC-BAAC-8D3420CDF6C3.jpeg4F5AA0E2-9ED4-4B14-9845-EDAAE9F091D8.jpeg
 
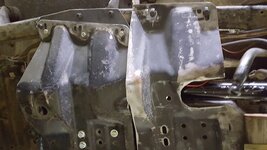
Been working on Randyzzz idea. This looks like it is going to be the configuration. Still thinking on adding some to the front pan to cover the trany pan but I think these are going to be where they are.

Need to install 2 threaded bungs for this side for the rear pan plus one for the back pan where the clamp is the original hole is stripped out.
20210224_092232.jpgresized.jpg

20210224_092306.jpgresized.jpg

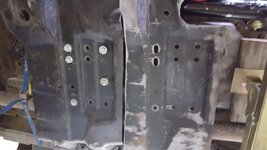
Need to install the 3 threaded bungs in the frame for this side of the rear pan.
20210224_092421.jpgresized.jpg

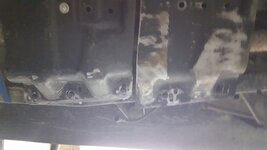
Thinking about adding an extension to the front here to at least protect the forward part of the trany pan where it is sitting on the support. Haven't really worked out what yet.
20210224_092533.jpgresized.jpg

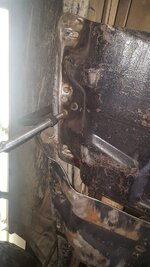
Started putting in the threaded bungs for the support bolts. Drilled out the hole to 7/8" for the bung.
20210225_090800.jpgresized.jpg

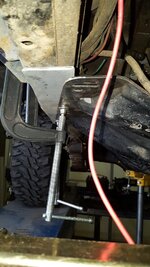
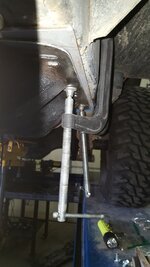
Took a small piece of 1/2" flat bar and drilled an 3/8" hole and bolted the bung to it stuck it in the hole and clamped the bar in place to hold it while I tacked it in.
20210225_091641.jpg

Took the bar off stuck the bolt back in and weld it out. Buffed off the excess weld.
20210225_095531.jpgresized.jpg
Above was the first one on done it is in the original spot on the frame that one had stripped out years ago. Last bolt the front pan on PS side.
Three more done these are the DS side of the Rear pan. Need to install 2 more for the PS side of the rear pan. Didn't count before ordering the bungs so had bought a bag of 5 Needed 6, 5 for the rear pan and the replacement of the stripped out on one the front pan so waiting on some more to arrive.
20210225_140807.jpgresized.jpg
 
Been a bit busy with other stuff. I have had this done for a while. When I say done I am talking just the skid plates.
I did use Randyzzz idea and made it work. All the mounting bolts are in place and things are lined up. Going to be sitting for a while I am going on vacation.

20210316_103732.jpgresized.jpg20210316_103739.jpgresized.jpg20210316_103751.jpgresized.jpg
 
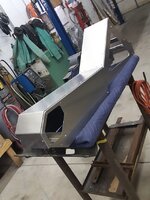
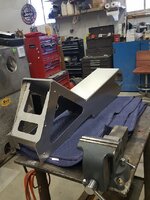
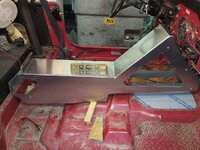
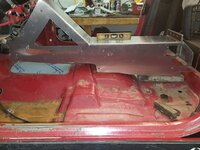
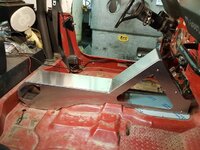
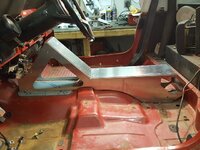
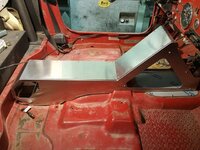
Ordered a Genright Console for an LJ to try and work in my Scrambler. It is going to take a good amount of massaging to do it I think.

20220122_113102.jpgresize.jpg20220122_123024.jpgresized.jpg20220122_123039.jpgresized.jpg20220122_131405.jpgresized.jpg20220122_131505.jpgresized.jpg
 
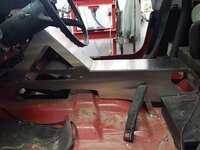
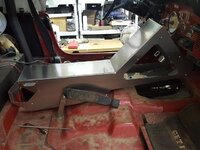
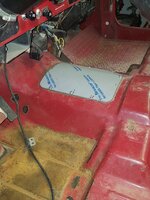
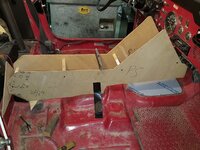
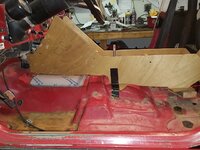
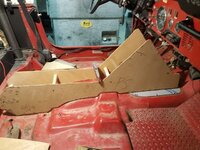
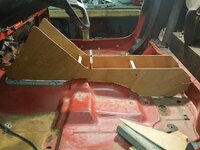
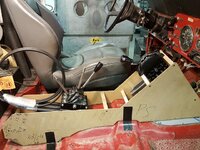
More looking and head scratching. Removed all the switches I had mounted bottom edge of the dash. Installed a blank tunnel cover. Centered it up in the middle. Now looking at how to trim the bottom to match the contour of the tunnel. Thinking about using some thin paneling to make some templates to find the best contour for the best position.

20220212_141017.jpgresized.jpg20220212_143624.jpgresized.jpg20220212_143642.jpgresized.jpg
 
Last edited:
I didn't think it was going to get any better so took out the wood blade and switched to the metal blade.

20220219_122105.jpgresized.jpg20220219_122121.jpgresized.jpg

Any one else it thinking along these lines let me know I screwed the wood templates to the wall I can trace them out on something mail able.
 
Some more progress.

Got the console bolted down where it is going to be.

20220221_145413.jpgresized.jpg

20220221_143017.jpgresized.jpg

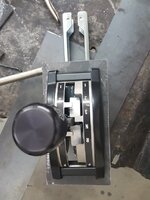
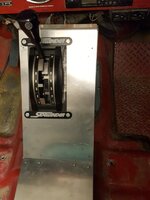
Had to build a mounting plate to flush mount the Sidewinder shifter.
20220220_095510.jpgresized.jpg
It mounts on the side, no way to mount flush without some kind of adapter, I did not want to use there large base that it comes with.

20220220_095812.jpgresized.jpg
Use the Sidewinder plates to tie it in with.
20220222_113335.jpgresized.jpg

20220222_113340.jpgresized.jpg

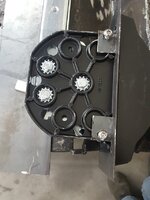
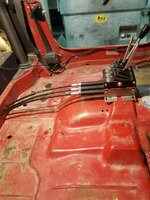
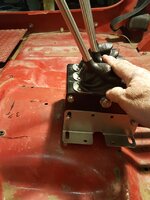
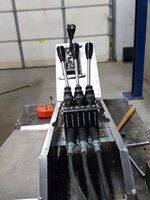
Then removed the console to work on the JB triple shifter. Drilled the holes for the cable to get out of the cab so I can figure out the positioning.
20220222_141802.jpgresized.jpg
This is about where it needs to sit. not a good place to mount it. Scratched my head for awhile and figured out............
20220222_141855.jpg

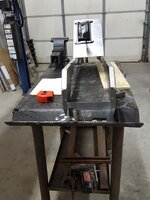
If I build a tray and mount in the console I can then mount the shifter to the tray in the console. That's the next step get a tray made.
20220222_141643.jpgresized.jpg
 
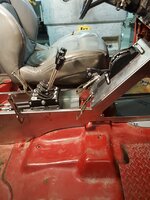
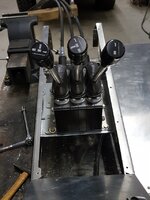
Had the tray made, clamped in place. Set the console in place and set the shifters in the tray.

20220224_091148.jpgresized.jpg
Put the seat back in and checked the operational clearances decided that was good marked the spot in the tray for shifter and took it all out again.
Now to assemble the tray in the console. I plan on adding rivnuts to the tray so it will make bolting down the shifter easier because of the way everything has to be put in a certin order to get it all to go together.

20220224_103654.jpgresizd.jpg
 
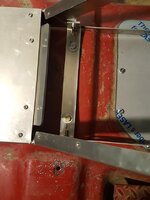
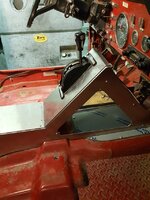
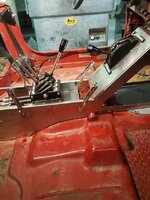
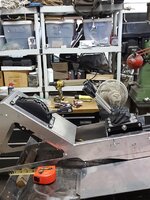
Spent most of yesterday on the console. Was able to get the other shifter mounted in the console. Put the cable on the auto shifter and found that the cable has to run through the floor right where I have the bracket to tie it all to the floor, so that is going to require a rework.

20220227_143118.jpgresized.jpg20220227_143129.jpgresized.jpg20220227_143156.jpgresized.jpg
 
Last edited:
Back
Top