• Notice for iPhone users: DO NOT use the image size reduction option when uploading photos to the forum. This causes portrait images to post as landscape. We have added a warning to the image insert pop-up as well.

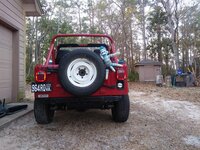
1985 4 cylinder Base Model CJ-7

That is a really nice CJ7.

You would be unstoppable with a welder! Body work is fairly easy to learn on as it is more tack welds and heat management than anything. I have a Hobart 210 MVP that I love. Its pretty small and compact. I've used it on body work up to 1 ton axle truss work. Pretty versatile and works on either 110 or 220 input.

I agree 100%, it is a nice/solid Jeep, a little body work would take it to the next level.

I am just going to do my best not to "bubba" it up :thumbsup:
 
Hell, this thing still has the "PCV solenoid" installed
Mine did as well when I bought it.
Took a lot of troubleshooting to uncover it, melted under the mess of vacuum/emission lines.
Removed it per the TSB and fixed all my blow-by issues.
 
This Jeep has the original exhaust system. The catalytic convertor, pulse air, all components look good, except for the muffler. This muffler was NOT rusty at all. I presume it blew up due to running overly rich/timing way out, cataclysmic back fire, blew it to pieces.

The muffler had the original clamp where it joined the catalytic converter (thank God), but the tail pipe was welded on to the other end of the muffler. Not sure if this is OEM, I always assumed all these parts were clamped together??

Anyway, I did not want to damage the catalytic converter, so I cut slits in the muffler tube, it slides over the cat. Bunch of cuts, hammer abd punch, got it off with no damage to catalytic converter.
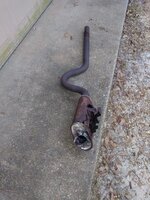
20220301_173147.jpg

Kind of looks like when Bugs Bunny plugs the end of a gun with a carrot LOL!!!!!
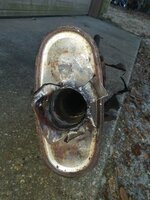
20220301_173154.jpg

The rear tailpipe clamp came off, and I can reuse it. I cut the u-bolt at the catalytic converter, it was missing one nut, the other one was going to be a pain to get to, so cut the u-bolt off with the Dremel. The catalytic converter heat shield was loose on the back end, some damage, should be able to repair/reuse it. Can't leave it loose, it makes one hell of a racket rattling around down there!!!!
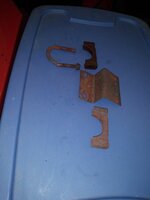
20220301_173210.jpg

Temporarily hung the rear end of the catalytic converter up with the tailpipe clamp, prevent any damage to the rest of the exhaust system.
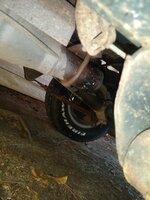
20220301_173220.jpg

When you think about it, pretty amazing these parts came off/apart without much drama. I pictured the worst of the rust earlier, mainly the rollbar/exterior driver side "B" pillar. The rest of this Jeep is really clean.

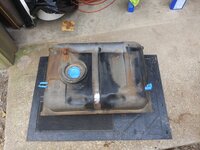
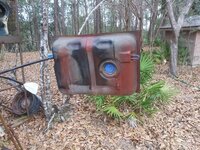
Learned my lesson on my last project, dropped this gas tank out in the yard, and it only had about 2 gallons of fuel in it.
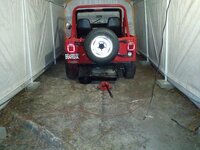
20220301_184048.jpg

All of the clamps/nuts/bolts came off with no problems. No rust issues. Pretty sure this tank has never been removed from this Jeep.
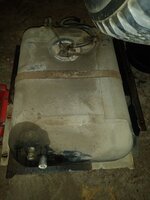
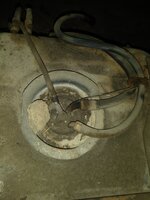
20220301_184230.jpg

20220301_184237.jpg

I dumped the fuel out of the tank, actually looked clean, no rust or debris came out. Exterior of the tank/skid plate appear solid, too. Since it is down, I'll probably pull the sending unit, make sure no issues inside the tank, or with the pick up tube. Factory fuel gauge works, so I almost hate messing with it. Will probably pop the tank out the skid plate, clean up any rust, shoot some paint, IF needed.

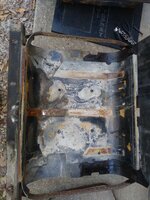
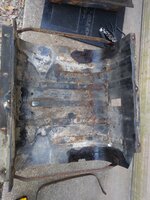
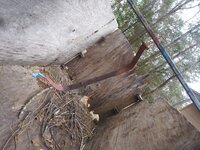
Two more pictures of the under side of the tub.

Rear floor over the driveshaft is clean/dry/rust free. I'm not sure if this Jeep ever went off road, there is absolutely no mud/dirt/sand/scrapes/dents anywhere!!!
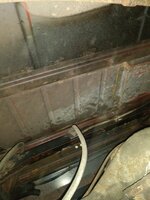
20220301_184251.jpg

Bottom of the rear floor over the fuel tank, clean and dry:
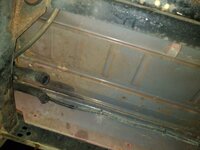
20220301_184301.jpg

Kind of interesting to note the factory primer color. Looks like the factory used a grey primer for Sebring Red. On Sherwood Green, factory used black primer. Makes sense, dark primer for dark color, light primer for brighter colors??

That's it for now :thumbsup:
 
Look at where Chincoteague island is on a map. That’ll explain the rust probably.
 
I love those little Dukes and their hydraulic clutches. Sweet little ride there and I am really looking forward to your write up Spanky.
 
Look at where Chincoteague island is on a map. That’ll explain the rust probably.
What's leads you to believe it spent time there? License plate or......??

Edit - duh, the sticker on the windshield :rotfl:

I'm such a blonde!!!!!
 
spankrjs give the exhaust manifold studs/bolts a look. Mine was an 84 and I ran across a couple of other people with the 4 cyl. 84-85 that each had a bolt sheared off on factory installation. Eventually the manifold would warp on them. The nut was sheared off even with the top of the manifold. It was always the most forward upper bolt/stud.
 
Yep, have ran across this on several 258's - either the very front/very rear stud/bolt sheared off.

I would presume the 4 cylinders are supposed to use the same "special" manifold washers that the 258's use?

I think I have some spares.

:fingerscrossed: the manifold is not cracked/warped. If so, at least replacements are available.
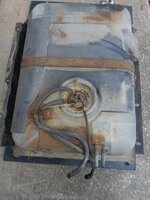
 
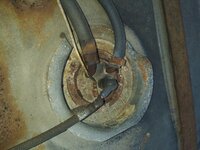
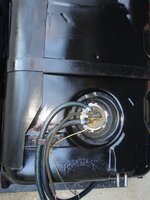
Working on the gas tank assembly. Besides a little surface rust here and there, in good shape, no leaks, definitely serviceable.
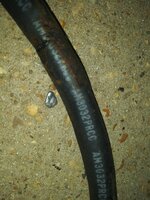
20220304_170343.jpg

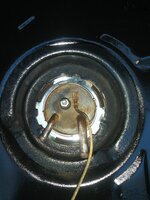
Presume original sending unit, note OEM hose crimps and how the ground wire is soldered directly to the sending unit.

20220304_170414.jpg

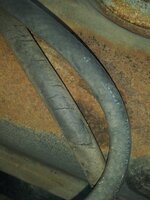
The fuel hoses were definitely passed there prime, feel "gooey" and lots of cracking present.

20220304_170628.jpg

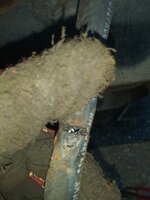
The supply line was actually cracked all the way through, amazing this thing ran at all!!!

20220304_170837.jpg

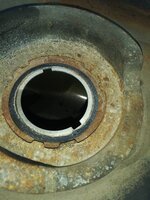
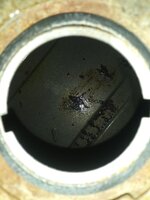
Sending unit is rust free, and works. Plastic float feels fine (empty), sock filter looks good. Will definitely reuse this piece.

20220304_171249.jpg

Will definitely have to pull a new sending unit o-ring from the parts stash, the original has seen better days!!!

20220304_171257.jpg

The brown grunge in the bottom of the tank is just that, grunge. No rust in the tank.

20220304_171331.jpg

Very little sand/dirt found between the bottom of the tank and the plastic guards. I do not believe this Jeep ever saw much off road action.

20220304_172716.jpg

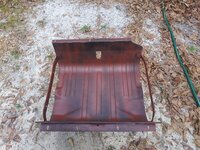
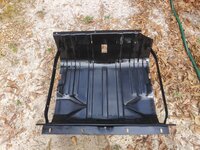
Skid plate is still in great shape, just a little surface rust here and there.

20220304_172727.jpg

I am going to hit the rust with a wire brush/sand paper, then some primer and paint. New rubber fuel lines up top, ready to reinstall.

Need to paint today, we have rain forecast for the next seven days.

Since this project is outside, the rain will definitely impact progress.

That's it for now.
 
Pretty happy with progress today.

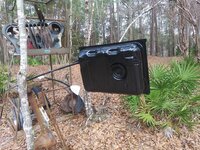
Tank masked up:

20220305_082113.jpg

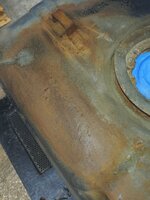
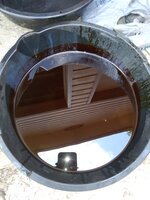
This was the worst of the rust on the tank. Up top. Knocked the flakes off with a screw driver and hammer, still solid.

20220305_082119.jpg

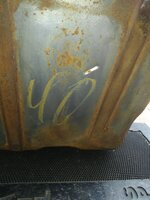
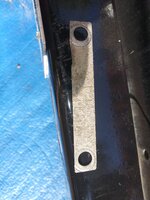
You can still see some type of factory assembly line marking on the bottom of the tank.20220305_082133.jpg

I hit all the rust with wire brushes and sand paper. Went over the rust with some rusty metal primer.

20220305_083652.jpg

20220305_083659.jpg

20220305_083711.jpg

And some VHT Chassis and Rollbar black paint.

20220305_090024.jpg

20220305_090032.jpg

20220305_090044.jpg

I did all my paint work first thing in the morning. I let it dry all day while I worked on some other maintenance items.
 
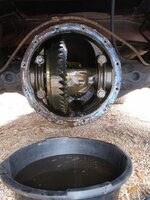
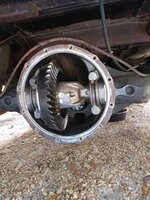
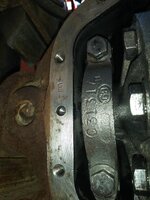
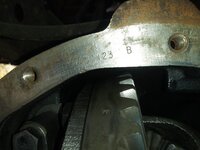
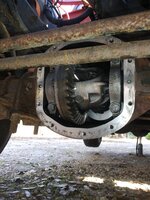
With the gas tank out of the way, what better time to pull the rear diff cover off. Someone has pulled this cover off before, blue RTV was present. The original Torx screws were in place, and they can be a PIA. I used the torch, heated each bolt for about 20 seconds, they came right out.

20220305_093737.jpg

Oil looked OK. No water, mud, dirt, or rust present.

20220305_103313.jpg

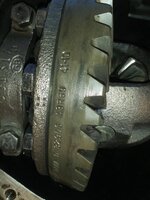
Cleaned up, ready for the cover. Factory 4.10 ring and pinion, open differential.

20220305_114921.jpg

I drained the transfer case, too. It still had the original AMC "fish oil" inside. This stuff stains everything red/yellow. Looks red in the drain pan.

20220305_114949.jpg

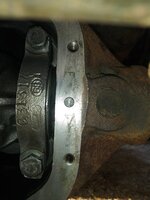
Drained, cleaned and refilled the front differential, too. Factory 4.10 gears, open differential. Everything looks good.

20220305_153418.jpg

20220305_153429.jpg

20220305_153434.jpg

20220305_153448.jpg

20220305_153459.jpg

20220305_153505.jpg
 
Last edited:
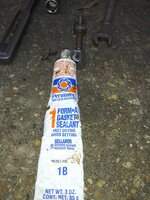
The transfer case drain plug had some type of yellow thread sealant on it. I applied some of the stuff pictured below to it before reinstalling it. Probably a good idea on drain plugs/bolts to prevent annoying little drips.

20220305_155243.jpg

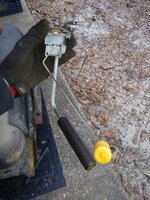
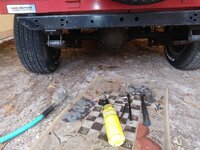
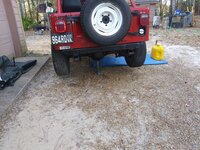
I jacked up the rear with a bottle jack to get the Jeep level for refilling. The yellow gas can on the blue mat is to prevent the mat from blowing away, pretty windy today.

20220305_162754.jpg

Had to time to reassemble the gas tank, after refilling the front diff, rear diff, and Dana 300.

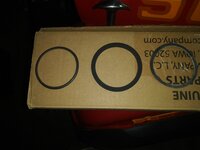
The picture below show three sending unit seals. I prefer the o-ring style, but I have plenty of these MTS flat style seals. The original seal is on the fr right, it was the flat style. I always tjougjt they all used o-rings??
20220305_171111.jpg

It was a PIA to install. Had to get an extra pair of hands to push down on lock ring while I drove it with a punch/hammer. This was after bending the leading edges of the lock ring slightly down to ease installation.

20220305_171201.jpg

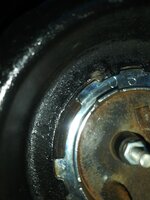
Looks like the seal stayed centered, even smoosh out all around.

20220305_171206.jpg

Presume OEM markings on the original supply hose. Age/ethanol did a number on it.

20220305_172008.jpg

Fuel tank assembly ready for reinstallation.

20220305_172015.jpg

Got the fuel tank bolted back into place and called it a day.

20220305_173453.jpg

Will hook up the hoses tomorrow, maybe some exhaust work, and whatever else I can get to before the rain starts.

That's it for now!!
 
Back
Top