• Notice for iPhone users: DO NOT use the image size reduction option when uploading photos to the forum. This causes portrait images to post as landscape. We have added a warning to the image insert pop-up as well.

1985 4 cylinder Base Model CJ-7

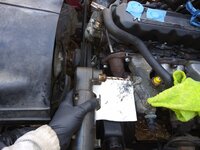
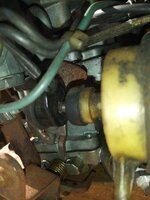
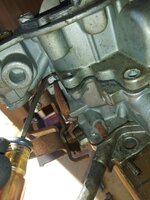
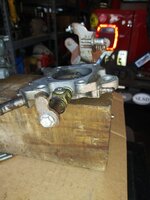
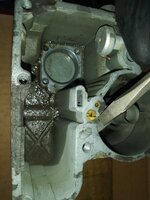
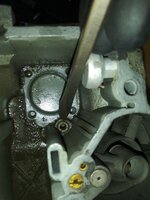
Angle drill and cobalt drill bits made short work of the upper power steering bracket bolt that was broken off in the intake manifold.

20220312_145719.jpg

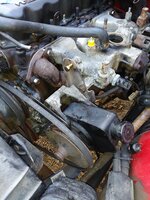
Tapped the hole, bolted the power steering pump/brackets back into place. Just need to get a shorter bolt for the upper hole.

20220312_154548.jpg

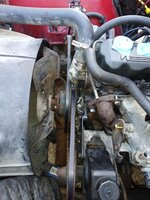
Installed two new V-belts while I was messing around.

20220312_161511.jpg

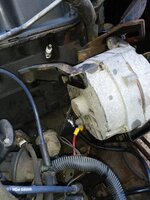
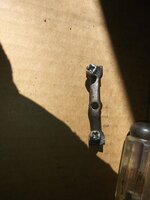
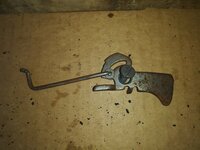
Neat little bracket on the rear of the alternator on four cylinder engines:

20220312_155040.jpg

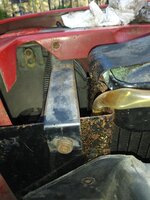
The four cylinder radiator does not go all the way across the grill. It has sheet metal closure panels on each side. They have a little bracket on each side to add rigidity, and each one was missing a screw LOL.

20220312_163001.jpg

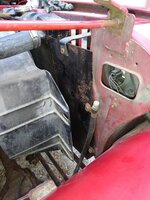
The fan shroud was loose, too. On the driver side the same bolts that hold the radiator to the grill also hold the fan shroud in place. On the passenger side I assume two screws hold it in place? There are two holes in the closure panel that line up with the shroud holes, so that is what I plan on doing.

20220312_163013.jpg

Another cold morning tomorrow, but hope to get the carburetor rebuilt, and maybe a few more easy chores.

That's it for now :wave:
 
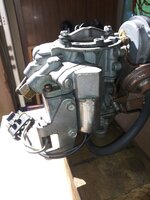
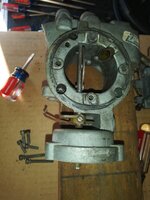
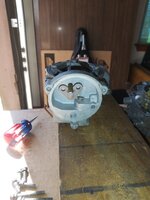
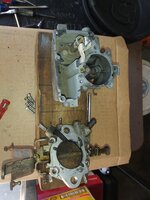
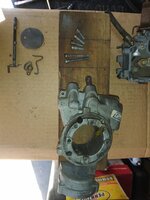
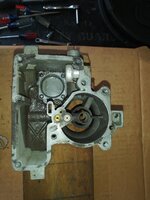
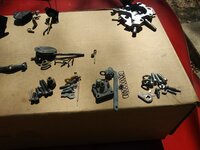
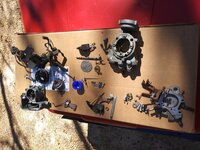
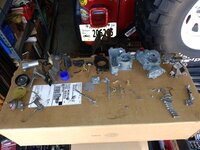
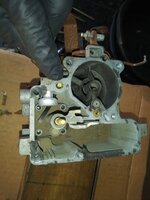
I disassembled and cleaned the carburetor today. I took a whole bunch of pictures, mainly for my own reference, but I will post them up. They might help someone else who is working on one of these Carter YF carburetors.

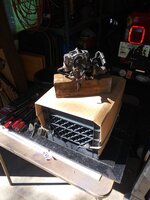
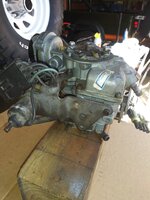
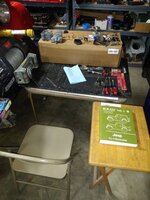
RedneckRay carburetor work bench:

20220313_100557.jpg

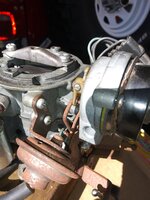
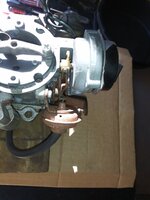
Linkage reference:

20220313_100611.jpg

Reference:

20220313_100619.jpg

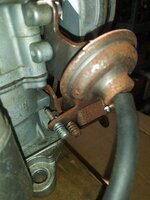
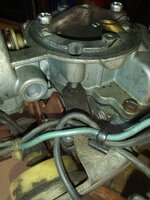
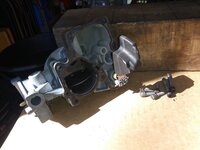
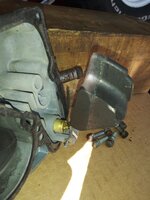
Reference, missing screws that hold Sol-Vac to carb body:

20220313_100655.jpg

Linkage reference:

20220313_100703.jpg

Reference:

20220313_100642.jpg

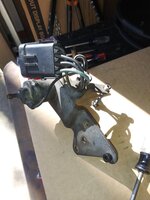
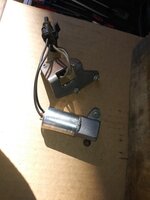
Electrical doo-hickey reference:


20220313_100648.jpg
Reference:

20220313_101501.jpg

20220313_101033.jpg

Note screw and nut, probably incorrect:

20220313_101145.jpg
 
Reference:

20220313_102129.jpg

Prying here to separate the two cast parts:

20220313_102610.jpg

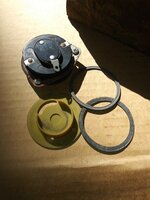
Choke components:

20220313_101716.jpg

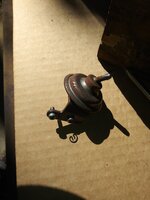
Choke pull off:

20220313_101930.jpg

Float assembly:

20220313_102949.jpg

Choke plate reference:

20220313_103036.jpg

Reference:

20220313_102723.jpg

20220313_102730.jpg

Choke linkage reference:

20220313_103041.jpg

20220313_103318.jpg
 
Lot's of reference pictures of the important bits.

20220313_103537.jpg

20220313_103625.jpg

20220313_103520.jpg

20220313_103527.jpg

I did not take apart the metering rod assembly. No need, and risk of losing/damaging tiny spring!!

20220313_104340.jpg

Check ball and weight:

20220313_104428.jpg

Location of check ball and weight:

20220313_104329.jpg

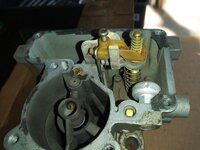
Metering rod assembly:

20220313_104333.jpg

Reference:

20220313_104838.jpg

20220313_103327.jpg
 
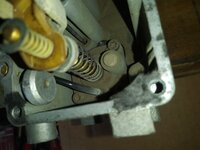
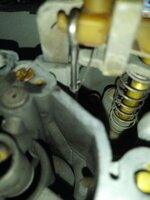
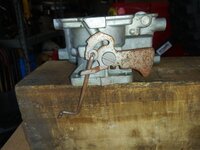
Linkage reference, accelerator pump, kind of fiddly.

20220313_104855.jpg

Reference pictures of throttle shaft linkage:

20220313_105011.jpg

20220313_105016.jpg

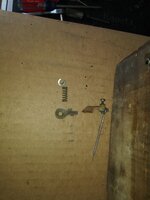
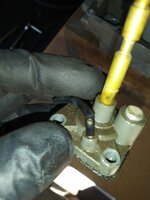
Problem one, no spring on the needle. Without the spring I would presume the needle could vibrate in/out?

20220313_105230.jpg

Throttle shaft/accelerator pump linkage:

20220313_105705.jpg

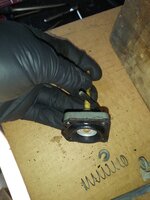
Accelerator pump assembly. I thought something was the matter here - when the engine would run, and you hit the gas, no squirt would come out.

20220313_110050.jpg

The little black tube that connects this part to the carburetor body was tore, so no squirt I would presume?

20220313_110058.jpg

20220313_110121.jpg

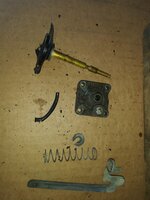
Disassembled accelerator pump components:

20220313_110259.jpg
 
Linkage reference:

20220313_110404.jpg

20220313_110449.jpg

Jet(s):

20220313_110511.jpg

20220313_110519.jpg

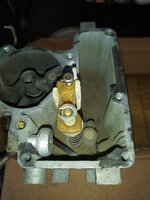
Overhead shot, float bowl pretty nasty.

20220313_110525.jpg

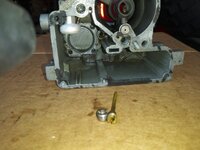
Removed the jets without any damage, they were not seized:

20220313_114348.jpg

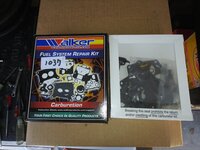
Rebuild kit, purchased from O'Reilly, NAPA does not have parts for this carburetor.

20220313_110910.jpg

20220313_110916.jpg
 
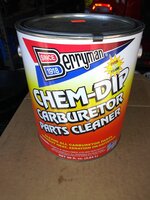
I pre-blasted all the parts with canned carburetor cleaner, then soaked them in this for about 30 minutes:

20220313_111404.jpg

After the soak, blasted parts again with carburetor cleaner, then brake parts cleaner.

Reference shot, parts grouped together by component/location:

20220313_121839.jpg

All the parts:

20220313_110612.jpg

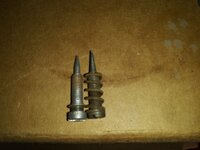
Stole a idle mixture screw spring from a "for parts only" spare Carter BBD carb I had in my junk stash. Fits in the bore, should work OK, better then nothing. Four cylinder idle mixture screw on left, six cylinder on right:

20220313_135512.jpg

All of the parts cleaned, inspected, and ready for reassembly:

20220313_135030.jpg

The rebuild kit came with a new tube/hose to replace the damaged one. Parts bin idle mixture screw spring is the only other part I needed.

Hope to reassemble it tomorrow night, that's it for now :thumbsup:
 
Thanks for photos! I'm thinking if my doesn't fix itself, I'll need to do rebuild on my 4 cylinder carb.
 
Now it's time for a nice, relaxing, carburetor rebuild session:

20220314_194916.jpg

Yeah right.

So, I cleaned this thing Sunday, never really "inspected" it. Well, this thing is a turd, but I will try to polish it.

If it don't shine, then it will be a core, time to buy a new one.

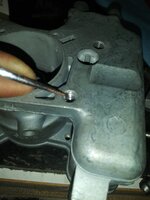
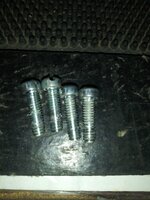
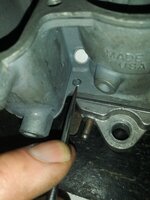
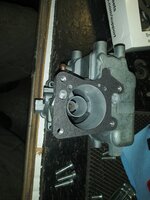
All four threaded holes in the carburetor main body are FUBAR, even the screws are FUBAR:

20220314_204329.jpg

20220314_204428.jpg

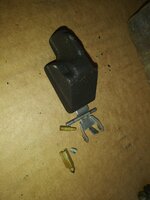
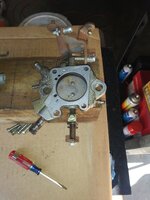
These four screws hold the throttle body portion of the carburetor to the main body. You definitely don't want a loose connection here, unless you like massive vacuum leaks!!!!!

Of course, these screws are a 12-24 size. I have a 12-24 tap, so tapped 3 of the four holes back out. The fourth hole is a "blind" hole, so had to order a 12-24 bottom tap.

The re-tapped holes are OK, but not 100%. One of them stripped out hand tightening a screw into it:

20220314_205820.jpg

On this hole, I can use a longer 12-24 screw, put a washer and nut on top, done. But, the other three holes are kind of "iffy".

So, I ordered a 12-24 Heli-Coil kit. I am not 100% sure I can drill all these holes out bigger, will have to verify. I don't want to bore the holes out and inadvertently open up some hidden bleed passage/vacuum channel. Worse case, I can always use the Heli-Coil kit somewhere else in the future.

That takes care of the main body problems, let's talk about the throttle body portion.

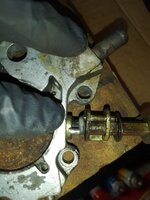
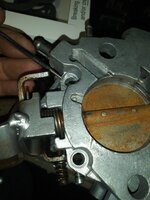
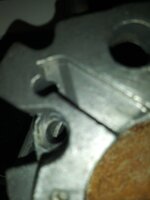
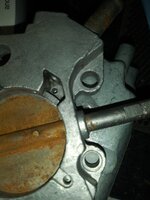
All four holes in the base plate, where the above screws pass through, are ugly, one really bad.

The worse area:

20220314_204347.jpg

20220314_204401.jpg

This was previous damage. Whatever major "rebuild company" (Tomco, Holley, AutoZone, etc.) passed this on as OK. It is not. The screw head could not clamp the base to the main body here.

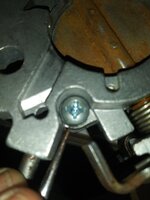
The other holes are wallowed out, again allowing for minimal compression:

20220314_204406.jpg

I have some #12-24 Phillips head screws which have a larger "head shoulder" that will take care of this problem:

20220314_205803.jpg

Quick picture showing the correct lower gasket for this carburetor (matched the new gasket to the old one):

20220314_205423.jpg
 
I wish that was the only problem with the throttle body!!!!!!!!!

20220314_211446.jpg

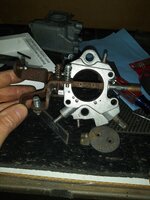
This throttle body had previous wear, and it was "bushed". That's fine and dandy, but the bushings ID's are wore out, allowing play at the throttle shaft, causing a massive vacuum leak!!!!!!!!!!!!

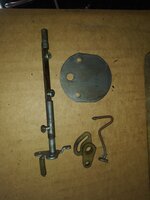
To remove the throttle shaft, remove the throttle plate, pull the shaft out. I took this picture as a reference so I know how it goes back in!!!!

20220314_212712.jpg

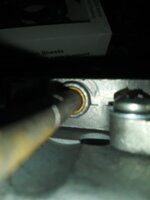
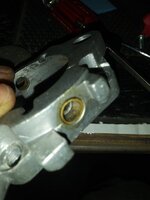
And the previously installed bushings:

20220314_212826.jpg

The throttle shaft wiggles in the hole, you can see light all around the ID of the bushing/OD of the throttle shaft.

The Carter BBD's usually get a bad wrap about this, but I have had this problem on the following carburetors: Motorcraft 2100's, Carter YFA, Q-Jet, Carter BBD, etc.

Any aluminum bodied throttle plate, with a steel throttle shaft, this can happen. Steel is harder then pot metal, that big spring is constantly puling on the throttle shaft, can cause the holes to wallow/"egg" out.

On this carburetor, the hard part is done - someone already milled out the throttle body for new bushings. So, I just need to remove the old bushings, clean the holes, install new bushings (with Sleeve-Retainer compound).

The bushings on this carburetor are: 3/8 OD, 5/16 ID, 1/4 Length.

McMaster-Carr Part # 6391K403.

Most of the repair bushings/kits I see for sale have bushings that are 1/2" long, which is way too long for a Carter YFA.

I still need to order one of the repair kits/reamers to repair some BBD's, future project.

Bushings should be here tomorrow, tap/Heli-Coil today, so I will be back messing with this thing again soon.


In all seriousness, I like to tinker. In reality, I should have just bought a new/rebuilt carburetor. With the $25 rebuild kit, and now bushings/taps/Heli-Coils at around $60, plus time, lost cause. More of a personal challenge now. That being said, I am still not sure if the Sol-Vac, WOT switch, or that weird solenoid thing work. If any of those are bad, more $$$$$$$$$$. The roughly $250 cost for a rebuilt unit looks better, BUT no guarantee that they will be any better!!!!!!!!!!!!!!!!!!!!

That's it for now:thumbsup:
 
Now for a quick rant:

I hate lying no good mother f*&c%$g sellers :mad: This is not my Jeep, I did not buy it, still pisses me off!!!!!

"Pump the pedal 5 times and it will start right up and run/drive fine" my A$$!!!!!!!

Holes in the fuel supply line over gas tank
Timing way out
Carburetor shot
Power steering pump empty (and screaming)
Master cylinder empty
Blown up muffler/massive exhaust leaks
Loose intake/exhaust manifolds
Loose fan shroud
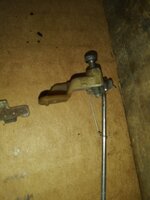
Loose T5 shifter (comes off in your hand!!) (not that again!!!!!!!!!!!!!)

"Caveat Emptor" indeed, dishonest sellers seem to be more prevalent :twocents:
 
Last edited:
Hey mine has been sitting in the attic since around 1990 if you want it ? I think it hasn't been molested and also low mileage. I would think in pretty good shape except for some varnish. I might even deliver it if I can see the Scrambler fleet. Might even have some OEM parts kit for it.
 
I’ll take it if he doesn’t reply soon enough which means Spanks will end up with it anyway.
 
Hey mine has been sitting in the attic since around 1990 if you want it ? I think it hasn't been molested and also low mileage. I would think in pretty good shape except for some varnish. I might even deliver it if I can see the Scrambler fleet. Might even have some OEM parts kit for it.
Sounds good to me :thumbsup:

I'll PM you my number/address, stop by anytime :cheers:
 
Even though I am going to get a replacement carburetor from @Belizeit, I am going to push on and try to rebuild this one, too.

My throttle shaft bushings did not show up yesterday, so still waiting on parts.

I did remove the old bushings, which I was concerned about. You can't really knock them out from the back side, and you have to be careful.

What I did to remove them:

1) Jammed a 3/8-16 tap into the bushing, tapped a few threads in the bushing (bushing ID is 5/16", but it is soft, so this works)
2) Threaded a 3/8-16 bolt into the bushing
3) Used a punch, placed through the opposite throttle body hole, lined punch up on center of bolt shaft
4) A few light whacks with a hammer, bushing out, no damage, repeat on the other side
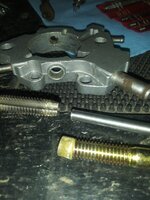
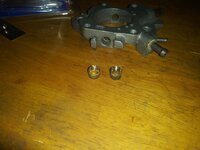
20220316_175001.jpg

20220316_181147.jpg

The bushings that were installed have very light "flutes". These left marks in the throttle body, but not really indentations. Running the sharp edge of a screwdriver around the throttle body bores, I could not "feel" the ridges.
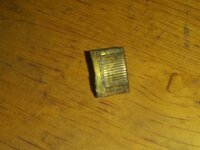
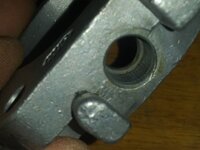
20220316_181213.jpg

20220316_181230.jpg

The bushings I ordered are "smooth". I am not too worried, I plan on using "sleeve/bearing retainer" compound to hold them in place. They can not "walk" inwards due to the way the housing is not drilled all the way through, it has a built in "stop" on the inside. IIRC, the way the shaft goes through the throttle body, the bushing on the throttle spring side can not fall "out". Will have to look at the other side. All that being said, the retainer compound will for sure hold them tight.

The bores in this throttle body, where the bushings go, was a TIGHT 3/8". I could hand turn a new 3/8" bit in the bore, but it was rubbing all the way around.

So, bore =equals a TIGHT .375". The new bushings have an OD of .376", should have a nice, not too tight, press fit.

That takes care of that. Another area to look at is the throttle shaft itself. It can wear/corrode. This shaft has some light pitting, not terrible.
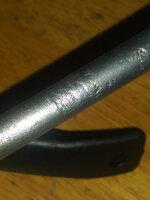
20220316_183009.jpg

Realistically, I think you will always have a very slight vacuum leak here. We are talking about a steel shaft that originally just slip fit through a die cast housing. Now, it will slip fit through a bronze bushing. Overt time, it will wear some. I guess the trick is to minimize any leakage here as much as possible. Minor leakage will be dialed out via the idle mixture adjustment, and once off idle, I would presume a very slight leak here would be miniscule compared to how much air is being pulled down the carburetor by the engine? I guess the trick is just to minimize this as much as possible. Once it leaks bad enough to affect the idle quality, then time to act.

Fuel leaking out the around the throttle shaft is a problem, obviously, BUT you should never have raw fuel getting on the throttle shaft in the first place. Well, at least enough to be coming out in liquid form!!!!!!! The air/fuel mixture should be atomized by the time it passes over the throttle blade/shaft, NOT raw liquid fuel.

This carburetor had a blown accelerator pump diaphragm. Since this sits in the bottom of the float bowl, pretty sure this was the cause of the Jeep running super excessively rich. Raw fuel was leaking past the diaphragm, running down a vacuum passage, draining out directly into the throttle body.

A stuck needle/seat would be another cause, they looked OK, but will be replaced. This Jeep had the correct fuel filter, with the return port, but I still need to blow out the frame mounted return line to check for blockages. This could cause excessive fuel pressure to build up and push open the needle/seat assembly.

Another potential problem - the float.
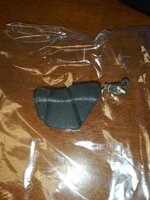
20220317_082117.jpg

This carburetor used a "nytrophyl" float. It is some sort of foam based material. I think you can also use a brass float in these carburetors. Note the old scum line on the float from the fuel level. Also note it is in a Ziploc bag because it stinks like stale fuel!!!

Anyway, the best I could "internet research", this float should weigh either:

From Walker: 6.3 grams (.222226 ounces)
From "CarburetorParts.com" - 7.1 grams, +/- 1 gram (.215171 - .285719 ounces)

I will have to look in the FSM to see if they list a weight.

I took this float to work, weighed it on a postal scale:
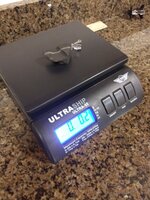
20220317_081816.jpg

I am at .2 ounces, so should be good to go. I ordered another float, just to be safe. The current float could be acting like a "sponge" when surrounded by fuel, soaking it up, making it sink, causing the float bowl to overfill/spill down into the intake. I will place the current float in a glass full of gasoline and see what it does.

For now, waiting on parts, so that's it :thumbsup:
 
I seem to remember from my old carb days that a groove could be cut in the shaft and a nitrile o-ring could be installed, eliminating vacuum leaks. I think this was a trick for turbo installs. But don’t see why it wouldn’t work here. You’d just have to get the groove and O-ring just right so there wouldn’t be excessive drag. Doubtless too much difficulty for this installation but something to file in the “useless information” bin. 🙂
 
Back
Top