• Notice for iPhone users: DO NOT use the image size reduction option when uploading photos to the forum. This causes portrait images to post as landscape. We have added a warning to the image insert pop-up as well.

A Norwegian Scrambler project

After talking to the guy I bought the car from, we agreed it would be smart to strengthen the frame now, since everything is apart. So, I was wondering, where do I need to strengthen it? How thick should the plates be?

Remember, it's gonna hold a big block engine... :p
 
Ohhh hey! How do we get access to the cool "Jeep Club Norway" gear your buddy is wearing?!

Great build up! Where in Florida did the 8 come from? Just curious, I live in SW Florida.
 
Ohhh hey! How do we get access to the cool "Jeep Club Norway" gear your buddy is wearing?!

Great build up! Where in Florida did the 8 come from? Just curious, I live in SW Florida.

Sure thing, but I guess it'll be quite expensive for you. I mean, everything in Norway is expensive + shipping. Anyway, have a look at our online store: http://www.jeepclubnorway.no/index.php?option=com_virtuemart&page=shop.browse&category_id=1&Itemid=2 (Browse back to see other categories).

I bought the car from a guy in Fort Lauderdale (or close to).
 
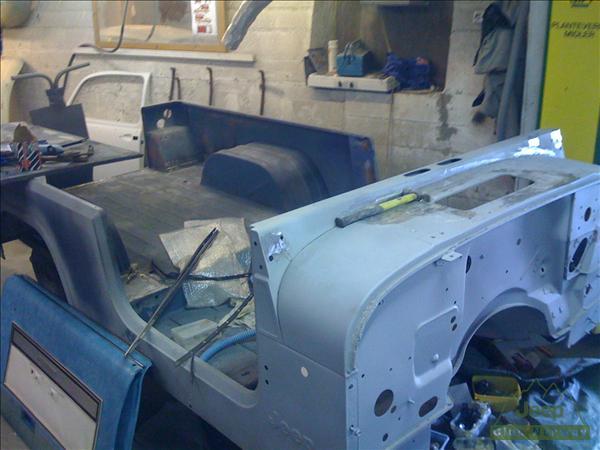
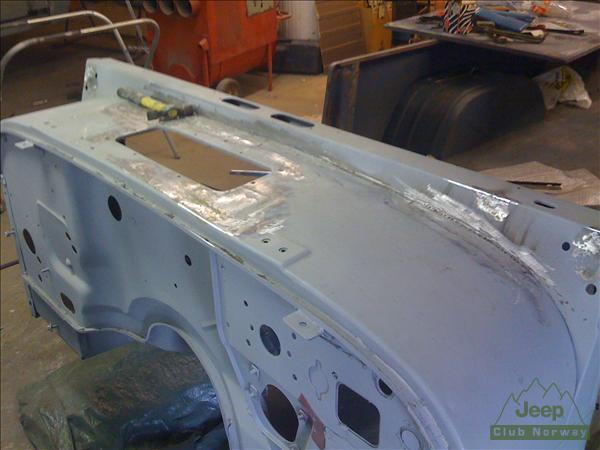
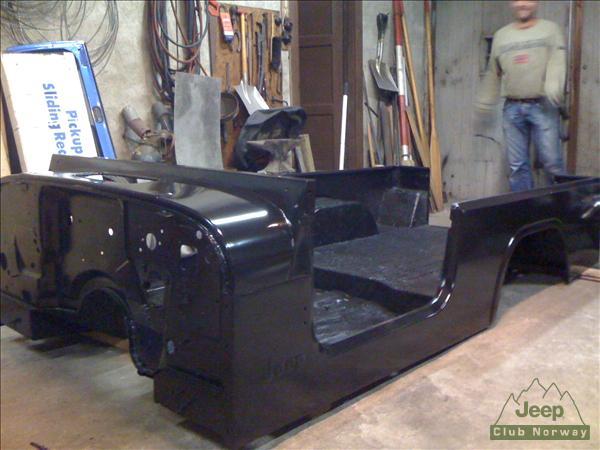
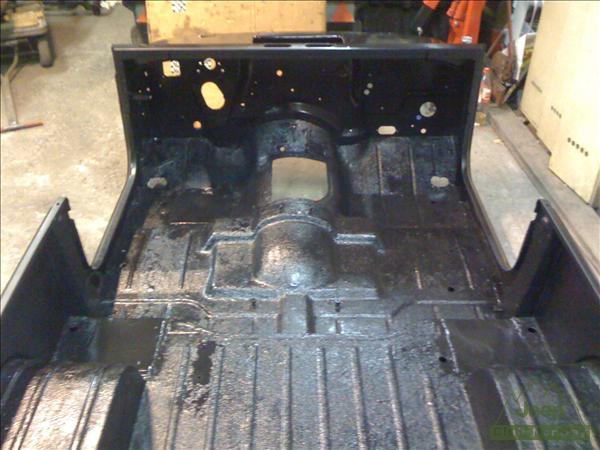
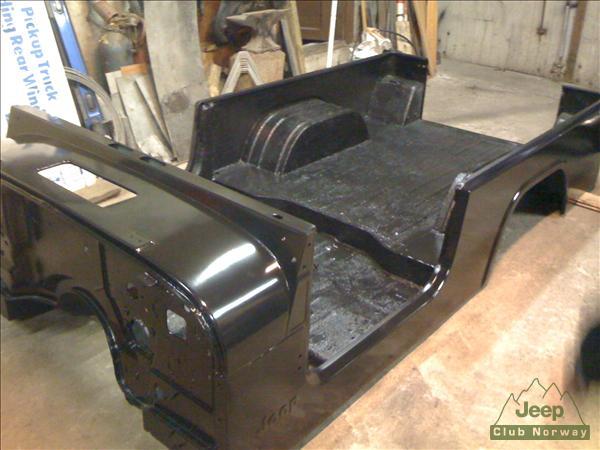
Body and fenders have been welded. Everything will be painted these days.

Some photos:

a9c295f697c84e90b68a627090d7d24a-1.jpg

833459e79a3746dc95aae7e698d06b6f-1.jpg
 
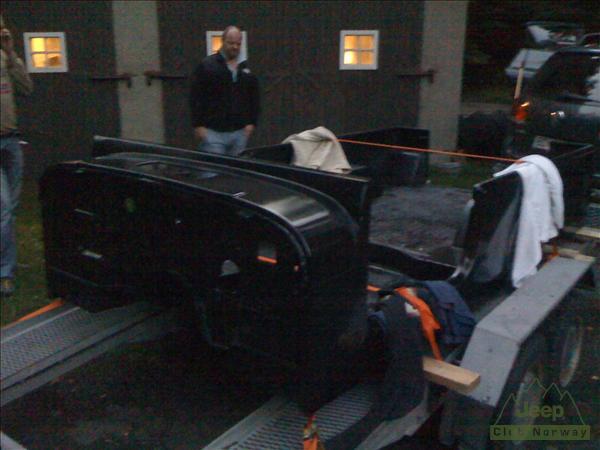
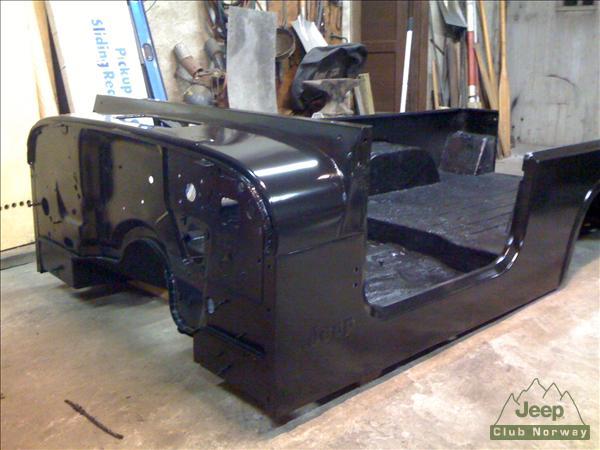
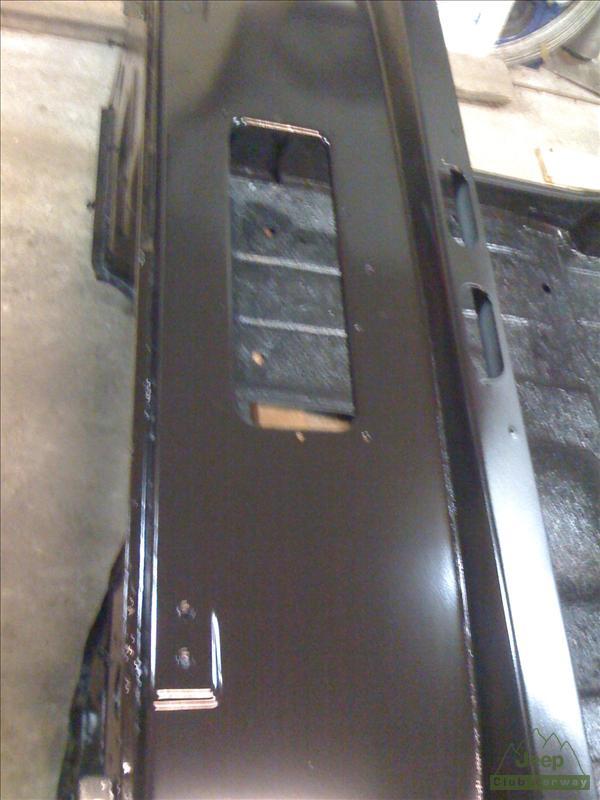
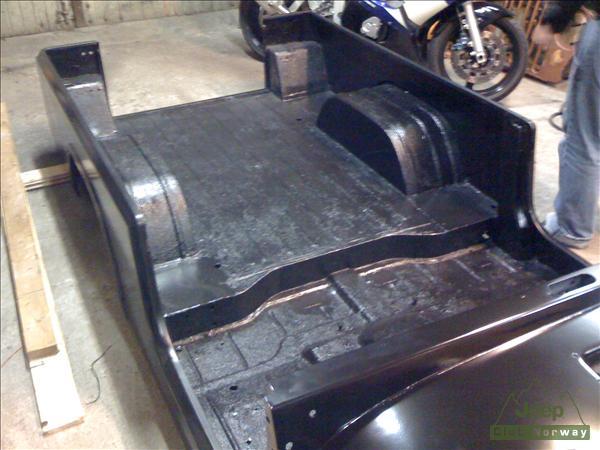
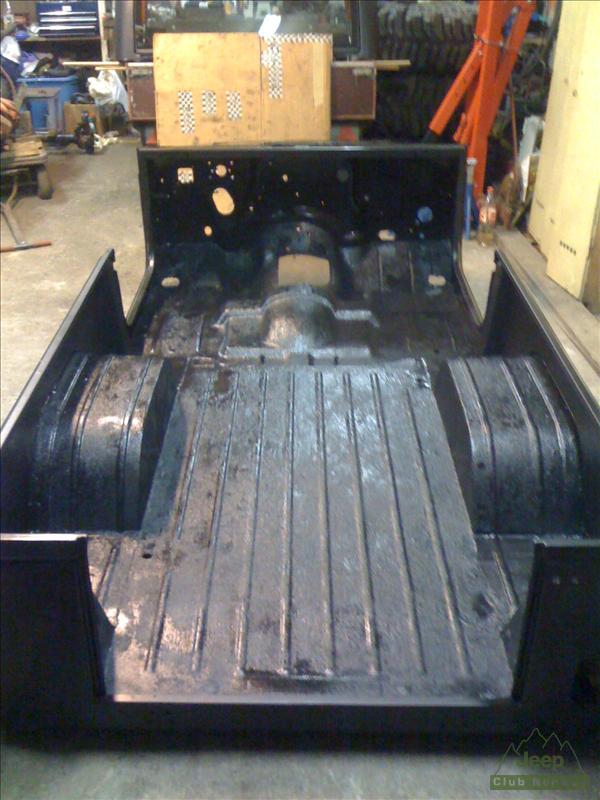
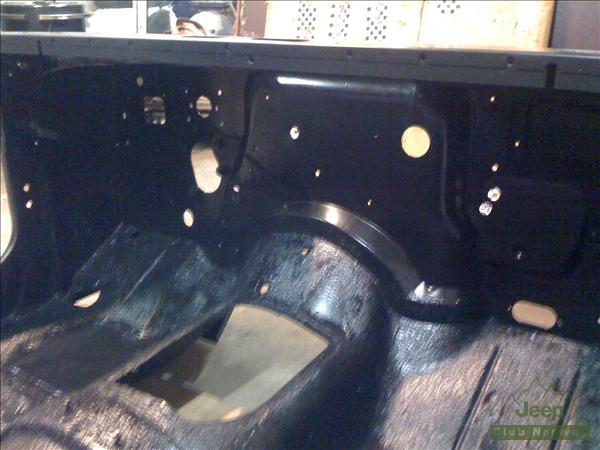
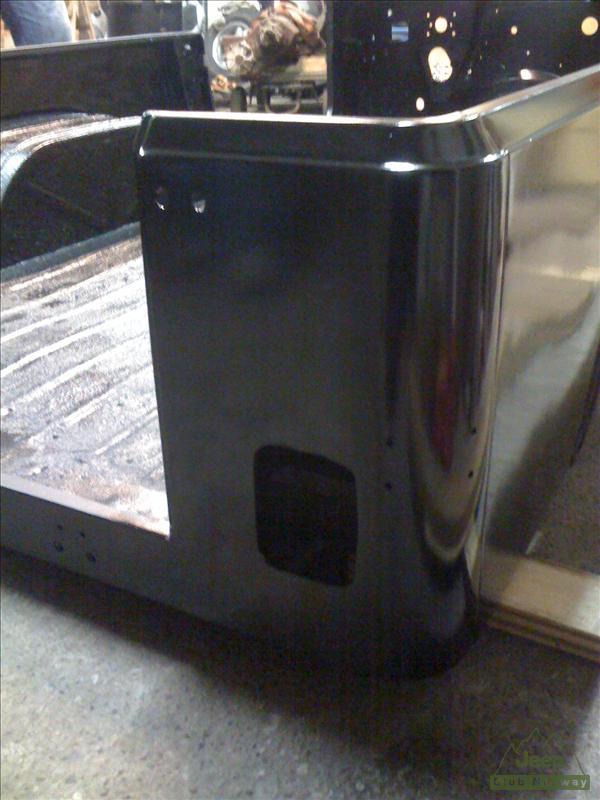
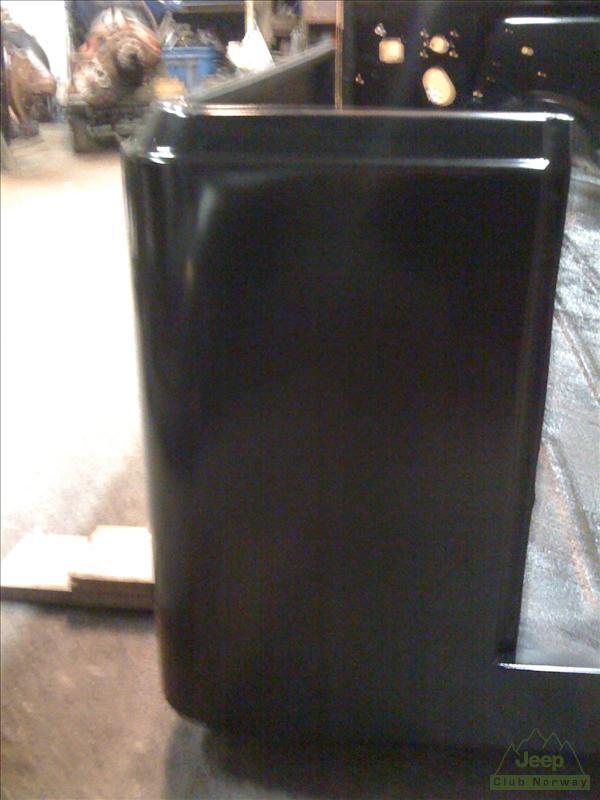
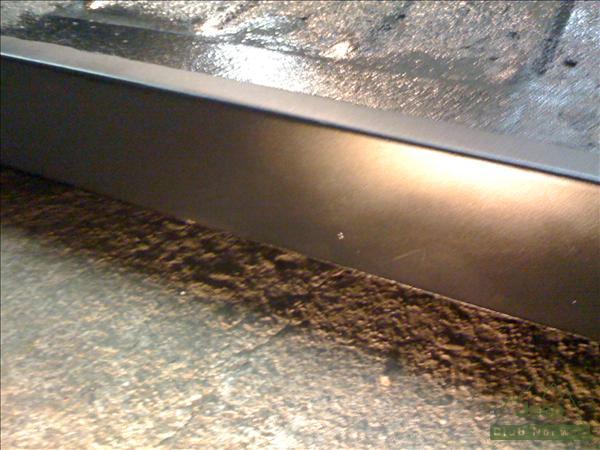
Alright, the body has been painted. It's supposed to be "not shiny" (don't know the word for it), but it's shiny now. I don't know if it's because the last layer was put on today, or if it just didn't turn out the way I thought it would. Anyway, if you look at the last photo, the paint isn't shiny bellow where the rear "door" goes. So, I'll have a look tomorrow, and hopefully the car isn't shiny any more:)

Note also that it doesn't look 100% perfect inside. It's been sanded inside, but we didn't remove all the old bedliner because it was totally stuck, and conserning rust, there wasn't any point removing it. What sucks a bit is that they didn't use the same kind of bedliner as was inside before. Anyway, there won't be any rust, and it doesn't really matter.

Quite a few photos:

091859061e64430d85208f3a18970a20-1.jpg

7f0d4e241b5a405fb63dfbb3a5516a47-1.jpg

316403e5c93e47b1b4553501ce330bf1-1.jpg

804d164d1ef24d728572adbc22f74511-1.jpg

be67aeda12b94a739d57eb3dc9622d92-1.jpg

2d8553d582a243ca9dcca33cb618c322-1.jpg
 
Looks great. The last "big" thing on mine is the body/rust. I get so jealous when I see these nice, painted tubs... :bow:

The cowl looks awesome where you repaired it. Can't tell it was messed up before.

And I think the word you mean for the paint is matte finish, so it's not glossy/shiny.
 
I am really impressed with the body work on the cowl... it all looks great!
 
If the sheen is not to your liking, you could spray a matte or satin clear over the tub, probably only require a light sanding or scuffing. Have your body/paint man check with the paint manufacturer on time frame of another topcoat.

As for the mismatch bedliner inside the tub, you could always have it resprayed!

That is one tough looking Scrambler you have, unique also! :thumbsup:
 
Thanks for all the comments! Yes, matte is the word I was looking for:) I'm on my way down to the garage to have a look now, but I'm affraid he didn't use matte 20 which he was supposed to.
 
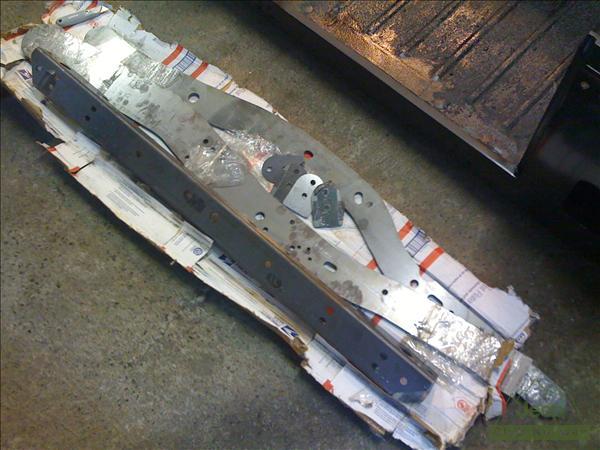
Alright... I got a package from CHIEFWAHO a couple of weeks ago. Since I've had my summer vacation, I haven't been able to get some garage time. Tonight I hope to get a lot done with the frame. I've got two friends to help me out, and lots of stuff have been purchased:D

The package:
dbf44ecb894a42d6b776a8e491f6f308-1.jpg
 
Alright... I got a package from CHIEFWAHO a couple of weeks ago. Since I've had my summer vacation, I haven't been able to get some garage time. Tonight I hope to get a lot done with the frame. I've got two friends to help me out, and lots of stuff have been purchased:D

The package:
dbf44ecb894a42d6b776a8e491f6f308-1.jpg
Oh yeah, there's the beef! Very nice! I have a set of the front plates waiting in the garage for the next Scrambler build :thumbsup:
 
Alright... I got a package from CHIEFWAHO a couple of weeks ago. Since I've had my summer vacation, I haven't been able to get some garage time. Tonight I hope to get a lot done with the frame. I've got two friends to help me out, and lots of stuff have been purchased:D

The package:
dbf44ecb894a42d6b776a8e491f6f308-1.jpg

Jan-Erik, glad to see the plates and cross member made the trip!
Never know about that international shipping!

Look forward to seeing those parts go on. Glad I could help.
 
Yeah, the plates came without any hassle. Delivered on my door.

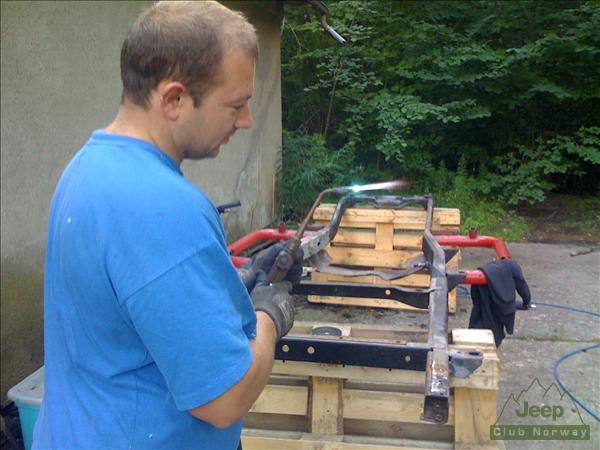
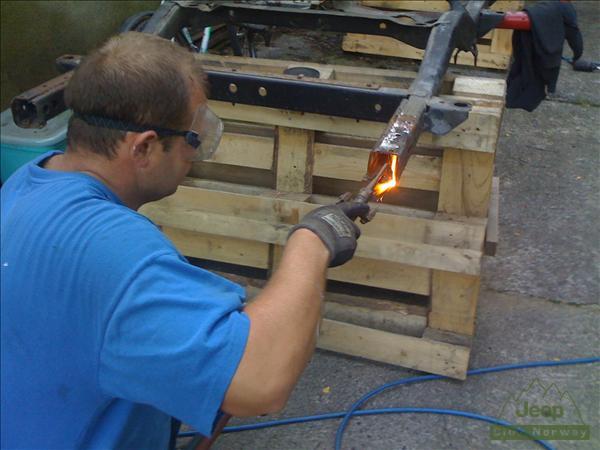
Yesterday I put a coat of zink on the plates before we were supposed to start welding. First we removed the old rear crossmember, and cleaned up the frame ends. We also heated it and had to straighten it out a bit. Then we put a few layers of zink on the frame ends.

We lined up the rear crossmember, and were about to start welding, when we realized that the !"#"#%!§!"#¤§!# power in the garage just doesn't cut it... ARRGGHHH!!!! We spent like 2 hours on 7-8 cm of welding...

We're going to try to get power from another house on the property today, to see if it delivers more. If not we just have to take the frame to my friends house.

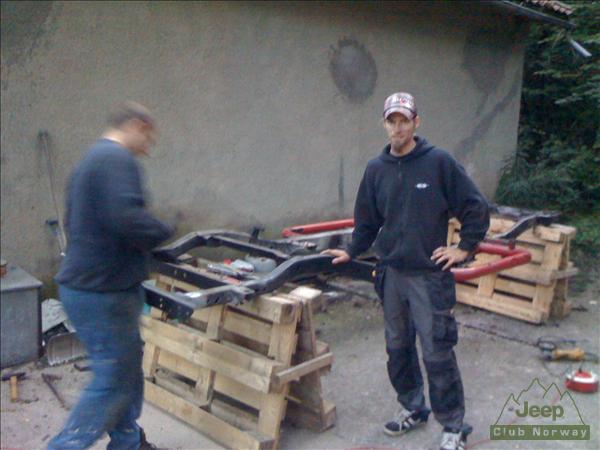
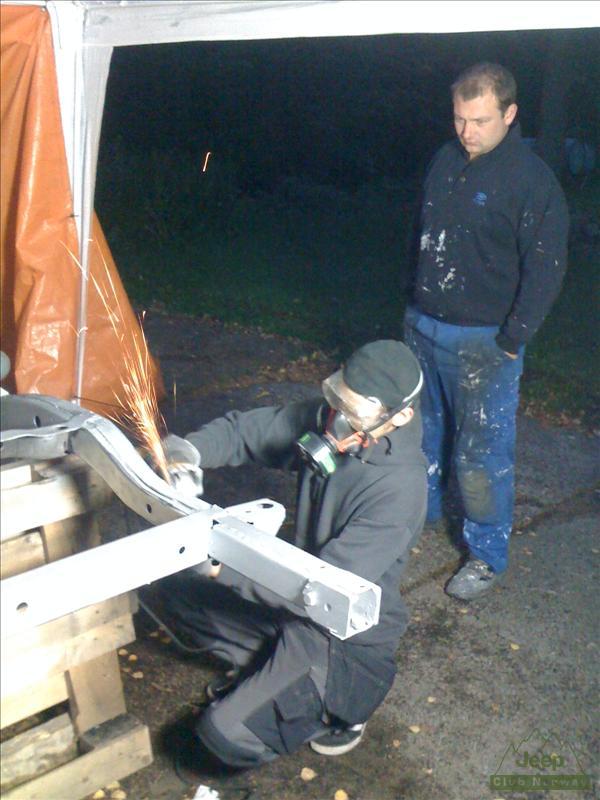
Anyway, I got help from my friend Bjørn Arne. From the photos it seems like his doing everything. Well his not!:) It's just that I'm the only one interested in taking photos of my buildup, and so it's always other people in the photos... Anyway, there's a dorky looking photo of me by the frame at the end here....

c4a1a8cfe635431f82e86b92f9228741-1.jpg

3ced9ab4650741aea232c74a2239bf3a-1.jpg

edccfd85e9d943c4abc3116af3cc6afa-1.jpg


The master himself...
25b160761e9d437896019d379e12269f-1.jpg
 
Last edited:
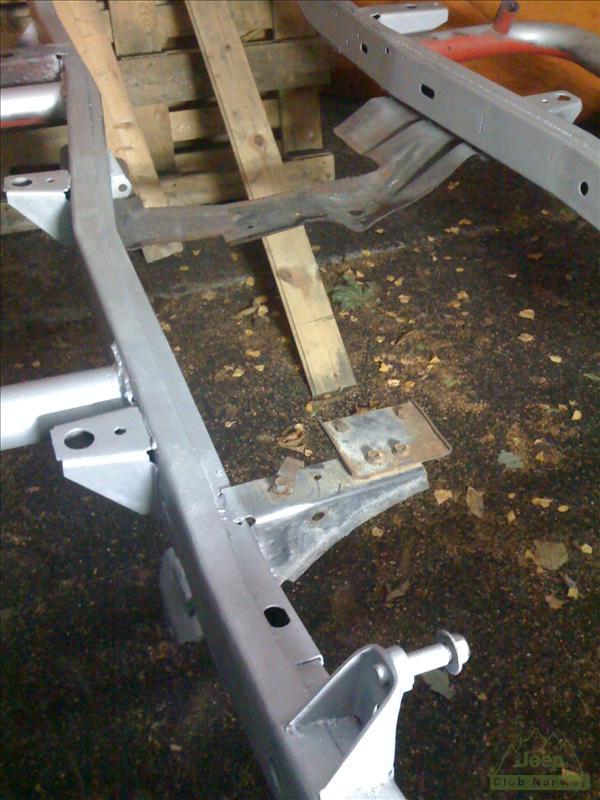
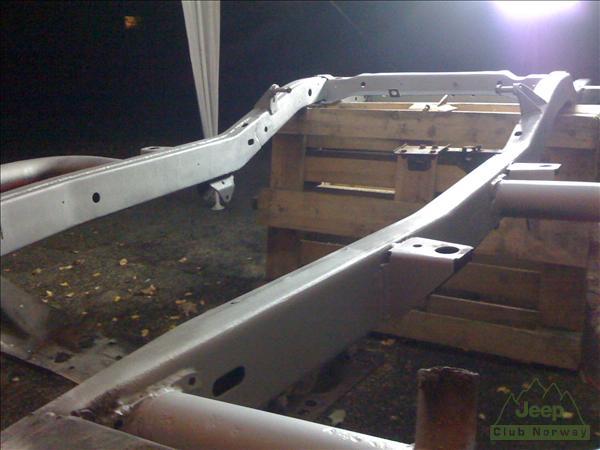
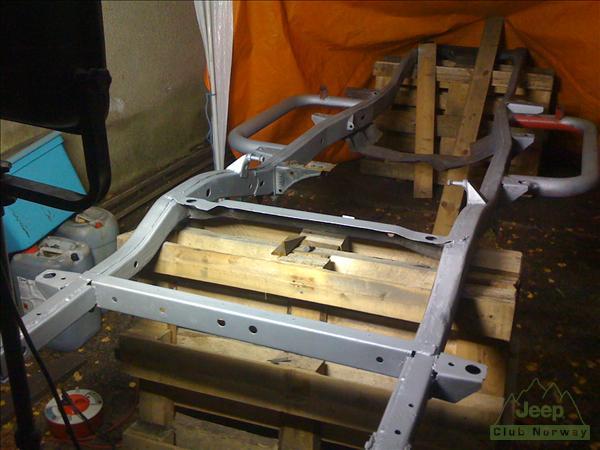
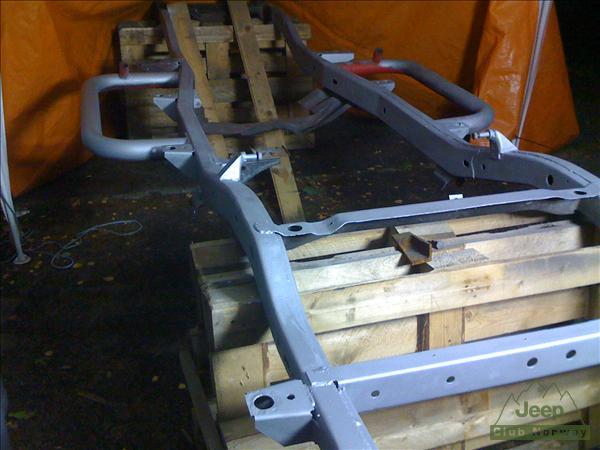
Finally I've made some progress. It took about one evening to clean up 20cm of the frame, and I got pretty fed up with it. After a couple of weeks away from the garage, I bought a new "thing" for my grinder which was absolutely great! I did more progress in 30 minutes than the last 5 evenings together. Unfortunately the "thing" was almost gone by then, so I need to buy 3-4 new ones, and I'll complete the frame in one evening I think.

Only problem is that I need to fix the compressor which (with my luck) broke down :( I got the parts for it today, but it's a couple of hours to fix.
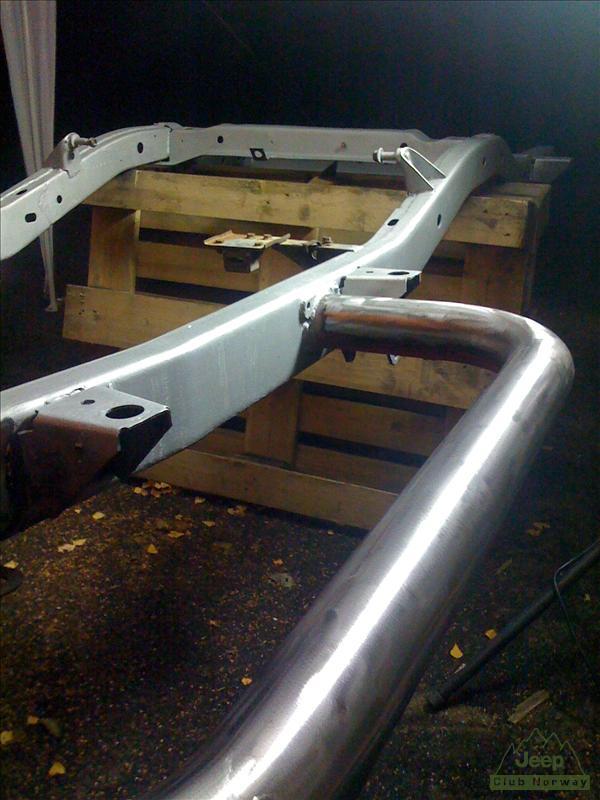
Here's some photos. The frame was really like a mirror after using the "thing" (damned, I need to get a dictionary here :) ).

1e4fcace1052424486b4a0d5a4868e16-1.jpg

37bda01f0eec473e8df27ebe0ed1a25f-1.jpg

86c4f18d0b1a4b2b97eeaa08e022cf8c-1.jpg

b35888166fbd4309b23e8b0535ce2d9f-1.jpg

2a4e36cfa5b04aa3ab8fa0decbdb6e2d-1.jpg


By the way, in the second photo, in front of the shock mount, there's a bracket. Is this for the exhaust? Do I really need it when I'm building my custom exhaust? Or can I just cut it off?
 
Here's some photos. The frame was really like a mirror after using the "thing" (damned, I need to get a dictionary here :) ).

It is said " A picture is worth a thousand words", just post a picture of the "thing". :)

Keep the rest of the pics coming as well.

BTW, the frame is progressing nicely. I believe that you are right on the bracket, but I'm sure there are many here that know for sure from their rebuilds. (Mine is not available right now to check. )
 
It is said " A picture is worth a thousand words", just post a picture of the "thing". :)

Keep the rest of the pics coming as well.

BTW, the frame is progressing nicely. I believe that you are right on the bracket, but I'm sure there are many here that know for sure from their rebuilds. (Mine is not available right now to check. )

You're right. Here's the "thing":

Archive%5CProduct_images%5C20%5CLarge%5C20-835_l.jpg


After some more research, I've heard the bracket hold the hand break cables, or?

Yeah, the frame is looking really good now. It's some rust, and I have to patch up a few places, but it's in really good condition. I'm glad I'm stripping off all the paint, because it was orange quite a few places under paint which seemed good. It's probably been painted without removing the rust first.
 
I'd call that an abrasive wheel, not sure if there's a proper name for it...

The hole you can see in the back side of that exhaust bracket does hold the back end of the emergency/hand brake cables. You could cut off the rest of it that is only for the exhaust hanger, just make sure your custom exhaust is well-supported otherwise.

I could see cutting off most of that bracket and just coming off the end of what's left with a piece of rod or bar that you then use for a much simpler/cleaner exhaust hanger.

This is a guy swapping in a different axle, but you can still see how the cables work: Linky
 
Last edited:
I'd call that an abrasive wheel, not sure if there's a proper name for it...

The hole you can see in the back side of that exhaust bracket does hold the back end of the emergency/hand brake cables. You could cut off the rest of it that is only for the exhaust hanger, just make sure your custom exhaust is well-supported otherwise.

I could see cutting off most of that bracket and just coming off the end of what's left with a piece of rod or bar that you then use for a much simpler/cleaner exhaust hanger.

This is a guy swapping in a different axle, but you can still see how the cables work: Linky

That's what I thought... I'll keep it there for now, but if I don't find any use for it, it's gone...

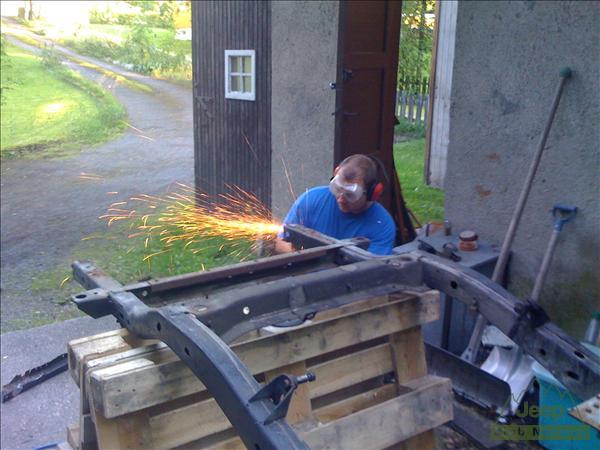
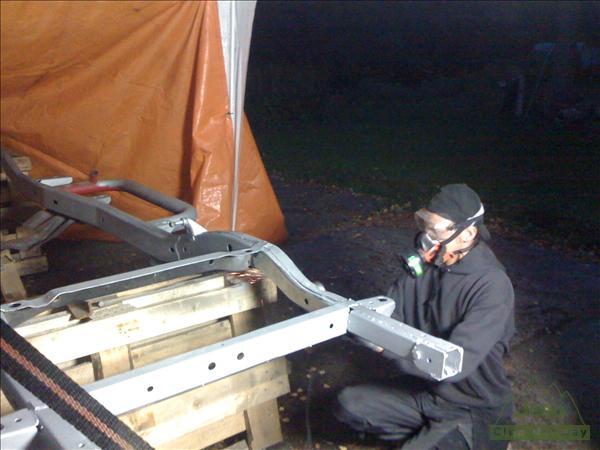
Got to do a little yesterday. Did some multitasking; Last time I went offroad with my TJ, I smashed the front driveshaft pretty hard, so I had to remove it (the car was shaking like crazy), and I was working on the Scrambler frame.

The top and sides of the frame is more or less done now. I need to sandblast a couple of places, but my compressor is still dead:( Anyway, got a few photos of me working... Not too many of those. I had to wear a mask, because I guess the 2mm of American stuff on the frame isn't very good for my health :P

332700329f974cb39d3fa86c724d790a-1.jpg

c328591c5a464a748b33e1b95e61949a-1.jpg
 
Back
Top