• Notice for iPhone users: DO NOT use the image size reduction option when uploading photos to the forum. This causes portrait images to post as landscape. We have added a warning to the image insert pop-up as well.

Boomer's Better Late Than Never Build

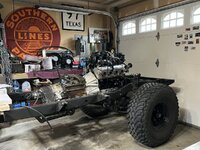
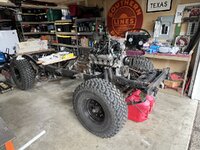
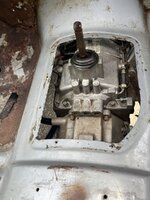
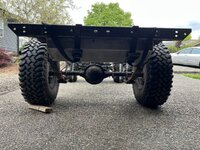
I have a cherry picker, want to pull the tub and swap in a TF999 for the T176 (and then the T176 will go in my tan CJ to get rid of the T5). That wooden frame with casters is simplistic, cheap, and brilliant.

Yeah, I’ve got about $60 into the cart. $33 for the 4 8” pneumatic casters from Amazon and $25 for lag bolts, washers and some Simpson angle brackets from a local hardware store. Used Simpson screws I already had that were left over long ago from deck and porch projects. And the wood beams were free. They are dunnage that occasionally falls off of railroad flat cars at work. Same thing with the straps I used to lift the tub.
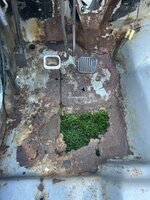
 
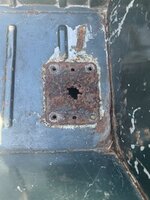
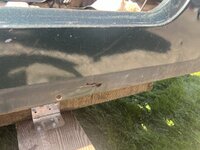
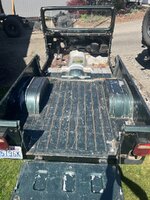
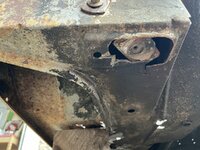
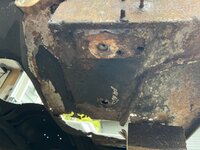
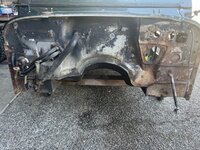
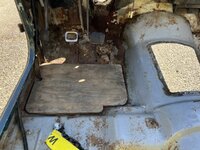
The body definitely needs a little help. Both floor pans and the toe supports need replacing. I have those parts from Classic Enterprises. As well as a small hole under one of the rear rollbar mounts and a small rust perforation in the passenger side rocker panel.

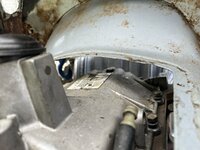
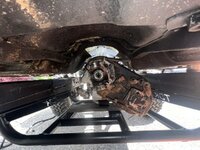
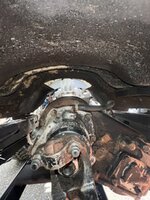
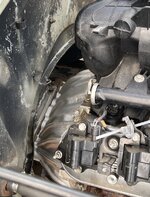
IMG_2493.jpegIMG_2487.jpegIMG_2488.jpegIMG_2486.jpegIMG_2521.jpegIMG_2519.jpegIMG_2484.jpeg
 
So one thing I didn’t want this to turn into is some eternal project. I have waited long enough, and I want something that I am not afraid to use. Not some perfect restoration.

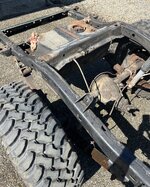
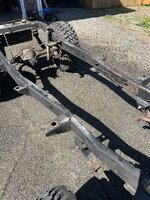
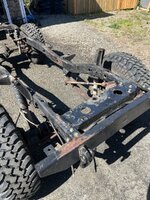
But even though the frame looks to be in very good condition, I’m starting to think that as long as I have it down this far, it might be foolish to not just further strip everything off the frame and have it media blasted, epoxy primed and then painted inside and out with the chassis paint.

IMG_2483.jpegIMG_2482.jpegIMG_2479.jpegIMG_2478.jpegIMG_2477.jpegIMG_2481.jpegIMG_2483.jpegIMG_2482.jpegIMG_2479.jpegIMG_2478.jpegIMG_2477.jpegIMG_2481.jpeg
 
The body definitely needs a little help. Both floor pans and the toe supports need replacing. I have those parts from Classic Enterprises. As well as a small hole under one of the rear rollbar mounts and a small rust perforation in the passenger side rocker panel.

View attachment 113461
That is easy to fix, grab a box. Amazon sends like 10 a week to my house. Cut it slightly larger than the hole. FIXED!
 
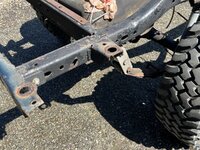
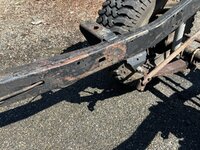
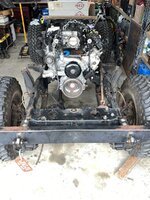
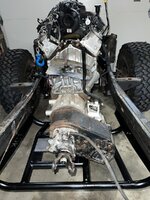
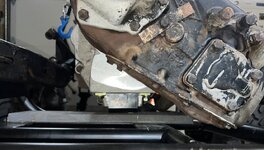
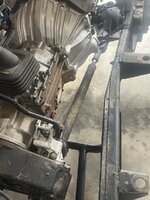
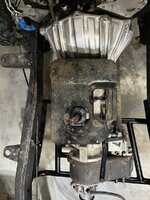
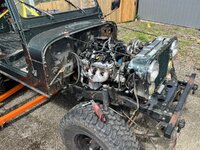
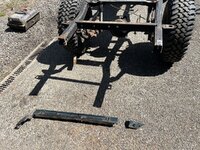
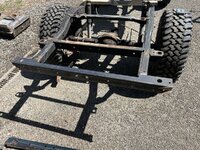
But before I have the frame blasted, primed and painted, I need to weld the motor mounts in, and replace both rear cross members. So in order to weld the motor mounts in I need to fit up the engine and drive train and make sure everything is going to fit and work together. So far, this is all fitting together like a glove. I have a little bit to sort out for the transmission mount. But I think I’m just going use some half-inch bar stock, that’s a piece of scrap that I set in there temporarily and it looks like it works great. Just need a better fitting piece.

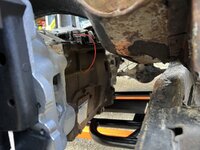
I also need to clearance the front crossmember to move the PS box forward.


IMG_2552.jpegIMG_2550.jpegIMG_2548.jpegIMG_2541.jpegIMG_2532.jpegIMG_2539.jpegIMG_2534.jpegIMG_2535.jpegIMG_2555.jpegIMG_2556.jpeg
 
As I have said many times threads like this about family, stories, journeys, adventures and time spent together put a smile on my face over my morning coffee and make me excited about jumping into my Scrambler again. Thanks for sharing this and I'm looking forward to following along.
 
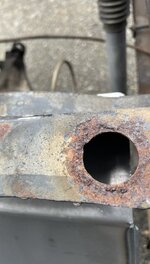
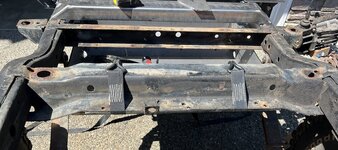
Fitting the TDK crossmember. The “teeth” that go on the inside of the frame rails come a bit too wide, so I used an angle grinder to cut them back a bit.

IMG_2670.jpegIMG_2672.jpeg
 
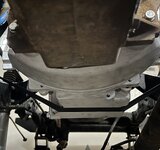
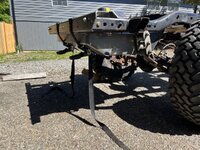
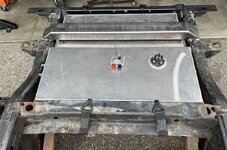
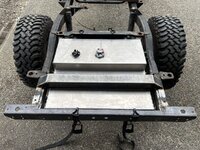
I also started fitting up the TDK fuel tank skid plate. Damn, if I thought CHIEFWAHO’s crossmember was beefy, oof. This thing is a monster.

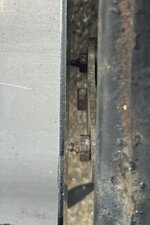
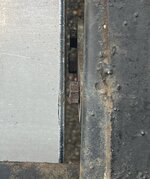
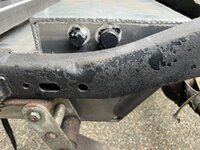
The first order of business was to reverse all of the shackle bolts as the threaded ends protruded far too much towards the center of the Jeep. I couldn’t even lift the skid plate into place. Even reversed, the Zerk fittings on the passenger side made contact with the skid plate. No bueno. I removed the Zerk fittings, and have about a 1/4-3/8” of clearance. Looks I’ll be loosing the greasable shackle bolts.

This thing doesn’t leave much to spare. For some reason the skid plate skews a bit towards the passenger side, so the clearance on the driver side is a but better.


IMG_2677.jpegIMG_2678.jpegIMG_2683.jpegIMG_2679.jpegIMG_2686.jpeg
 
Last edited:
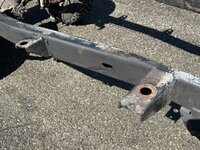
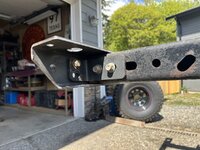
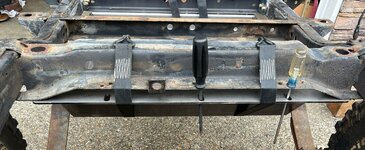
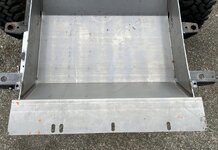
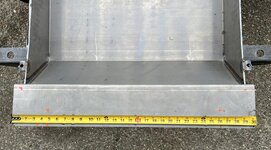
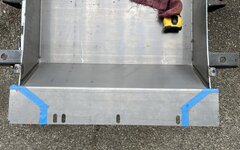
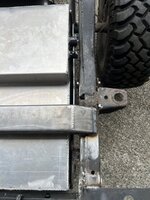
Next, the forward mounting flange of the skid plate hits the “horns” on the forward fuel tank crossmember where it joins to the frame. Also, the same flange looks like it blocks access to the body mount bolts that go thought that crossmember.

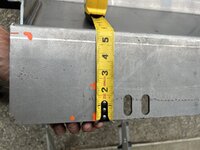
So it looks like I am going to have to trim the ends of that flange. I used some paint to make some rough marks and then measured out a more detailed pattern.

IMG_2705.jpegIMG_2707.jpegIMG_2709.jpegIMG_2711.jpegIMG_2712.jpegIMG_2713.jpegIMG_2714.jpegIMG_2715.jpeg
 
I've got a Genright 20 gallon gas tank skid plate and Rubicon Express greaseable shackle bolts. I got rid of the nylocks and use a metal self locking nut. The "top lock" style nuts are thinner than the nylocks. I cut down the excess threaded part of the bolts and it clears. Barely, but it clears.
 
So one thing I didn’t want this to turn into is some eternal project. I have waited long enough, and I want something that I am not afraid to use. Not some perfect restoration.

But even though the frame looks to be in very good condition, I’m starting to think that as long as I have it down this far, it might be foolish to not just further strip everything off the frame and have it media blasted, epoxy primed and then painted inside and out with the chassis paint.

View attachment 113469View attachment 113470View attachment 113471View attachment 113472View attachment 113473View attachment 113474View attachment 113469View attachment 113470View attachment 113471View attachment 113472View attachment 113473View attachment 113474
Absolutely! That far into it go ahead and tiddy up the under bits.
 
May I make a suggestion? Not sure what your plans are for body work after the welding - keep as-is or repaint. If you choose to keep the body as-is I'd suggest going ahead and painting the underbody. That way if in the future you decide to do a cosmetic resto you could do a body-on paint job.

Love the progress!
 
Got a little more work done on the gas tank skip plate. Talked with TDK and they were surprised that my front fuel tank crossmember wasn’t flat. Said it was on their 1981 CJ-8. 🤷🏼‍♂️ I can’t find any posts anywhere about installing one of these Overland tanks in a stock frame, so I kind of feel like I am a beta tester on this. I will probably create a separate thread specifically about this so it is easy for anyone else to find and compare notes.
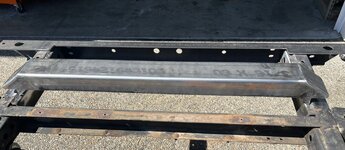
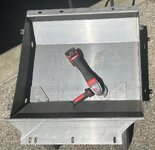
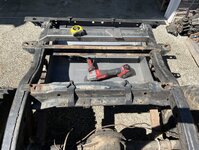
Anyhow, we concurred that trimming the corners off the front flange was the best course of action in my case. So off they came.

IMG_2749.jpeg

It fits flush with the crossmember flange now. And allows plenty of access to the body mount bolts that go through it. It still mounts a bit offset towards the passenger side. We’ll see if that poses any issues or not. The only way to shift it appears to be to enlarge/slot the holes in the flanges.

IMG_2756.jpegIMG_2755.jpegIMG_2759.jpeg

Here’s an idea of how much clearance there will be:

IMG_2758.jpegIMG_2757.jpeg


Overall, I am liking how it is turning out. People probably just need to go into this knowing that it isn’t a strictly bolt in affair.
 
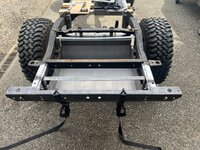
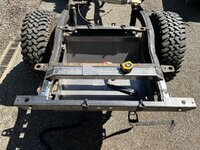
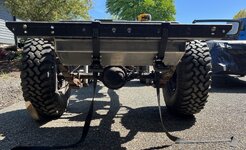
So I have been getting after it a little here and there. I didn’t take pics, but I ended up using a die grinder to elongate all of the mounting holes in the skid plate to center it between the shackles. Fits great. Got the new rear two crossmembers welded in and test fit the skid plate and fuel tank. We’ll just have to see if there is enough clearance for the fuel fill hose. Otherwise, very satisfied with how it’s turning out.

IMG_2965.jpeg

IMG_2962.jpeg

IMG_2961.jpeg

IMG_2960.jpeg

IMG_2959.jpeg

IMG_2963.jpeg
 
Back
Top