• Notice for iPhone users: DO NOT use the image size reduction option when uploading photos to the forum. This causes portrait images to post as landscape. We have added a warning to the image insert pop-up as well.

CJ8 Scrambled is now a garage pet

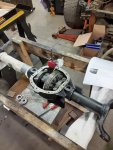
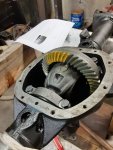
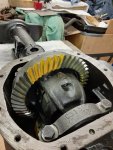
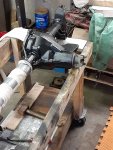
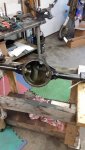
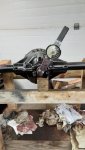
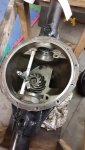
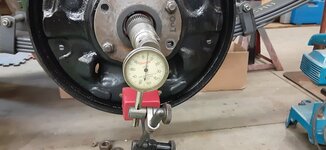
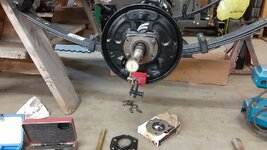
Checking backlash
20200721_112339.jpg
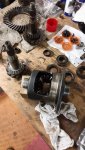
20200721_111948.jpg Took a few attemps. Notes and shims organized really helped. Came down to a compromise between really good backlash or a really good looking gear mesh pattern.
20200721_112041.jpg Settled on this one. Pulled it all apart and installed the kits cup/cones and rechecked. Timkin bearings were used as set up and final assembly.
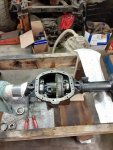
20200724_123914.jpg 20200724_125704.jpg Happy for now...we will see how it sounds...first time and it was a lot of fun.
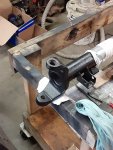
Ball joints are up next. 20200724_125710.jpg
 
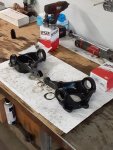
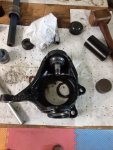
Fall is in the air. First frost last night. Had to scrape the windshield this morning when leaving from work...not looking forward to more of that. But I do like to see the change of seasons and winter activities. Making a track groomer for the Mt bike single track trails in my area. Be quicker than snow shoe packing and get more trails into use for fat biking. Anyhow, couple of pics of ball joint fun. I used Spicer non greasable.
20200724_132732.jpg Sandblasted and painted.
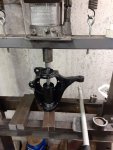
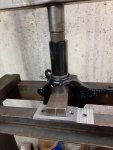
20200725_175819.jpg First press. Modified piping off on the side to make the next press.
20200725_180249.jpg So far so good.
20200725_180706.jpg Second and done.20200725_175034.jpg Followed FSM on setting torque and then checked rotational torque.
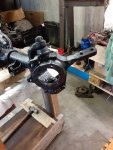
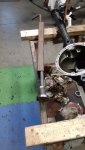
Working on the AMC 20 now. Really liked how they used one piece shims through out and was able to get the inner pinion race out without busting/cracking the shim. Large washer welded to race and use of make shift slide hammer. Finding that I can actually reuse all of them and am close to how things were prior to tear down.
 
Couple of pics of the 20 rebuild. All new bearings in the differential. Holding out on replacement of the axle bearings because for now it is good enough for a roller and the money can be spent on more important things. To be revisited at a later date.
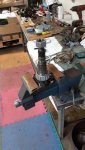
20200922_175942.jpg Speciality slide hammer.
20200903_110543.jpg Inner pinion race ground down for ease of changing shim.
20200908_142534.jpgNeeded to clean up the pinion threads
20200903_110455.jpgReady for new bearings
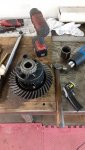
20200909_153637.jpgUsed a heat gun instead of pressing..I will say that on some applications it is not a bad way to install bearings.
20201007_164557.jpgUsed a crush sleeve eliminator from Ratech.
20200909_091309.jpgPinion depth.
20201005_134522.jpgDone. Painted the gears prior to disassembly to get a better look at pattern and then copied on final assembly. We will see how that works out.
Next step on the 20 will be revamping the hangers. Both need attention.
 
Amazing work recreating they frame. Can’t wait to see the rest of it built out
 
A few pics of progress. It is going slow; been trying to get this years wood into the house and next years wood brought up from the field and stacked before the snow flies. Following years wood will be landing in the field for this winters cutting/splitting. Prefer this over swatting black flies and mud. Typically it is a 6-8 cord a season. Pulp truck drops 9 cord load tree length. Remaining seasons wood is used to boil sap in the spring time.
20200903_190139.jpg I am missing this.

AMC 20 continued.
20201007_164700.jpg
20201007_164642.jpg
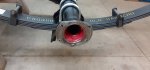
Both perches were pretty rusted and sagged out and I started down the road thinking I will just cut and paste.
20201007_164732.jpg
But in the end I purchased new. These are longer than the original ones and I am a little concerned what they will do as far as the leaf spring flex is concerned due to the longer platform.
20201103_170204.jpg
I will live with it for now. Axle tube seals and wheel bearings next. Stay well.
 
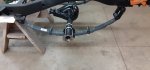
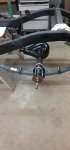
Good evening a continuation of the 20's rebuild. Hung the AMC 20 under the frame and started on separating the hubs from the axle shafts to change out the bearings. Took a little work to get the nuts off. My little 1/2"Milwaukee didn't cut it and I tried brace and heavy hammer to no avail.
20201108_120009.jpg So in the end I called my son to borrow his big Milwaukee. That made him happy...I wonder why? Maybe I'll return it.
Used an older model OTC hub puller. It worked great. Left the nut on, torqued the puller and a couple of hammer hits and pop.
20201108_111111.jpg 20201108_111238.jpg
Pressed off the bearings and waited for new one's to shortly arrive. Packed them and installed on the axle shafts.
20201111_155328.jpg
20201112_161146.jpg
20201114_173825.jpg This one is ready to go in.
20201114_180038.jpg 20201114_180445.jpg Never did an AMC before and didn't find any reference as to how much grease these bearings require. Both sets of axles I have had next to none and the bearings, seals, dust cover showed the wobble. So I treated it like a trailer axle. A lot. Kept it off the inner seal but filled that void between the seal and race.
20201114_173445.jpg Left side installed. Right side already done.
20201114_173506.jpg My jig to install the hub. Let you know how that works. If not, read somewhere that I can press the hub on as a complete assembly, taking measurements to determine the proper hub to axle end distance, and then torque the nut. I like the idea but don't want to install the whole assembly. Would rather get the backing plate bolted on, check axle tolerance with the existing set of shims, install the drum brake components, and then install the hub. That is the plan for now subject to change. You and yours..be well.

 
Good evening a continuation of the 20's rebuild. Hung the AMC 20 under the frame and started on separating the hubs from the axle shafts to change out the bearings. Took a little work to get the nuts off. My little 1/2"Milwaukee didn't cut it and I tried brace and heavy hammer to no avail.
View attachment 89070 So in the end I called my son to borrow his big Milwaukee. That made him happy...I wonder why? Maybe I'll return it.
Used an older model OTC hub puller. It worked great. Left the nut on, torqued the puller and a couple of hammer hits and pop.
View attachment 89069 View attachment 89060
Pressed off the bearings and waited for new one's to shortly arrive. Packed them and installed on the axle shafts.
View attachment 89062
View attachment 89063
View attachment 89064 This one is ready to go in.
View attachment 89065 View attachment 89066 Never did an AMC before and didn't find any reference as to how much grease these bearings require. Both sets of axles I have had next to none and the bearings, seals, dust cover showed the wobble. So I treated it like a trailer axle. A lot. Kept it off the inner seal but filled that void between the seal and race.
View attachment 89067 Left side installed. Right side already done.
View attachment 89068 My jig to install the hub. Let you know how that works. If not, read somewhere that I can press the hub on as a complete assembly, taking measurements to determine the proper hub to axle end distance, and then torque the nut. I like the idea but don't want to install the whole assembly. Would rather get the backing plate bolted on, check axle tolerance with the existing set of shims, install the drum brake components, and then install the hub. That is the plan for now subject to change. You and yours..be well.

Good luck with the two-piece axles reassembled. Lots of them spin once they’re separated with the theory being the rust was holding them together. Asphalt is the worst-case for traction, many spin in daily driving :shrug: I specifically remember someone who spun one trying to get out of a parking lot in traffic quickly. I’d have ready spares.
 
Agreed. Splines looked good and it could go either way. One piece may be in the future. Looking at the pics again... I was thinking about what they meant about setting the bearing and realized that I have the bearing and race set in a$! backwards. It went together too easy. That alone should have told me I was heading down a rabbit hole. Will pull, repress and reassemble next time with a beer.
 
I forgot about the black flies until you mentioned that above. I spent 3-4 months in Maine years ago. Bangor, Houlton, Presque Isle, Caribou and Millinocket. Loved the state, didn't care for the black flies.
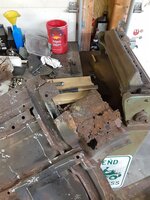
You are making great progress. I don't believe that the longer perches will make a difference. I would think you would almost have the spring in negative arch before it would impact the spring flex. As for the 2 piece axles, they made me a bit nervous. I have checked them periodically. I don't believe mine have ever been removed. That said, the first time I checked one wasn't nearly tight enough.
 
That said, the first time I checked one wasn't nearly tight enough.

Backs up the thinking that the rust in the hub/spline joint is actually what's holding them after this amount of time.
 
Really just having fun with the original design. Current work situation and lack of other opportunities in this neck of the woods forces me to be frugal. Just watched 100+ people get their slips. Train wreck to say the least. Very hard to be trained on someone else's job knowing what is to come.
 
Yeah I think things are going to get precarious in a lot of areas. With the budget cuts I see in the future, not much is going to be safe.
 
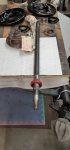
Been a while. Enjoyed reading what has been posted. I finished up on the 20. Shaft backlash was the next step some pics20201127_114040.jpg
20201127_113930.jpg
Cleaned up the shims from this axle and the other 20. And went from there. Happy with the results. Axle and respective hub were lined up. Home built hub torque bar installed. A little concerned about the lug bolts bending. Measurement of axle thread/bolt stick out prior to disassembly was to spec. And it was replicated when put back together. Felt it was a better way than by torque. Glad to have 3/4" socket set and a 3' cheater bar. Brakes, etc will happen when body is ready for install. So both axles hung under the frame and for now it can be put on pause. Been spending a considerable amount of time looking at the body and looking at how it has been put together. 20201103_170319.jpg
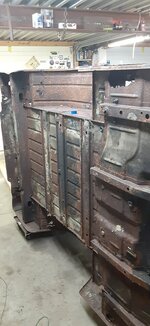
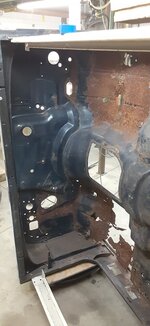
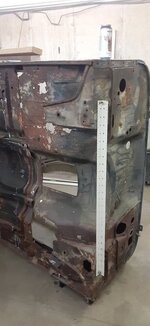
What I am up against. Going to focus on the front have first.20210119_170510.jpg
20210119_170449.jpg
So this is where it will begin. Stay well.
 
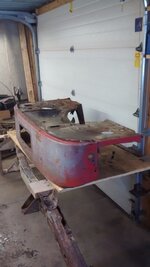
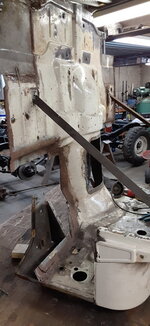
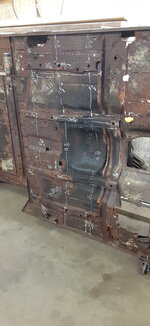
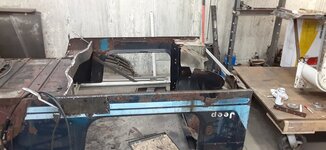
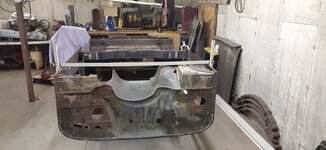
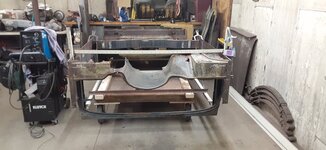
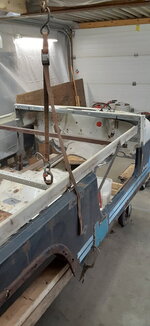
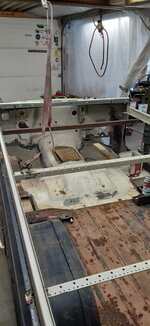
Been a busy winter and will post pics in a day or two. Very slow going. Removed the firewall, cowling, windshield support base, and the floor....more than orginally anticipated. Classic full floor panels showed where they would lie along my floor tunnel and my tunnel didn't have the metal where the panel was matching up to. The firewall floor flange and up a couple inches from the flange in spots were bad as well. Cowling vent and antenna area random one side, section where the windshield hinge bolts to all had holes too. Picking up a windshield in NH ultimately lead to a return trip to pick up a junked front section that I am currently working on. Very challenging and a lot of fun and I won't tell you how much I have thought about this at work, while driving, in my sleep...all good. I'd be a millionaire if that effort went into making money.
There is a guy on the tube further North East from me who is entertaining to listen to and truly knows his fabrication stuff AND does it with everyday shop tools...tools I have. Fitzee's Fabrications is the tube name and some really great info that can be used right off. Enough said. Real reason of no pics...
IMG957132.jpg
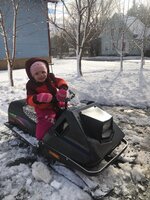
Granddaughter time way better than shop time.
 
My boss has one of those little snowmobiles in mint condition on display at work! Not very common to see them a more.
 
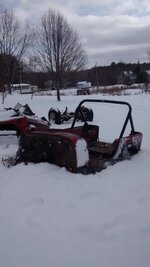
The CJ7 body that I used the frame to make an 8. It was a rollover, very rough but the firewall and cowling was better than mine. Windshield frame support was mangled so not much use.
IMG_20200107_121849676.jpg
Getting cleaned up and being prepped to be put away. Front body supports bad one removed other left on for later.
IMG_20200124_121335687.jpg

Original plan was to separate the bad firewall/cowling from the 8 and install the 7's, make rust repairs to the 8's windshield hinge supports and then move onto the floor. Classic provided the full floor panels..they are a little wrinkly in spots but I think they will work out. The real observation was where the panels would be attached to the tunnel and center rear section. Center rear section was bad and there were sections along the tunnel that were bad. Be a lot of repairs just to be able to lay down the floors. Around this time a pretty good windshield was for sale in NH and a road trip ensued. While there I found that the body was going to be junked..It (the front half) looked great in my eyes and thus explained my circumstances. A few weeks later a return trip. Very thankful..
20210117_082028.jpg Getting cleaned up.

I think this will save me a little time. So the cutting of the front section of the floor was started.

20210118_152341.jpg for peace of mind.
20210120_175122.jpg
Gone. Rear floor support flange cleaned up..will need some luvin but not to bad.
20210121_151352.jpg
Front body supports...only one side (Same side as the 7's) was decent. Would it have worked out any different?
20210121_153719.jpg
20210128_122049.jpg
I am going to get this and its mate cleaned up, make repairs to the rear riser flange and then see how it will go back together. Thats if for now.
 
Couple more pics pulled from the phone. Did a dry mock up just to see how it would fit together. Happy so far.
20210217_125229.jpg
20210217_134143.jpg
20210217_134201.jpg So pull it back apart and sandblast the flanges and metal mating surfaces.
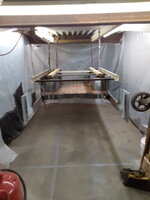
20210218_104208.jpg My Dirty Room cleaned up after final blast. Works well but need to time the quantity of medium to my air tank volume. Once the compressor comes on it is a slow loosing battle. So while compressor charges, I sweep up the medium, filter, and pour back in to go another round. This works for what I need to do. When the body is sound..I will bring it in for the official blasting.
Other oddity is the Classic floor/body supports. The threaded flat stock that is used in the captured housing is 7/16". My good body mount captured nuts are 3/8". So what came from Classic was changed to 3/8".
20210218_092745.jpg20210218_092656.jpg
Loving March so far. Sun is warm even when the air itself is below freezing. Nice to sit outside and enjoy the change.
 
Hard to imagine March is soon to be gone. Very mild. Sap season came fast and hard..be a few more good runs before it is over but the sugar concentration isn't there. Alot of slow goings on with the build. Trying to wrap up a few things before the weather is to nice to be inside.
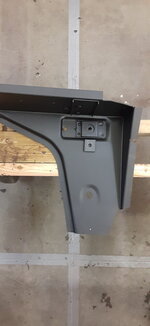
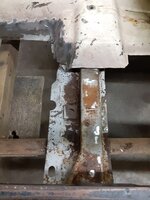
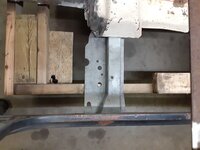
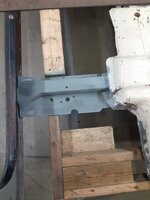
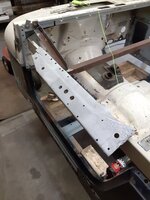
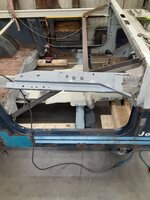
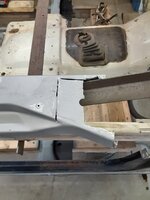
The riser floor flange had some soft spots and were repaired.
20210223_160742.jpg
20210223_161418.jpg
20210223_165004.jpg
20210223_170734.jpg
And the drivers side roll bar support mount/floor flange had some issues as well.
20210223_165034.jpg
20210228_201551.jpg
20210302_091942.jpg
Have two body mount captured nuts that need to be repaired on the tunnel cross member and hopefully a floor or two will be going in. A little discouraged on how the passenger is fitting up an may need to be cut in half. Will try some stretching exercises first but not holding out to much hope.
Doing this from the phone..quiet day in the salt mine. Hope all is well in your world.
 
Last edited:
Ice is going out. Rivers are sheding their winter coat. Keeps us busy raking the intake racks at work. Least it isn't all coming at once.
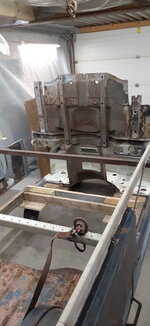
Still playing around. Front half is clamped at the riser and bolted at the firewall end.
20210305_163218.jpg
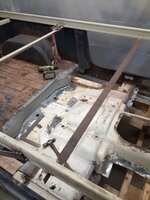
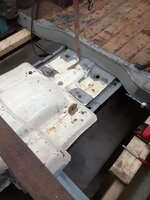
Floor section roughed out. Had a tough time with the passenger side full panel. It was almost an inch and a half away at the last radius bend prior to returning to the floor riser. Other radius bends were not to bad they will need some gentle persuasion to butt up to existing. Probably cut the pan in half at the tunnel cross support.
20210330_122450.jpg
20210329_121916.jpg
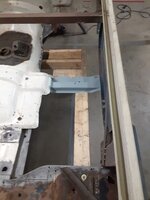
Put the tunnel cover on to try to stiffen the tunnel up and to keep its shape. Cleaned up the tunnel cross brace.
20210325_092307.jpg
And removed the body capture nuts. They were punky.20210326_180544.jpg
Cleaned up.
20210326_182128.jpg
Utilized the old carcass...the capture nuts were pretty decent.20210322_141326.jpg
20210326_182136.jpg
20210330_122428.jpg
I will be trying to square up everything and then add bracing to the windshield cowl area. Not sure how square it orginally was. String line down the sides is telling me it needs to be done. Passenger B pillar may out and not where it needs to be. Drivers side is in better shape so I plan on using that side for pulling the string. Not sure how accurate cross measurements front to back would be. This all needs to be taken care of prior to the floor going in. Hopefully the weekend will be event free and I can disappear.
 
Last edited:
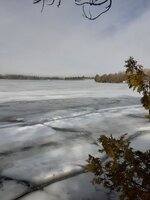
Played a little more, but first a little pic of ice going out taken at end of March. Only one ice shack on the pond this year. Everyone has moved onto portables. Beats dealing with them being frozen in. Green grass coming.
20210324_093539.jpg
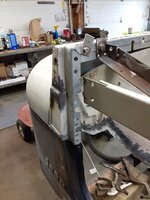
Ran some string lines and the set some braces to the windshield cowl to stiffen it up and hopefully hold it in place.
20210401_160910.jpg
20210401_160857.jpg
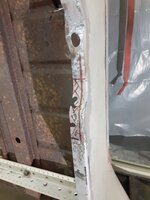
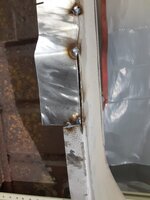
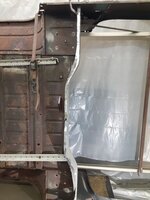
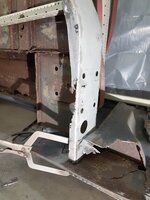
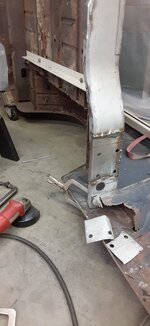
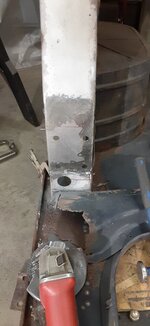
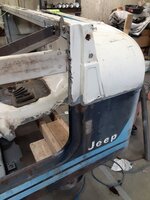
And then worked on the A pillars. These came with the CJ7 front half. They were in better shape than the originals. I will use the spot weld coupons on the pillars as an affirmation of line up to the respective holes, when final set in place occurs.
20210401_161054.jpg20210401_160954.jpg
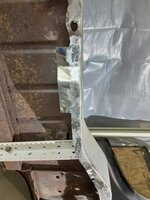
Cleaned this up a little. Will finish the bottom when I finally have the floor in.
20210401_161543.jpg
20210401_162643.jpg
More in a little bit. My CJ5 is heading south on a transport to Sanford, NC for my son and his wife to enjoy. Yesterday's nor'Easter put about 3" on the ground and it is just starting to break up.
 
Back
Top