

You are using an out of date browser. It may not display this or other websites correctly.
You should upgrade or use an alternative browser.
You should upgrade or use an alternative browser.
IAFFCJ 81 Scrambler
- Thread starter IAFFCJ
- Start date


- City
- Manassas
- State
- VA
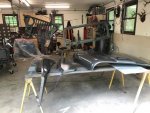
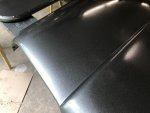
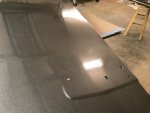
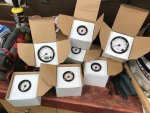
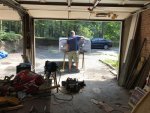
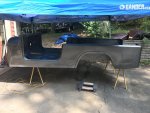
Spent the morning trying to get paint on all the parts I had gotten ready. Spent a little more time setting up the gun and I think this batch came out pretty good. Not perfect but it's shiny. Put 3 coats on everything today. Once I assemble will probably wet sand some then a few more coats over the whole jeep to even the color and metallic flake out.


firefighter736
Basic User
- City
- Floyd
- State
- VA
Exciting 
- City
- Manassas
- State
- VA
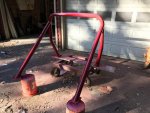
Figured out the shade of red I had been looking for that matched the rims I have. Sliders came out nice.
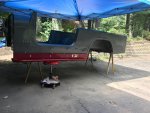
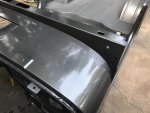
Took a little work to figure out painting as this was my first time but it started to look pretty good.
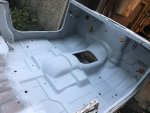
Decided to do Rapter liner on the inside of the tub. After all the welding to repair the tub it needed the texture to look right. It came out pretty well i used the tint-able stuff the color took a while to settle but it came out pretty nice I think.
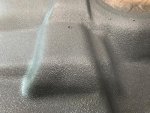
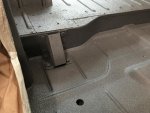
Took a little work to figure out painting as this was my first time but it started to look pretty good.
Decided to do Rapter liner on the inside of the tub. After all the welding to repair the tub it needed the texture to look right. It came out pretty well i used the tint-able stuff the color took a while to settle but it came out pretty nice I think.
- City
- Manassas
- State
- VA
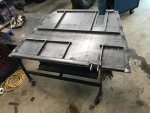
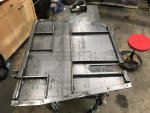
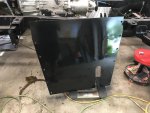
Before the tub could be set also had to finish up the skid plate. While I was hoping for a flat bottom i only had to drop the skid an inch and a half and it did end up flat. Made it out of 1/4 inch plate but didn't think that would hold up without some gussets so laid out a bunch while I could see from the top. Came out pretty good, it is heavy and not necessarily single person friendly to install.
- City
- Manassas
- State
- VA
With most of the parts painted at this point things really started going together well things starting to look like a jeep and going into place for the last time.
All the parts for the fuel cell came in and got painted. Location of mounting figured out and finalized.
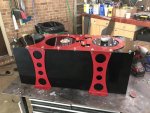
Mount is from The Flop Shop Offroad and is great and easy to install. Looks like it should be good and strong.
All the parts for the fuel cell came in and got painted. Location of mounting figured out and finalized.
Mount is from The Flop Shop Offroad and is great and easy to install. Looks like it should be good and strong.
- City
- Manassas
- State
- VA
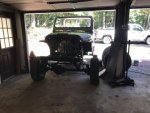
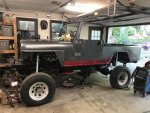
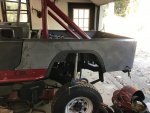
Dustin came up for a day and helped me get a ton of the body parts installed. He also brought a set of roller tires to try and see if she would fit in teh garage with the cage in.
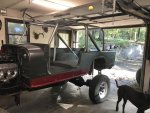
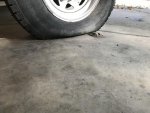
Turns out yes it will fit However the tires need to be flat.
Also turns out the cage I had picked up won't fit with my full hard doors. As I don't have anywhere to store the jeep inside when its done the plan is a full hard top and hard doors for winter so the cage has to fit with the hard doors on. So a regular roll bar for now.
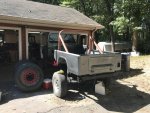
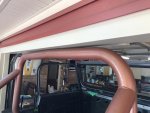
Still a pretty tight fit.
Turns out yes it will fit However the tires need to be flat.
Also turns out the cage I had picked up won't fit with my full hard doors. As I don't have anywhere to store the jeep inside when its done the plan is a full hard top and hard doors for winter so the cage has to fit with the hard doors on. So a regular roll bar for now.
Still a pretty tight fit.
- City
- Manassas
- State
- VA
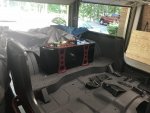
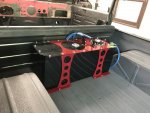
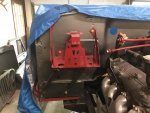
Battery box painted and mounted and the Bosco even asked to get in the Scrambler the other day and who am I to say no.
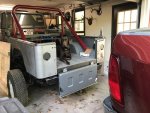
As I am running a fuel cell I had no need for the standard fuel fill location so I closed it up in the armor before paint.
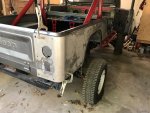
As I am running a fuel cell I had no need for the standard fuel fill location so I closed it up in the armor before paint.
- City
- Manassas
- State
- VA
All this body assembly but what is going to make it go?
WELL Harness and computer is back from being reworked and programed from Jim's performance in Maryland, and I even got some engine parts painted before it was all put back together. I think most of the needed wiring for the motor is here just need to route it and tuck it all away. He computer mount arrived a few days ago and I got a chance to mount it all today now a little paint and the computer can be put in place.
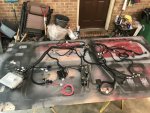
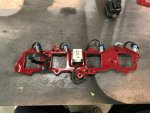
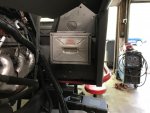
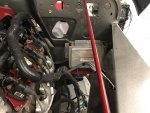
WELL Harness and computer is back from being reworked and programed from Jim's performance in Maryland, and I even got some engine parts painted before it was all put back together. I think most of the needed wiring for the motor is here just need to route it and tuck it all away. He computer mount arrived a few days ago and I got a chance to mount it all today now a little paint and the computer can be put in place.
- City
- Manassas
- State
- VA
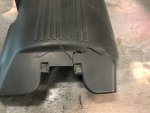
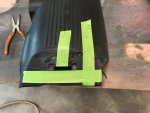
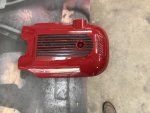
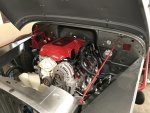
The Engine I bought didn't have a top cover when I got it. Dustin had one that was broken that i thought I could fix so I gave it a shot. Came out pretty nice with some JB plastic weld and paint hope it holds up.
- City
- Manassas
- State
- VA
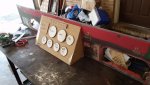
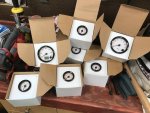
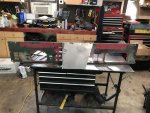
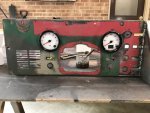
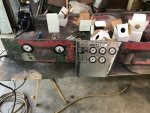
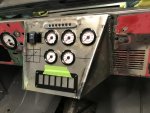
As i get closer to being able to start this thing I have started prepping to do some wiring. I decided to go a different route than most with my dash so i needed to fab it up before I could wire it, so I ordered up some Speedhut gauges and pulled out the welder. The plan is to connect this dash to a custom console that will house the shifters for the atlas and the transmission.
- City
- Manassas
- State
- VA
Today I spent the day cleaning up some pieces and parts and getting some paint on them ready for install. I decided to try and get as much as I can for the interior cleaned up and ready to go in so once the dash is done she can be wired up and I shouldn't have to pull it back apart.
Part of this prep was taking a donated YJ Automatic pedal assembly and making ready to attach to a CJ brake system from Vanco and have a place for the TCC switch to let the 4l60e start.
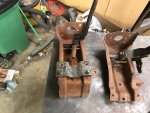
So i stated off with the YJ pedal assembly and a cut up manual CJ assembly. The YJ assembly needed the mount and tab for the CJ brake switch which will be replaced with a new on for the LS swap, the pedal also did not have a place to attach the connector rod to the master cylinder. I am not sure how YJs attach but I went ahead and made the pedal the same as my CJ stuff. I also added a return spring. I don't seem to have one of these on any of the 4 other pedal assembly that I have but my build consultant is pretty sure there should be one and I would rather put it in now than need it and not have it once I have the dash and steering in.
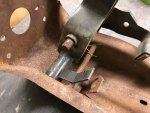
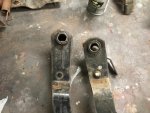
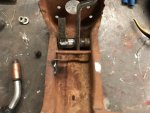
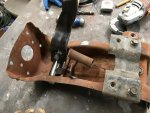
All set time for some paint and this can be installed.
Part of this prep was taking a donated YJ Automatic pedal assembly and making ready to attach to a CJ brake system from Vanco and have a place for the TCC switch to let the 4l60e start.
So i stated off with the YJ pedal assembly and a cut up manual CJ assembly. The YJ assembly needed the mount and tab for the CJ brake switch which will be replaced with a new on for the LS swap, the pedal also did not have a place to attach the connector rod to the master cylinder. I am not sure how YJs attach but I went ahead and made the pedal the same as my CJ stuff. I also added a return spring. I don't seem to have one of these on any of the 4 other pedal assembly that I have but my build consultant is pretty sure there should be one and I would rather put it in now than need it and not have it once I have the dash and steering in.
All set time for some paint and this can be installed.


- City
- Manassas
- State
- VA
Other than the large parts that need paint still I feel like I have made it to a great place on this build. The last two days I have been able to spend a few hours working on the scrambler when the Wife was doing other things and made visible progress.
Today (sorry no pics phone was dead) I assembled all the "stuff" that makes the tailgate work. ie. latches cables and bumpers and such. This took a little longer than I thought it would but with some adjustments with a hammer all works and looks great.
Also got paint on some more small parts like the pedal and some bolts and windshield parts. Some paint on parts each day and something assembled makes it easy to keep motivated.
Today (sorry no pics phone was dead) I assembled all the "stuff" that makes the tailgate work. ie. latches cables and bumpers and such. This took a little longer than I thought it would but with some adjustments with a hammer all works and looks great.
Also got paint on some more small parts like the pedal and some bolts and windshield parts. Some paint on parts each day and something assembled makes it easy to keep motivated.