• Notice for iPhone users: DO NOT use the image size reduction option when uploading photos to the forum. This causes portrait images to post as landscape. We have added a warning to the image insert pop-up as well.

Mission Creep

lascrambler

lascrambler
City
Pagosa Springs
State
CO
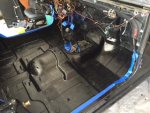
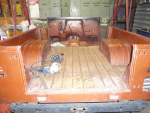
So I started a couple of weeks ago cleaning up the cockpit and applying Herculiner to the floor, firewall, and divider wall.
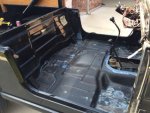
Cockpit before.JPGCockpit After.JPG
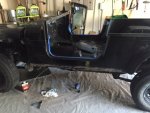
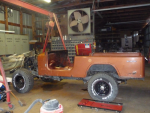
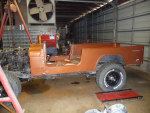
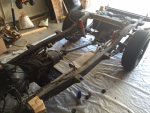
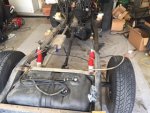
However, when I finished that I thought heck there really isn't that much left to take off the dash so it was on. The dash is out, pedal assembly, steering column, front fenders, divider wall, tailgate, roll bar, etc., etc. I now have the body disconnected from frame and ready to clean up the frame and underside of the body.
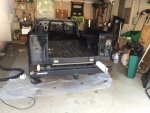
Body off_1.JPGBody off_2.JPGView attachment 48955Body off_4.JPG

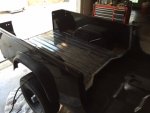
I posted for some help on the roll bar bolts, and since I didn't have a welder or torch, I drilled and chiseled them off. This was not friendly to the weld nuts, and a few of them broke off. I also let the chisel get away from me a couple of time and it hit the side wall of the bed. Not good. All can be repaired, but still mad at myself. Note to self and others, put a piece of wood behind the bolt..
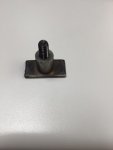
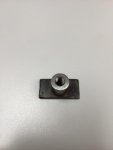
One part I cannot find are the T-studs for the rocker panel covers. I have three that twisted off when I attempted to remove the nuts. Worse case is I can get them drill and tapped for a ¼-20 and thread in a new stud. But finding new ones would be easier.
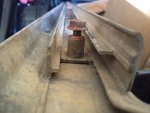
T stud.JPG
 
Last edited:
Dropped off the roll bar yesterday at a local shop to get it sand blasted and powder coated. Should have it back in a week or so, not that I'm in a hurry. I had a long list of chores to catch up on so not much work got done. I did get the shift levers removed. I have a plan for a structure to hold the body nose up so I can clean up the underside. It looks good on paper, but not sure. I'll spend some time browsing through other posts to see how others have handled working on the under body.
 
Yesterday was cleaning small parts. Hoping my son and a few of his friends stop by today for a beer and body lift. I need their help getting the body off the frame. I ordered a 1" body lift kit, and now I'm questioning whether that was a good decision. I can't visualize what that will look like. I guess there will be some interference with my fan shroud that I will have to deal with. Thought?
 
Using a one inch new bushing vs the stock one is good but I would not add another bushing on top of the oem. If you need lift do it with the suspension.

Sent from my LG-LG870
 
Yesterday was cleaning small parts. Hoping my son and a few of his friends stop by today for a beer and body lift. I need their help getting the body off the frame. I ordered a 1" body lift kit, and now I'm questioning whether that was a good decision. I can't visualize what that will look like. I guess there will be some interference with my fan shroud that I will have to deal with. Thought?

I have/had a 1" body lift on mine. (The tub is off the frame right now)
The lift is so small it doesn't cause the issues that the large lifts do.
The fan shroud was simple. No problems with hoses, or transmision/transfer case shifter clearances.
If you are going with a mechanical clutch linkage I would suggest to drop the mount for the clutch bellcrank, on the tub, down an inch to keep it more inline.
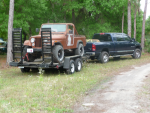
Here are some pics of mine with the body lift and 32" MTR's (headed to Vero for body work/paint)

rb1.pngrb2.pngrb3.pngrb4.pngrb5.png
 
Okay, so after looking at the pics I posted, I realize I'm an idiot.

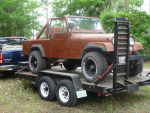
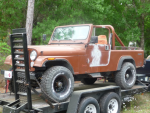
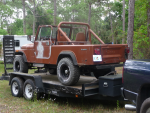
The pics don't represent the actual stance with the lift as the suspension is being compressed by the chains holding it on the trailer. :banghead:

Here are some pics after partial dis-assembly.

May not help much, but better than the previous bad info.

rb1.pngrb2.pngrb3.png
 
I decided to just go with the standard body mounts. If I do a lift I'll do the suspension. Meanwhile I have the body off thanks to my son and his friends.

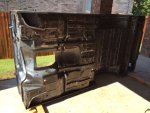
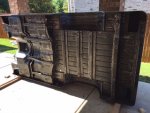
Things look pretty good overall.
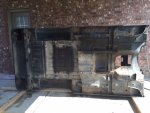
Underbody before.JPGView attachment 49086Frame_1.JPGFrame_2.JPG

After several hours she's all cleaned up and ready for prime time.
Underbody _1.JPGUnderbody_2.JPG

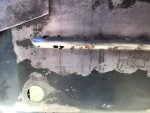
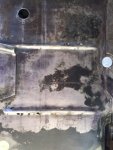
No sure the best way to deal with this. I know many of you have seen rot way worse than I'm dealing with, but then you have skills which I do not yet possess.
Holes_1.JPGHoles_2.JPG

My fix for the T stud was to have a machinist friend of mine drill and tap the body. I cut the threads off a bolt and threaded it into the body.
T-stud repair_2.JPGT-stud repair_1.JPG

It was a busy weekend.
 
Last edited:
Half Top Texture or not?

Thinking ahead, I had a conversation with the head guy at CB Jeeps a few years ago about my jeep, and he notice that my half top was smooth. He said that AMC didn't put non-textured tops on their 8's. Is this correct? Could be this top is off a different Jeep. I don't think it is practical to texture the top, I could just get another one or leave it be.
 
Update on resto
No pictures yet, I spent a few hours yesterday applying POR15 to the underbody and fender inners. Patched the holes with JB Weld (hope that was a good idea), it was a bit too runny at first so I let it set up for a while so it would stay in place. Still have a lot of painting to do. Not sure what, if anything, to put on the underbody after 2 coats of the POR15. Thought about herculiner, using a standard roller so it won't have as rough a texture. Any Opinions would be welcome?

Shop called and the roll bar is ready. I'll pick it up today, and will have some pictures to post later.
 
I would steer clear of Herculiner; it could possibly be the worst bedliner I have personally ever seen. Its texture traps dirt/sand making it almost impossible to clean, it fades, and when it dries the texture can become very sharp. I am not a fan of bedliner in a Scrambler but if you must, I would recommend U-Pol Raptor liner or Monsta-liner.
 
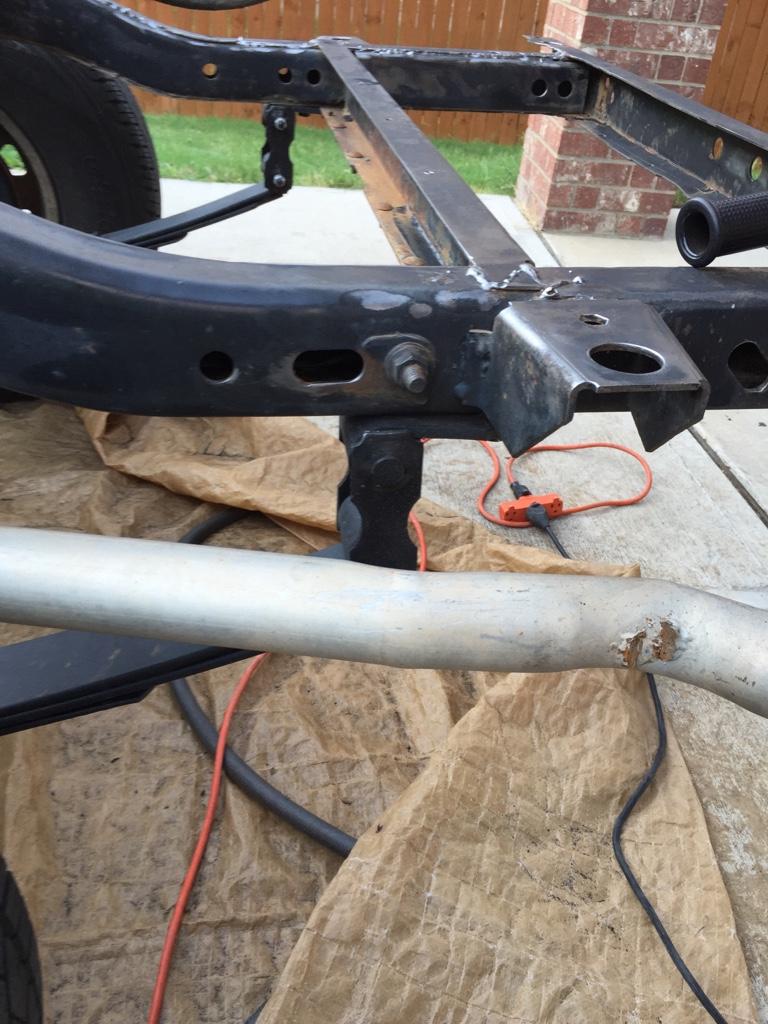
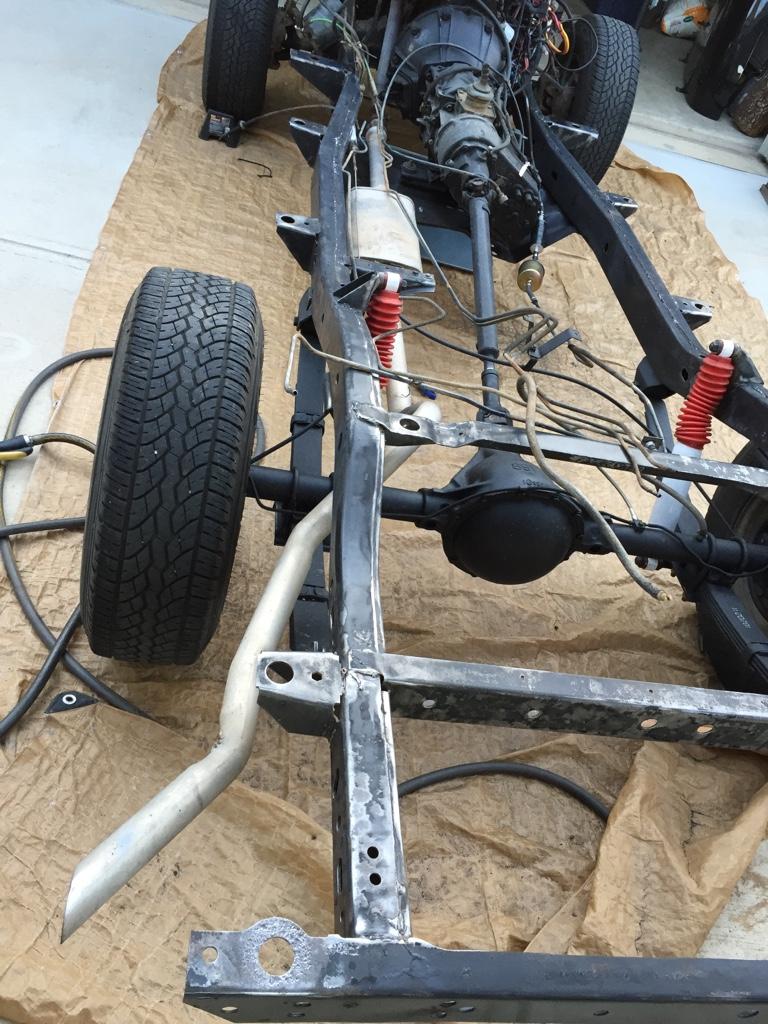
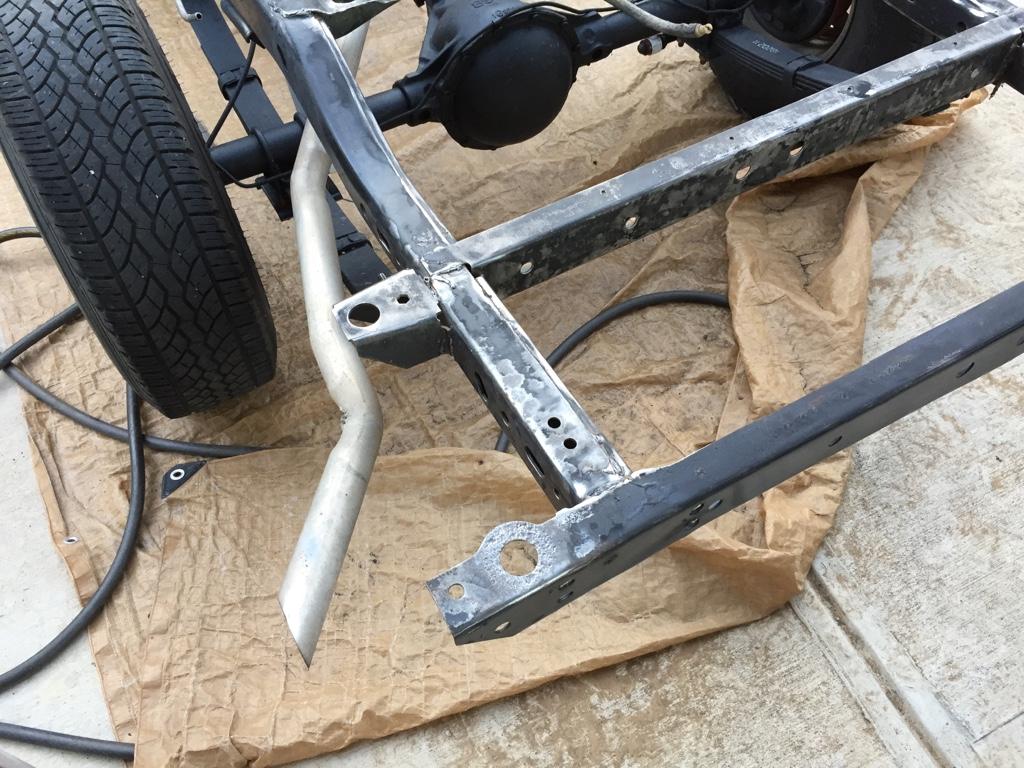
Long time since last update. The under body is done so now I'm working on the frame. Here are a few pics.
2cff3a1574d31a281b52656495523789-1.jpg
df5887d112c6a3bad9eb1bb9e68cd704-1.jpg
9f7c8b0eec83183a7ee4891d890b3041-1.jpg

Planning to replace the rear crossmember.
I've actually got all but that part cleaned up and painted


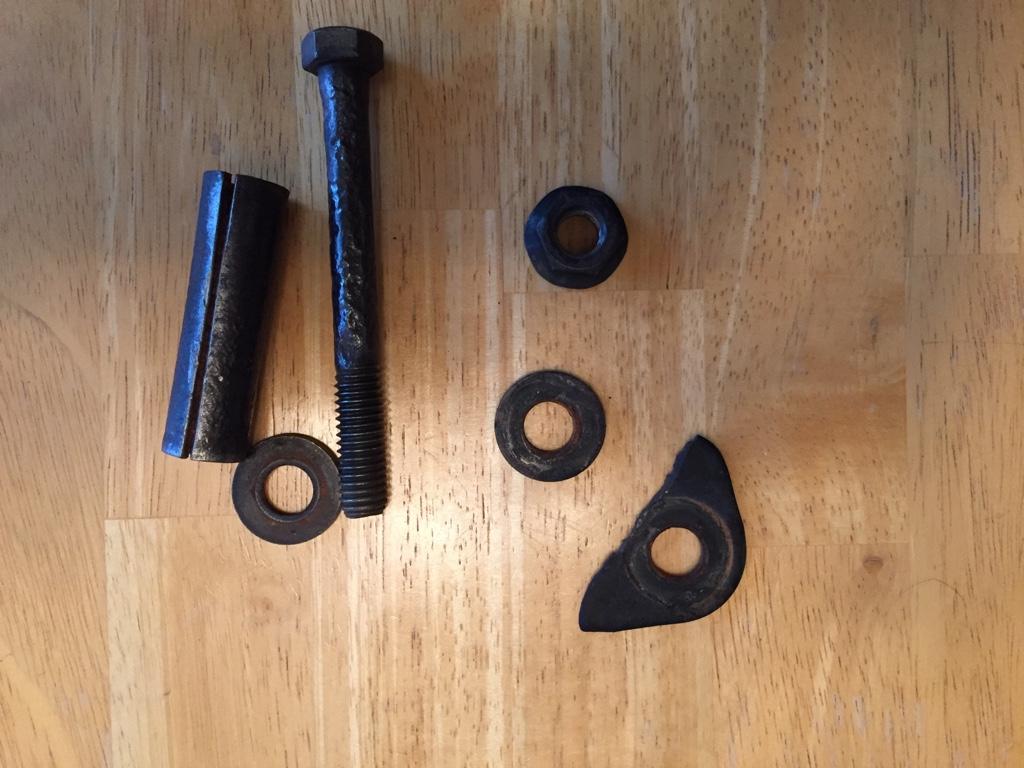
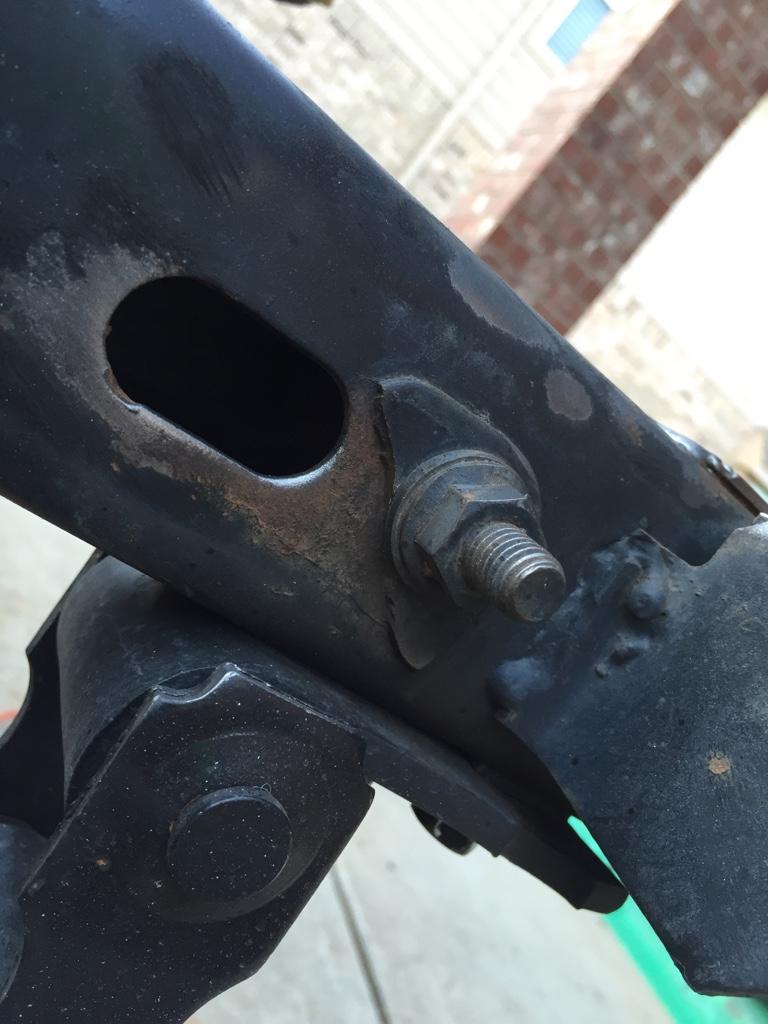
Does any one know what this used to be?
9d058b41895ecb3a2340450b04ec5444-1.jpg

These are the parts that took off. Some kind of bracket broke off before I owned the jeep.
cf3e43db73c4760267d80b428394a232-1.jpg


Does any one know what this used to be? These are the parts that took off. Some kind of bracket broke off before I owned the jeep.
9d058b41895ecb3a2340450b04ec5444-1.jpg

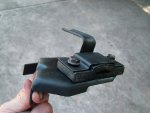
Tailpipe hanger bracket
 

Attachments

  • CJ Exhaust Hanger bracket.jpg
    CJ Exhaust Hanger bracket.jpg
    87.4 KB · Views: 195
Thanks Chiefwaho, any idea where I might find one. Looked at the usualy sources for a new set up and I can get the dampner and the hangar but not the bracket.
Is it the same on the CJ7 or Wrangler, something I'm likely to find in a junk yard?
 
Last edited:
Back
Top