• Notice for iPhone users: DO NOT use the image size reduction option when uploading photos to the forum. This causes portrait images to post as landscape. We have added a warning to the image insert pop-up as well.

Project Panel Replacement

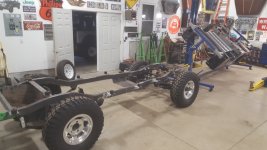
I found a box of mismatched body mounts and got to work.
20220908_181153_resized.jpg

There are 12 mounts... I now have 8 in place.

20220908_181221_resized.jpg

The fronts and the rears and a couple in the middle.

2 I can't do right now as the floor needs repair and the channels need replacing.
The other 2 are slightly larger diameter mounts as they are part of the floor and they used 7/16" bolts instead of 3/8" stock ones.
I have a lot of 7/16" but not in the length that you need.
If you put too long of bolts in there, they will go through the floor.
I ahve done this not once... but twice in my 1" body lifting career.
Don't drink and lift!

Anyway...
20220908_181230_resized.jpg

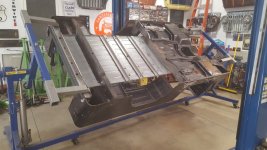
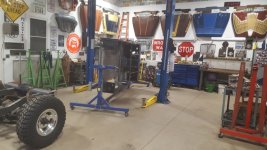
It goes without saying that the car hoist/lift makes this a LOT easier of a job.

20220908_181248_resized.jpg


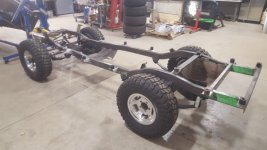
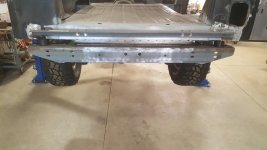
20220908_181358_resized.jpgI tried to get an exact side shot to show the wheel openings.
These tires are 32" and I will run 33" ones... if you measure we are kicked a little forward here, but the shackle is straight up and down due to the lack of weight.

Also the wheel base is off by about 3/4-1" total right now due to the lack of weight on the frame.
So, once this all relaxes and has weight on it, the tire will/should be in exact position.

20220908_181406_resized.jpg

I am pretty happy with all that has gone on... body mounts all lined up so far.
I will have 10 of the 12 done by tonight once I get some more hardware.
The other 2 will have to wait until the floor repairs are finished up... but this is a weight off my shoulders as you can measure a thousand times, but until you try to actually connect it, you don't know.
And when you start from scratch with a pair of frame rails, and slight offset could cause a lot of headache.

cb
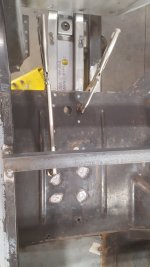
 
I picked up the hardware needed so that 11 out of the 12 body mounts are now secured.
I need to fix the other side where the 12th one goes as there is some waviness in the bed panel that is bugging me.

20220911_163349_resized.jpg

20220911_163354_resized.jpg

20220911_163402_resized.jpg

Unfortunately when I mocked up the bed/floor fix, I noticed I am off on this one body mount.
I don't know exactly what occurred, but it isn't welded to the frame at a right angle, it is pointing down... need to cut if off and re-weld it.

20220911_170534_resized.jpg

I put a straight edge and saw the waviness... the rear is up too much I think, but it could be the 2nd set of mounts behind the gas tank... not sure exactly where the issue is.
This is all custom, so it is bound to be off somewhere... and the panel might not have been straight to begin with.
Also without wheel wells, it is a bit tough to gauge as well.
I will fix the areas that I know need attention and re-examine.

20220911_170542_resized.jpg

cb
 
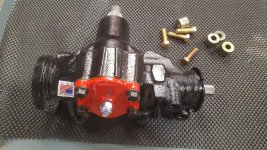
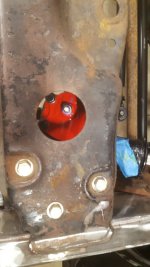
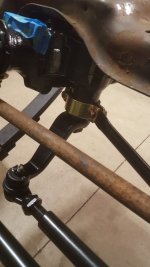
RED HEAD steering gear received and installed.

20220913_165254_resized.jpg

20220913_184047_resized.jpg

20220913_184105_resized.jpg

I have to get the core ready for return... part of the deal... bolts didn't want to come out of the old one.
Also, I need to work on the steering brace from frame rail to the other side.
Since this is 1 inch larger material and also custom, it didn't fit out of the box.
Needs triming, shaping, and resizing.... and re-welding.
I figured it wouldn't work, but this was a bit more.

20220913_184116_resized.jpg

20220913_184122_resized.jpg

20220913_184132_resized.jpg

The passenger side doesn't fit up on the frame rail due to the curve/bends... and the lenght side to side is off... so I cut if off and installed the brackets and will then weld it up.

More tomorrow...

cb
 
Beautiful work as usual.
With all the upgrades you're doing, have you given any thought to the longer travel Ford front shock mounts?
 
Beautiful work as usual.
With all the upgrades you're doing, have you given any thought to the longer travel Ford front shock mounts?
The lift kit came with shocks, so I have those for now... didn't really think too far out on the longer travel option... my mind is swimming with 100 things I have to do still on this just to get it to where I want it to be.... and I seem to have less time these days with school starting back up.

cb
 
The lift kit came with shocks, so I have those for now... didn't really think too far out on the longer travel option... my mind is swimming with 100 things I have to do still on this just to get it to where I want it to be.... and I seem to have less time these days with school starting back up.

cb
I understand that.
I think I speak for (almost) everyone when I say that I'm impressed by the amount of work you get done as it is. :thumbsup:
 
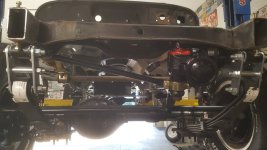
Locked in the front end last night... got the cross bar situation put in where it needs to be.

20220915_172746_resized.jpg

Top mount now sits flush to the frame

20220915_172801_resized.jpg

Moved onto the one body mount that was off... figured it out.

20220915_173151_resized.jpg

20220915_173214_resized.jpg

It was tipped forward when I tacked it... so cut the tacks, ground it down and then reassembled, tacked the top brace to the floor and now it is all good.

20220915_180518_resized.jpg

When the body comes back off, I will fix the floor and move onto the wheel wells... hopefully this weekend, but we will see.

Again, can't say enough about this lift... back saver for sure.

20220915_180625_resized.jpg

cb
 
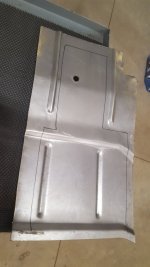
Parts making time... have to cut floors to fix... but first measure with cardboard.

20220916_164720_resized.jpg

20220916_165104_resized.jpg

20220916_165157_resized.jpg

And then get distracted remembering that the floors you have for this need to be cut and are under a pile of stuff... and then you also remember the shiny object you saw the other day.

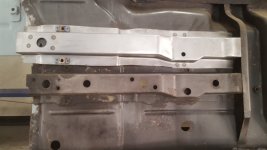
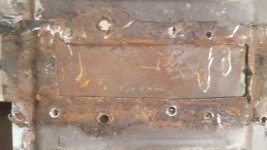
The other side outer frame tub support looked fine, but the captive nut was gone... so I couldn't tighten it down on the mount. I also noticed on the top side a booger weld... so I looked all over and saw daylight coming through >:(

So, off it came... and I am glad I did... lots of "stuff" under it.

It really doesn't look too bad, except the rear most portion, w hich I could have spliced in like the last 4-5 inches.

20220916_165809_resized.jpg

Removed... ouch!

20220916_172226_resized.jpg

Needs a haircut

20220916_173040_resized.jpg

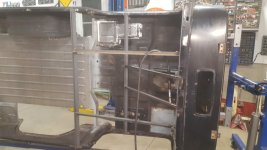
Oh, I took the body off as well to make all this easier.

20220916_173233_resized.jpg

I got some rando pictures

20220916_173308_resized.jpg

20220916_173327_resized.jpg

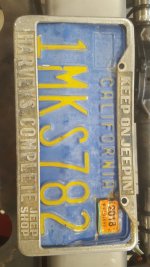
Then went parts picking and found this cool license plate surround

20220917_172734_resized.jpg

cb
 
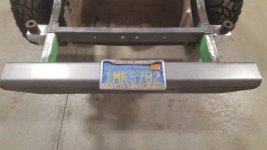
Was cleaning up and the delivery guy showed up with some steel for my rear bumper idea.
I had it cut/shipped vs. trying to make it myself. We will see how it comes out, but need to put the body back on to get the correct measurements so the @Kim Dawson end caps wrap the body nicely and tight... not super tight, but don't want them hanging out too far.

20220917_172846_resized.jpg

cb
 
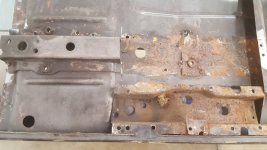
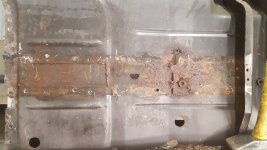
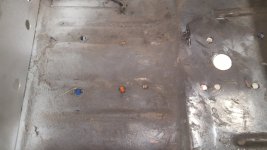
So the digging continues... and I am glad I did... from the topside, I didn't see this.

20220919_172701_resized.jpg

20220919_172705_resized.jpg

Definitely a patch cut out and just put on top and a couple tacks... on top, smoothed over with some stuff

20220919_172903_resized.jpg

So, it all had to come out

20220919_174338_resized.jpg

However, I didn't go far enough... grind down the paint to see if you have good metal all around...

20220919_174909_resized.jpg

Still pitting, so more trimming

20220919_174915_resized.jpg

20220919_174926_resized.jpg

So, that seems pretty good for the rough cut... onto making the brace look more "OEM" even though it isn't

20220919_180209_resized.jpg

These braces are very nice though from classic, just wanted to make it look more OEM with the holes


20220919_181349_resized.jpg

It all looks pretty good now... have to trim the piece to go in there tonight... that takes some doing... until next time.

cb
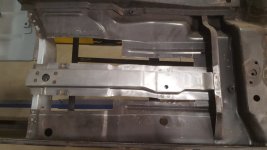
 
Did you check the body mount captured nut size to body bolt being used on the floor brace? Seem to remember having an issue; I was also using a YJ style set up but didn't think there were any changes in bolt sizes. Made new out of bar stock.
 
Did you check the body mount captured nut size to body bolt being used on the floor brace? Seem to remember having an issue; I was also using a YJ style set up but didn't think there were any changes in bolt sizes. Made new out of bar stock.

So that has been a problem with any/all replaced mounts... rear brace was replaced, but one in front wan't... then the floor was.
What classic seems to do is go up a size.
Stock is 3/8" and the classic is 7/16"... that is why I needed to run out and get new longer bolt hardware for the 1" BL I have going on there. All the Daystar bolts were 3/8" and not 7/16"... so yes, you have to be careful...I have a mix of bolts now so you just have to make sure you use the right ones.

I believe this captured nut is larger as well, which is fine... as it isn't going to hurt to have larger bolt diameter hold it down, but yes it deviates from stock.

cb
 
I purchased used OEM bolts and body bushings and by chance found this discrepancy...glad I did before the brace was installed.
 
More cardboard work

20220920_161559_resized.jpg

Some marking, trimming, rinse, repeat.

20220920_165841_resized.jpg

20220920_171129_resized.jpg

Using the brace to hold it in place, as well to line up the seat bracket hole.

Removed 3-4 more times and trim/mark it up.

20220920_174624_resized.jpg

Still has overlap... remove again.

20220920_174625_resized.jpg

Getting closer, but I ran out of time...

20220920_174717_resized.jpg

It is mostly there and where I want it... 2 small places that need trimming and then it is ready to tack in.

I know this is somewhat boring, but it is what happens when you are trying to get the fit "as close as you can"... the tighter/exact the better for sheetmetal

cb
 
I took a couple of sheet metal classes decades ago, this is more like someone working on their Masters or Doctorate
 
All the holes/measurements/brackets/braces all figured out... just have to finish the "finish" work.

20220922_173531_resized.jpg

20220922_175120_resized.jpg

I am learning that the angle iron bracing I have in place is not helping this situation what-so-ever. I might call it after tonight on this side, stitch in the other side and leave the "finish-finish" body work until I take off the angle iron.

The important parts though are there... the floor is in place, tacked in, bracket in place and fits the under cross brace and the seat bolt hole is there (albeit it too big... got a little over zealous with the unibit). It is under the body mount washer and will need fixing later.

cb
 
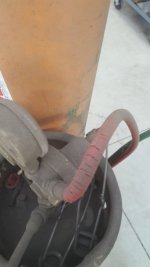
Was planning on doing more on the floors and then I was sidelined a bit... I wanted the full brackets installed, but then realized they had broken bolts... so I went to get the torch to heat it up and found this.

20220923_151425_resized.jpg

I can't recall when I put new hoses on the setup, so I replaced them with a new hose I had bought a while back... but not until after I welded nuts on and removed.

20220923_140716_resized.jpg

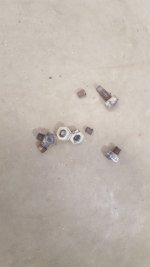
RED HOT

20220923_142049_resized.jpg

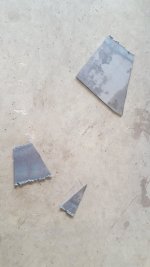
Leftovers

20220923_142648_resized.jpg

Then went back to the hoses

20220923_153417_resized.jpg

Hose is longer as well, which is great... and it works fine!

20220923_153410_resized.jpg

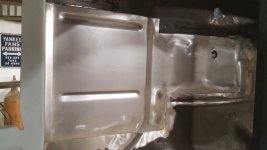
Back on the Jeep I got the brace ready to go in with drilling plug weld holes to simulate the spot welds and then priming it with weld thru

20220923_155522_resized.jpg

20220923_160902_resized.jpg

It really bothered me that the work benches had gotten so full of junk that I made a few trips around the shop up/down and put stuff back where it belonged (for the most part) and now I have a lot cleaner works-paces again.

NOTE: No picture of workbenchs... forgot that.

So, all in all a great day, just not a ton of progress... there are days like this where things just need to be taken care of and not a lot gets done on the actual project.

cb
 
That acetylene hose was looking pretty bad. It must have been a while since new. Good catch - maybe this will prompt everyone to inspect their own. Consider it a PSA.
Looking good!
 
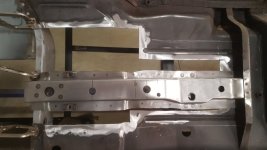
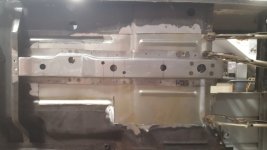
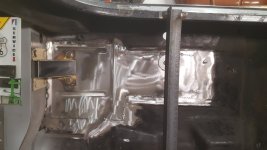
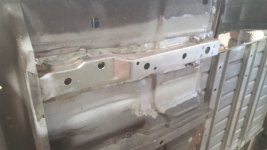
Under structure done finally.

20220924_170330_resized.jpg

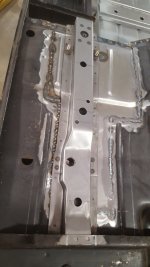
Welded up, primered with weld thru and all the plug holes in place.

20220924_172132_resized.jpg

All welded in and mostly cleaned up. Needs a little more to be perfect.

20220924_172921_resized.jpg

All bolted in and needs finish welding, but it is solid and looks pretty good.

Cleaned all the floors and tops of things... went inside for the Michigan game... workbench on the right is clean... the toolbox has some tools on it still, but no more dust/grinding leftovers.

20220924_184324_resized_1.jpg

cb
 
Back
Top