• Notice for iPhone users: DO NOT use the image size reduction option when uploading photos to the forum. This causes portrait images to post as landscape. We have added a warning to the image insert pop-up as well.

Retitled: 83 Scrambler resto-mod finally gaining momentum

more progress

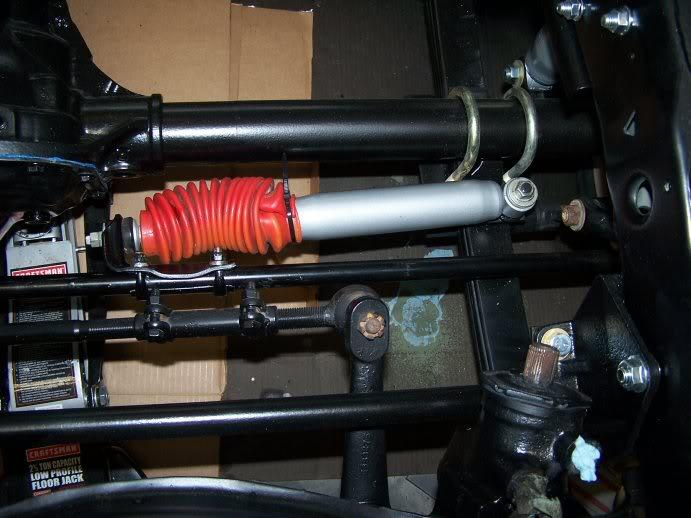
reinstalled my steering stabilizer today.. much like the shocks, I sanded and painted it with hammertone, and then reinstalled the old dirty shock boot (red) figuring I can change it later (prefer black but might go without unless there's a risk for doing so).

20110702steeringstab-1.jpg


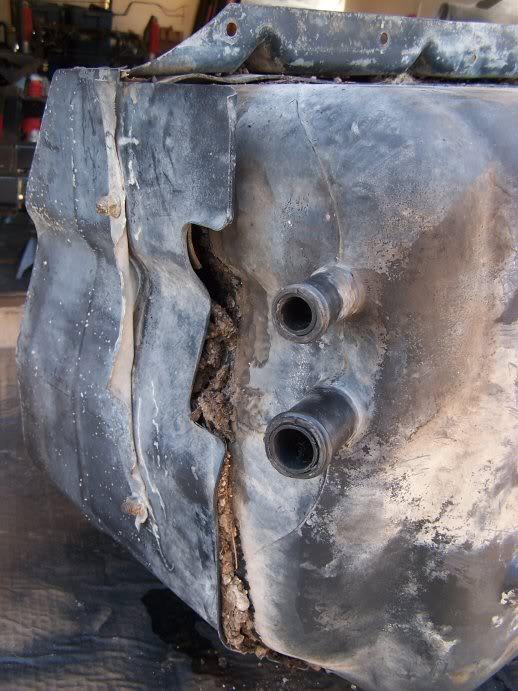
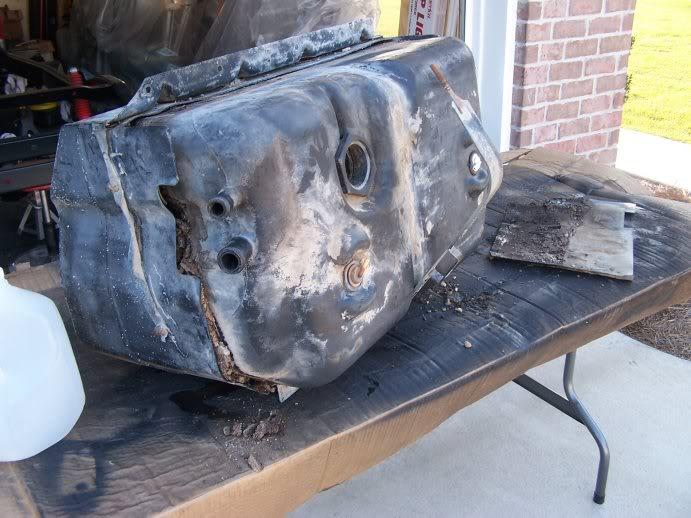
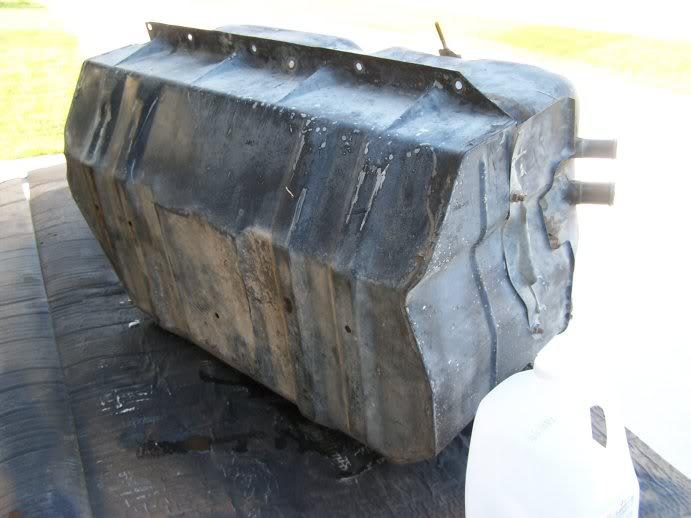
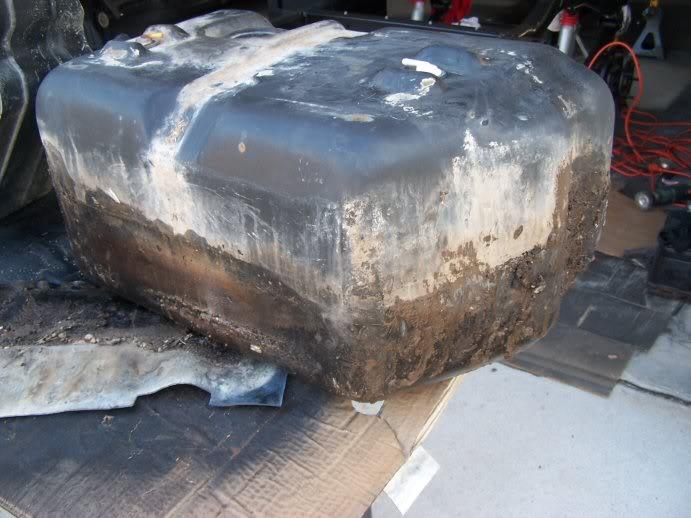
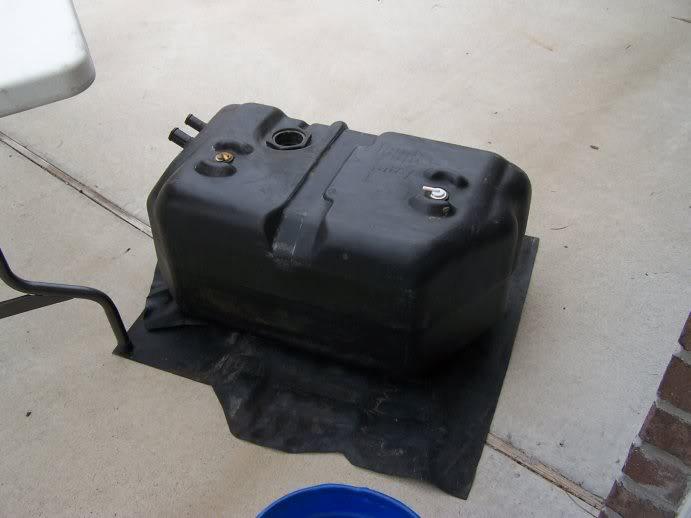
then I got to work on disassembling the factory tanks.. here's some before shots
20110701before-1.jpg

20110702before-1.jpg

20110702before2-1.jpg
 
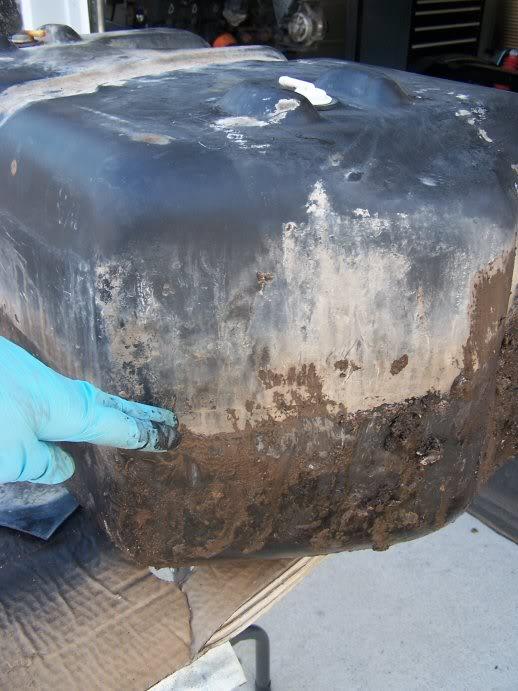
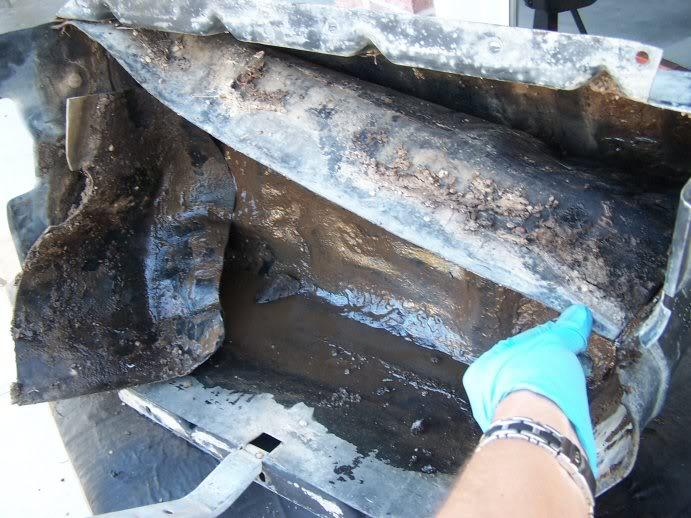
here's what I found inside

20110702beforemud-1.jpg


20110702beforemud2-1.jpg


20110702beforemud3-1.jpg


the inside has a three-piece rubber liner, I assume it's for protecting the outer skin of the factory poly tank, but might have something to do with static/shock protection as well :shrug:

much like the rest of the truck, it looks ugly, but it's mostly just dirt, and the fuel cell and the rubber mats were easy enough to clean with soap, water, and a stiff brush..

20110702beforemudonlinermats-1.jpg
 
after shots

here's the tank cleaned up..
20110702fuelcellafter-1.jpg


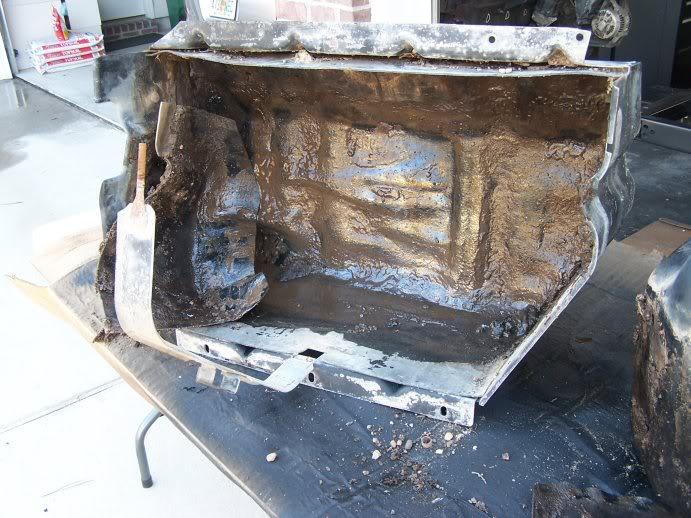
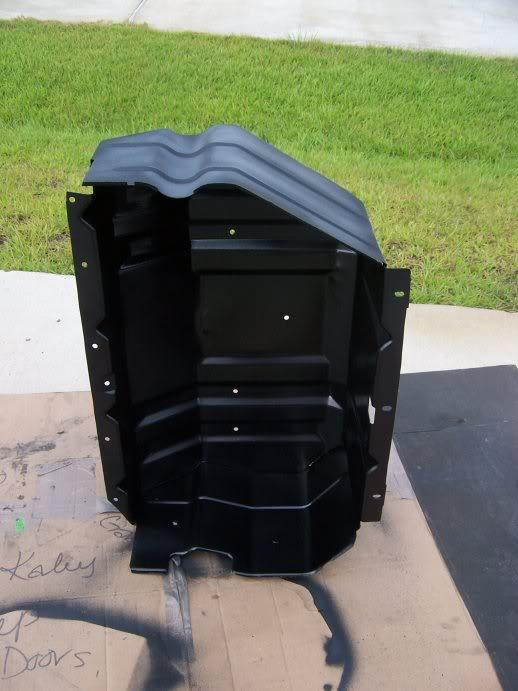
and the skid plate/fuel tank holder.. inside came out well with after several hours of cleaning and paint stripping, and about four coats of rattle can paint:
20110702skidplateinterior-1.jpg


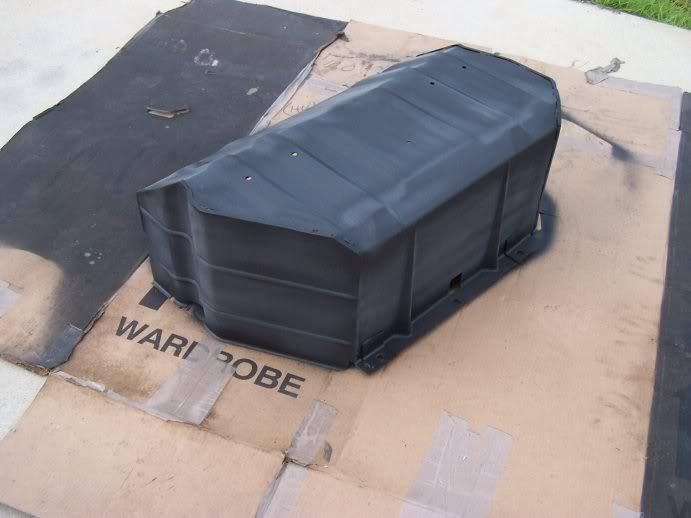
to match my future bumper and the swing out tire carrier project I did several months ago, I decided to paint the shield with the Duplicolor bedliner in a spray can.. had good results with it in past projects, but was really disappointed with how it came out today, looked very dull and I got lots of tiger-striping, even after two coats:
20110702skidplatebedlinerafter-1.jpg


the instructions on teh can say "don't use in high humidity".. not sure what quantifies "high", but I'm guessing Gulf Coast FLA in JUL is probably on the high end of the scale.. may be part of my problem..

I'm in no big rush to install this, as I have to move on to the drivetrain next, so I may buy another can (pricey..about 10 bucks a can) and try it again :banghead:
 
independence day weekend..

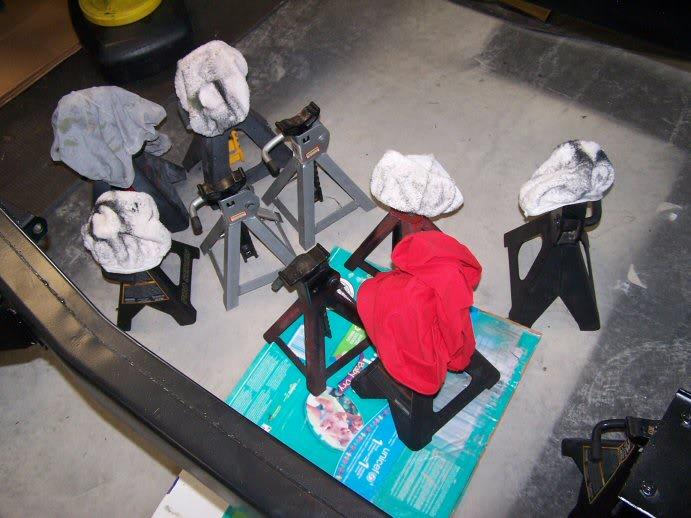
and my chassis is now independent from:
20110702jackstands-1.jpg

jack stands...

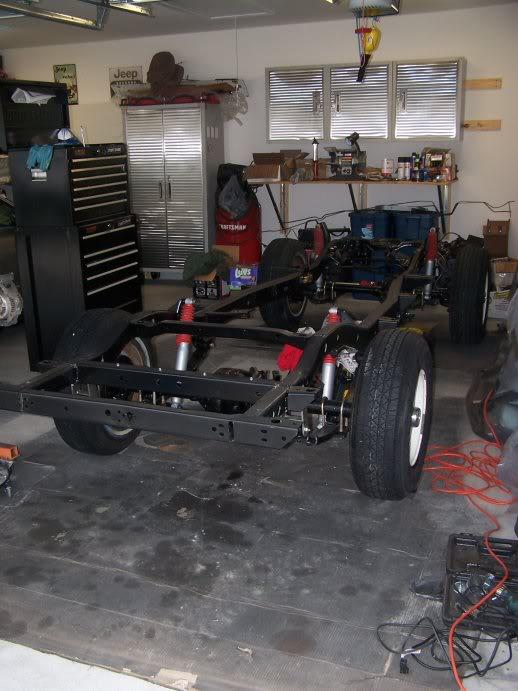
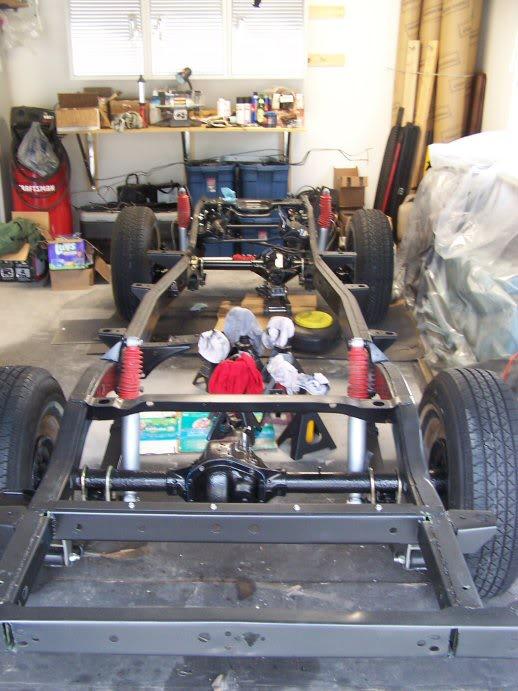
I loosely installed all four wheels today to make a rolling chassis again.. not a big deal but it FEELS like progress:
20110702rollingchassis-1.jpg

20110702rollingchassis2-1.jpg
 
next...

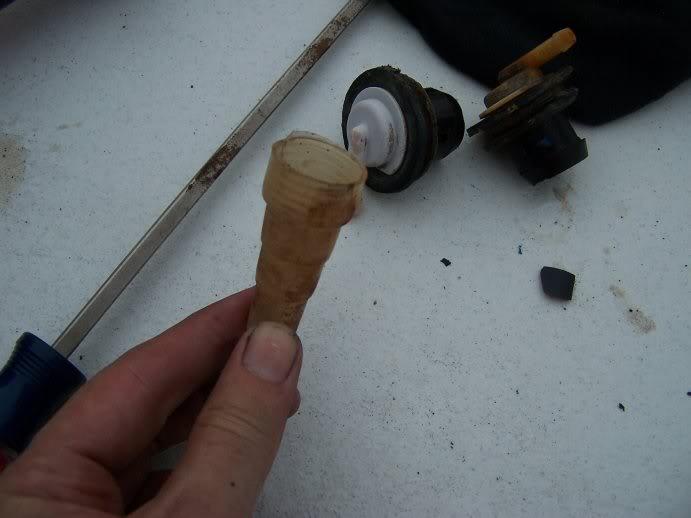
while I was cleaning the inside of the fuel tank this was rattling around inside.. is this part of the fuel sending unit or one of the rollover valves?
20110702fuelcellguts-1.jpg


I still have to plumb the chassis, to include the brake lines (still waiting on my re-ordered stainless set from Qtec :banghead: ), and the fuel lines: vent, return, and then the EFI supply lines (most likely going to run a 3/8 hose with a Airtex inline pump, sending it up the passenger side)...

while I wait on parts for that, I can start disassembling and cleaning, prepping this:
100_2674-1.jpg
 
Great progress. That mystery part looks like the spout off a gas can or something...
 
trying to figure out fuel line routing...

so I'm doing the 4.0L conversion as part of my CJ8 reassembly, and that involves the conversion to EFI fuel pressure requirements... based on what I've seen online, I purchased an Airtex E2000 fuel pump with the intent of mounting it on the rear cross member forward of the fuel tank, and then plumbing lines forward from there..

today I visited my local Napa to figure out about getting about 20 feet of 3/8 ID EFI fuel line to discover it is only sold in short lenghts or whole rolls (25 foot) at about 5.50 a linear foot.. the guy behind the counter asked me why I wasn't using the orginal steel line and I didn't really have a good answer.. I have a fully functional, factory bent, steel (handles even more PSI than the EFI hose) fuel line sitting in the garage, and I can get steel plumbed all the way up to where the old 4.2 mechanical fuel pump was..

I dry fit the hose and there is one issue, the old fuel line is too long for mounting the new inline fuel pump forward of the fuel tank, as it's "opening" feeds over that x-member to the old sending unit supply line...

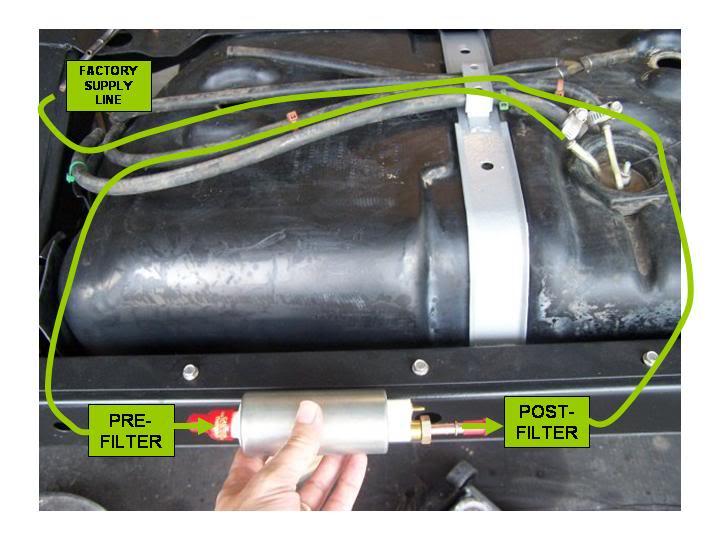
so, I was thinking I might be able to still use it, basically putting a loop towards the rear fuel tanks x-member, installing my pre-filter, pump, and inline filter all on that x-member, and then routing a short EFI hose up to my factory steel line.. here's a (very) rough sketch of what I'm talking about:
FUELLINEROUTING-1.jpg


among advantages I can see to this are
  • uses existing fuel line, which is capable and free
  • easy access from under the truck in the event I need to service the pump
  • it's a bit furhter away from the passenger compartment so it might mitigate some of the noise

It might be a dirtier spot (?), and the fuel lines would in some fashion have to lay across each other in the "loop", but I don't know if either of these issues are really issues..

anyone have input on this or an alternate solution (for using the existing factory fuel line)? If I have to plumb new lines this fuel pump location is moot.. I'll mount it forward of the tank.:thumbsup:
 
Don't see why that wouldn't work- although I'd try and connect the factory line to the pump outlet straight down the side of the tank (You would have to flip the pump) and then make a tight loop or even an "s" bend from the sender outlet to the pump inlet.
 
Randy, that makes sense and I think I can visualize what you're talking about. The other thing I was considering was cutting the factory line about 1/3 a way across the forward x-member (closer to the PS) and then trying to flare it there and then mount the pump/filters along the same forward X-member. I've never tried flaring a tube so I don't know how hard it is :shrug
 
posted a question to the engine forum

here regarding what appears to be "dirty" pistons after I pulled apart my 94 YJ replacement motor.. let me know what you think! Never pulled apart a motor before so I'm not sure what's normal or not.. this one had 117k when I pulled it.
 
Pistons in the other thread look ok to me...normal stuff.
 
progress... with a baby

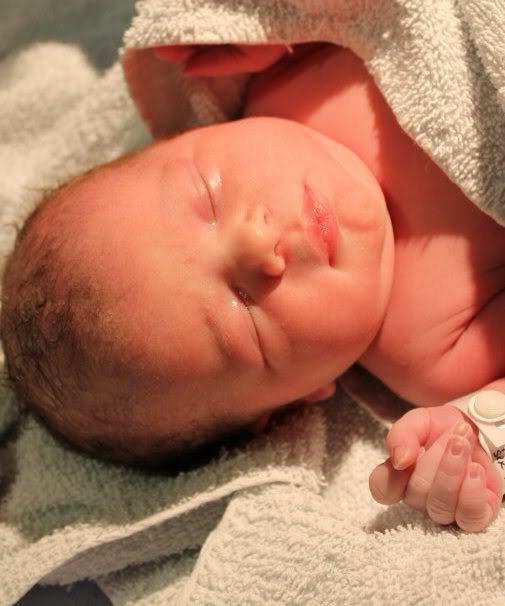
So, even with the arrival of Alana Grace on 8 July:
20110708AlanaGrace5-1.jpg

my wife has been pretty liberal with getting me out to the garage to work on stuff.. since she's doing all the feeding at this point there's only so much help I can be so, I'd thought my progress would be stunted for a bit but, I'm still getting bits and pieces done..

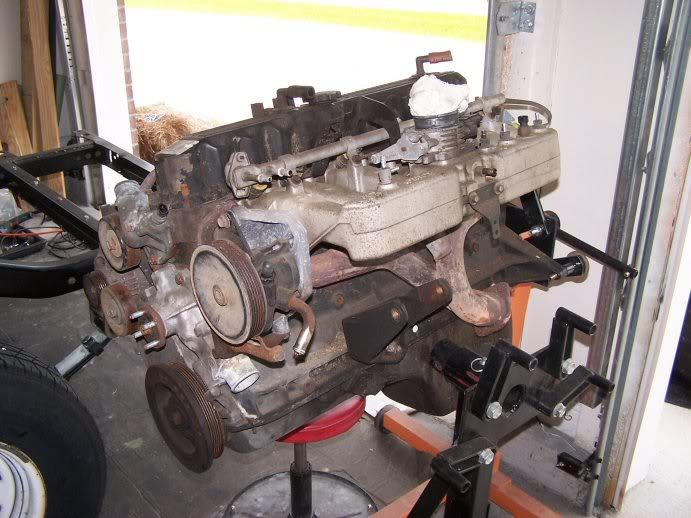
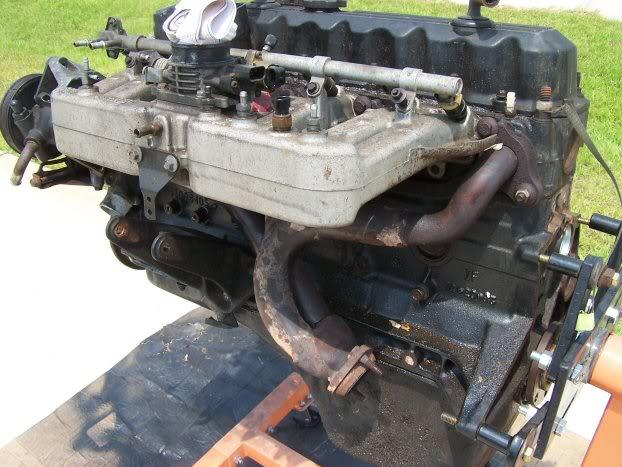
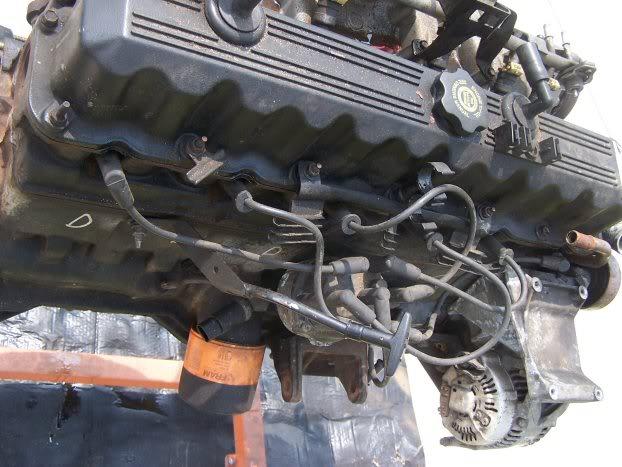
pressure washed and degreased the intact motor (these are "before pics"):
100_2695-1.jpg

100_2697-1.jpg

and after some deliberation, I decided to go ahead and break it down.. I pulled all the brackets and accessories, the valve cover, head, timing cover and timing set, oil pan, distributor, etc etc.. all that's left is the block, crank, pistons, and cam..
100_2750.jpg


Nothing too exciting to show you here or no key lessons learned for rookies (yet!), but it was actually pretty fun to work on an engine on a stand.. a break from working on the chassis and pretty convenient to pull it apart on the portable stand.. no surprises or broken bolts, and everything seems to be in good shape (but that could be that I don't know what I'm looking at)... It does have the 7120 casting head, which I've read to be both a postive and negative thing, so.. I'm going to listen to the positive ;)

based on the inspection procedures in the Haynes manual the timing chain appears to have a bit too much slack in it (more than 1/2 inch slack, although I'm not sure I had the right amount of tension on the taut side.. either way, relativley cheap insurance to replace it now while it's apart), so I've ordered a replacement from Rock Auto, and I also got on the phone today with Hesco to get my dampener/CPS kit, as well as the VSS kit (more than :twocents:) so that should complete everythign I need to start reassembly after I do some cleaning

been doing some online research on best practices to clean aluminum bracketry, but I've come to the conclusion that the easiest bet is probably going to be a simple clean and paint.. I'll post some pic of the results.

on a side note.. lots of folks talk down Sears these days but, I finally broke my first Craftsman tool (split this 5/8 socket on a head bolt.. wasn't putting THAT much torque on it) and they replaced in no questions asked.. first failed tool I've had, and an easy exchange

100_2747-1.jpg
 
Last edited:
plumbing

I've also received (finally) my replacment stainless brake lines from Inline tube (via Qtec).. I dont' have pictures yet but I'll tell you I'm a little disappointed.. for the price (nearly 200) I expected these things to be bang-on fits.. they are CLOSE, but I didn't have a single one that just fell neatly into place, and every one of them will require some sort of re-bending.. the furthest off is the single long line to the rear, I'd say the final bend puts the fitting about 2 inches too far away from the rear X-member to correctly meet the bracket for the rubber hose down to the rear axle.. I'm going to have to tighten up some slack in the rest of the line somehow to inch it closer..

so I went and bought a brake line bending tool from Sears (add 44 bucks to the tally)... :angry:

And I'm having second thoughts on my fuel line routing plan.. spoke to Raymond on the phone and viewed his build thread.. he's an advocate for retrofitting a delivery line up the driver's side, and it's worked out for him.. I've seen others route it up the PS like factory, and extend it around the front of the frame and then up to the fuel rail on the 4.0.. bottom line, I'm going to wait until I get my drivetrain mounted in the chassis and the play with it a bit from there before the body goes on..
 
my latest CL score

found this listed on my local CL today and turned out the guy lived four blocks away from me..

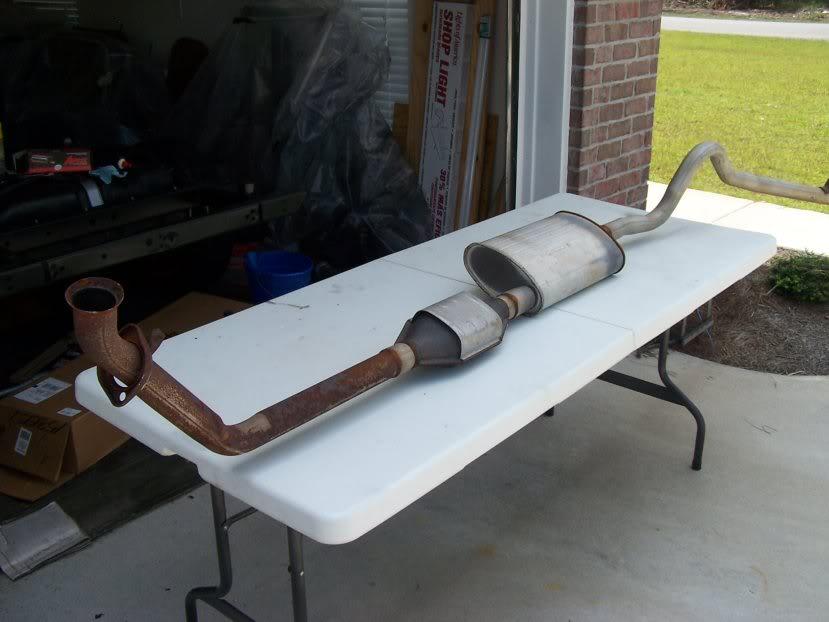
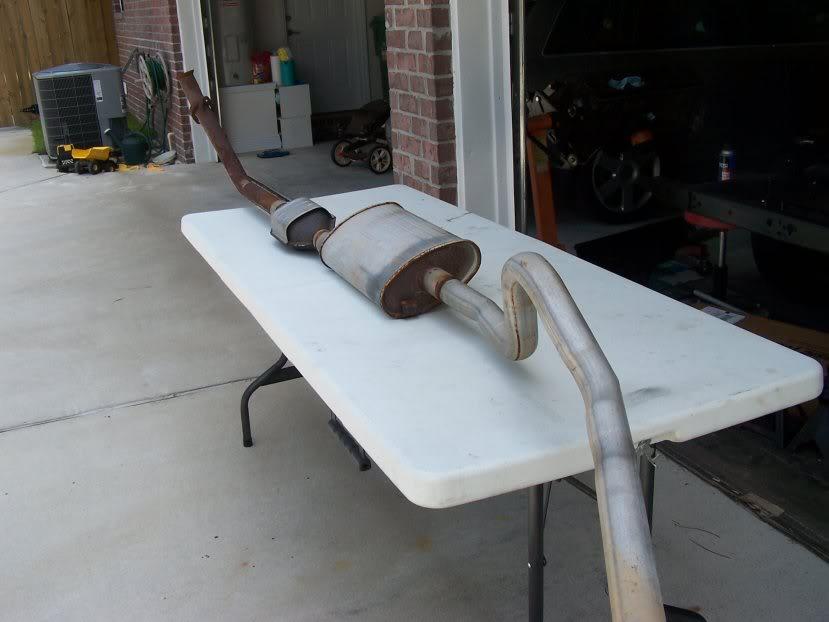
got a complete CJ7 exhaust with downpipe, cat, muffler, and tailpipe (all welded together for now) for 35 bucks.. since the cat that came with my YJ was toast and my 8 had been straight-piped by the PO, I figure I just got a cheap cat, and a free muffler ant tailpipe.. I'm sure I'll have to get an exhaust place to fab up a different downpipe from my (new) YJ header, so I'll have them lenghten/fit this to the Scrambler when the time comes..

happy days:
100_2764-1.jpg

100_2765-1.jpg
 
and in the preventative maintenance and reassembly of the motor phase

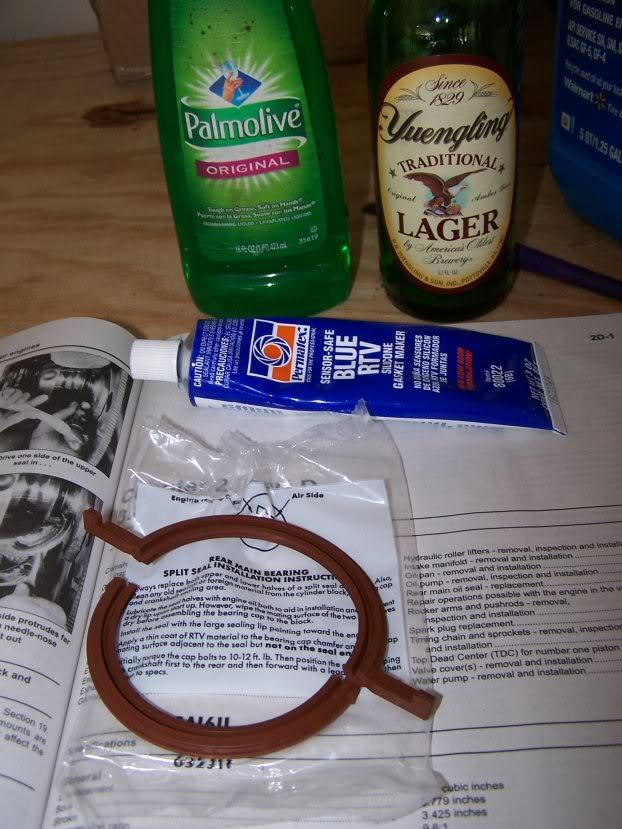
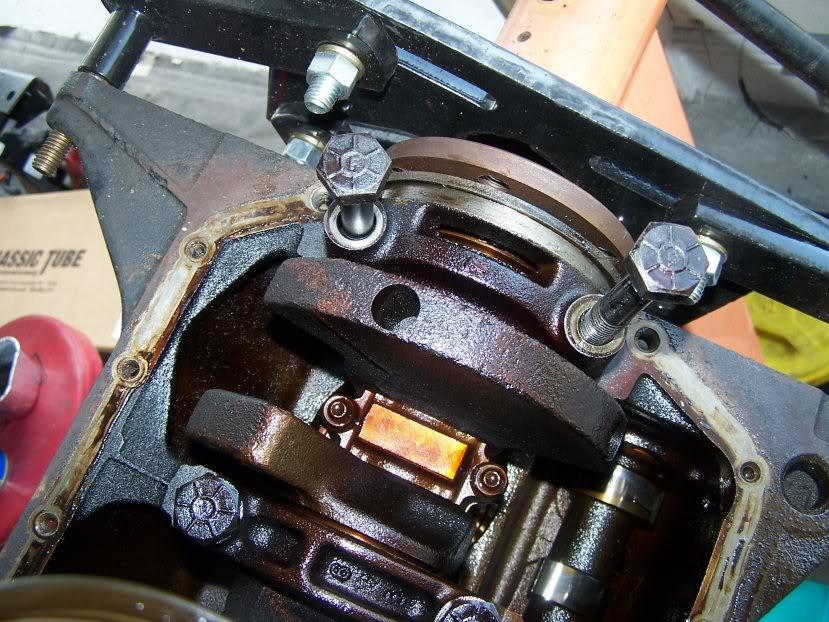
I did the rear main seal on my 4.0 today.. did the same on my 4.2 while it was mounted in the truck.. 10 minute job today, weekend job when the motor was mounted.. waiting on a new timing set and I'm going to continue reassembly, cleaning, and painting the motor to reinstall it..

the only thing hard about the RMS job is access.. once you get to it, it's super easy

tools on hand:
100_2766-1.jpg

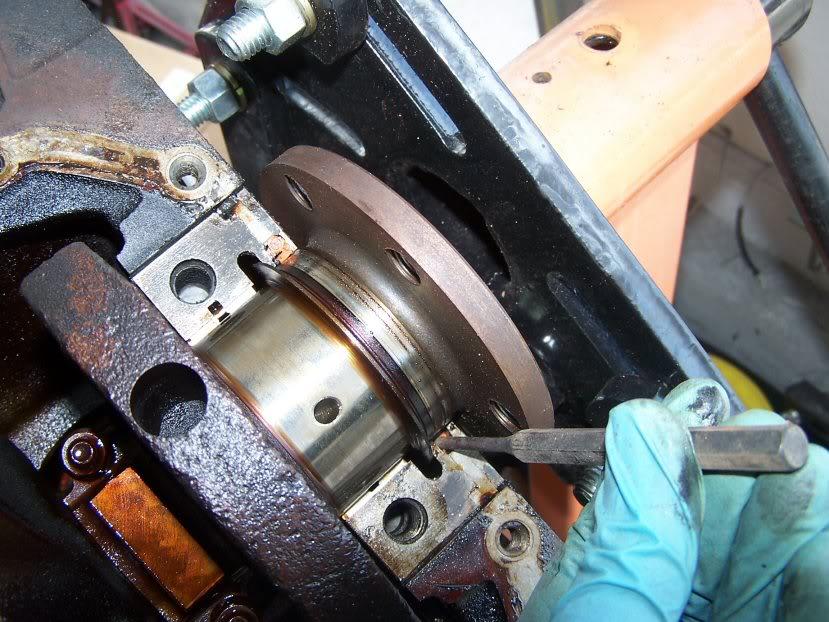
pull the bearing cap
100_2767-1.jpg

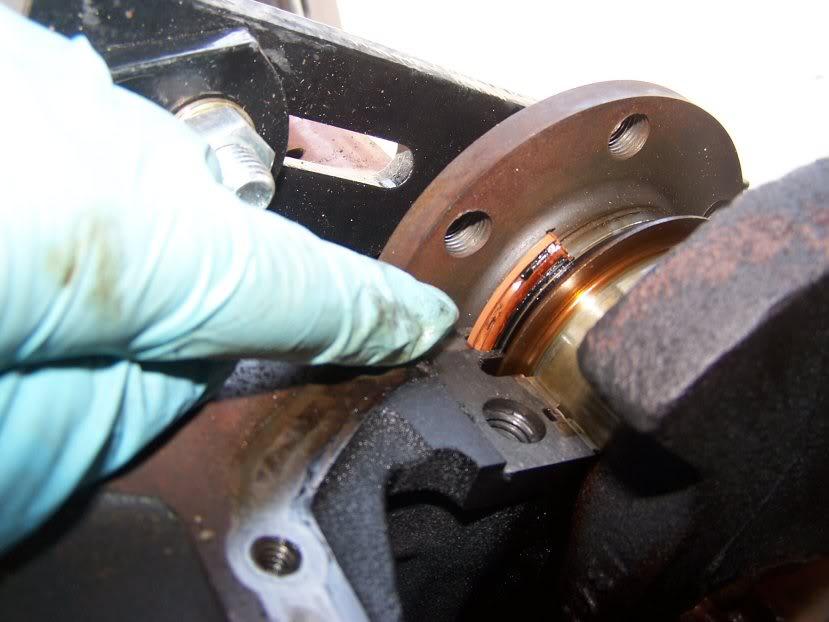
tap the old upper seal in on one side
100_2770-1.jpg

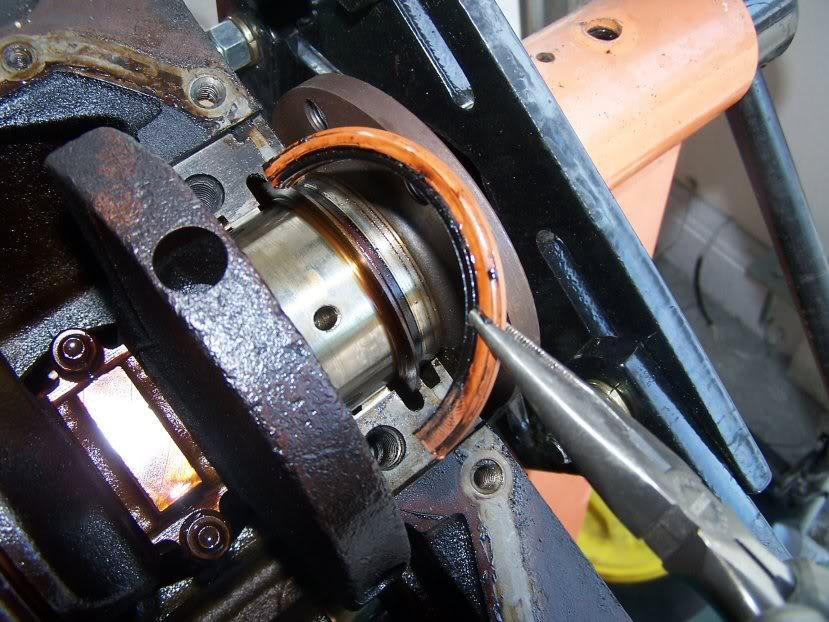
so it starts to come out the other side where you can grab it with pliers
100_2772-1.jpg

100_2774-1.jpg
 
RMS continued

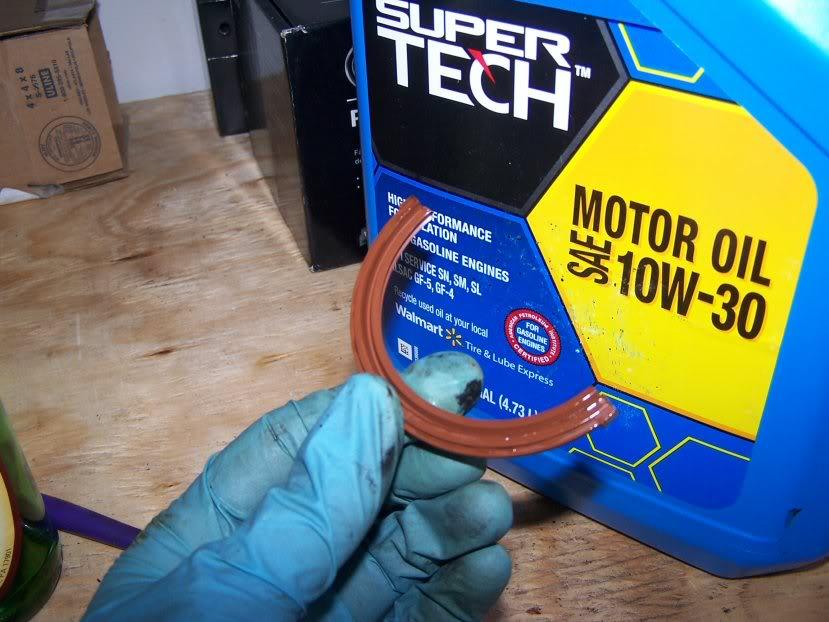
comparing old and new
100_2775-1.jpg

coat the inner seal lip with oil and the outer edge with dish soap (to smooth it into the block/bearing cap)
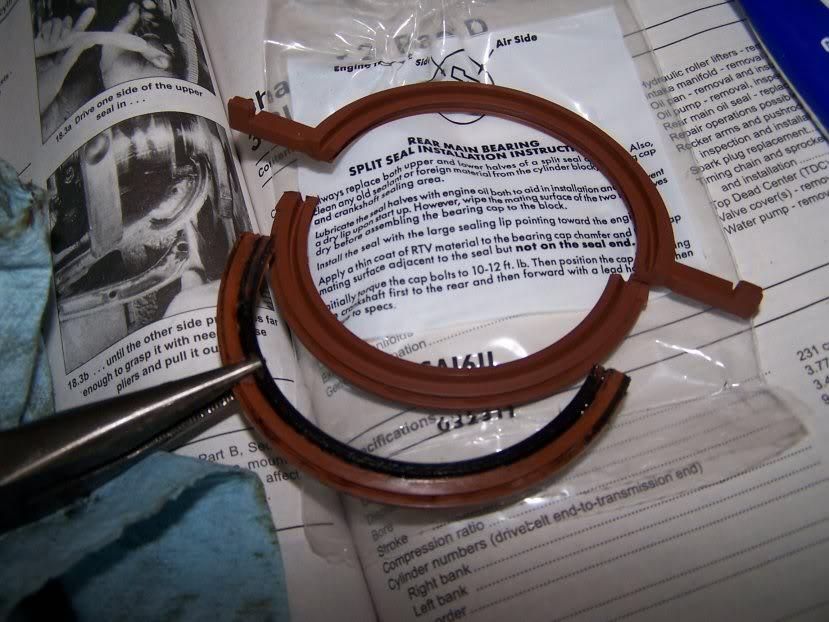
100_2776-1.jpg

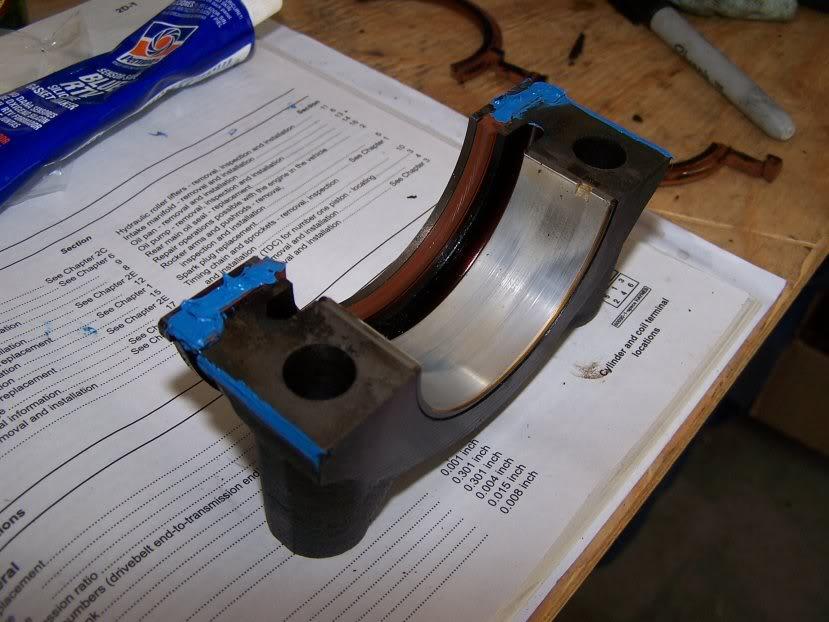
RTV the top and bottom of the little "wings" that come off the lower seal and the "chamfered edges" of the bearing cap
100_2777-1.jpg

and reinstall.. bearing cap on this motor is torqued to 80 ft/lbs..

easy job while the motor is out and some cheap insurance so I knocked it out.. if RockAuto and Hesco shipping comes through tomorrow I'll have a timing set to install and start more reassembly :D
 
timing set

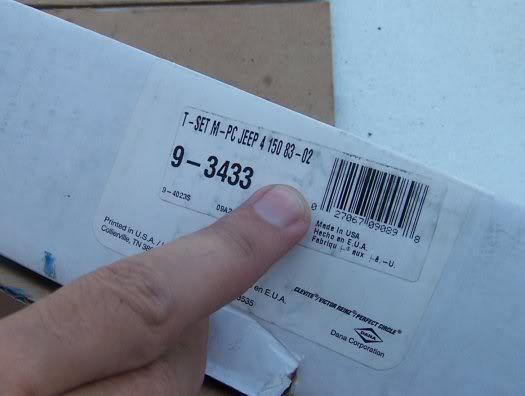
well with quick shipping my new timing set arrived from RockAuto.. ready to get to work but a few things concerned me.. first of which was the labeling on the package:
100_2792-1.jpg

I went back to make sure I'd ordered for the correct motor, and I had, and then did some research to find out the part number is the same for both the 4cyl/6cyl motors of the same year..

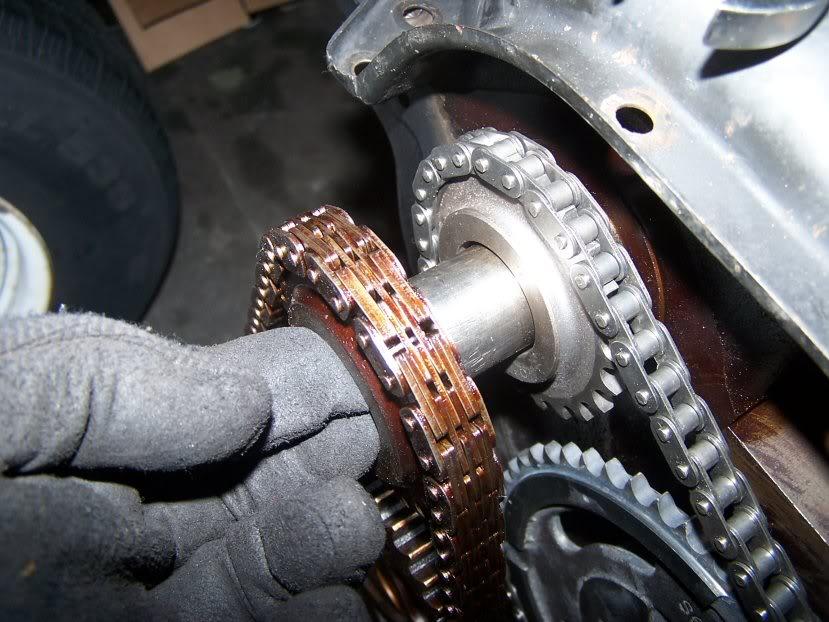
Then I had more concerns.. the replacement unit looked (a) a lot thinner than the original and (b) appeared to have even MORE slack in it.. here's a comparison pick (new is mounted, old is the oily one for comparison:
100_2786-1.jpg


after mounting, dismounting, swapping, and re-mounting each timing set multiple times, I concluded that they both have just about the same amount of slack, the same number of links in the chains, and matched up in a side/side comparison so.. perhaps this swap was unnecessary, but I went ahead and did it anyway and "trusted the part"..
 
aluminum cleaning

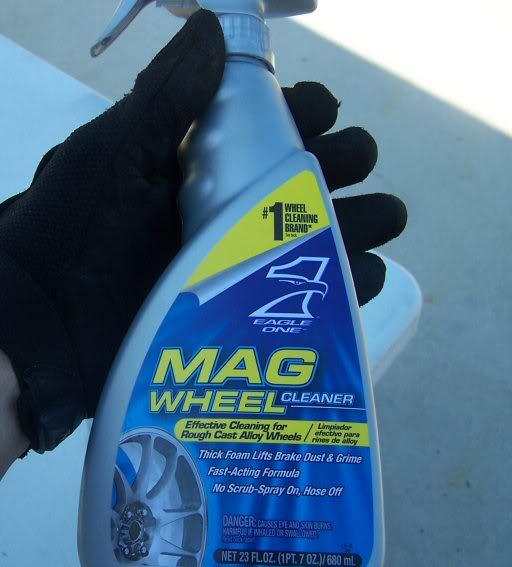
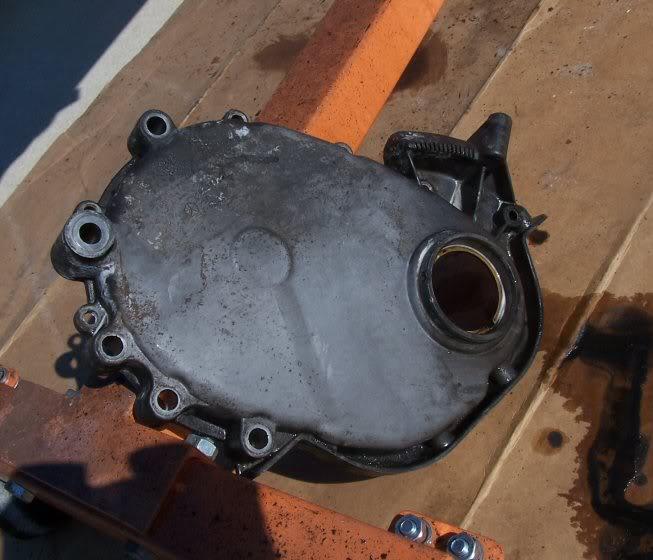
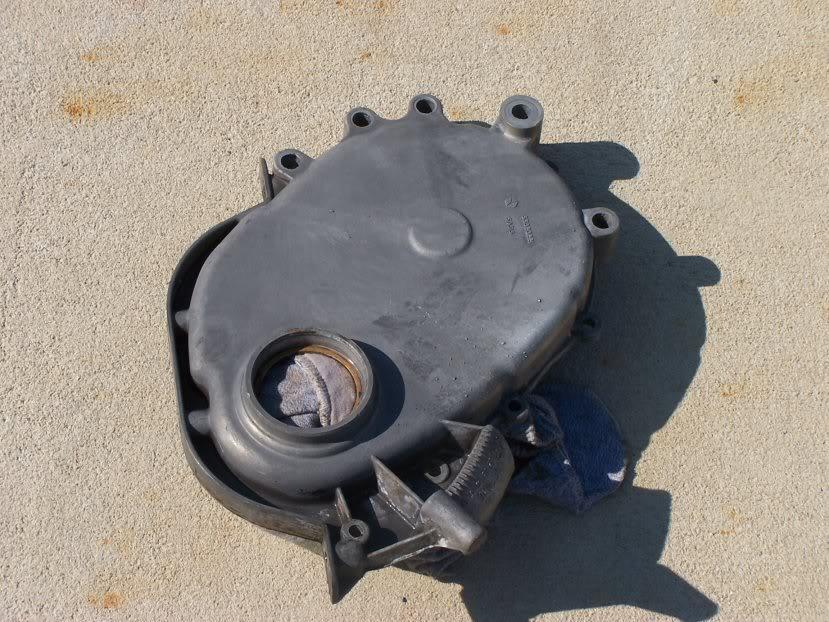
for the timing chain cover (and for other aluminum bolt-on brackets) that I don't want to reinstall dirty, I found alot of mixed advice online about what to use/avoid when it comes to cleaning and painting aluminum.. and I came to the concluson that I'd just use some aluminum wheel cleaner and NOT paint the parts.. I dont' think it'll be as "clean" looking as I want, but at least will look fresher than it is..

here's the cleaner I bought, basically a mix of some pretty nasty acids (use gloves!)
100_2780-1.jpg

an in-progress pic of cleaning the timing cover
100_2781-1.jpg

and the final result.. not going for perfection, just clean:
100_2784-1.jpg


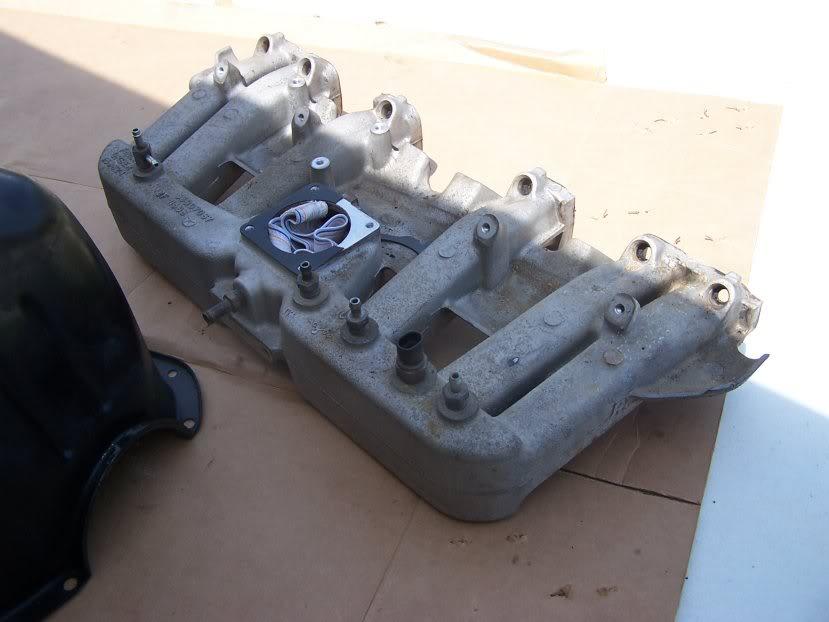
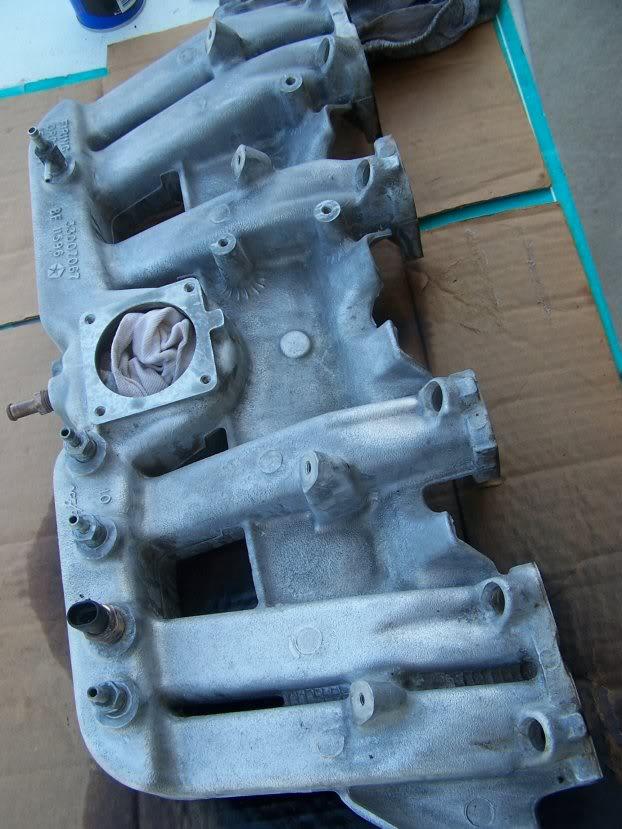
I've got a bunch of cast brackets that are heavily oxidized and stained, as well as the intake.. here's some before/after of today's efforts on the intake:
100_2790-1.jpg

100_2793-1.jpg
 
lesson learned

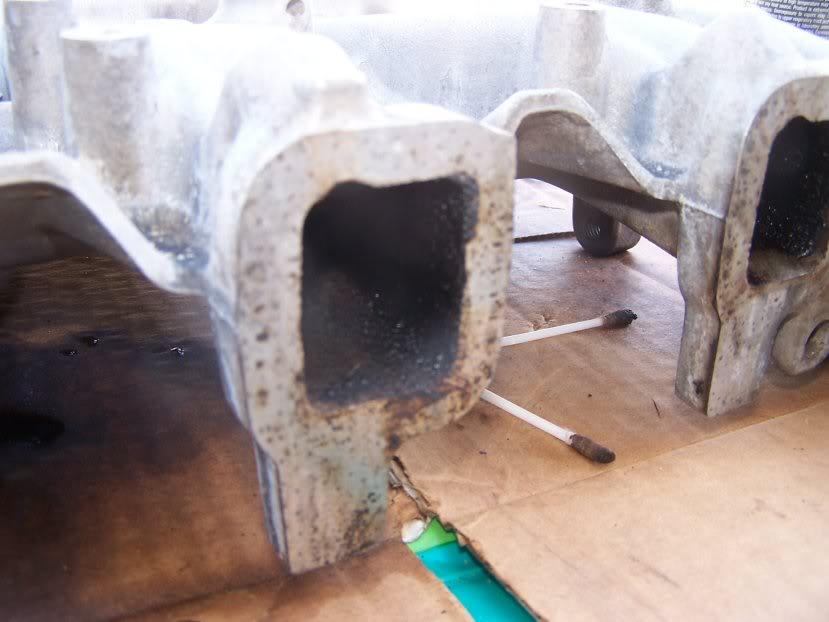
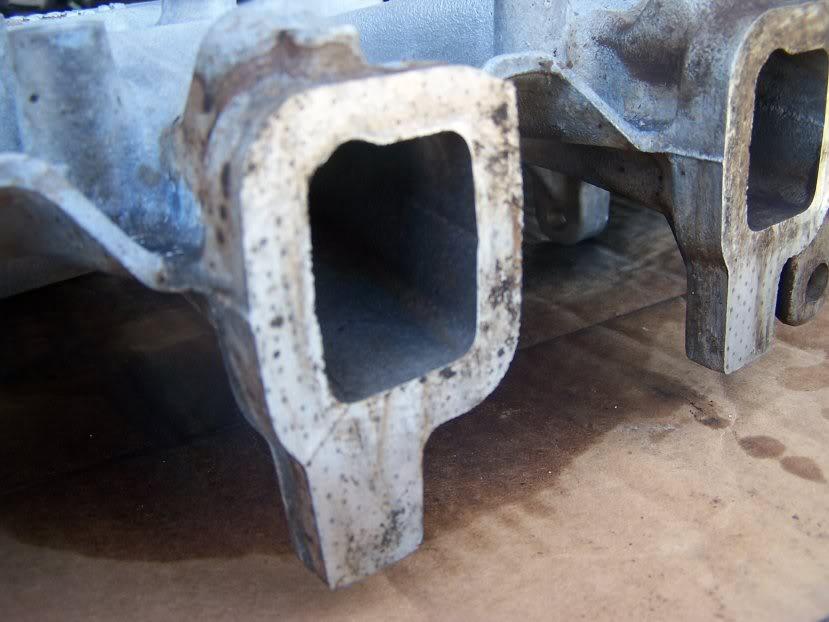
if you've got parts like this intake I wasted some time by cleaning the outside first, only to then notice how gummed up the intake runners were:
100_2794-1.jpg

so I used a bunch of brake cleaner and scrubbed/sprayed out the runners, which cleaned them fairly well, but spread fast-drying and dirty brake fluid all over the newly cleaned outside of the intake:
100_2795-1.jpg

so I'll have to re-clean it..
 
Back
Top