• Notice for iPhone users: DO NOT use the image size reduction option when uploading photos to the forum. This causes portrait images to post as landscape. We have added a warning to the image insert pop-up as well.

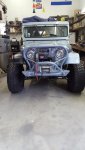
Someone called it a TJ 6

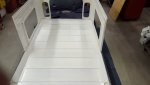
This one is for bolting to a TJ/LJ frame. I do not now if it also fits a CJ frame. Would have to research if the holes are the same. But yes it came predrilled and slotted for both side welding of D rings
 
More things getting done.
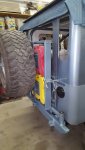
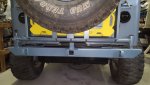
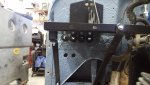
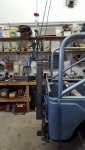
Tire carrier the students welled up. Tacked to the swing arm still need the bottom gussets weld in and haven't started on the stabilizing bracket yet.

20200122_102221.jpgresized.jpg20200122_102303.jpgresized.jpg
 
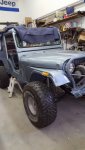
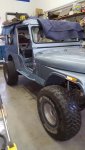
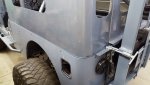
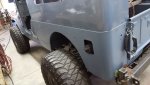
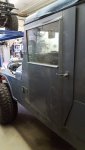
Finished putting it the corner sections except for the very front 2 at the windshield. have to set the top to fit them.

20200109_100730.jpgresized.jpg

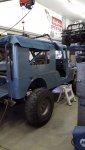
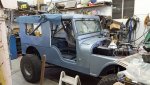
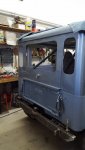
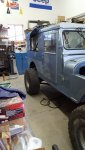
Set the top on for the first time sense being painted.
20200129_095823.jpgresized.jpg

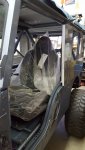
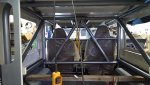
Set a seat in.
20200129_095856.jpgresized.jpg

20200129_100418.jpgresized.jpg

View from the back with both seats in.
20200129_101541.jpgresized.jpg
 
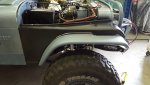
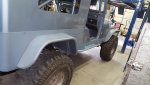
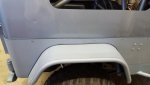
Tried the fender flares and rocker guards. Found that the right front fender was bent bad enough that the flare would not fit, left about a 3/4 in. gap between the fender and the flare. I guess that was one thing I did bolt up and check before painting.
20200210_134338.jpgresized.jpg
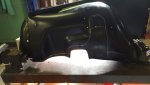
So I ordered an after market replacement and checked it right out of the box. On the bench before cutting the inter fender to fit the TJ frame.

20200214_125832.jpgresized.jpg20200214_133452.jpgresized.jpg

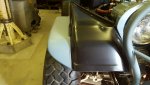
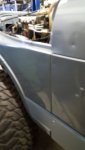
Cut the fender out and put it on the Jeep (kinda liked the blue and the black contrast) but no it is going to paint.
20200214_150652.jpgresized.jpg20200214_150721.jpgresized.jpg

Drop the hood on being it had not be on yet, to make sure it would fit
20200217_124110.jpgresized.jpg

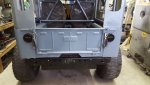
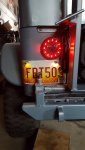
Wired up the rear Lite Dot tail lights that some one sold me cheap after wining them at drawing. (he had a set)
20200221_113004.jpgresized.jpg
 
I absolutely love this jeep! It looks amazing in the pictures. Keep posting them!
 
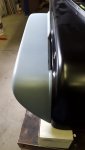
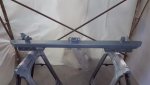
Set up a small paint both and got busy coating the parts that had not been done. Rear bumper from Hard rock (modified a bit)

20200308_162619.jpgresized.jpg

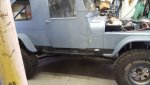
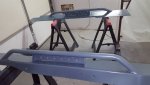
Rocker guards coated, modified GenRight LJ stretched. Coating is Raptor Tint-able tinted with the color of the shiny paint.
I waited on coating the rocker guard until I could check and see if the Wife could get in the Jeep without having to change the step, she was able with a 3" taller step stool.
20200308_162632.jpgresized.jpg

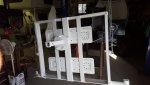
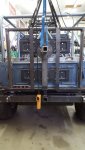
Tire carrier primed waiting go to the paint both. This is the 3rd one of these I have built (this one welded up by the local high school welding class) and details are in the Fab section.
20200308_162645.jpgresized.jpg

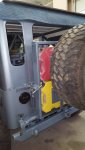
Coated and installed.
20200312_144425.jpgresized.jpg

And no the Jeep isn't diesel, just used the cans to fit the mounts for the RotoPax cans.
20200312_144453.jpgresized.jpg

Tire is 35x12.50-15 The Jeep will get new shoes once get it on the road. Same size.
20200312_144525.jpgresized.jpg

And got the after market fender back from paint and put it on.
20200313_122336.jpgresized.jpg
 
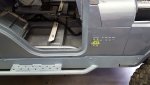
Put on some more of the coated parts
20200314_100803.jpgresized.jpg

20200315_124310.jpgresized.jpg
After looking at it for a while I decided to put welting between the panels. Ordered color samples from Bob Drake and went through them I had been thinking of using black but after looking at the black I didn't like the look. (neither did the wife) but there was a blue in the bunch so it tried that is just a little darker than the paint and coating looked better (wife liked it) so that is what I went with.
20200323_135921.jpgresized.jpg20200324_095239.jpgresized.jpg20200324_161626_001.jpgresized.jpg20200324_161706.jpgresized.jpg
 
Went to the DMV and got the registration for the plate updated, figured I would start that process because I didn't know what they would want me to do to make it happen. Figured if I was going to have to jump through hoops I might as well know what they are. Showed up with my picture book, plate and insurance card and low and behold they took care of it in one trip good for 2 years. Mounted the plate and lights, good to go.

20200325_131544.jpgresized.jpg

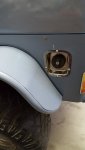
Installed the gas filler in the body, had to grind the opening a bit and scratched the coating, oh well I plan to drive it so it will probably get worse.
20200325_133704.jpgresized.jpg

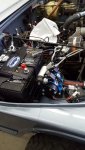
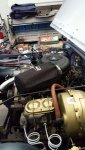
Start on some of the other list of things to finish. Put in both batteries. Mounted the ARB lockers compressor, ran the hoses to the ones on the frame. Other parts laying there are the dual battery control system from Painless, just looking for place to mount things.
20200325_134143.jpgresized.jpg

Ordered an Air Raid air cleaner for a Chevy v8, didn't list a v6, found the plenum box and the filter fit just fine. If you are doing a V8 swap and need an extension tube and coupling let me know.
20200326_101725.jpgresized.jpg
 
The battery tray is from M.O.R.E. It is actually for a JK. It comes with different brackets for the JK. I just used the tray itself and and the hold down plate,
made my own supporting brackets.


20190718_113004.jpgresized.jpg

There was a hole for the bolt (front right in the picture. But I didn't want the bolt head against the battery so I welded in a stud to tie the bracket in.

https://mountainoffroad.com/collections/wrangler-jk/products/dual-battery-tray-07-11-jk
 
Last edited:
A word of caution if you plan to use dash stanchions for part of your roll bar.
Also run all your wiring and test before you get to a point that you can not remove things to find problems. I should have at least done all the chassis wiring before I put it all together. I was working on things as they were more convient with time allowed and got way ahead of myself.

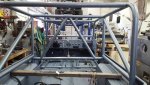
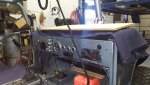
Some thing I didn't think of when I built this was having an electrical issue behind the dash. When I choose to use the dash stanchions for the roll bar I did not build in a way to take them out should I need to remove the dash for what ever reason. Well it looks like I have to remove the dash I have a short or back feed from some thing that drains the battery really quickly to dead! I know it is in the harness not and accessory that I have added. When I remove the 12 volt feed to the wiring harness it goes away. So there probably won't be new picture for a while as I take this thing all apart again to pull the dash out.


20200103_114154.jpgresized.jpg
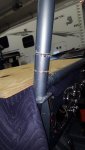
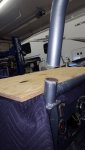
As you can see in this picture the front down tube on the sides are welded directly to the stanchion so the whole bar has to be removed to access to remove the dash. My plan is to get the top of and the windshield laid down and cut the the two front bars with a pipe cutter just above the cross bar and put in the couplings like I have in the all the cross tubes. This will allow me to remove the lower front cross bar and unbolt the stanchions to access removal of the dash with out taking out the whole roll cage.
 
Sounds like a good plan and the correct option. You really have to plan ahead in that type of build.
 
No new pictures still looks like above, but have made progress on the wiring issues. Found my drain to the battery. I had wired the TCC relay to always on circuit so it pulled power constantly, got it moved to a key on circuit and the drain went away. Also found that the battery ground cables were not ground well. I had put them on a bolt in the manifold and that was not working well. So they are getting moved back to the block. A little harder to hook up but should work better. Battery has not gone down now for a week of sitting hooked up. Dash light issue was a bad lighting inverter/harness from Speedhut. Gave them a call, they sent me a new one no charge even though it has been a few years sense I bought all that stuff. I received and broke the wiring tab to the dimmer control trying to get the knob off to mount it. Called purchased another one, have to be more careful getting the knob off this time. Actually had to use a screw drive to pry the knob off the one I broke. So now I will start with that and be more careful how I hold it.
 
How is your TCC controlled? I have mine powered by the cigarette lighter through a monte carlo brake light switch. This only allows power to the TCC when the brake pedal is not pressed. The stock GM TBI computer then grounds the TCC when the right conditions are met. All that said, I wouldn't think the TCC should drain your battery with an constant power circuit unless either the computer or something else grounds the solenoid.

Also, If you use the 82ish monte carlo brake light switch.... cut a leaf spring U bolt nut in half to secure the brake light switch on the brake pedal assembly. This switch is more sensitive than the factory switch to get TCC and brake light to function correctly.
 
I used a normally closed relay powered from a key on circuit. This gives the TCC power, I use power from the jeep brake light when you step on the brake to open the relay and break the power the TCC. When you release the brake the relay closes again and supplies power back to the TCC.
I don't know the why. But when I had it wired to to the fulltime on circuit l could not keep the battery up had a constant 9v drain. When I moved the wire to the keyed circuit it went away and hasn't killed the battery in a week. I might add its a GM 4.3/700r4 Howell harness
 
Last edited:
Back
Top