

You are using an out of date browser. It may not display this or other websites correctly.
You should upgrade or use an alternative browser.
You should upgrade or use an alternative browser.
Spankrjs' 1984 Long Term Project
- Thread starter spankrjs
- Start date

- City
- Gonzales
- State
- La
Put a quality fuel pump and sending unit in the tank and be done with it.
But remember, we all know the CJ sending unit sucks, now learn a lesson from my mistake.......I bought a complete pump and sending unit from Novak and it turned out to be an off the shelf sending unit that they added a fuel pump too. I wouldn't even use it because as I have learned in the past is that the sending unit would eventually go out. This is when I decided to quit messing around and put the Genright tank and the YJ unit in Stump Jumper. Every darned time I tried to save $100.00 it ended up costing me another $500.00. Do it right the first time and save money and time. Also I am quickly learning that when you have the choice to buy Crown over the cheap crap that Omix-Ida sells buy the Crown. But if you can fix your OEM stuff don't use either.
But remember, we all know the CJ sending unit sucks, now learn a lesson from my mistake.......I bought a complete pump and sending unit from Novak and it turned out to be an off the shelf sending unit that they added a fuel pump too. I wouldn't even use it because as I have learned in the past is that the sending unit would eventually go out. This is when I decided to quit messing around and put the Genright tank and the YJ unit in Stump Jumper. Every darned time I tried to save $100.00 it ended up costing me another $500.00. Do it right the first time and save money and time. Also I am quickly learning that when you have the choice to buy Crown over the cheap crap that Omix-Ida sells buy the Crown. But if you can fix your OEM stuff don't use either.
Last edited:

- City
- Biloxi
- State
- MS
Put a quality fuel pump and sending unit in the tank and be done with it.
But remember, we all know the CJ sending unit sucks, now learn a lesson from my mistake.......I bought a complete pump and sending unit from Novak and it turned out to be an off the shelf sending unit that they added a fuel pump too. I wouldn't even use it because as I have learned in the past is that the sending unit would eventually go out. This is when I decided to quit messing around and put the Genright tank and the YJ unit in Stump Jumper. Every darned time I tried to save $100.00 it ended up costing me another $500.00. Do it right the first time and save money and time. Also I am quickly learning that when you have the choice to buy Crown over the cheap crap that Omix-Ida sells buy the Crown. But if you can fix your OEM stuff don't use either.
I have been a little bit luckier with the stock fuel sending units/gauges

Green '83 Scrambler - stock 15 gallon sending unit/stock gauges work perfect
Red '83 Scrambler - stock 20 gallon sending unit/Mopar replacement gauges work perfect
Tan '84 Scrambler - stock 20 gallon sending unit/Mopar replacement gauges work perfect
The Mopar replacement gauges are awesome, but I don't think they are around anymore

The Omix/Crown stuff pales in comparison to the OEM stuff

I would gladly pay more for aftermarket parts that work, but I must be in the minority


- City
- God's Country
- State
- AR
I would gladly pay more for aftermarket parts that work, but I must be in the minority
Nope. The fact that the $$$ Mopar units have all disappeared from the market tells you people were buying them.
I picked up an extra speedo assembly with good temp and fuel gauges so I have a set of spares.
- City
- Biloxi
- State
- MS
Nope. The fact that the $$$ Mopar units have all disappeared from the market tells you people were buying them.
I picked up an extra speedo assembly with good temp and fuel gauges so I have a set of spares.
I went to pick up a spare set of Mopar gauges the other day, and yep, long gone now


- City
- Gordonsville
- State
- VA
We should all just start emailing http://www.stewartwarner.com/ to get them to start remaking the the gauges. Pipe dream I know...
- City
- Biloxi
- State
- MS
Update from this weekend. I went to the junkyard this weekend, and examined every TBI car/truck/van/SUV they had with TBI. Here are some of my findings, and just random stuff.
This late 80's/early 90's Trans AM originally had a TBI 305 in it. It had the stupid engine mounted lines like the Caprice Classic has. These are the metal fuel lines that run under the hood. I am assuming there was a short piece of flexible line that connected these frame mounted lines to the hard lines mounted on the engine:
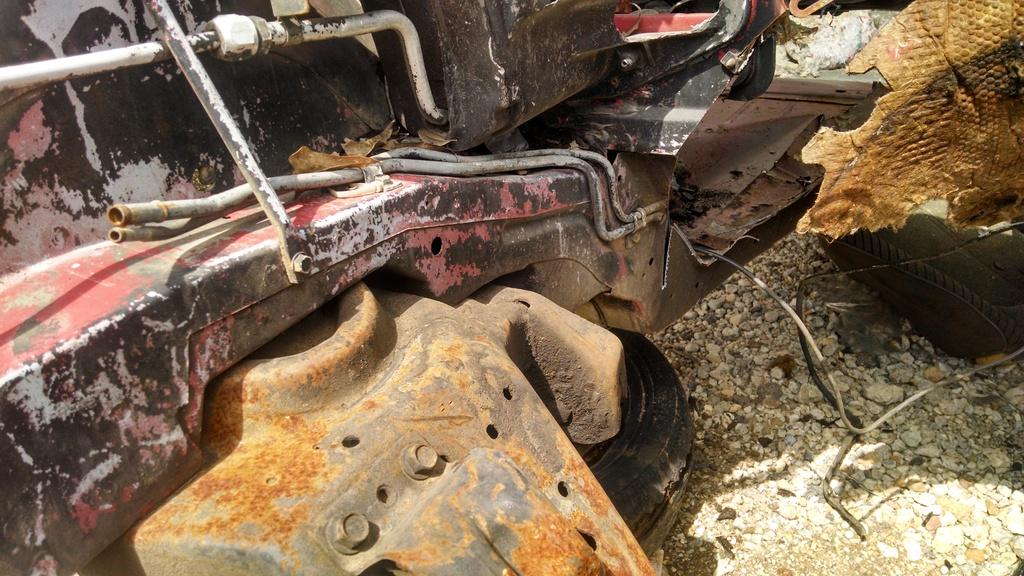
This 1984 Cadillac has a factory 350 TBI system in it. I thought that it was interesting that GM installed a permanent fuel pressure test port on the supply line. I thought about snagging these lines for mock up, especially because of the built in pressure test port, but unfortunately, like most of the vehicles I found, the supply/return line run down the driver side, I need passenger side stuff.
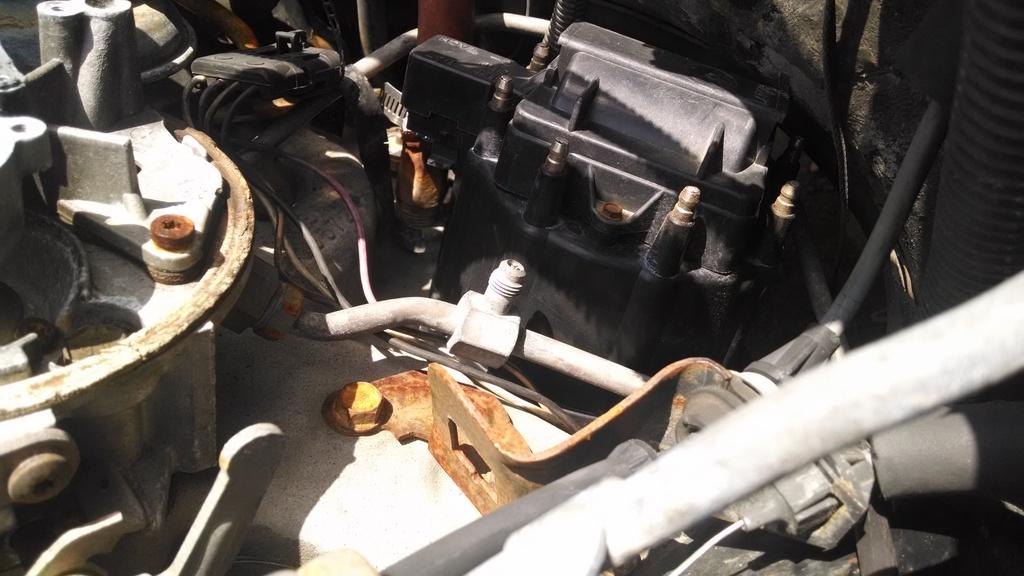
I finally "struck gold" with this 1988 GM G20 full size van. The full size vans fuel supply/return lines run down the passenger side. All of the trucks/SUV's I found all had driver side frame rail mounted lines. So, the vans lines exit out the back of the throttle body, then cross over the transmission to the passenger side frame rail. This is what I need:
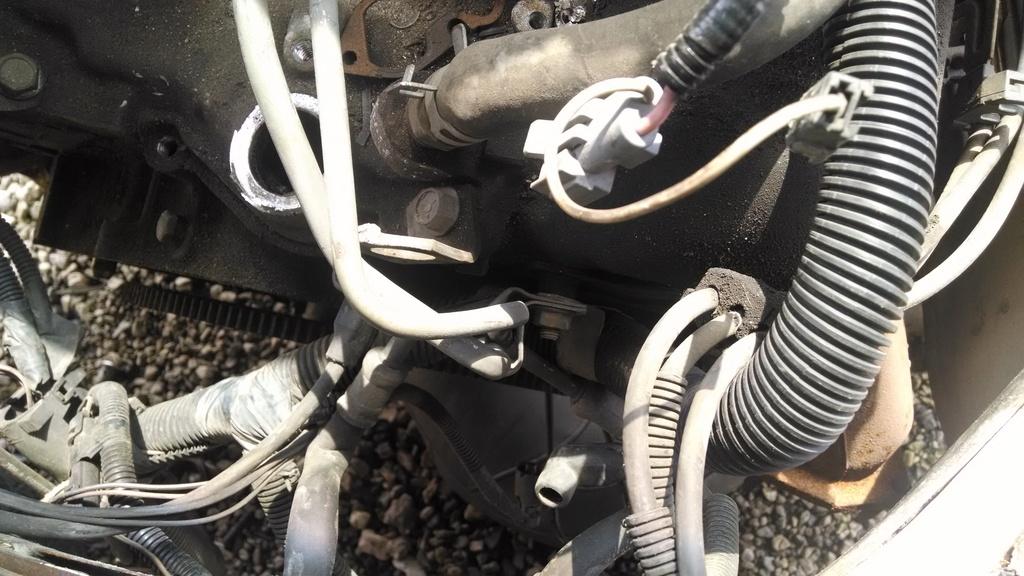
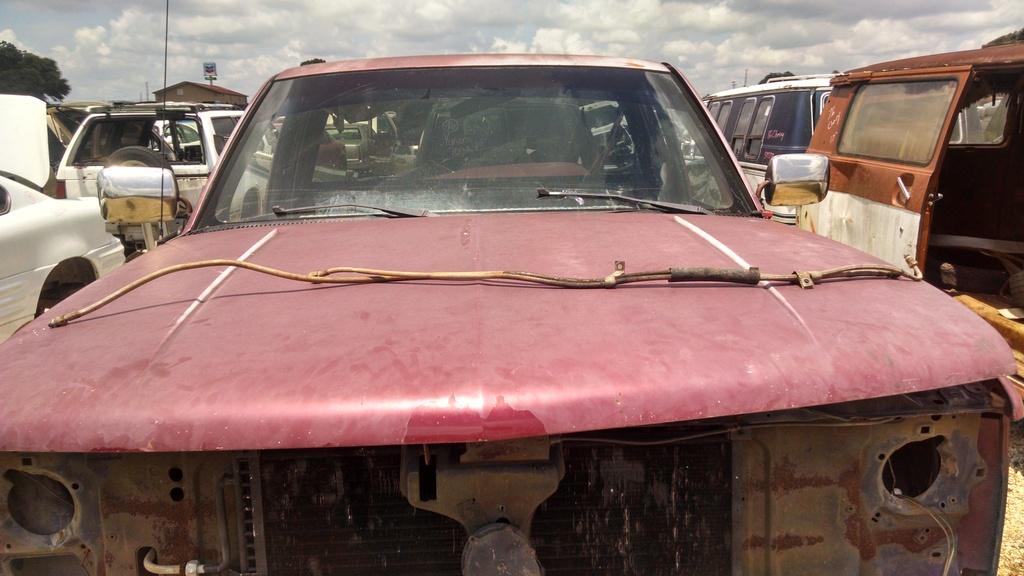
I also pulled these line off of a 1988 C1500 truck. They are some sort of flexible line, wrapped in mesh. From my research, only the 1988-1989 trucks came with these. BUT, I found this style line installed on a few 1990-1994 models, too.
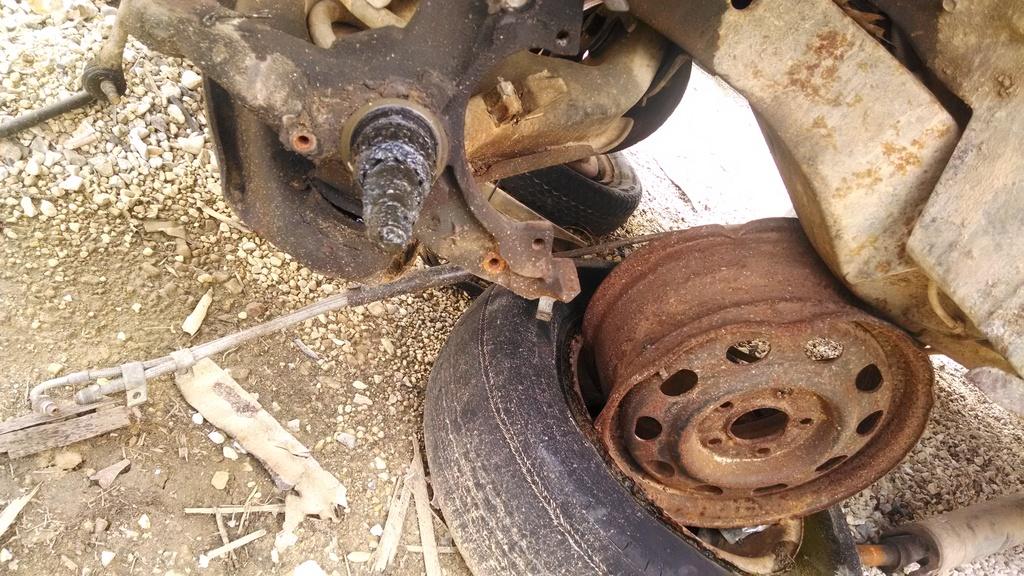
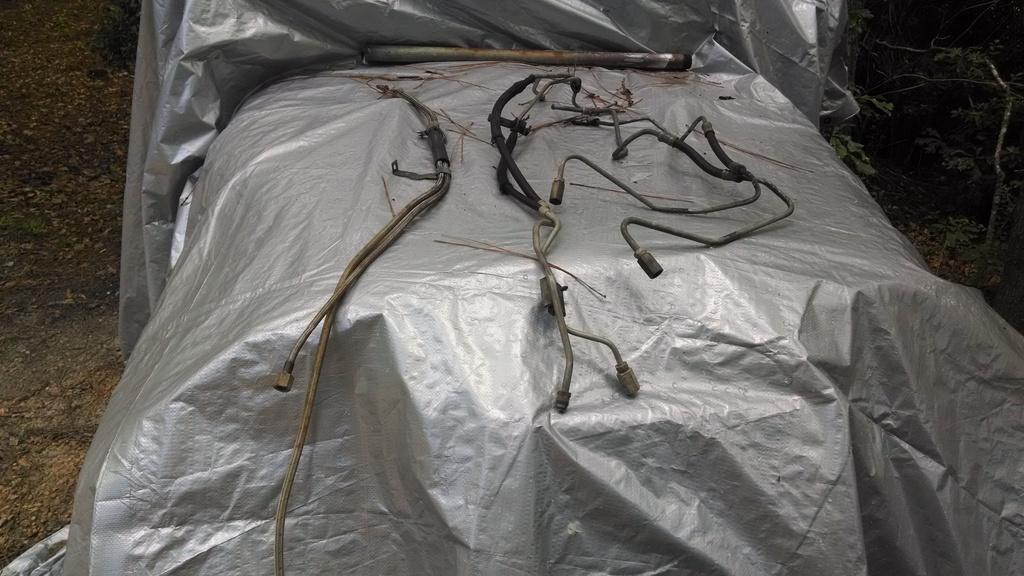
So, I came home with the following lines, left to right, to experiment with:
1988 C1500 full size truck 350 TBI flex lines
1998 Chevy Tahoe Vortec 350 fuel lines
1988 G20 350 TBI lines
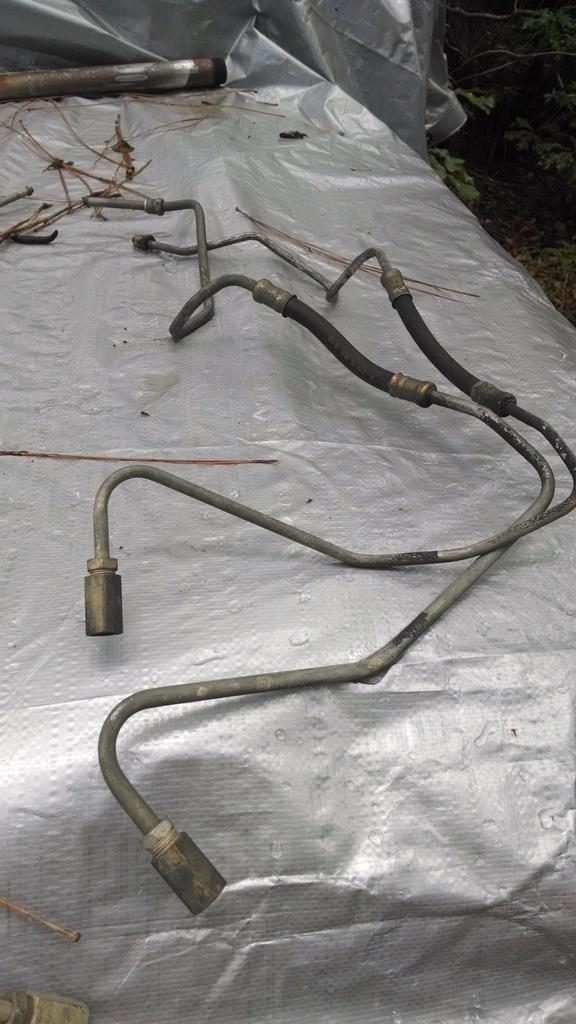
Close up of the van lines, I was really hoping I could make these work.
I installed the van lines. I had to tweak the supply line to clear the throttle bracket. This was the first inkling of a problem. The van intake/throttle body must be slightly different. They work OK over the intake. The return line does touch the EGR valve, not good.
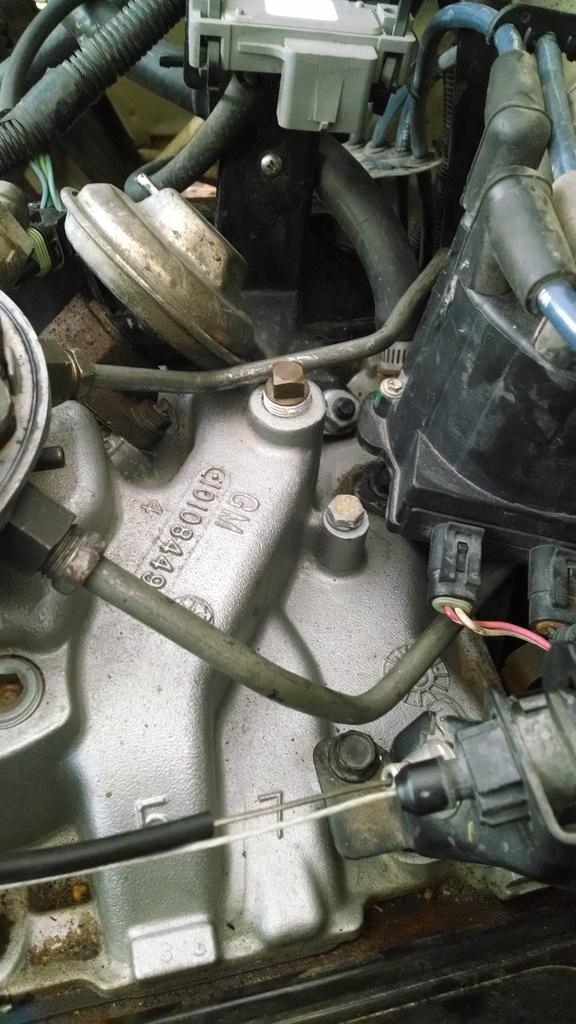
But, when they get to the rear of the engine, they look like crap:
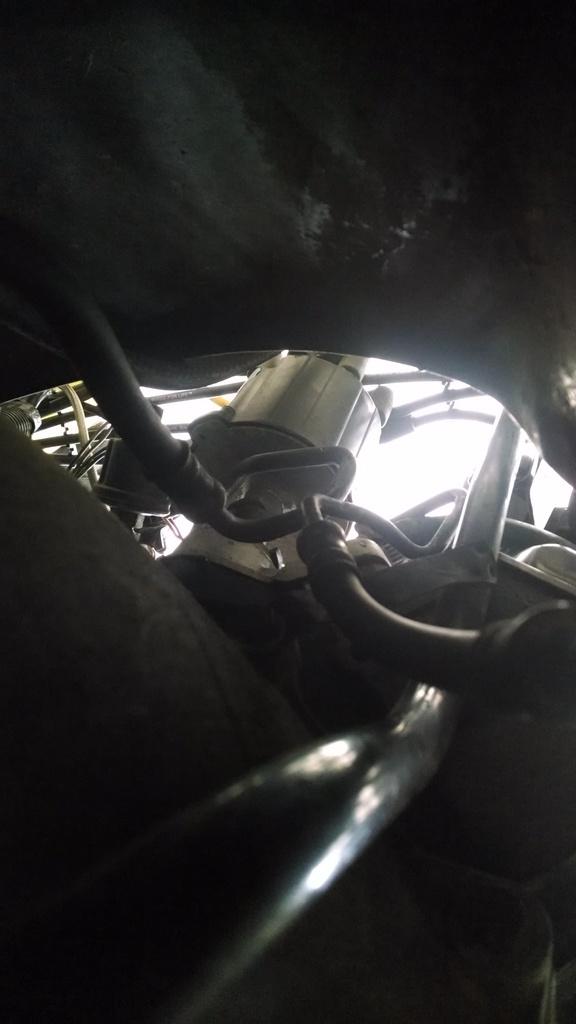
On the van, they work perfect. I should have took a picture of the van intake/throttle body orientation. On my Jeep, they don't run together like they should; when they clear the engine, the two lines should be running parallel, but they do not. One thing I noticed on some of the 4.3 TBI trucks - the TB sits at a weird angle on the intake, the supply/return lines do not come out at the rear of the intake, they come out more on the driver side/ rear. This "angle" difference is what makes these lines not work on my Caprice intake.
Besides that, the end of the lines would hit the frame like this, which is meh:
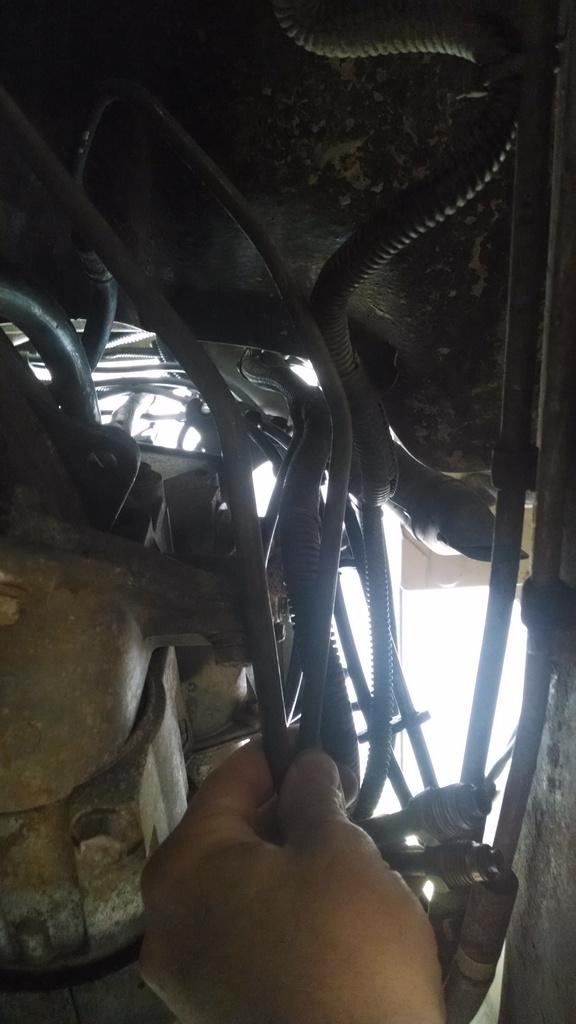
The Vortec engines use the same style "Saginaw" fuel lines. I tried them, but they would not work at all. I would have to bend them a bunch, and it just seemed like more trouble then it would be worth.
This late 80's/early 90's Trans AM originally had a TBI 305 in it. It had the stupid engine mounted lines like the Caprice Classic has. These are the metal fuel lines that run under the hood. I am assuming there was a short piece of flexible line that connected these frame mounted lines to the hard lines mounted on the engine:
This 1984 Cadillac has a factory 350 TBI system in it. I thought that it was interesting that GM installed a permanent fuel pressure test port on the supply line. I thought about snagging these lines for mock up, especially because of the built in pressure test port, but unfortunately, like most of the vehicles I found, the supply/return line run down the driver side, I need passenger side stuff.
I finally "struck gold" with this 1988 GM G20 full size van. The full size vans fuel supply/return lines run down the passenger side. All of the trucks/SUV's I found all had driver side frame rail mounted lines. So, the vans lines exit out the back of the throttle body, then cross over the transmission to the passenger side frame rail. This is what I need:
I also pulled these line off of a 1988 C1500 truck. They are some sort of flexible line, wrapped in mesh. From my research, only the 1988-1989 trucks came with these. BUT, I found this style line installed on a few 1990-1994 models, too.
So, I came home with the following lines, left to right, to experiment with:
1988 C1500 full size truck 350 TBI flex lines
1998 Chevy Tahoe Vortec 350 fuel lines
1988 G20 350 TBI lines
Close up of the van lines, I was really hoping I could make these work.
I installed the van lines. I had to tweak the supply line to clear the throttle bracket. This was the first inkling of a problem. The van intake/throttle body must be slightly different. They work OK over the intake. The return line does touch the EGR valve, not good.
But, when they get to the rear of the engine, they look like crap:
On the van, they work perfect. I should have took a picture of the van intake/throttle body orientation. On my Jeep, they don't run together like they should; when they clear the engine, the two lines should be running parallel, but they do not. One thing I noticed on some of the 4.3 TBI trucks - the TB sits at a weird angle on the intake, the supply/return lines do not come out at the rear of the intake, they come out more on the driver side/ rear. This "angle" difference is what makes these lines not work on my Caprice intake.
Besides that, the end of the lines would hit the frame like this, which is meh:
The Vortec engines use the same style "Saginaw" fuel lines. I tried them, but they would not work at all. I would have to bend them a bunch, and it just seemed like more trouble then it would be worth.
- City
- Biloxi
- State
- MS
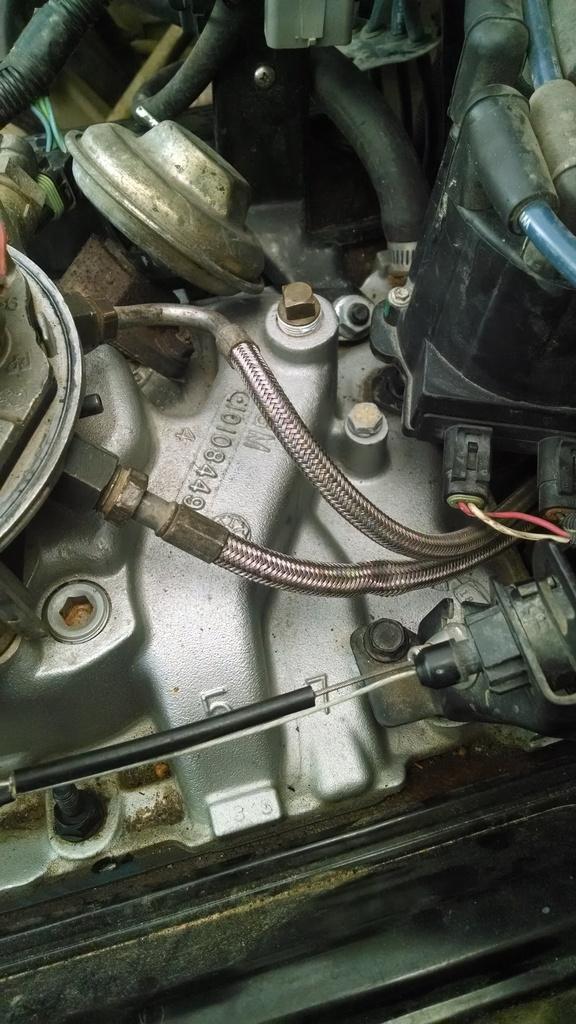
I wanted to stay away from "soft lines", but next I tried the truck flex lines. And, I figure if GM used them, they should be OK/safe. They will work perfect. Out the back of the throttle body:
Down the back of the engine/transmission:
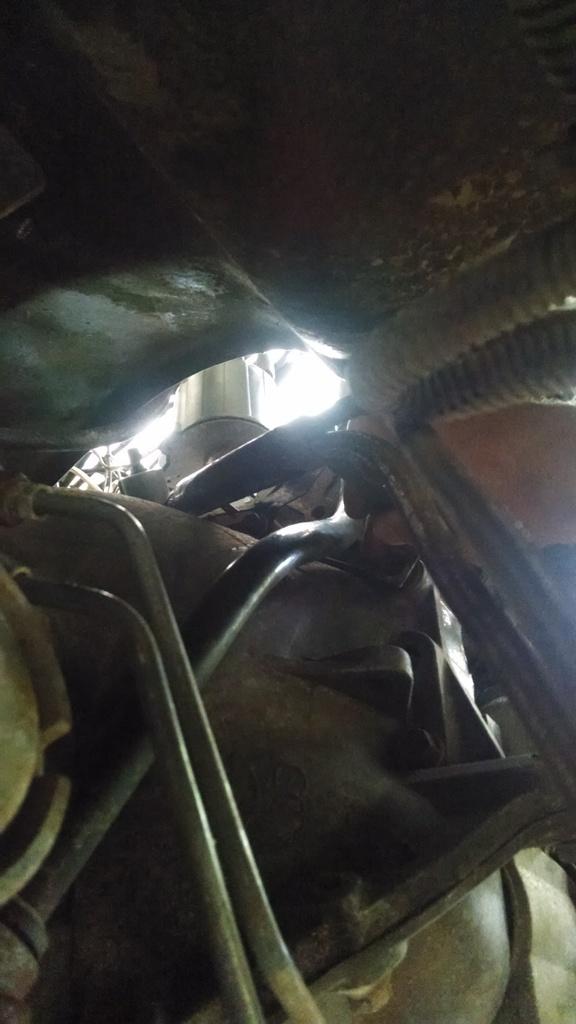
The only problem with these lines - they are loooooooonnnnnnggggggg. So, they will end somewhere next to the Dana 300:
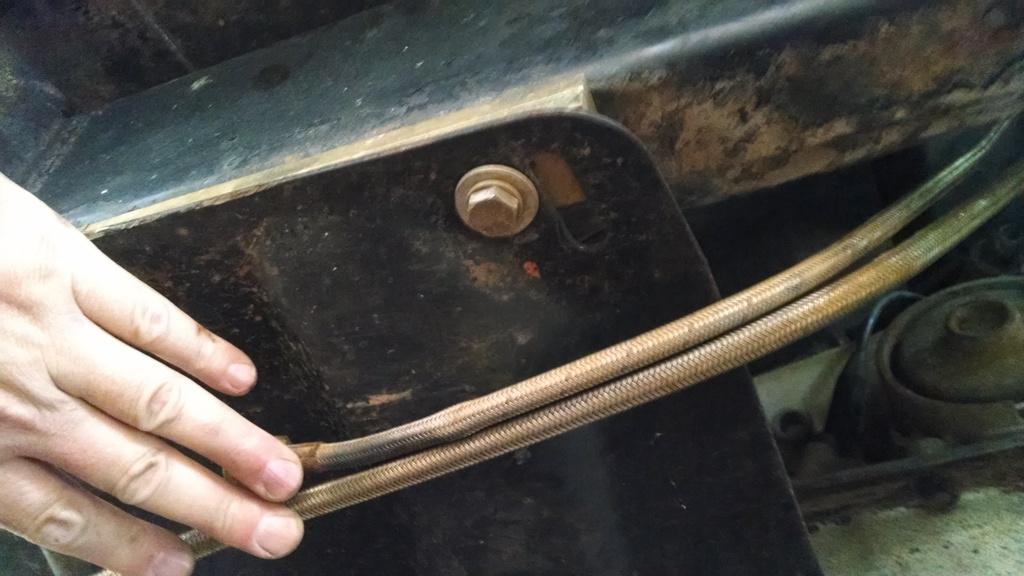
I have decided to use these GM flex lines. I obtained a bunch of mounting tabs/brackets from the junk yard. I will be able to easily secure the lines on the top of the intake, over the bell housing, down the back of the passenger head, and finally secure them into the frame rail. I purchase NEW lines, the junk yard lines were for mock up only. Once I mount the new flex lines, I will either cut off/modify my existing frame mounted stainless supply/return lines, or, if it is easier/better, make new lines back to the fuel pump/tank.
The ends of these flex lines have the "saginaw" fittings. If I don't build new hard lines with "saginaw" fittings, I can easily transition to short pieces of rubber line to tie into my existing stainless steel frame mounted lines. Like so:
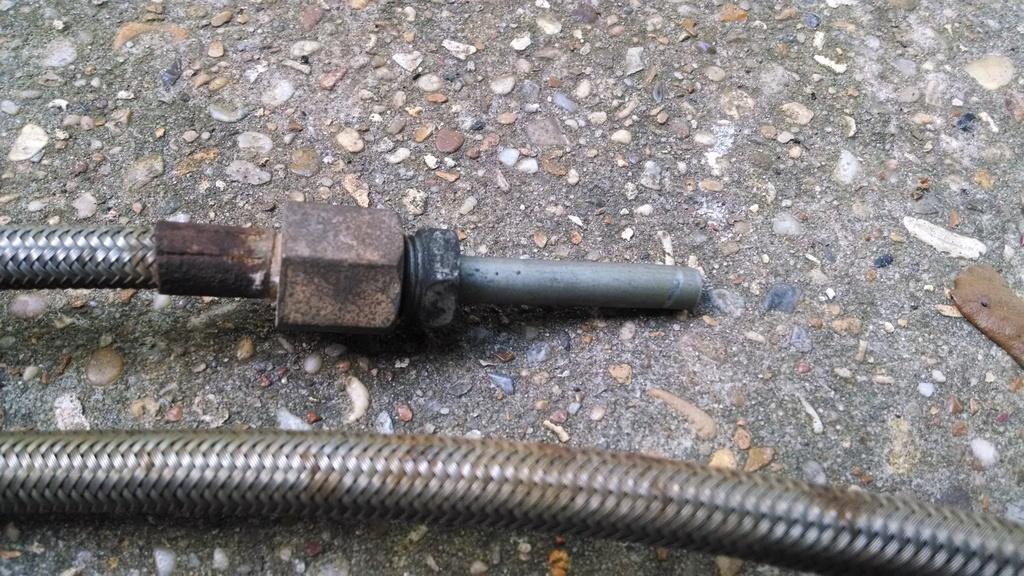
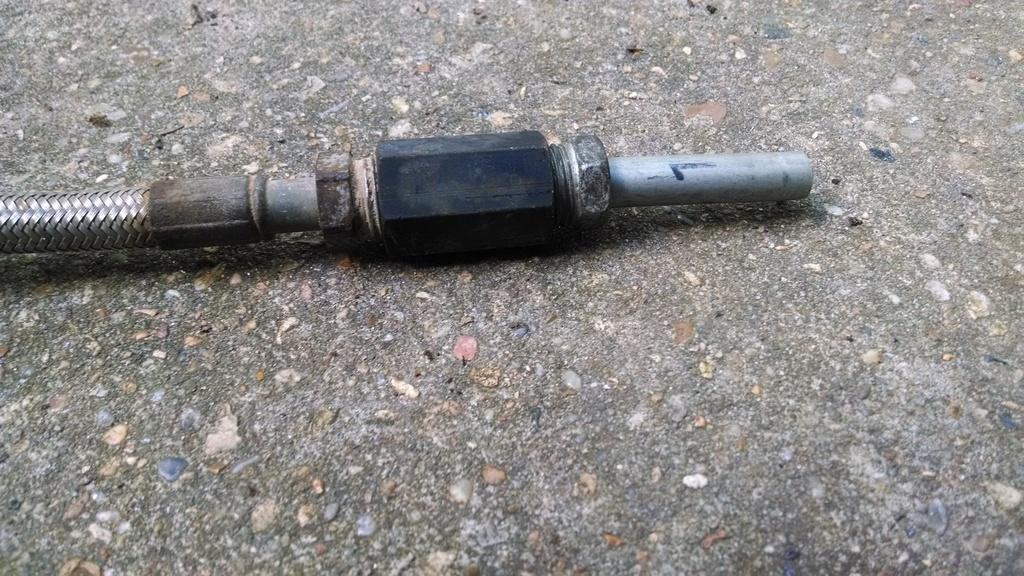
So, the flex lines do have some benefits:
1) Running these lines, I will only have about 8" of line under the hood. I eliminate a bunch of under hood fuel line.
2) They are easy to route, since they are flexible. I have enough GM brackets to secure them, so they should be fine.
3) I would "assume" that they will not absorb as much heat as the hard metal lines???
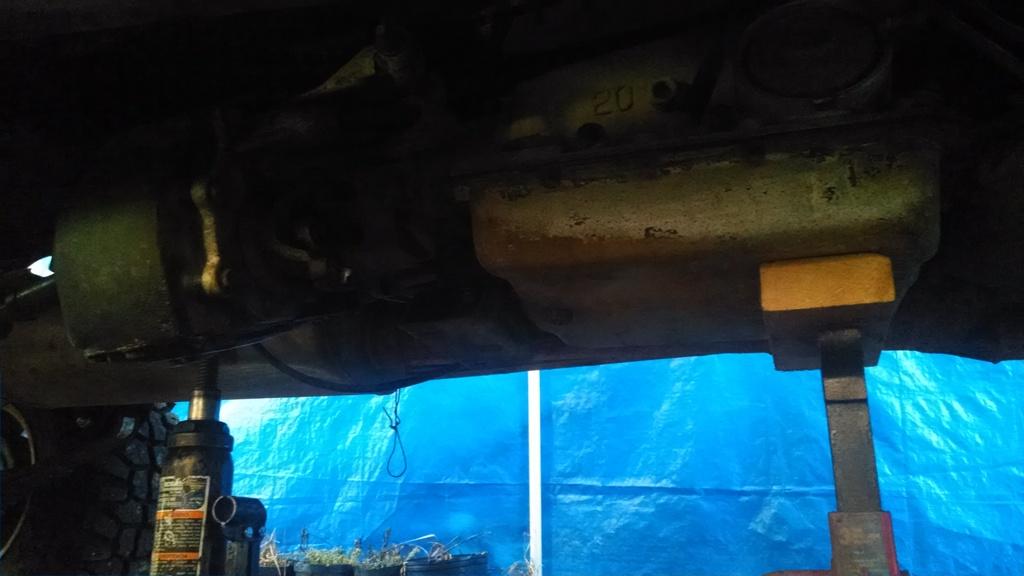
I dropped the skid plate to make it easier to run the new lines, I will be busy on this the next few evenings.
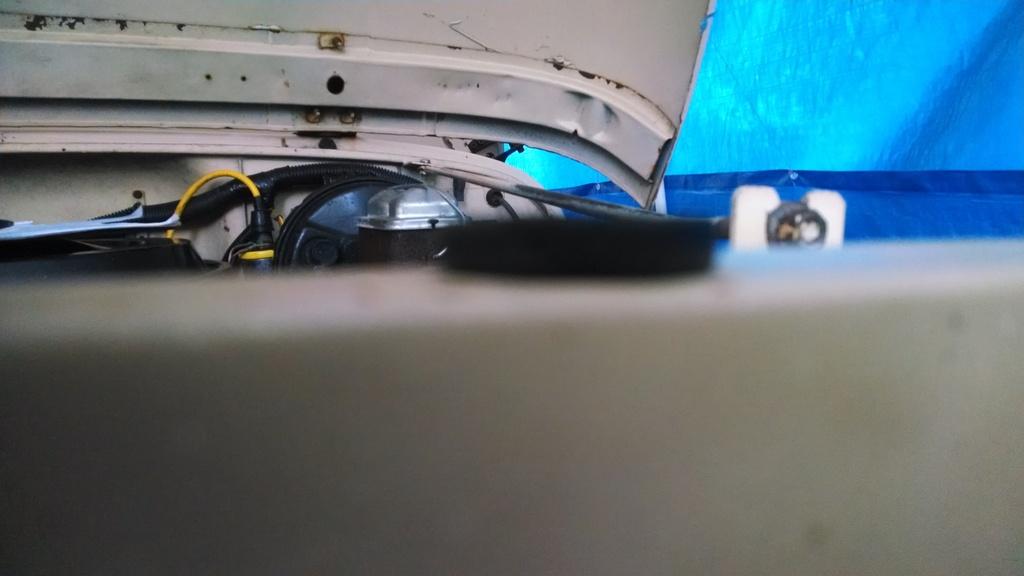
Next issue, I thought the hood was hitting the radiator cap, Upon closer inspection, only the hood prop rod was making contact.
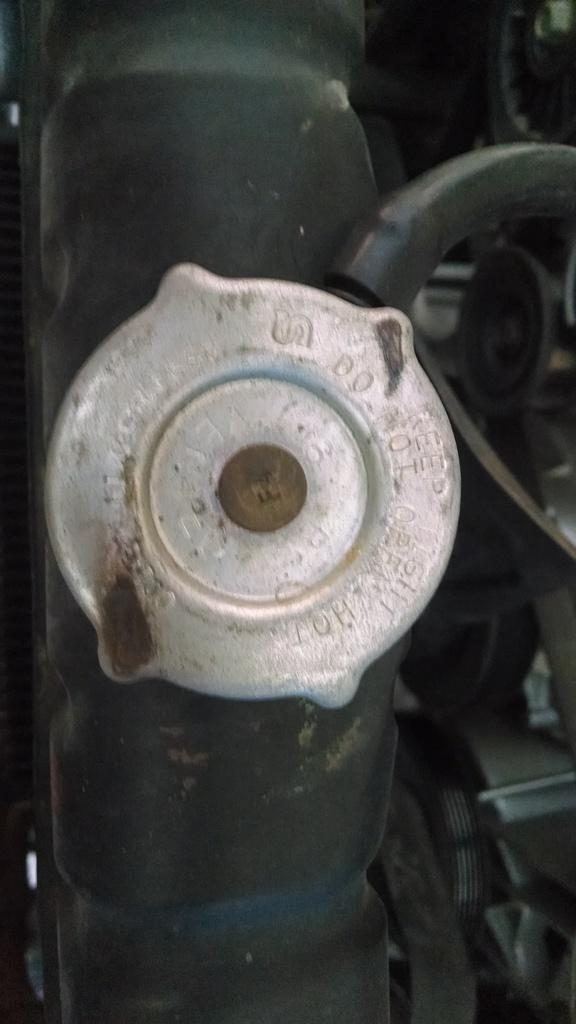
New, slightly taller hood to grill bumpers should fix this, the originals are squashed. This is a much easier fix, I though I was going to have to re-drill the radiator support brackets, so happy about that.
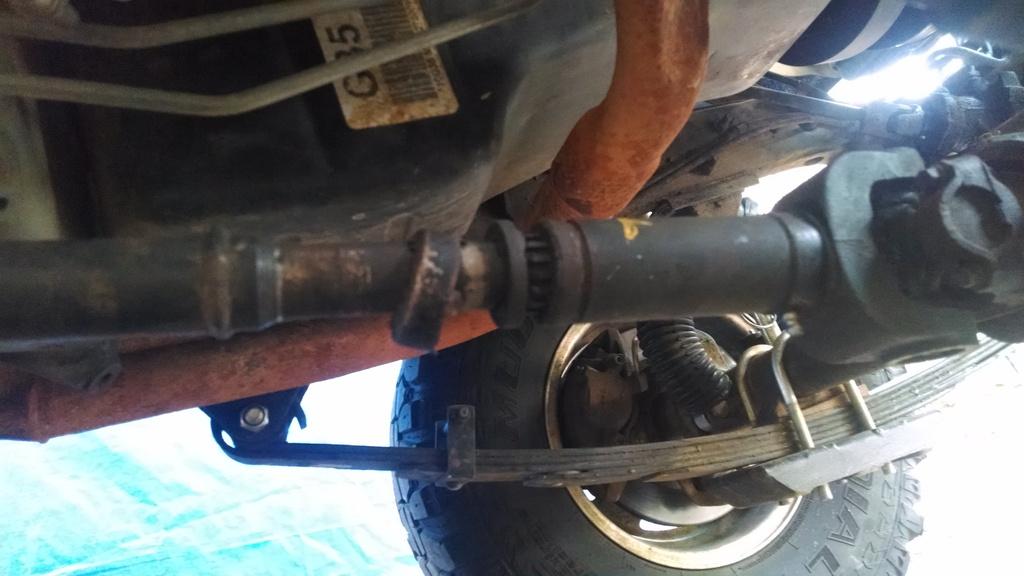
Lucked out on the radiator issue, struck out on the front drive shaft. The Rubicon Express front lift springs are taller then the old Superlift springs, so the front drive shaft is a bit too short now:
No picture, but when I pulled out the front drive shaft, the tubing was slightly twisted. You couldn't "see" the twist, but the u-joints were about 15 degrees out of phase. So, I guess the South Dakota Black Hills claimed yet another drive shaft.
I had my drive shaft guy re-tube/lengthen it. The slip shaft was still fine, and the splines were still good. I wouldn't think the TBI 350 had enough power to do this, but apparently it will. I have to run a small OD front shaft to clear the 4L60/700R4's case. I am already running the thickest tube in this size. If I twist it again, might have to explore a solid shaft, or some other non-standard remedy. Or, just lay off the the stupid pedal some!!!!!!!!!!!!
That's it for now!!!
Down the back of the engine/transmission:
The only problem with these lines - they are loooooooonnnnnnggggggg. So, they will end somewhere next to the Dana 300:
I have decided to use these GM flex lines. I obtained a bunch of mounting tabs/brackets from the junk yard. I will be able to easily secure the lines on the top of the intake, over the bell housing, down the back of the passenger head, and finally secure them into the frame rail. I purchase NEW lines, the junk yard lines were for mock up only. Once I mount the new flex lines, I will either cut off/modify my existing frame mounted stainless supply/return lines, or, if it is easier/better, make new lines back to the fuel pump/tank.
The ends of these flex lines have the "saginaw" fittings. If I don't build new hard lines with "saginaw" fittings, I can easily transition to short pieces of rubber line to tie into my existing stainless steel frame mounted lines. Like so:
So, the flex lines do have some benefits:
1) Running these lines, I will only have about 8" of line under the hood. I eliminate a bunch of under hood fuel line.
2) They are easy to route, since they are flexible. I have enough GM brackets to secure them, so they should be fine.
3) I would "assume" that they will not absorb as much heat as the hard metal lines???
I dropped the skid plate to make it easier to run the new lines, I will be busy on this the next few evenings.
Next issue, I thought the hood was hitting the radiator cap, Upon closer inspection, only the hood prop rod was making contact.
New, slightly taller hood to grill bumpers should fix this, the originals are squashed. This is a much easier fix, I though I was going to have to re-drill the radiator support brackets, so happy about that.
Lucked out on the radiator issue, struck out on the front drive shaft. The Rubicon Express front lift springs are taller then the old Superlift springs, so the front drive shaft is a bit too short now:
No picture, but when I pulled out the front drive shaft, the tubing was slightly twisted. You couldn't "see" the twist, but the u-joints were about 15 degrees out of phase. So, I guess the South Dakota Black Hills claimed yet another drive shaft.
I had my drive shaft guy re-tube/lengthen it. The slip shaft was still fine, and the splines were still good. I wouldn't think the TBI 350 had enough power to do this, but apparently it will. I have to run a small OD front shaft to clear the 4L60/700R4's case. I am already running the thickest tube in this size. If I twist it again, might have to explore a solid shaft, or some other non-standard remedy. Or, just lay off the the stupid pedal some!!!!!!!!!!!!
That's it for now!!!

- City
- Bedford
- State
- NH
My wife just caught me scrolling through this thread and her words I can't repeat but when I showed her it wasn't other women her response was "you're weird" can't win gentlemen
cb
Sent from the garage
cb
Sent from the garage
- City
- Biloxi
- State
- MS
I was able to get my new fuel lines/modify existing fuel line work complete this past weekend. I also got the rebuilt/modified front driveshaft installed. And, I think I knocked out most of my to do list over the last few days, just a bit of maintenance work (oil change/grease rear drive shaft) and I should be ready for the long ride to Michigan next week, fingers crossed!!!!!!!!
As for the new fuel lines, I will let the pictures explain what I did.
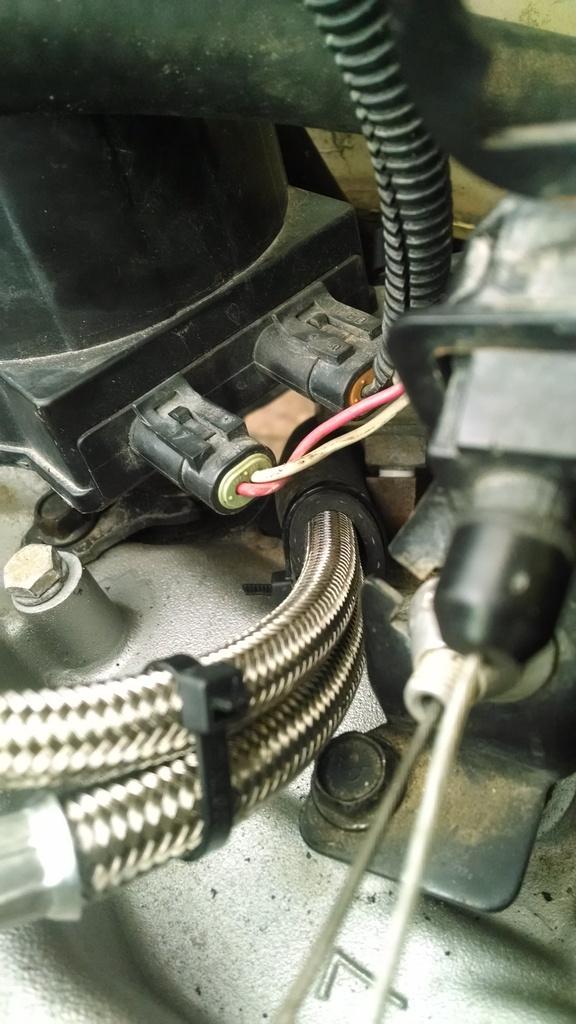
The new lines thread into the back of the throttle body and run straight out the back:
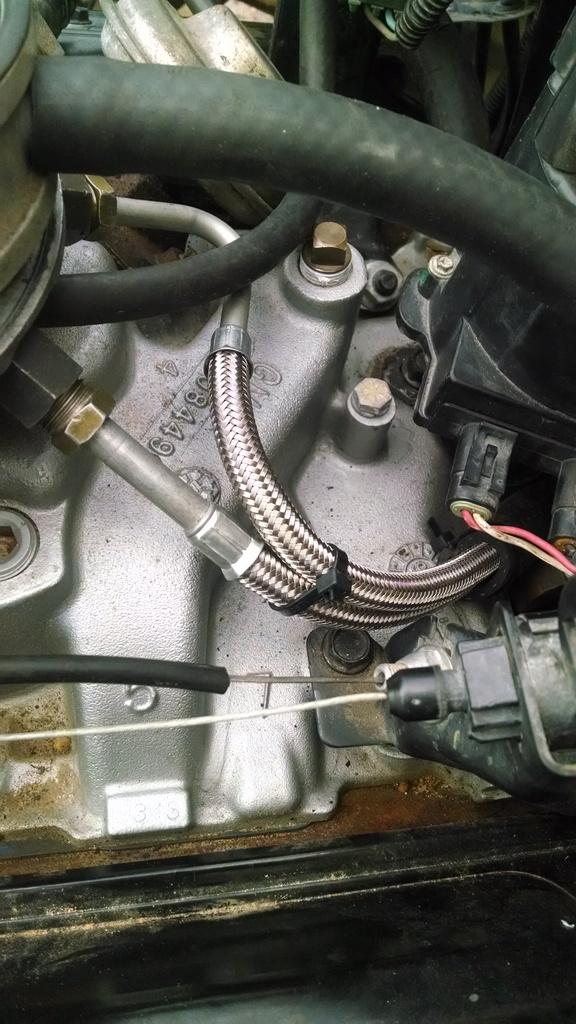
I placed a piece of rubber hose around the lines where they pass next to the oil pressure sending unit, to prevent chaffage. These new lines have a slightly larger OD then OEM GM lines. The lines clear the throttle cable bracket by about 5/8", the picture makes it appear that they touch, they do not. As you can see, I only have about 8"-10" of fuel line under the hood now, should be a huge heat reduction gain.
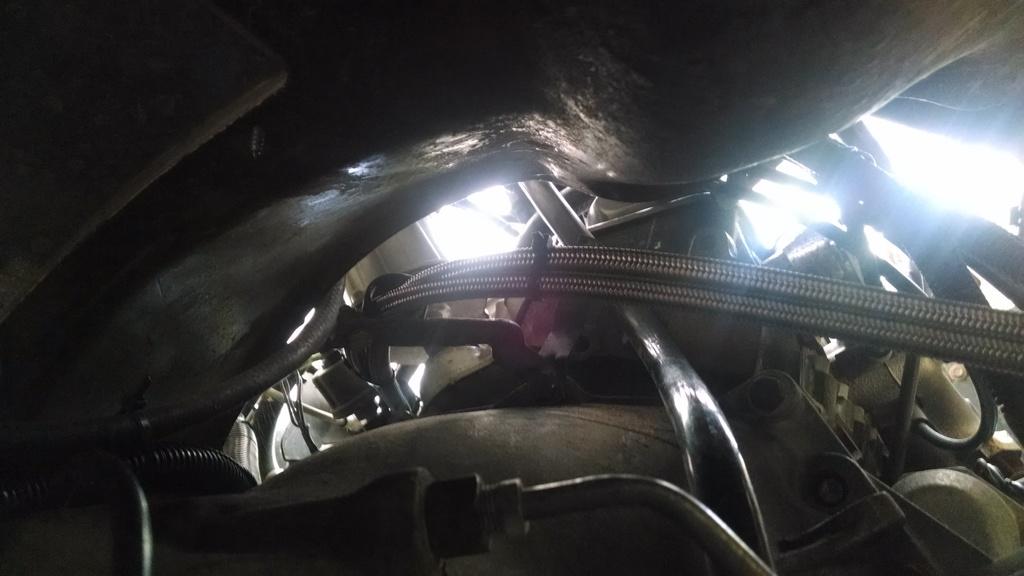
I then modified a stock GM bracket, attached it to the bell housing, and routed the lines through it. This keeps the lines up and away from the engine/transmission.
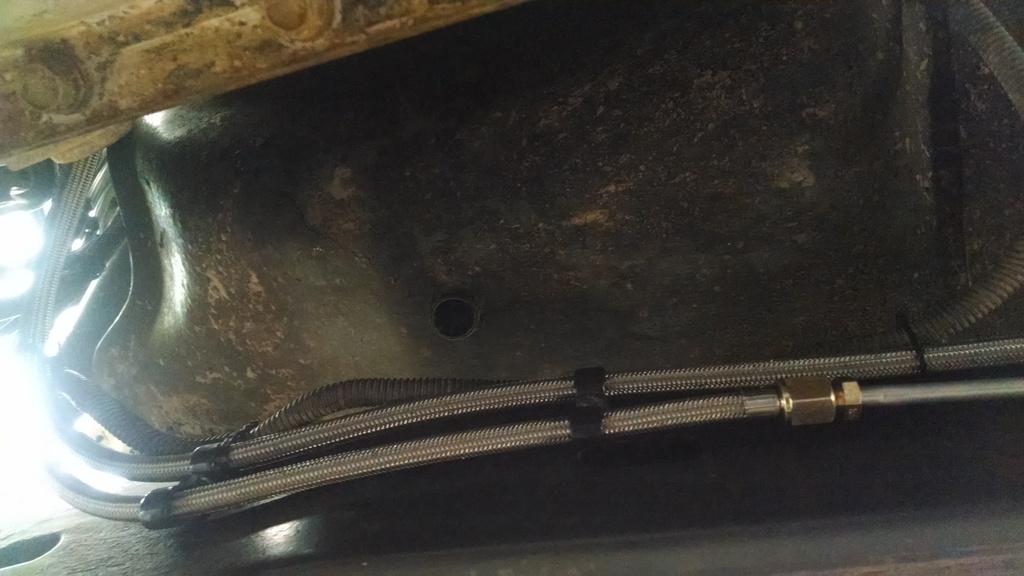
The lines then pass over to the frame. I secured these lines to the frame with rubber coated metal brackets, works great. The lower line, the return line IIRC, ties into a new metal line here, with the wierd Saginaw fitting. These are the same fitting used on the 1980 and up CJ's, the o-ring style fittings.
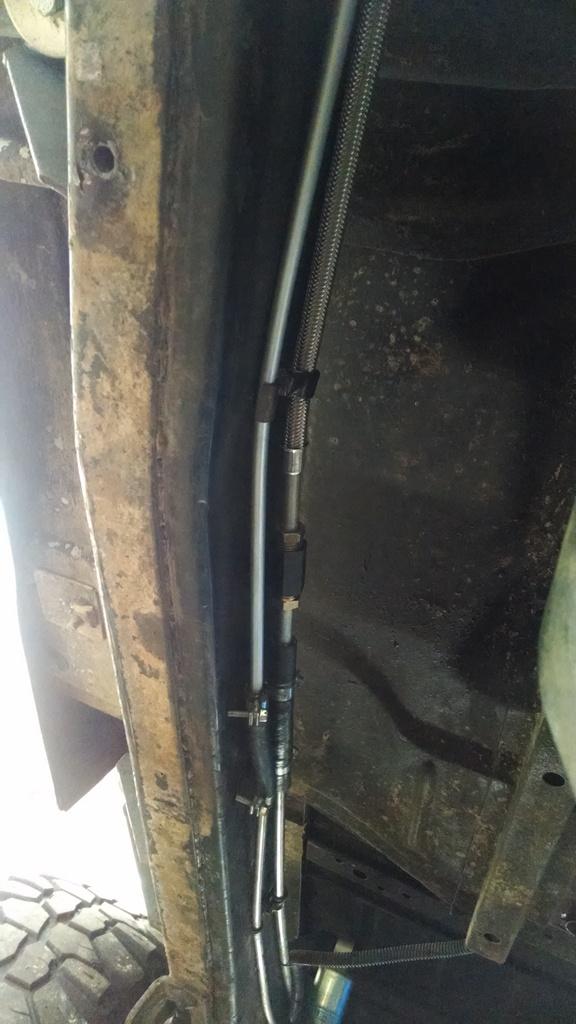
The new lines then tie into the existing hard frame mounted lines with short pieces of high pressure rubber fuel line.
So far, so good. I have drove the Scrambler around some, and used it all day Sunday in the yard doing work, no leaks. My one "wish list" idea: I would love to run continuous metal lines straight to the back. BUT, I would need to find a GM vehicle that has long enough lines to make this happen. I do not know of anyway to put a "Saginaw" style fitting on a new tube. If I have to switch to an in tank pump, I will explore this some more. For now, seems good to go.
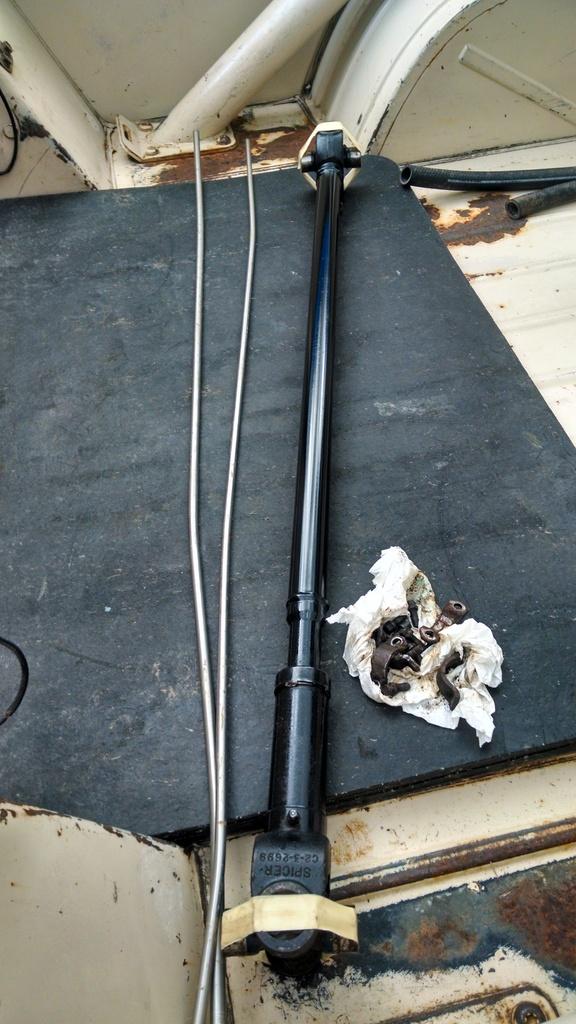
Quick picture of the modified drive shaft, next to the existing hard line sections I had to remove to install the new flex lines. The drive shaft is around 38" center of cap to center of cap, for reference.
I also worked on installing a new wooden in cab roll cage using 3/8" diameter wood dowls, works great!!!!!!!
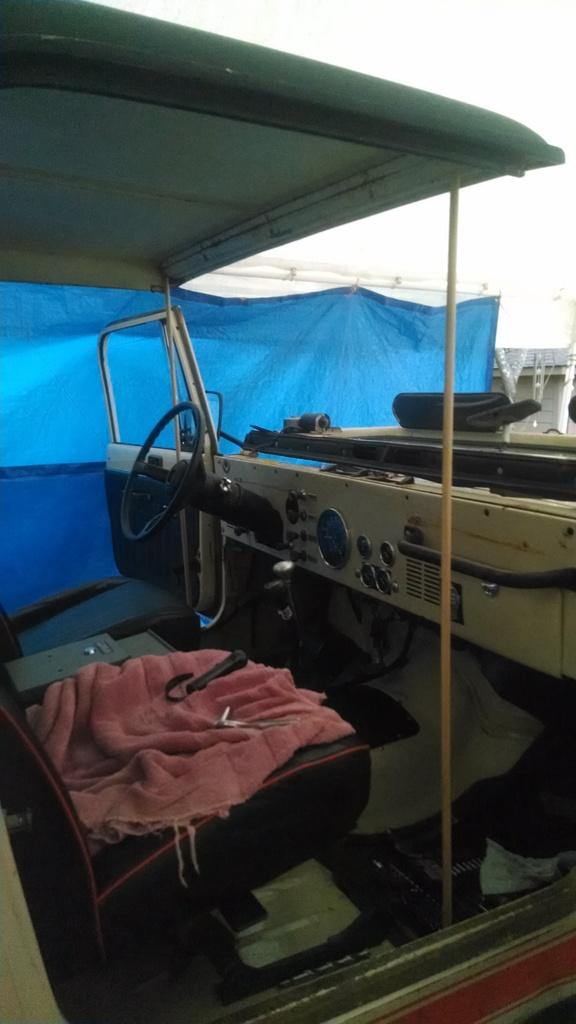
JK!!!!!! I always fold the windshield frame down, loosen the dash, to pull out the speedometer. The sticks held the top up. My odometer froze up when it was turning over to 170,000 miles when I was passing through South Dakota on the way to the National ride. I am not going in to great detail, but if you get this far, you can probably figure out how to mess with the Odometer.
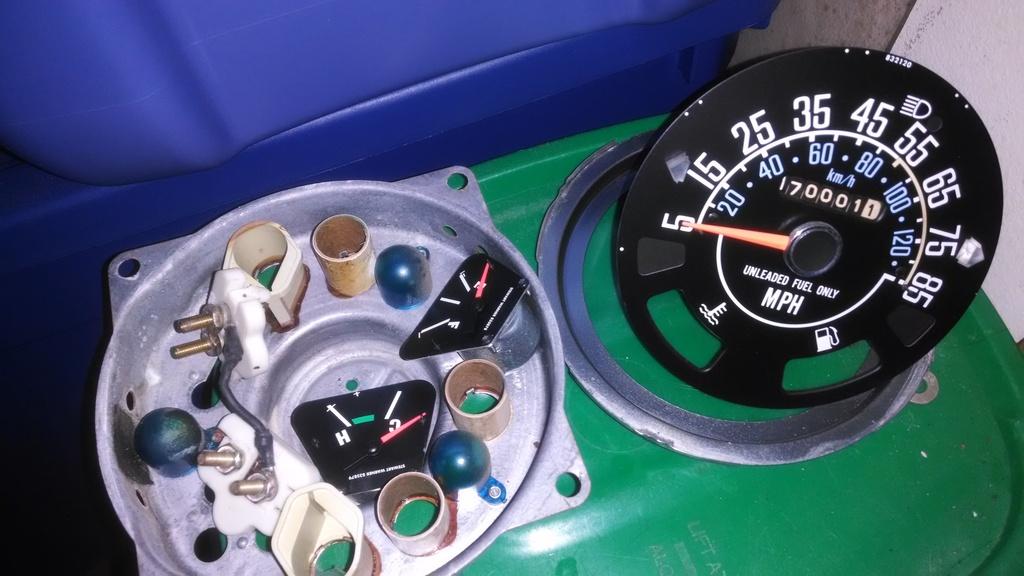
The tenths mile round thingy was frozen on mine, like some sand got in there. I manually turned it over by hand, and the odometer is working again. I added two thousand miles to it, so it should be close to accurate again (1500 miles for the return trip home, plus 500 for miles at the National event and miles put on since I have been home).
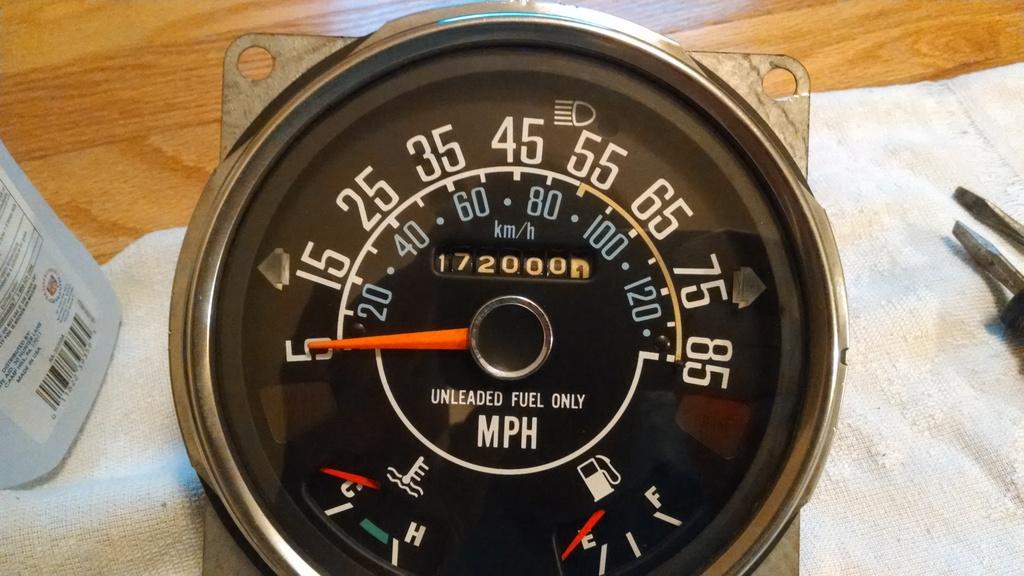
A little bit more maintenance and should be ready for the next adventure
As for the new fuel lines, I will let the pictures explain what I did.
The new lines thread into the back of the throttle body and run straight out the back:
I placed a piece of rubber hose around the lines where they pass next to the oil pressure sending unit, to prevent chaffage. These new lines have a slightly larger OD then OEM GM lines. The lines clear the throttle cable bracket by about 5/8", the picture makes it appear that they touch, they do not. As you can see, I only have about 8"-10" of fuel line under the hood now, should be a huge heat reduction gain.
I then modified a stock GM bracket, attached it to the bell housing, and routed the lines through it. This keeps the lines up and away from the engine/transmission.
The lines then pass over to the frame. I secured these lines to the frame with rubber coated metal brackets, works great. The lower line, the return line IIRC, ties into a new metal line here, with the wierd Saginaw fitting. These are the same fitting used on the 1980 and up CJ's, the o-ring style fittings.
The new lines then tie into the existing hard frame mounted lines with short pieces of high pressure rubber fuel line.
So far, so good. I have drove the Scrambler around some, and used it all day Sunday in the yard doing work, no leaks. My one "wish list" idea: I would love to run continuous metal lines straight to the back. BUT, I would need to find a GM vehicle that has long enough lines to make this happen. I do not know of anyway to put a "Saginaw" style fitting on a new tube. If I have to switch to an in tank pump, I will explore this some more. For now, seems good to go.
Quick picture of the modified drive shaft, next to the existing hard line sections I had to remove to install the new flex lines. The drive shaft is around 38" center of cap to center of cap, for reference.
I also worked on installing a new wooden in cab roll cage using 3/8" diameter wood dowls, works great!!!!!!!
JK!!!!!! I always fold the windshield frame down, loosen the dash, to pull out the speedometer. The sticks held the top up. My odometer froze up when it was turning over to 170,000 miles when I was passing through South Dakota on the way to the National ride. I am not going in to great detail, but if you get this far, you can probably figure out how to mess with the Odometer.
The tenths mile round thingy was frozen on mine, like some sand got in there. I manually turned it over by hand, and the odometer is working again. I added two thousand miles to it, so it should be close to accurate again (1500 miles for the return trip home, plus 500 for miles at the National event and miles put on since I have been home).
A little bit more maintenance and should be ready for the next adventure
- City
- Gonzales
- State
- La
The front drive shaft on my 5.3/4L60E looks just like that one, long and skinny. Mine came from Tom Woods Driveshafts and the last thing he told me was not to be doing many four wheel burnouts with this long skinny shaft. Something woman say to me all the time.
- City
- Biloxi
- State
- MS
The front drive shaft on my 5.3/4L60E looks just like that one, long and skinny. Mine came from Tom Woods Driveshafts and the last thing he told me was not to be doing many four wheel burnouts with this long skinny shaft. Something woman say to me all the time.
LOL

I'm only pushing maybe 220HP at the flywheel, way less then you, and still managed to twist this one somewhere between 10-20 degrees, and I haven't "really" hammered on it
 Well, maybe a little
IIRC, I already have the thickest sidewall in this size tube. So, if it happens again, I will look into:
Use a "super long travel" male slip yoke on the transfer case end. That will gain me a skinny solid shaft at the Dana 300 end, where the clearance is tight. From there, use a bigger OD shaft with thicker sidewall down to the front pinion. I think this would be a better choice then a two piece shaft with a pillow block

- City
- Biloxi
- State
- MS
Save some money and fill the D300 with cement [emoji15]
Sent from my iPad
Huh
- City
- Gonzales
- State
- La
I don't get it either but I do have a D300 if anyone needs one.

- City
- Marysville
- State
- CA
I don't get it either but I do have a D300 if anyone needs one.
I'd be interested! I'd like to take my time building a 4:1 D300, without my Scrambler being down for the duration....

